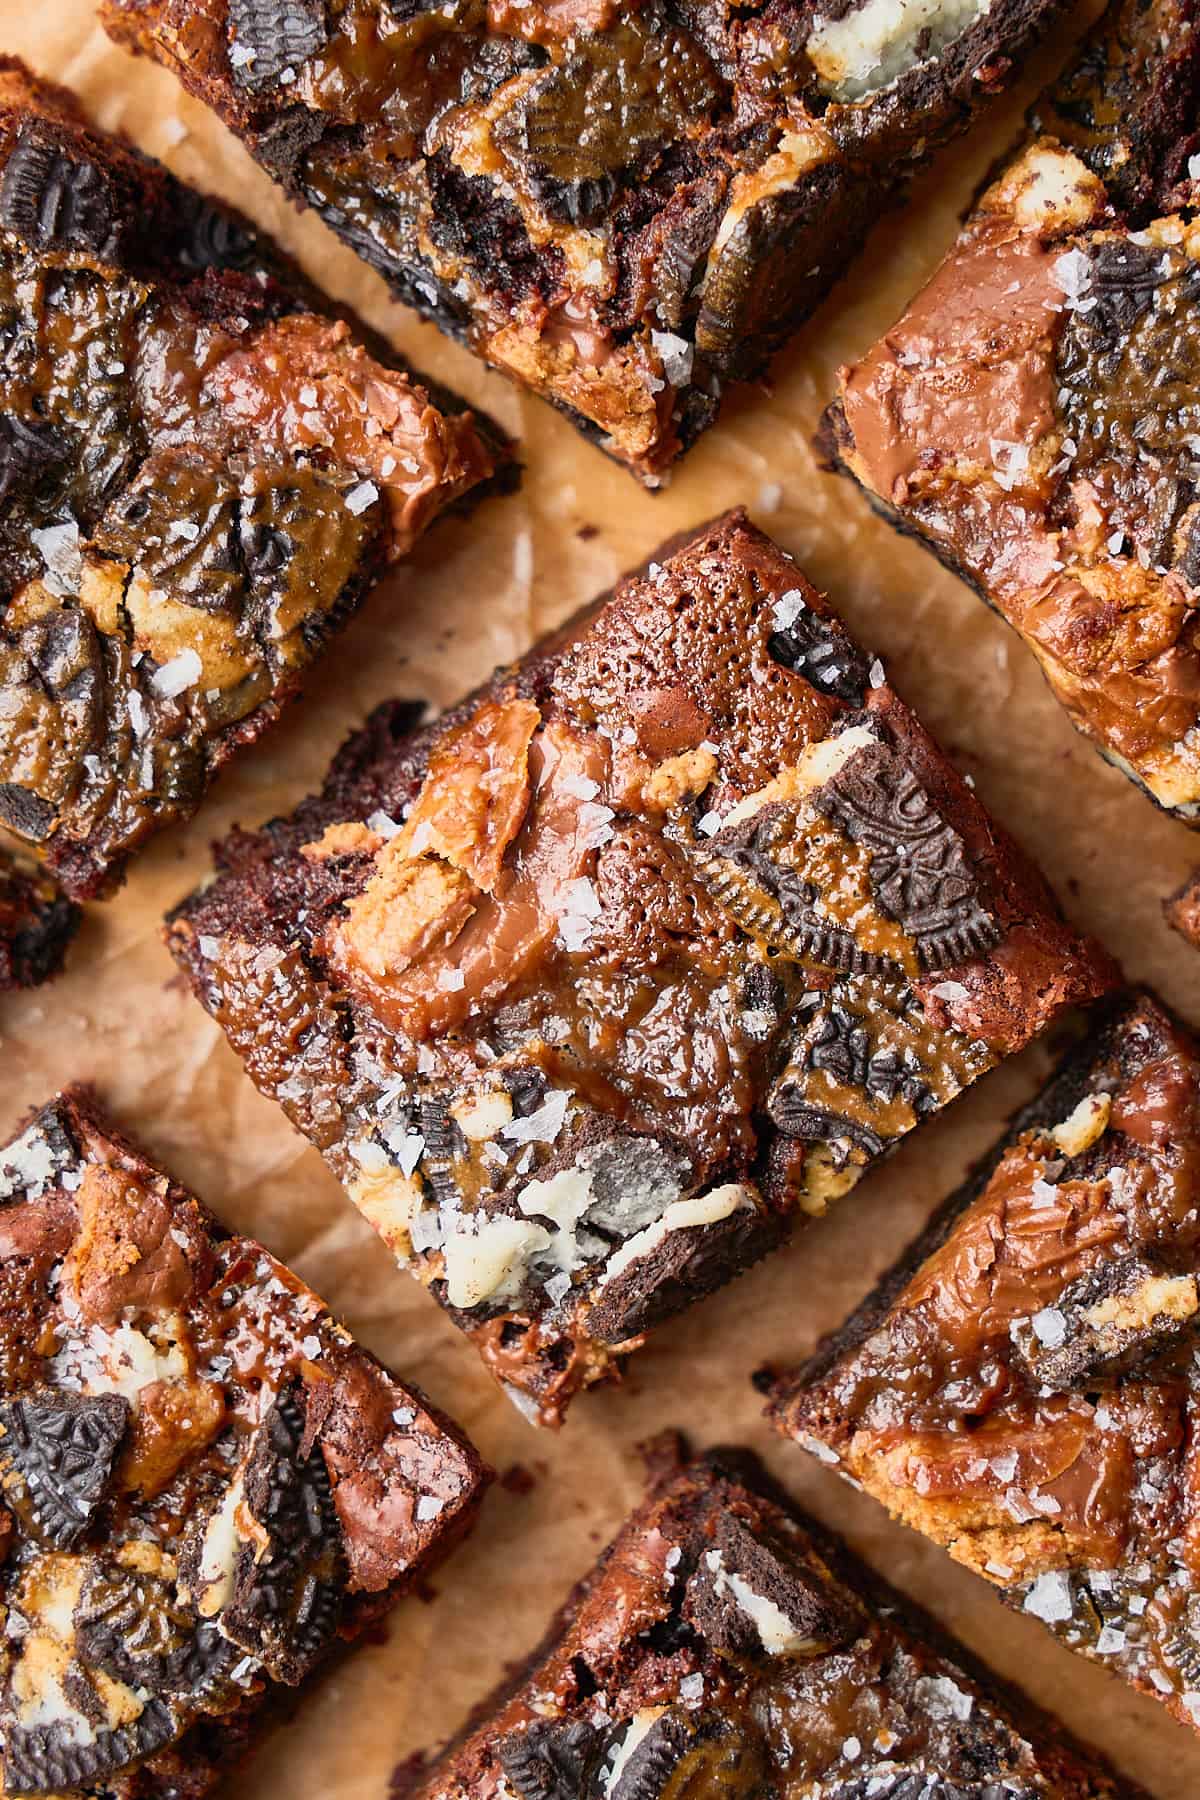
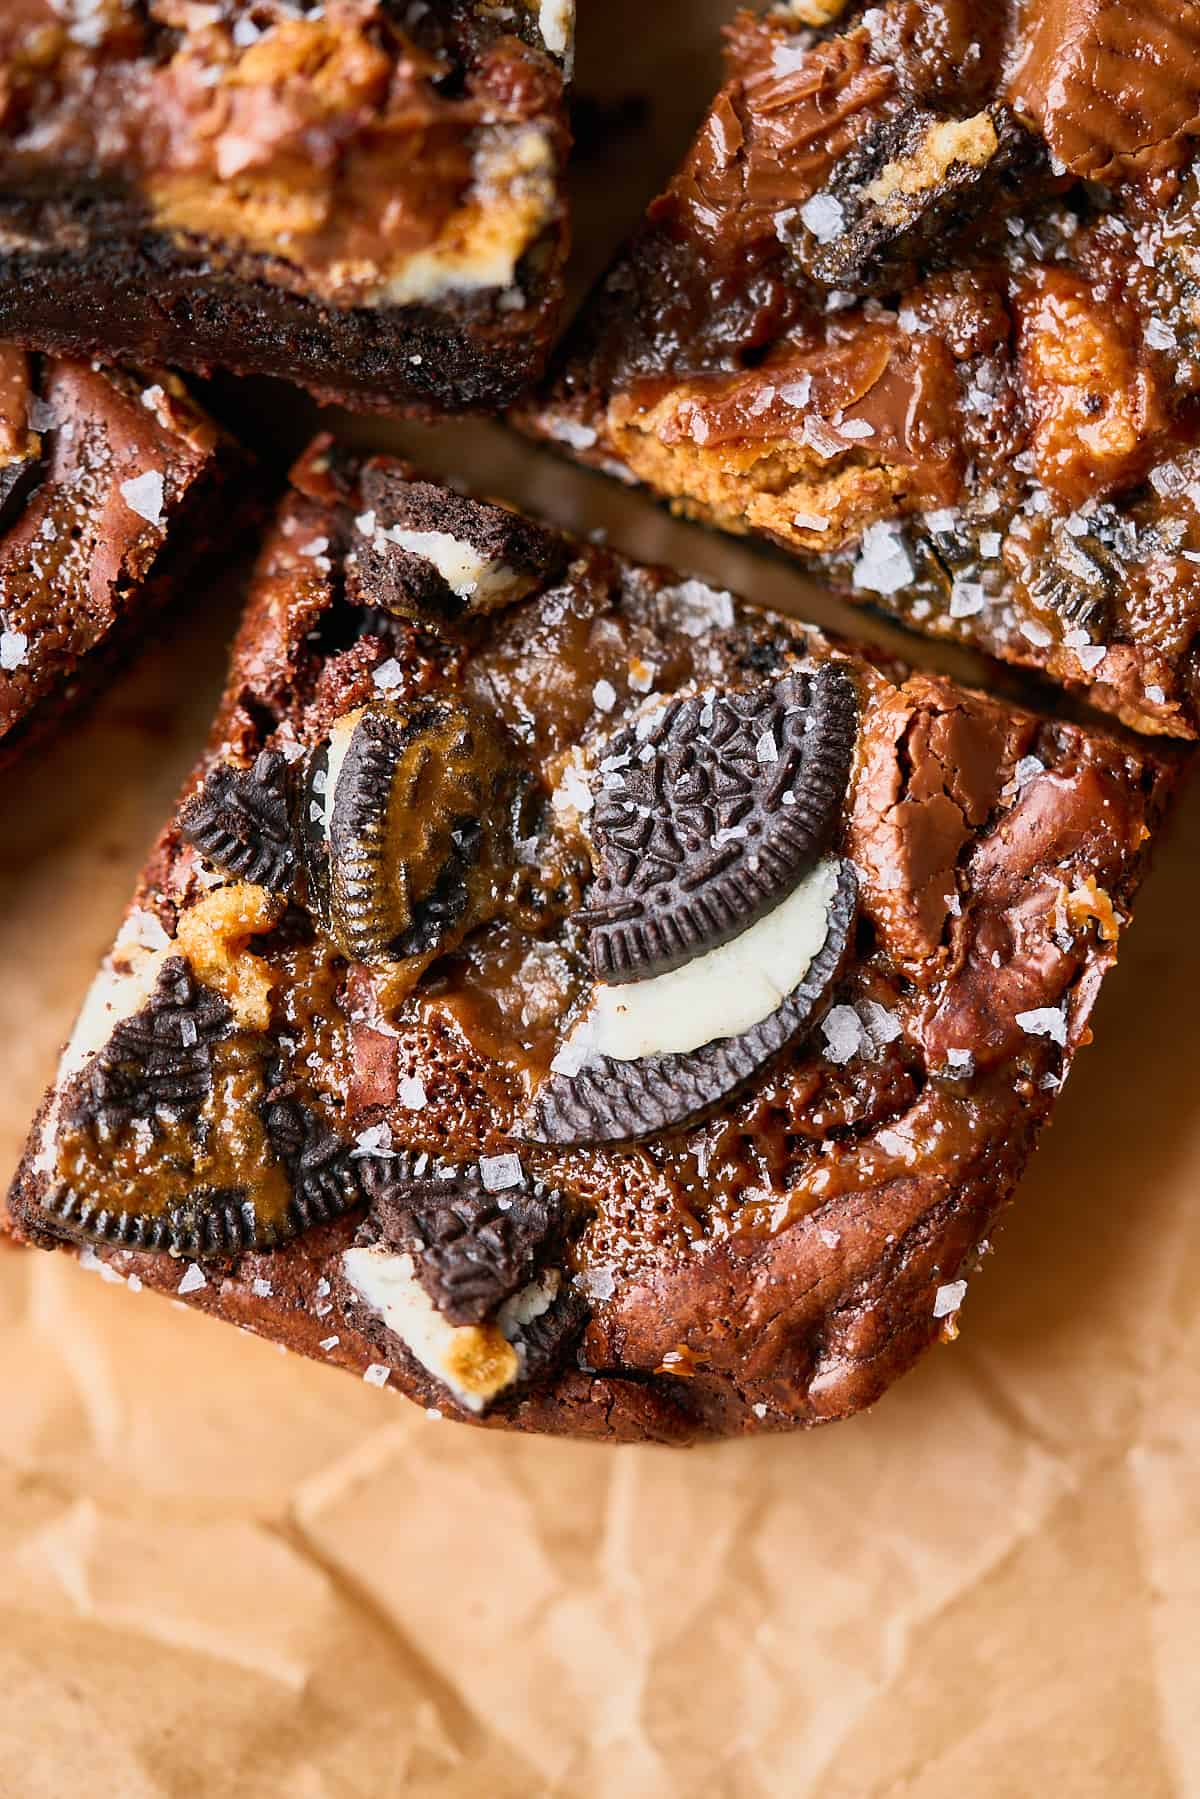
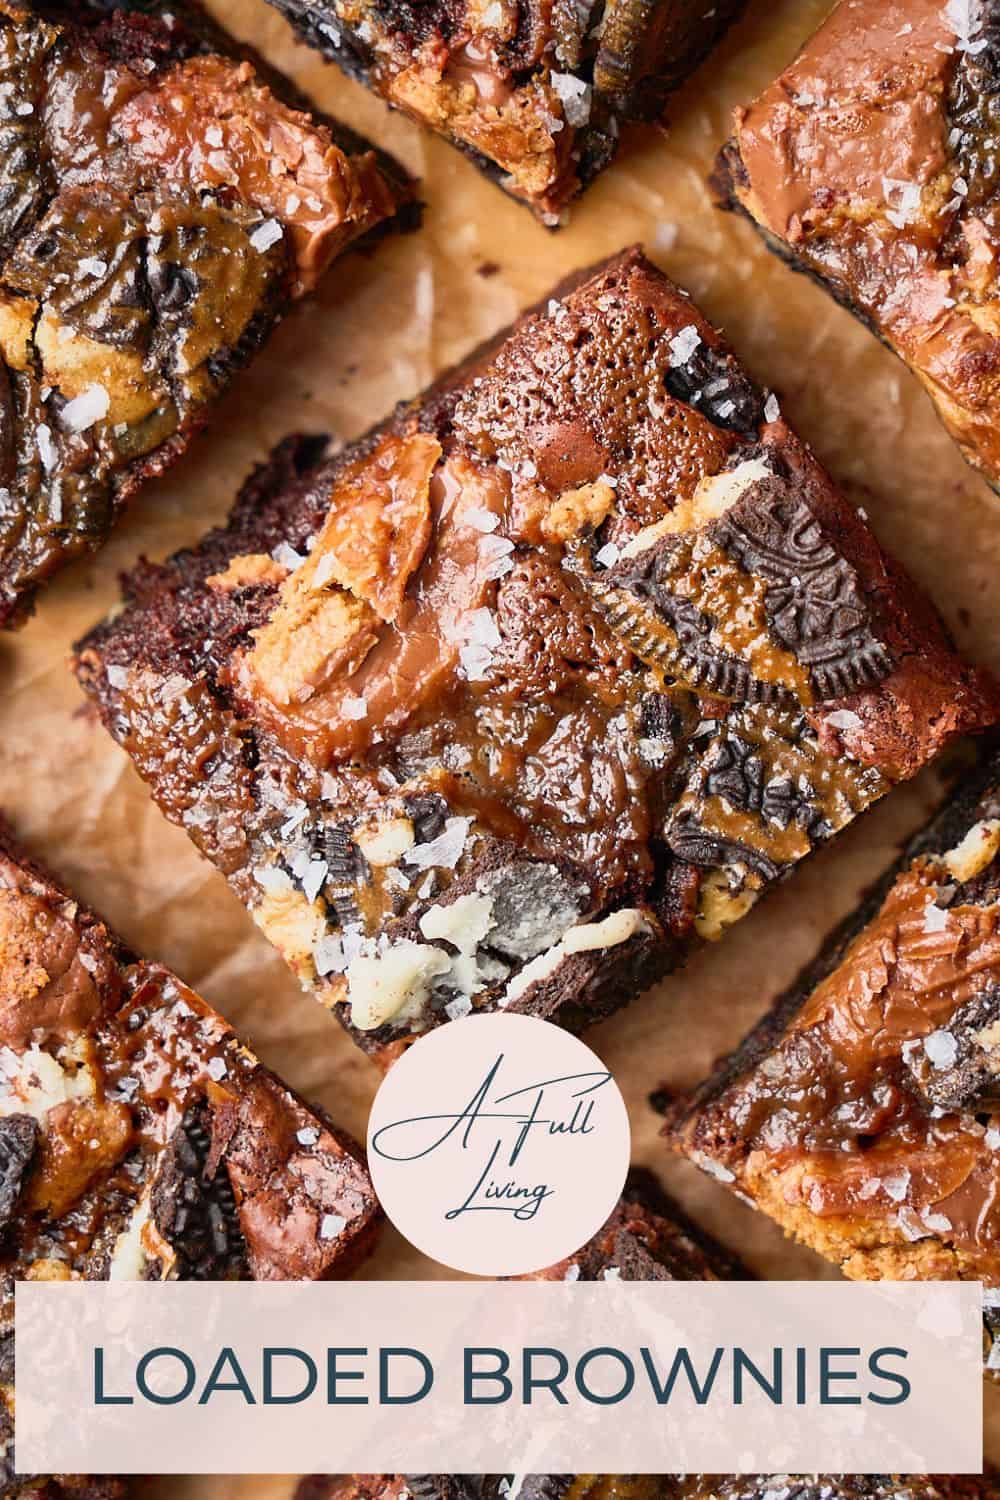
Craving homemade brownies? Satisfy your sweet tooth with our delicious Loaded Brownies Recipe! These chewy chocolate treats are filled with Oreo cookies, peanut butter cups, and salted caramel swirls. They're a dream for any chocolate lover! These brownies are the perfect dessert, and will quickly become one of your favorite brownie recipes!
Disclosure: This post was originally published on May 26th, 2021 but has been re-written and re-published with a new recipe and photos as of February 28th, 2024. We hope you enjoy the new look!
In addition to all of the luscious mix-ins in this recipe, these brownies have browned butter, melty chocolate, and instant espresso powder to enhance the chocolate flavor. We top them off with a sprinkle of sea salt to offset and enhance some of the sweetness.
They also have the perfect shiny, crinkly top, and a super fudgy, ooey-gooey interior. They're perfect and we know you're going to love them!
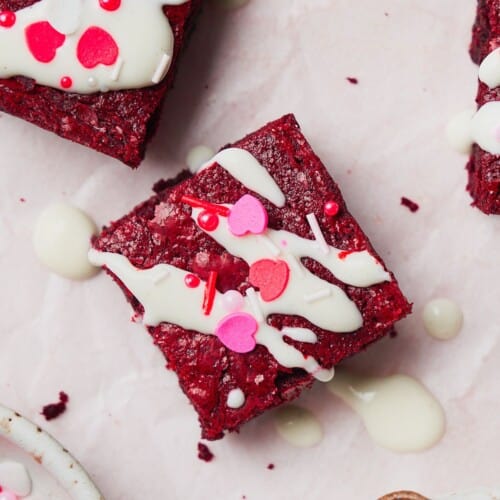
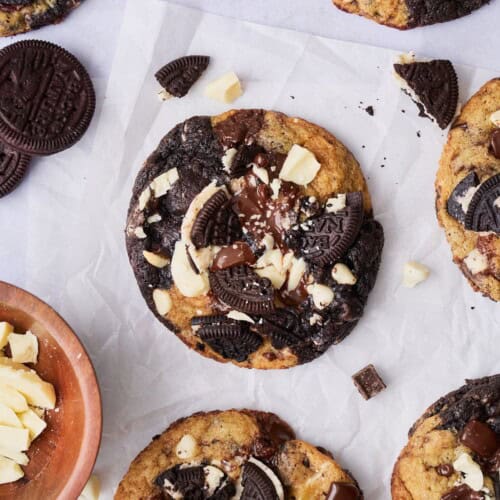
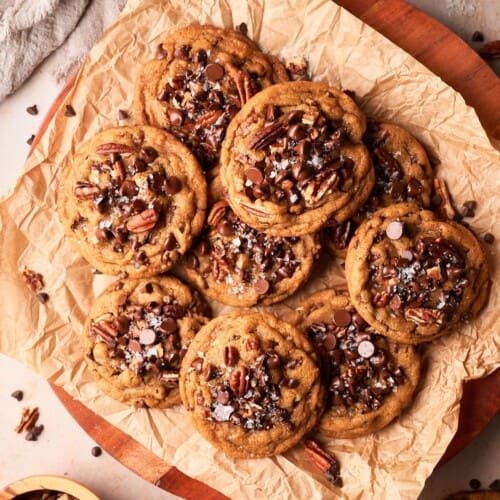
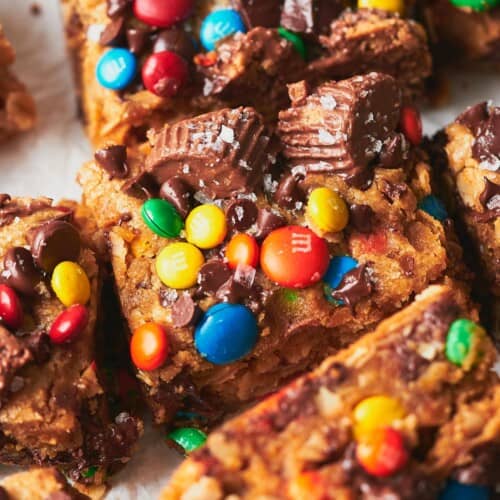
Have a major sweet tooth or craving for chocolate? You'll also love our cookies and cream cookies, these monster cookie bars packed with candy and peanut butter, this chocolate lava mug cake, these chocolate chip pecan cookies, these red velvet brownies, or these chocolate and white chocolate chip cookies!
You may also enjoy these Lucky Charms cookies or these Cadbury mini egg cookies!
Jump to:
❤️Why we love this recipe
- Easy to make. This recipe is easy enough for beginners but still impressive enough to serve guests or bring to a party! Seasoned bakers will also appreciate the complexity of flavors in this brownie.
- Incredibly rich and decadent dessert. Indulgent and rich, these brownies are a celebration of chocolate in every bite. With the combination of sweet and salty, chewy and gooey, with a little crunch of Oreos and swirls of salted caramel- you'll be in brownie heaven! Try serving them with a glass of milk, whipped cream, or vanilla ice cream, and you're in for a real treat.
- Nostalgic flavors. Reminiscent of childhood favorites like candy bars and cookies, these brownies elevate the sense of nostalgia, making them a sentimental and enjoyable treat.
🍫Ingredients
Here are the ingredients we used for this recipe. You can find more information for substitutions below.
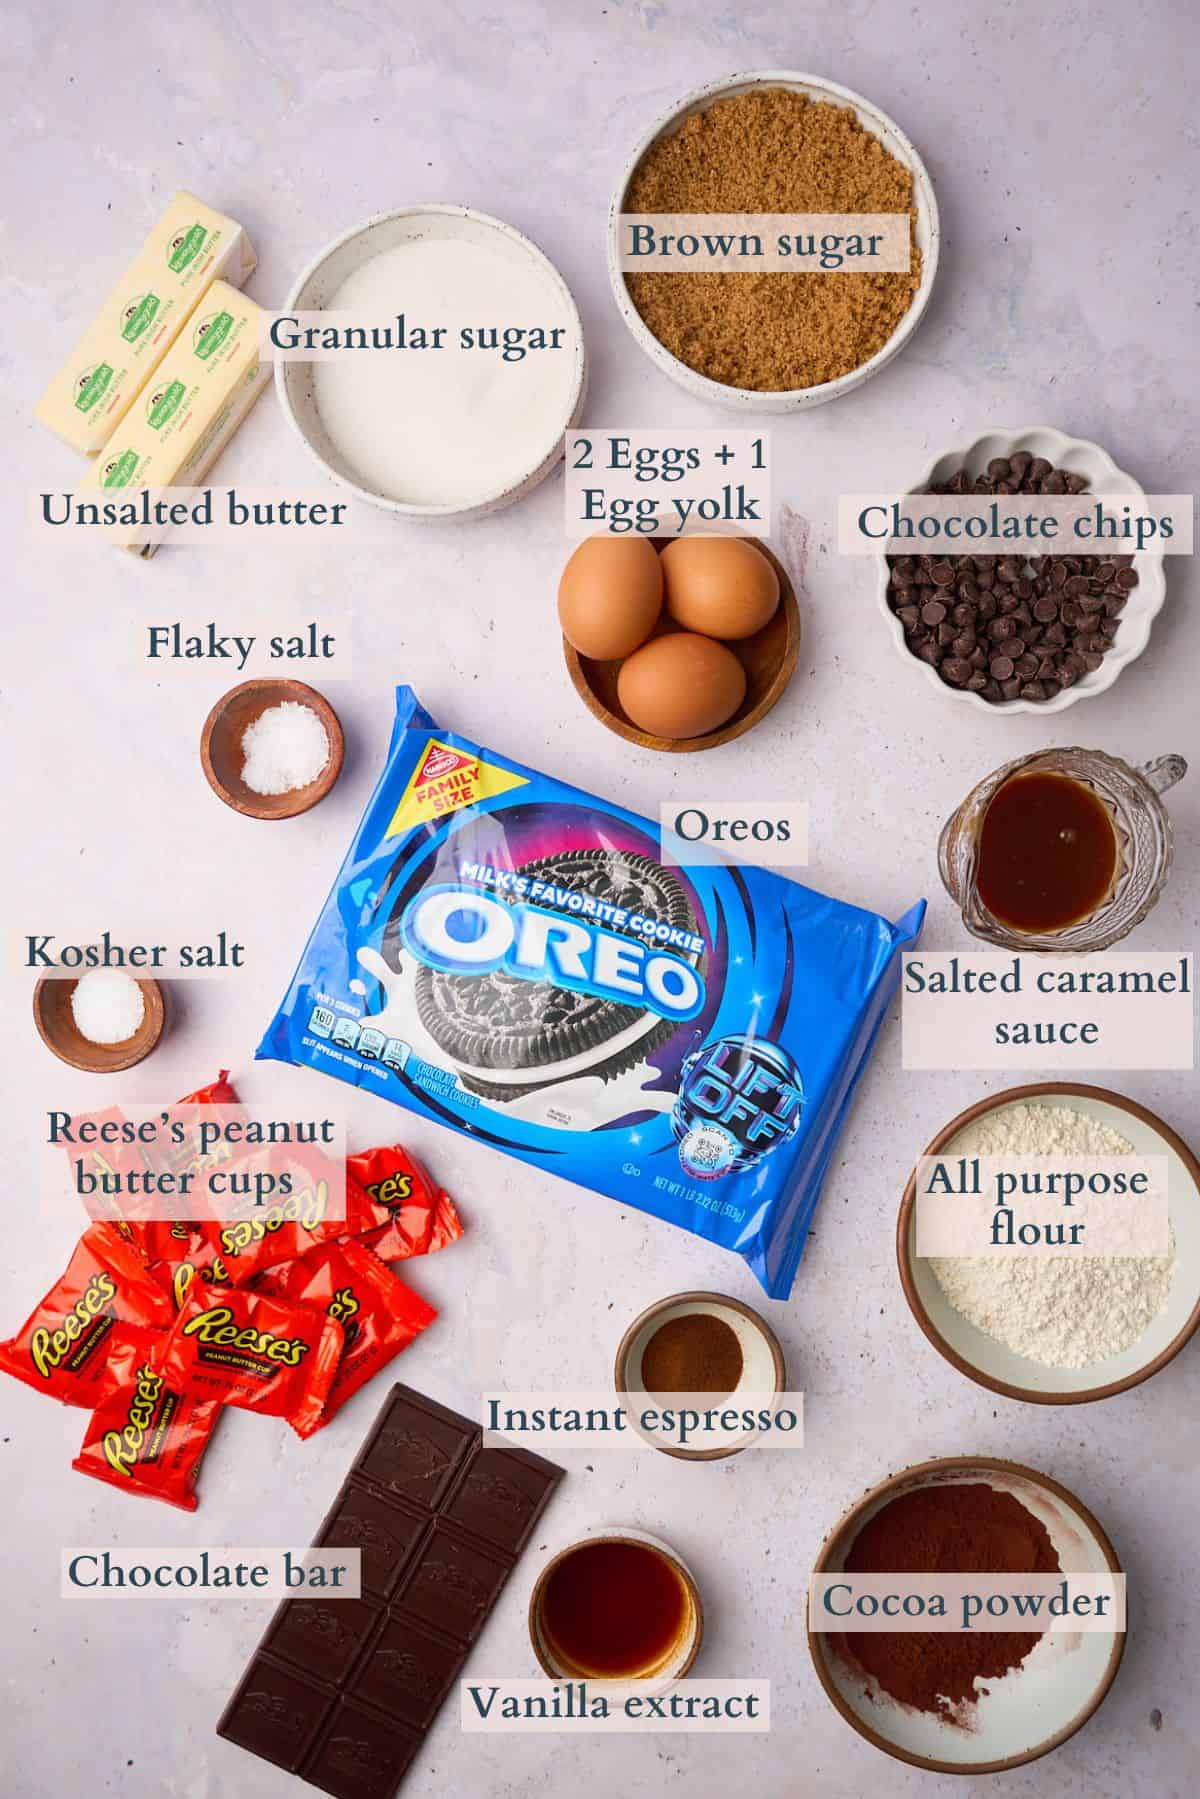
- Cocoa powder. We prefer to use Dutch-processed cocoa powder (affiliate link) for the rich chocolate flavor. You can use natural cocoa powder or any cocoa powder you prefer, however!
- Chocolate bar. You can also use chocolate chips. We went with bittersweet chocolate here (aim for around 60% cacao or higher!), and would recommend using either bittersweet or dark chocolate for a rich chocolate flavor. Semi-sweet chocolate can also be used but it is a bit sweeter, and we prefer the richer chocolate flavor that bittersweet chips add to this recipe.
- Unsalted butter. One of the secrets to making brownies have an incredibly rich flavor as well as deepening the chocolate is using HOT butter and combining it with the cocoa powder, instant espresso, and chocolate chips. This helps to "bloom" the chocolate, which really activates the chocolate flavor. For this recipe, we took it a step further and browned the butter to add even more flavor. The result was divine!
- Eggs + an egg yolk. Make sure they're room temperature.
- Salted caramel sauce. You can use store bought if you prefer, but our homemade version is so yummy! Make it up to a week in advance and store it in the fridge.
Visit the recipe card for the full quantities and nutritional information.
✨Substitutions
Here are a few suggestions on additional flavors to try, or simple variations to this recipe.
- Swap the chocolate chips. Try swapping the semi-sweet chocolate chips or chunks with white chocolate chips or milk chocolate chips for a delightful contrast to rich fudgy brownie batter.
- Easy version. If you're short on time, grab your favorite boxed brownie mix to swap for the homemade brownie base! We'd still recommend adding in the espresso powder if you have it, along with melted butter instead of oil. You can also use milk, heavy cream, or hot coffee instead of water. This will make your boxed mix brownie base extra fudgy and luscious! To really ramp up the flavor, add a splash of vanilla extract, and a little extra salt to the top.
✨Variations
- Add cookie dough. Want to add even more flavor to the brownies? Add a layer of cookie dough in the middle. You can also add more cookie dough to the top about halfway through baking so that it doesn't get too browned.
- Add some nuts. Sprinkle some chopped nuts, like peanuts, almonds, or pecans, on top for extra crunch.
- Elevate the salty crunch. For fun, you could add some crushed potato chips, or pretzels to the mix or the top of the brownies for an added salty crunch.
- More mix-ins. You can also in whatever you like to these brownies truly, like Milky Way bars, Snickers, toffee bits, Reese's pieces, and more!
- Gluten-free option. Use gluten-free flour instead of all-purpose flour, and make sure to use gluten free Oreos. This should work perfectly fine.
- Keto version. If you're looking for the low carb version of this original brownie, please reach out to us directly, and will send you an email!
🔪Prep work
- Bring the eggs and an egg yolk to room temperature.
- Prepare the salted caramel up to 7 days in advance and store it in the fridge.
- Chop the Reese's peanut butter cups and Oreos in thirds or quarters. You can also break them apart with your hands!
- Weigh out the rest of the ingredients using a kitchen scale.
- Preheat the oven to 350°F. Grease and line an 8″x 8″ pan with parchment paper, and set aside.
📋Instructions
Start by adding the butter to a heavy bottomed saucepan over medium heat. If you want, continue heating it until the butter has browned. Here's our guide for how to brown butter for step-by-step instructions!
The key is, no matter if you're browning the butter or not, the butter needs to be hot enough to melt the chocolate easily!
After the butter is nice and hot (and potentially browned) remove the saucepan from the heat and add in the chopped chocolate, the cocoa powder, and the instant espresso. (Image 1)
Once the butter is browned (optional) or melted and nice and hot, add in the chopped chocolate pieces, the instant espresso, and the cocoa powder. Stir with a rubber spatula to melt the chocolate. (Image 2)
Then, transfer the chocolate mixture to a small bowl or container and set aside to cool until it's warm, not piping hot.
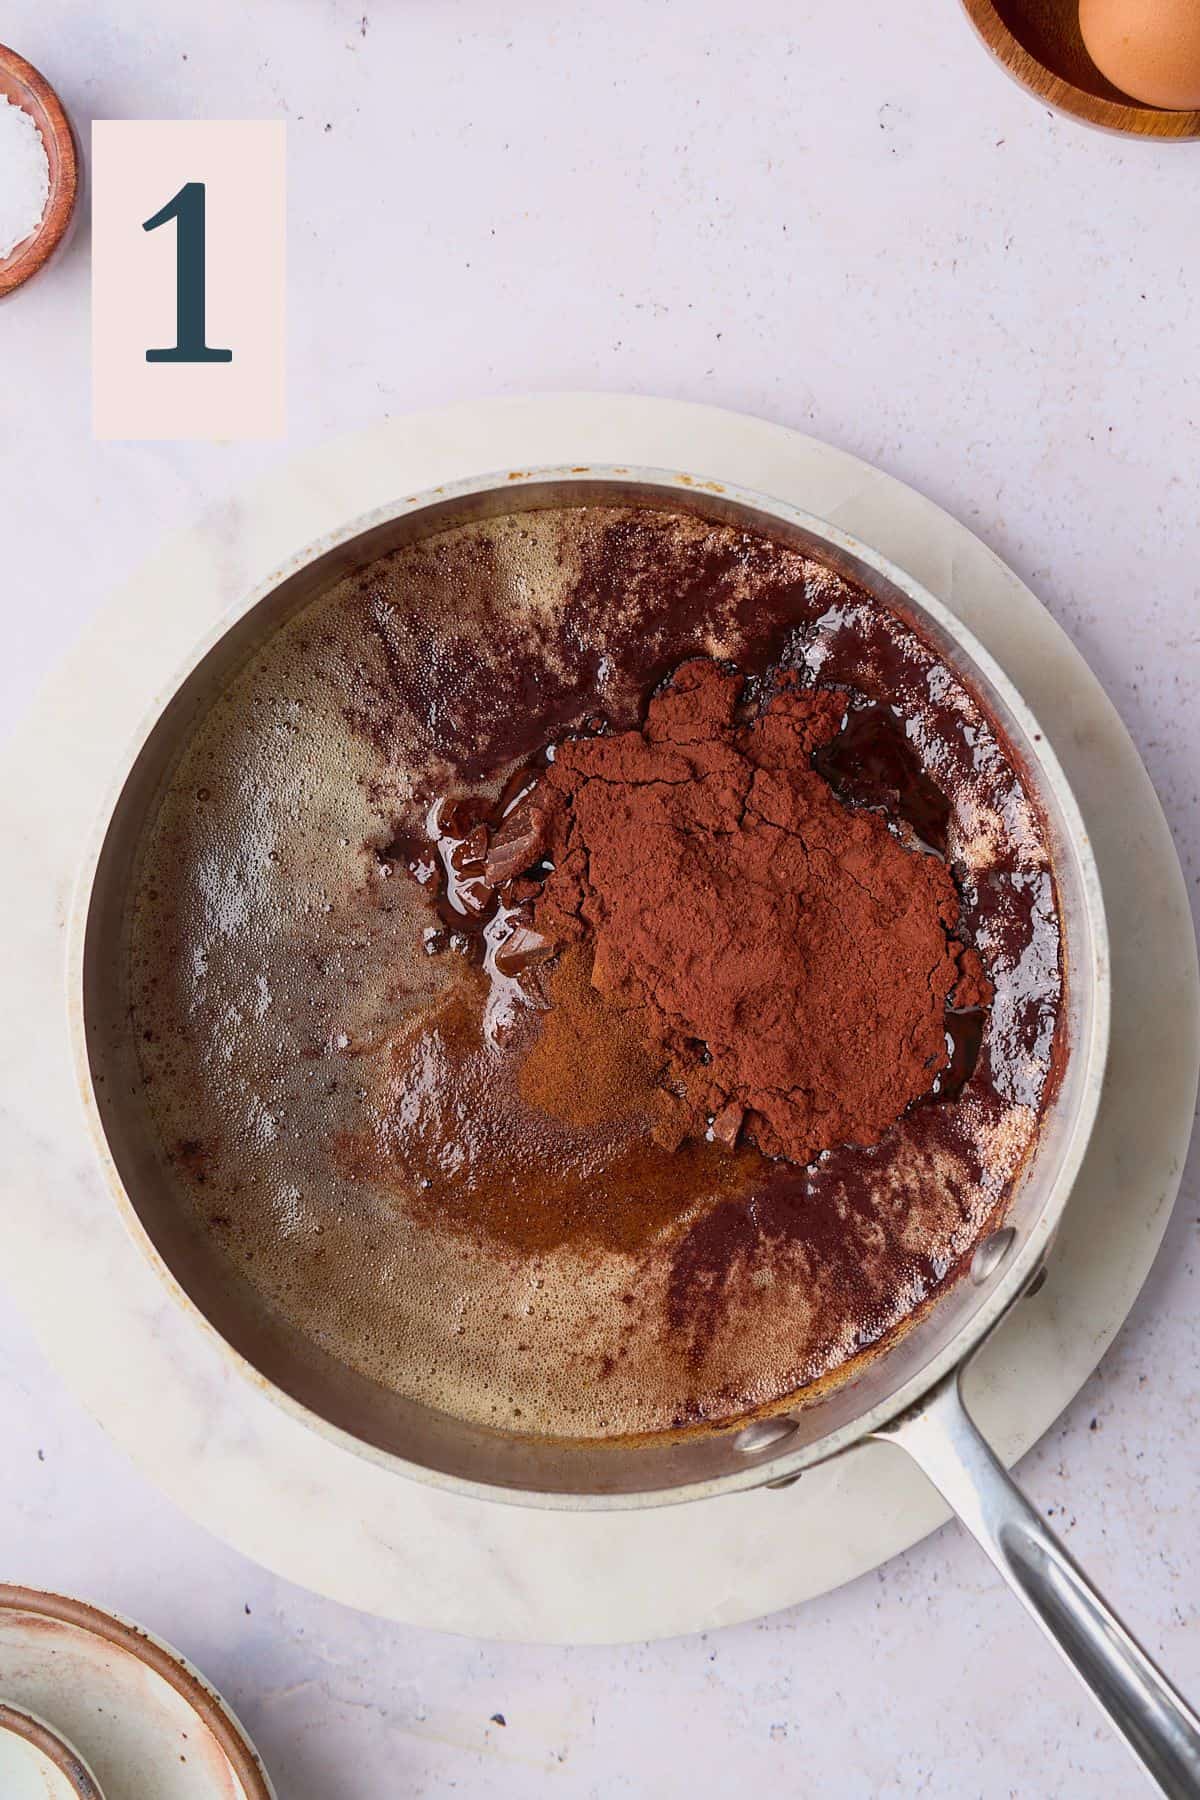
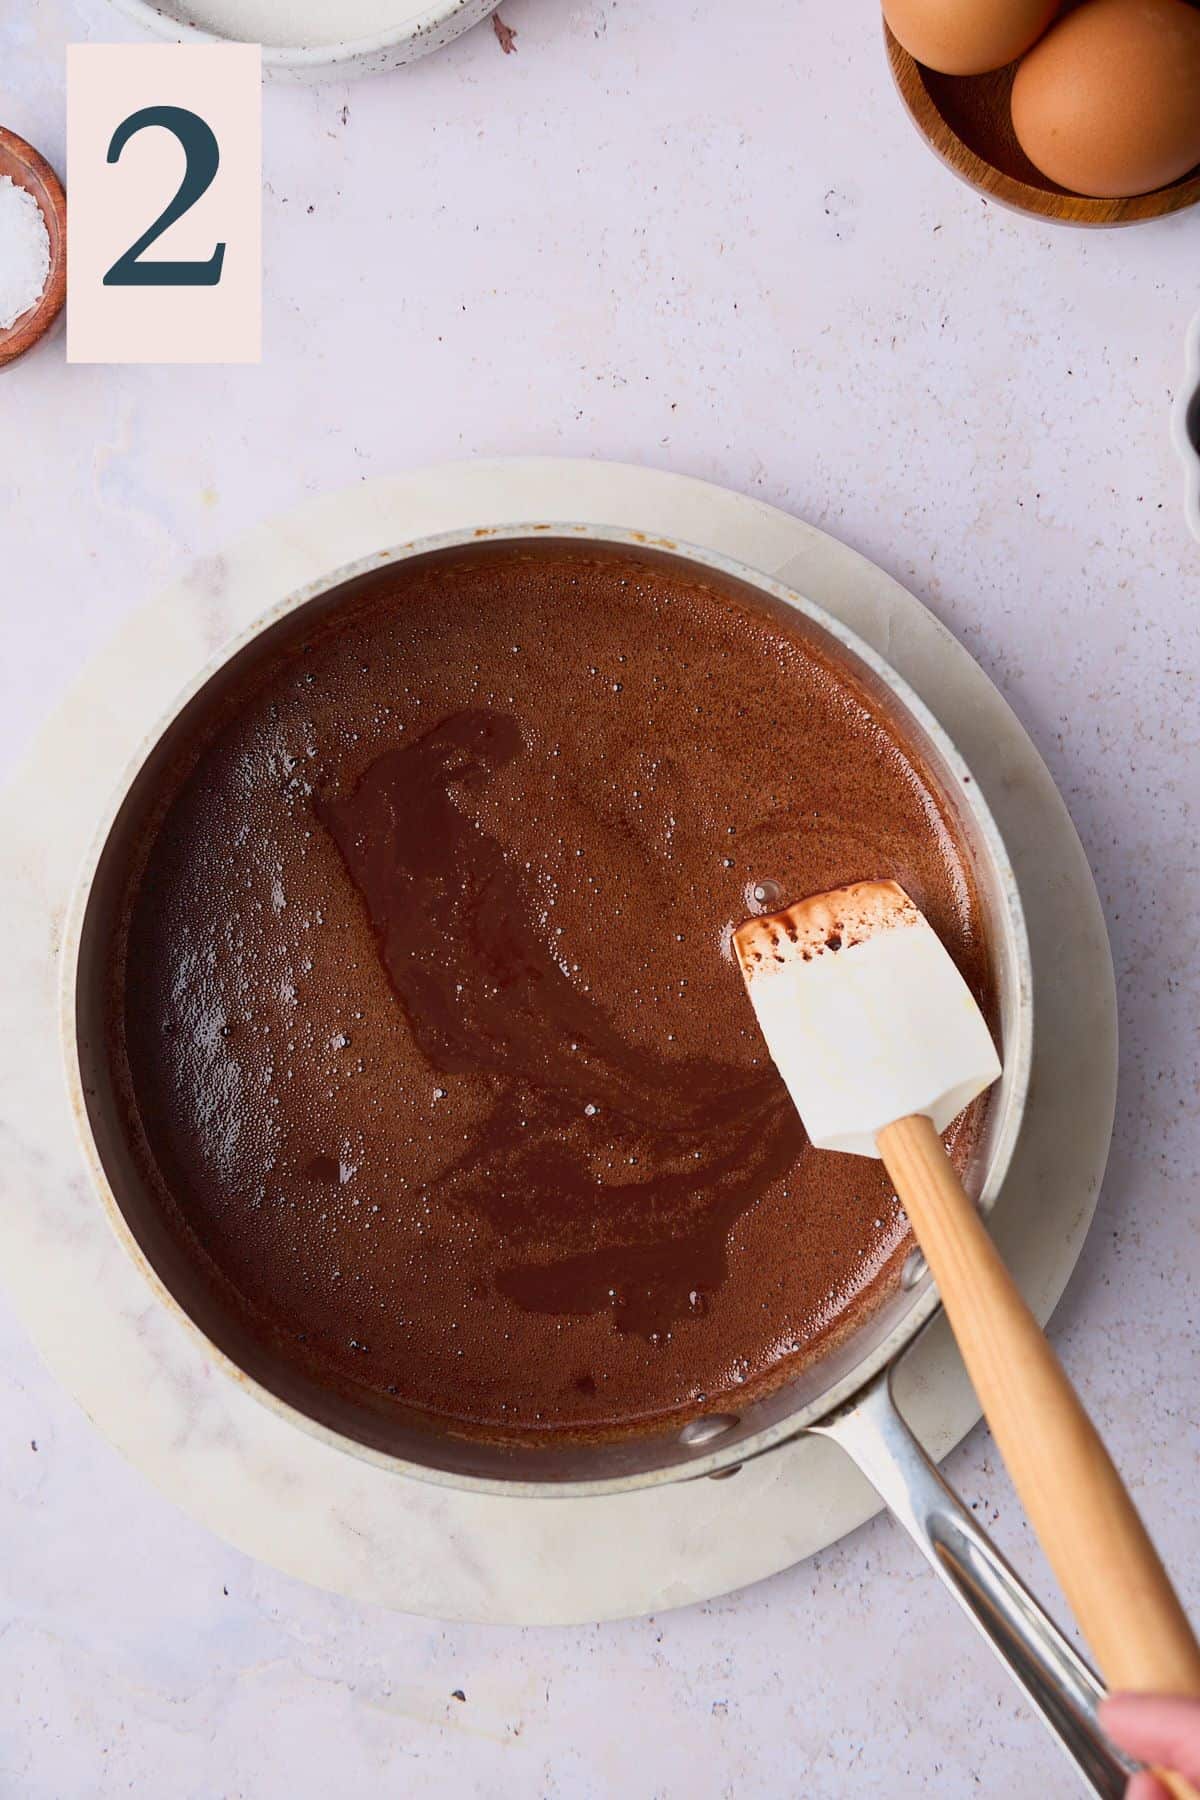
✨Pro tip: Adding the instant espresso and cocoa powder to hot butter will bloom and enhance the chocolate flavor!
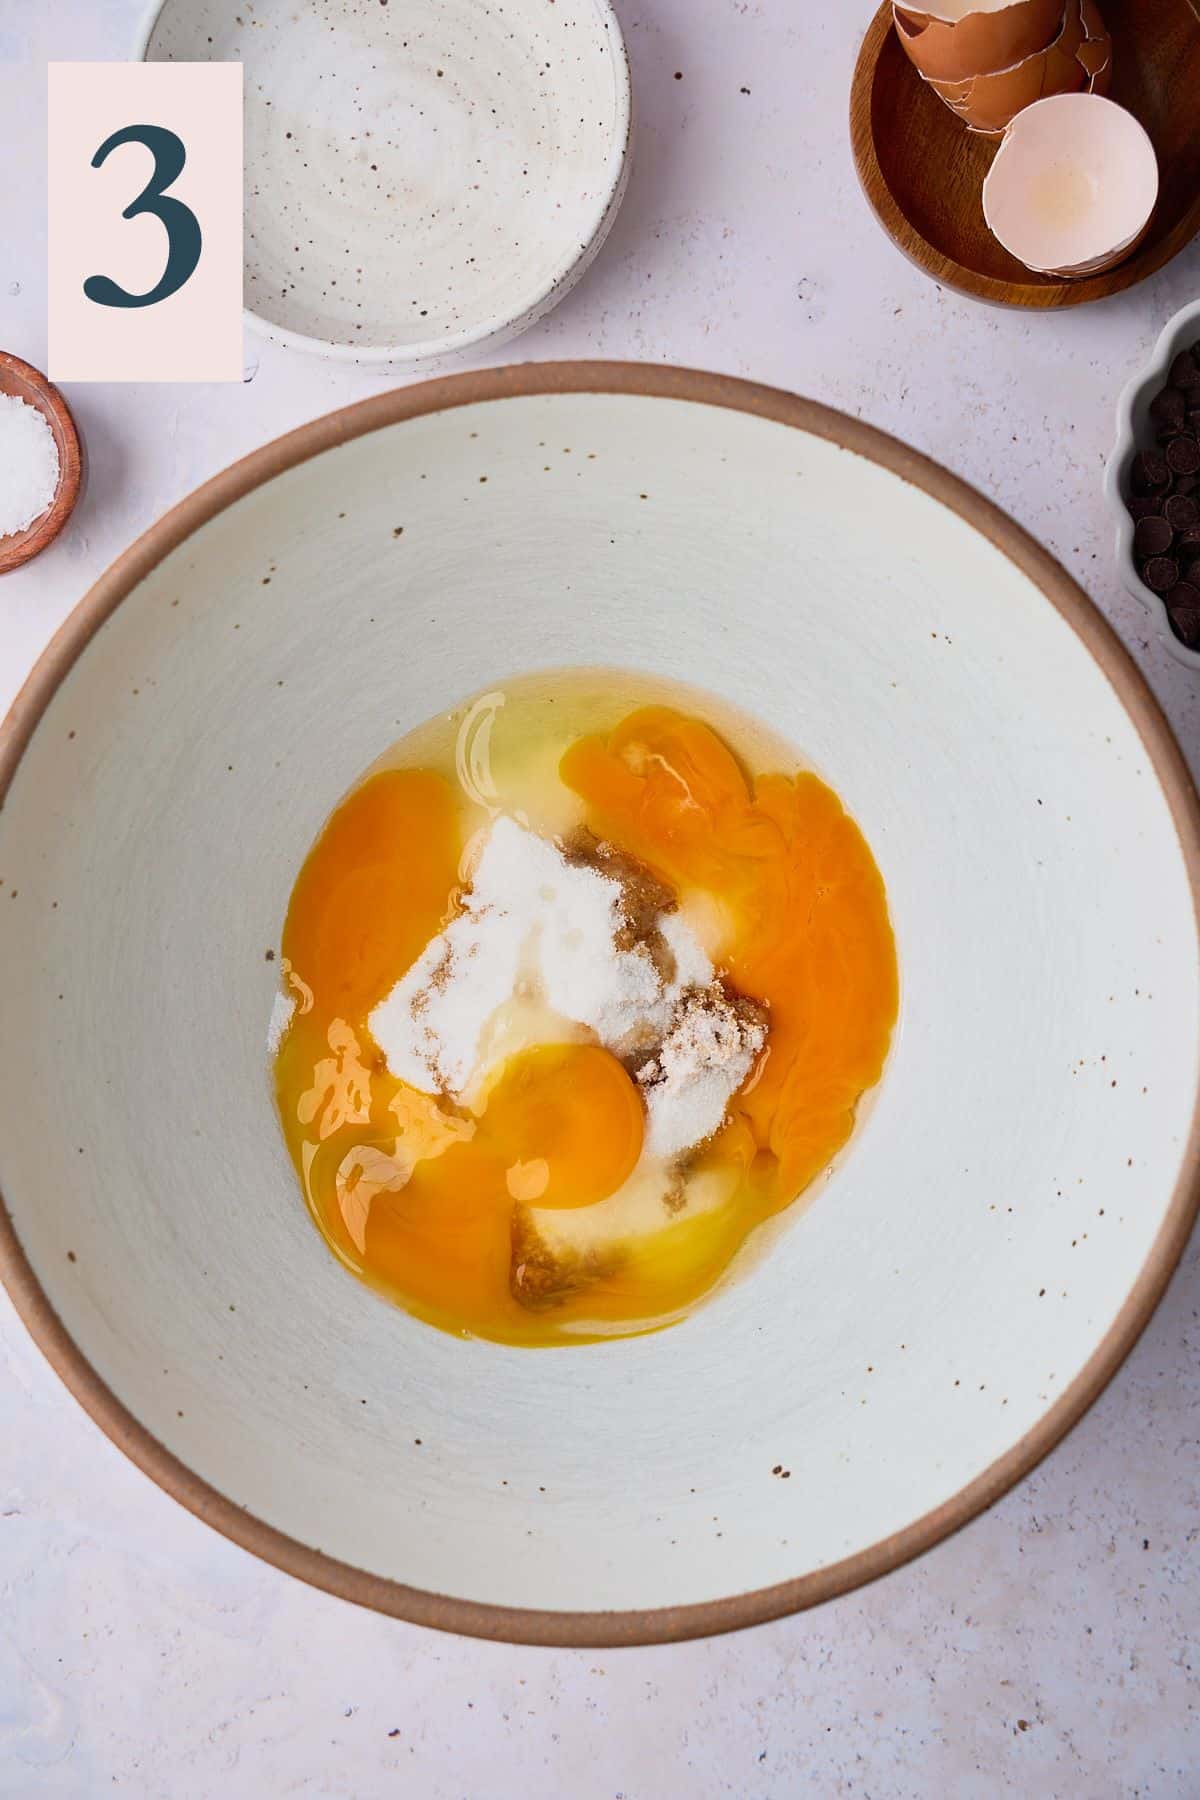
In a large mixing bowl, add the dark brown sugar, the white sugar, the eggs, and the egg yolk. (Image 3)
Mix with a hand mixer on medium speed until the mixture is pale and fluffy. This will take about 3-4 minutes. (Image 4)
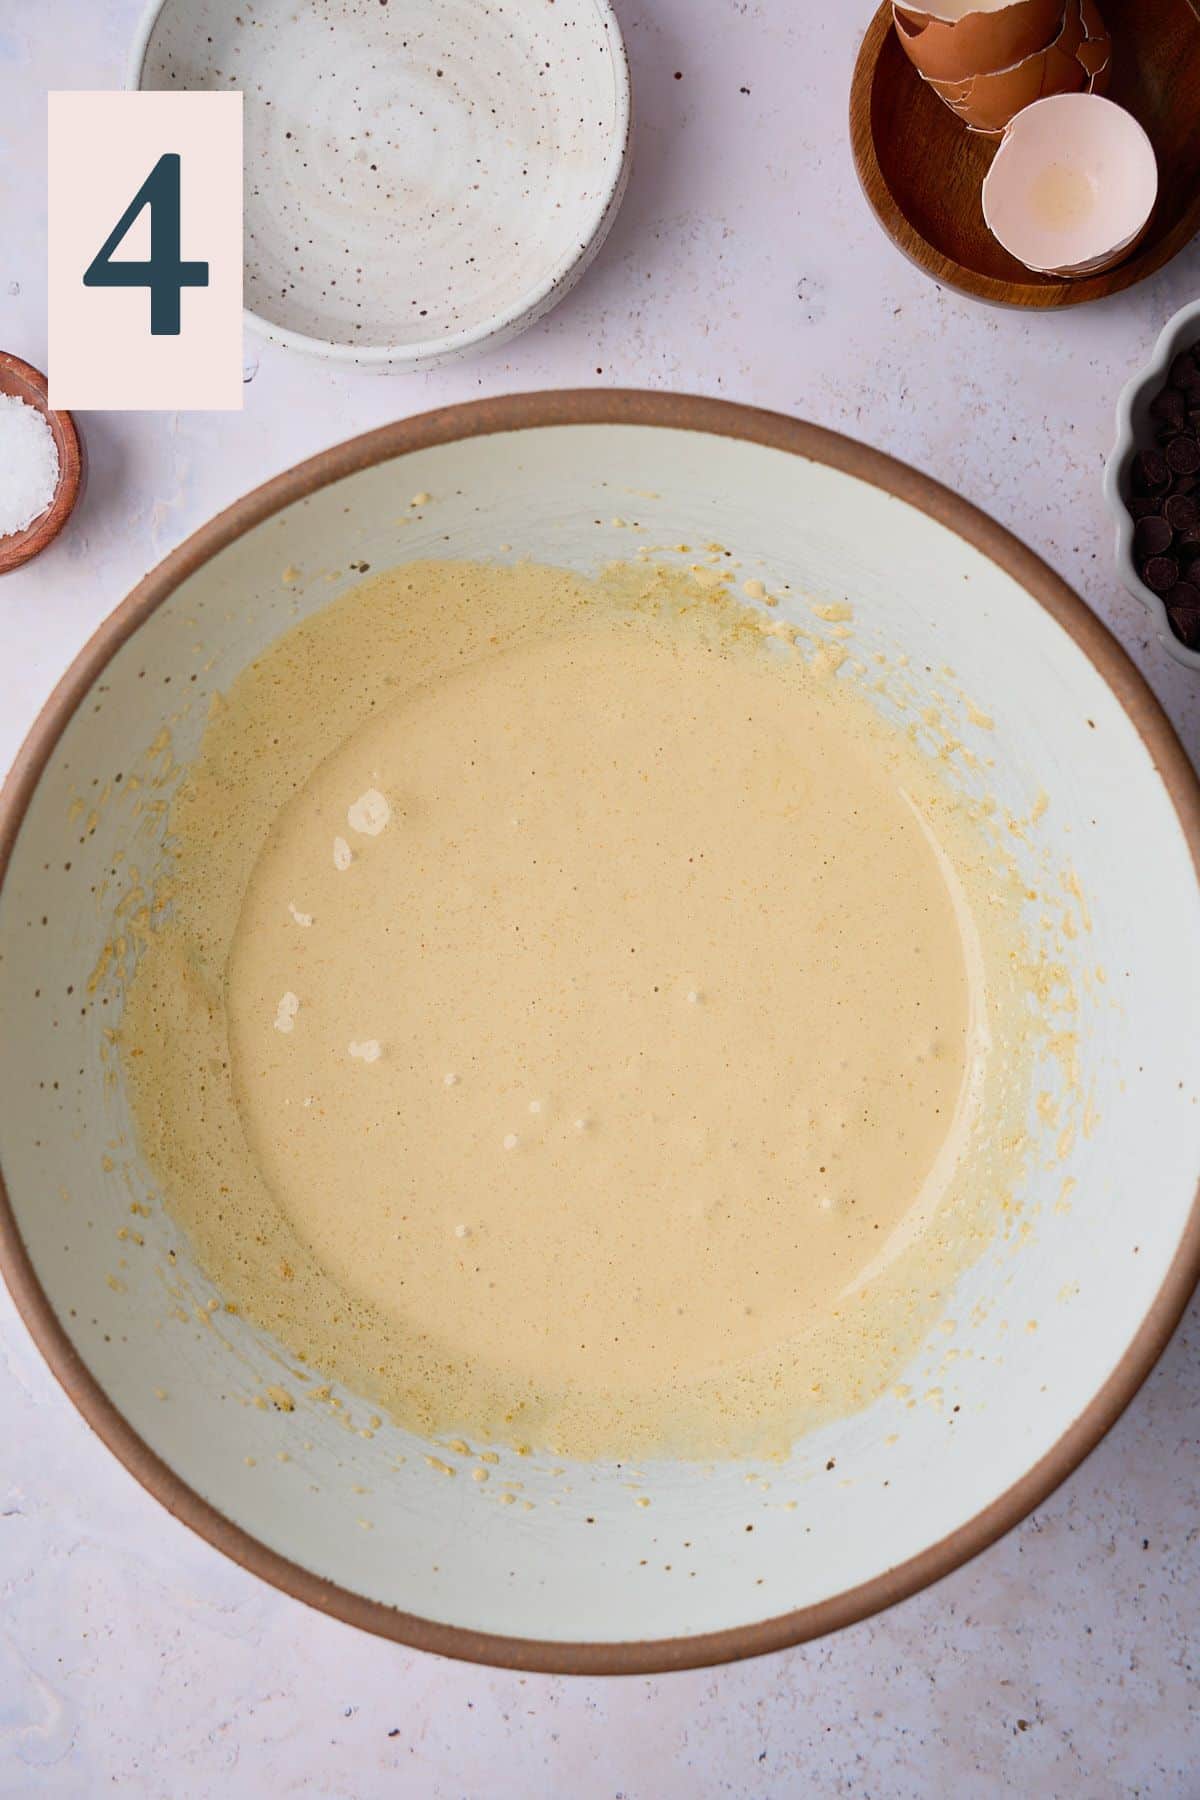
✨Pro tip: Don't skip this step! This is what gives the brownies their gorgeous shiny and crackly top by dissolving the sugar granules in the egg mixture.
Once the melted chocolate and butter mixture has cooled off, gently stream it into the egg and sugar mixture, along with the vanilla extract, whisking constantly until totally combined. Make sure to scrape the sides of the bowl a few times to ensure everything is incorporated. (Image 5)
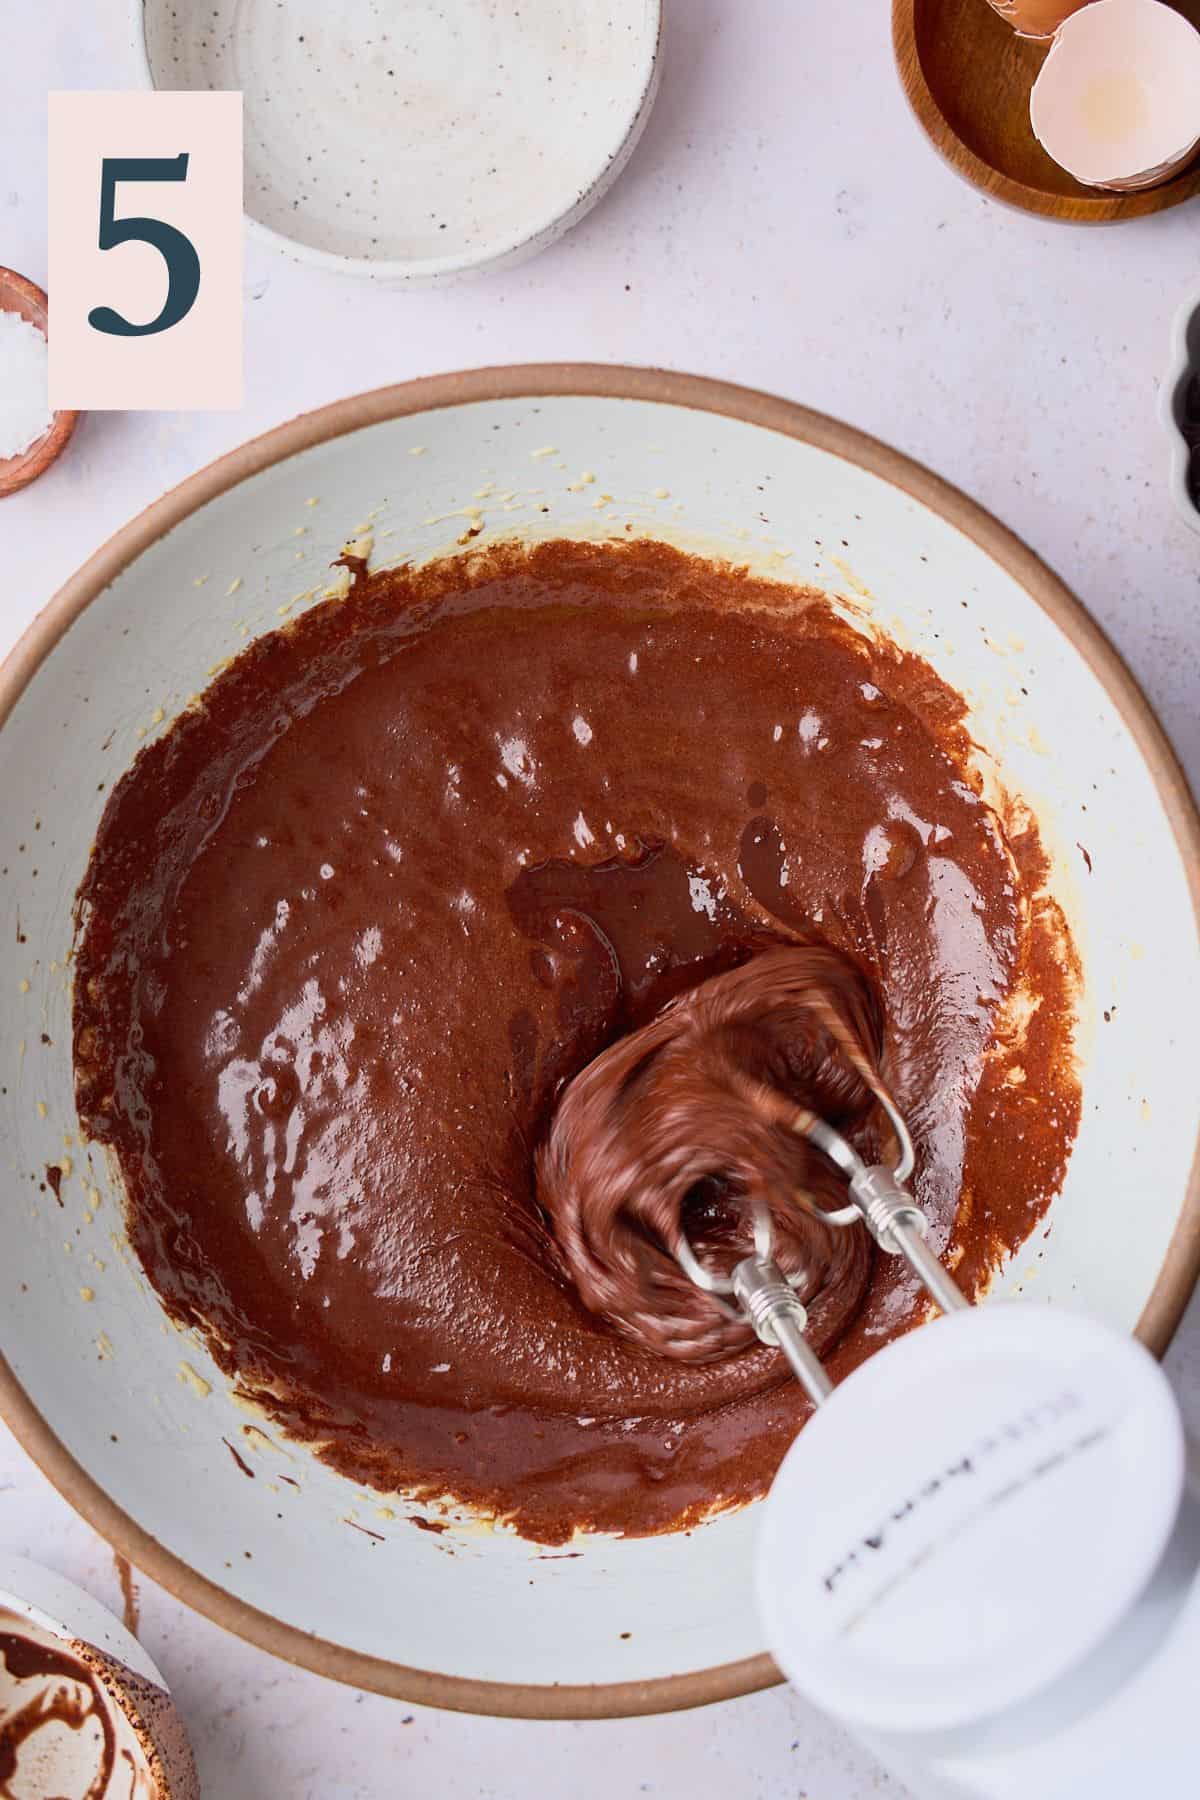
✨Pro tip: The mixture can be warm, just not hot, or you may end up with scrambled eggs!
Next, gently sift and fold in the flour and salt. (Image 6)
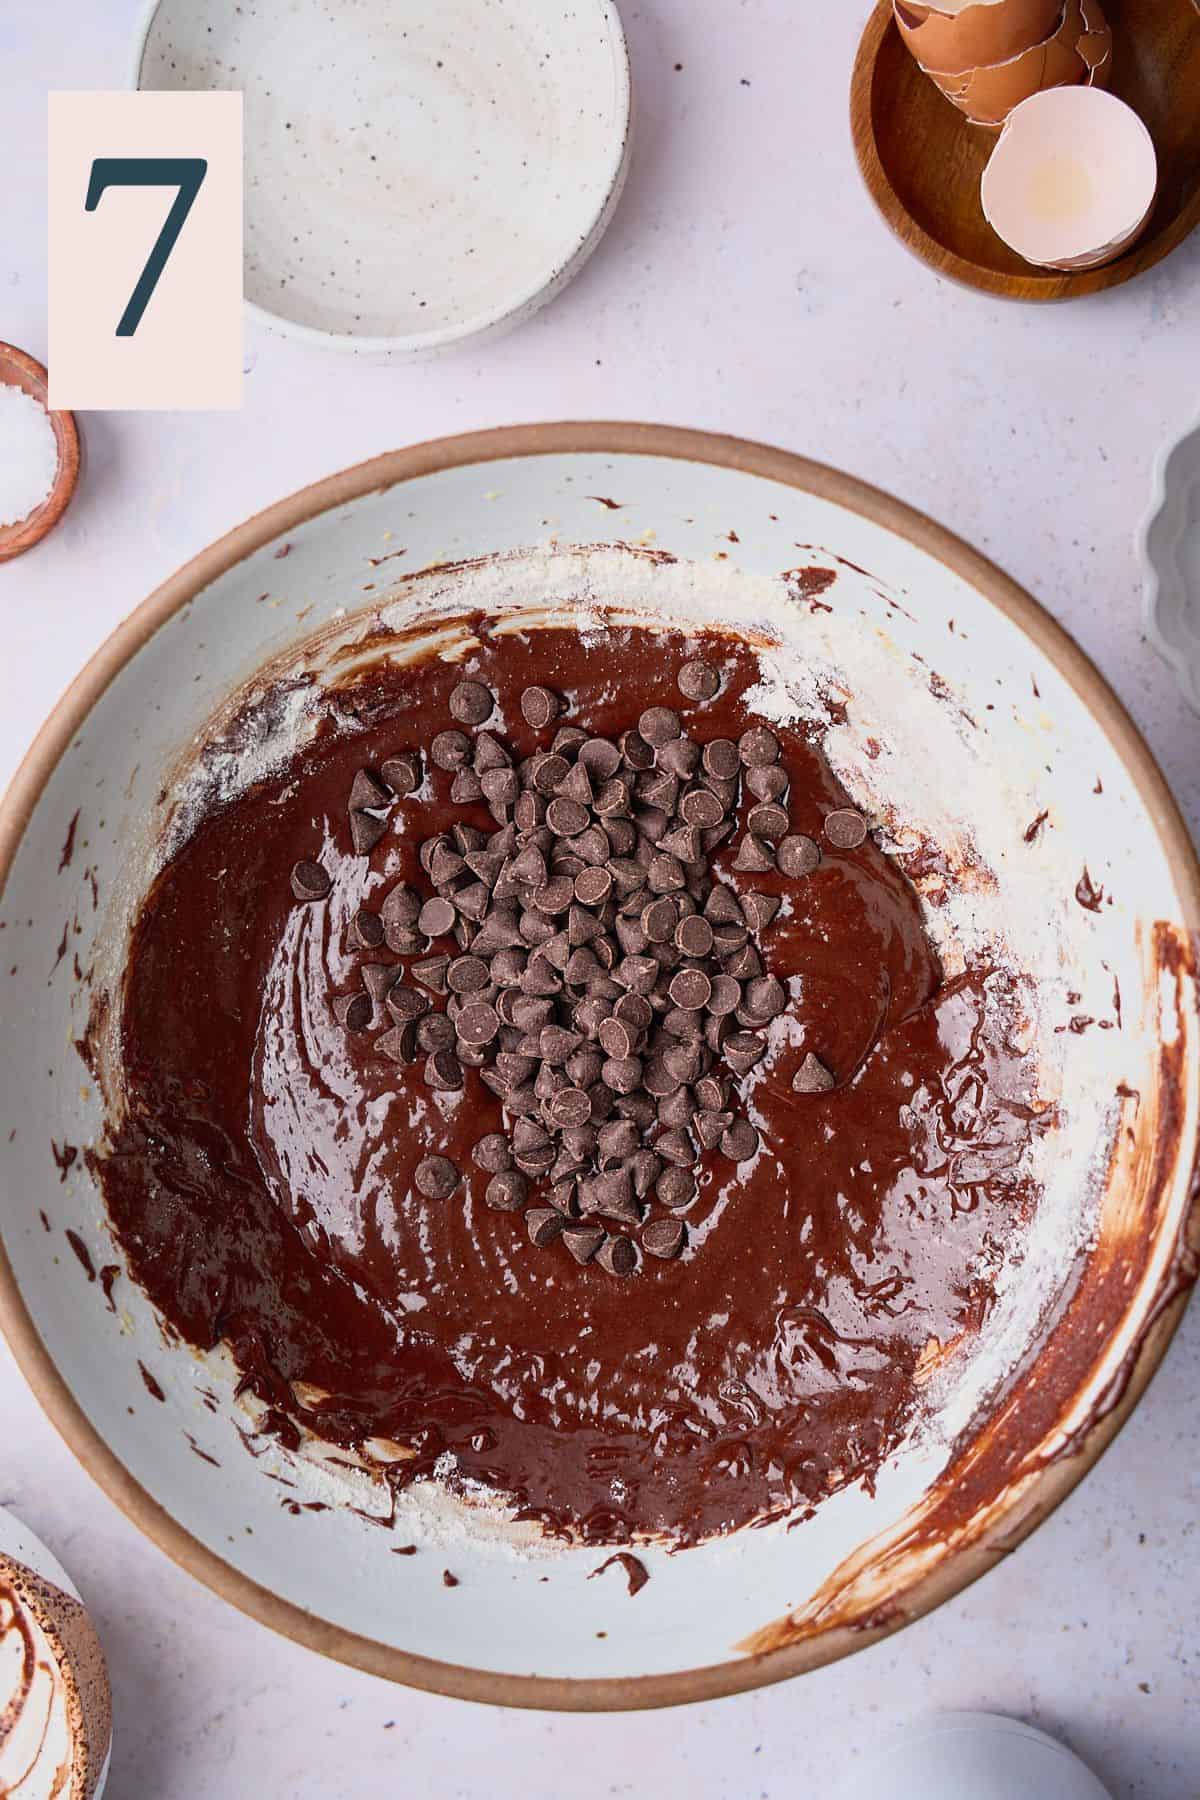
When there are still a few streaks of flour left in the batter, fold in the chocolate chips or chunks. (Image 7)
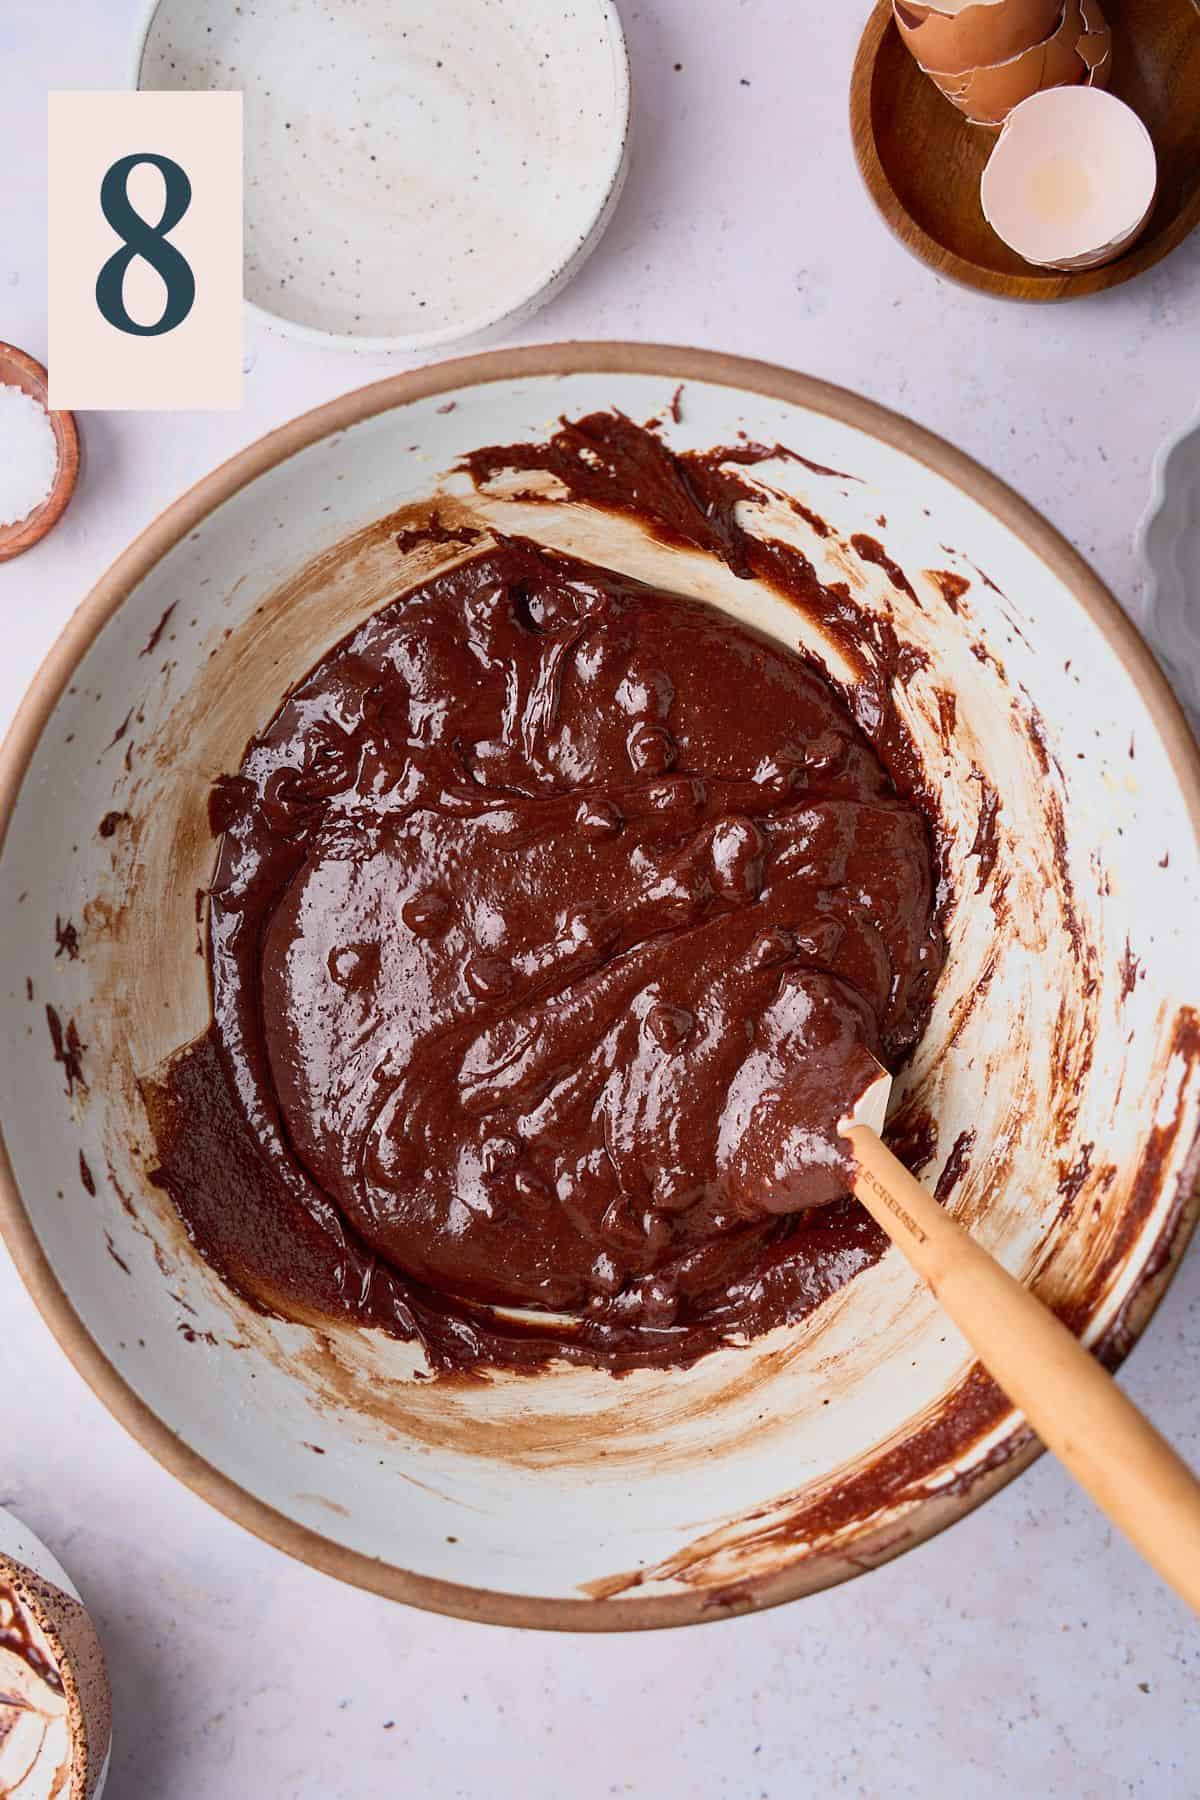
Mix until completely combined. (Image 8)
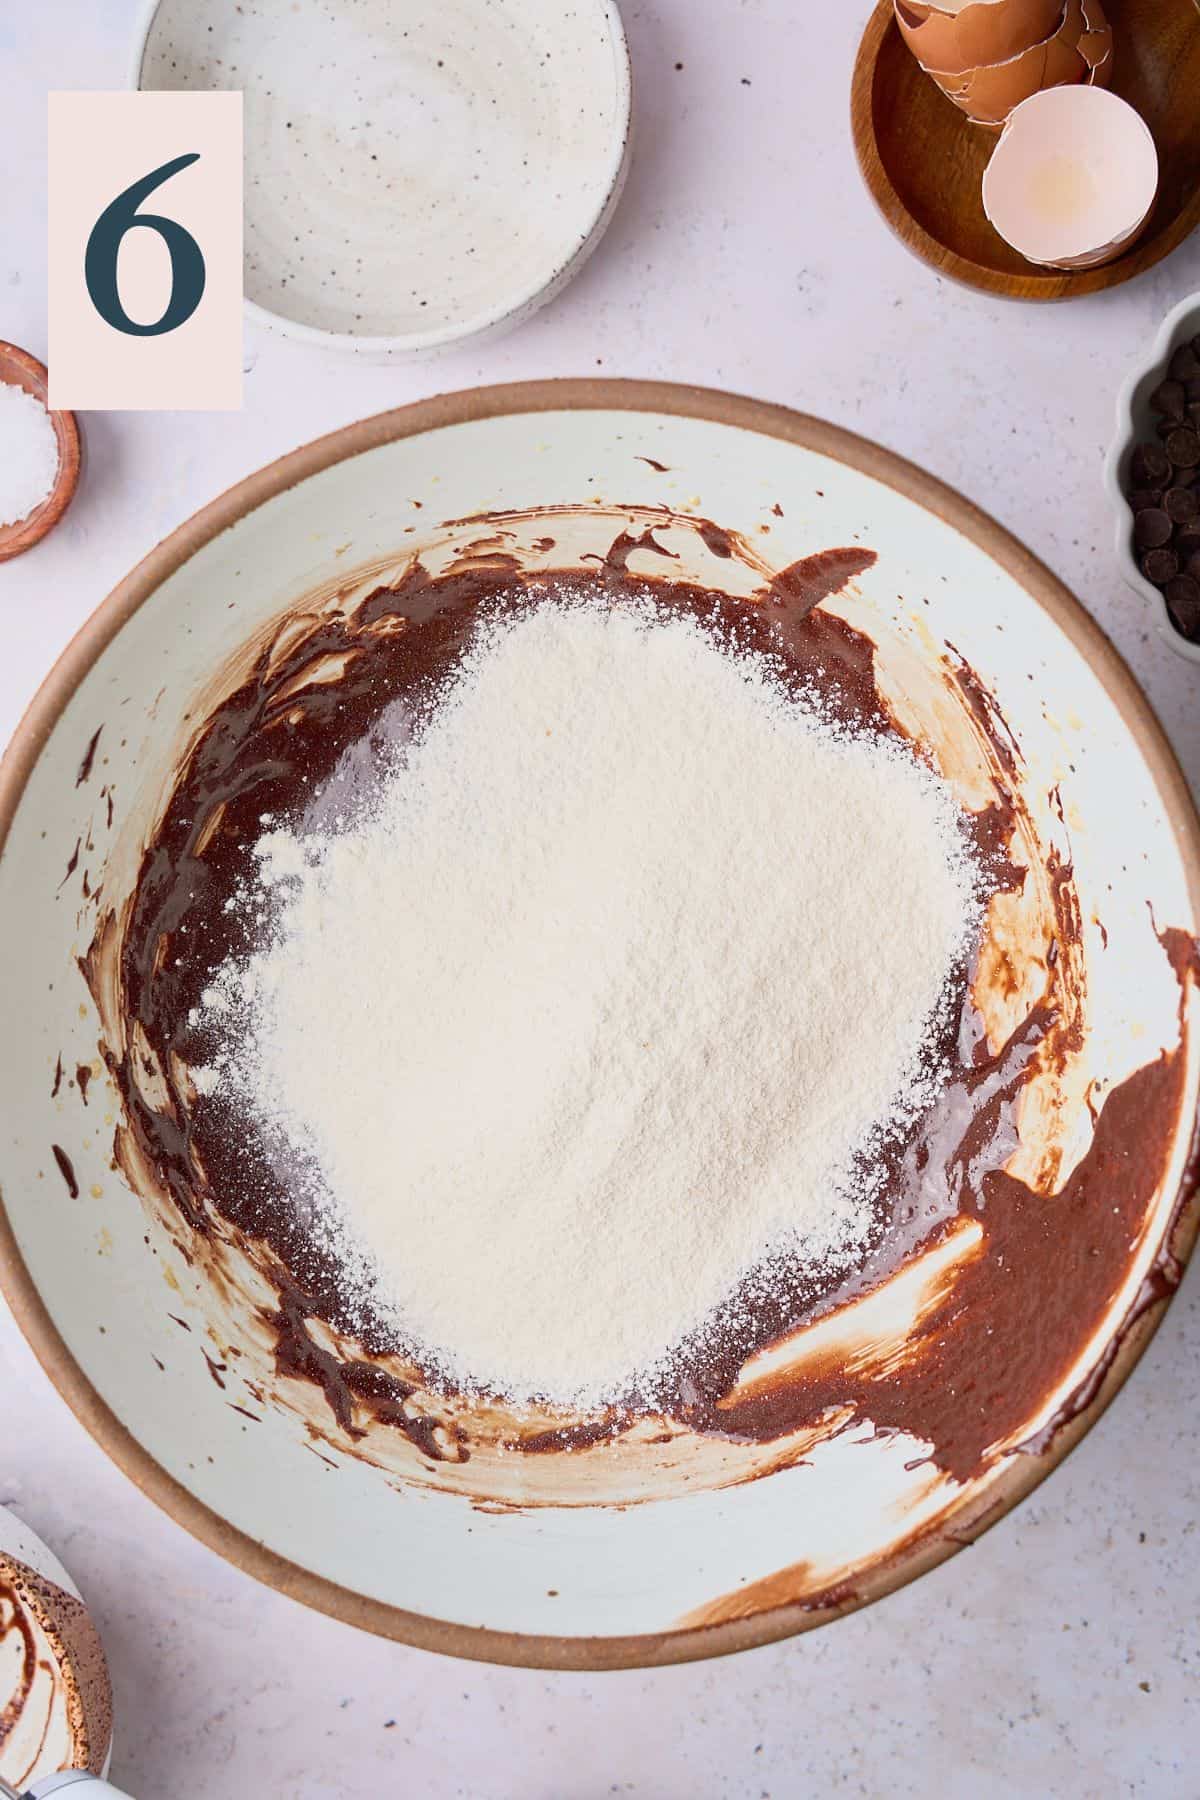
✨Pro Tip: Be gentle when folding in the flour. Overmixing can develop gluten, leading to tougher brownies. We'd also recommend using a kitchen scale to ensure you don't end up with too much flour, which can make your brownies dry and cakey!
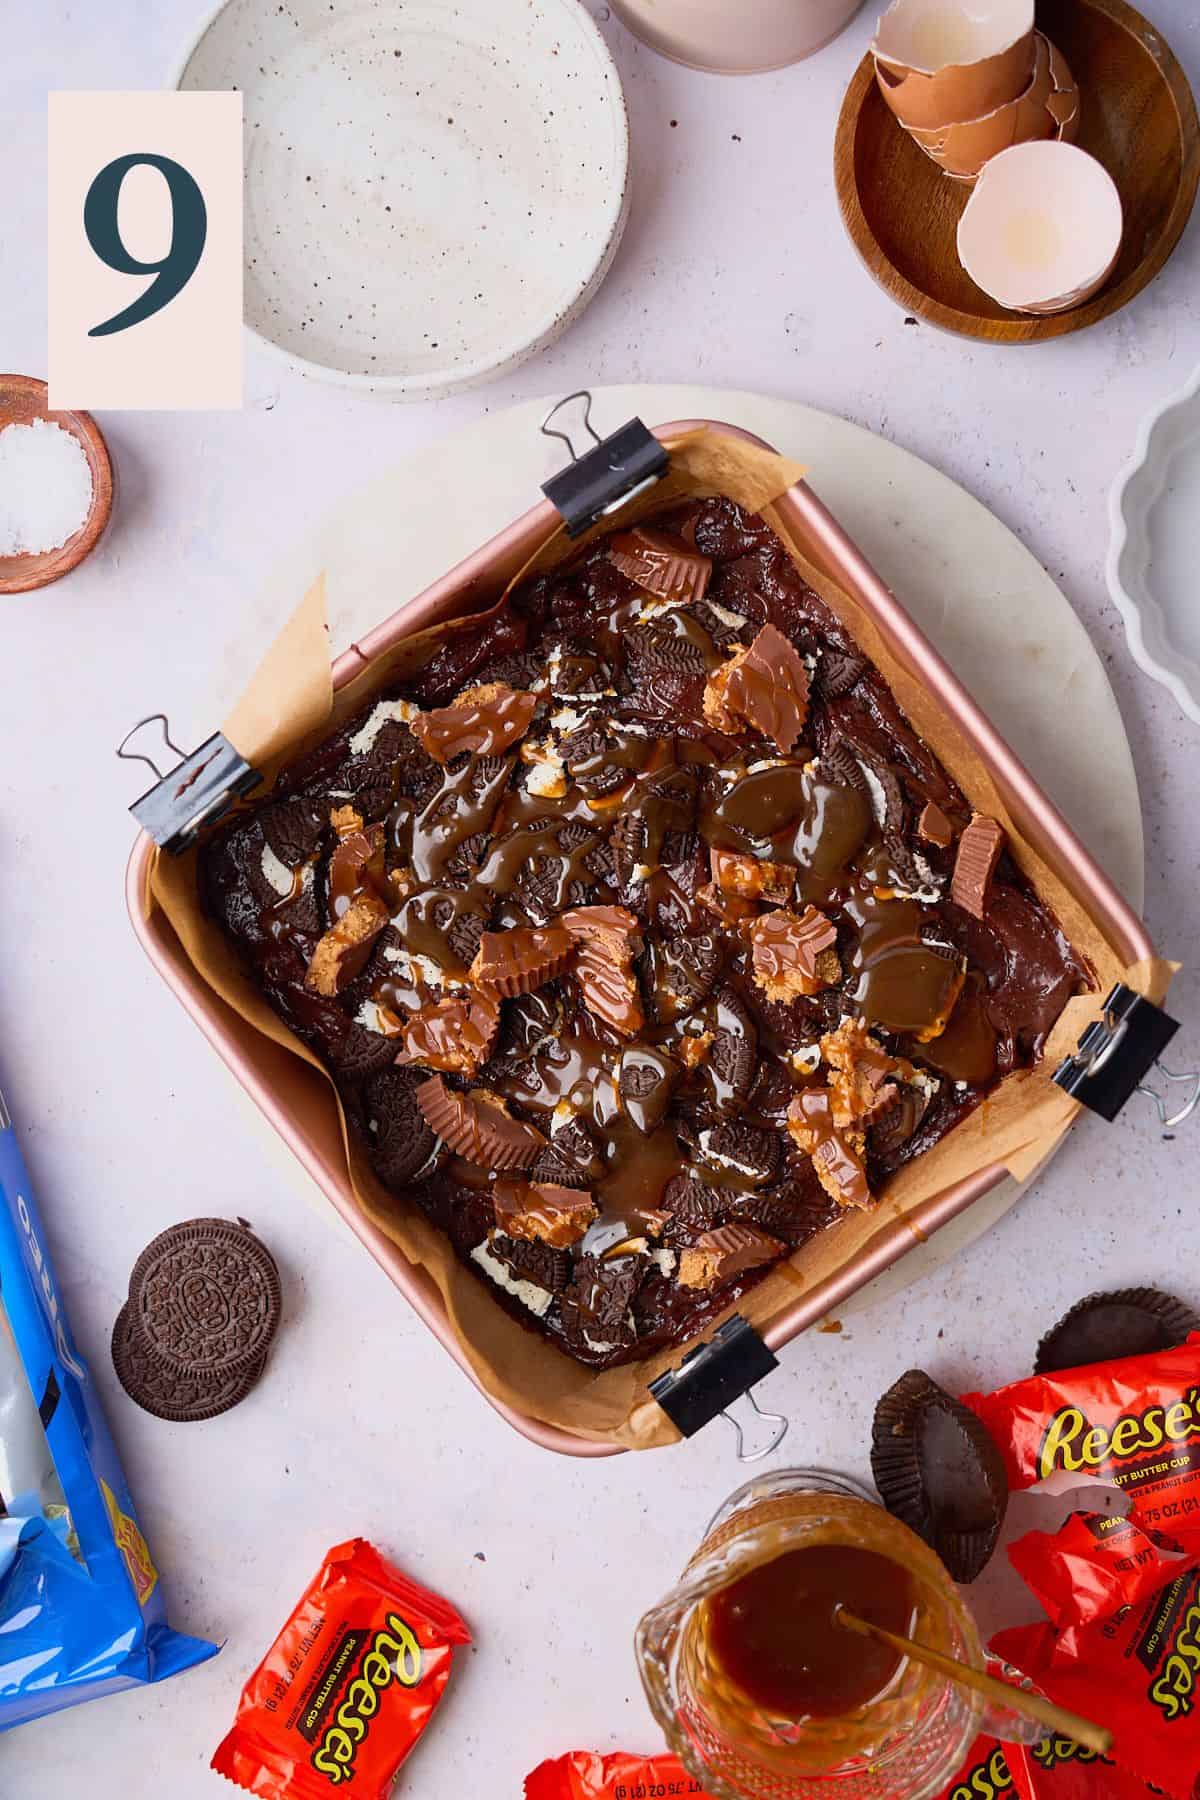
Pour half of the batter into the prepared baking pan. Swirl in about half of the caramel to create ribbons. Layer on about half of the chopped Oreos and peanut butter cups. (Image 9)
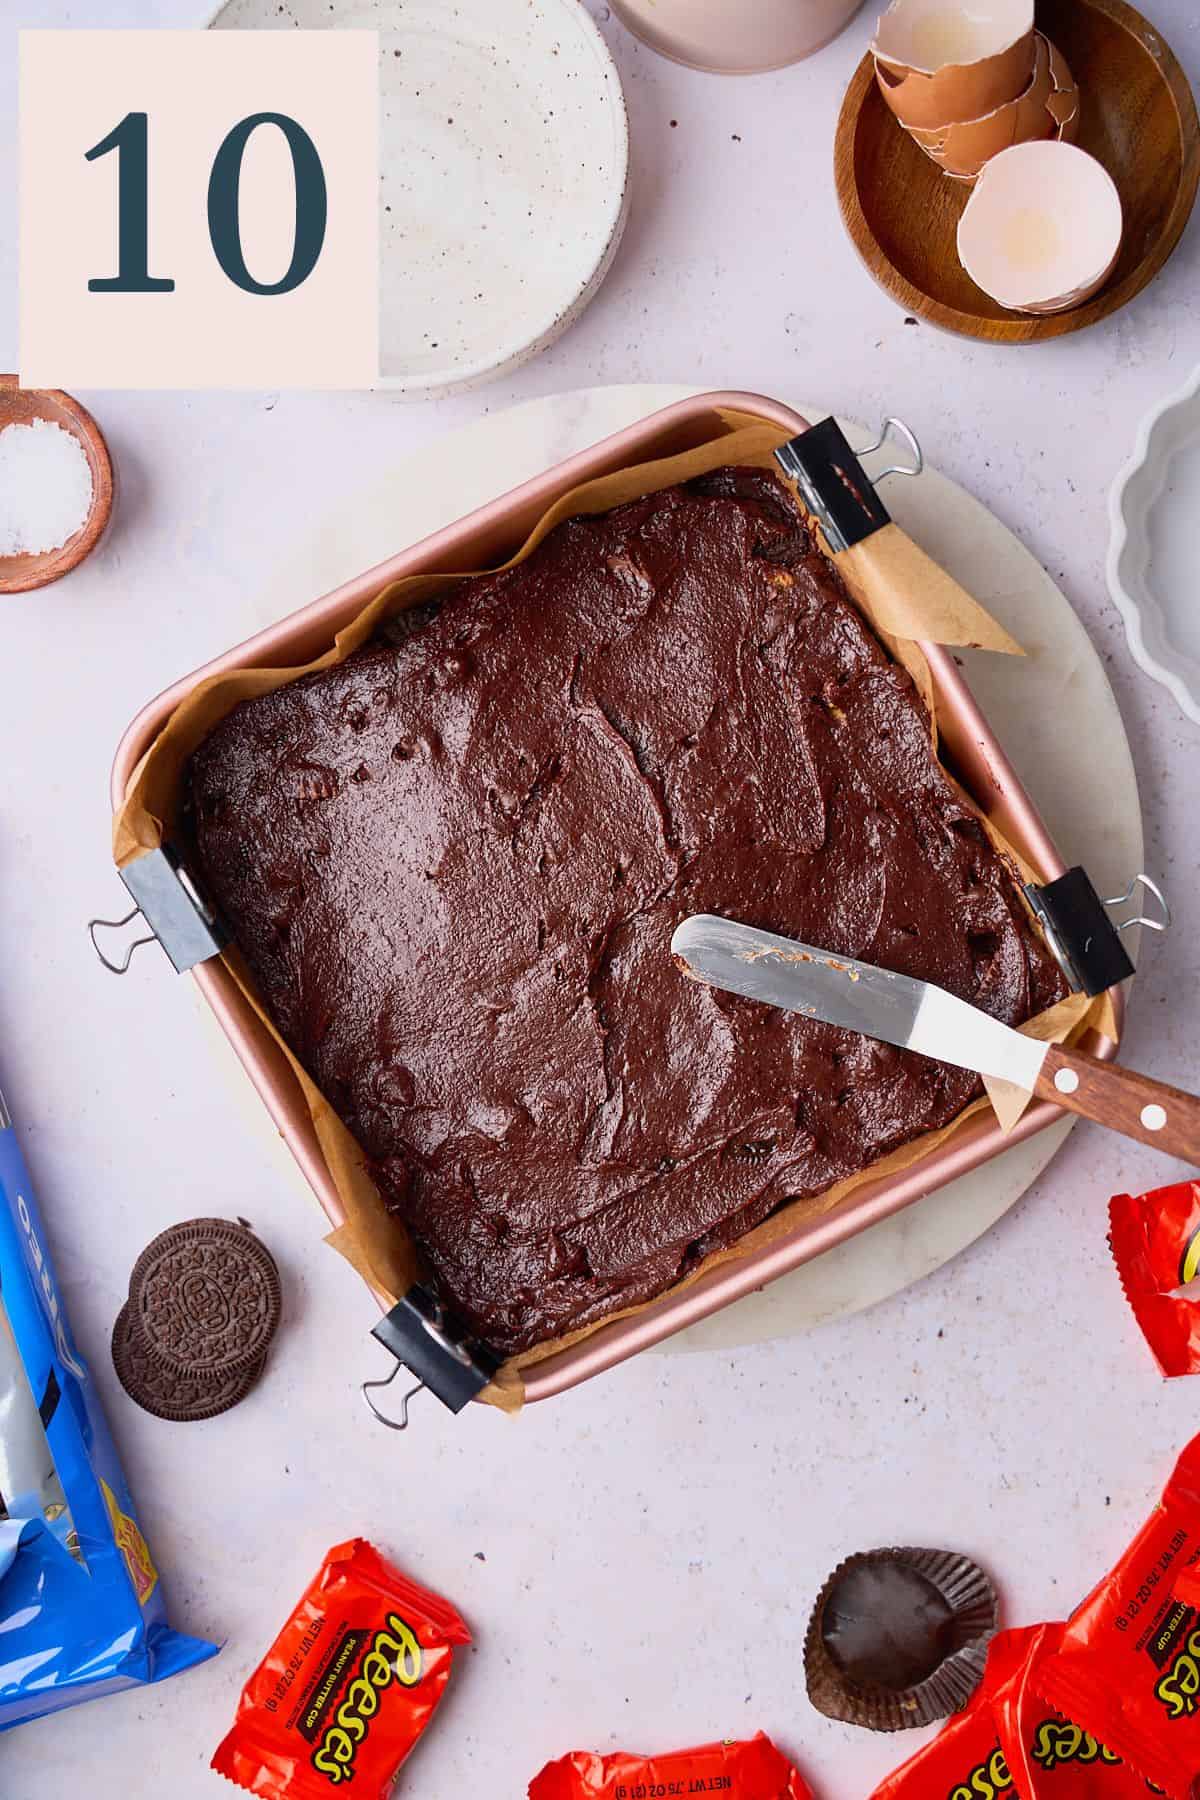
Then cover them with the rest of the batter. (Image 10)
Top the chocolate brownies with the rest of the salted caramel sauce*, the remaining chocolate chips, chunks, Oreo pieces, and chopped Reese's cups. (Image 11)
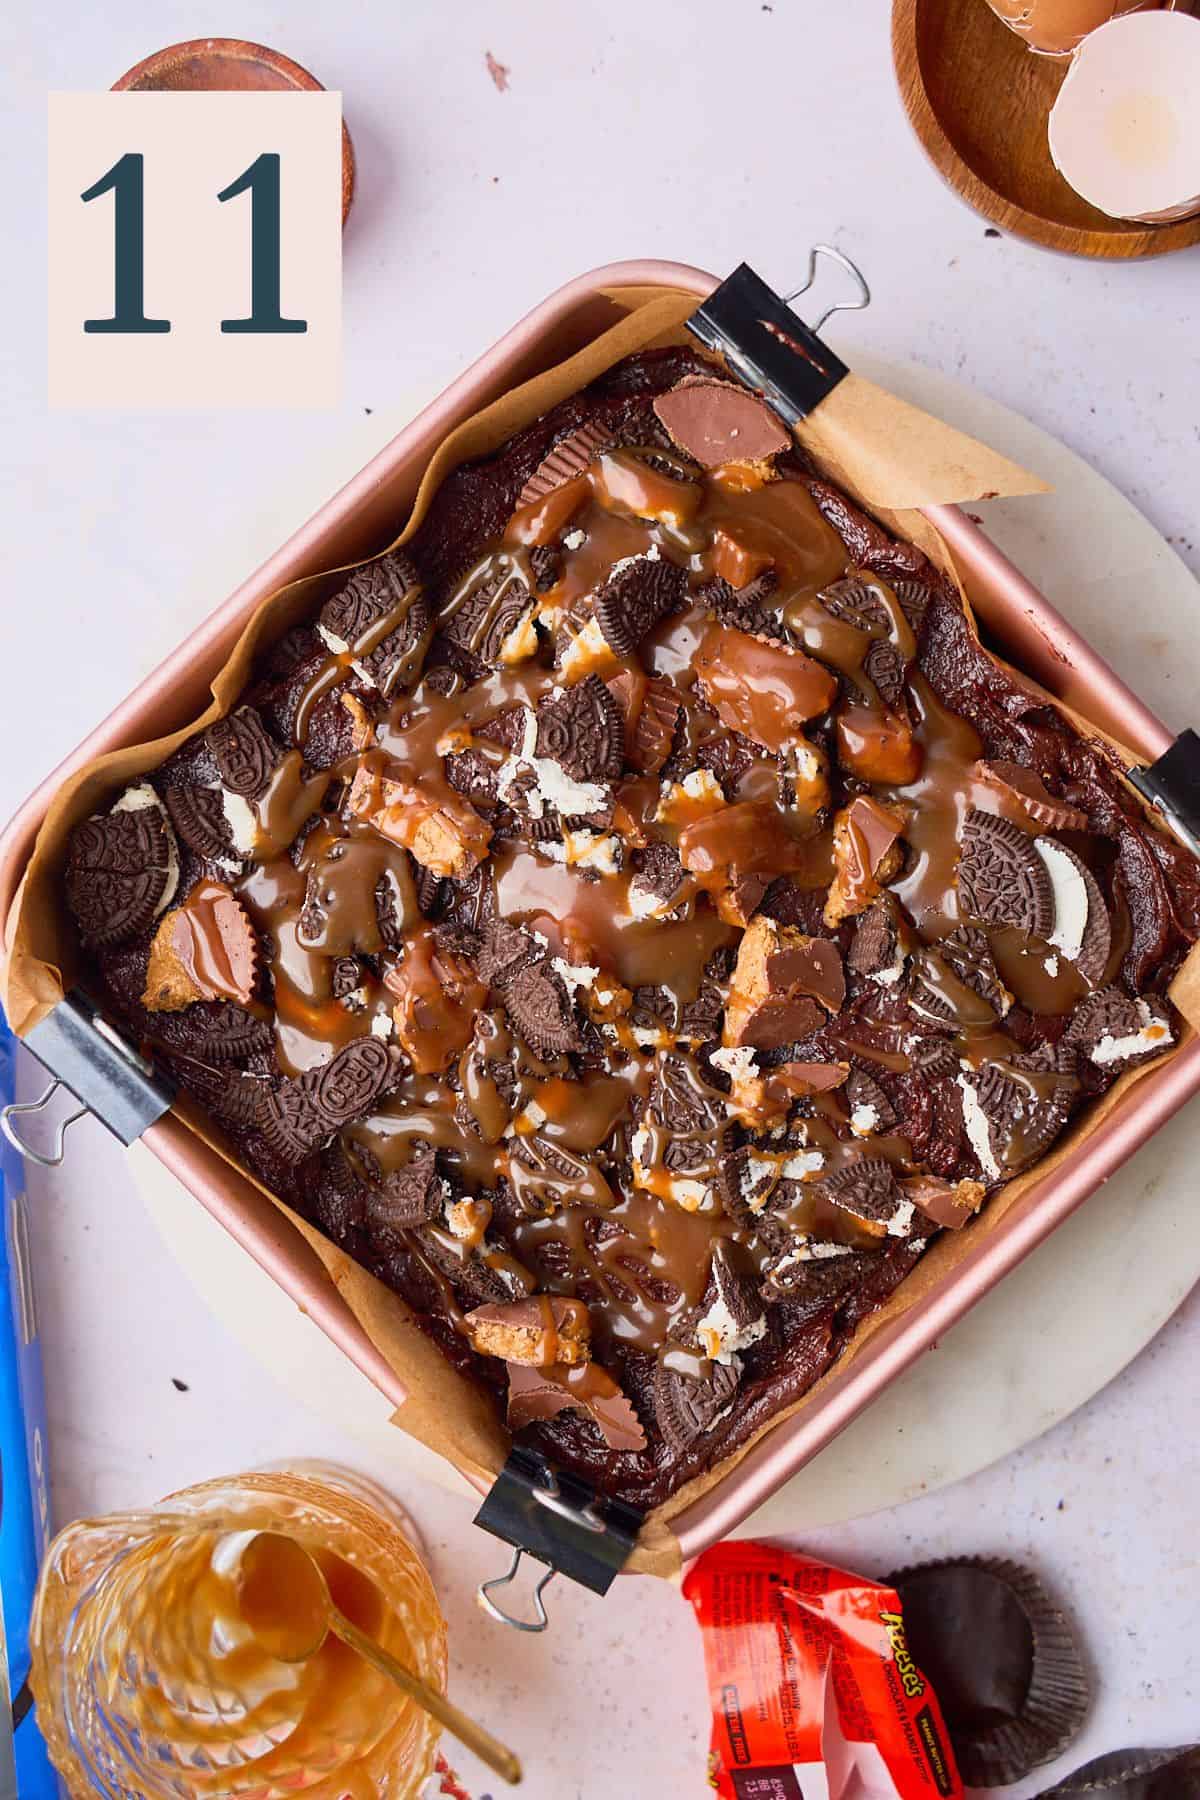
✨*Pro Tip: If you prefer the salted caramel to melt less into the mixture, add the remaining caramel about halfway through baking, or even drizzle it on top of the brownies right when they come out of the oven!
Bake for roughly 45-55 minutes, testing for doneness by inserting a toothpick into the center of the brownies beginning at 40 minutes. You’ll know they’re done when the edge is set, but a toothpick comes out with a few moist crumbs on the toothpick. (Image 12)
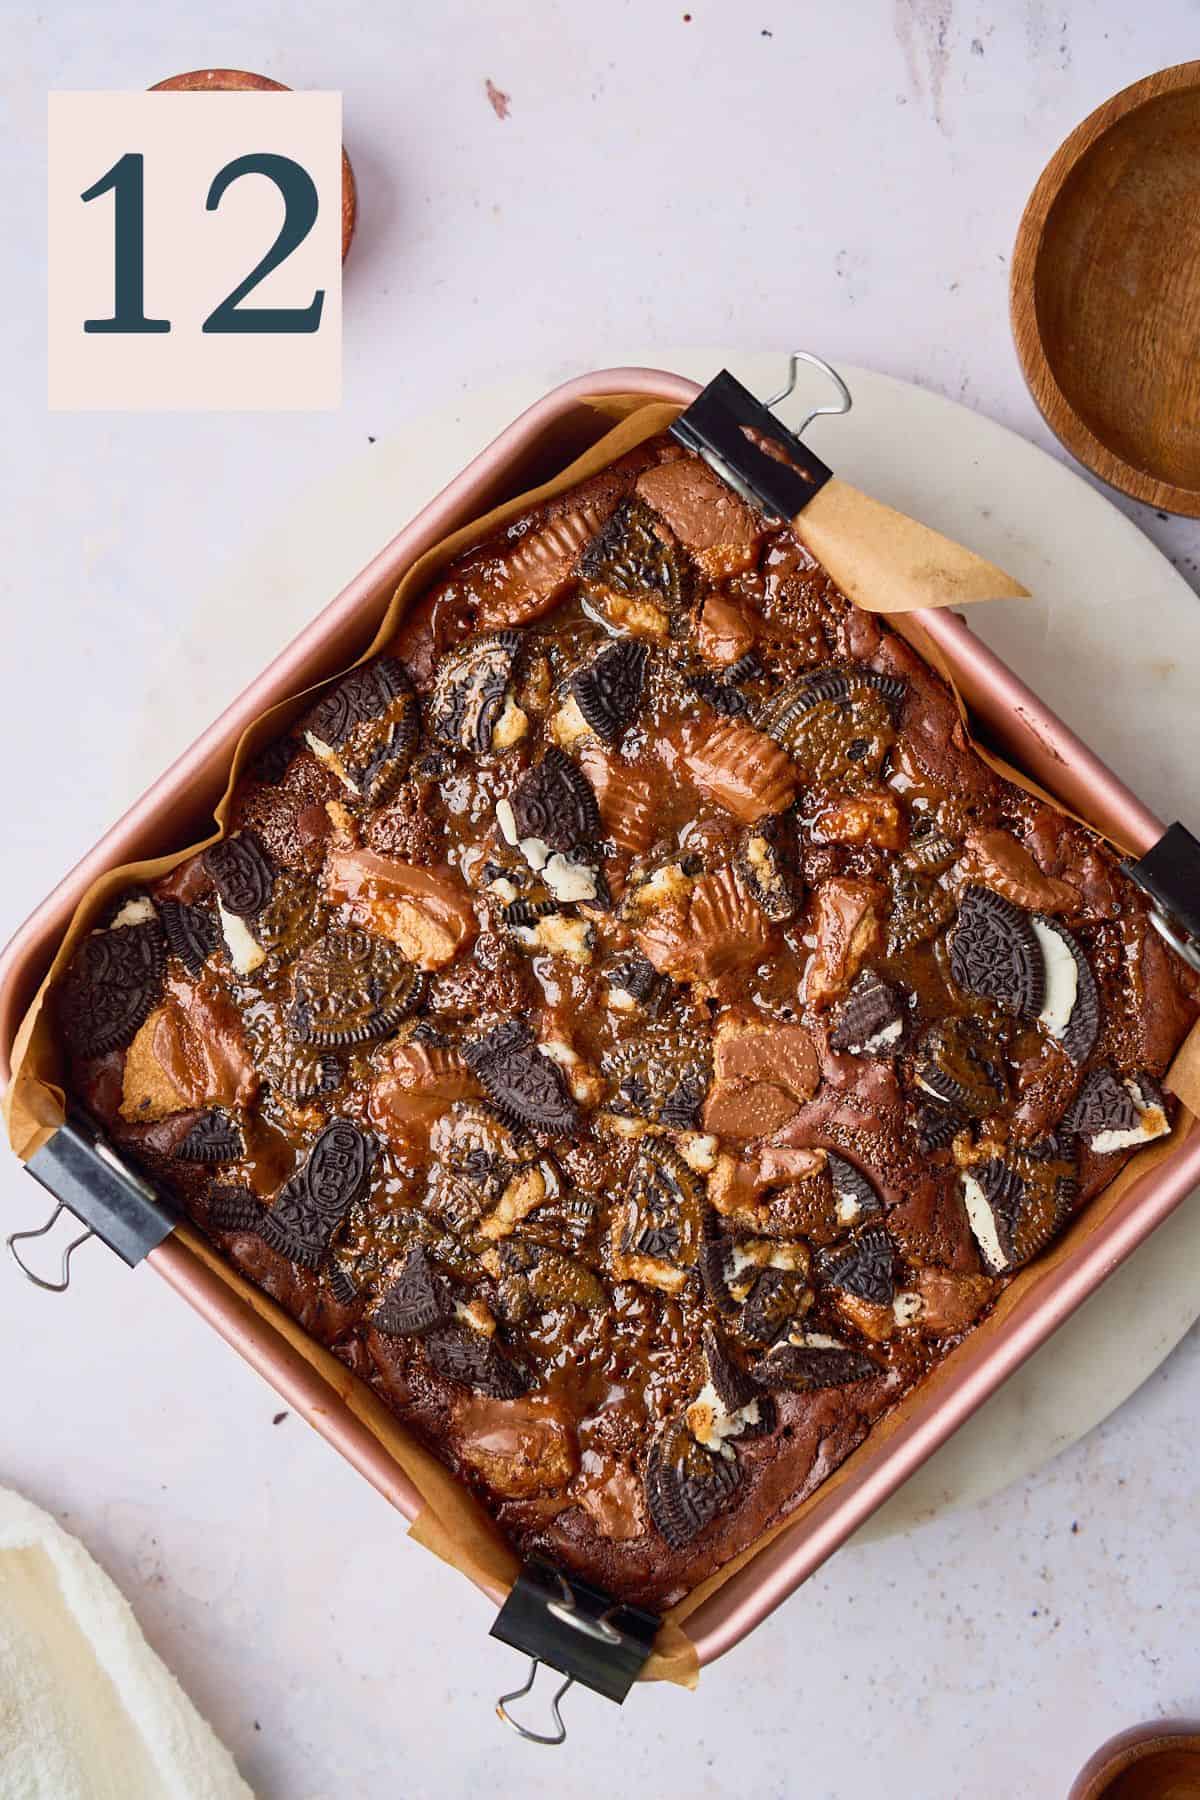
✨Pro Tip: Don't overbake the brownies for the best fudgy texture! They will continue to cook in the pan when you remove them from the oven!
As soon as the brownies come out of the oven, sprinkle them with sea salt. Allow them to cool completely in the pan on a cooling rack and this should take about an hour or more.
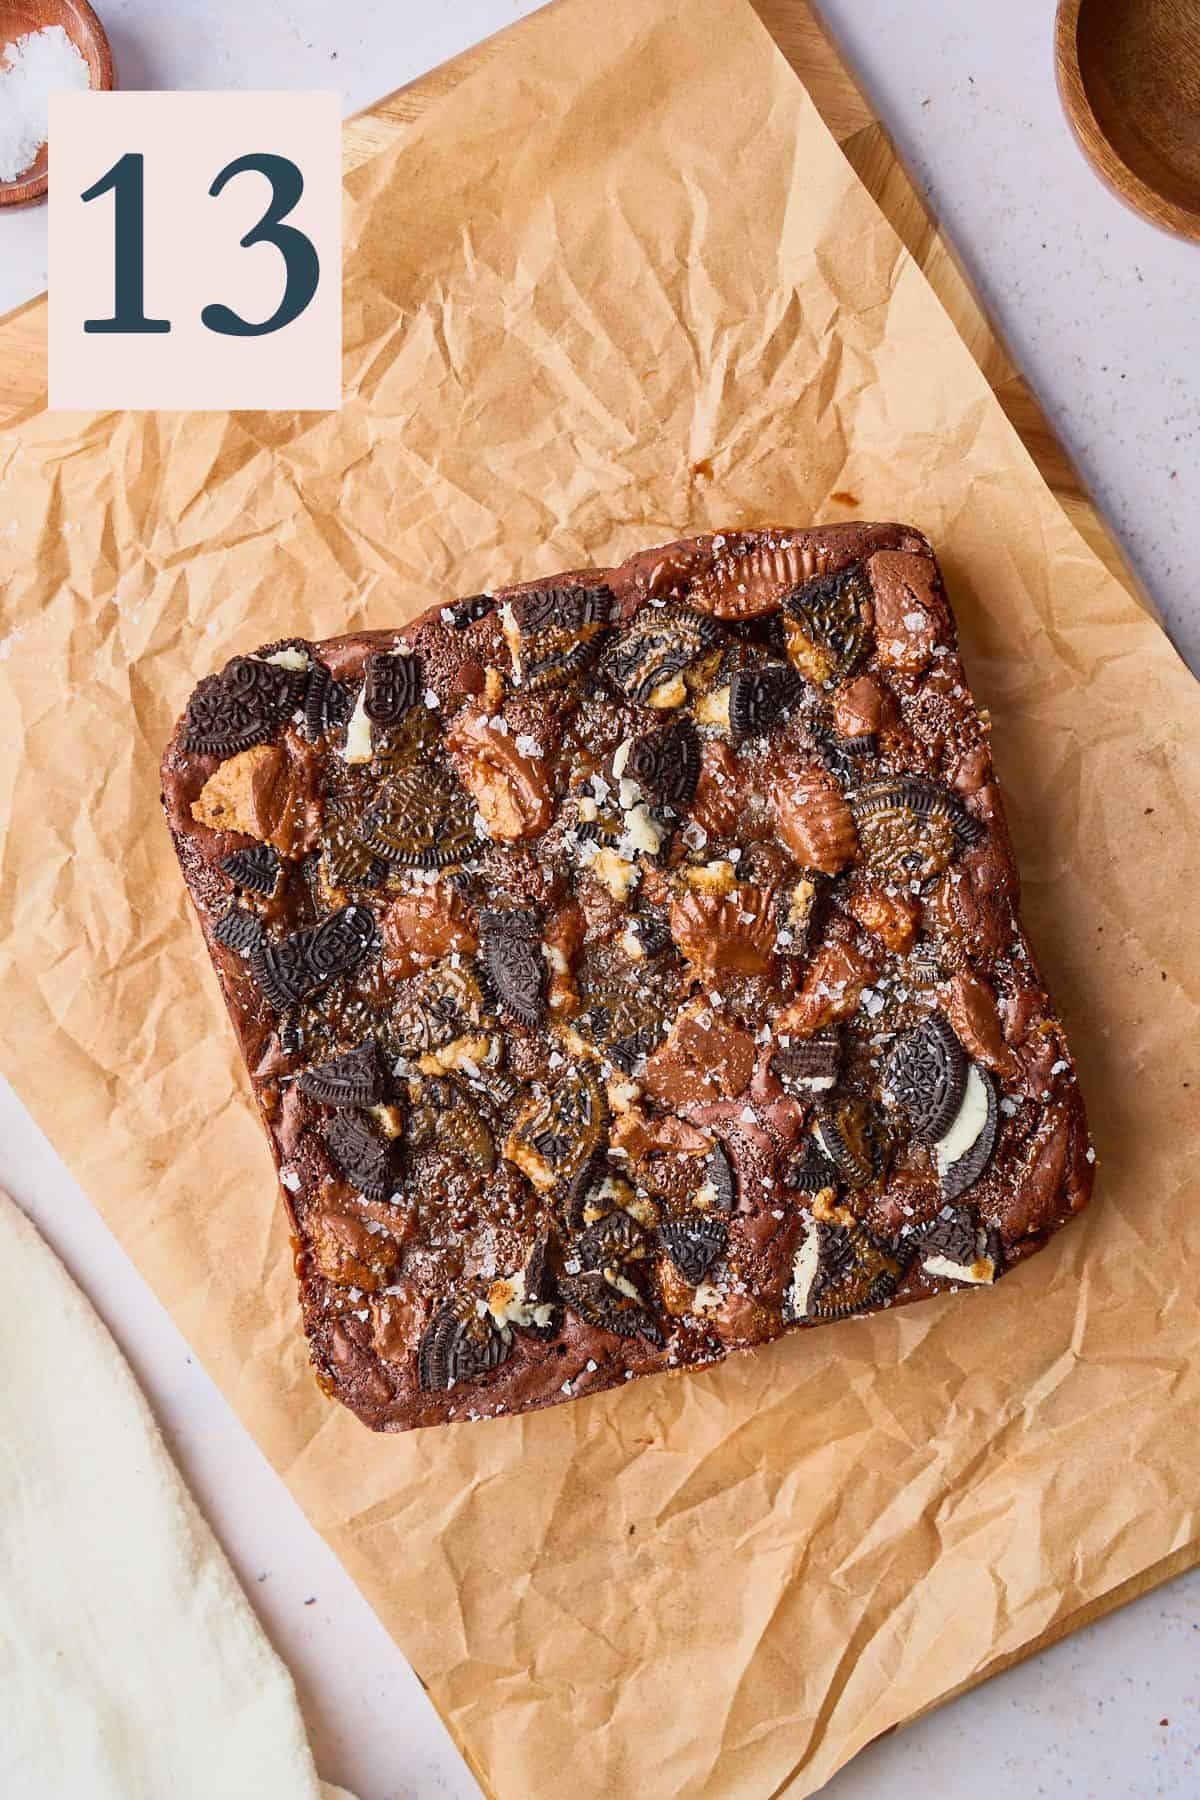
Remove from the pan and place on a parchment sheet to cut. (Image 13)
Cut into 9–12 pieces with a sharp knife or bench scraper. (Image 14)
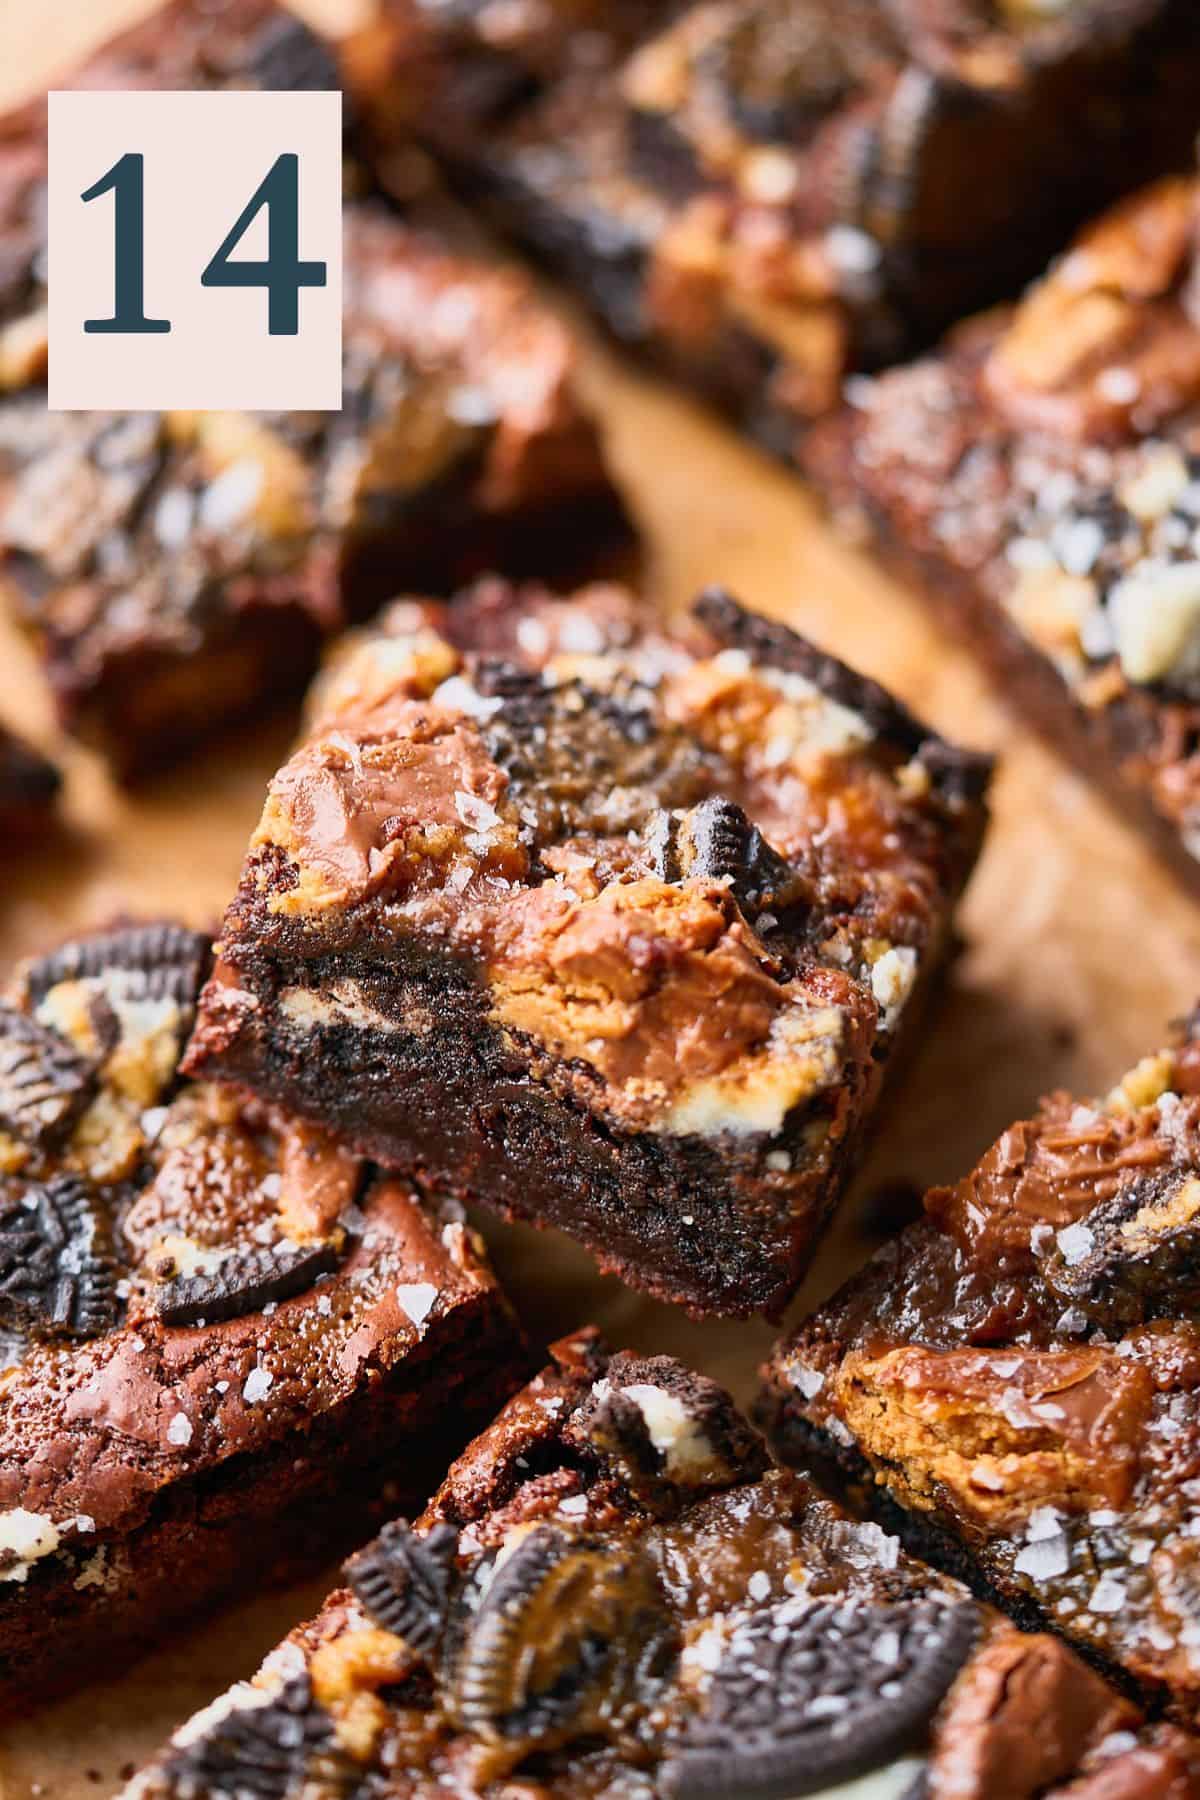
✨Pro tip: Make sure to let your brownies cool all the way. We know, it's the hardest part! But because we underbake the brownies, we need time to allow them to finish cooking in the pan or they will still be a bit too raw in the center.
Serve and enjoy!
✨Tips & tricks
- Use a kitchen scale for best results. Accurate measurement of ingredients is crucial for the best result. Too much flour can result in dry, or cakey brownies, which is not the result we're going for! Using a kitchen scale ensures correct measurements, and this is especially important for ingredients like flour, cocoa powder, and sugar.
- Room-temperature ingredients. Use room-temperature eggs. This helps them incorporate more easily into the batter, leading to a smoother, more homogenous mix that won’t seize up when it comes into contact with the butter.
- Take your time to incorporate the eggs and sugars. This is the one stage where mixing a lot is actually encouraged. When combining the eggs and sugars, we want to mix until the sugar is at least mostly dissolved. This is what gives us that incredible shiny and crackly top on the brownies!
- Allow the butter and chocolate mixture to cool off before adding it to the batter. When combining the cocoa powder, hot butter, and chocolate chips, the mixture will become very hot. It will need some time to cool down so that you don't accidentally scramble the eggs when they're added!
- Don't overmix the dry ingredients. When mixing the batter, avoid overmixing once you add the dry ingredients to the wet ingredients. Overmixing at this stage can lead to dense and tough brownies. Mix until the dry ingredients are just incorporated to achieve a tender and fudgy texture. This is why we like to switch to a rubber spatula at this stage.
- Grease and line the baking pan. Grease the baking pan and line it with parchment paper to make sure nothing sticks.
- Use good-quality Dutch-process cocoa powder. This ensures a richer chocolate flavor. The Dutch process cocoa powder is less acidic and has a smoother chocolate flavor compared to natural cocoa powder.
- Don’t skip the instant espresso. This won’t make it taste like coffee, don’t worry!
- Layer the mix-ins. Distribute the Oreos and peanut butter cups evenly to ensure every bite has a good mix of flavors and textures. Avoid pressing them too far into the batter, as they might sink to the bottom.
- Test for doneness. Use the knife test as mentioned, but remember that the brownies will continue to cook slightly from residual heat after being removed from the oven. They should be slightly underbaked for a fudgy texture.
- Cool completely. Allow the brownies to cool completely in the pan. Patience is key! Cutting into warm brownies can result in them falling apart or having a gooey texture.
- Use a very sharp knife for cutting. Use a sharp knife to cut the brownies. Clean the knife after each cut to ensure neat, clean edges.
- Adjust to your oven. Be aware of your oven's peculiarities. Some ovens run hotter or cooler than the temperature dial indicates. It might be worth using an oven thermometer to verify the actual temperature.
- Experiment with baking time. If you prefer gooier brownies, bake for a shorter time. For cake-like brownies, bake a bit longer. Personally, we always recommend underbaking a little bit, because we love an ooey-gooey brownie!
Need supplies? Shop our Amazon store! Stock your pantry, and find all of our favorite kitchen tools! A Full Living LLC earns a small commission through purchases on our storefront to help support this site.
💭Frequently Asked Questions
Store leftovers in an airtight container at room temperature for up to 5 days. These brownies also freeze well. Simply wrap them tightly in plastic wrap and store them in an airtight container.
You probably used too much flour. It's really important to use a digital food scale to measure really accurately. Too much flour can easily ruin the texture you were going for. If you don't have one, fluff the flour with a spoon and into your measuring cup, and don't pack it tight! Then, use a knife to level off the excess on top.
The other possibility is baking them for too long. Brownies need a lot of time to cool and set up, so it's good to underbake them since they will continue cooking in the pan!
You probably overmixed the batter after adding the dry ingredients. Overworking the flour will result in too much gluten production, making your brownies tough. Simply mix until everything is completely incorporated, then stop! We also like to switch to a rubber spatula about halfway through to ensure we don't work the batter too much.
You probably didn't mix the eggs and sugar enough! Although it's really important to not mix much once the flour is added, you want to take extra time to cream together the eggs and sugar. This dissolves the sugar, and gives the brownies that perfect shiny top!
More Recipes To Consider
Did you try this recipe? Make sure to leave a 5-star review below! 🌟 This helps other readers find our recipes and encourages them to try them. Also, be sure to leave a comment with your experience. Follow along, and tag @AFullLiving on Instagram with your photos!
📖 Recipe
Loaded Brownies Recipe
Equipment
- 8x8 baking pan
- hand mixer (or a whisk, or a stand mixer with a whisk attachment)
Ingredients
Brownie layer
- 2 sticks unsalted butter (½ cup)
- 100 grams bittersweet or dark chocolate bars chopped
- ⅓ cup dutch processed cocoa powder 30g
- ½ cup + 2 tablespoons white sugar 125g
- ½ cup + 2 tablespoons brown sugar ½ cup + 2 tablespoon 125g
- 2 teaspoons instant espresso optional
- 2 large eggs room temperature
- 1 large egg yolk room temperature
- 1 teaspoon kosher salt
- 1 tablespoon vanilla extract
- ¾ cup all-purpose flour 90g
Mix-ins
- ¾ cup semi-sweet chocolate chunks or chips
- ½ cup salted caramel sauce divided (homemade or storebought)
- 12 Oreos chopped and divided
- 6 large peanut butter cups divided
- Flaky sea salt for topping optional
Instructions
- Preheat the oven to 350°F. Grease an 8x8 pan and line with parchment. Set aside.
- Start by adding 2 sticks of unsalted butter to a heavy bottomed saucepan. Melt it over medium heat. If you want, continue heating it until the butter has browned. Here's our guide for how to brown butter for step-by-step instructions! The key is, no matter if you're browning the butter or not, the butter needs to be hot enough to melt the chocolate easily!
- After the butter is nice and hot (and potentially browned) remove the saucepan from the heat and add in 30g of cocoa powder, the chopped chocolate bar, and 2 teaspoons of instant espresso. Keep mixing everything together with a rubber spatula to melt the chocolate and combine everything until smooth. Once combined, remove from the saucepan and place in a separate container to cool.
- In a large bowl, using an electric mixer, mix together 2 eggs, the egg yolk, 125g of white sugar, and 125g of light brown sugar until pale and fluffy. This will take 3-4 minutes.
- Once the chocolate mixture has cooled down, stream it in slowly to the egg and sugar mixture, along with 1 tablespoon of vanilla extract while using the hand mixer on medium speed to incorporate it. Be sure to scrape the bowl a few times with a rubber spatula to make sure everything is incorporated.
- Now, slowly sift in ¾ cup of all purpose flour and 1 teaspoon of kosher salt to the wet ingredients. Mix the batter on low speed with the electric mixer to incorporate gently. Once almost all the way mixed, switch to a rubber spatula to ensure you don't overmix the brownies at this stage.
- When everything is almost all the way incorporated fold in ¾ cup of semi-sweet chocolate chips.
- Pour half of the batter into the prepared baking pan.
- Swirl in about half of the caramel (about ¼ cup) to create ribbons. Layer on about half of the chopped Oreos (6 Oreos) and peanut butter cups (3 large Reese's cups), then cover them with the rest of the batter.
- Top the brownies with the rest of the salted caramel sauce, the remaining chocolate chips, chunks, Oreo pieces, and chopped Reese's cups.
- Bake for roughly 45-50 minutes, testing for doneness by inserting a knife into the center of the brownies beginning at 35 minutes. You’ll know they’re done when the edge is set, but a toothpick inserted into the middle still comes out with a few moist crumbs attached to it.
- As soon as the brownies come out of the oven, sprinkle them with sea salt. Allow them to cool completely in the pan and trasnfer to a cooling rack. This will take about an hour.
- Cut into 9-12 pieces, and serve. Enjoy!
- Store leftovers at room temperature in an airtight container for up to 5 days.
Notes
- Use a kitchen scale for best results. Accurate measurement of ingredients is crucial for the best result. Too much flour can result in dry, or cakey brownies, which is not the result we're going for! Using a kitchen scale ensures correct measurements, and this is especially important for ingredients like flour, cocoa powder, and sugar.
- Room-temperature ingredients. Use room-temperature eggs. This helps them incorporate more easily into the batter, leading to a smoother, more homogenous mix that won’t seize up when it comes into contact with the butter.
- Take your time to incorporate the eggs and sugars. This is the one stage where mixing a lot is actually encouraged. When combining the eggs and sugars, we want to mix until the sugar is at least mostly dissolved. This is what gives us that incredible shiny and crackly top on the brownies!
- Allow the butter and chocolate mixture to cool off before adding it to the batter. When combining the cocoa powder, hot butter, and chocolate chips, the mixture will become very hot. It will need some time to cool down so that you don't accidentally scramble the eggs when they're added!
- Don't overmix the dry ingredients. When mixing the batter, avoid overmixing once you add the dry ingredients to the wet ingredients. Overmixing at this stage can lead to dense and tough brownies. Mix until the dry ingredients are just incorporated to achieve a tender and fudgy texture. This is why we like to switch to a rubber spatula at this stage.
- Grease and line the baking pan. Grease the baking pan and line it with parchment paper to make sure nothing sticks.
- Use good-quality Dutch-process cocoa powder. This ensures a richer chocolate flavor. The Dutch process cocoa powder is less acidic and has a smoother chocolate flavor compared to natural cocoa powder.
- Don’t skip the instant espresso. This won’t make it taste like coffee, don’t worry!
- Layer the mix-ins. Distribute the Oreos and peanut butter cups evenly to ensure every bite has a good mix of flavors and textures. Avoid pressing them too far into the batter, as they might sink to the bottom.
- Test for doneness. Use the knife test as mentioned, but remember that the brownies will continue to cook slightly from residual heat after being removed from the oven. They should be slightly underbaked for a fudgy texture.
- Cool completely. Allow the brownies to cool completely in the pan. Patience is key! Cutting into warm brownies can result in them falling apart or having a gooey texture.
- Use a very sharp knife for cutting. Use a sharp knife to cut the brownies. Clean the knife after each cut to ensure neat, clean edges.
- Adjust to your oven. Be aware of your oven's peculiarities. Some ovens run hotter or cooler than the temperature dial indicates. It might be worth using an oven thermometer to verify the actual temperature.
- Experiment with baking time. If you prefer gooier brownies, bake for a shorter time. For cake-like brownies, bake a bit longer. Personally, we always recommend underbaking a little bit, because we love an ooey-gooey brownie!

Comments
No Comments