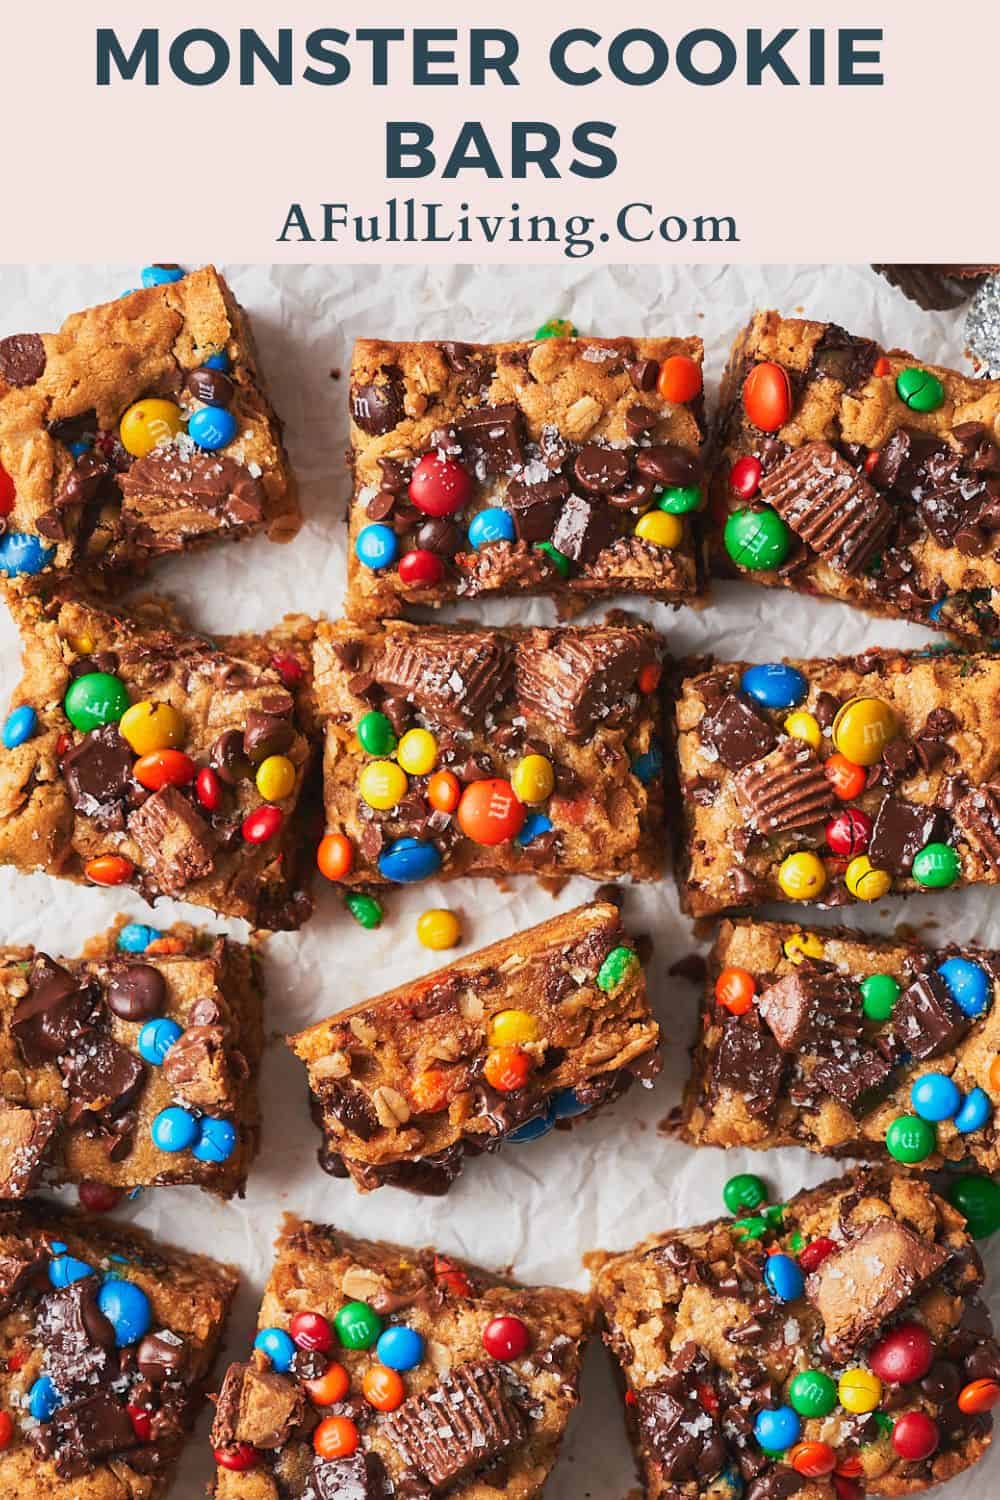
These Chewy Monster Cookie Bars are delicious peanut butter oat bars loaded with gooey chocolate chips and colorful M&M's. They're then leveled up with luscious peanut butter cups and nutty brown butter! They are super easy to make, customizable, and are incredibly festive. Perfect for special occasions and holidays. They come together in one bowl, with no chill time for the dough in the fridge.
Save This Recipe! 💌
These tasty bars are called "monster" cookie bars because they often include a monstrous variety of add-ins like chocolate chips, M&M's, peanut butter, and oatmeal. They are the dessert bars of your wildest dreams! A delightful combination of sweet and chewy with the perfect balance of peanut butter and chocolate, topped up with delicious flaky sea salt.
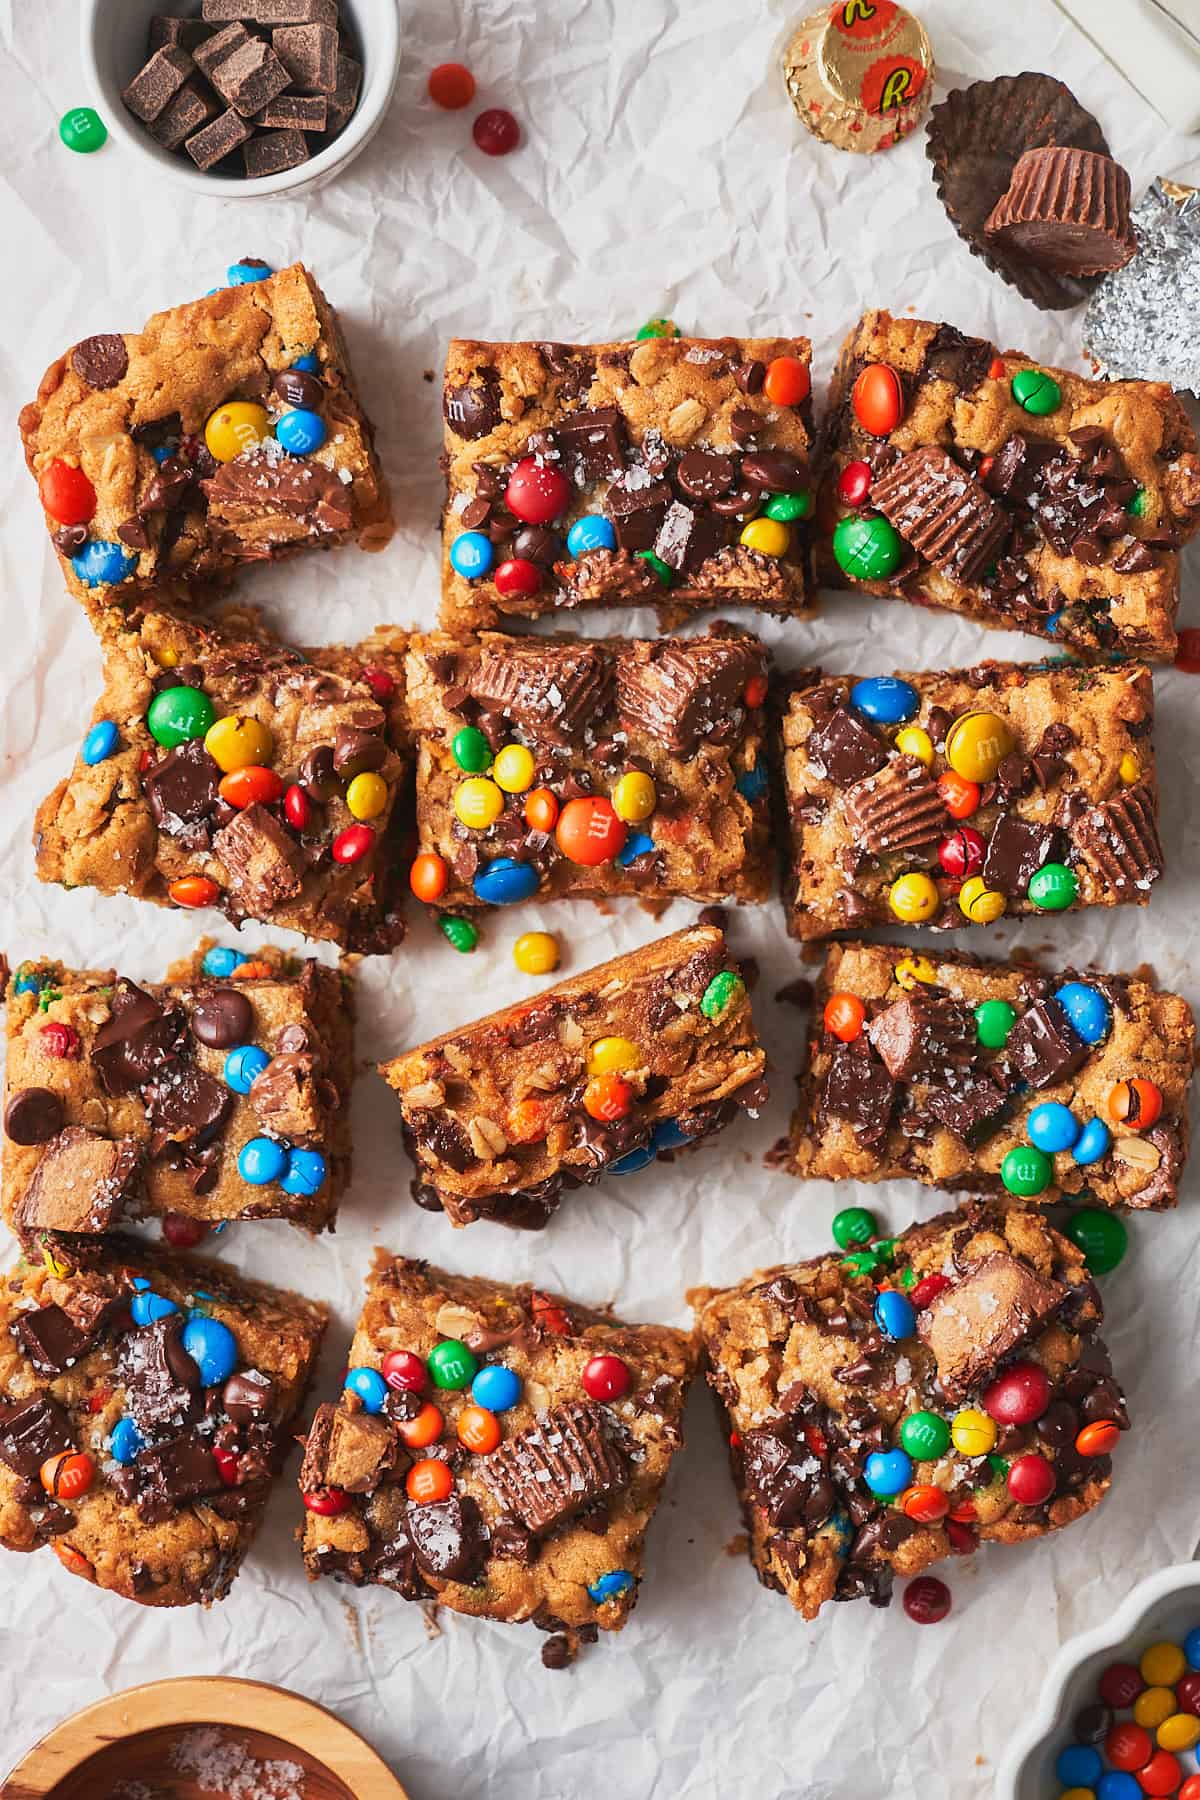
Just as delicious as the classic cookies, but in bar form! The addition of peanut butter cups, browned butter, and flaky sea salt brings these bars to the next level. We have no doubt that this recipe will become a household staple.
Looking for more tasty oat recipes? Try these chocolate baked oats, these bliss balls (energy bites), these muesli cookies, and these oatmeal creme pies!
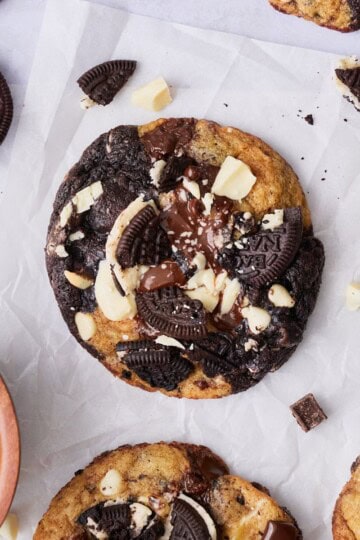
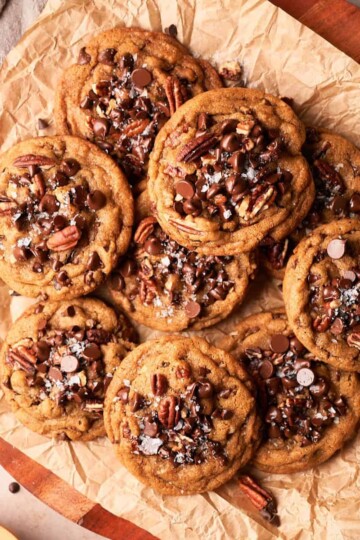
You may also like these chocolate chip pecan cookies, these Biscoff butter cookies, these apple cider cookies, these cookies and cream cookies, these loaded brownies, these s'mores brownies, and these Lucky Charms cookies!
Jump to:
❤️Why we love this recipe
- Quick and easy. This recipe is made using a combination of classic cookie ingredients and an assortment of fun mix-ins in one bowl only. Browning the butter is optional and can be skipped if you're in a hurry.
- Made from simple ingredients. This recipe is made of simple ingredients that can be found in your pantry, fridge, or at any grocery store.
- A crowd favorite. Not only are they super yummy, but this recipe makes one big batch that yields plenty for everyone.
- Customizable. Feel free to customize the mix-ins to your liking, and add whatever you like for your unique twist on this classic treat.
- Easy to adapt to various dietary needs. With a few simple swaps, these Monster Cookie Bars can be made dairy-free, nut-free, and gluten-free.
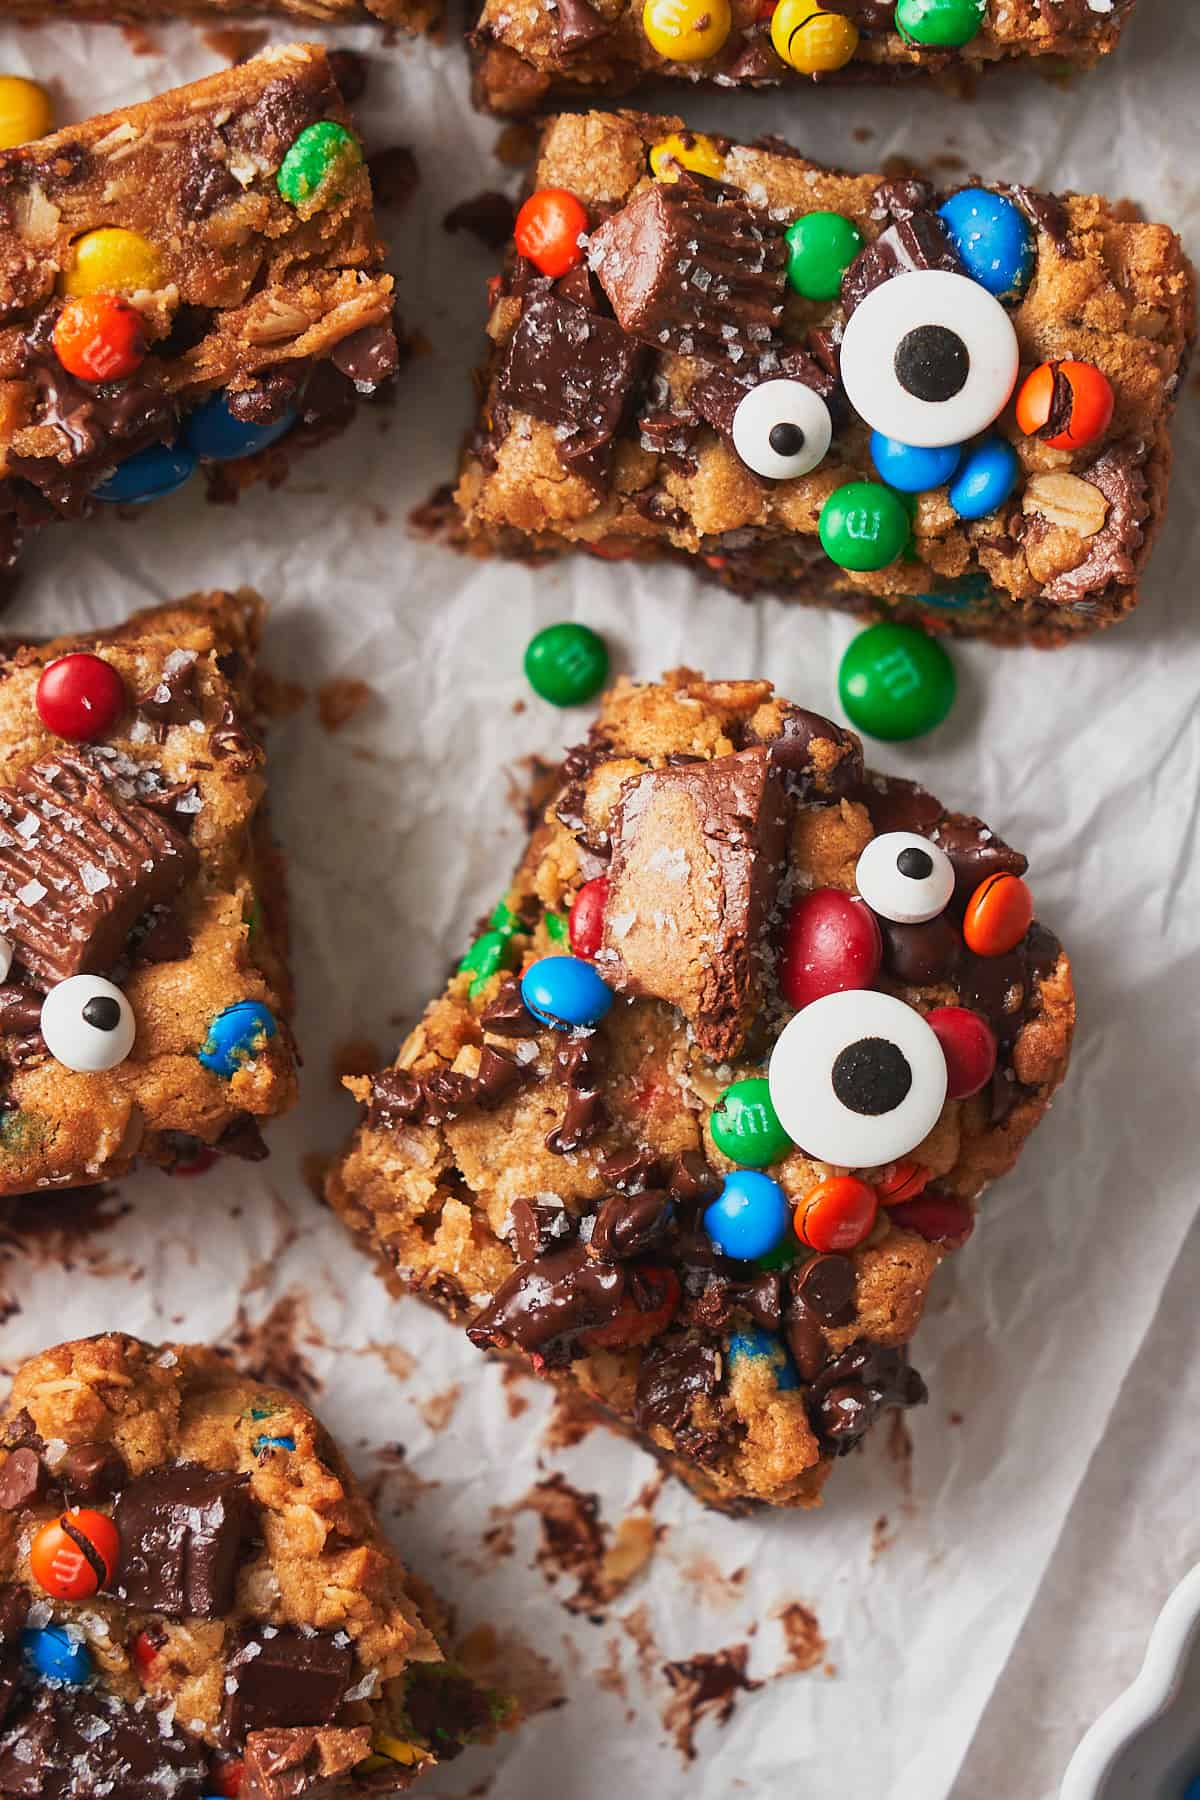
- Festive for different holidays! These treats are popular year-round and for good reason, but they're also great for many holidays by swapping out classic M&Ms for colorful, themed M&Ms to switch up the vibe. The name 'monster bars' definitely makes us think of Halloween treats, especially if you add festive ingredients like googly eyes! Try making a batch for Easter, Christmas, Valentine's Day, and more, too!
Make these bars spooky and cute for Halloween by adding candy eyes!
🍫Ingredients
Here are the ingredients we used for this recipe. You can find more information for substitutions below.
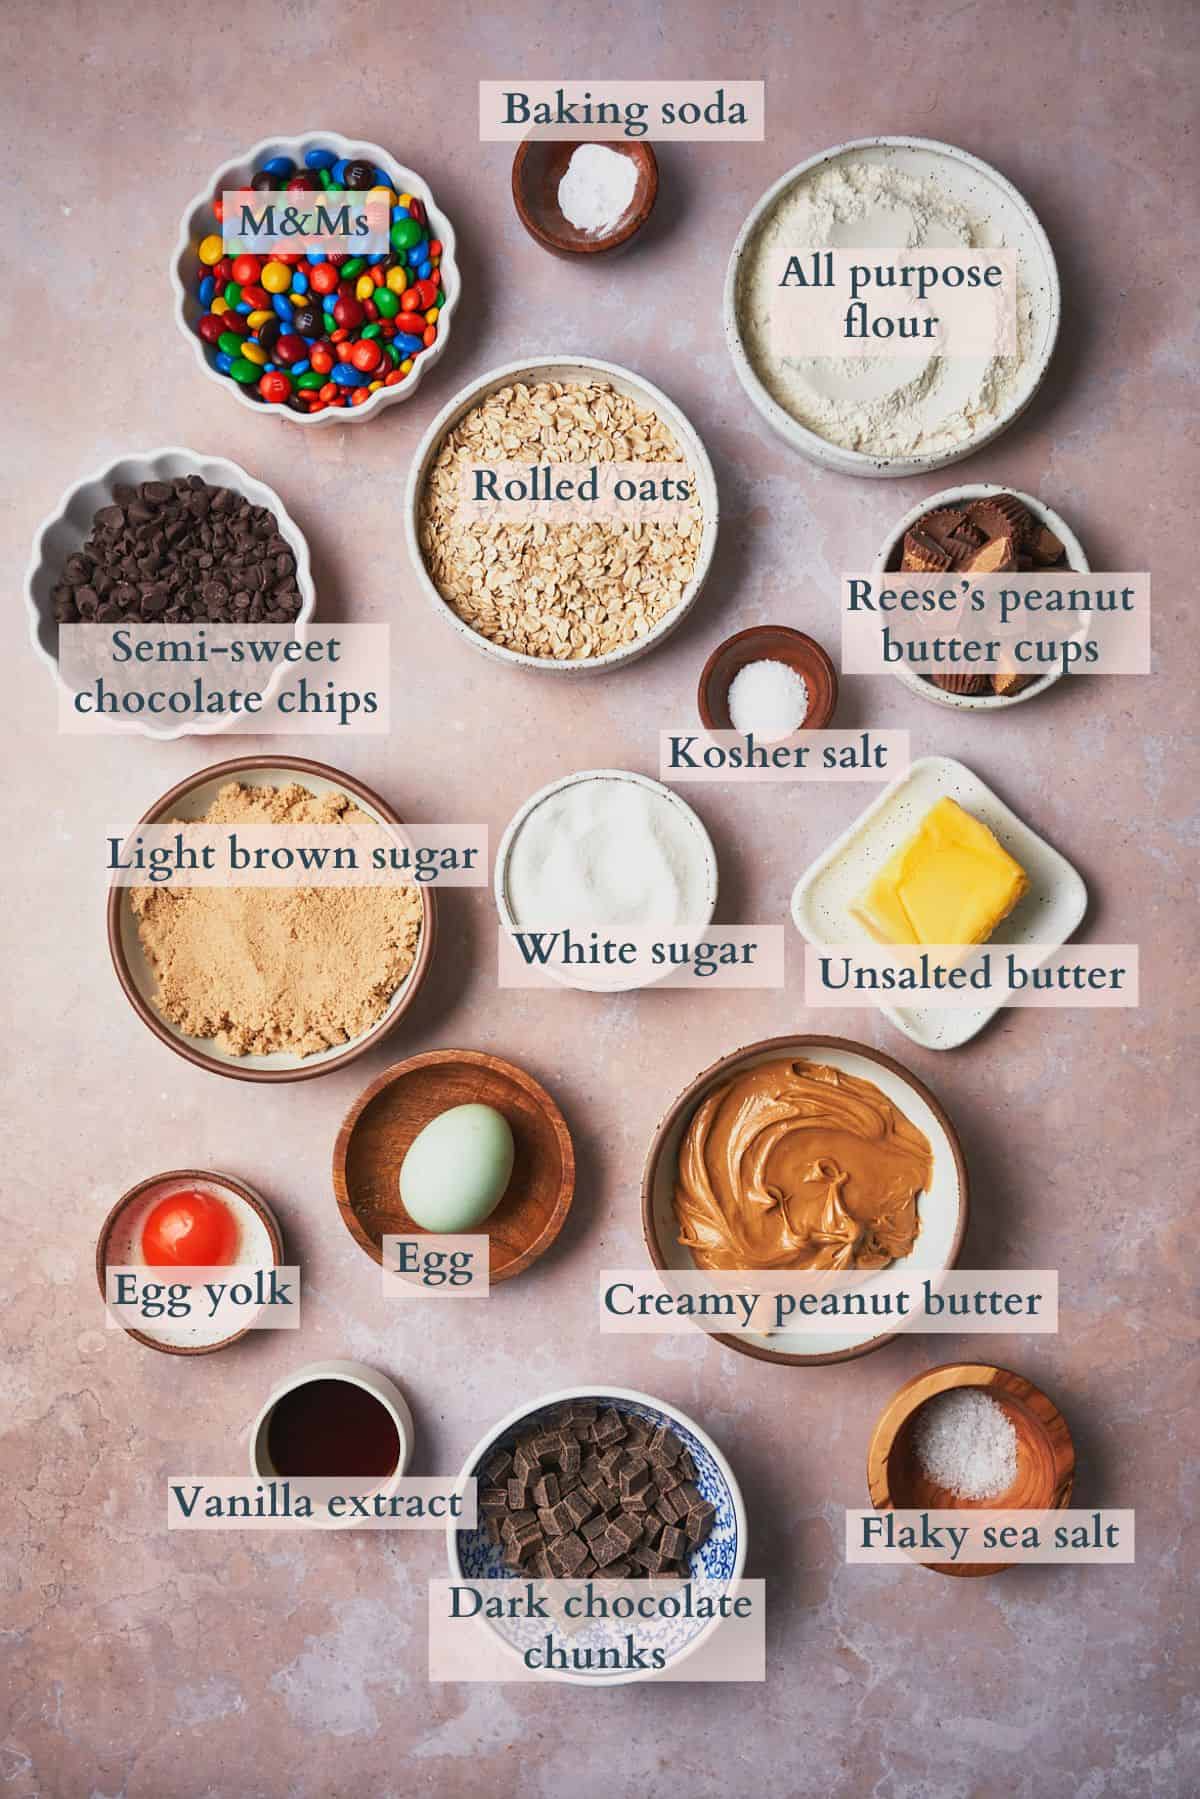
- Unsalted butter. Just a quick note about the butter - use only 6 tablespoons of melted butter if you want to skip browning the butter. Browning reduces the volume due to water evaporation. So we start out with a bit more than what we will actually use in the end after it has evaporated. Check out our full guide on how to brown butter!
- Peanut butter. We'd recommend using creamy peanut butter instead of natural peanut butter for this recipe, something that is commercially available and consistent like JIF.
- Old-fashioned oats. Old fashioned oats (also known as rolled oats) are the perfect type of oat for baked desserts such as these because they will retain their shape and absorb flavors well.
- Mix-ins. We used semi-sweet chocolate chips, dark chocolate chunks, M&M's, and chopped Reese's Peanut Butter Cups. You can of course only use M&Ms and chocolate chips to stay more "traditional" but we figured the peanut butter cups just enhanced the peanut butter cookie flavor!
- Flaky sea salt. This is optional but we love sprinkling them on top for some salty crunch!
Visit the recipe card for the full quantities and nutritional information.
✨Substitutions & variations
Here are a few suggestions on additional flavors to try, or simple variations to this recipe.
- Have fun with mix-ins! Aside from the mix-ins we used, you can also try adding mini pretzels, chopped nuts, and other candies! You can also try adding peanut butter chips, butterscotch chips, milk chocolate chips, or even white chocolate chips for more flavor.
- Swap the sugars. You can use all brown sugar or all white sugar if that's all you have available, but keep in mind this will impact the final flavor, color, and texture of the bars slightly. Either way, they will be delicious!
- Gluten-free. To make this recipe gluten-free, you would need to replace the all-purpose flour with a gluten-free flour blend. We like the 1:1 gluten-free flour by Bob's Red Mill. Make sure to use gluten-free oats as well.
- Vegan. You can replace the butter with a vegan butter substitute. You also need to replace the egg with egg alternatives like a flax egg, chia eggs, or commercial egg replacers. Take note that you also have to ensure that the chocolate chips and candies you use are dairy-free and vegan.
- Nut-free. Replace the peanut butter with sunflower seed butter, and omit the Reese's peanut butter cups.
- Holiday themes. Turn this classic into holiday-themed goodies by adding seasonal ingredients or different color M&M's! For Halloween, add some Halloween sprinkles or candy eyes. You can also mix in Halloween sprinkles, Halloween M&Ms, and your favorite leftover Halloween candy like Reese's Pieces or other candy bars cut up into pieces. Use green and red colored M&M's, sprinkles, and edible glitter for Christmas and some lovely pink and red candies for Valentine's Day. You get the idea!
- Ala mode. Double the sweet goodness by serving the monster cookie bars with a scoop of vanilla ice cream on top. So good!
🔪Prep work
- Take the eggs out of the fridge at room temperature for at least 30 minutes before beginning. If you're in a rush, place the eggs in a bowl of warm water (not hot!) to bring the eggs to room temperature.
- Chop the peanut butter cups.
- Measure the rest of the ingredients.
- Preheat the oven to 350°F.
- Grease and line an 8×8 square baking dish with cooking spray and add parchment paper. Allow the paper to hang over the sides so you can remove the bars easily.
📋Instructions
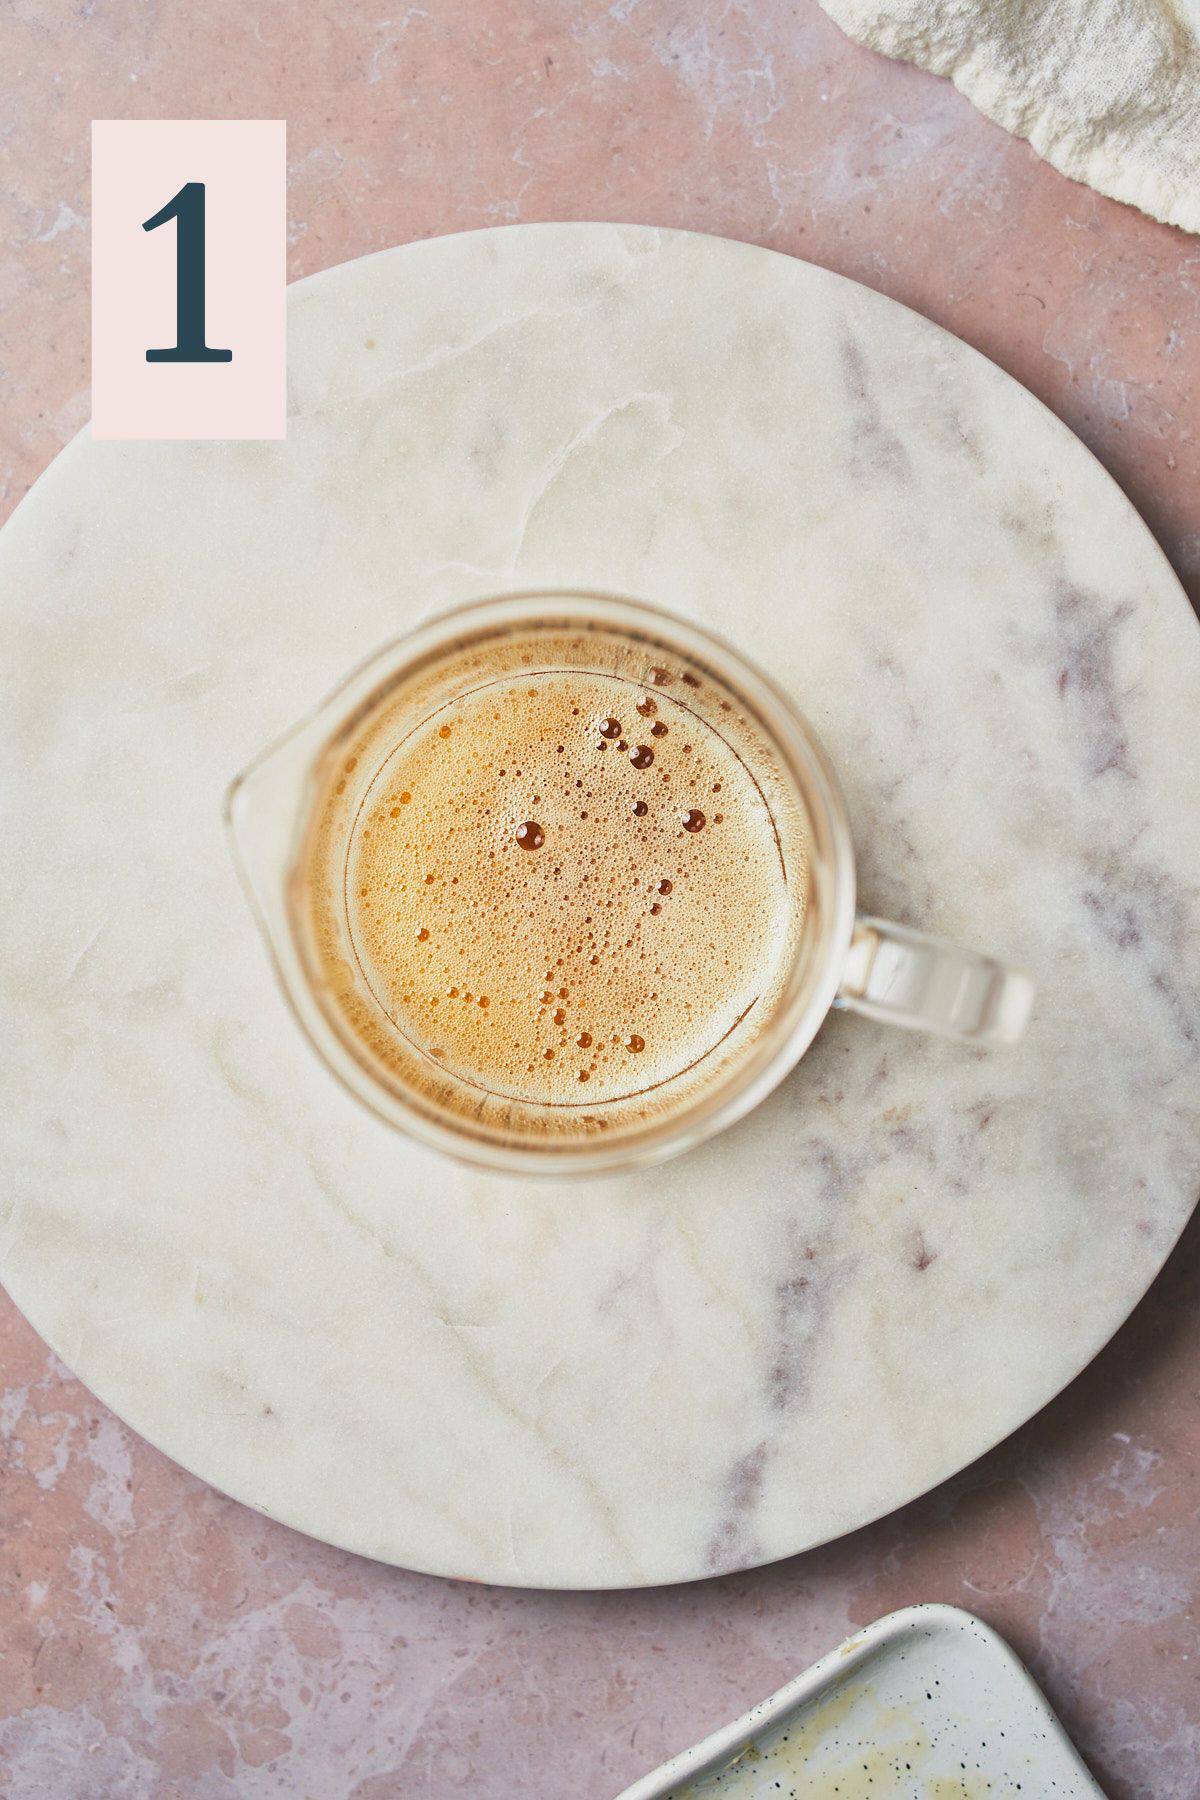
Optional step. Skip if not browning the butter, but be aware that using brown butter will yield the best results! In a small saucepan, brown the butter.
When the butter is a golden amber color and gives off a nutty aroma, remove it from the heat (Image 1) and weigh it using a food scale. It should weigh about 85 grams (or the equivalent of 6 tablespoons). This is because some of it will evaporate when cooking.
Place the butter in the fridge to cool for about 10-15 minutes before moving on. The butter can be warm, just not hot. If you're not browning the butter, you can use 6 tablespoons of melted and slightly cooled unsalted butter instead.
In a large bowl or in the bowl of a stand mixer with a paddle attachment, add the peanut butter, light brown sugar, white sugar, vanilla extract, and slightly cooled browned butter. (Image 2)
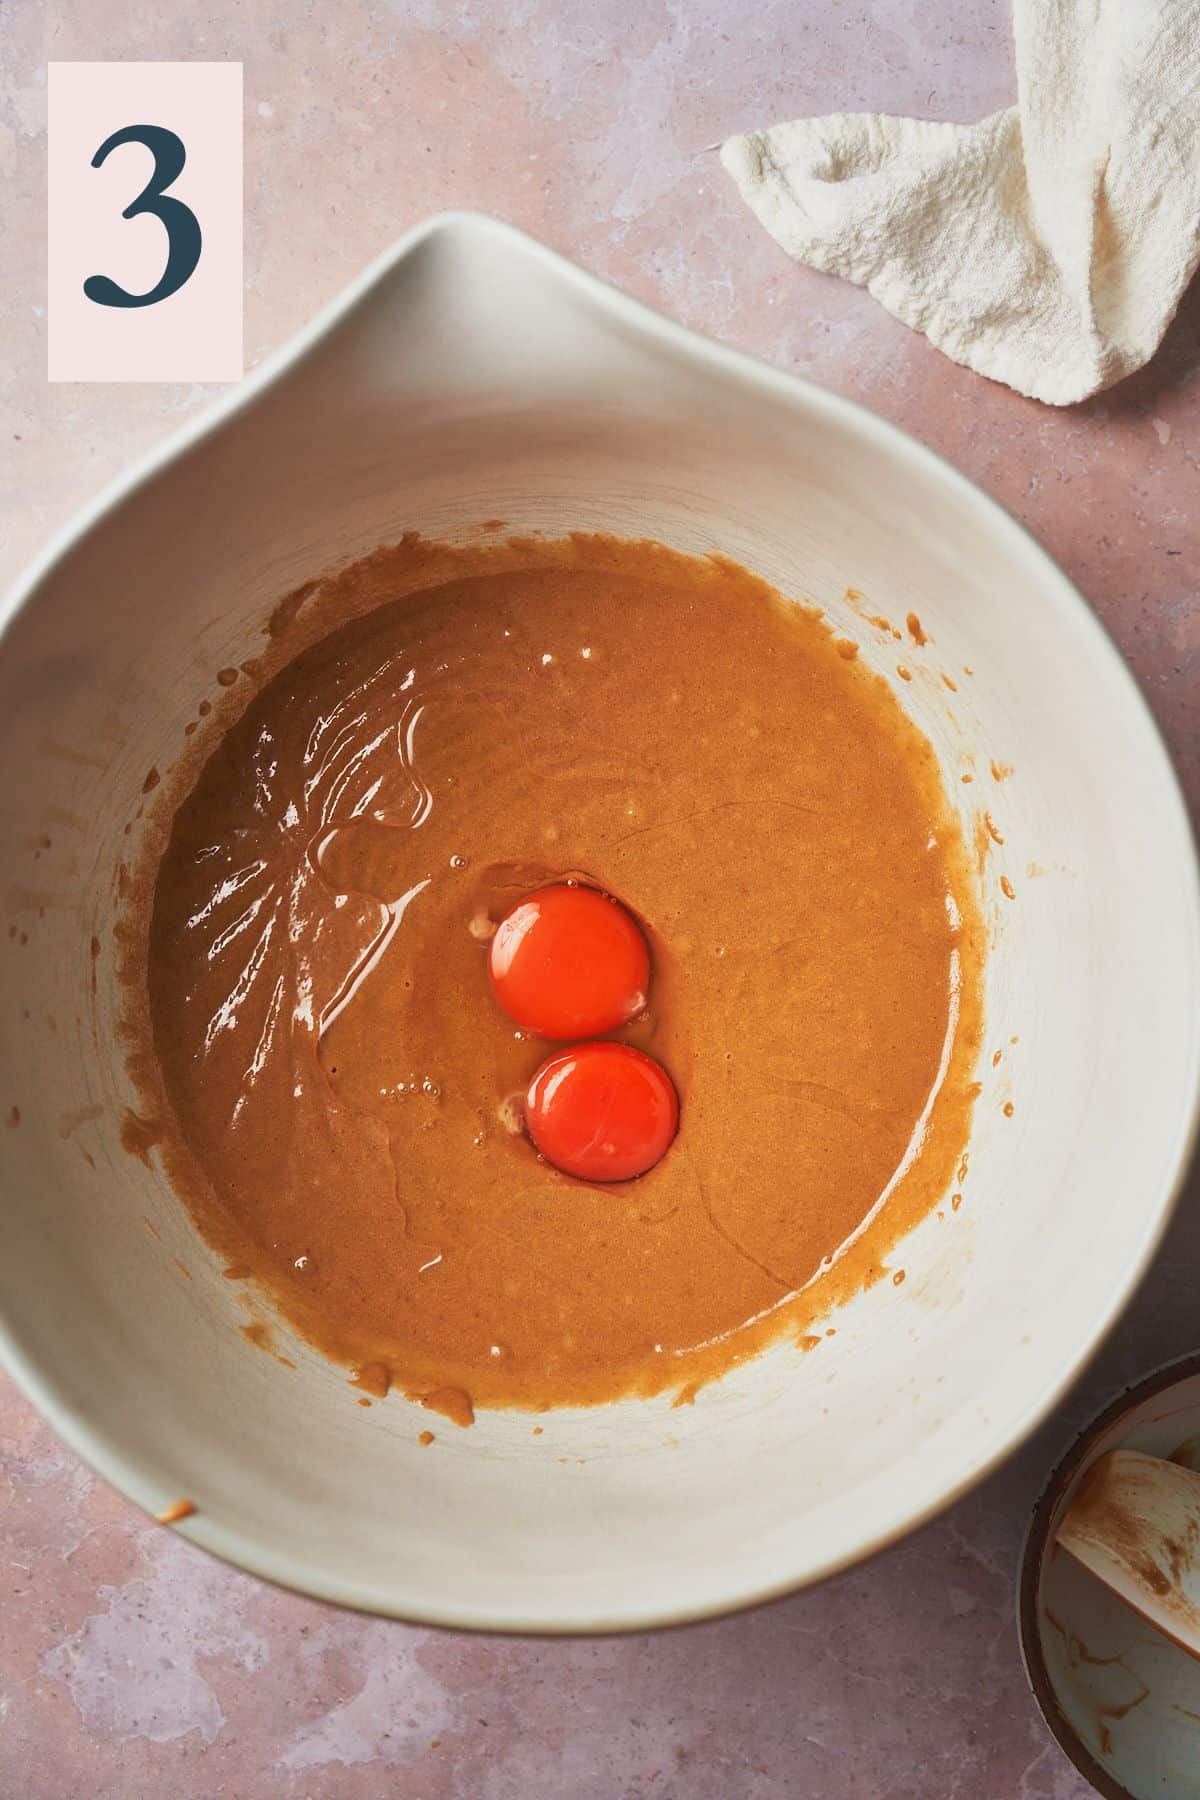
Mix until well combined and smooth, then add in the egg and egg yolk. (Image 3)
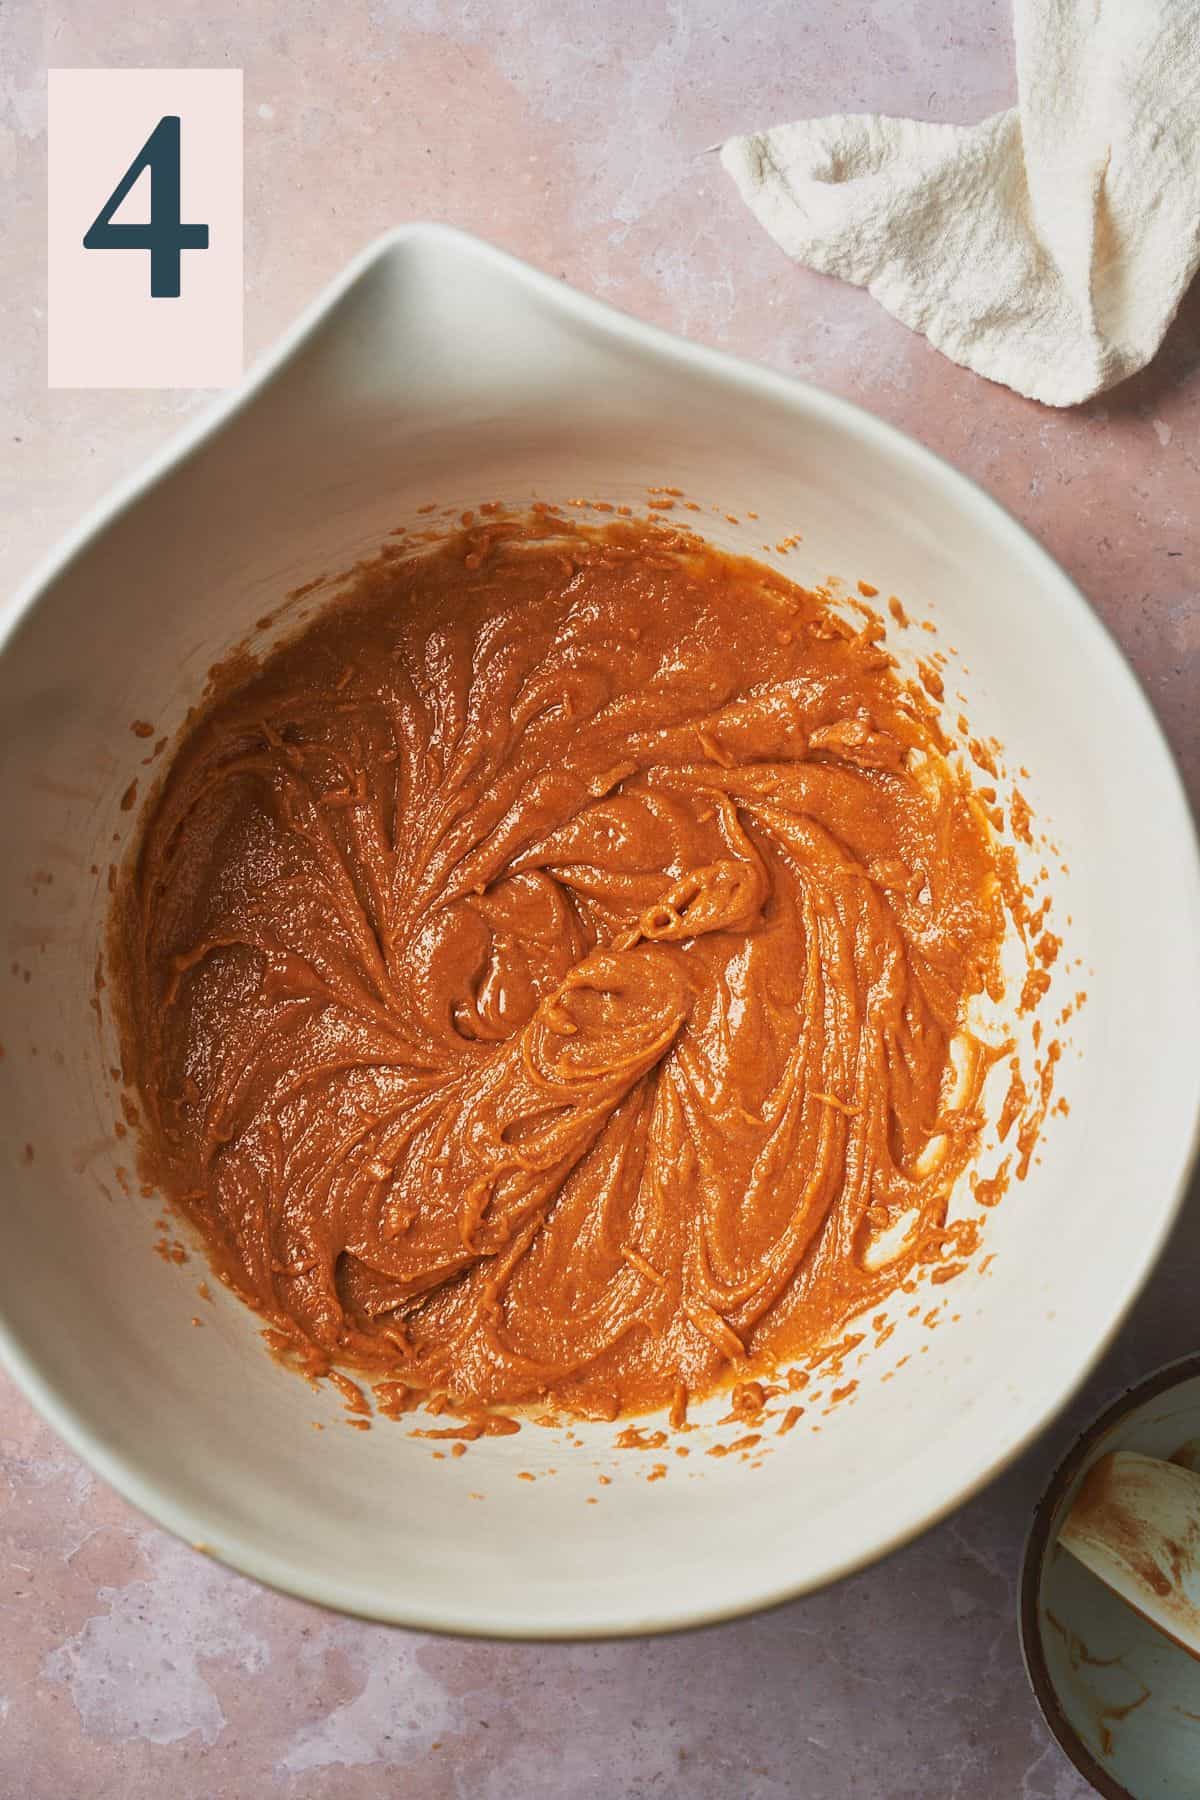
Mix until just combined. (Image 4)

Sift in the flour, salt, and baking soda using a metal sieve. (Image 5)
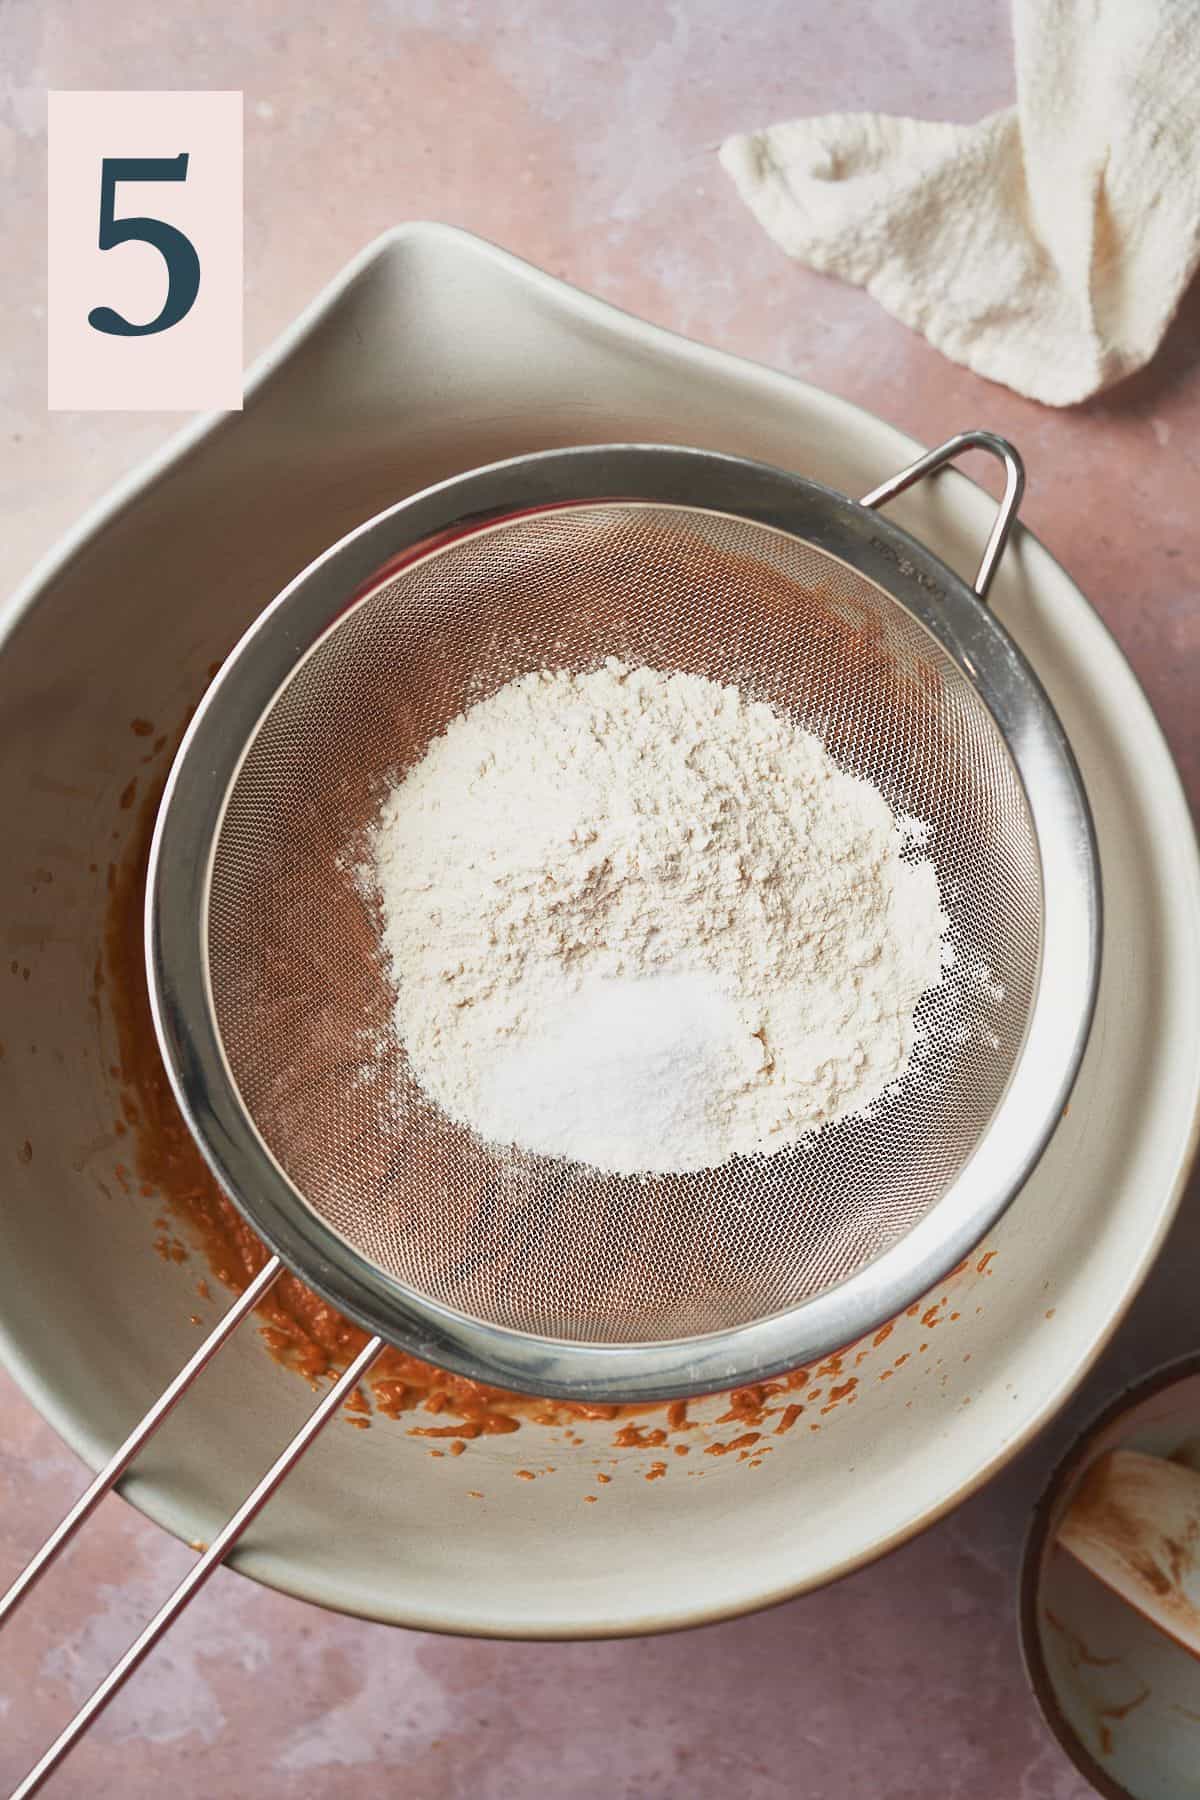
✨Pro Tip: Use a digital food scale to ensure you don't have too much flour going into the batter. Too much flour will make the cookie bars dry.
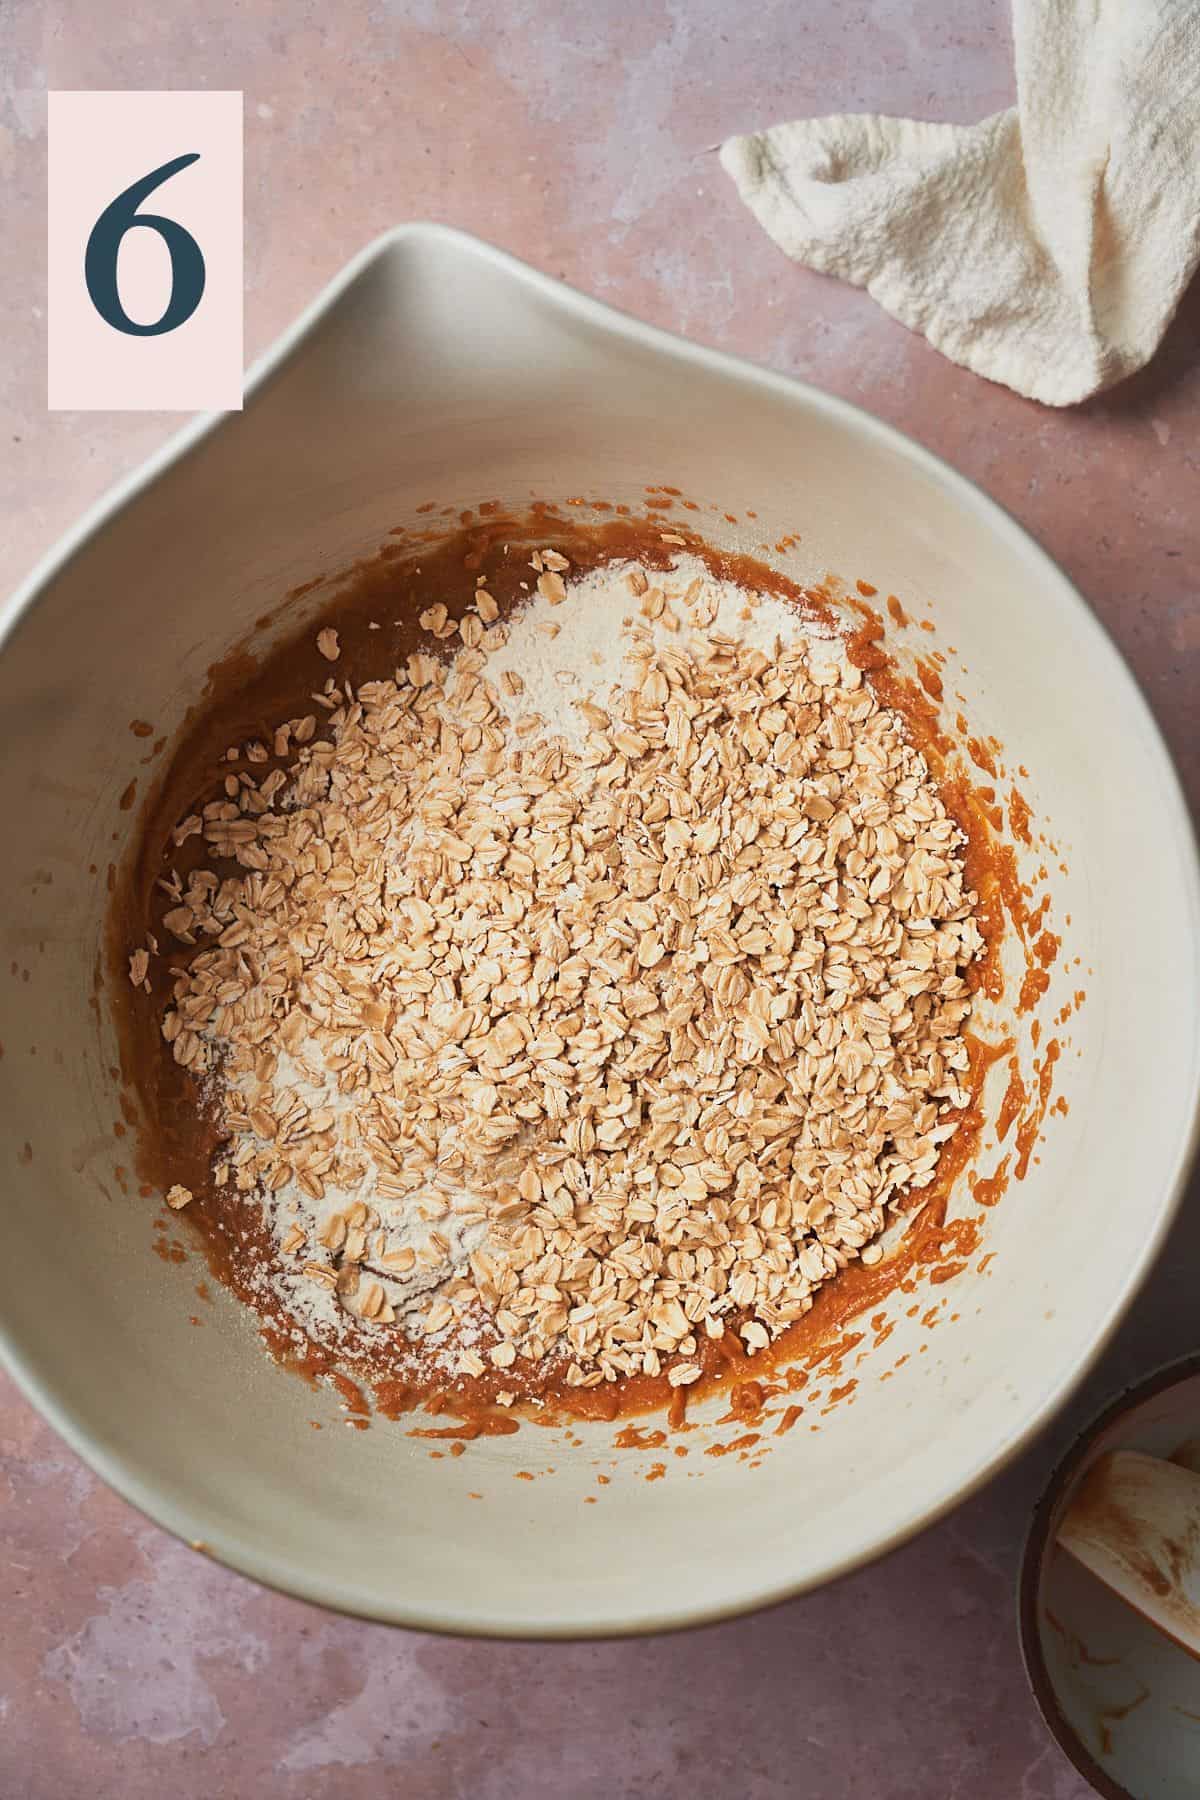
Add in the oats, (Image 6) and switch to a rubber spatula to combine the mixture gently until just barely combined. There will be some streaks of flour still visible. (Image 7)
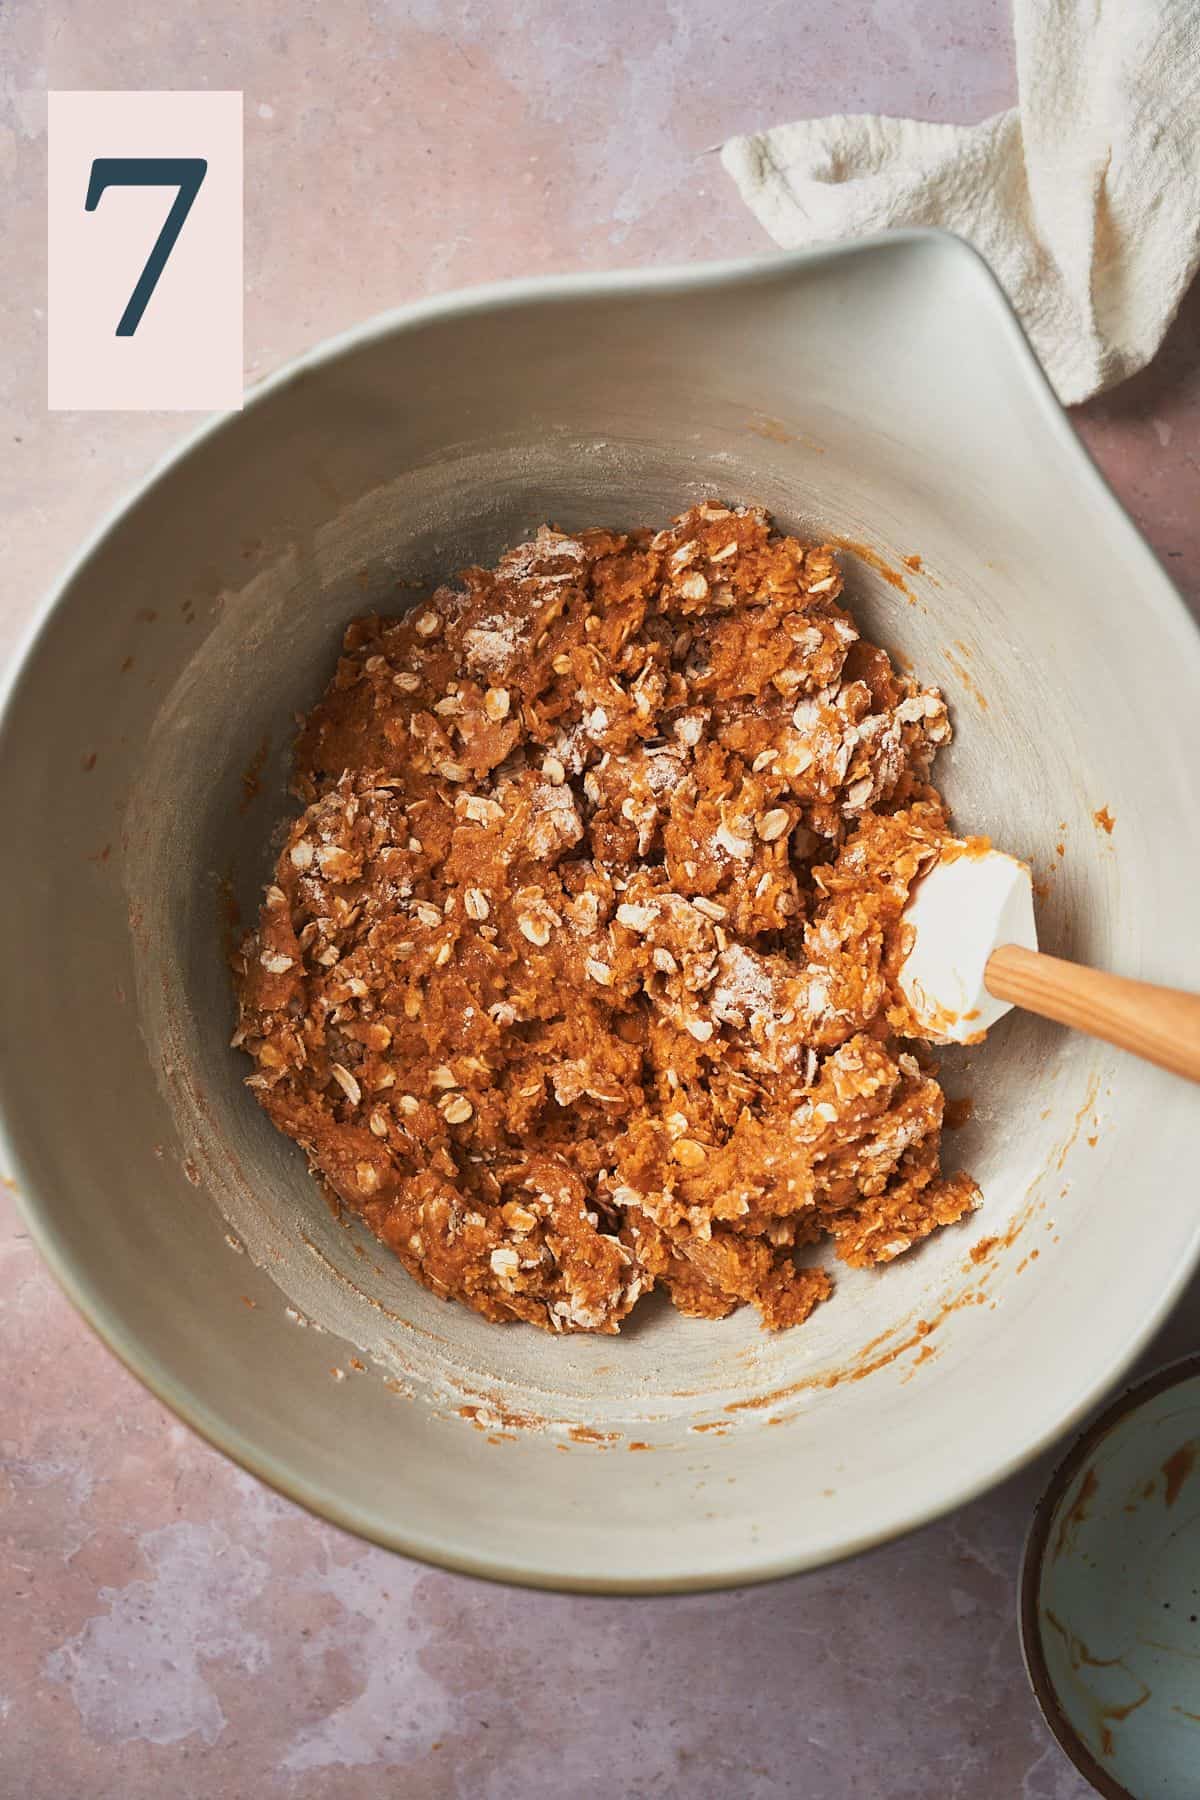
✨Pro Tip: We want to avoid overmixing the batter, or we will end up with dense, dry cookie bars. Mix just barely before adding the mixins!
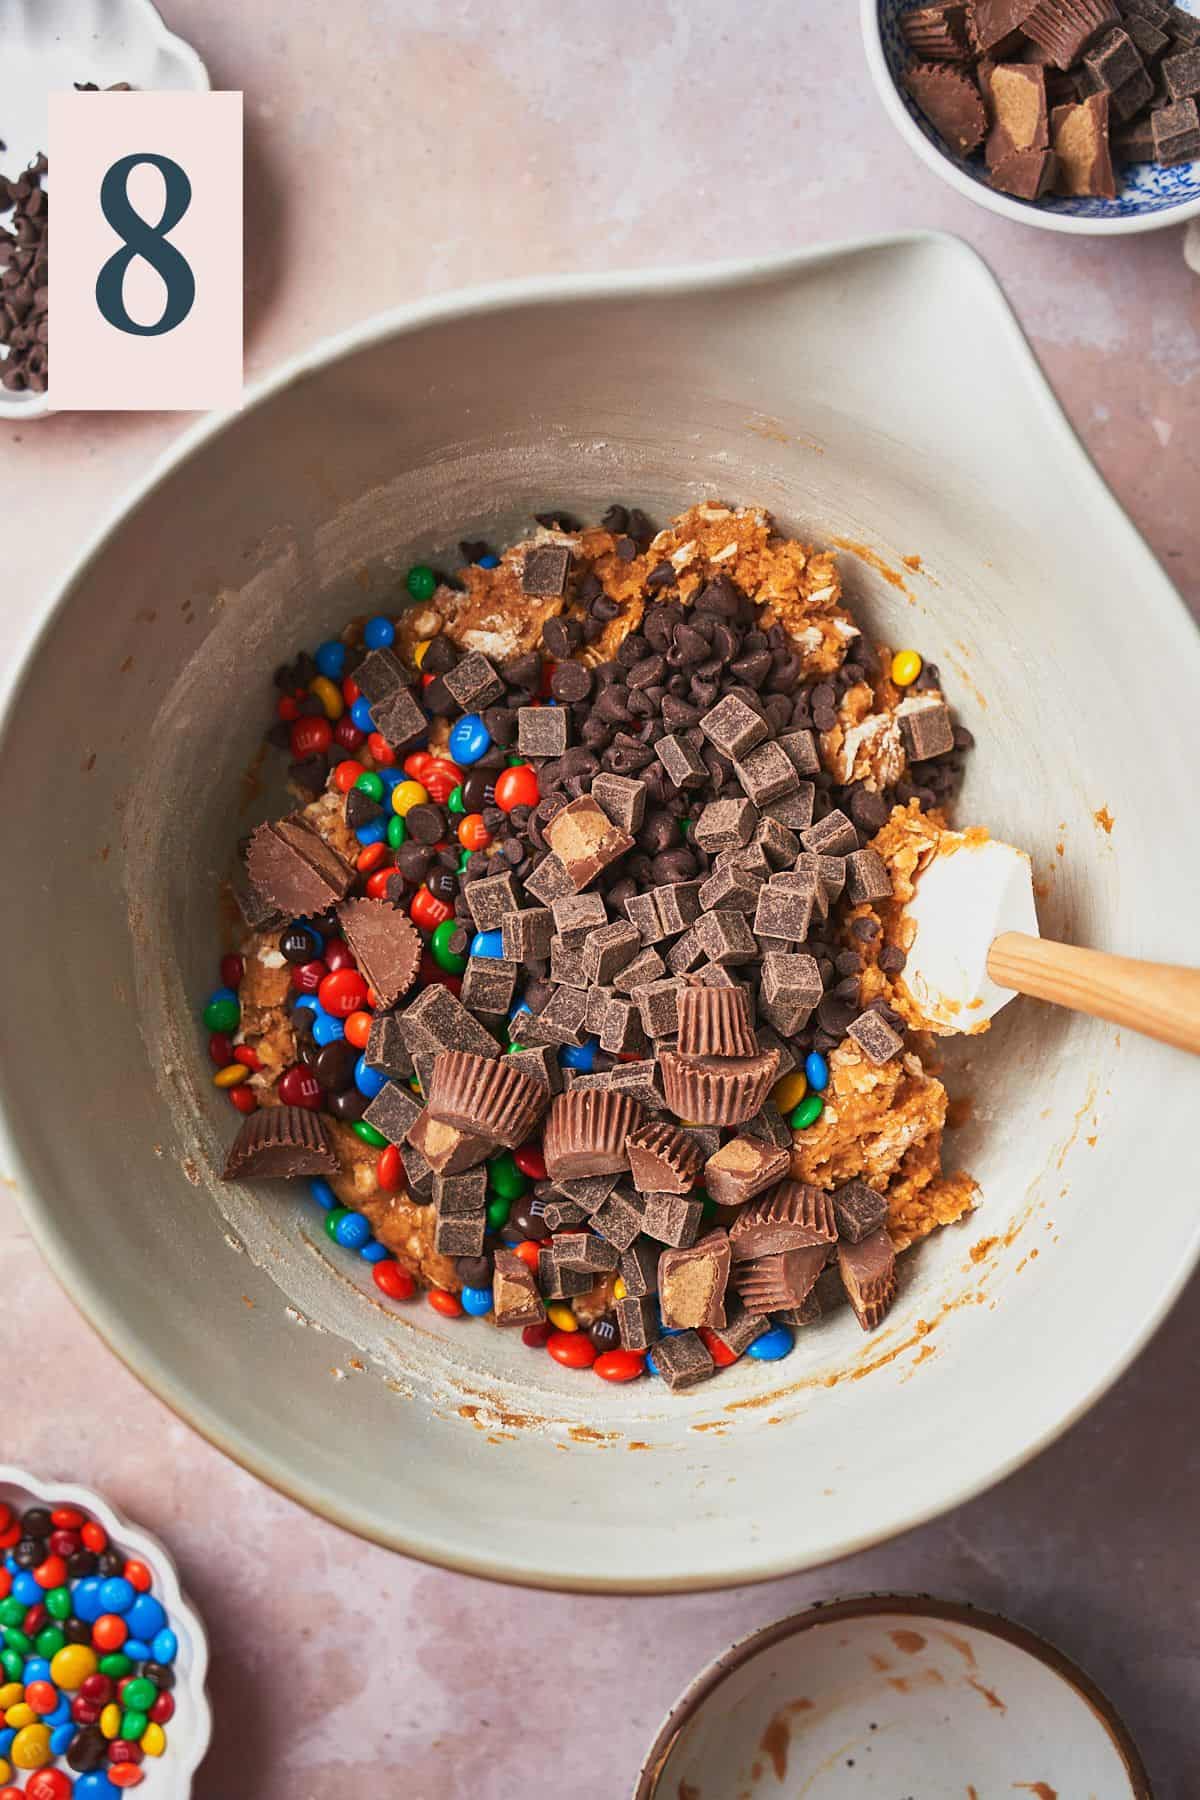
Add in most of the chocolate chips/chunks, M&Ms, and optional Reese's Peanut Butter Cups. (Reserve some candy for topping the bars). (Image 8)
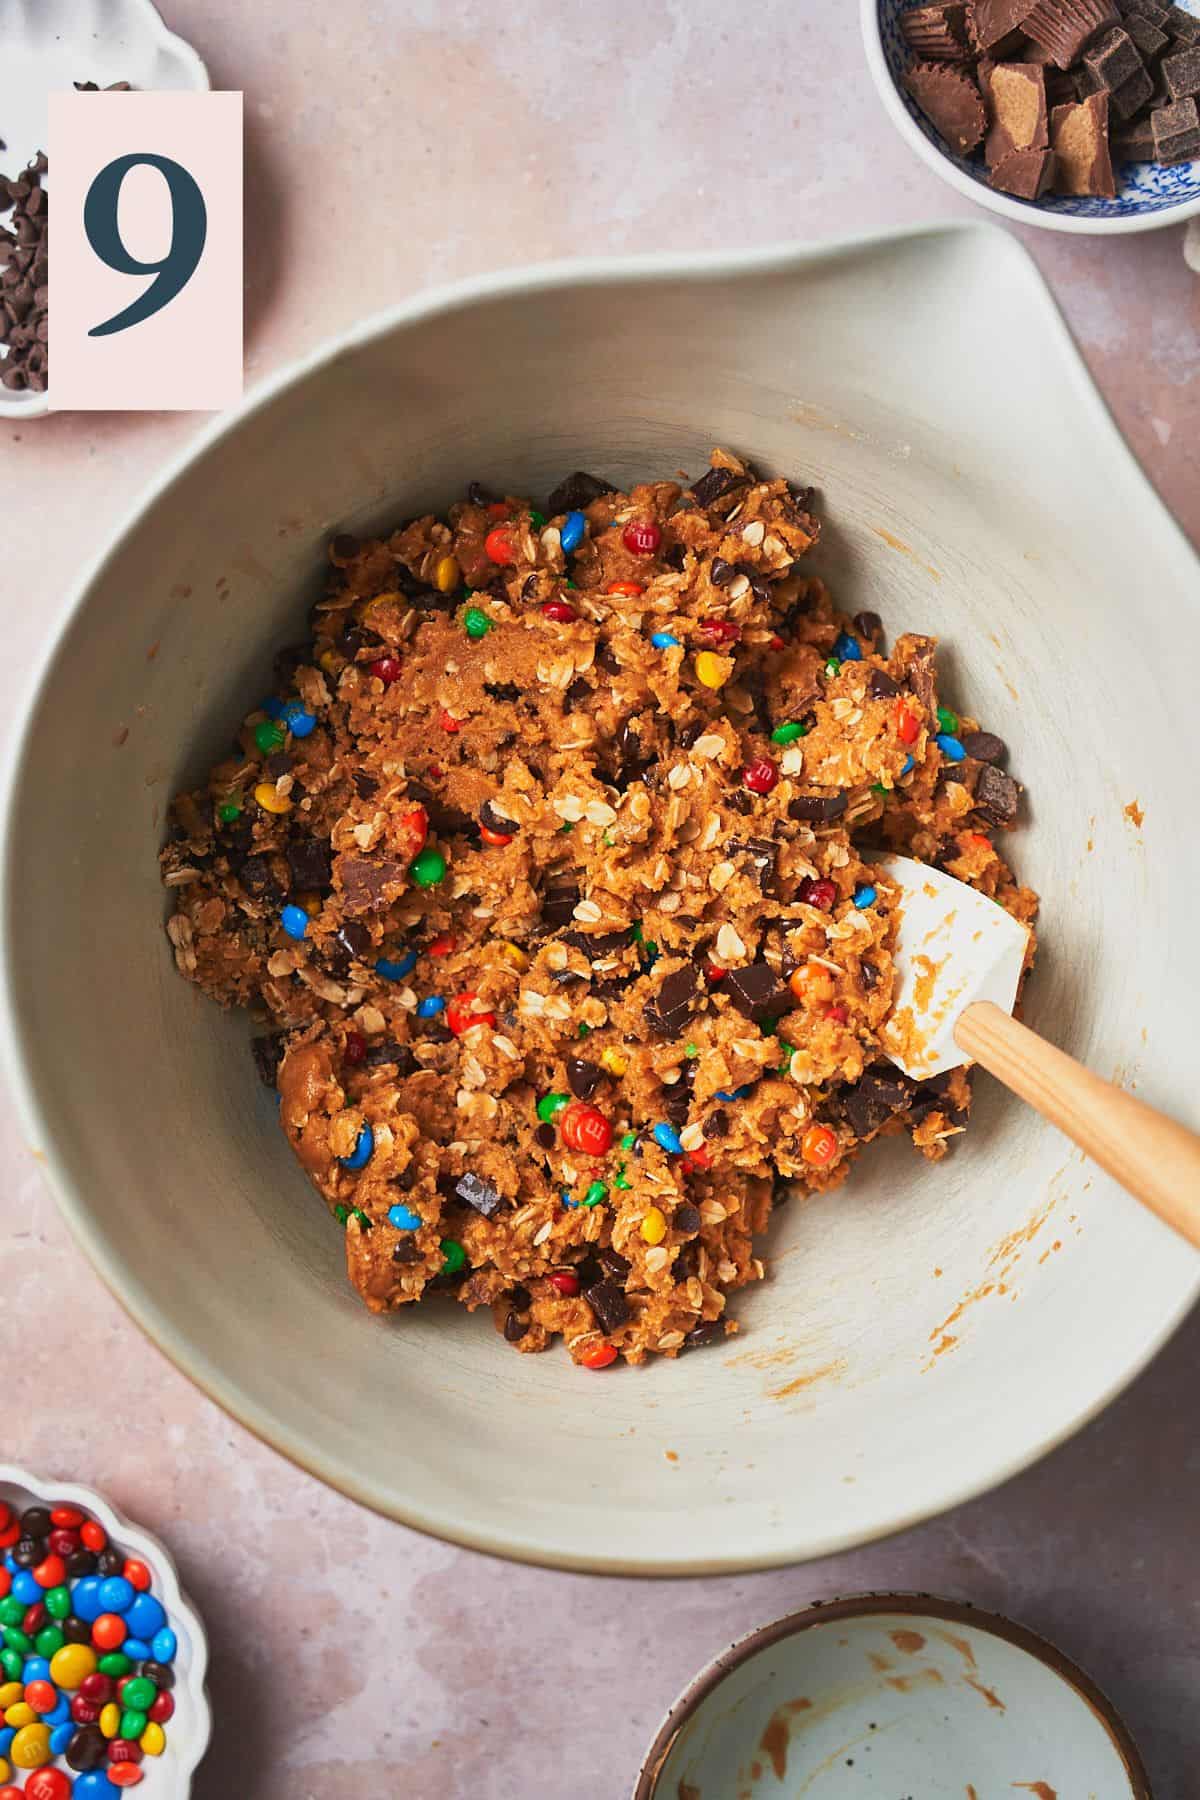
Stir gently to combine. (Image 9)
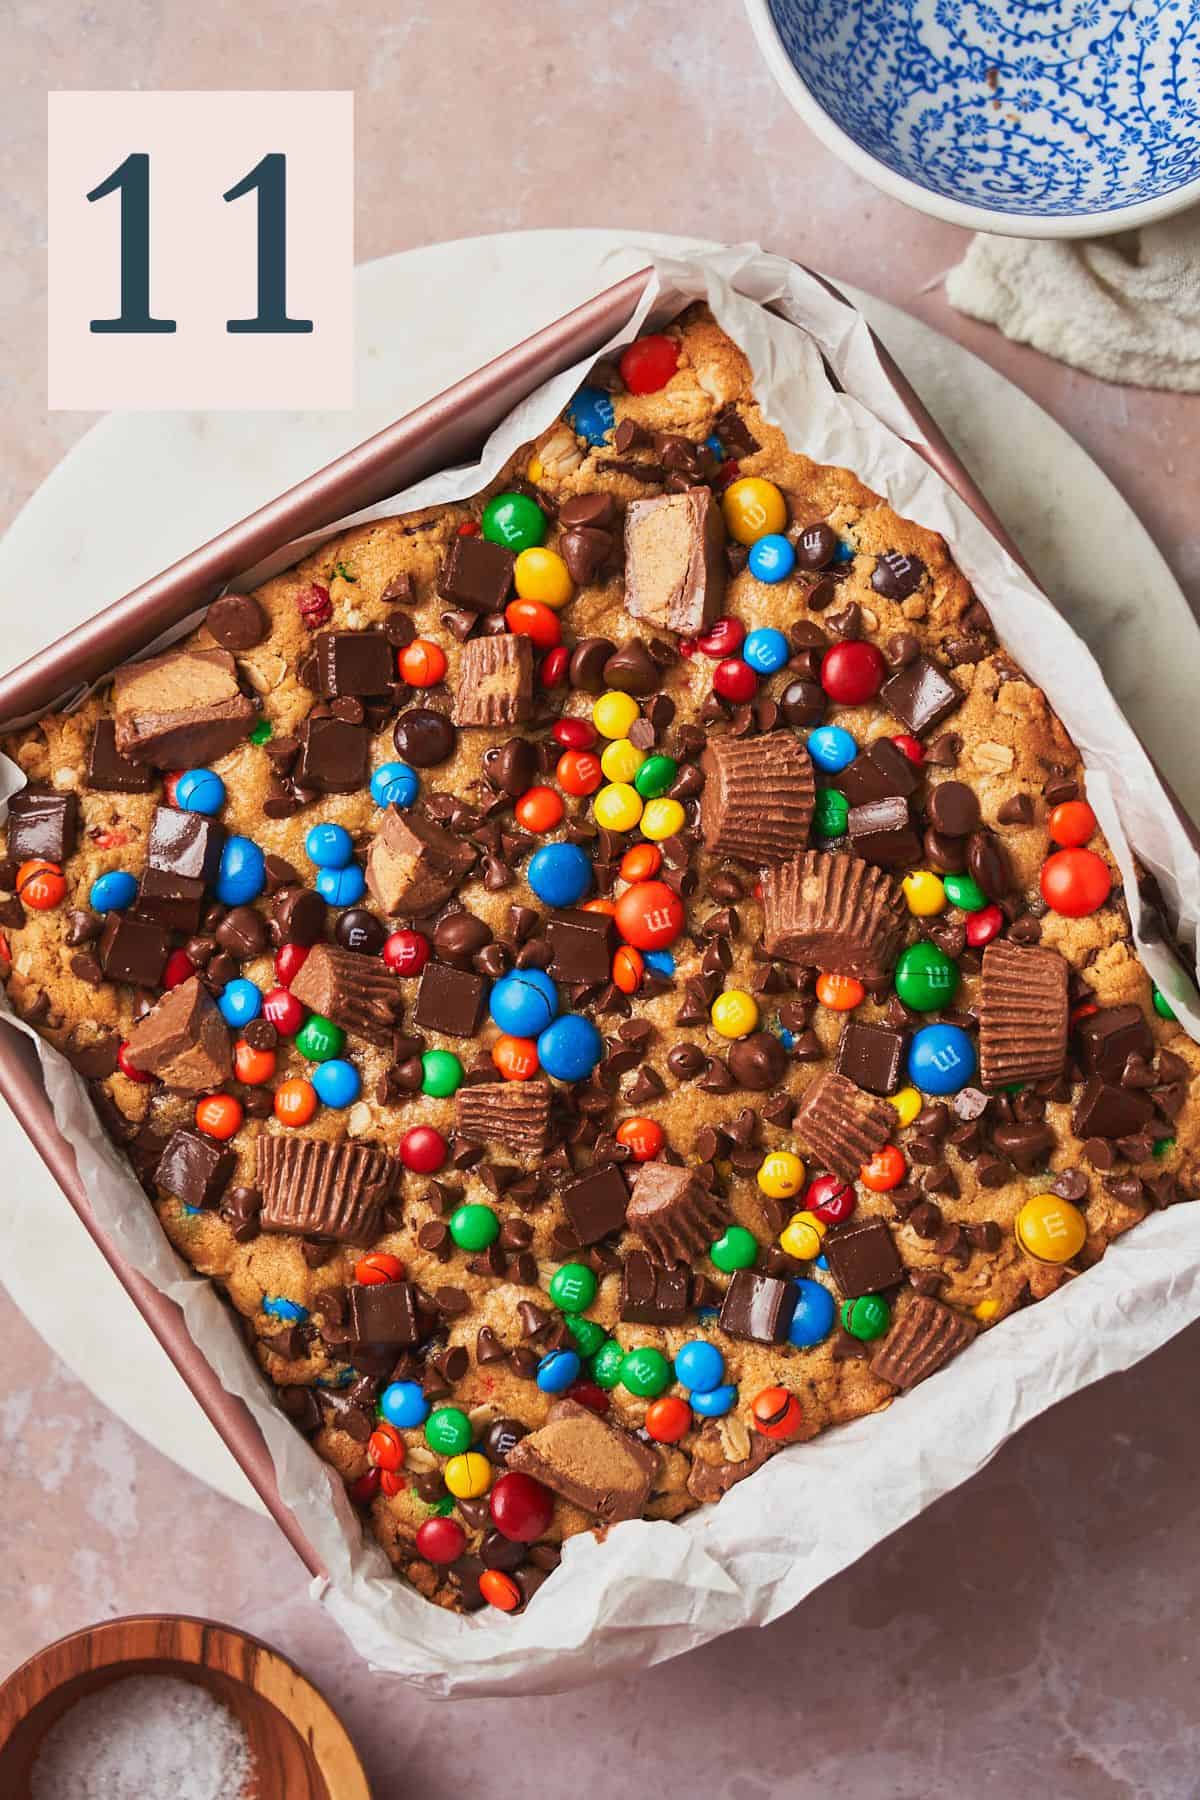
Press the cookie dough into the baking pan and top with a handful each of chocolate chips, chunks, M&Ms, and Reeses's. (Image 10)

Bake for 30-35 minutes, or until the edges are golden brown and the center is evenly puffed. (Image 11)
Sprinkle with sea salt right away, (Image 12) and allow the bars to cool for at least 45 minutes to 1 hour in the pan.

✨Pro Tip: Waiting for the bars to cool is the hardest part of this recipe, but it's very important! Otherwise, your bars will crumble and fall apart immediately!
After the bars have cooled and set up, cut them into 12-16 pieces and enjoy!

✨Tips & tricks
- Use room temperature ingredients. Make sure the egg and egg yolk are at room temperature for easier mixing and a smoother batter.
- Measure accurately. Use a kitchen scale if you have one, as the sizes of cups vary. Accurate measurements can take a baked good from good to great!
- Don't overmix. Once you add the dry ingredients to the wet, mix just until combined to avoid tough, dense bars.
- Fold in mix-ins carefully. Make sure to fold in the chocolate chips, chocolate chunks, M&M's, and Reese's evenly, so every bar has a good mix of each.
- Use an oven thermometer. Make sure your oven is fully preheated before baking. An oven thermometer can help confirm that the oven has reached the right temperature. Often, the beep you hear from the oven goes off prematurely before the temperature is reached. Also, different ovens run at different temperatures.
- Parchment paper. Always line your baking pan with parchment paper for easier removal and cleanup. It's also best to let the parchment hang off the sides a little bit for easy removal.
- Even spreading. Use a spatula or your hands to press the dough evenly into the pan, to help ensure that the thickness is as uniform as possible. Do not pack it too tight tough.
- Don't overbake. The bars may look a bit underdone in the middle when they're ready, but they'll firm up as they cool. Don't overbake them, or the bars will become dry!
- Let the bars cool completely. Waiting for the bars to firm up is the hardest part, but it's crucial to let the bars cool completely (for at least 45 minutes) or else they may break when attempting to get them out of the pan.
- Use a heated knife for cutting bars. For clean and pretty bars, we recommend using a heated knife for slicing. You can place the knife in hot water for a few seconds, wipe it dry, then slice.
- Don't skip browning the butter. While this step is optional, it creates such a delicious depth of flavor, and we highly recommend browning it! One note, water will evaporate when browning the butter, and it should leave you with about 6 tablespoons of butter in the end, so we start with 8 tablespoons. If you want to skip this step, just use 6 tablespoons of melted butter.
- Don't forget the flaky salt! These bars are quite sweet, so the extra bit of salt balances out some of the sweetness and enhances the flavor.
Need supplies? Shop our Amazon store! Stock your pantry, and find all of our favorite kitchen tools! A Full Living LLC earns a small commission through purchases on our storefront to help support this site.
💭Frequently Asked Questions
Store the bars in an airtight container at room temperature for up to 5 days, or refrigerate for up to 10 days. To freeze, wrap tightly in plastic wrap and place in an airtight freezer-safe container for up to 3 months. Thaw overnight in the fridge.
If chilled, allow them to sit out at room temperature for a few minutes before serving as they may become tough from being cold.
Absolutely! You can make it and store it in the fridge for at least 48 hours in advance. Make sure it is thoroughly wrapped.
Yes, you can. Using the same measurements, the bars will be on the thinner side so adjust the baking time as needed. Just be aware that they will need less time to bake.
More Recipes To Consider


Did you try this recipe? Make sure to leave a 5-star review below! 🌟 This helps other readers find our recipes and encourages them to try them. Also, be sure to leave a comment with your experience. Follow along, and tag @AFullLiving on Instagram with your photos!
📖 Recipe

Monster Cookie Bars
Equipment
- 8x8 baking pan
- hand mixer (or a stand mixer with the paddle attachment)
- Rubber Spatula
- mixing bowl
Ingredients
- 8 tablespoons unsalted butter, melted and slightly cooled (If not browning the butter, use 6 tablespoons melted butter, because Browning reduces the volume due to evaporation.)
- ¾ cup creamy peanut butter (like JIF)
- ¾ cup light brown sugar
- ½ cup granulated white sugar
- 1 tablespoon vanilla extract
- 1 large egg, room temperature
- 1 large egg yolk, room temperature
- 1 cup all purpose flour
- 1 cup old-fashioned oats
- 1 teaspoon kosher salt
- ½ teaspoon baking soda
- ¾ - 1 cup semi-sweet chocolate chips (we used mini and regular sized, use as much as you'd like!)
- ¾ - 1 cup dark chocolate chunks (use as many as you like, can also use moe chips!)
- ¾ - 1 cup M&MS (we used mini and regular sized, use as much as you'd like!)
- ½ cup Reese's Peanut Butter Cups, chopped (optional, about 12 mini Reese's cups)
- Flaky sea salt to top (optional but very tasty)
Instructions
- Preheat the oven to 350°F and grease and line an 8×8 square baking dish with parchment paper. Allow the paper to hang over the sides so you can remove the bars easily.
- Optional step - skip if not browning the butter. In a small saucepan, melt 8 tablespoons of unsalted butter over medium heat. Stir constantly. The butter will begin to bubble up and get foamy, and then it will stop making so much noise. Keep a very close eye on it now, as it will brown very quickly. When the butter is a golden amber color and gives off a nutty aroma, remove it from the heat and weigh it using a food scale. It should weigh about 85 grams (or the equivalent of 6 tablespoons). This is because some of it will evaporate when cooking. Place in the fridge to cool for about 10-15 minutes before moving on. It can be warm, just not hot. See notes for our full blog post guide on how to brown butter!
- In a large bowl, mix together ¾ cup of peanut butter, ¾ cup of light brown sugar, ½ cup of white sugar, 1 tablespoon of vanilla, and 6 tablespoons of melted and slightly cooled browned butter. Mix until well combined and smooth, then whisk in 1 egg and 1 egg yolk until just combined.
- Add in most of the chocolate chips/chunks, M&Ms, and optional Reese's Peanut Butter Cups. Reserve some candy for topping the bars. Stir gently to combine. with a rubber spatula, then press the cookie dough into the baking pan and top with the remaining chocolate chips, chunks, M&Ms, and Reeses's Peanut Butter Cups.
- Bake for 30-35 minutes, or until the edges are golden brown and the center is evenly puffed. Sprinkle with sea salt right away, and allow the bars to cool for at least 45 minutes to 1 hour in the pan.
- After the bars have cooled and set up, cut them in 12-16 pieces and enjoy!
- Store the bars in an airtight container at room temperature for up to 5 days, or refrigerate for up to 10 days. To freeze, wrap tightly in plastic wrap and place in an airtight freezer-safe container for up to 3 months. Thaw overnight in the fridge.If chilled, allow them to sit out at room temperature for a few minutes before serving as they may become tough from being cold.
Save This Recipe! 💌
Notes
- Check out our full guide with photos on how to brown butter!
- Use room temperature ingredients. Make sure the egg and egg yolk are at room temperature for easier mixing and a smoother batter.
- Measure accurately. Use a kitchen scale if you have one, as the sizes of cups vary. Accurate measurements can take a baked good from good to great!
- Don't overmix. Once you add the dry ingredients to the wet, mix just until combined to avoid tough, dense bars.
- Fold in mix-ins carefully. Make sure to fold in the chocolate chips, chocolate chunks, M&M's, and Reese's evenly, so every bar has a good mix of each.
- Use an oven thermometer. Make sure your oven is fully preheated before baking. An oven thermometer can help confirm that the oven has reached the right temperature. Often, the beep you hear from the oven goes off prematurely before the temperature is reached. Also, different ovens run at different temperatures.
- Parchment paper. Always line your baking pan with parchment paper for easier removal and cleanup. It's also best to let the parchment hang off the sides a little bit for easy removal.
- Even spreading. Use a spatula or your hands to press the dough evenly into the pan, to help ensure that the thickness is as uniform as possible. Do not pack it too tight tough.
- Don't overbake. The bars may look a bit underdone in the middle when they're ready, but they'll firm up as they cool. Don't overbake them, or the bars will become dry!
- Let the bars cool completely. Waiting for the bars to firm up is the hardest part, but it's crucial to let the bars cool completely (for at least 45 minutes) or else they may break when attempting to get them out of the pan.
- Use a heated knife for cutting bars. For clean and pretty bars, we recommend using a heated knife for slicing. You can place the knife in hot water for a few seconds, wipe it dry, then slice.
- Don't skip browning the butter. While this step is optional, it creates such a delicious depth of flavor, and we highly recommend browning it! One note, water will evaporate when browning the butter, and it should leave you with about 6 tablespoons of butter in the end, so we start with 8 tablespoons. If you want to skip this step, just use 6 tablespoons of melted butter.
- Don't forget the flaky salt! These bars are quite sweet, so the extra bit of salt balances out some of the sweetness and enhances the flavor.


Comments
No Comments