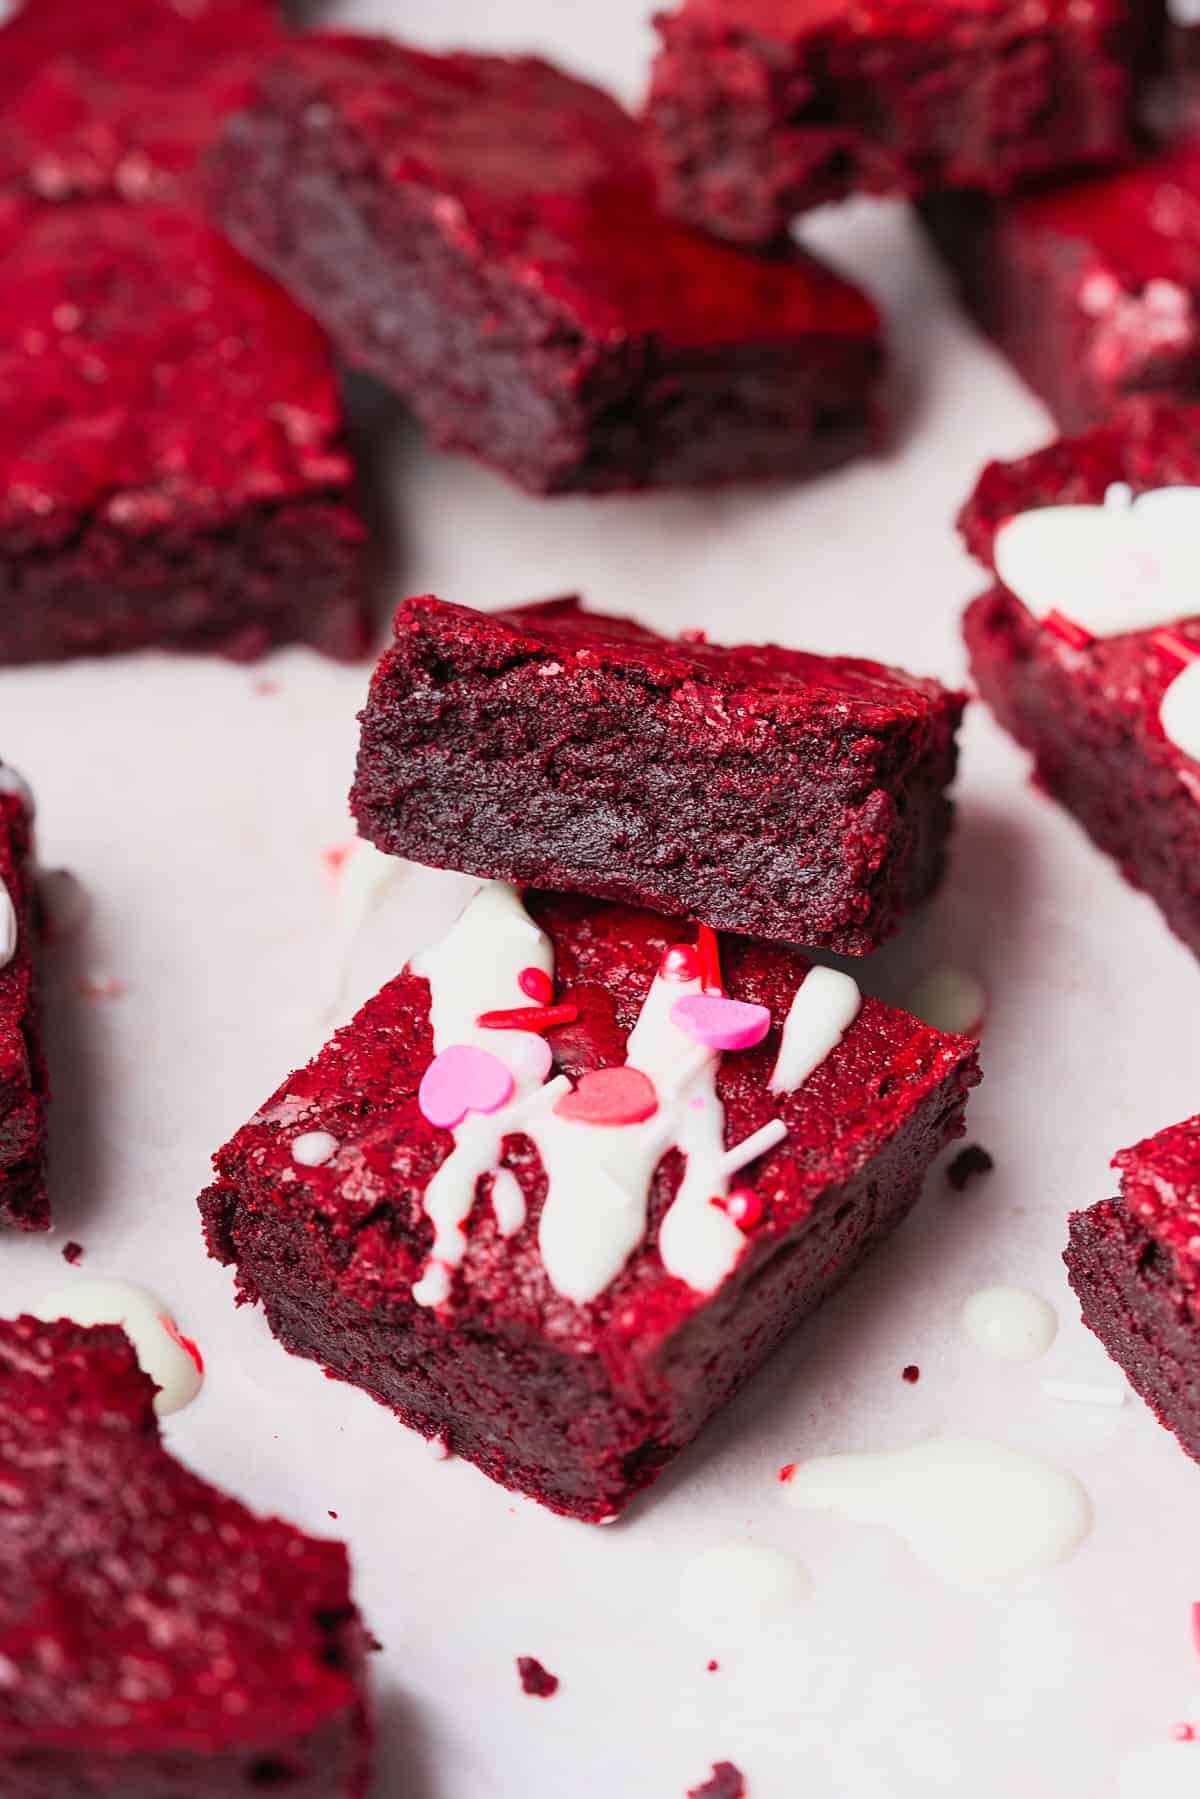
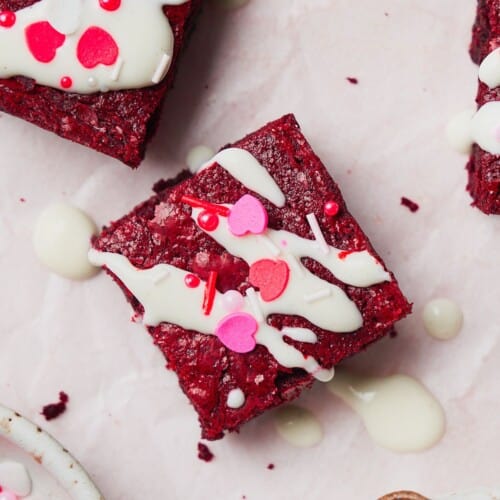
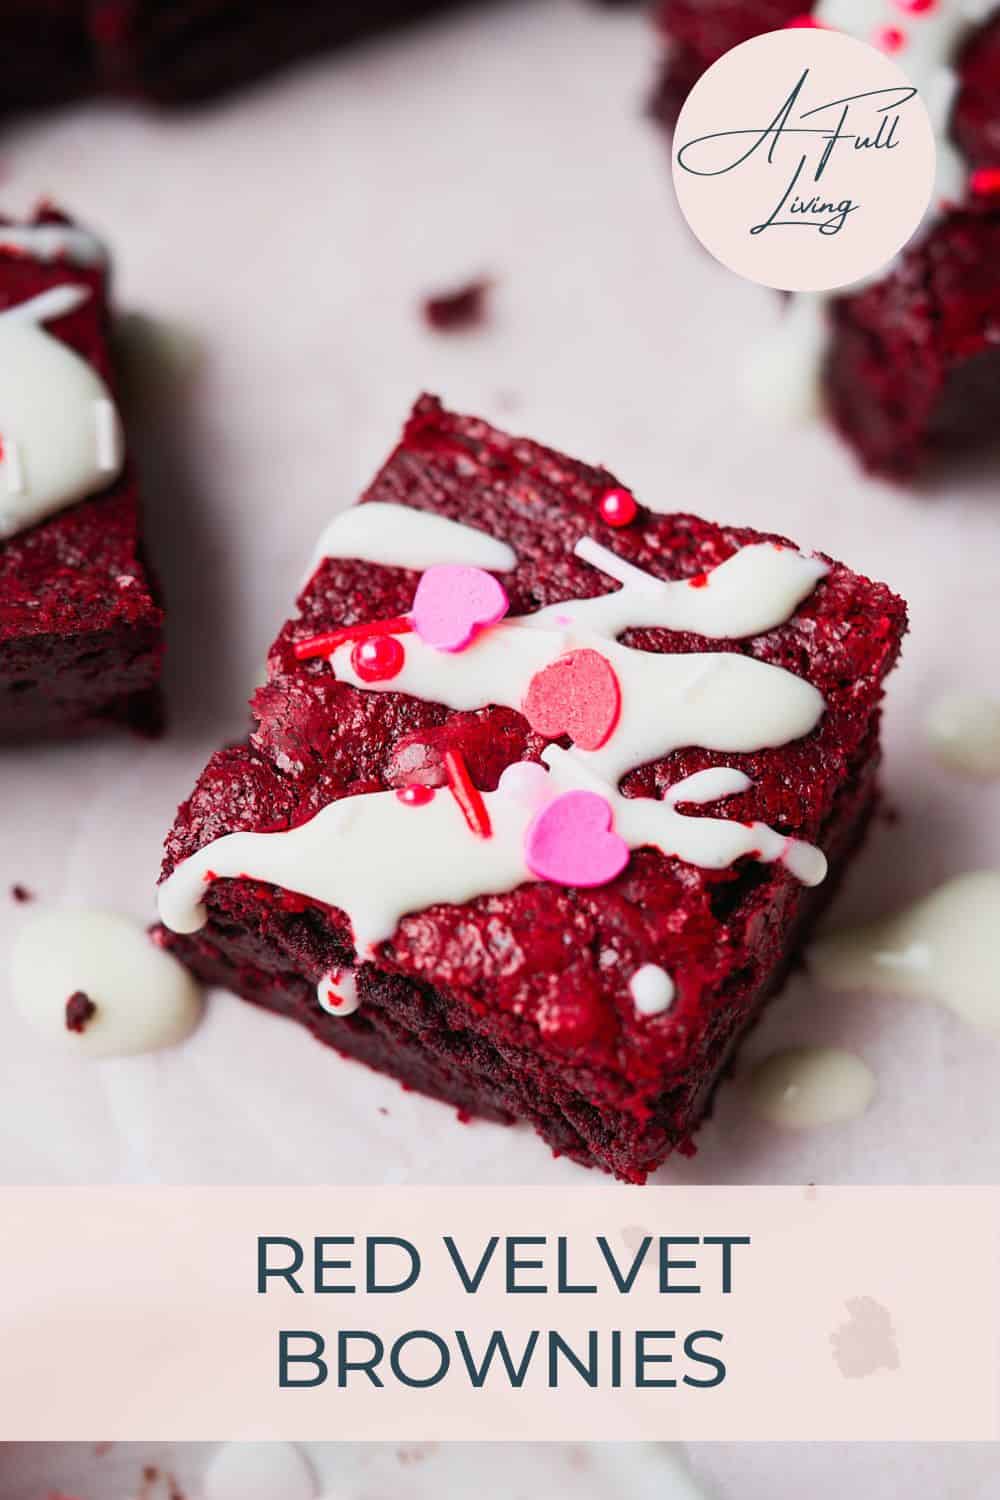
These rich and fudgy Red Velvet Brownies are so decadent! They're drizzled with a cream cheese glaze for a hint of tanginess for the perfect dessert. The beautiful red color makes them look just as good as they taste, and they're easy to make too - coming together in about an hour!
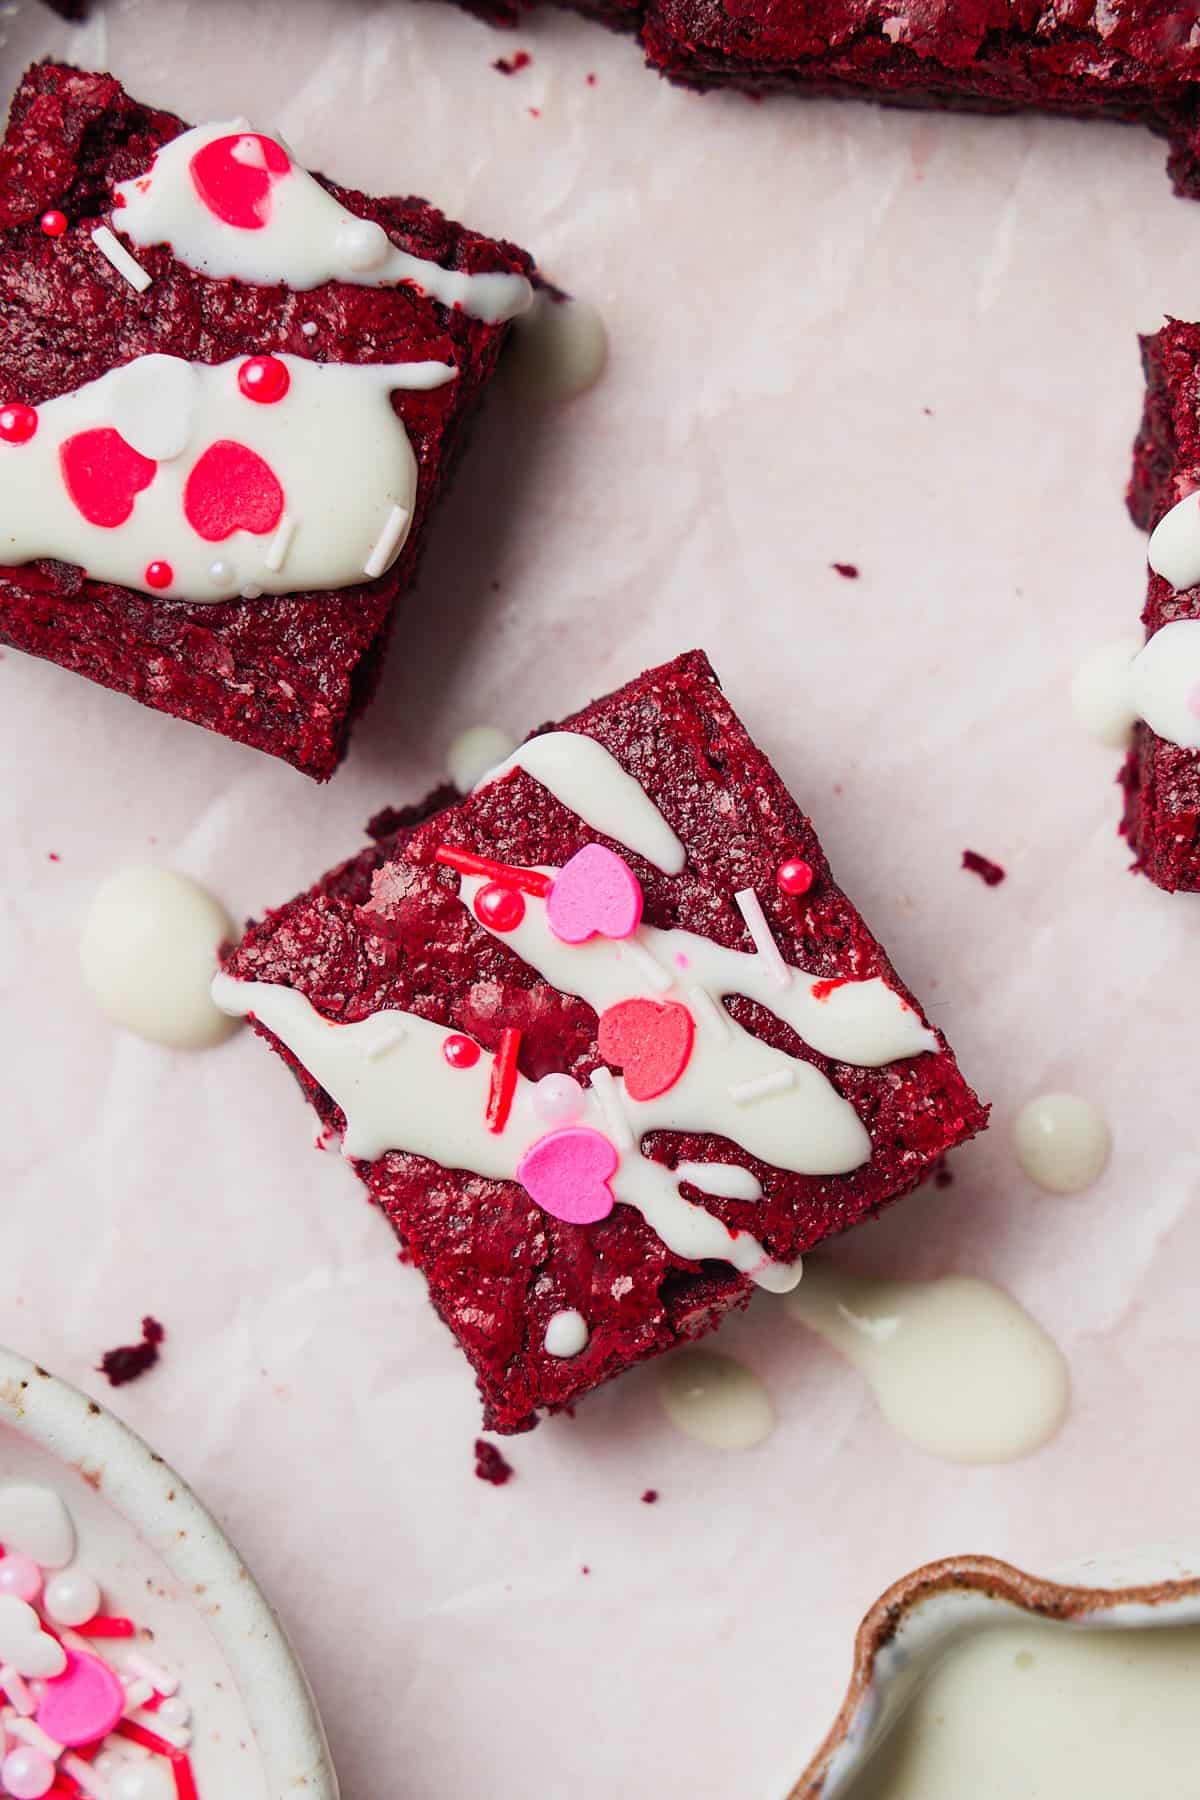
These fudgy brownies are the perfect treat for Valentine's Day or any day that you're craving a decadent dessert that's easy to make. They have the perfect shiny crackly top with a thick and gooey interior.
They're just the best homemade brownies! We love the addition of a little cream cheese glaze for a classic red velvet flavor, and they're fun to put sprinkles on too!
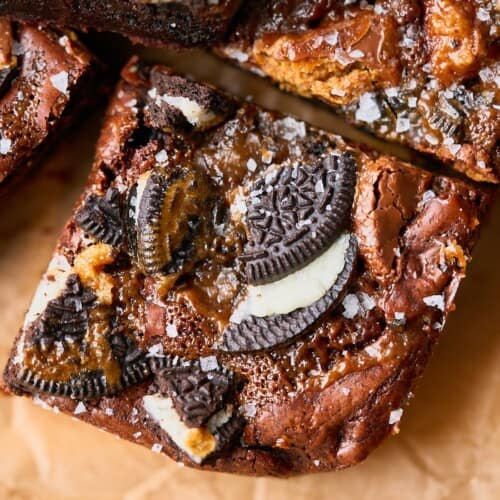
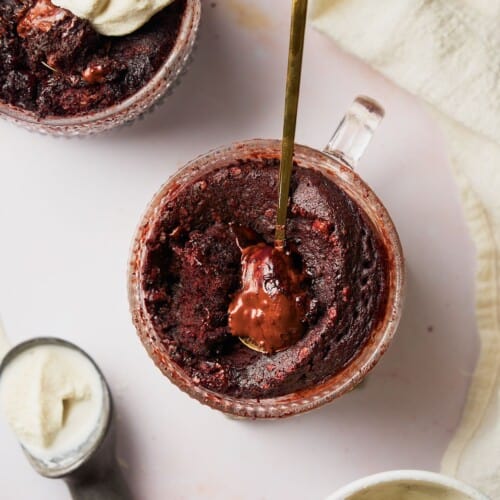
Love rich and fudgy desserts? Try our chocolate lava mug cake or these loaded brownies stuffed with Reese's, Oreos, and salted caramel sauce! Try our black velvet cake and black velvet cupcakes too!
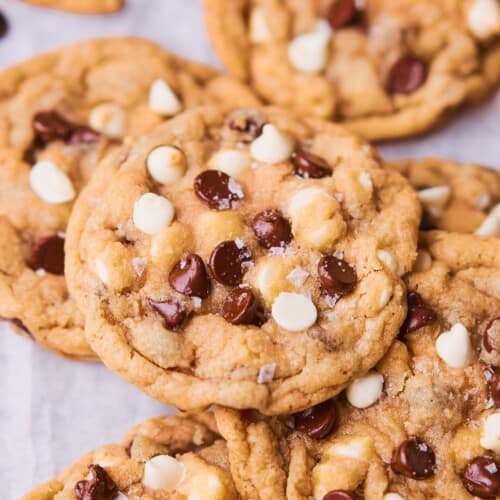
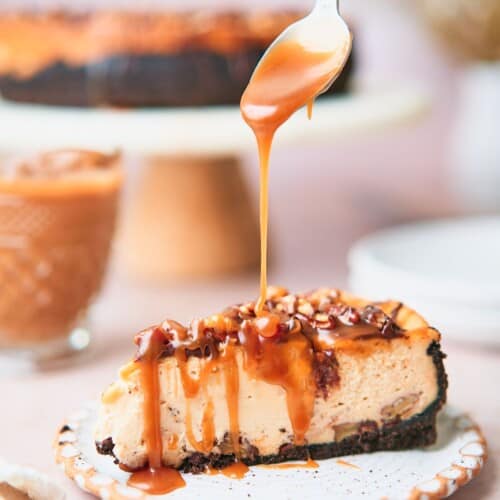
If you want more easy, yet decadent desserts perfect for a special occasion, try our turtle cheesecake, these chocolate and white chocolate chip cookies, or this peanut butter banana cake!
Jump to:
❤️Why we love this recipe
- Made with simple ingredients. Everything you need to make this recipe (except for the red gel food coloring) can be found at any grocery store if you don't already have the ingredients in your kitchen!
- Easy to make. With easily accessible ingredients and step-by-step instructions, this recipe is easy to master, with no special equipment needed, making it perfect for beginner bakers!
- Decadent flavor and perfect texture. Who doesn't love chewy brownies with the perfect shiny top? The rich and fudgy texture and flavor comes from a combo of brown butter, melted chocolate, and cocoa powder. The texture of the brownies matches the chocolatey goodness that you find when you bite into them for the first time. Combine that with a subtle hint of tanginess from the cream cheese glaze, and you have the ideal dessert.
- Eye-catching crowd-pleasing dessert. The deep right color of the brownies is truly stunning, and will probably make them the star of the show on any dessert table. The combination of classic flavors and the allure of red velvet desserts make these brownies a surefire hit among friends, family, and guests, making them an ideal choice for potlucks, parties, and more!
🍫Ingredients
Here are the ingredients we used for this recipe. You can find more information for substitutions below.
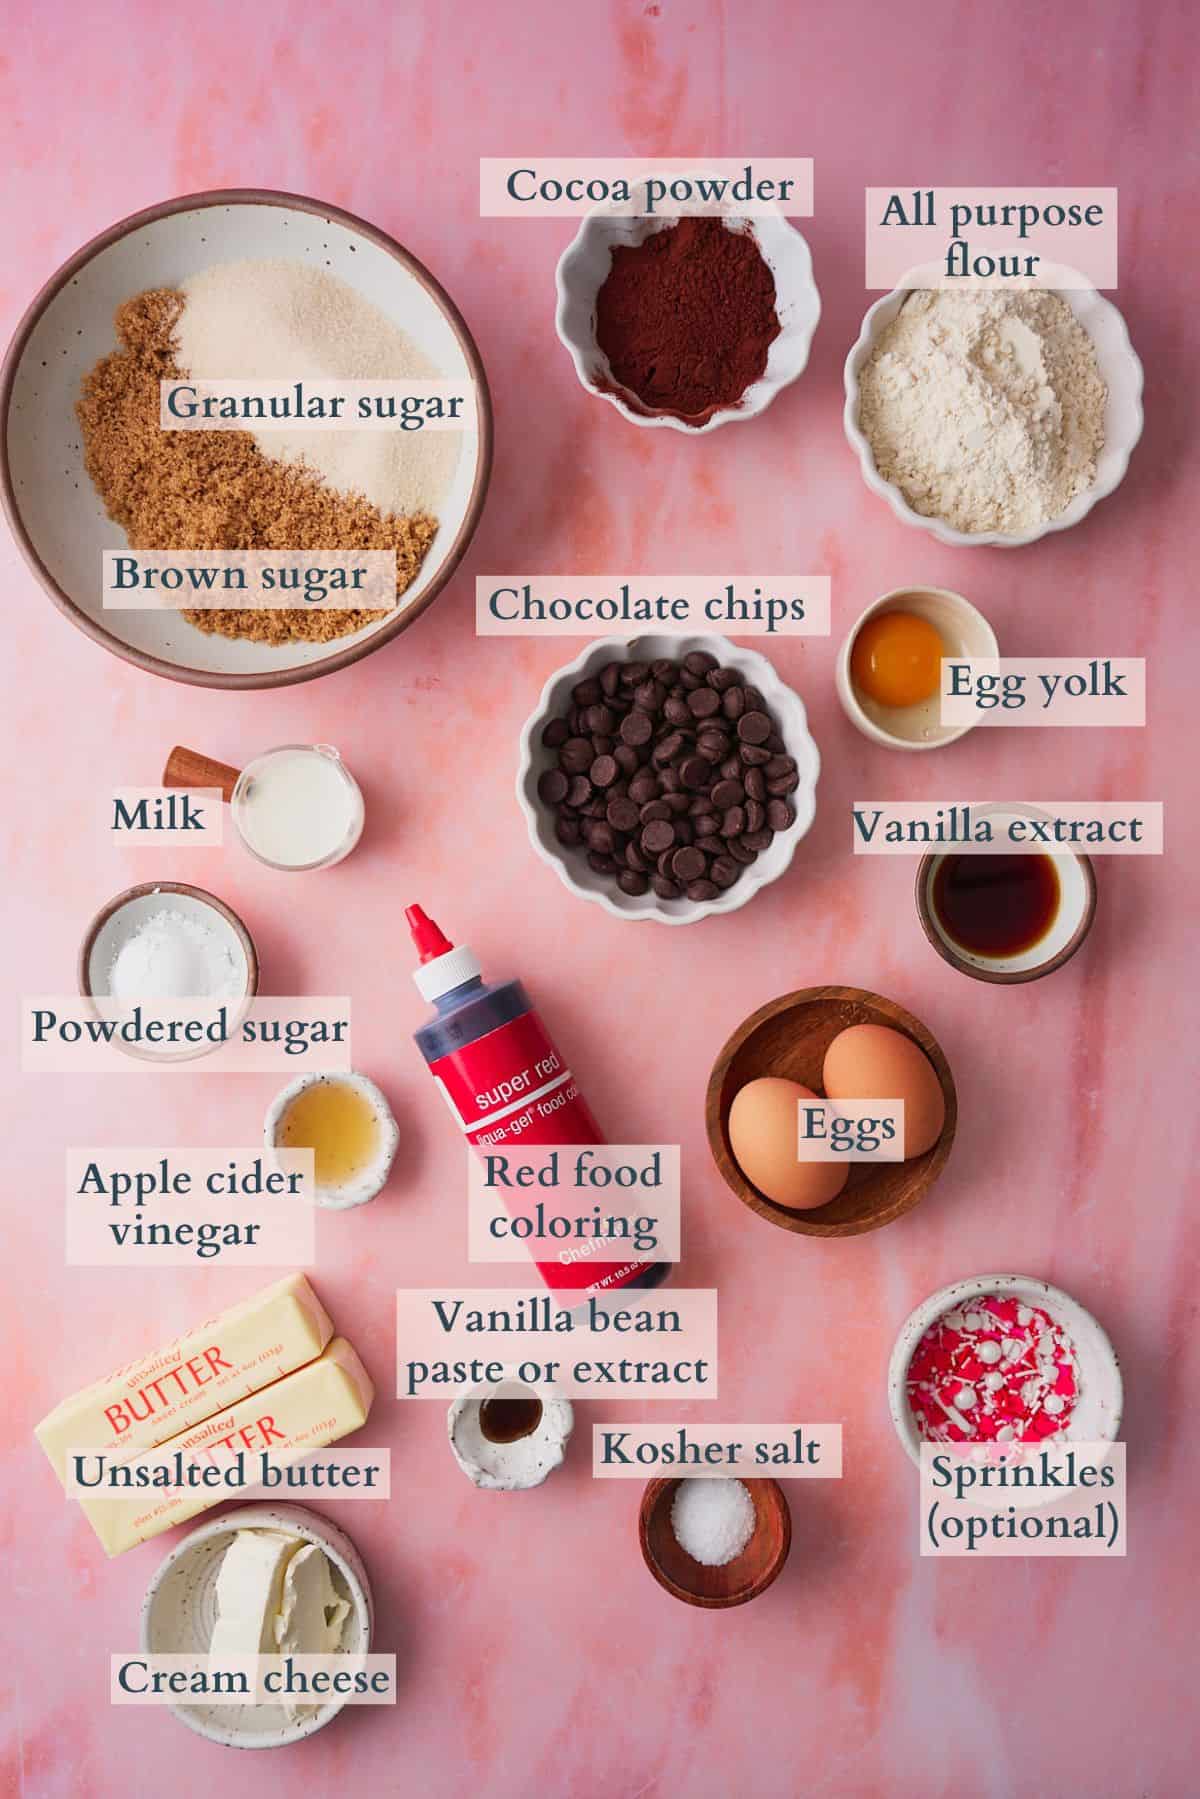
- Apple cider vinegar. White vinegar is a classic ingredient in red velvet desserts, so that could be used here as well. Vinegar helps enhance the chocolate flavor and gives the brownies a bit of tang. (You won't taste the vinegar!) You can leave it out if you prefer.
- Cocoa powder. We prefer to use Dutch-processed cocoa powder (affiliate link) for the rich chocolate flavor. You can use natural cocoa powder or any cocoa powder you prefer, however!
- Chocolate chips. You can also use a chocolate bar and cut it up into small pieces for easy melting. We went with bittersweet chocolate here (aim for around 70% cacao or higher!), and would recommend using either bittersweet or dark chocolate for a rich chocolate flavor! Semi-sweet chocolate can also be used but it is a bit sweeter, and we prefer the richer chocolate flavor that bittersweet chips add to this recipe.
- Unsalted butter. One of the secrets to making brownies have an incredibly rich flavor as well as deepening the chocolate is using HOT butter and combining it with cocoa powder and chocolate chips. This helps to "bloom" the chocolate, which really activates the chocolate flavor. For this recipe, we took it a step further and browned the butter to add even more flavor. The result was divine!
- Eggs + an egg yolk. Make sure they're room temperature.
- Cream cheese. For the optional cream cheese icing. You want this to be really soft so that it comes together easily with no lumps.
- Red food coloring. Red gel food coloring is going to give you a vibrant red result! You can use as much or as little as you want.
Visit the recipe card for the full quantities and nutritional information.
✨Substitutions
Here are a few suggestions on additional flavors to try, or simple variations to this recipe.
- No apple cider vinegar. You can use plain boiling water instead. The heat activates the chocolate giving it a deeper, richer flavor. Just be sure to add the hot liquid in a slow stream and whisk to prevent the hot liquid from cooking the eggs in the batter.
- No butter. Use a neutral oil like vegetable oil or avocado oil instead.
✨Variations
- Gluten-free. Simply swap the all-purpose flour with a 1:1 gluten free flour. We like using Bob’s Red Mill 1:1 gluten free flour.
- Dairy free. Swap the butter for a neutral oil, or use your favorite vegan butter. You will also want to omit the cream cheese topping, or make it with dairy-free ingredients like dairy-free cream cheese and your favorite nut milk instead.
- White chocolate topping. If you'd like, you can swap the cream cheese icing for a white chocolate drizzle made by melting white chocolate chips, white chocolate bars, or white chocolate wafers.
*This recipe hasn't been tested with other substitutions or variations. If you change or add any ingredients, please let us know how it turned out in the comments below.
🔪Prep work
- Allow the eggs, cream cheese, and milk to sit out at room temperature.
- Preheat the oven to 350°F.
- Grease an 8x8 baking pan and line it with parchment paper.
- Measure out the rest of the ingredients using a food scale.
📋Instructions
Start by adding the butter to a heavy bottomed saucepan. Melt it over medium heat. If you want, continue heating it until the butter has browned. Here's our guide for how to brown butter for step-by-step instructions!
The key is, no matter if you're browning the butter or not, the butter needs to be hot enough to melt the chocolate easily!
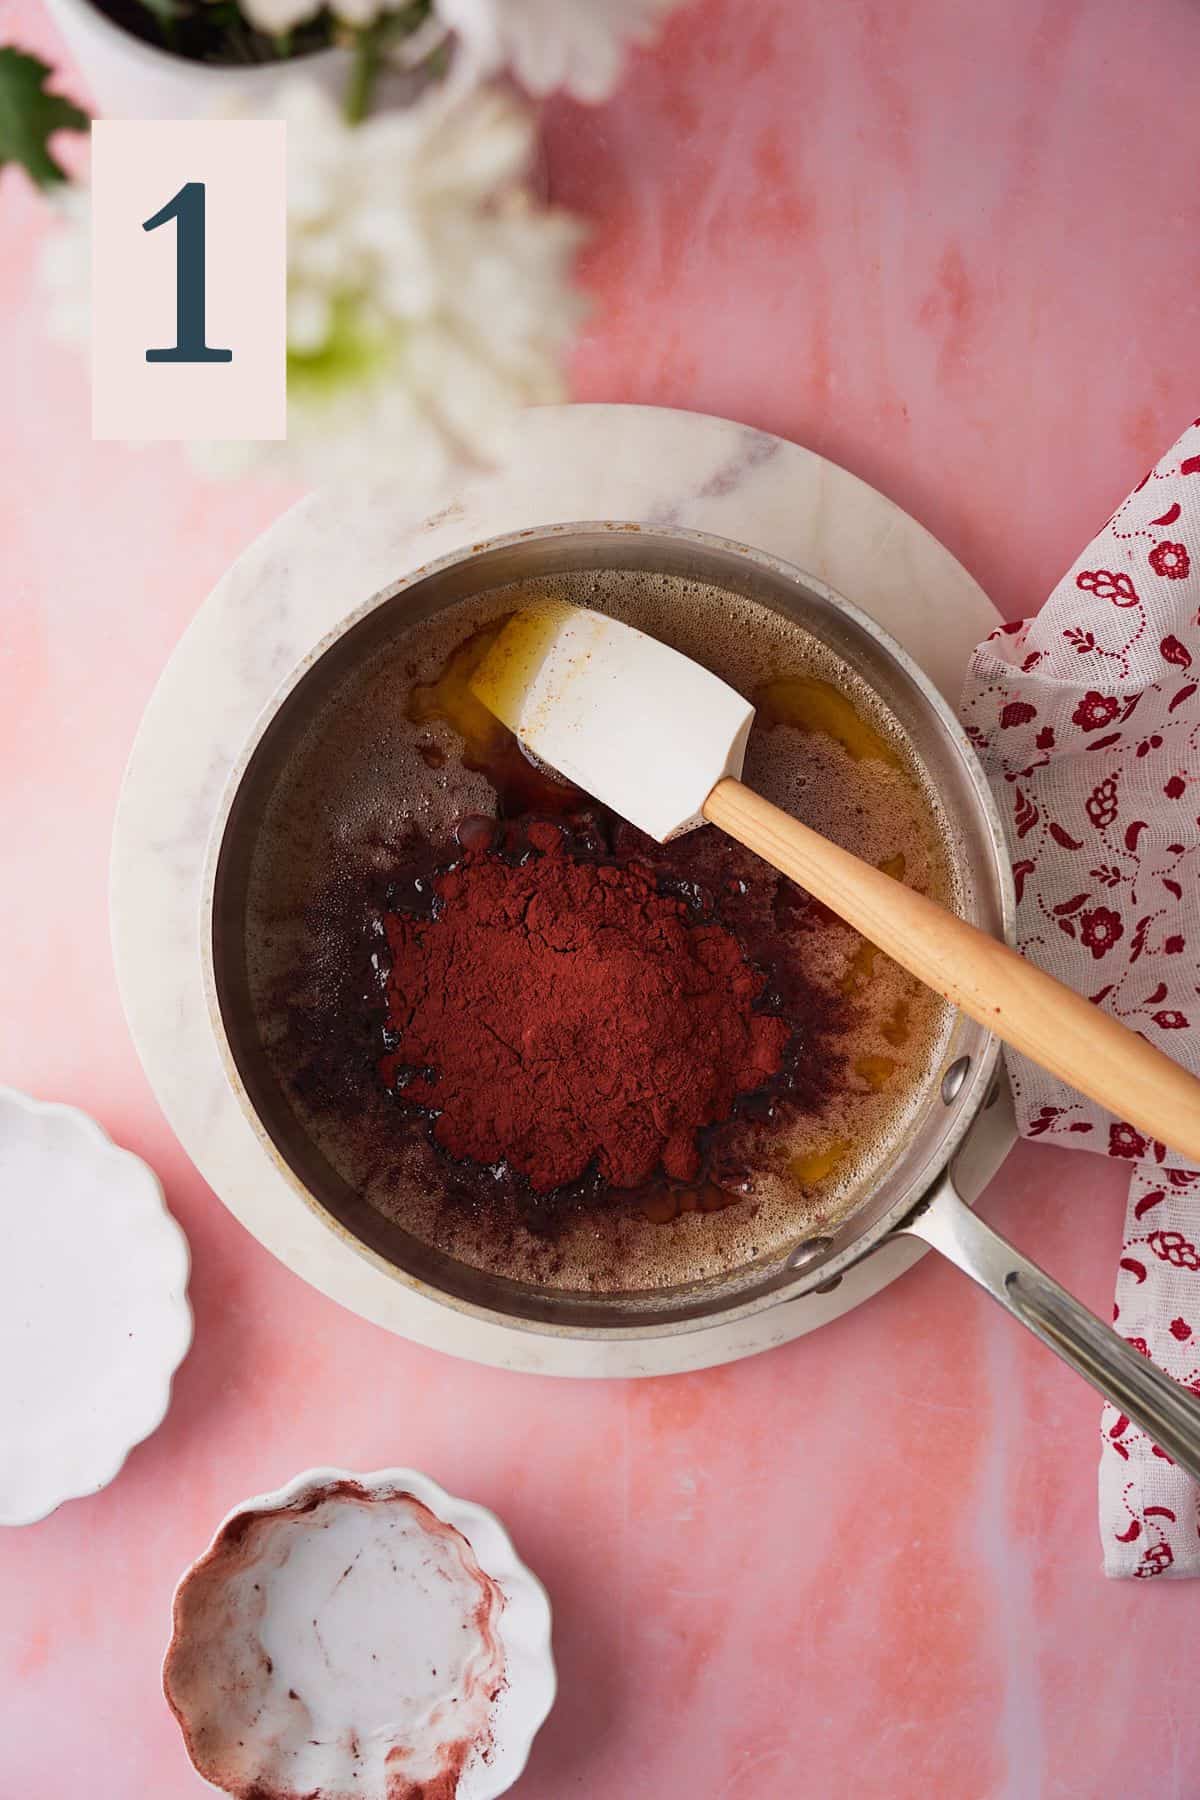
After the butter is nice and hot (and potentially browned) remove the saucepan from the heat and add the cocoa powder and chocolate chips or chocolate pieces. (Image 1)
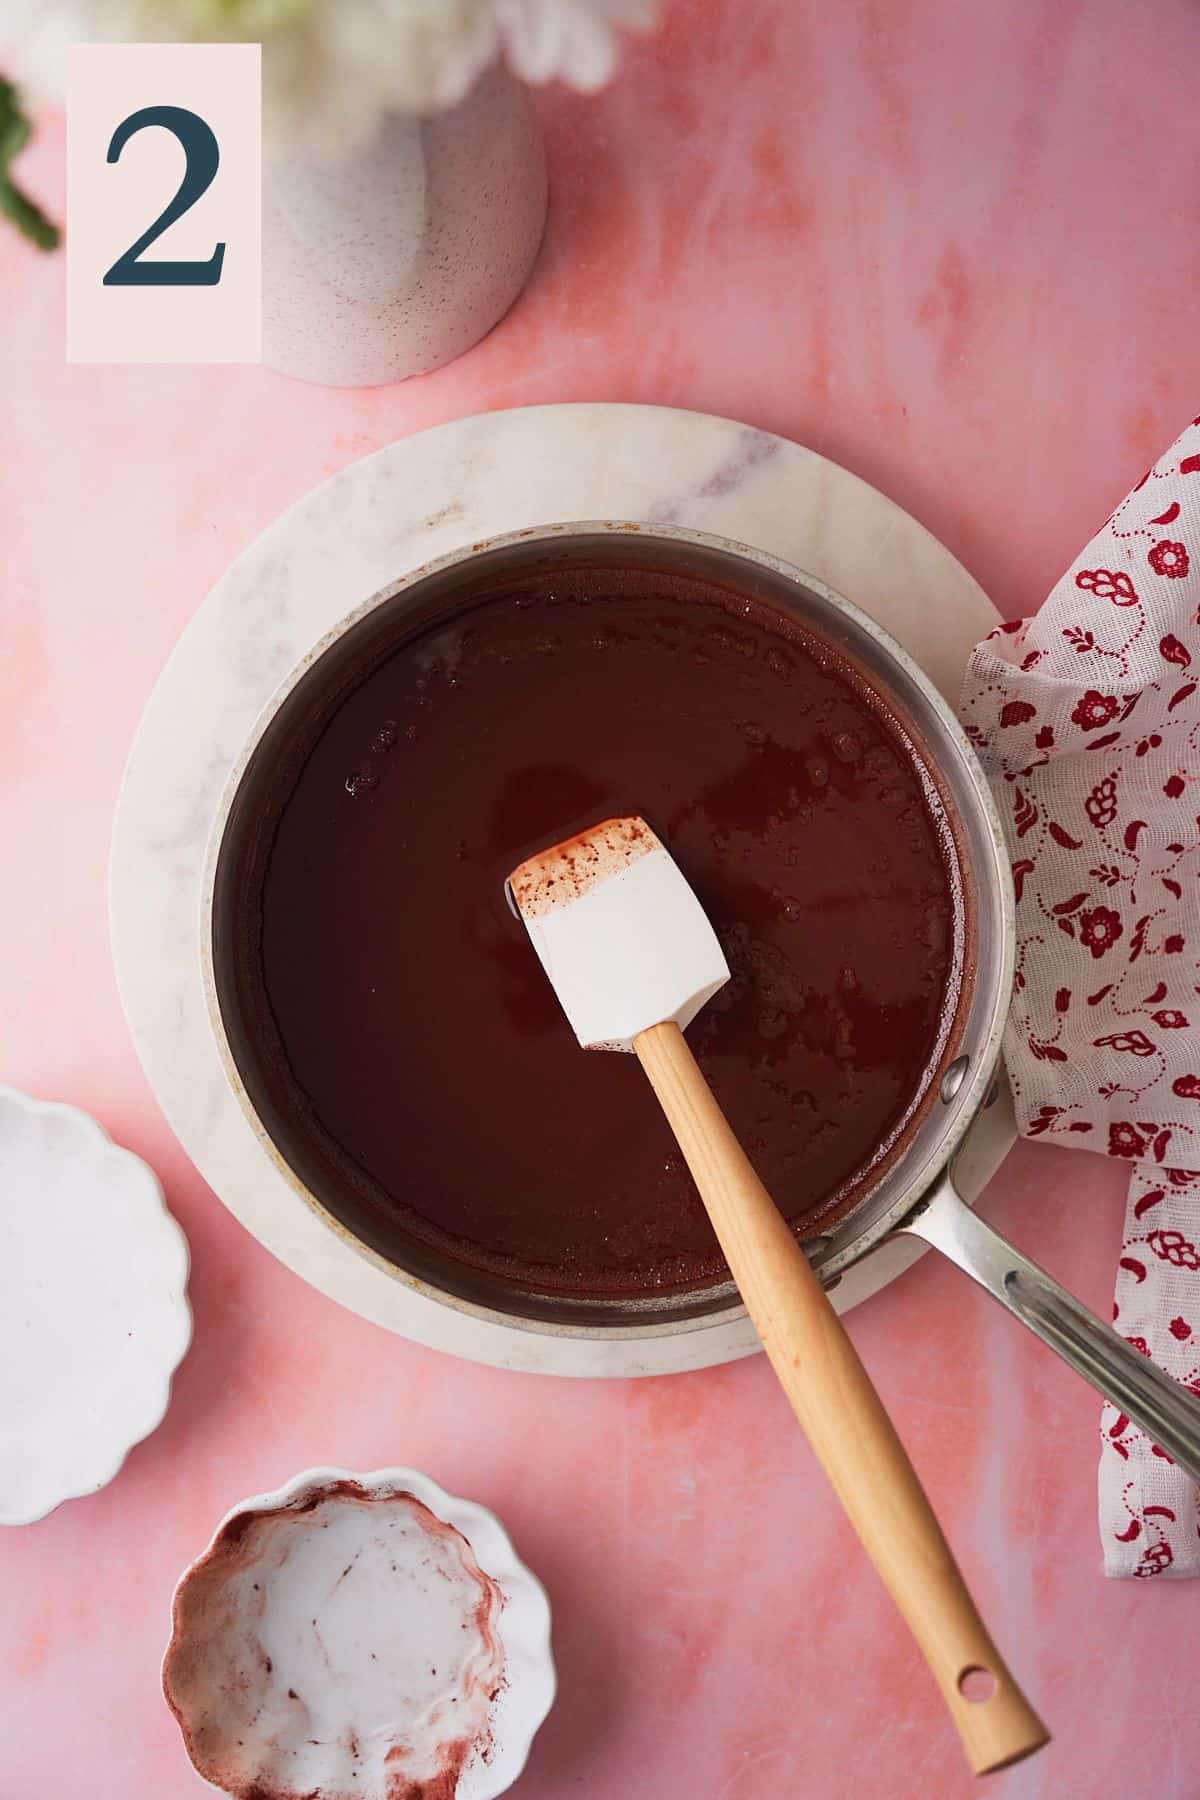
Keep mixing everything together with a rubber spatula to melt the chocolate and combine everything until smooth. (Image 2)
Once combined, remove from the saucepan and place in a separate container to cool.
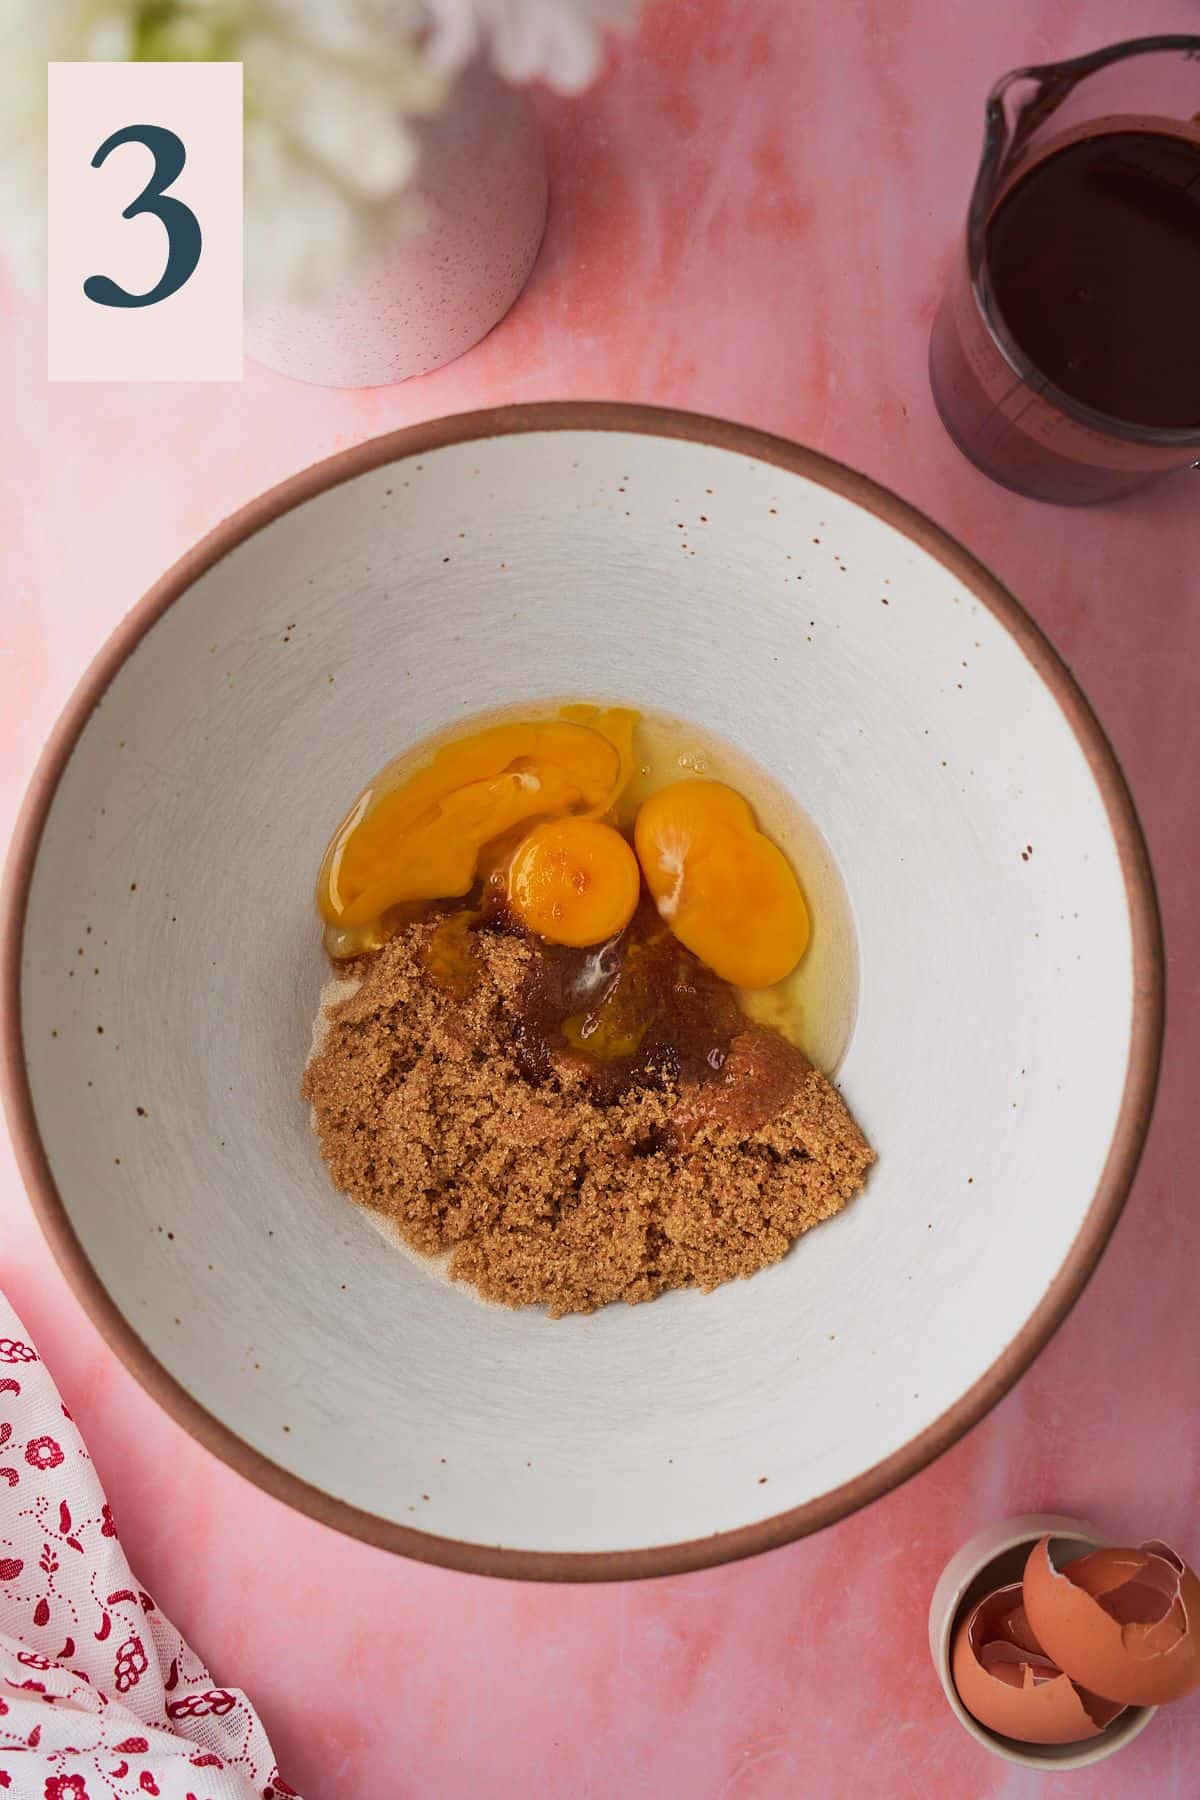
Add the eggs, the egg yolk, granular sugar, and brown sugar to a large bowl. (Image 3)
Mix on medium speed with an electric mixer for 3-4 minutes, or until the sugars have mostly dissolved and the mixture is light and fluffy. (Image 4)
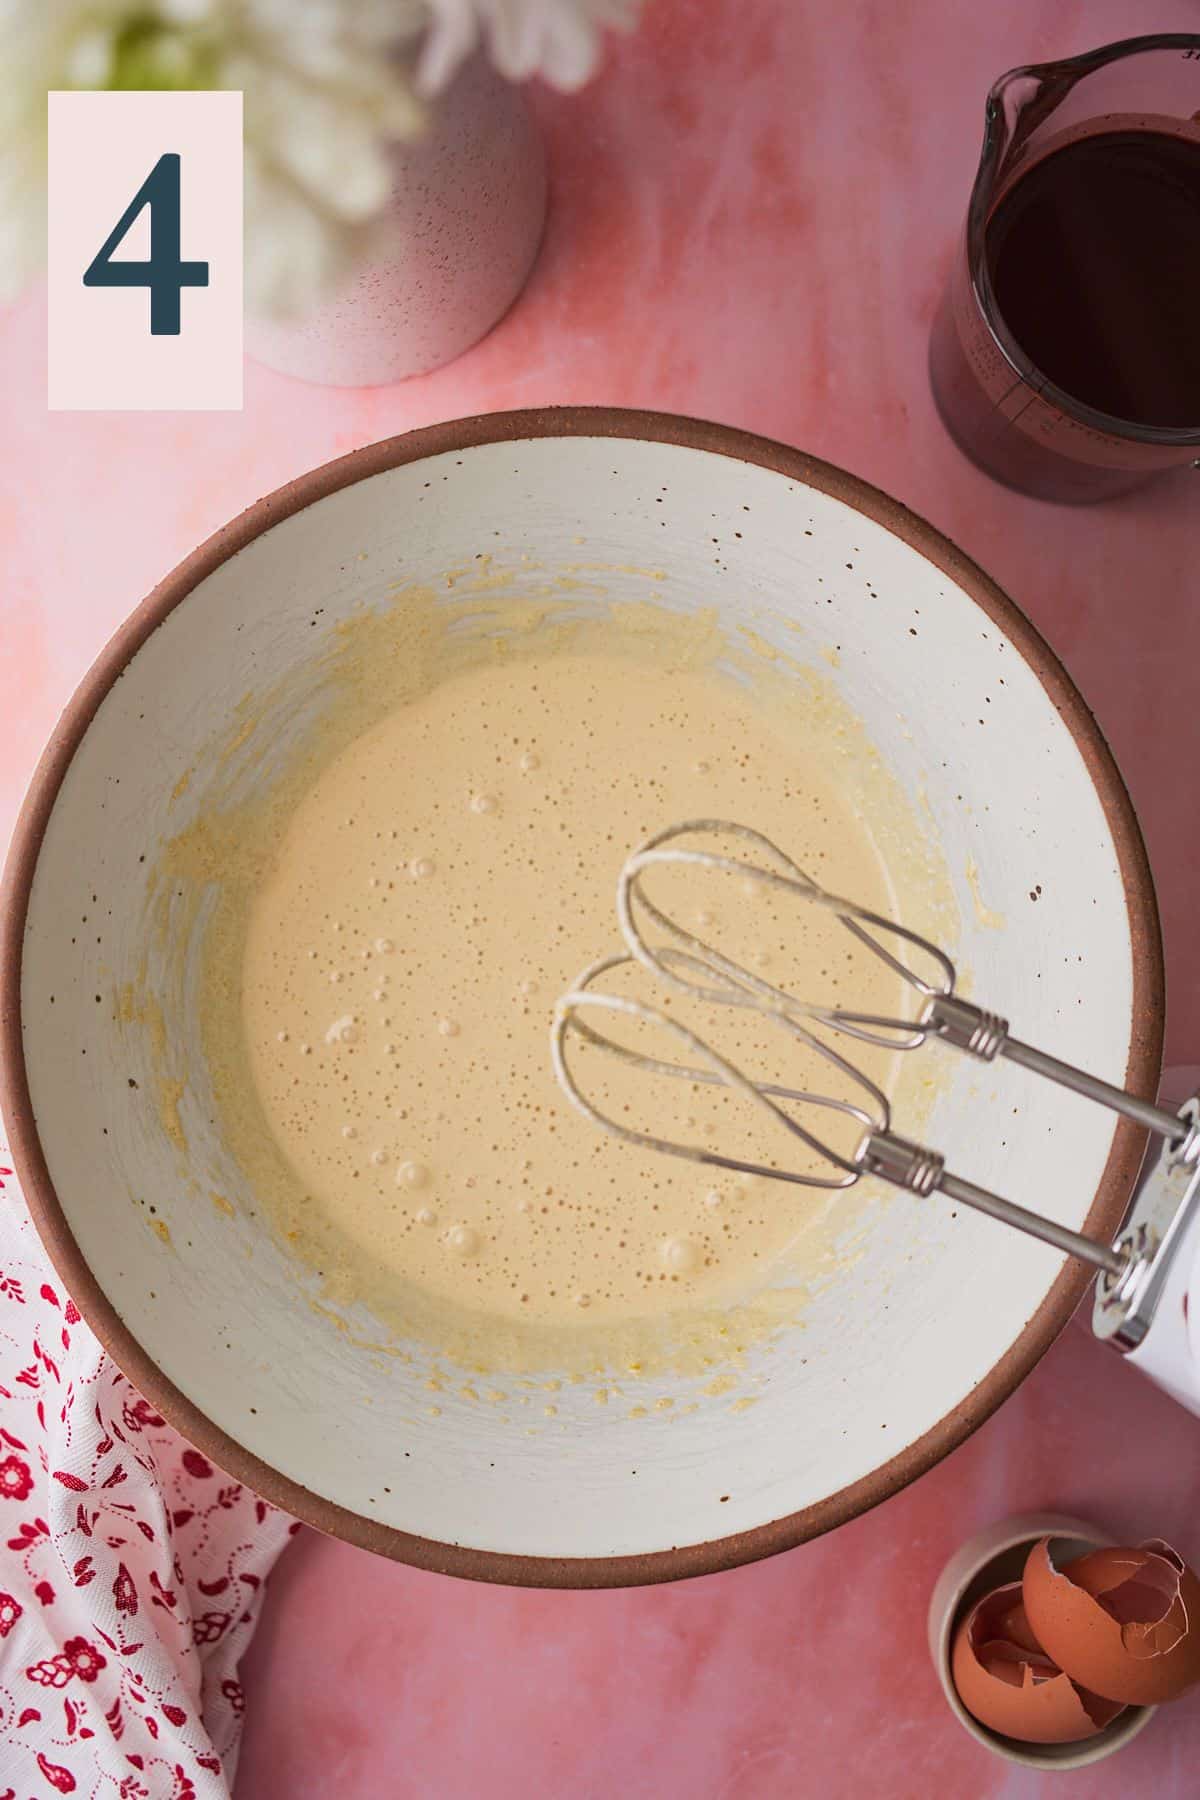
✨Pro Tip: Take your time at this part of the process! Creaming the eggs and sugars together to dissolve the sugars is what gives the brownies that gorgeous shiny, crackly top!
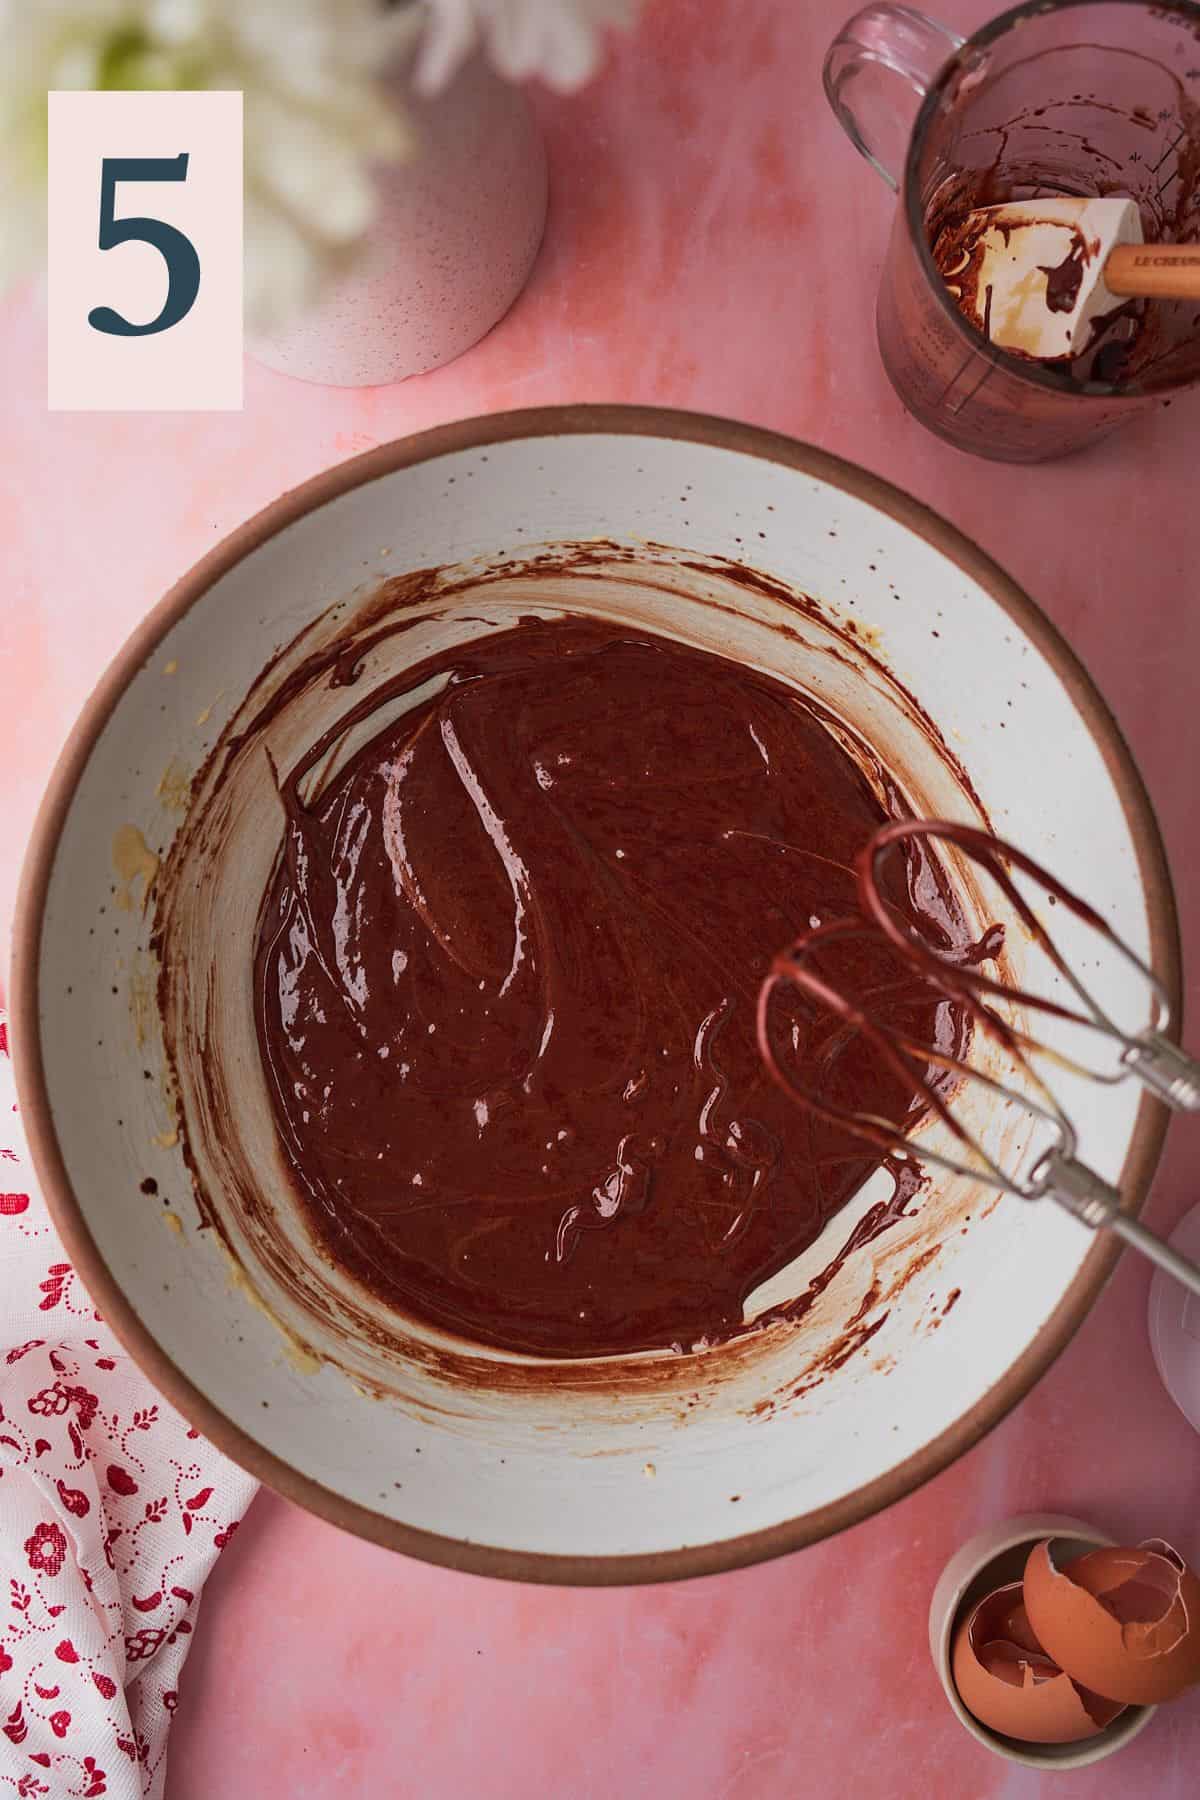
Once the chocolate has cooled down, stream it in slowly to the egg and sugar mixture while using the hand mixer on medium speed to incorporate it. Be sure to scrape the bowl a few times with a rubber spatula to make sure everything is incorporated. (Image 5)
Add in red food coloring, apple cider vinegar, and vanilla extract. (Image 6)
Mix until well combined and until you've achieved the color you want. Make sure to scrape the bowl to ensure everything is all incorporated. (Image 7)


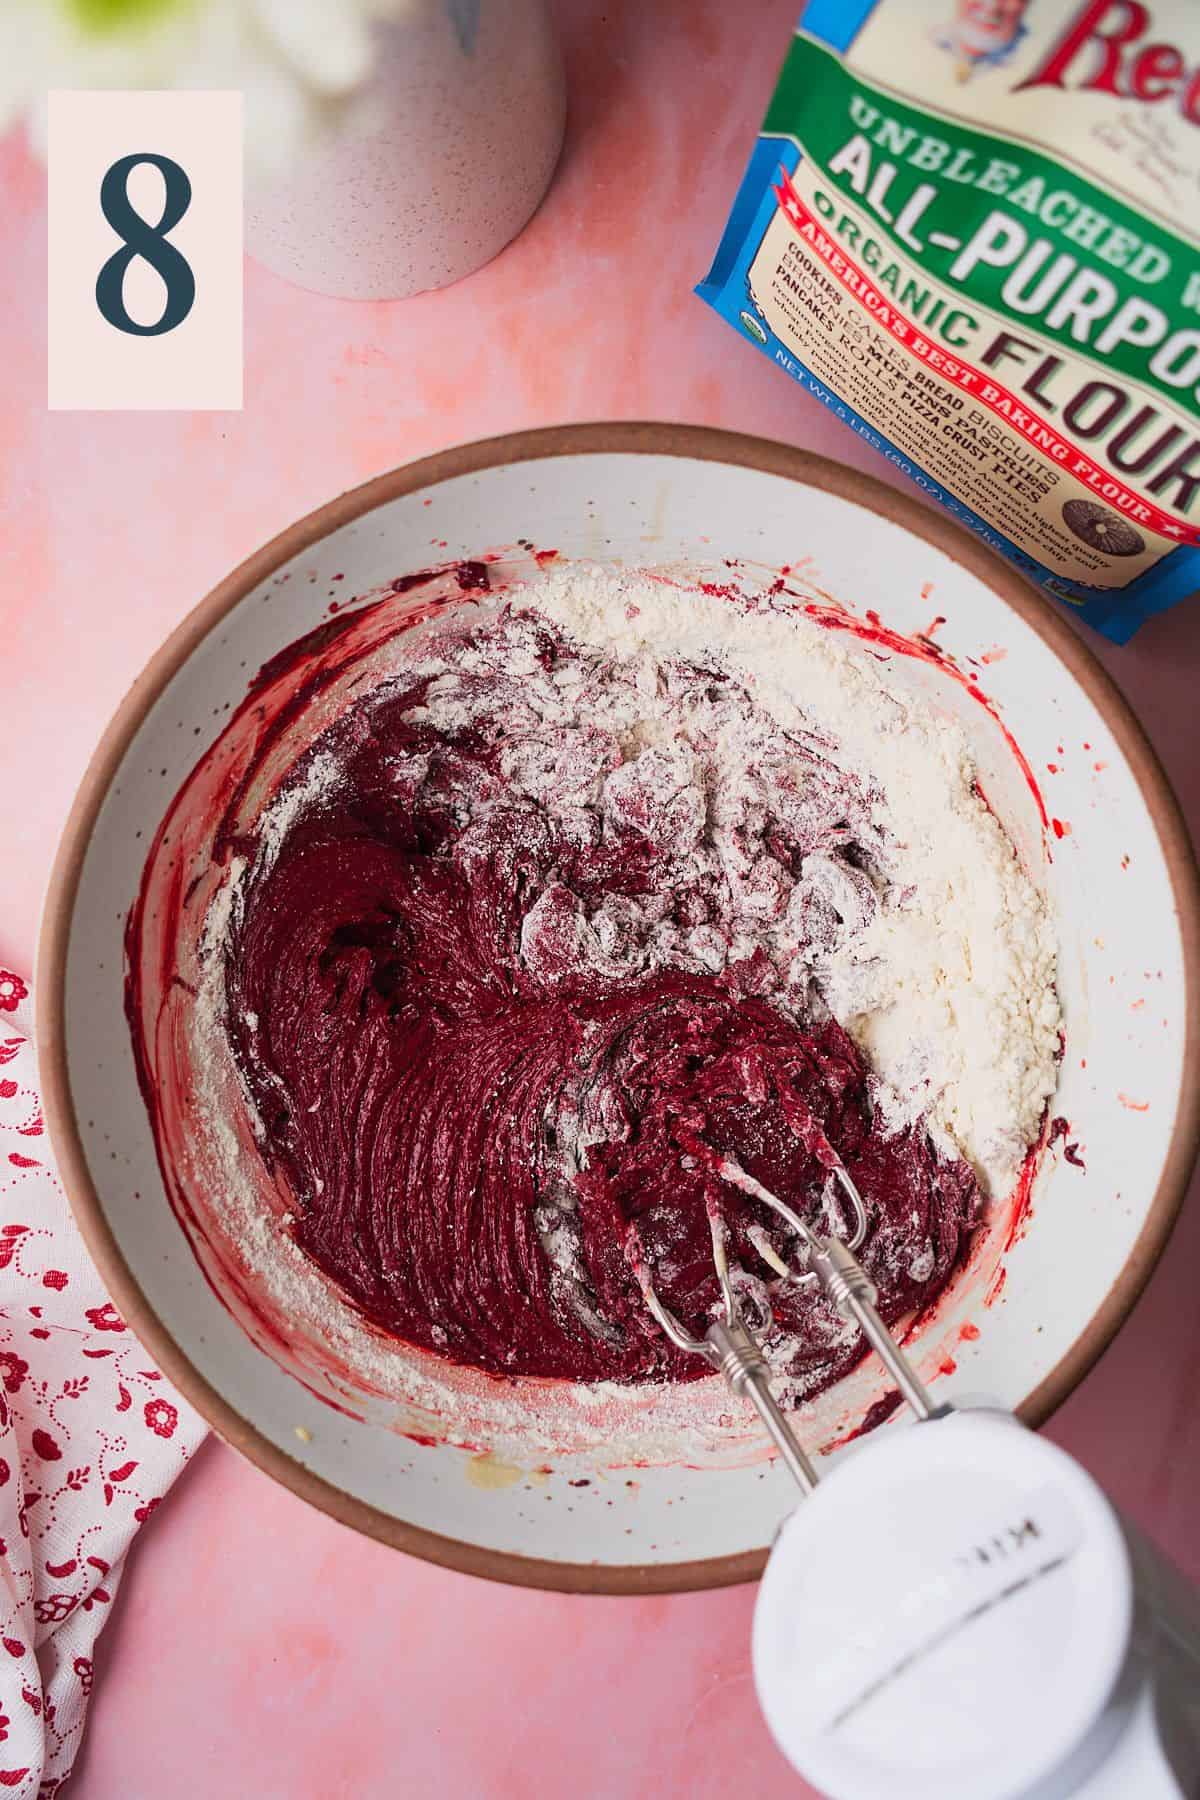
Now, sift in the all purpose flour and kosher salt to the wet ingredients. Mix the batter on low speed with the electric mixer to incorporate gently. (Image 8)
Once almost all the way mixed, switch to a rubber spatula to ensure you don't overmix the brownies at this stage. Scrape the bowl and make sure everything is completely incorporated.
✨Pro Tip: Use a digital food scale for precise results when measuring flour. Often, too much flour results in dry brownies. To avoid this, measure it with a food scale.
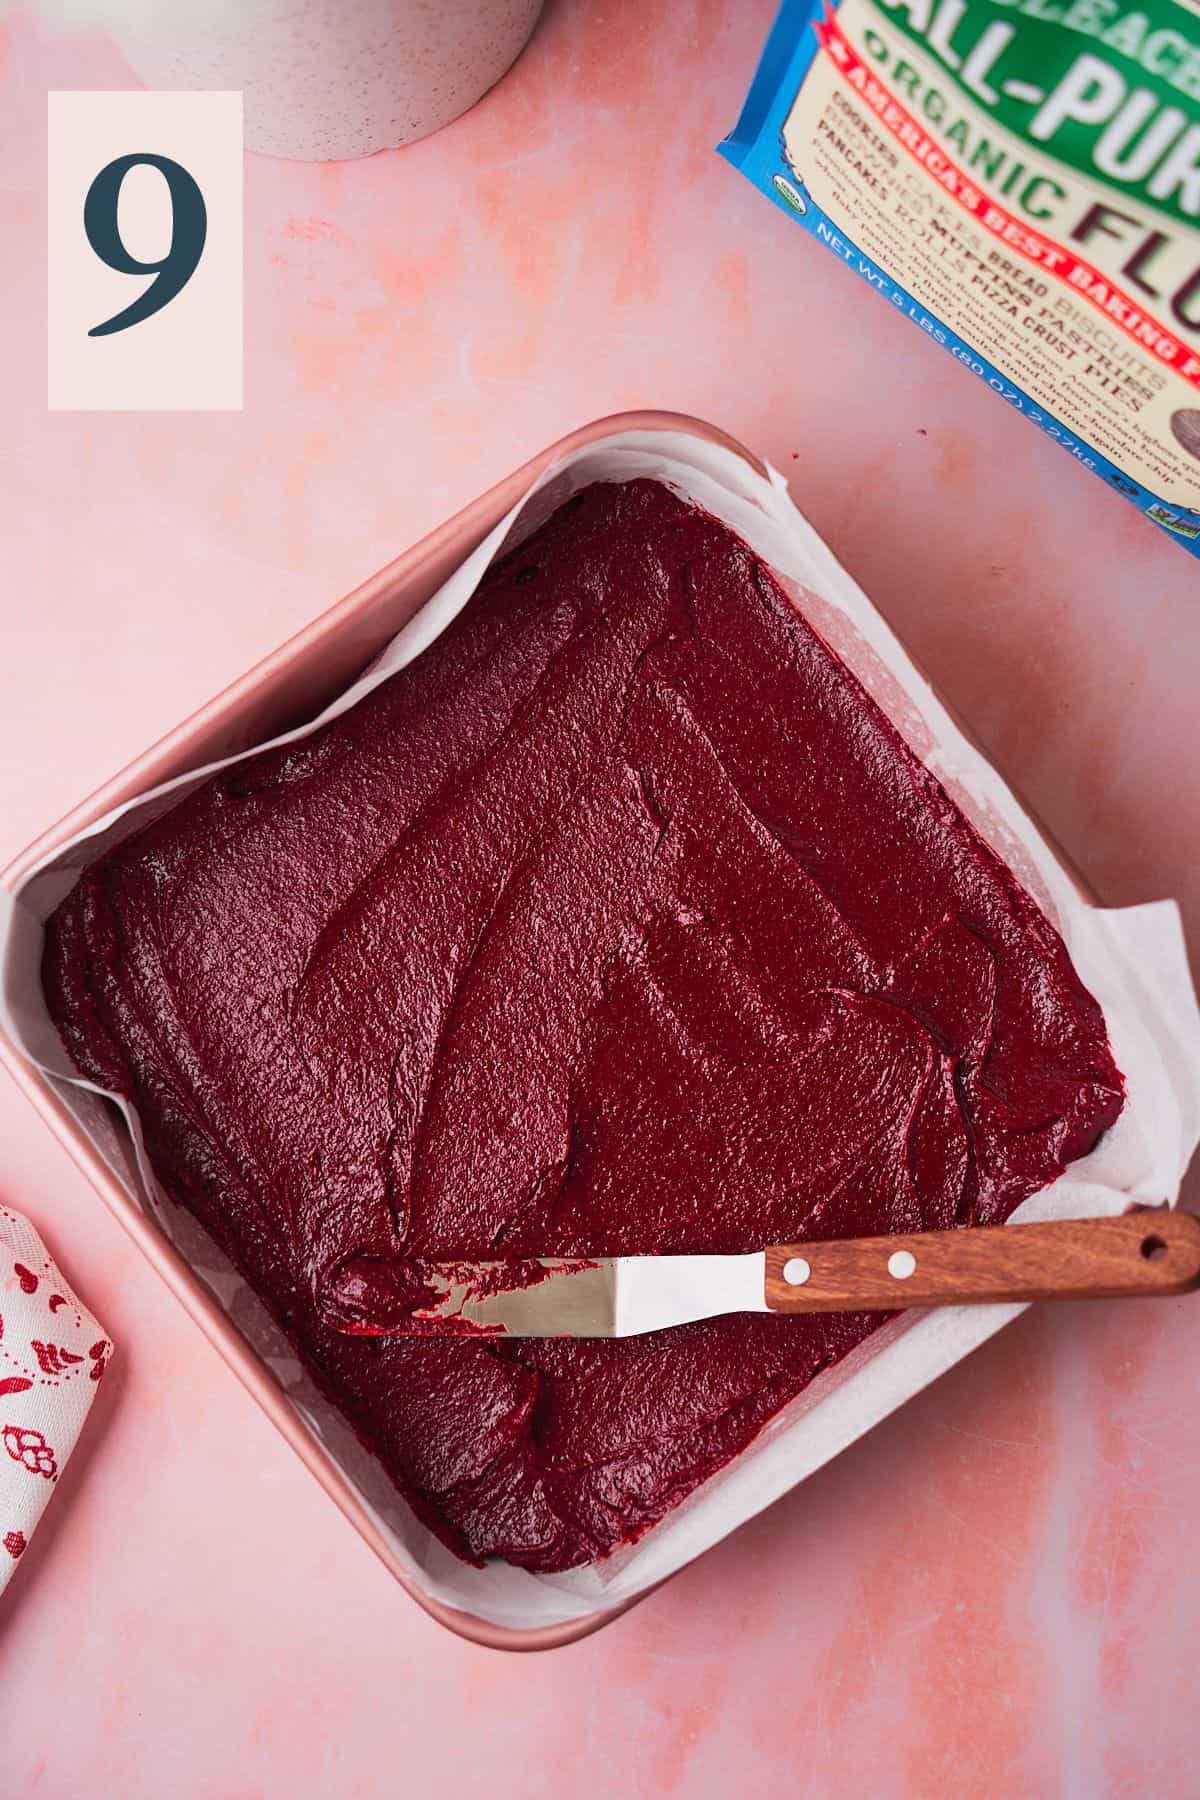
Transfer the batter to the prepared baking pan, and smooth with an offset spatula. (Image 9)
Bake for 30-40 minutes (the sweet spot for us is about 35 minutes!), until the top is set and a toothpick comes out mostly clean with a few moist crumbs. Don't overbake. The brownies will continue to bake in the hot pan as they cool. Place on a cooling rack to cool. (Image 10)
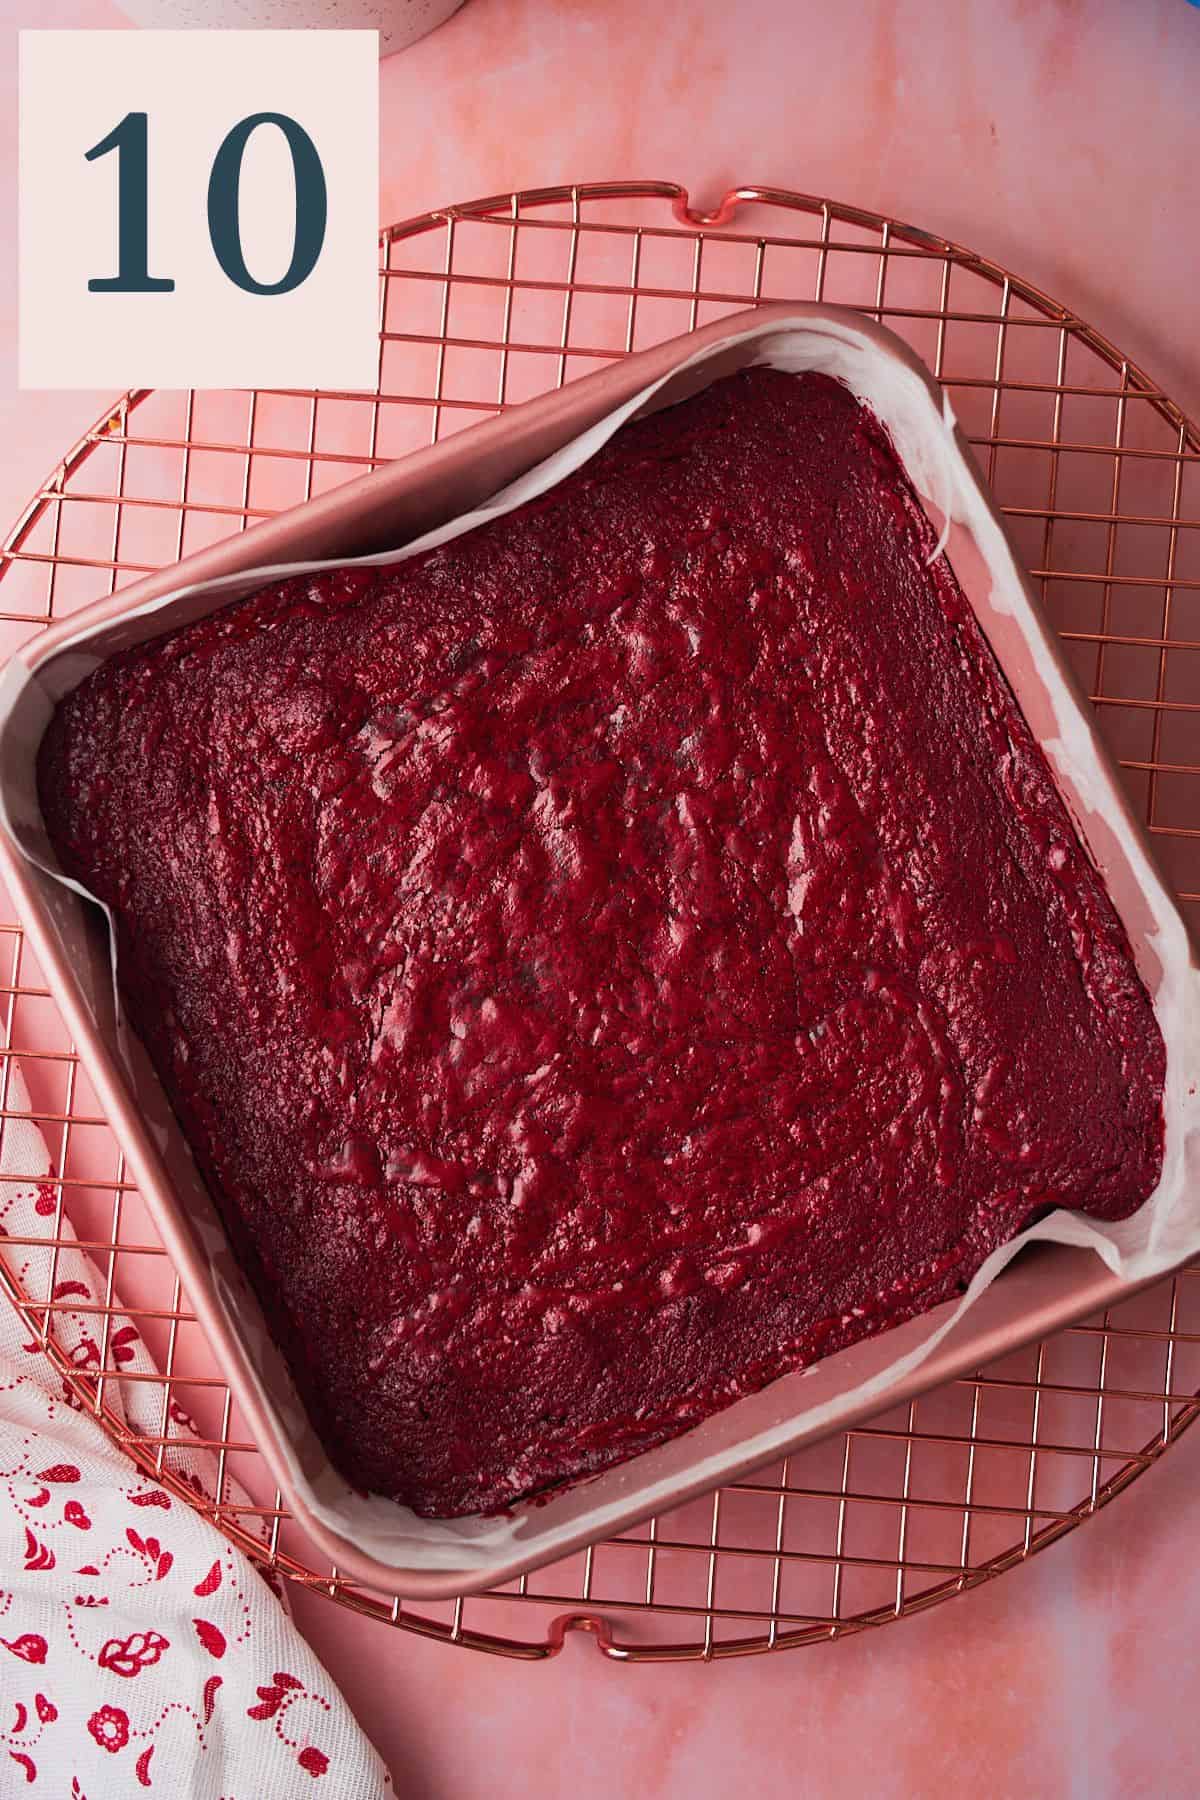
✨Pro Tip: Waiting to dig in is the hardest part - but because we underbake the brownies a bit, it's super important to let them cool completely! If you start cutting into them right away, they won't be fully set.
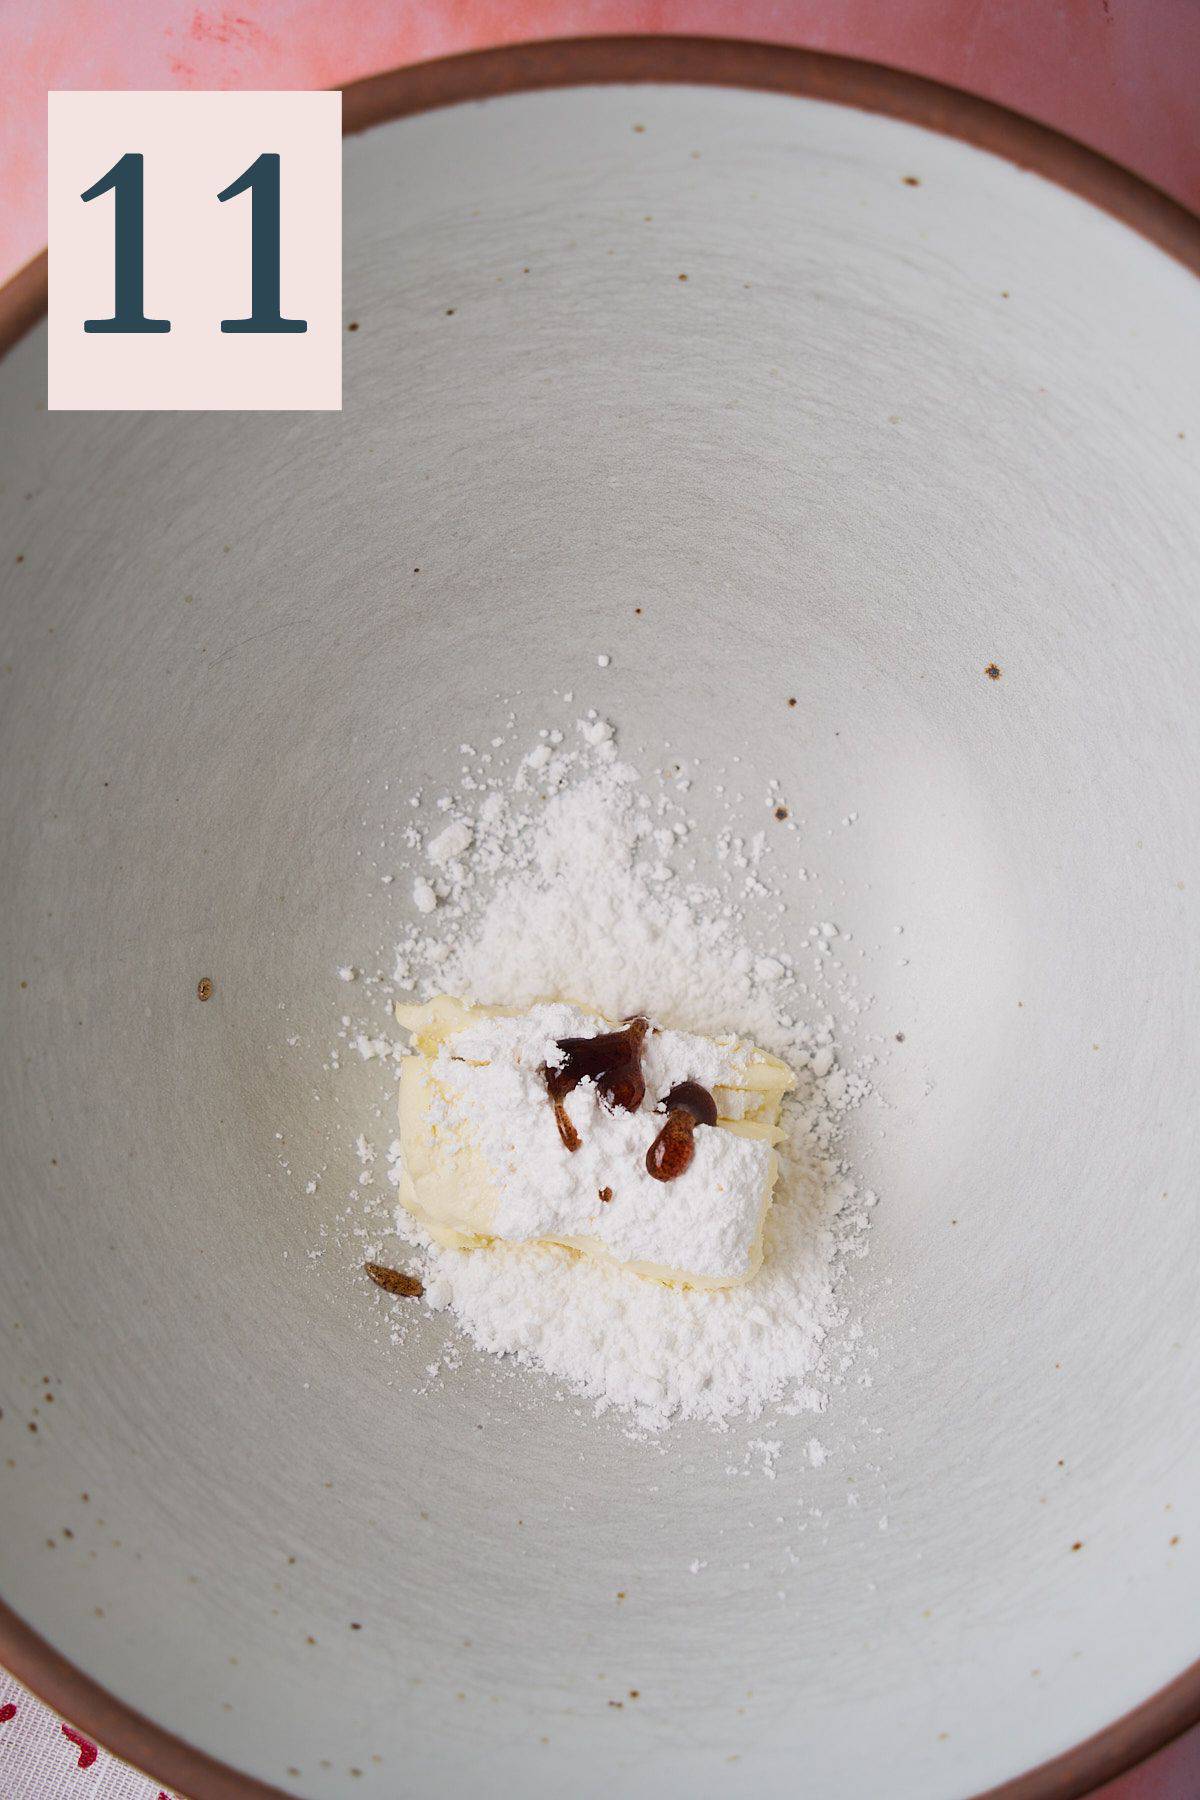
Meanwhile, while the brownies cool, make the icing. In a mixing bowl, add the softened cream cheese, vanilla bean paste or extract, and some of the powdered sugar (Image 11).
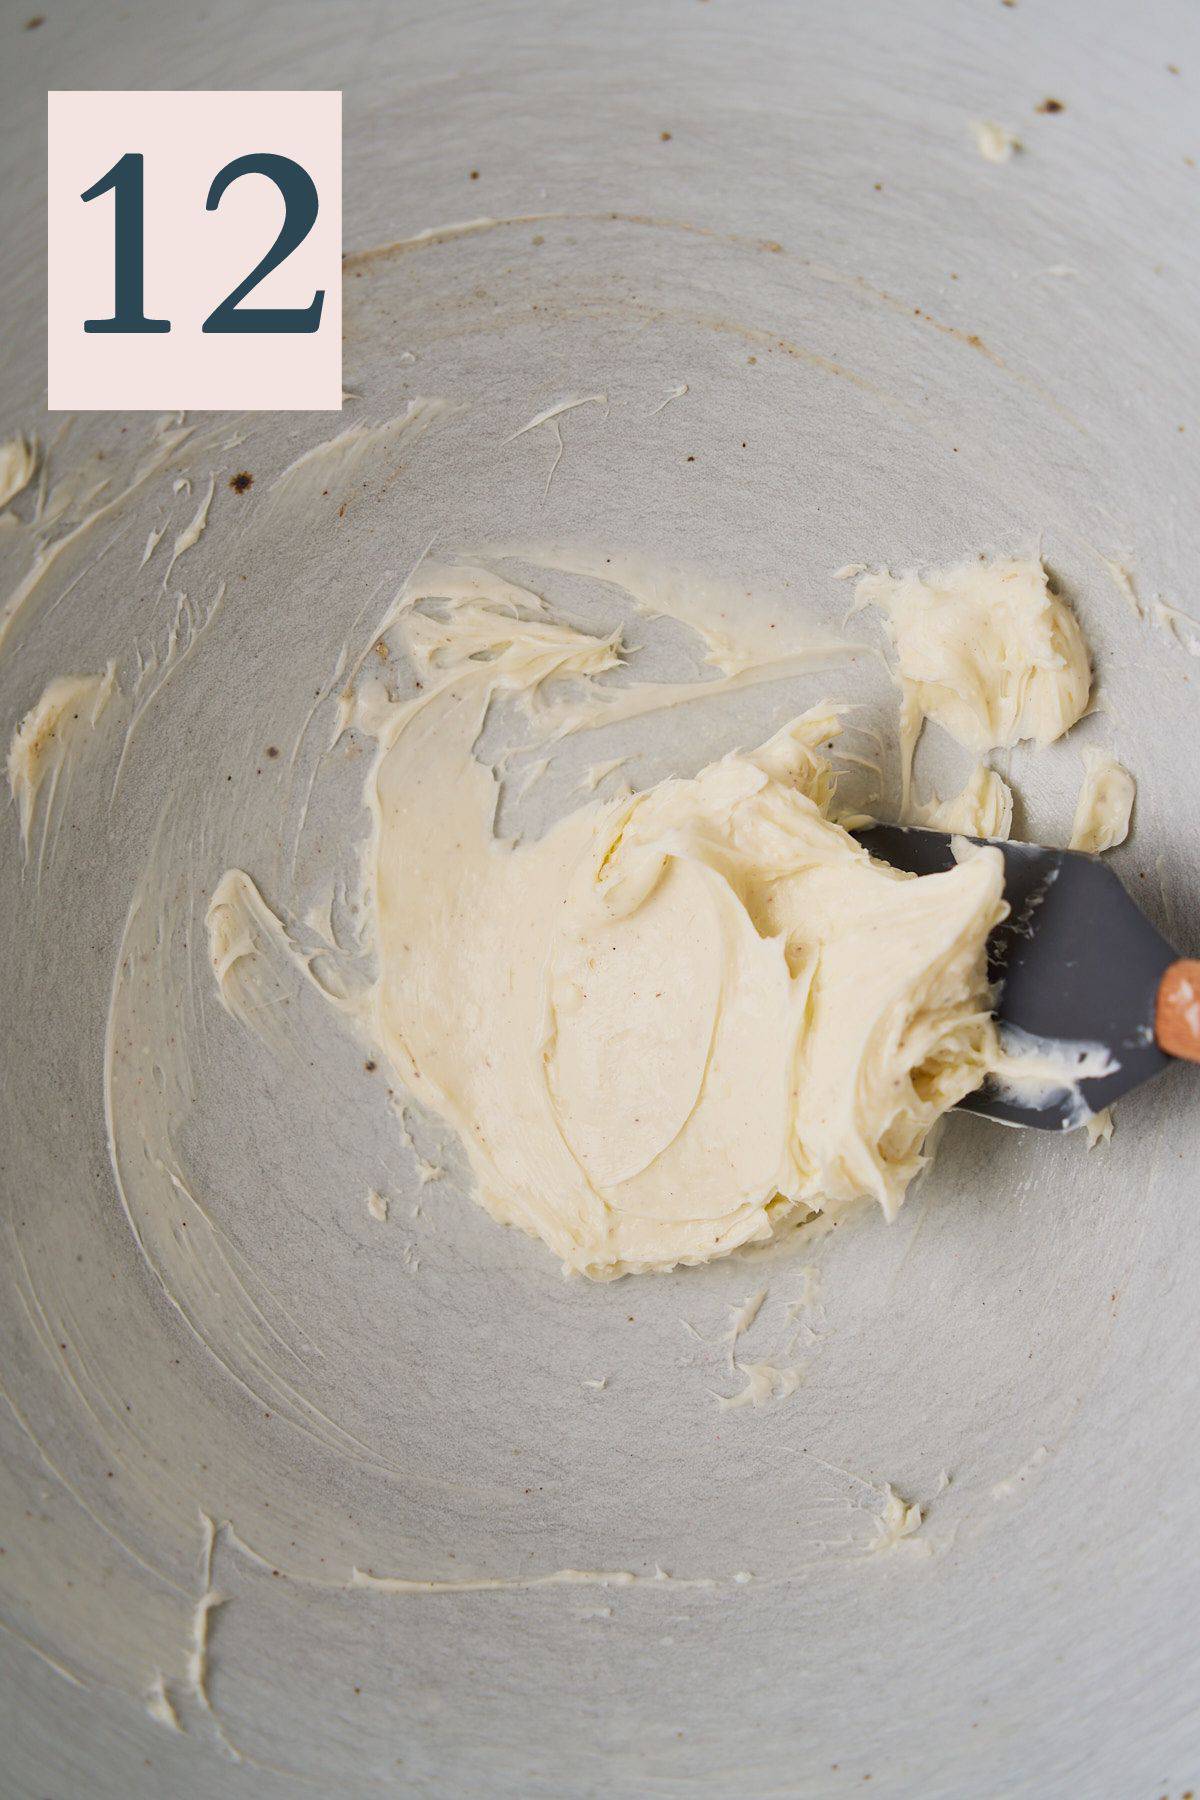
Using your hand mixer, mix until well combined and there are no lumps. Be sure the scape the sides of the bowl a few times to ensure everything is incorporated. (Image 12)
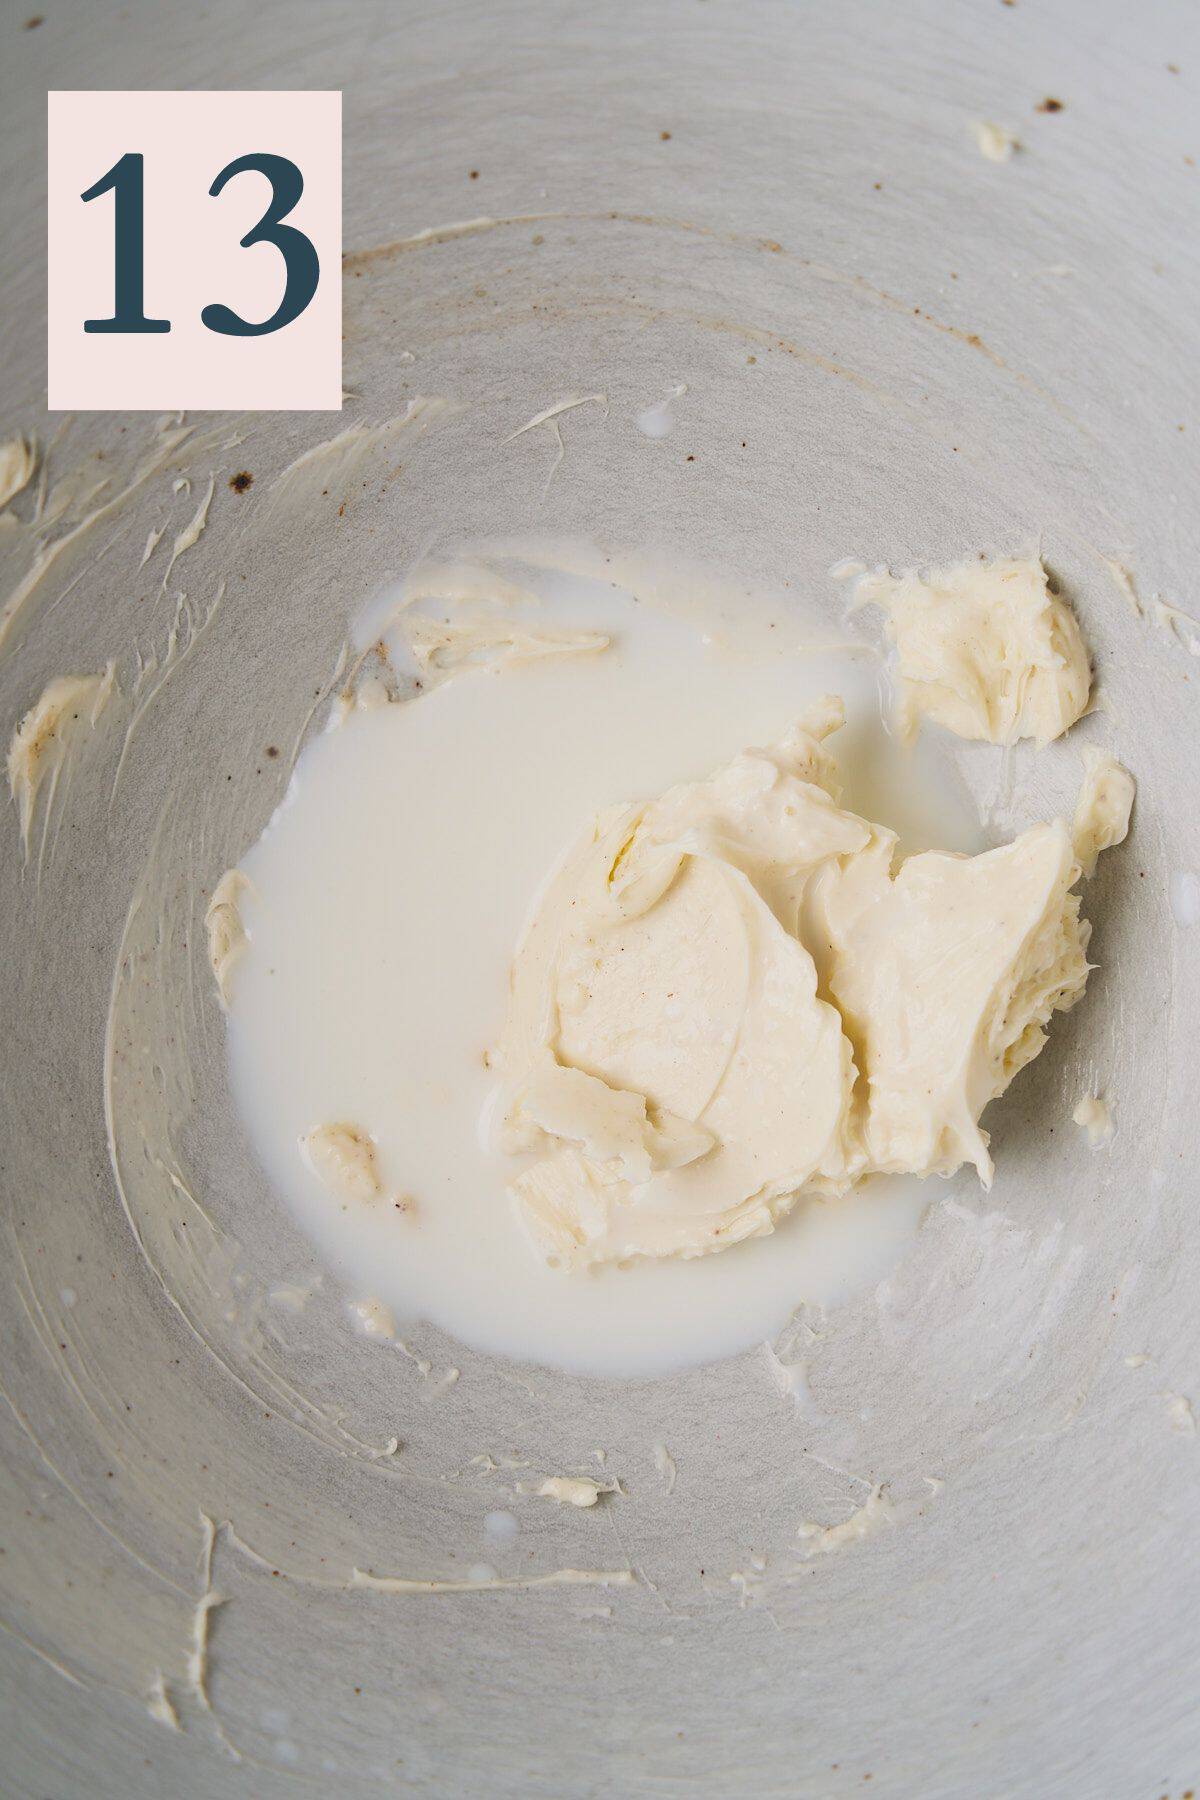
Now, add in some milk (Image 13) and mix until you've reached your desired consistency. (Image 14)
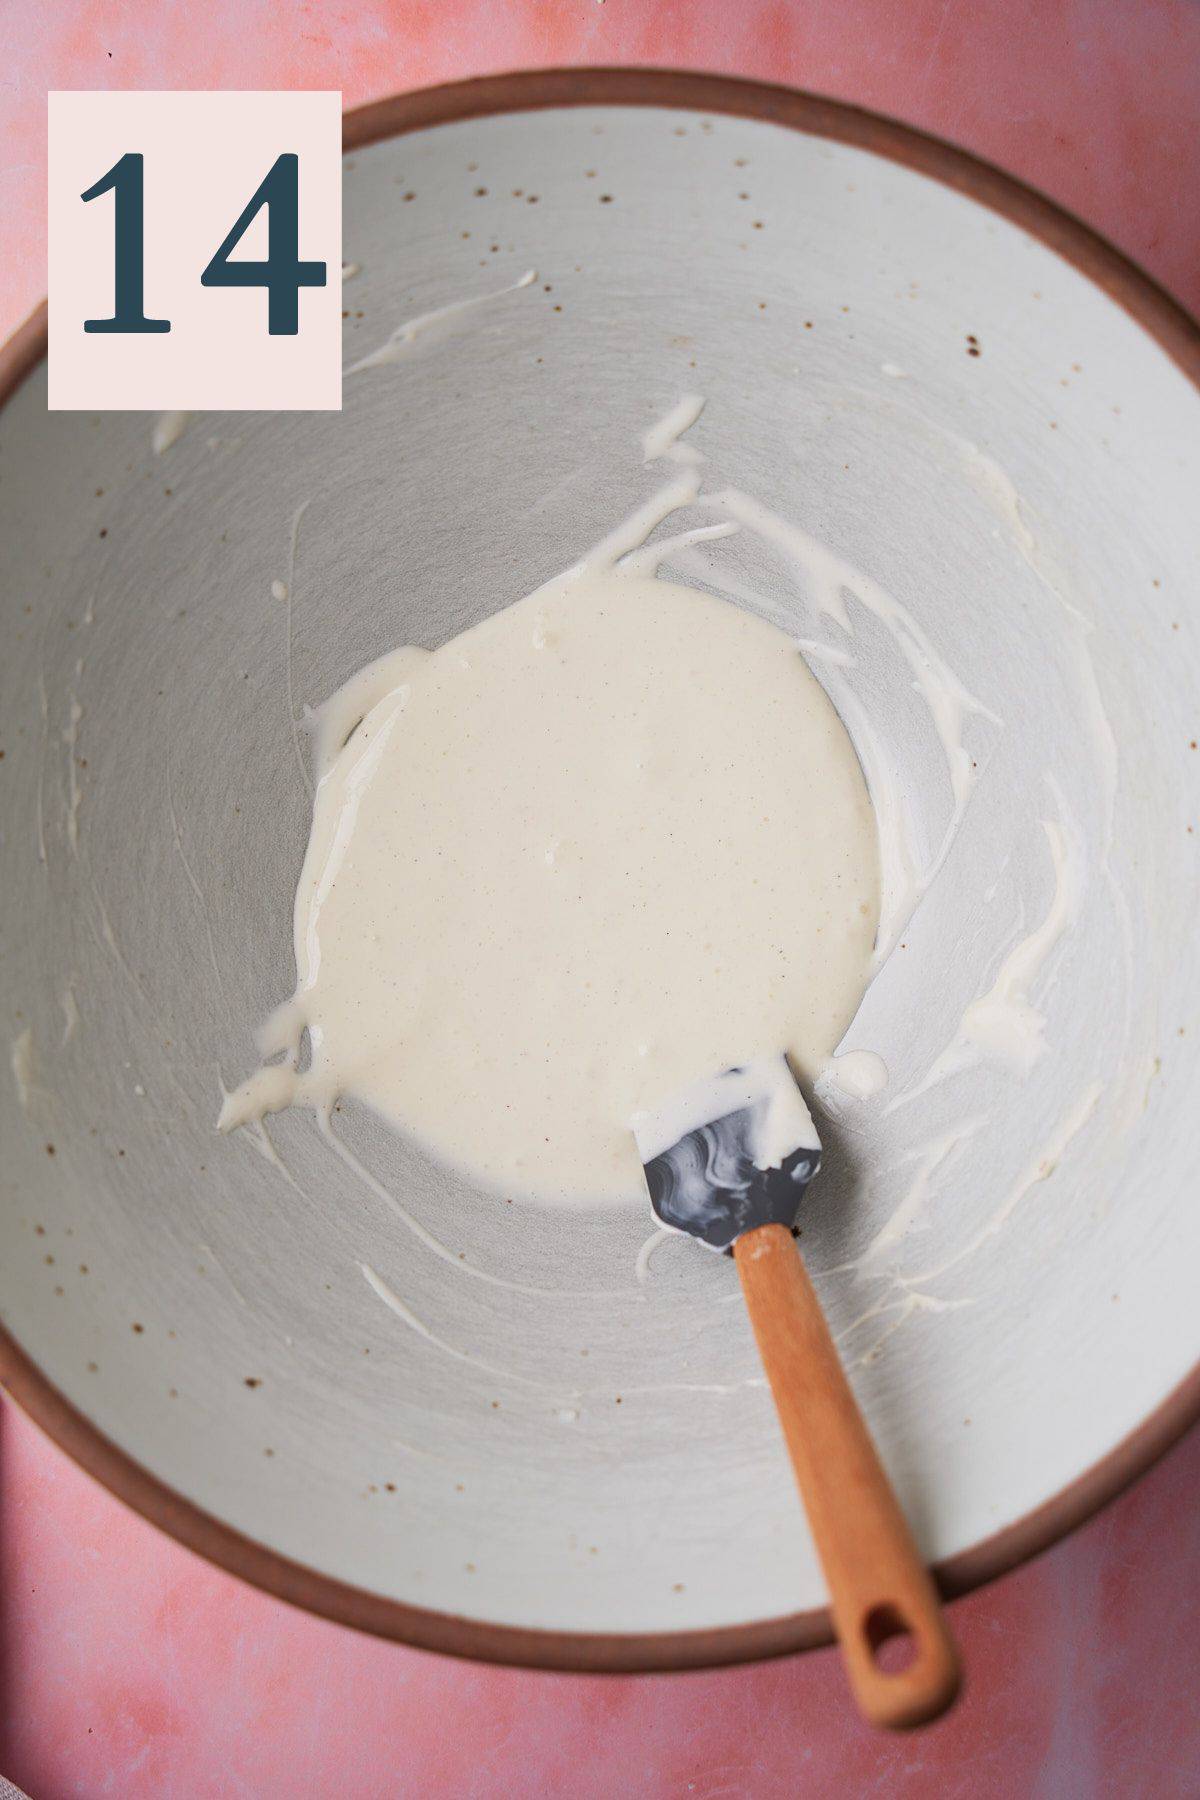
✨Pro Tip: If the icing is too thin, add more powdered sugar. If the icing is too thick, add a bit more milk.
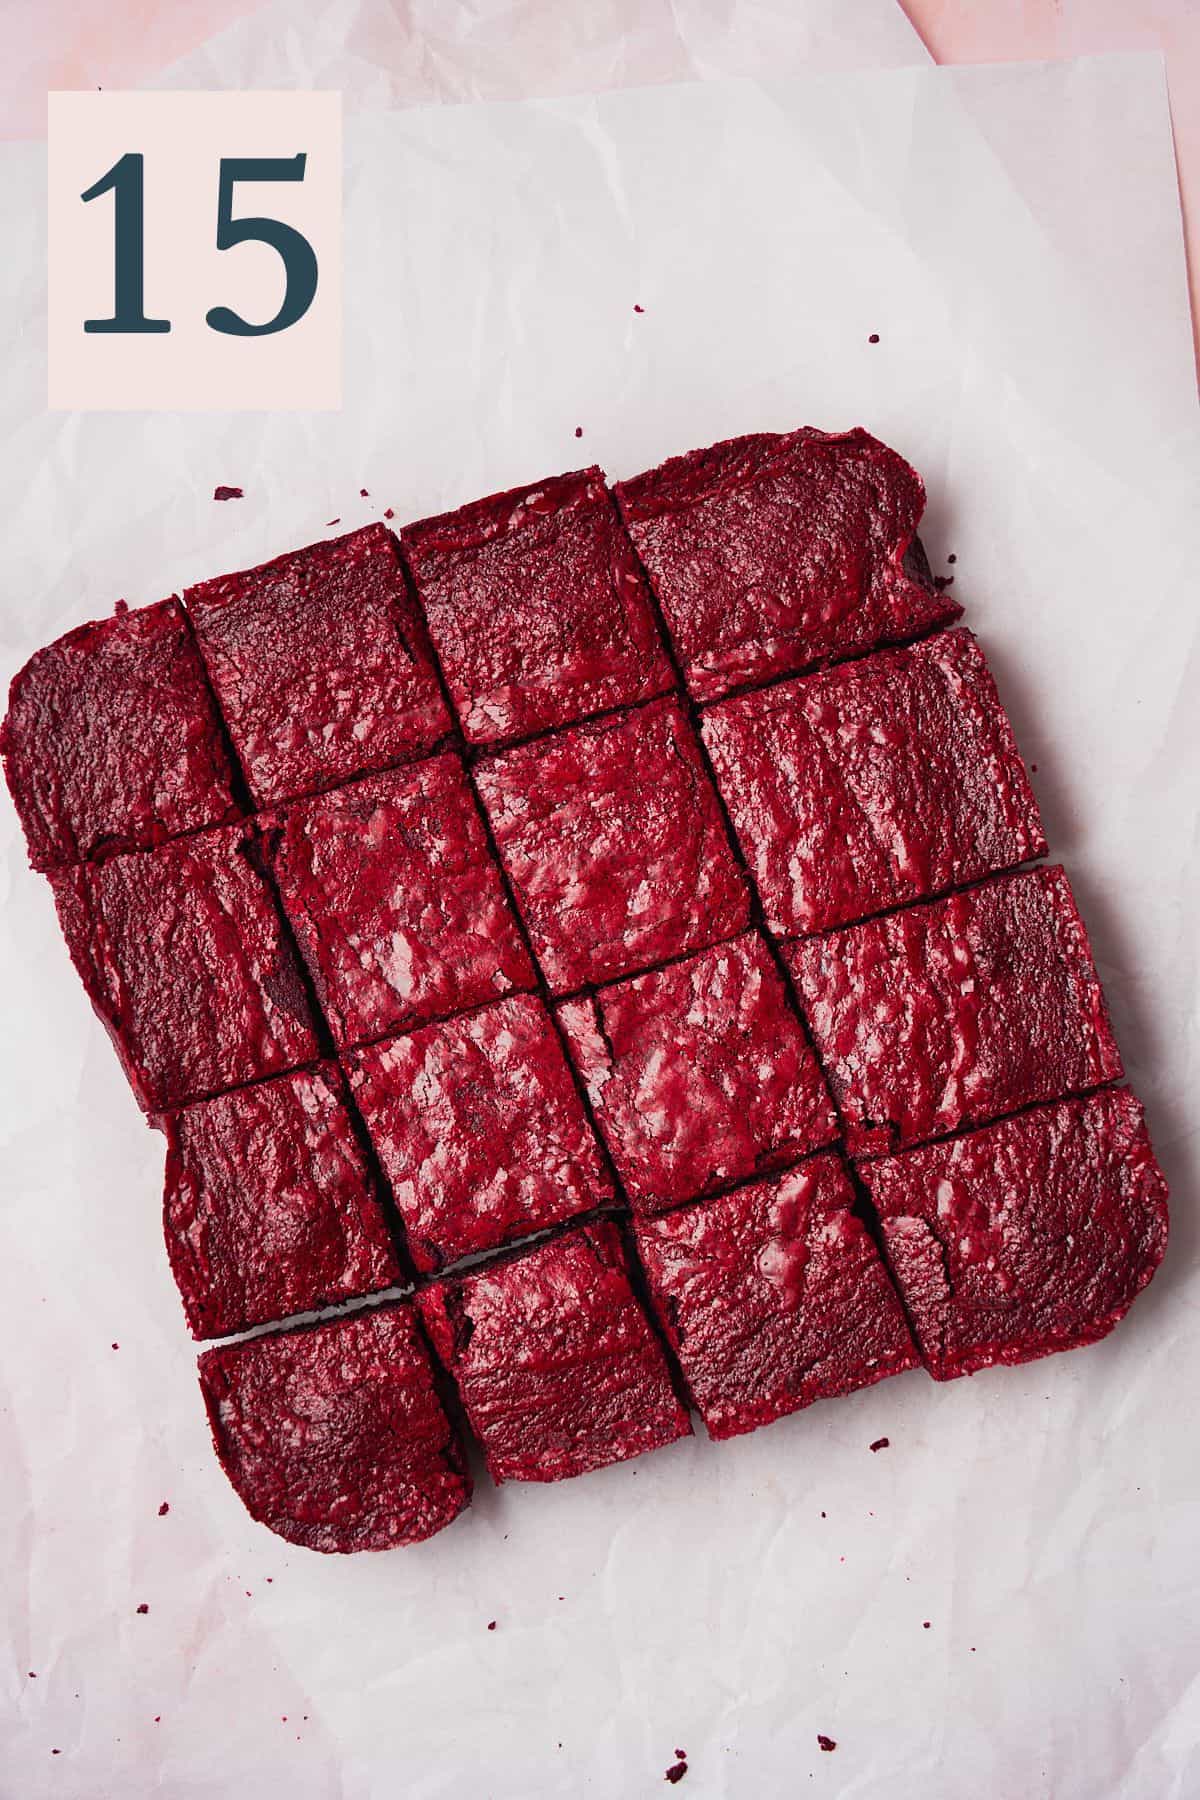
Once the brownies are completely cool, cut them into pieces. (Image 15)
Drizzle the icing overtop of them, add sprinkles if desired. (Image 16)
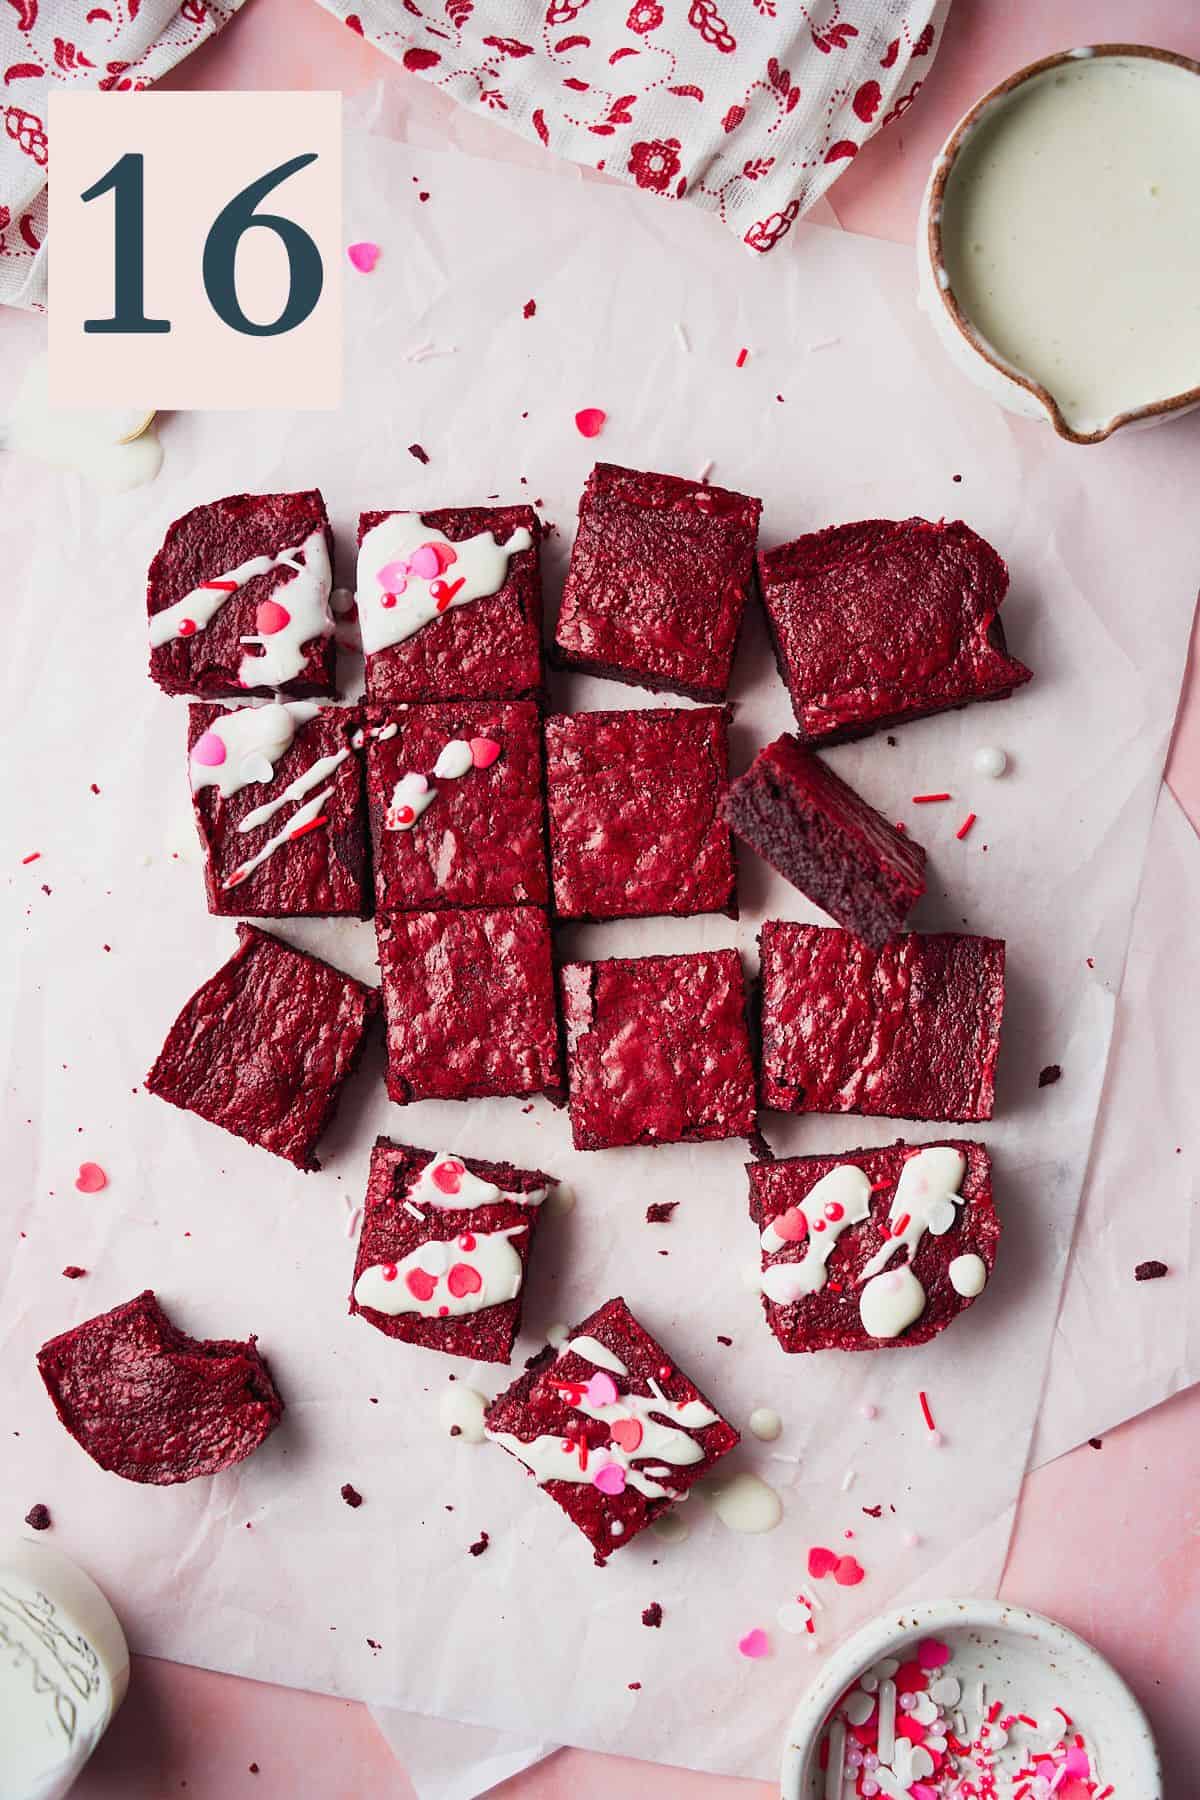
Serve, and enjoy!
✨Tips & tricks
- Use high-quality ingredients. Opt for the highest quality chocolate, cocoa powder, and butter that you can for the best flavor. This recipe is made with just a handful of ingredients so they all have a big impact on the final result!
- Use a kitchen scale for best results. Accurate measurement of ingredients is crucial for the best result. Too much flour can result in dry, or cakey brownies, which is not the result we're going for! Using a kitchen scale ensures correct measurements, and this is especially important for ingredients like flour, cocoa powder, and sugar.
- Use room temperature ingredients. Make sure your eggs are at room temperature before mixing them into the batter. If they are too cold, it can cause the batter to seize. This is also true for the cream cheese icing ingredients. They will all come together much easier if they are room temperature!
- Take your time to incorporate the eggs and sugars. This is the one stage where mixing a lot is actually encouraged. When combining the eggs and sugars, we want to mix until the sugar is at least mostly dissolved. This is what gives us that incredible shiny and crackly top on the brownies!
- Allow the butter and chocolate mixture to cool off before adding it to the batter. When combining the cocoa powder, hot butter, and chocolate chips, the mixture will become very hot. It will need some time to cool down so that you don't accidentally scramble the eggs when they're added!
- Don't overmix the dry ingredients. When mixing the batter, avoid overmixing once you add the dry ingredients to the wet ingredients. Overmixing at this stage can lead to dense and tough brownies. Mix until the dry ingredients are just incorporated to achieve a tender and fudgy texture. This is why we like to switch to a rubber spatula at this stage.
- Grease and line the baking pan. Grease the baking pan and line it with parchment paper to make sure nothing sticks.
- Monitor baking time. Keep an eye on the brownies as they bake and check for doneness by inserting a toothpick into the center of the brownies. The toothpick should come out with a few moist crumbs attached, but not wet batter. Avoid overbaking to prevent dry brownies, they will continue baking from the residual heat in the pan!
- Cool the brownies completely before cutting. Allow the brownies to cool completely in the pan before cutting into them. This allows the brownies to set and ensures clean edges when slicing. Because we like to underbake our brownies a little bit for a very fudgy result, they need time to cool to finish baking in the hot pan.
Need supplies? Shop our Amazon store! Stock your pantry, and find all of our favorite kitchen tools! A Full Living LLC earns a small commission through purchases on our storefront to help support this site.
💭Frequently Asked Questions
Store leftovers in an airtight container in the fridge for up to 5 days. If the brownies don't have icing on them, they can be stored at room temperature.
You probably used too much flour. It's really important to use a digital food scale to measure really accurately. Too much flour can easily ruin the texture you were going for. If you don't have one, fluff the flour with a spoon and into your measuring cup, and don't pack it tight! Then, use a knife to level off the excess on top.
The other possibility is baking them for too long. Brownies need a lot of time to cool and set up, so it's good to underbake them, since they will continue cooking in the pan!
You probably overmixed the batter after adding the dry ingredients. Overworking the flour will result in too much gluten production, making your brownies tough. Simply mix until everything is completely incorporated, then stop! We also like switch to a rubber spatula about halfway through to ensure we don't work the batter too much.
You probably didn't mix the eggs and sugar enough! Although it's really important to not mix much once the flour is added, you want to take extra time to cream together the eggs and sugar. This dissolves the sugar, and gives the brownies that perfect shiny top!
More Recipes To Consider
Did you try this recipe? Make sure to leave a 5-star review below! 🌟 This helps other readers find our recipes and encourages them to try them. Also, be sure to leave a comment with your experience. Follow along, and tag @AFullLiving on Instagram with your photos!
📖 Recipe
Red Velvet Brownies
Equipment
- 8x8 baking pan
- electric hand mixer (could use a whisk or a stand mixer with a paddle attachment)
Ingredients
Red velvet brownie batter
- 1 cup unsalted butter 226g or 2 sticks
- ½ cup + 1 tablespoon chocolate chips 100g can sub chopped chocolate bar (use bittersweet or dark)
- ⅓ cup cocoa powder 30g (Dutch processed cocoa powder is preferred)
- ½ cup + 2 tablespoons white sugar 125g
- ½ cup + 2 tablespoons light brown sugar 125g
- 2 large eggs room temperature
- 1 large egg yolk room temperature
- 1 tablespoon vanilla extract
- 2-3 teaspoons red gel food coloring as needed to achieve the color you want
- 2 teaspoons apple cider vinegar substitute white vinegar
- ¾ cup all purpose flour 90g
- 1 teaspoon kosher salt
Cream cheese glaze (optional)
- 2 ounces cream cheese softened
- ½ teaspoon vanilla bean paste or extract
- 1.5 - 2 tablespoons milk or cream as needed
- 1.5 - 2 tablespoons powdered sugar to taste
- Sprinkles for decorating optional
Instructions
Red velvet brownies
- Preheat the oven to 350°F. Grease an 8x8 pan and line with parchment. Set aside.
- Start by adding 2 sticks of unsalted butter to a heavy bottomed saucepan. Melt it over medium heat. If you want, continue heating it until the butter has browned. Here's our guide for how to brown butter for step-by-step instructions! The key is, no matter if you're browning the butter or not, the butter needs to be hot enough to melt the chocolate easily!
- After the butter is nice and hot (and potentially browned) remove the saucepan from the heat and add in 30g of cocoa powder and 100g of chocolate chips or chocolate pieces. Keep mixing everything together with a rubber spatula to melt the chocolate and combine everything until smooth. Once combined, remove from the saucepan and place in a separate container to cool.
- In a large bowl, using an electric mixer, mix together the eggs, the egg yolk, 125g of white sugar, and 125g of light brown sugar until pale and fluffy. This will take 3-4 minutes.
- Once the chocolate has cooled down, stream it in slowly to the egg and sugar mixture while using the hand mixer on medium speed to incorporate it. Be sure to scrape the bowl a few times with a rubber spatula to make sure everything is incorporated.
- Next, add in 1 tablespoon of vanilla extract, 2 teaspoons of apple cider vinegar, and 2-3 teaspoons of red gel food coloring to achieve the desired color. Mix on medium speed until completely combined.
- Now, slowly sift in ¾ cup of all purpose flour and 1 teaspoon of kosher salt to the wet ingredients. Mix the batter on low speed with the electric mixer to incorporate gently. Once almost all the way mixed, switch to a rubber spatula to ensure you don't overmix the brownies at this stage. Scrape the bowl and make sure everything is completely incorporated.
- Transfer to your prepared baking pan, and bake for 30-40 minutes(for us, 35 minutes is about perfect), until the top is set and a toothpick comes out mostly clean with a few moist crumbs. Don't overbake! The brownies will continue to bake in the hot pan as they cool.
- Set the pan on a cooling rack and allow them to cool completely before cutting into them.
Cream cheese icing (optional)
- Meanwhile, while the brownies cool, make the icing. In a mixing bowl, add 2 ounces of softened cream cheese, ½ teaspoon of vanilla bean paste or extract, and 1.5 - 2 tablespoons of powdered sugar (to taste). Using your hand mixer, mix until well combined and there are no lumps. Be sure the scape the sides of the bowl a few times to ensure everything is incorporated.
- Now, slowly stream in milk while mixing to reach your desired consistency. Start with 1 tablespoon, and then add more as needed.
- Once the brownies are completely cool, drizzle the icing overtop of them, add sprinkles if desired. Serve, and enjoy!
- Store leftovers in an airtight container in the fridge for up to 5 days. If the brownies don't have any icing on them, they can be stored at room temperature.
Notes
- Use high-quality ingredients. Opt for the highest quality chocolate, cocoa powder, and butter that you can for the best flavor. This recipe is made with just a handful of ingredients so they all have a big impact on the final result!
- Use a kitchen scale for best results. Accurate measurement of ingredients is crucial for the best result. Too much flour can result in dry, or cakey brownies, which is not the result we're going for! Using a kitchen scale ensures correct measurements, and this is especially important for ingredients like flour, cocoa powder, and sugar.
- Use room temperature ingredients. Make sure your eggs are at room temperature before mixing them into the batter. If they are too cold, it can cause the batter to seize. This is also true for the cream cheese icing ingredients. They will all come together much easier if they are room temperature!
- Take your time to incorporate the eggs and sugars. This is the one stage where mixing a lot is actually encouraged. When combining the eggs and sugars, we want to mix until the sugar is at least mostly dissolved. This is what gives us that incredible shiny and crackly top on the brownies!
- Allow the butter and chocolate mixture to cool off before adding it to the batter. When combining the cocoa powder, hot butter, and chocolate chips, the mixture will become very hot. It will need some time to cool down so that you don't accidentally scramble the eggs when they're added!
- Don't overmix the dry ingredients. When mixing the batter, avoid overmixing once you add the dry ingredients to the wet ingredients. Overmixing at this stage can lead to dense and tough brownies. Mix until the dry ingredients are just incorporated to achieve a tender and fudgy texture. This is why we like to switch to a rubber spatula at this stage.
- Grease and line the baking pan. Grease the baking pan and line it with parchment paper to make sure nothing sticks.
- Monitor baking time. Keep an eye on the brownies as they bake and check for doneness by inserting a toothpick into the center of the brownies. The toothpick should come out with a few moist crumbs attached, but not wet batter. Avoid overbaking to prevent dry brownies, they will continue baking from the residual heat in the pan!
- Cool the brownies completely before cutting. Allow the brownies to cool completely in the pan before cutting into them. This allows the brownies to set and ensures clean edges when slicing. Because we like to underbake our brownies a little bit for a very fudgy result, they need time to cool to finish baking in the hot pan.

Comments
No Comments