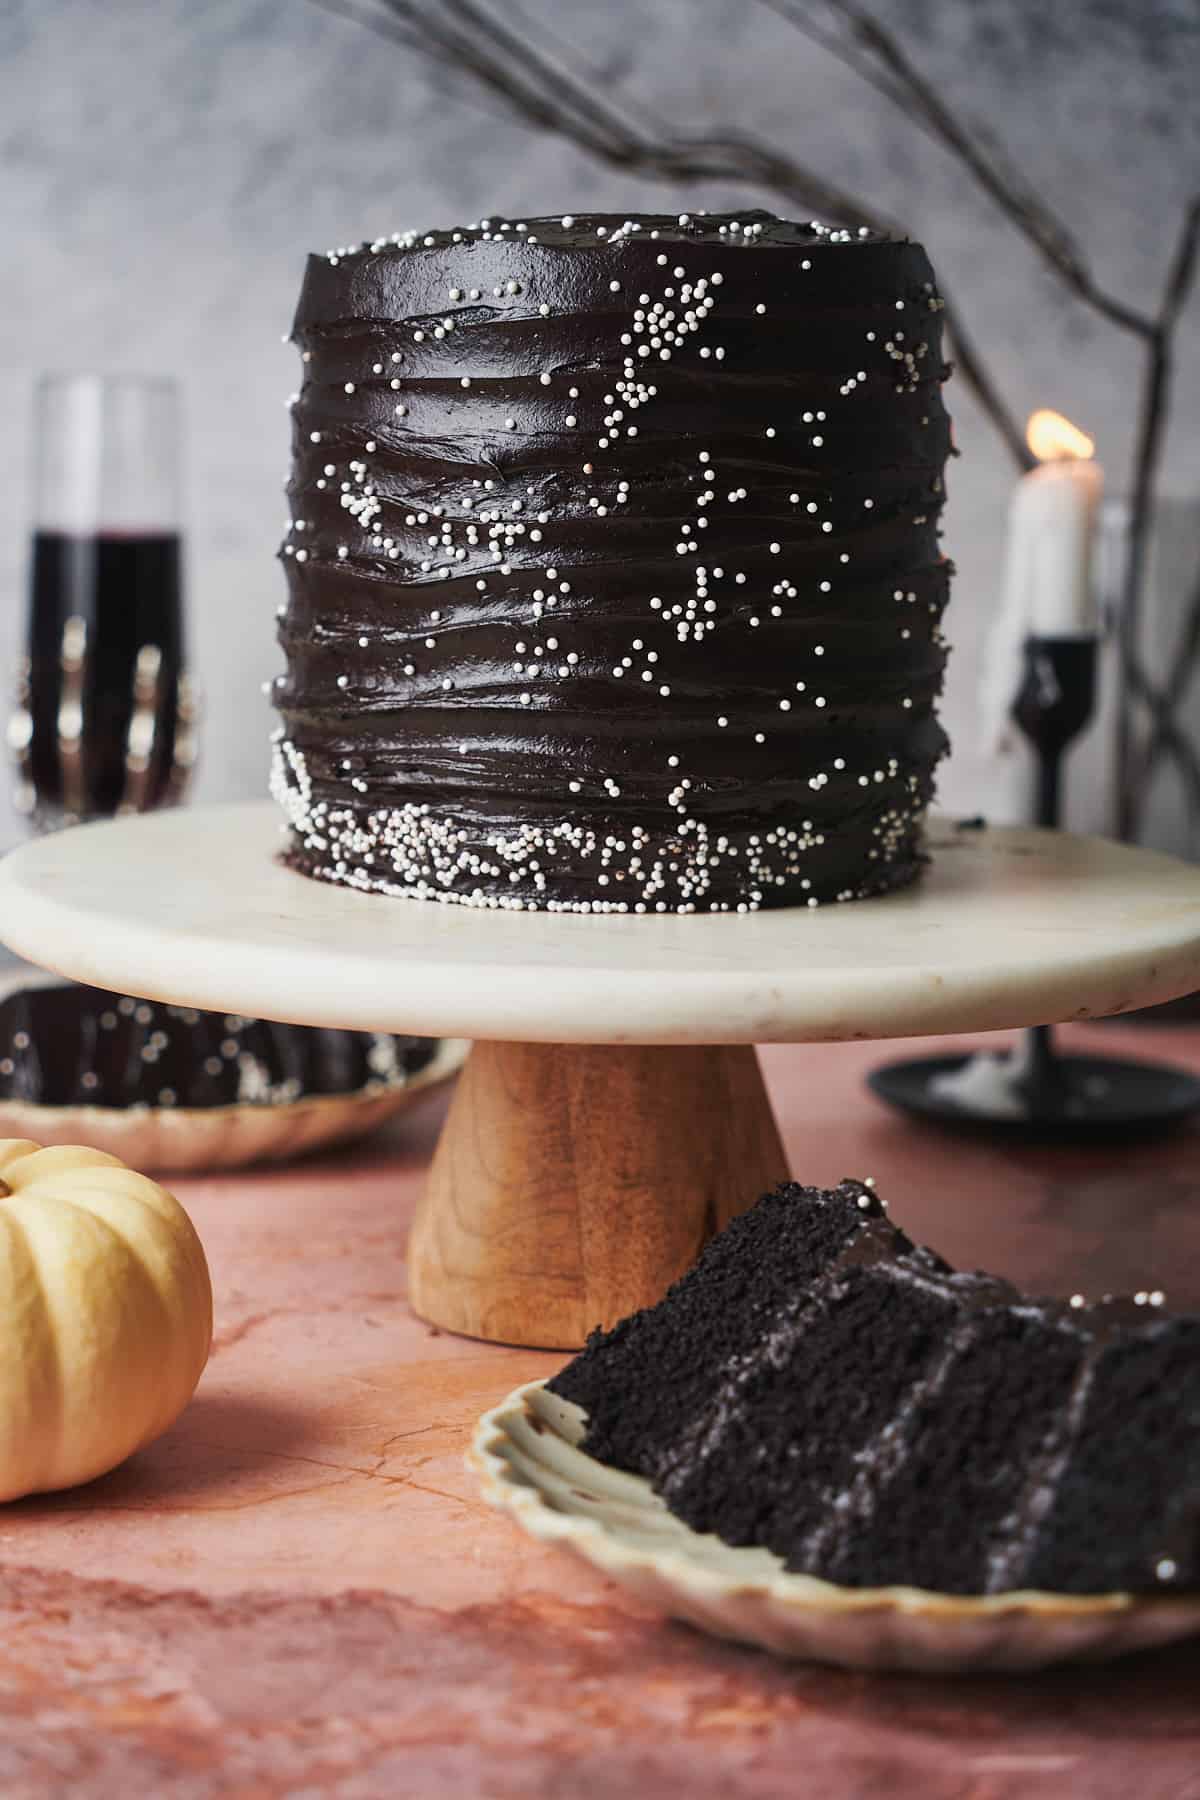
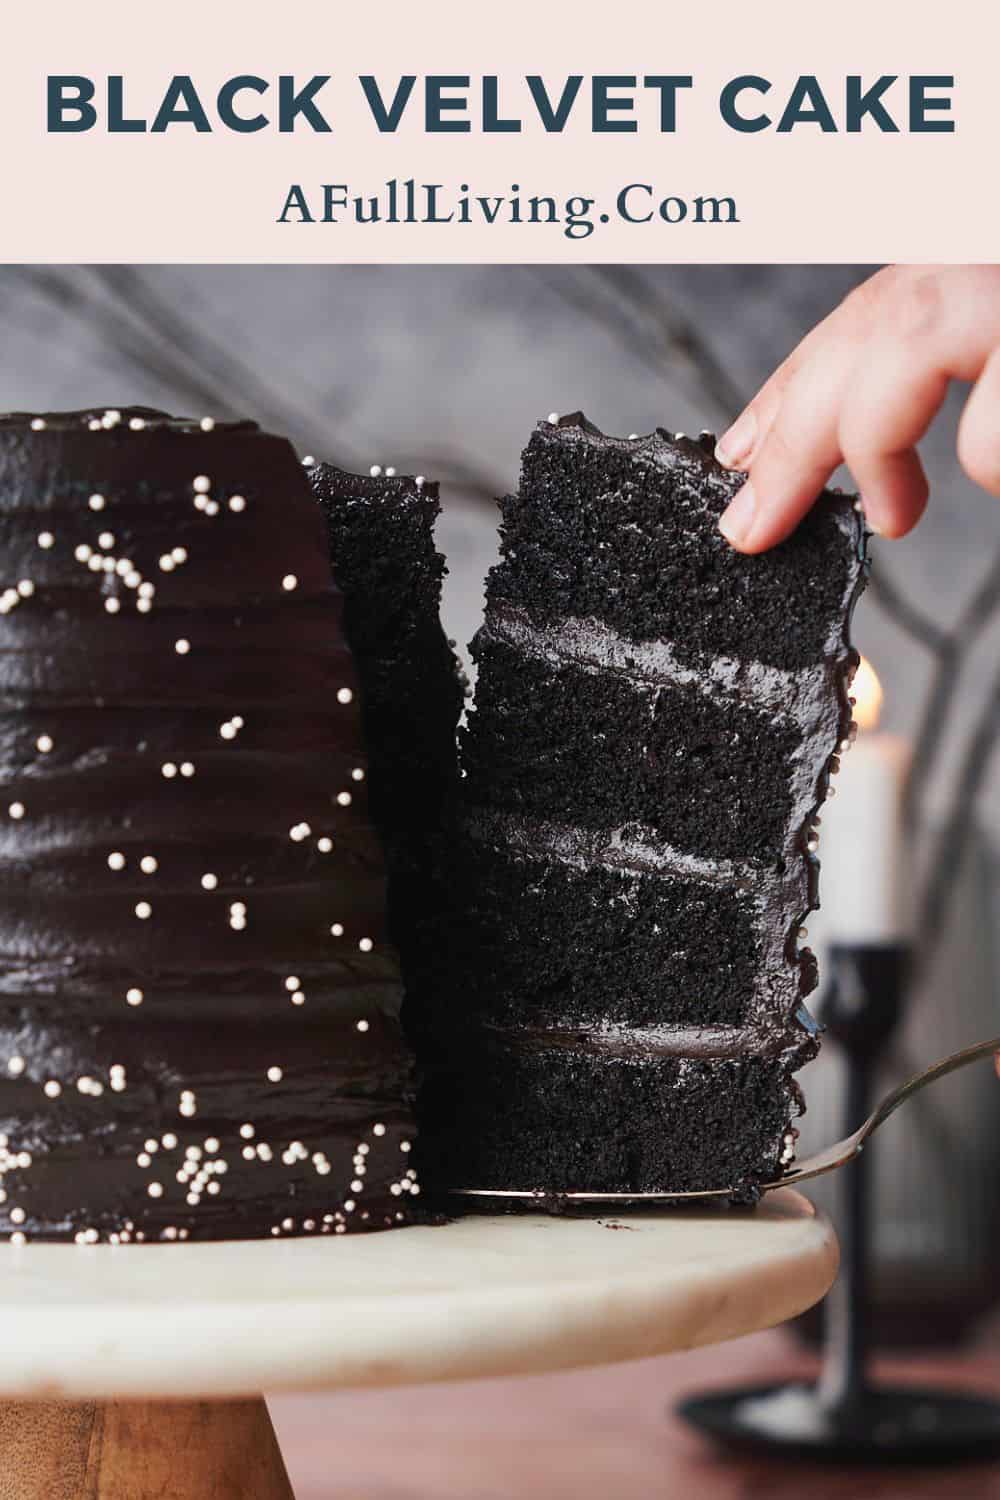
This dark-as-night and rich Black Velvet Cake is a decadent Halloween dessert that is as stunning as it is spooky! It is made of layers of moist and tender chocolate cake and a wicked black cocoa cream cheese frosting. Decorate it however you like. You don't need any black food coloring for this delicious dessert!
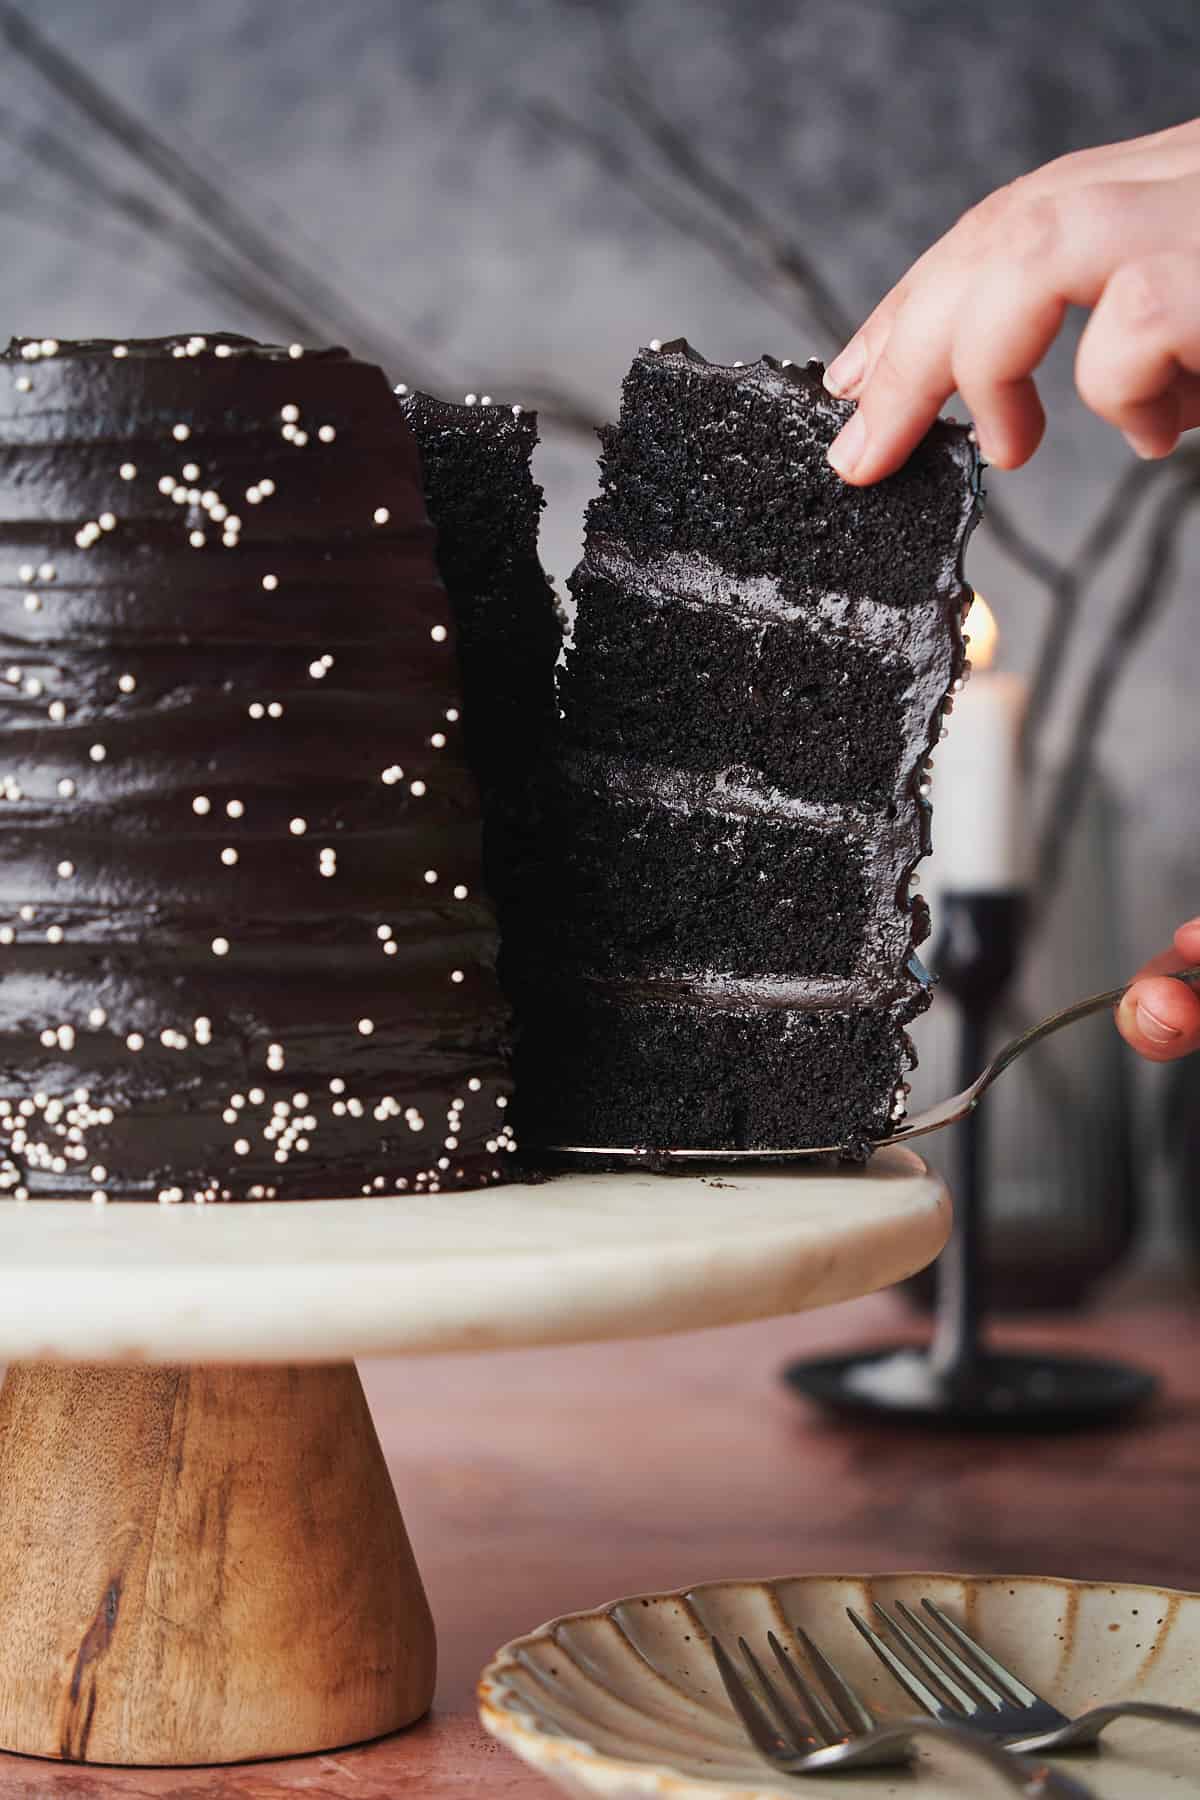
Most of you have probably tried a red velvet cake before, but have you encountered its darker and chocolatier sibling- the black velvet cake? It is just as rich, tangy, and delicious as a red velvet cake but comes in a stunning pitch-black hue that makes it the perfect dessert for a Halloween party and other special occasions like New Year's Eve!
The unique flavor and dark color of this cake comes from black cocoa powder instead of regular unsweetened cocoa powder. It has a more intense chocolate flavor than a classic red velvet cake, and a moist, tender crumb.
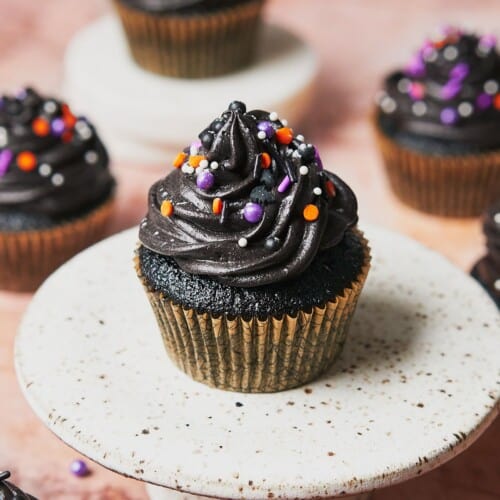
Looking for a smaller version? Check out our black velvet cupcakes!
Serve it with our Halloween charcuterie board, spooky spaghetti with meatball eyeballs, this vampire's kiss cocktail, or this Halloween snack mix. Or, keep things in theme with our squid ink pasta and spooky black gin cocktail!
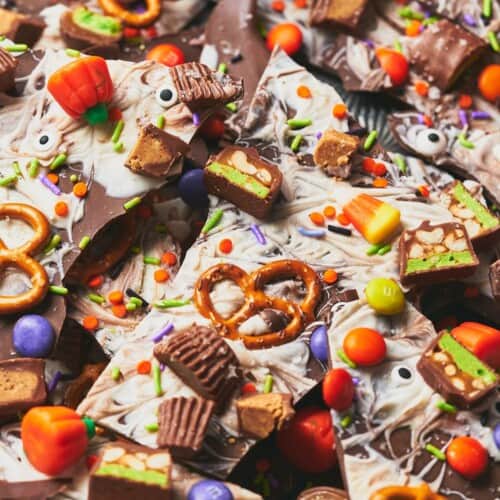
You may also like this Halloween snack mix or this Halloween chocolate bark.
Jump to:
❤️Why we love this recipe
- A delicious, junk-free chocolate cake. This cake will make any chocolate lover giddy! Both the moist cake and smooth frosting are made with pure black cocoa powder with no artificial flavor or coloring needed. It is oozing with deep chocolate goodness in every layer.
- Incredible velvety texture. This cake is made super moist with oil instead of butter, so it can stay moist for days!
- Stunning presentation. It is stunning as it is, but you make it fun and festive with more sprinkles, edible glitters, googly eyes, chocolate chips, and other Halloween-themed candies. Involve your kids if you'd like, we know they'd love it!
- Fun and festive. This cake is obviously perfect for Halloween, but you can also make this uber-dark chocolate cake for other dark-themed occasions like New Year's Eve. You can even decorate it with red or pink hearts for Valentine’s Day. This beautiful four layer cake is great for many occasions!
🎂Ingredients
Here are the ingredients we used for this recipe. You can find more information for substitutions below.
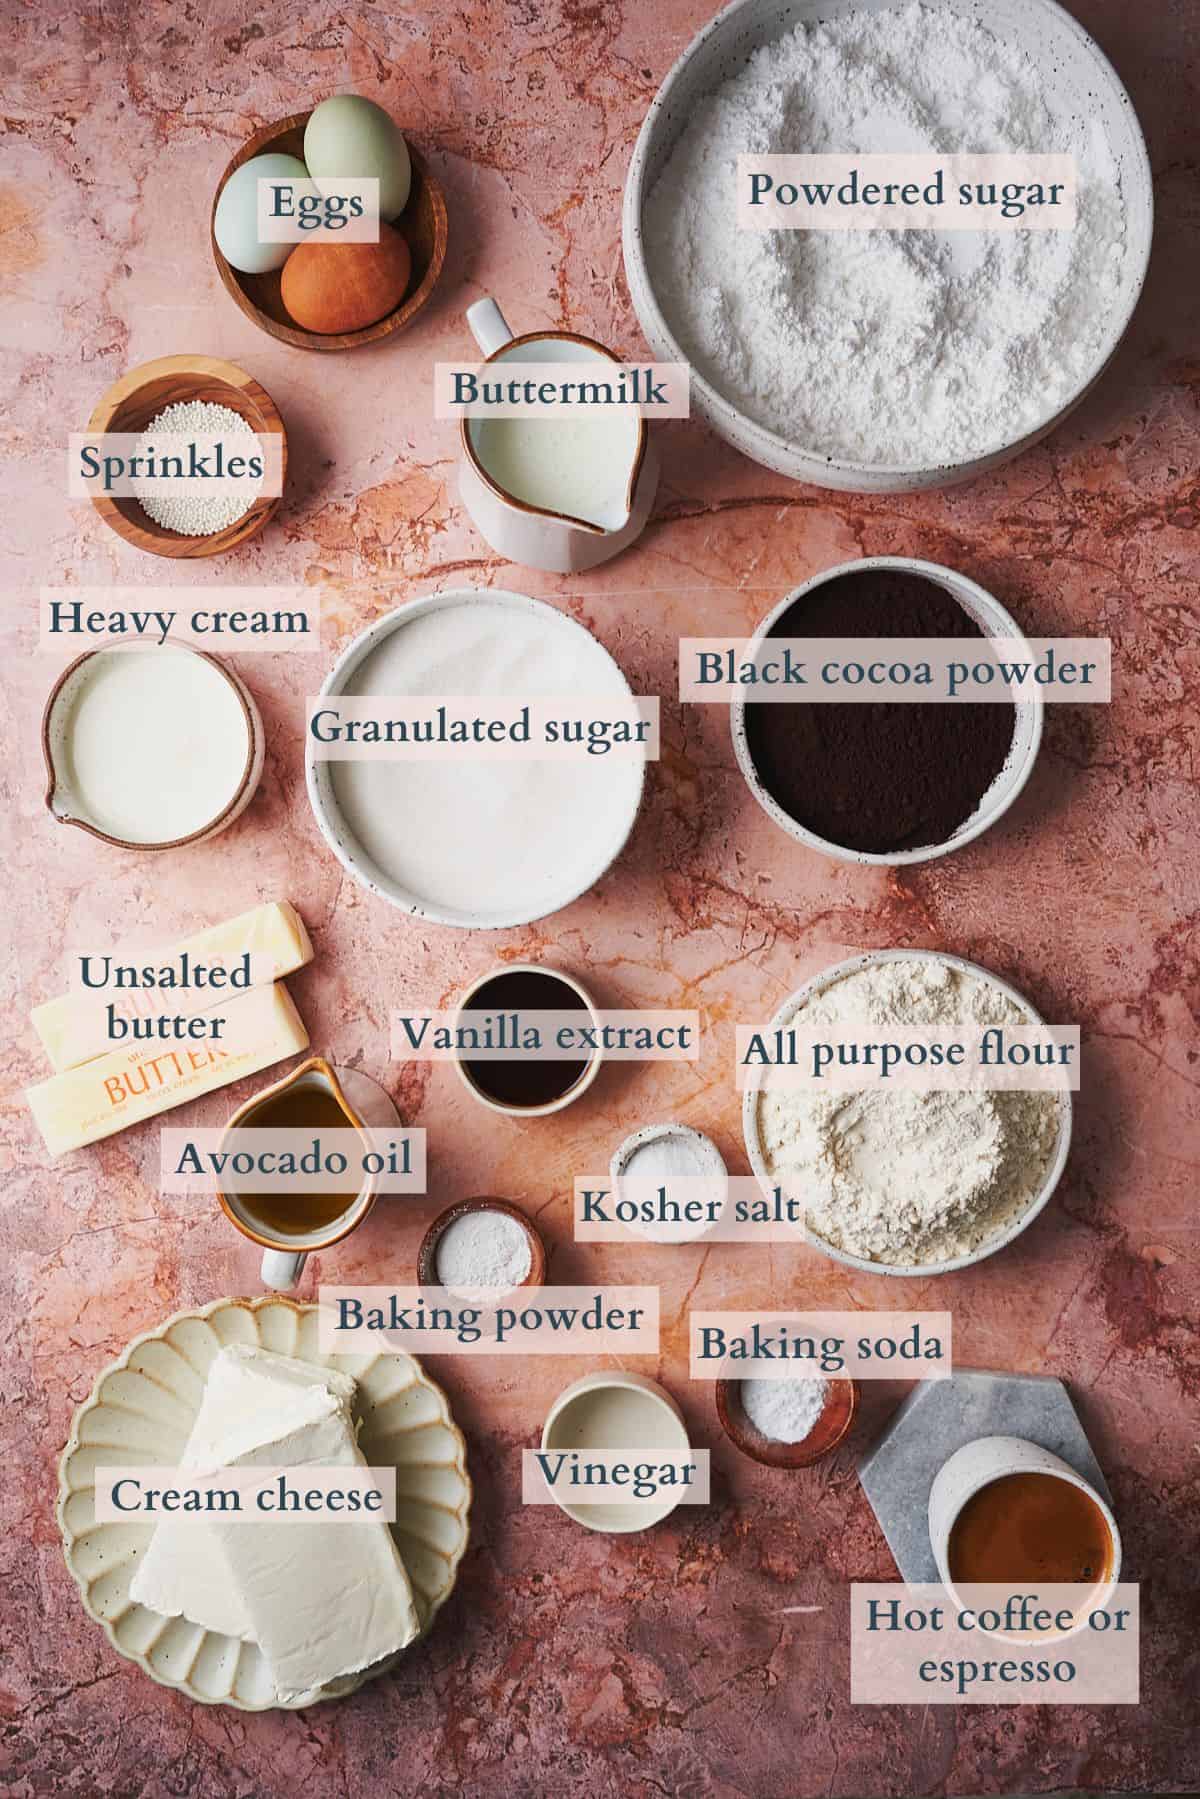
- Black cocoa powder. This is an ultra Dutch-processed cocoa powder treated with alkaline to lessen its acidity. This makes it super dark and smooth with a less bitter flavor. You will use this both for making the cake and the frosting. This is the same cocoa powder that makes Oreo cookies! This is the only ingredient in the cake that isn't very easy to find at grocery stores. Find it on Amazon (affiliate link).
- Hot coffee. Adding hot coffee will intensify the chocolate flavor without giving the cake a bitter coffee taste. Don't worry about it affecting the flavor. The heat combined with the coffee flavor creates a really incredible rich, chocolate flavor.
- Buttermilk. Make sure it's room temperature. If you don't have buttermilk, you can make your own by combining vinegar or lemon juice with milk and allowing it to sit for about 10 minutes.
- Neutral oil. We prefer using avocado oil because it has a very neutral flavor and is less processed than other oils. If you don't have avocado oil, feel free to use vegetable oil, canola oil, or grapeseed oil instead.
- Cream cheese. Make sure to use the full fat blocks. Do not use the whipped kind that comes in a tub.
Visit the recipe card for the full quantities and nutritional information.
✨Substitutions
Here are a few suggestions on additional flavors to try, or simple variations to this recipe.
- Swap hot coffee or espresso. You can use plain boiling water instead. The heat activates the chocolate giving it a deeper, richer flavor. Just be sure to add the hot liquid in a slow stream and whisk to prevent the hot liquid from cooking the eggs in the batter.
- No avocado oil. If you do not have avocado oil, you can use vegetable oil or another neutral oil like canola oil, or grapeseed oil.
- No distilled vinegar? No worries! You can use apple cider vinegar for a 1:1 swap. No, you won't taste it!
- No buttermilk. To make homemade buttermilk, combine 1 cup of milk with 1 tablespoon of lemon juice or vinegar. Stir to combine, and let the mixture sit for about 10 minutes.
- No black cocoa powder. If you can't find black cocoa powder, you can use Dutch-processed cocoa or even natural cocoa powder. Please note that the color will not be as dark as shown in the pictures. You can use a black food dye to achieve the same result.
✨Variations
- Gluten-free. Simply swap the all-purpose flour with a 1:1 gluten free flour. We like using Bob’s Red Mill 1:1 gluten free flour.
- Keto version. We have a dedicated post for this keto black velvet cake recipe!
- Add berries. You can add pitted cherries or raspberries as you layer the frosting to give the cake a fruity flavor. Drizzle a bit of raspberry syrup, or your favorite red-colored jelly or jam between each layer to give it a bloody 'ooze' as you slice into the cake for a more spooky effect!
🔪Prep work
- Allow the buttermilk, heavy cream, and eggs to sit out at room temperature for about an hour before making the cake so they can come to room temperature.
- Preheat the oven to 350°F.
- Grease four 6-inch cake pans with baking spray, then dust with black cocoa powder and add parchment paper rounds to prevent any sticking.
- Measure out the rest of the ingredients using a food scale.
- Take the unsalted butter, and cream cheese butter out of the fridge about 20-30 minutes before making the frosting. We actually don't want them to be too soft!
📋Instructions
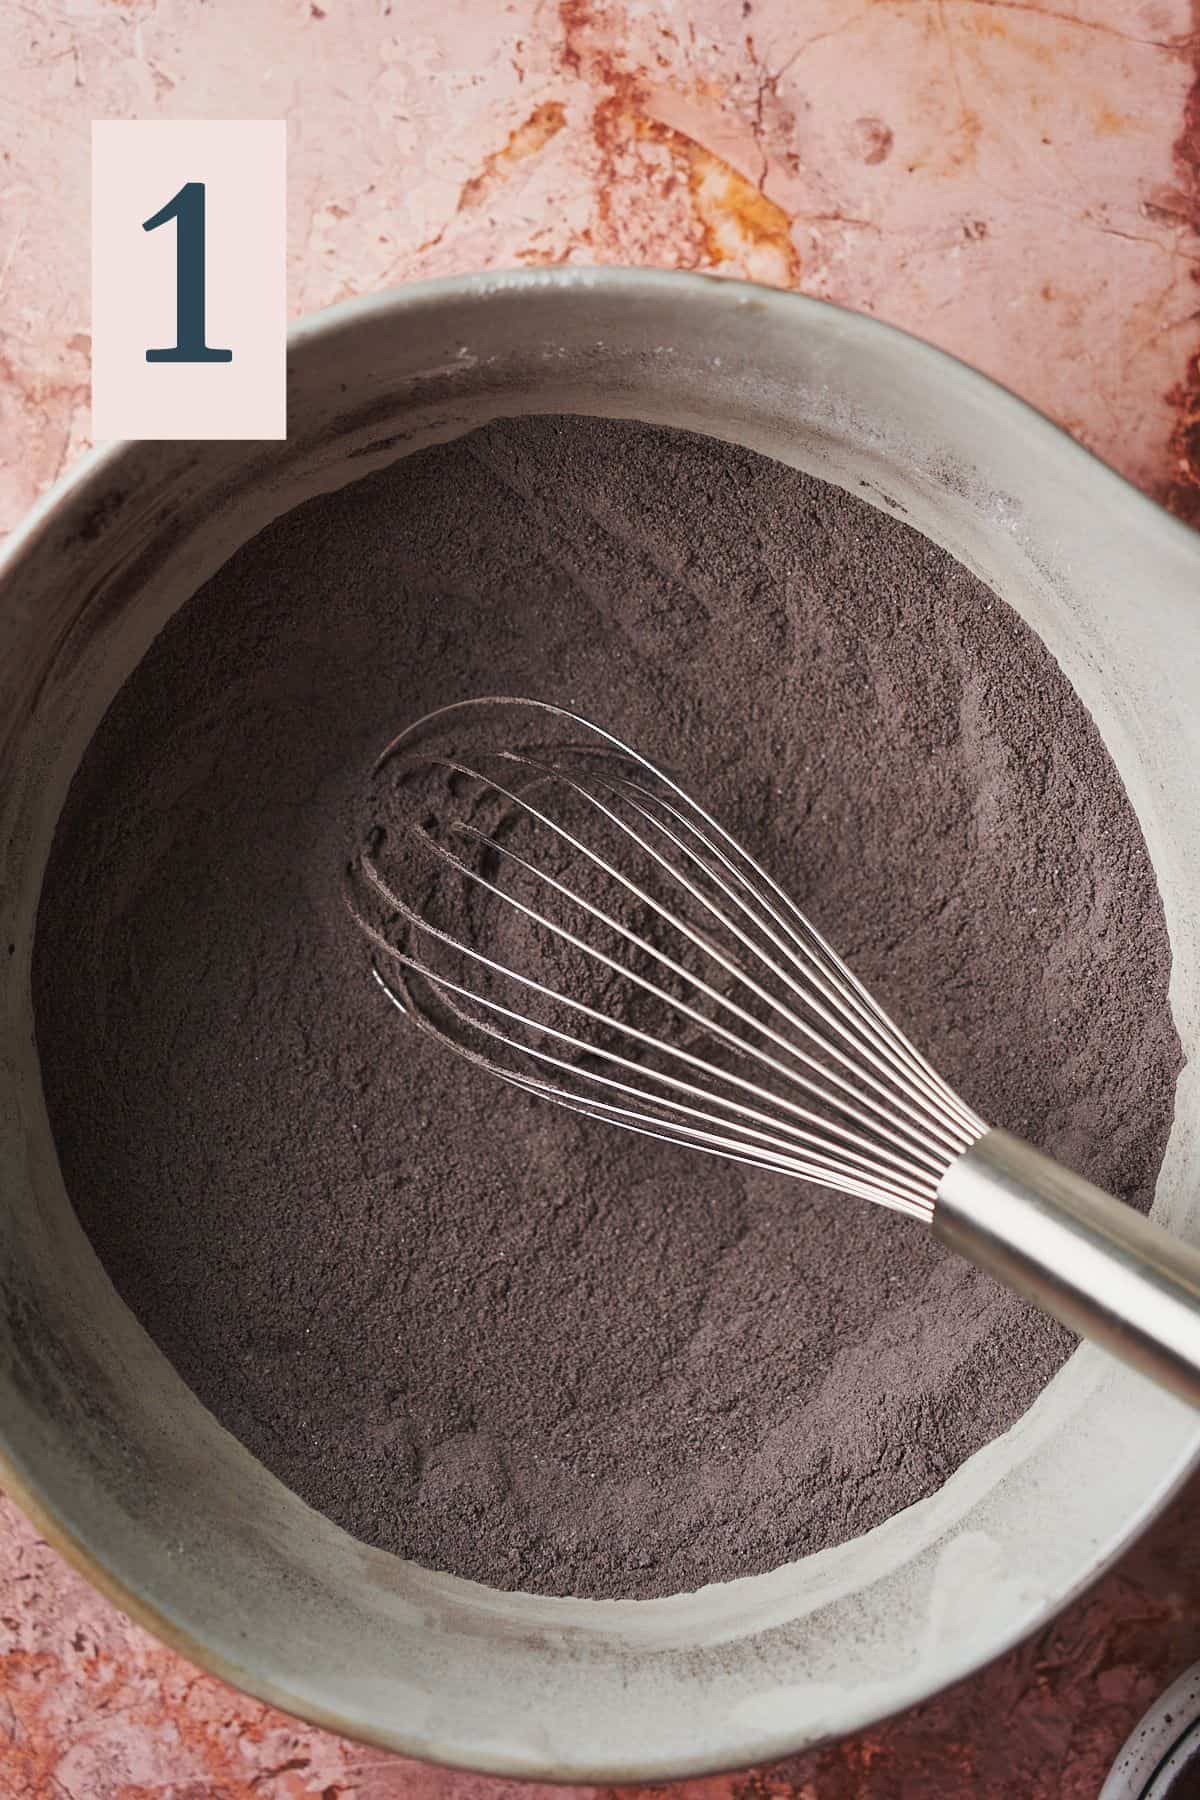
In a large mixing bowl, sift in the flour, sugar, black cocoa powder, salt, baking powder, and baking soda. Use a whisk to make sure everything is evenly dispersed. (Image 1) Set aside.
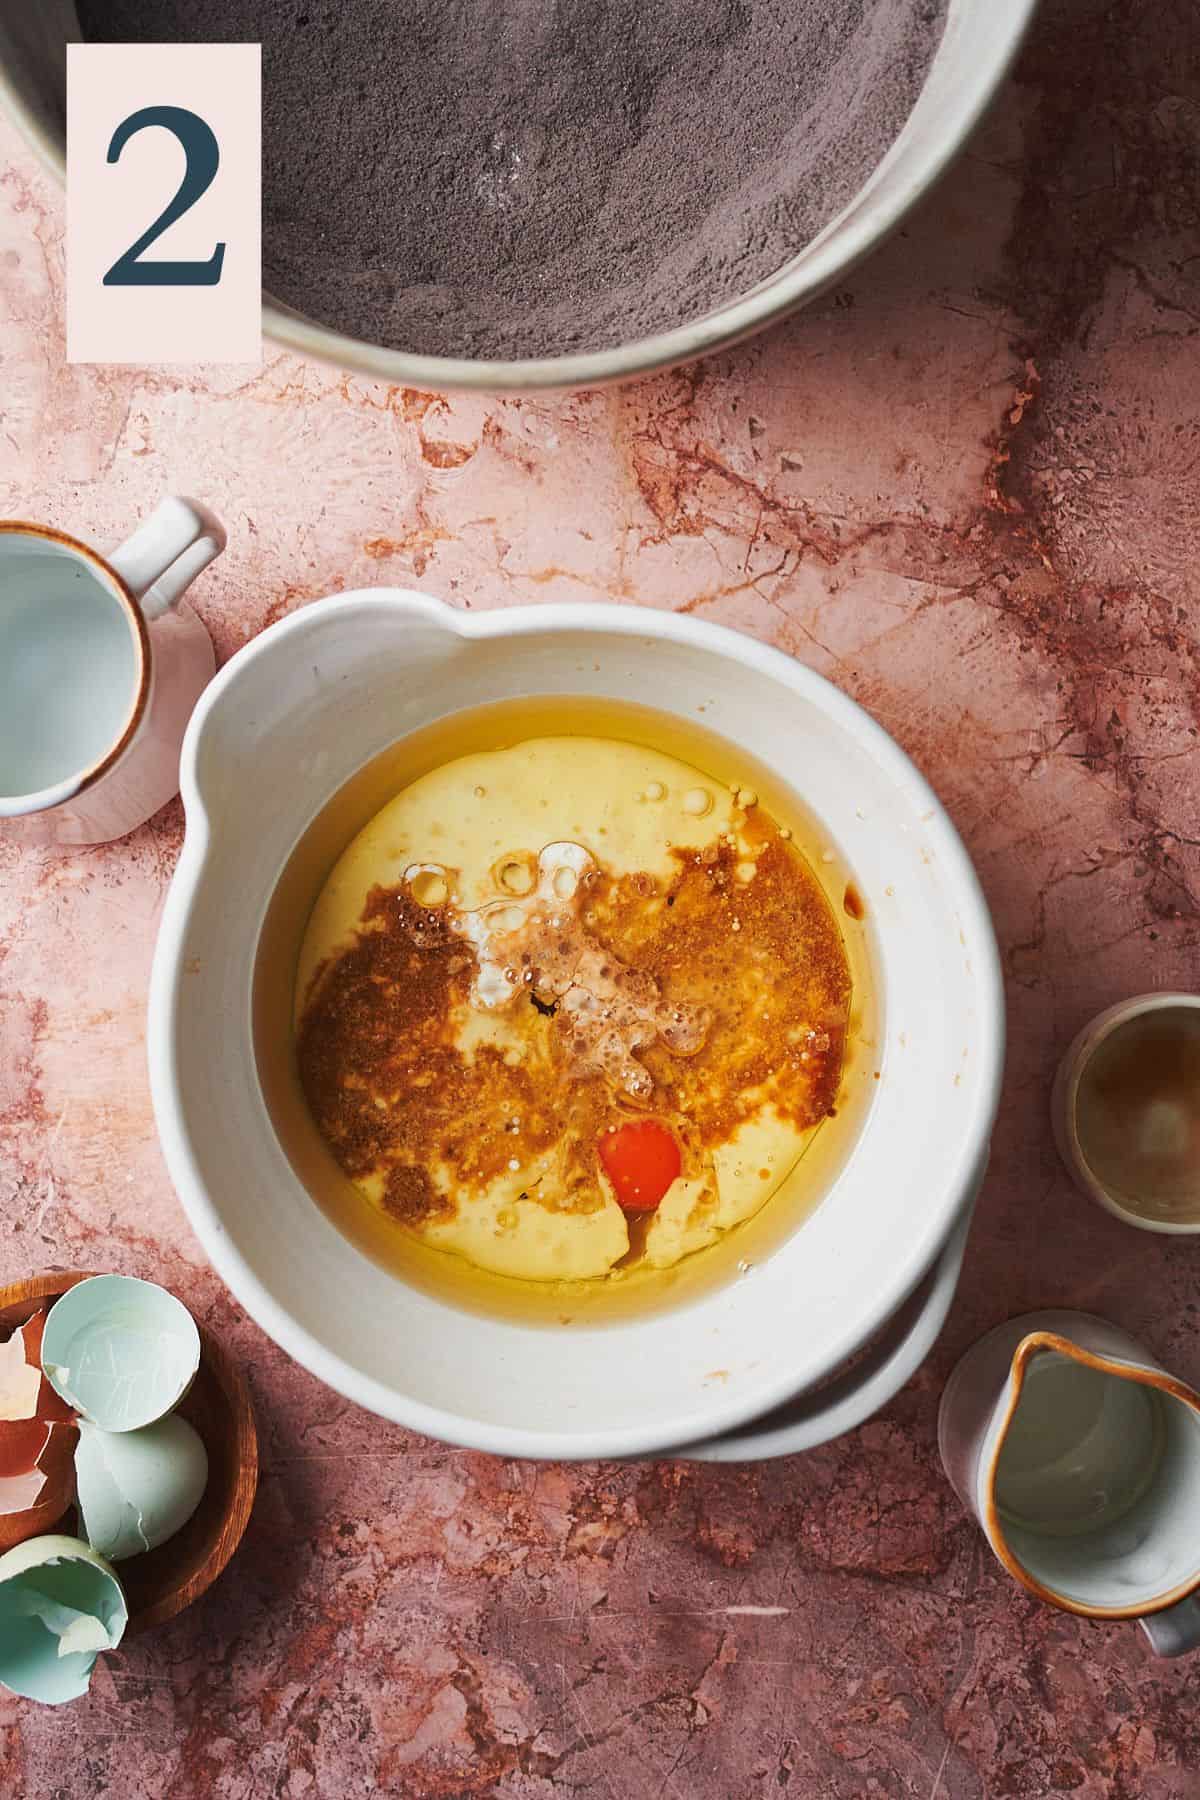
In a separate large bowl, add eggs, avocado oil, buttermilk, distilled white vinegar, and vanilla extract. (Image 2)
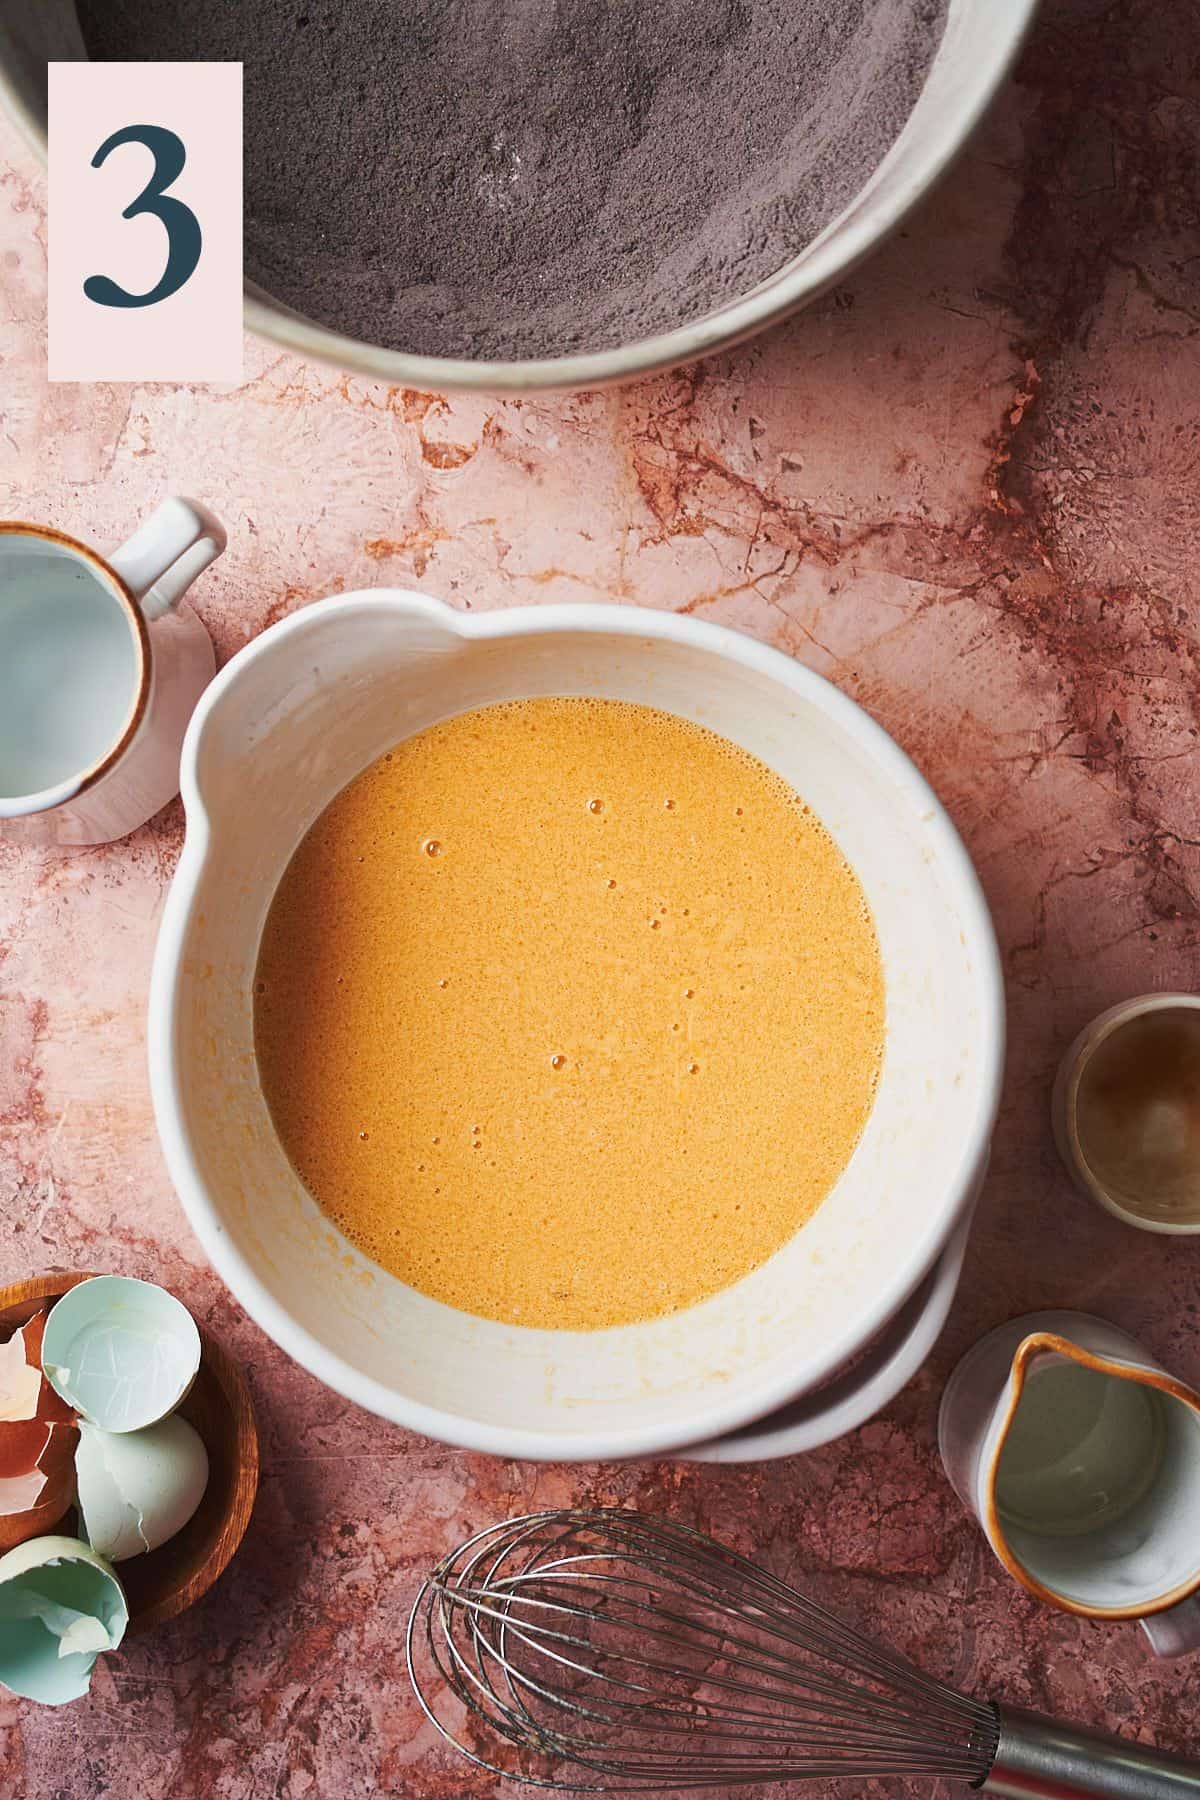
Whisk the mixture until completely combined. (Image 3)
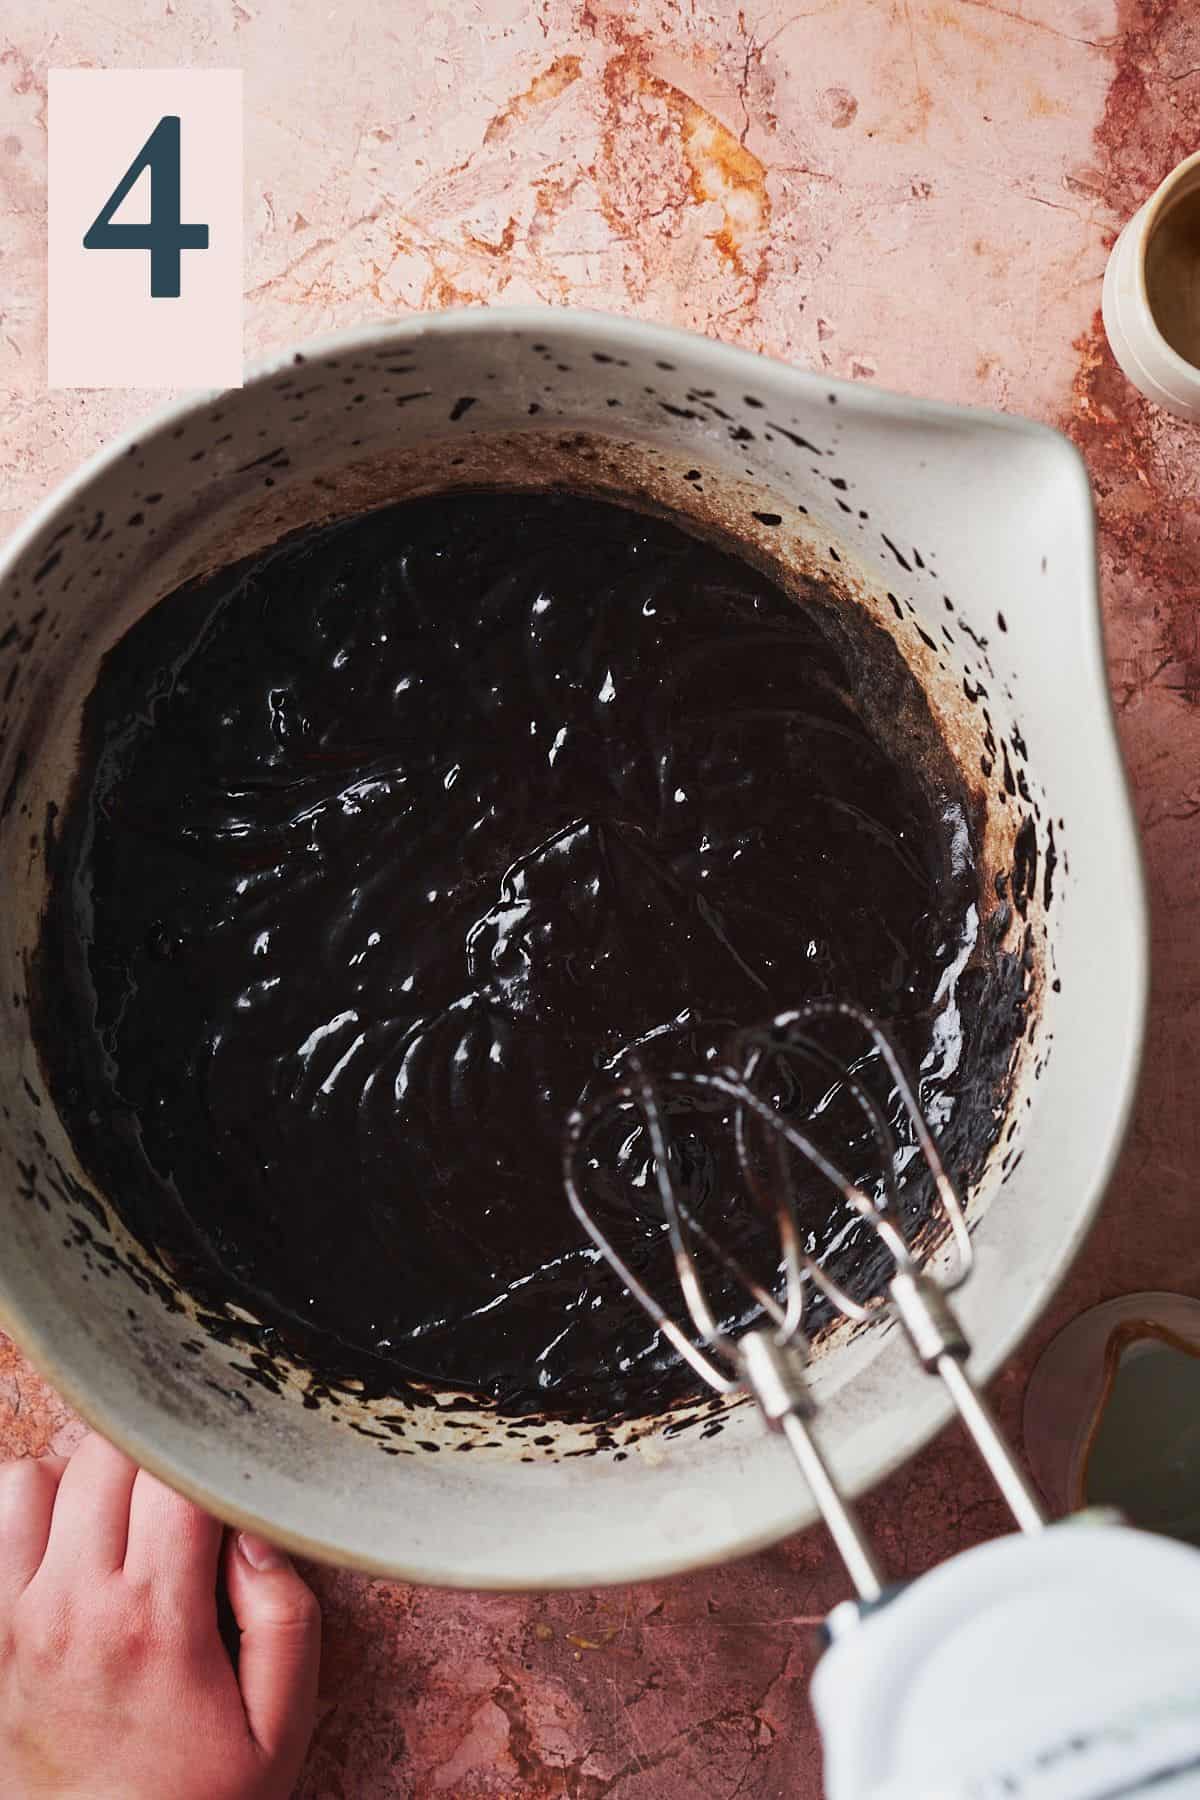
Slowly add the wet ingredients to the dry ingredients. We like to add about ⅓ of the wet ingredients at a time until completely combined. Mix the batter until smooth on low speed, but not much more than that. Be sure to scrape the sides to ensure everything is incorporated. (Image 4)
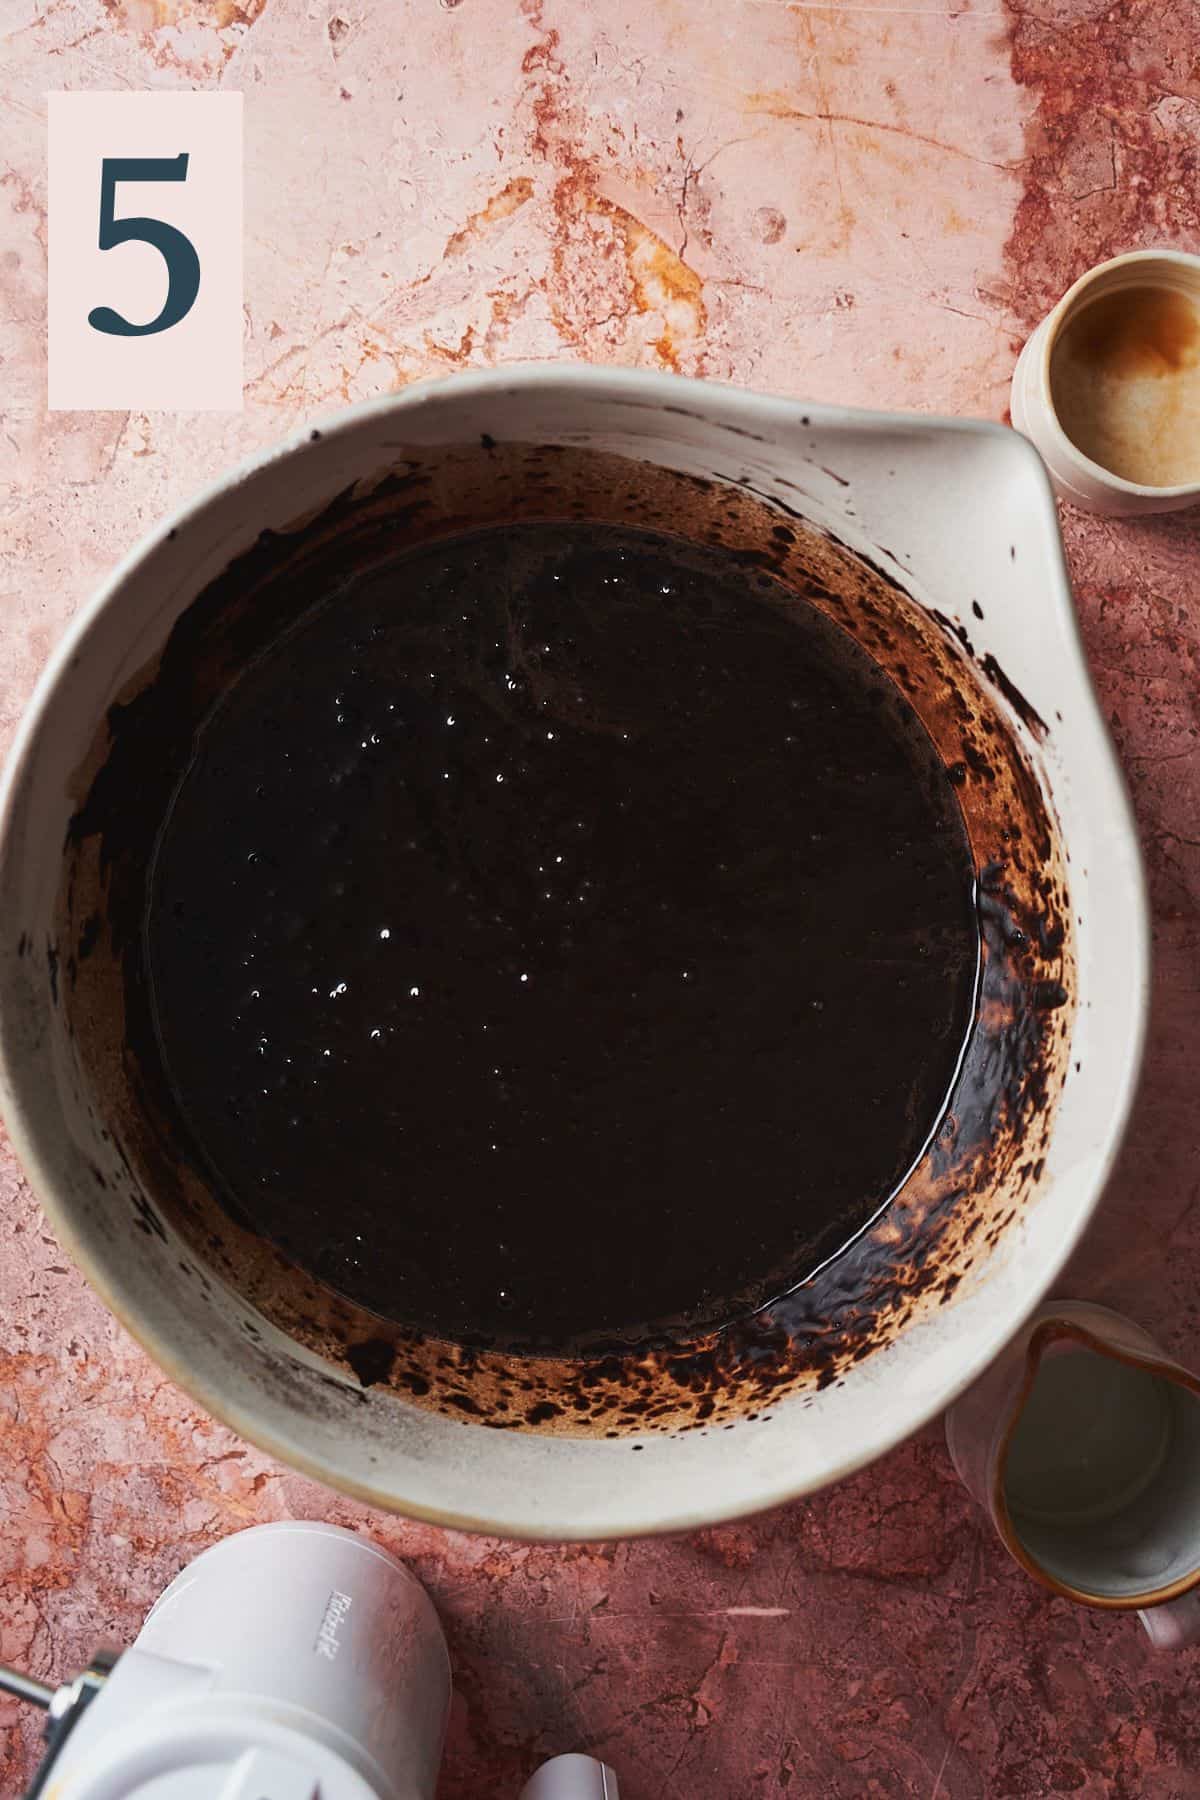
Pour in the hot coffee while whisking to prevent cooking the eggs in the batter. Continue mixing until completely combined and smooth. The batter will be quite wet. (Image 5)
Add the batter to the prepared cake tins and try to separate out the batter as evenly as possible. (Image 6)
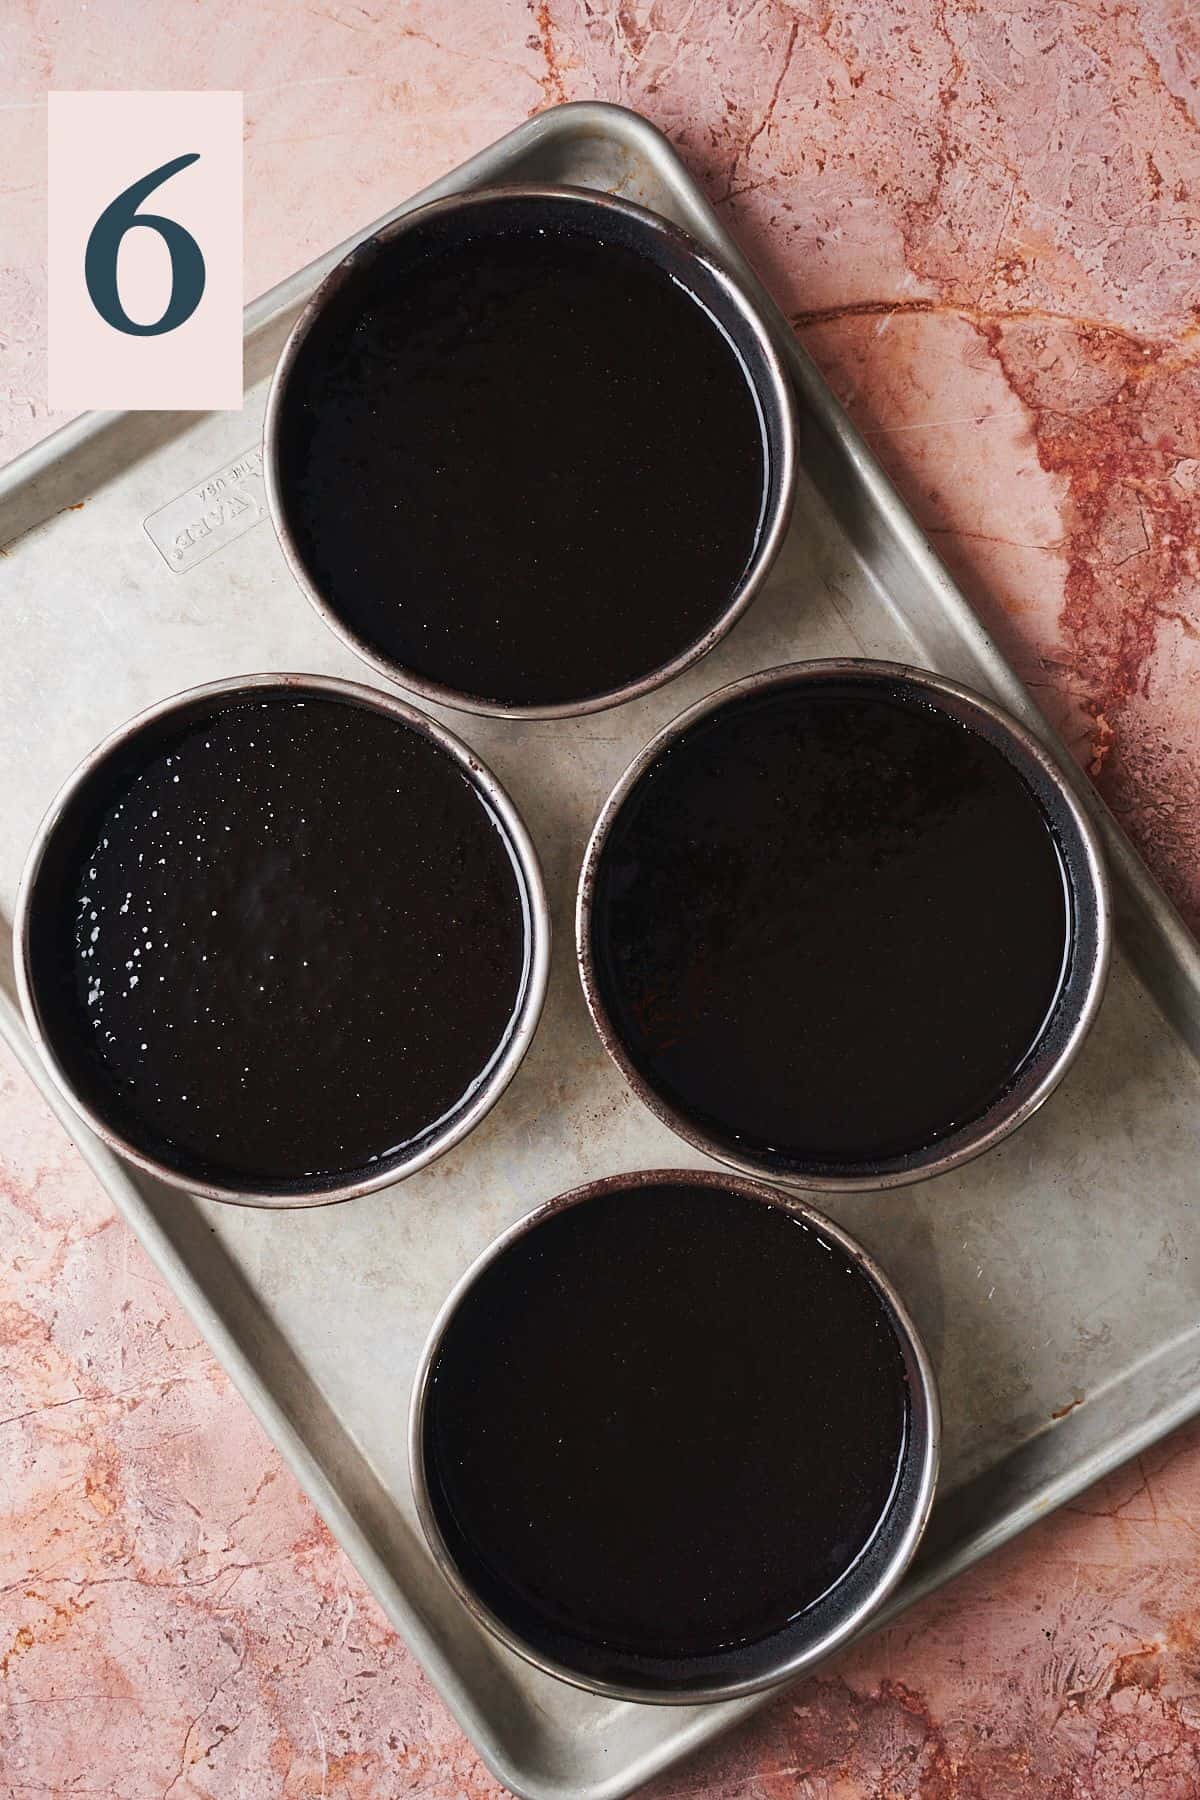
✨Pro Tip: Use a digital food scale for precise results when adding batter to the pan! The more evenly the batter is distributed, the more evenly the layers will bake. We also recommend placing the cake pans on a baking sheet so that you can easily get them in and out of the oven.
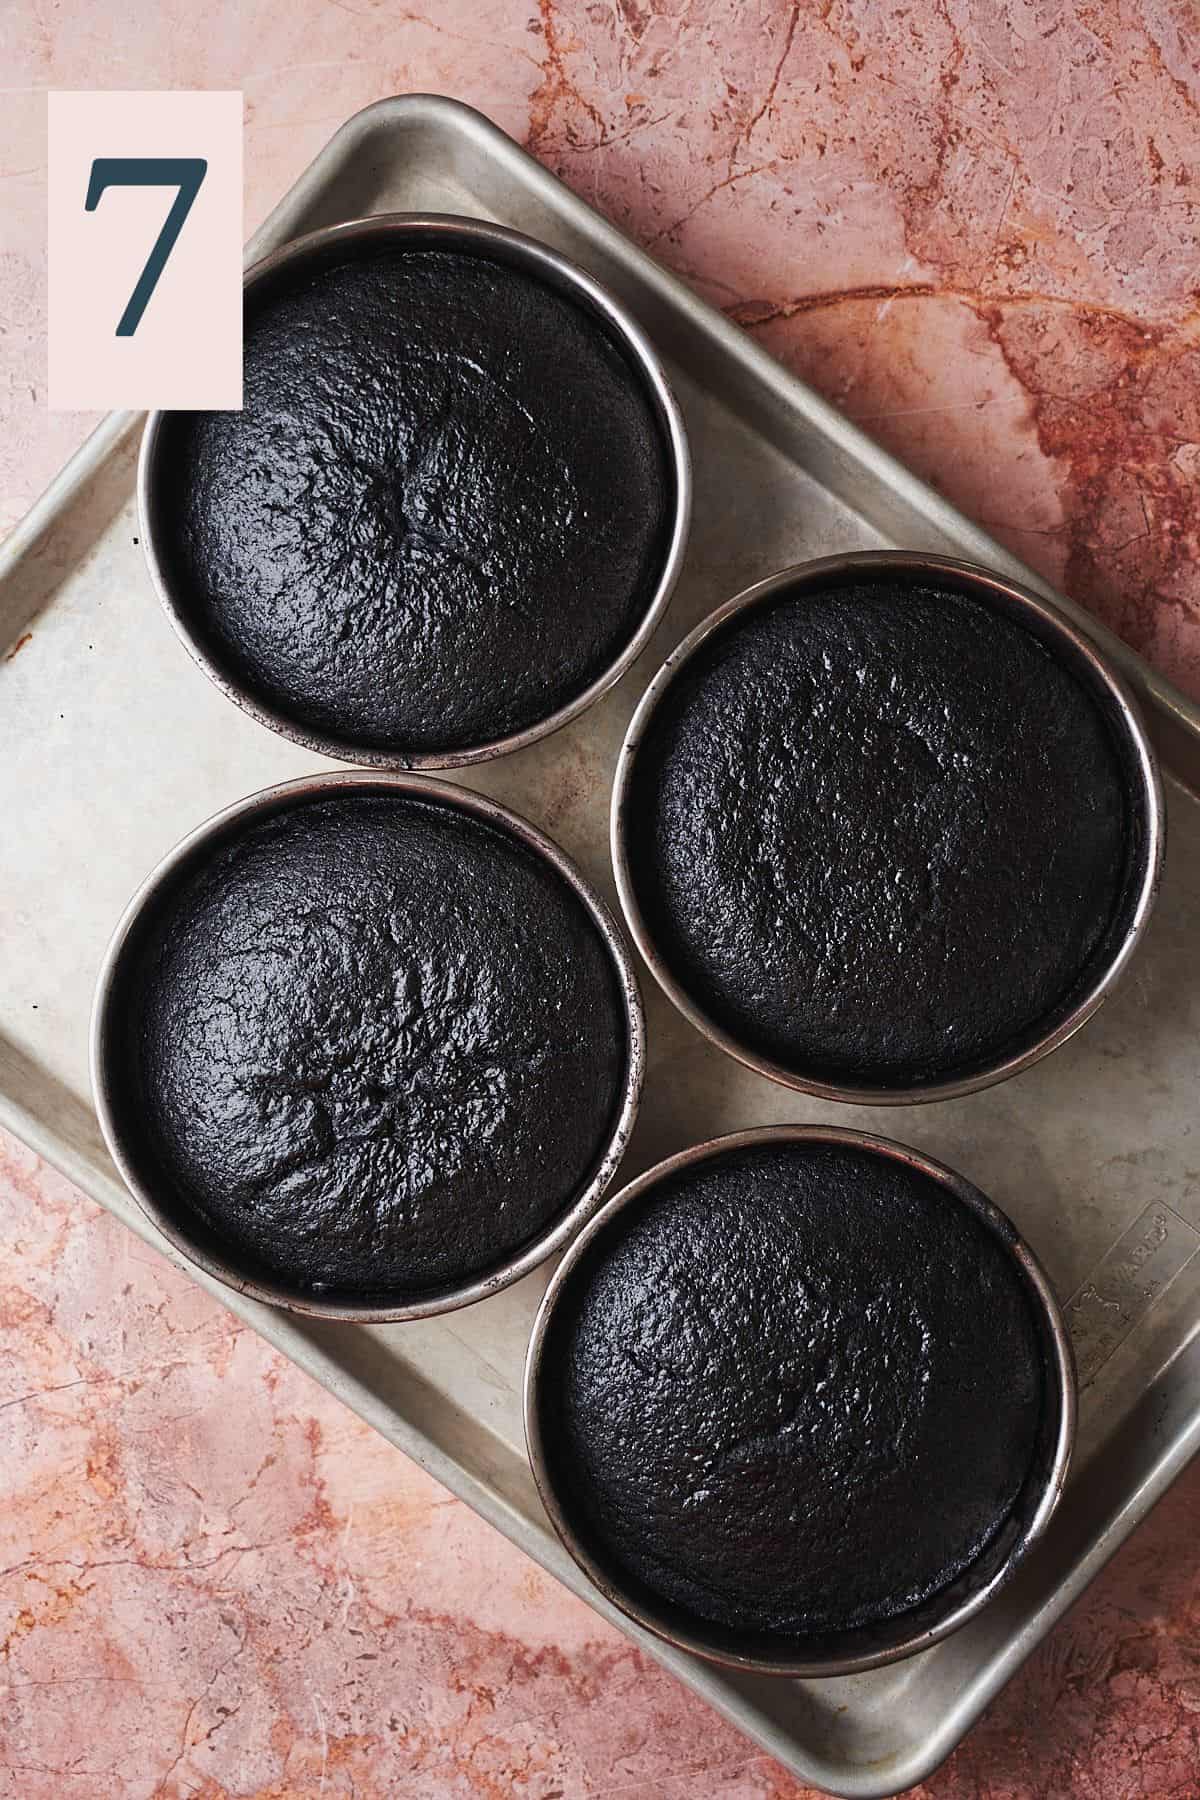
Bake for 35-40 minutes until a toothpick comes out mostly clean. (Image 7)
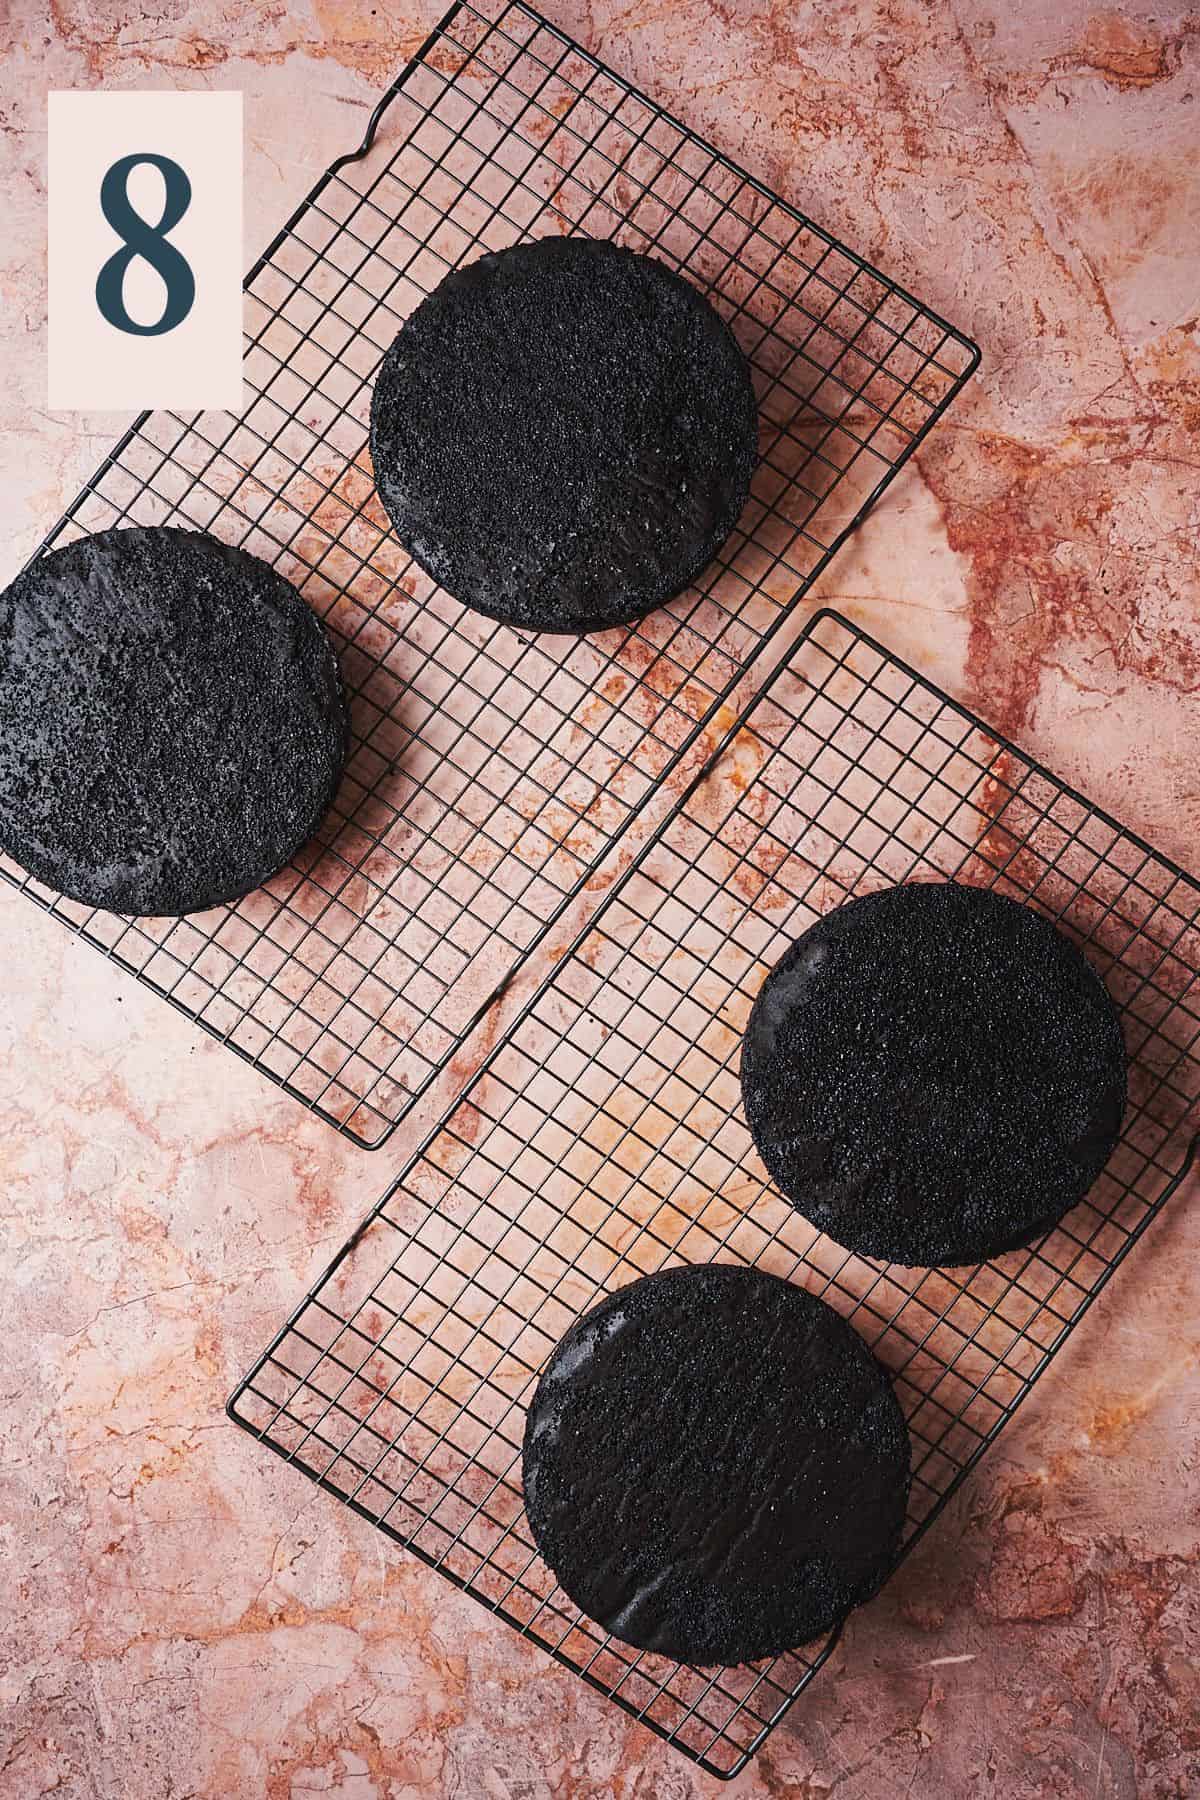
Allow to cool in the tins for about 15 minutes, then transfer to a cooling rack to cool completely before frosting. (Image 8)
While the cake layers cool, make the frosting.
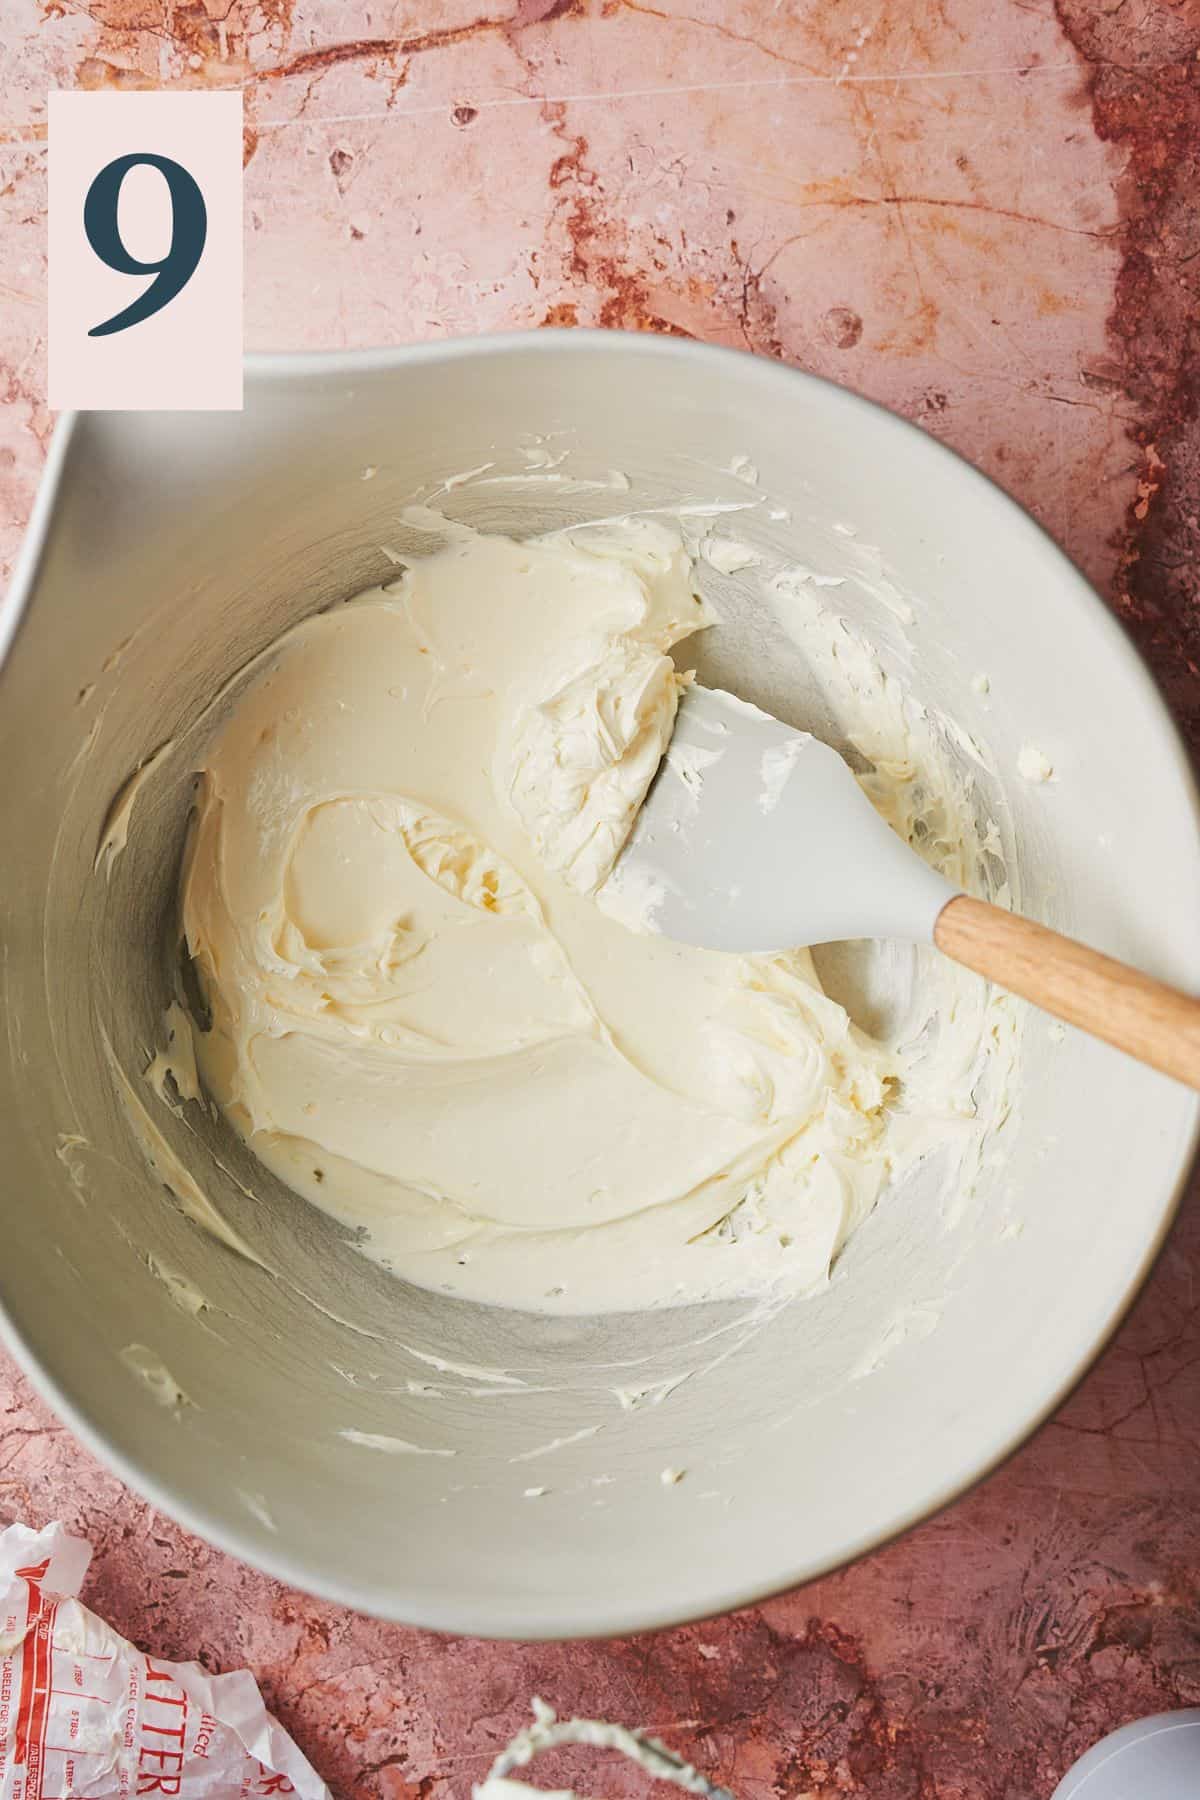
In a mixing bowl, mix together the slightly softened butter for about 4 minutes until smooth using a hand mixer or a stand mixer with the whisk attachment. The butter should become light fluffy and pale in color. (Image 9)
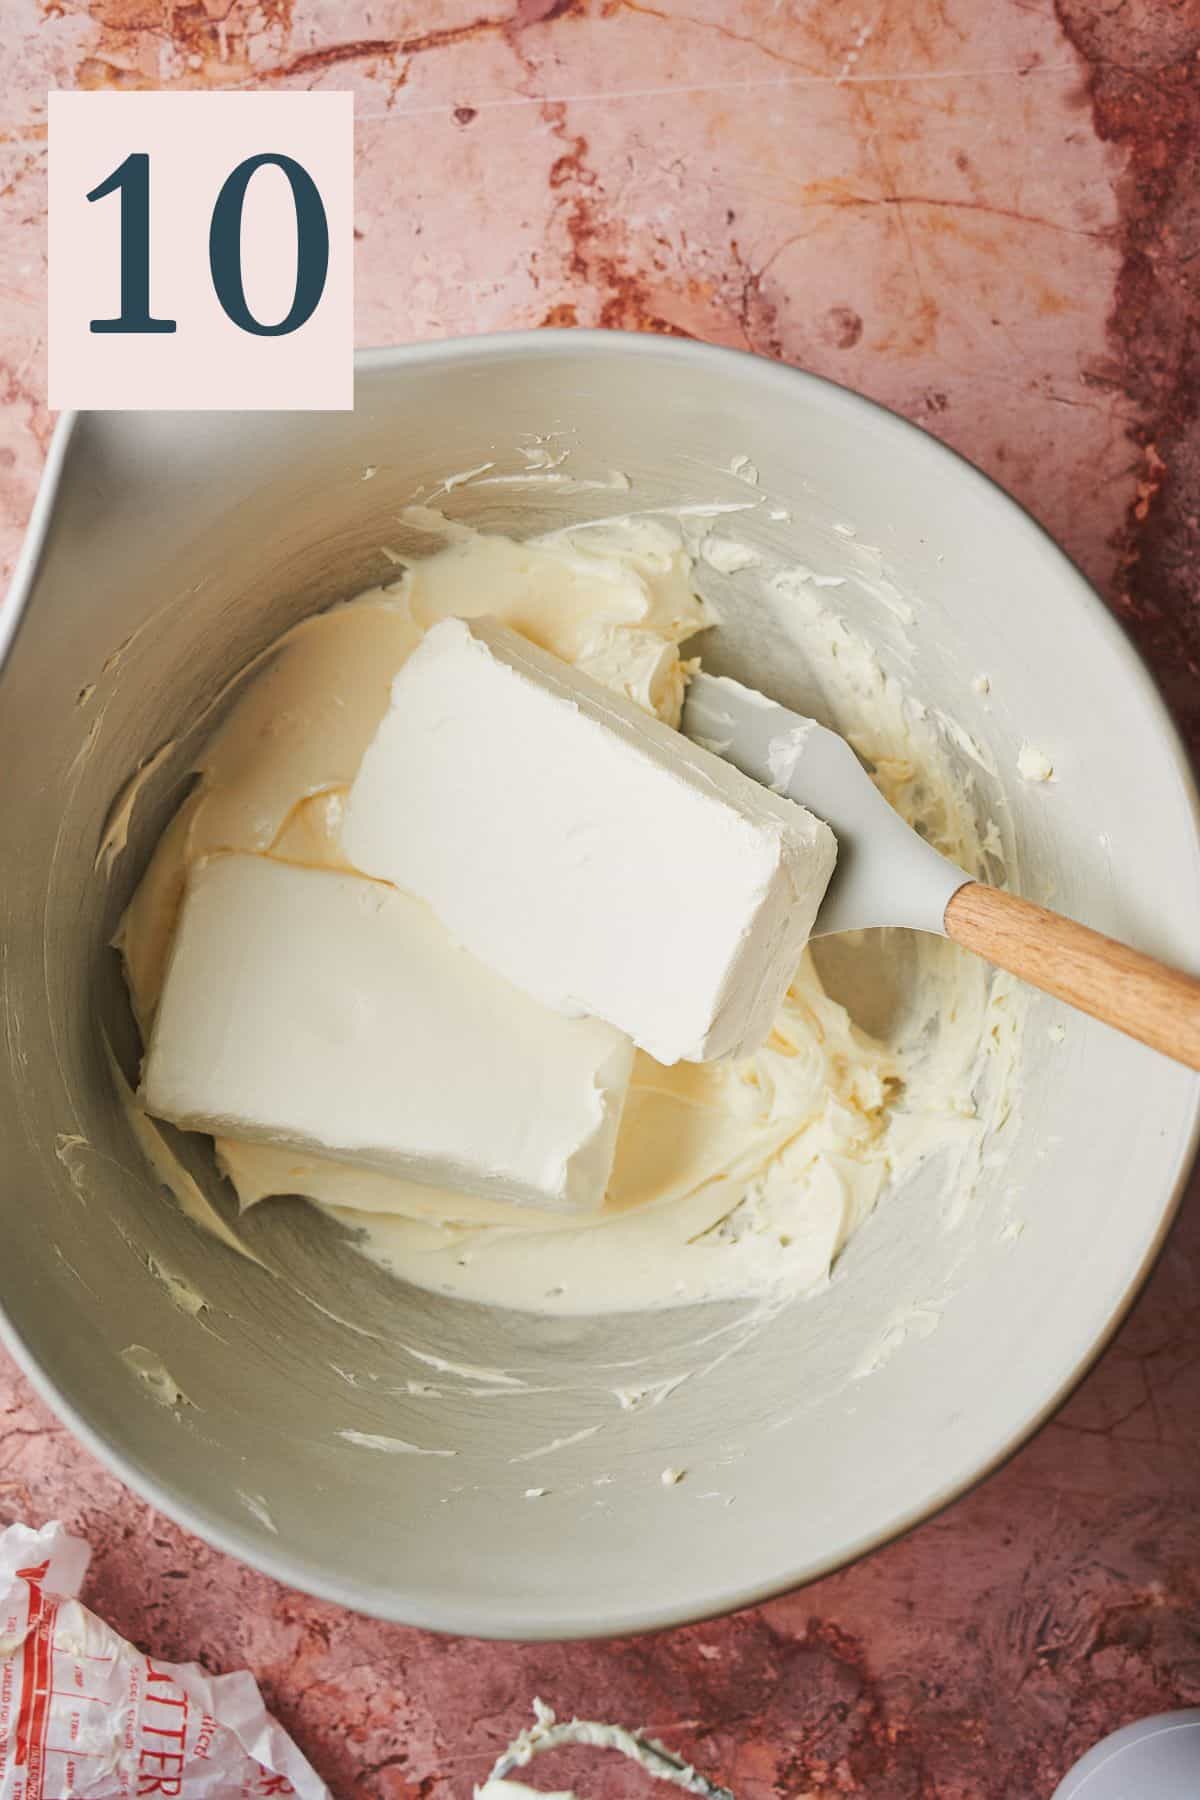
Add the cream cheese, (Image 10) and cream together for an additional 3-4 minutes, until the mixture is completely soft and free from lumps. Make sure to scrape the sides of the bowl a few times. (Image 11)
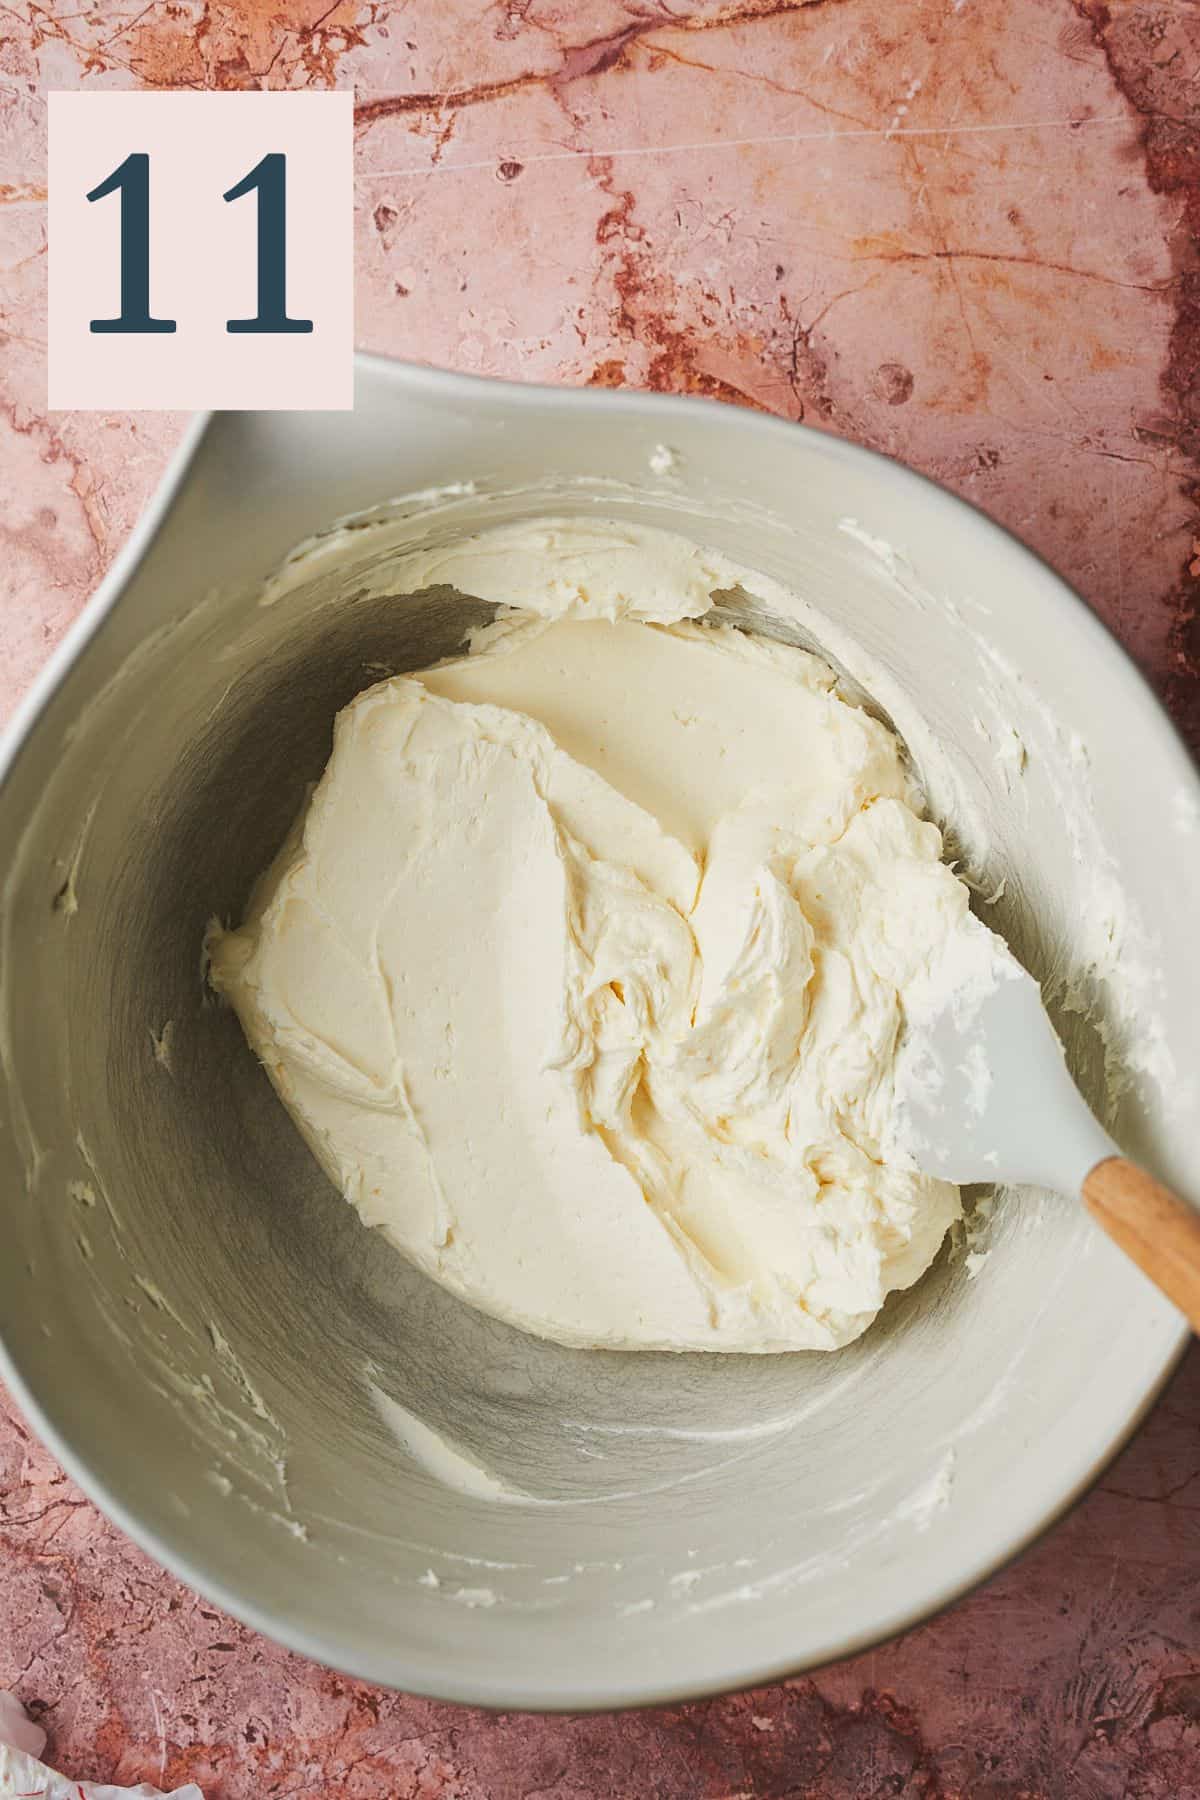
✨Pro Tip: You want to use butter and cream cheese that are just slightly softened for this recipe. That's because cream cheese frosting can become gloopy, so if it's a bit cold, it can hold its shape better. You'll also want to take extra time to ensure the cream cheese and butter are super smooth and combined at this stage before the sugar is added!
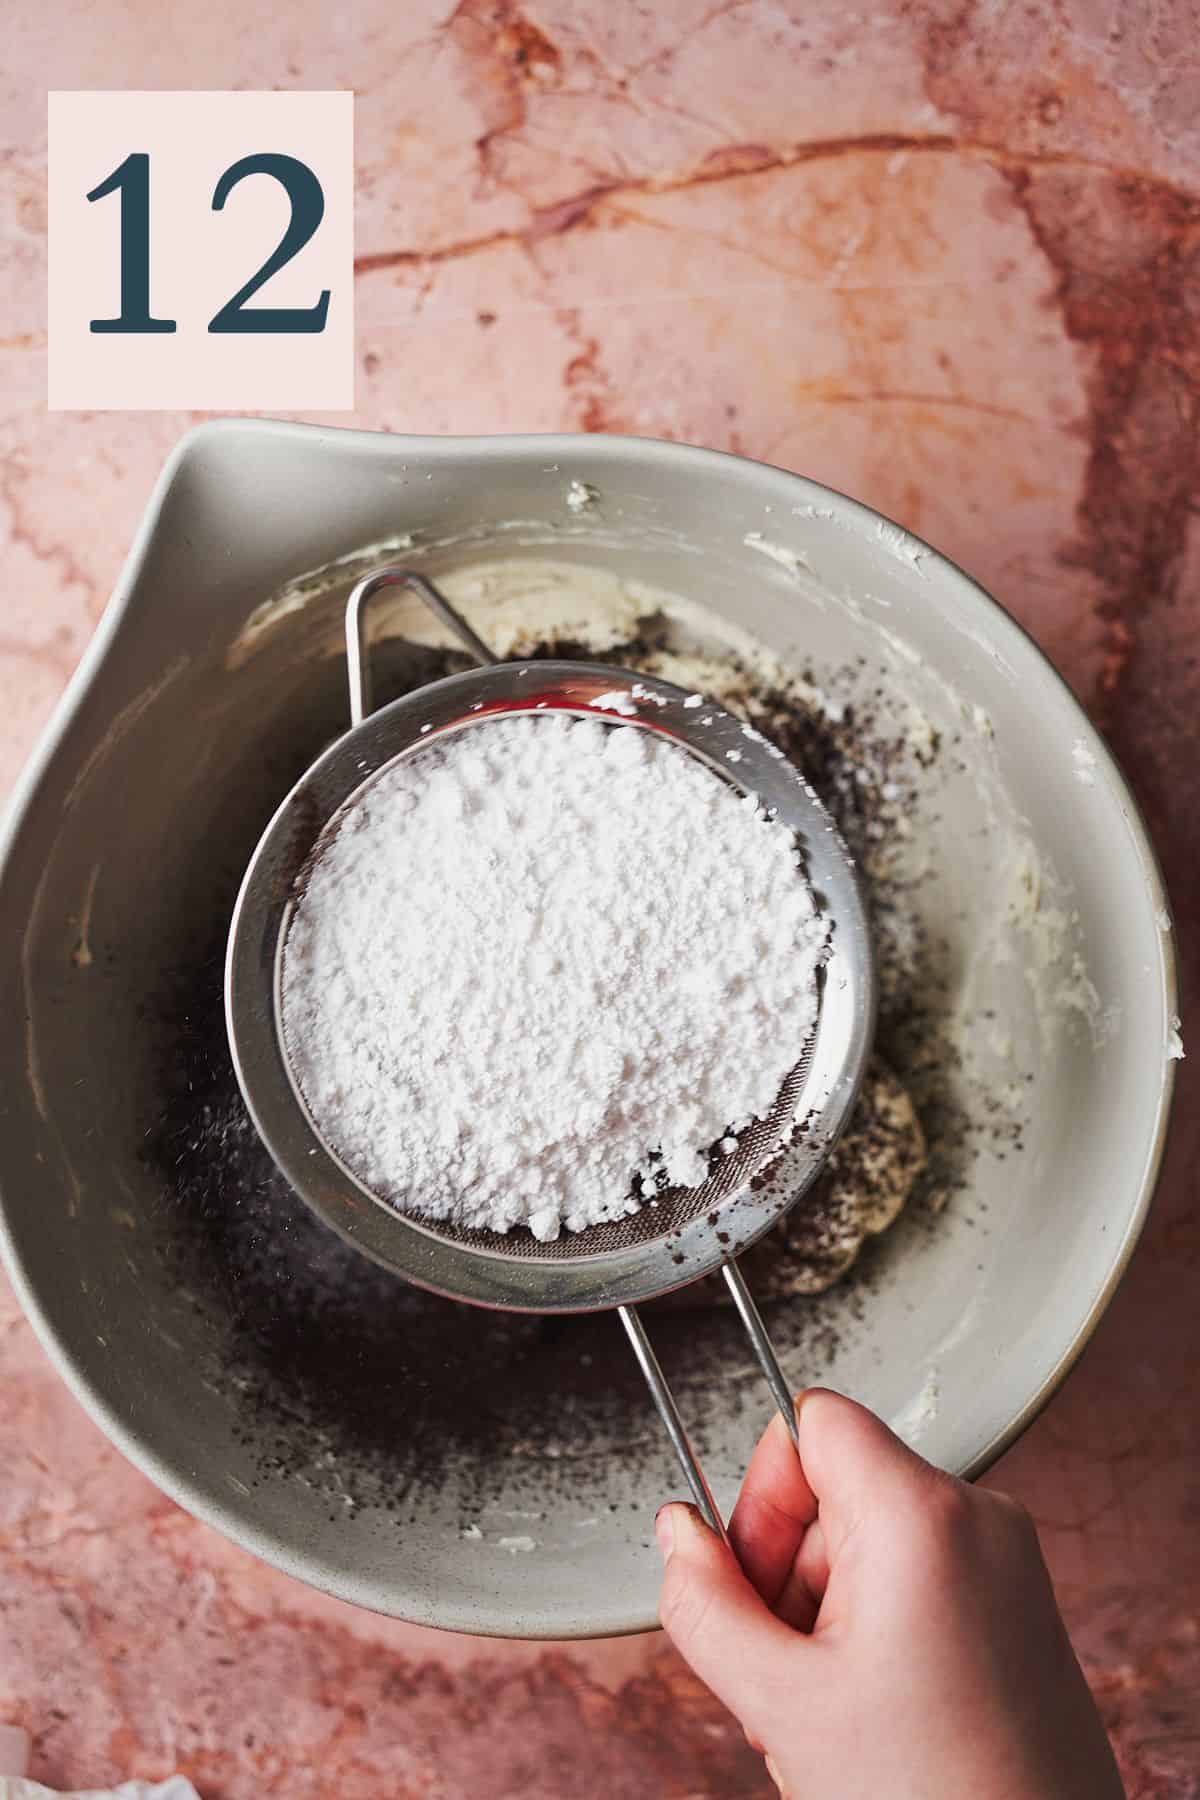
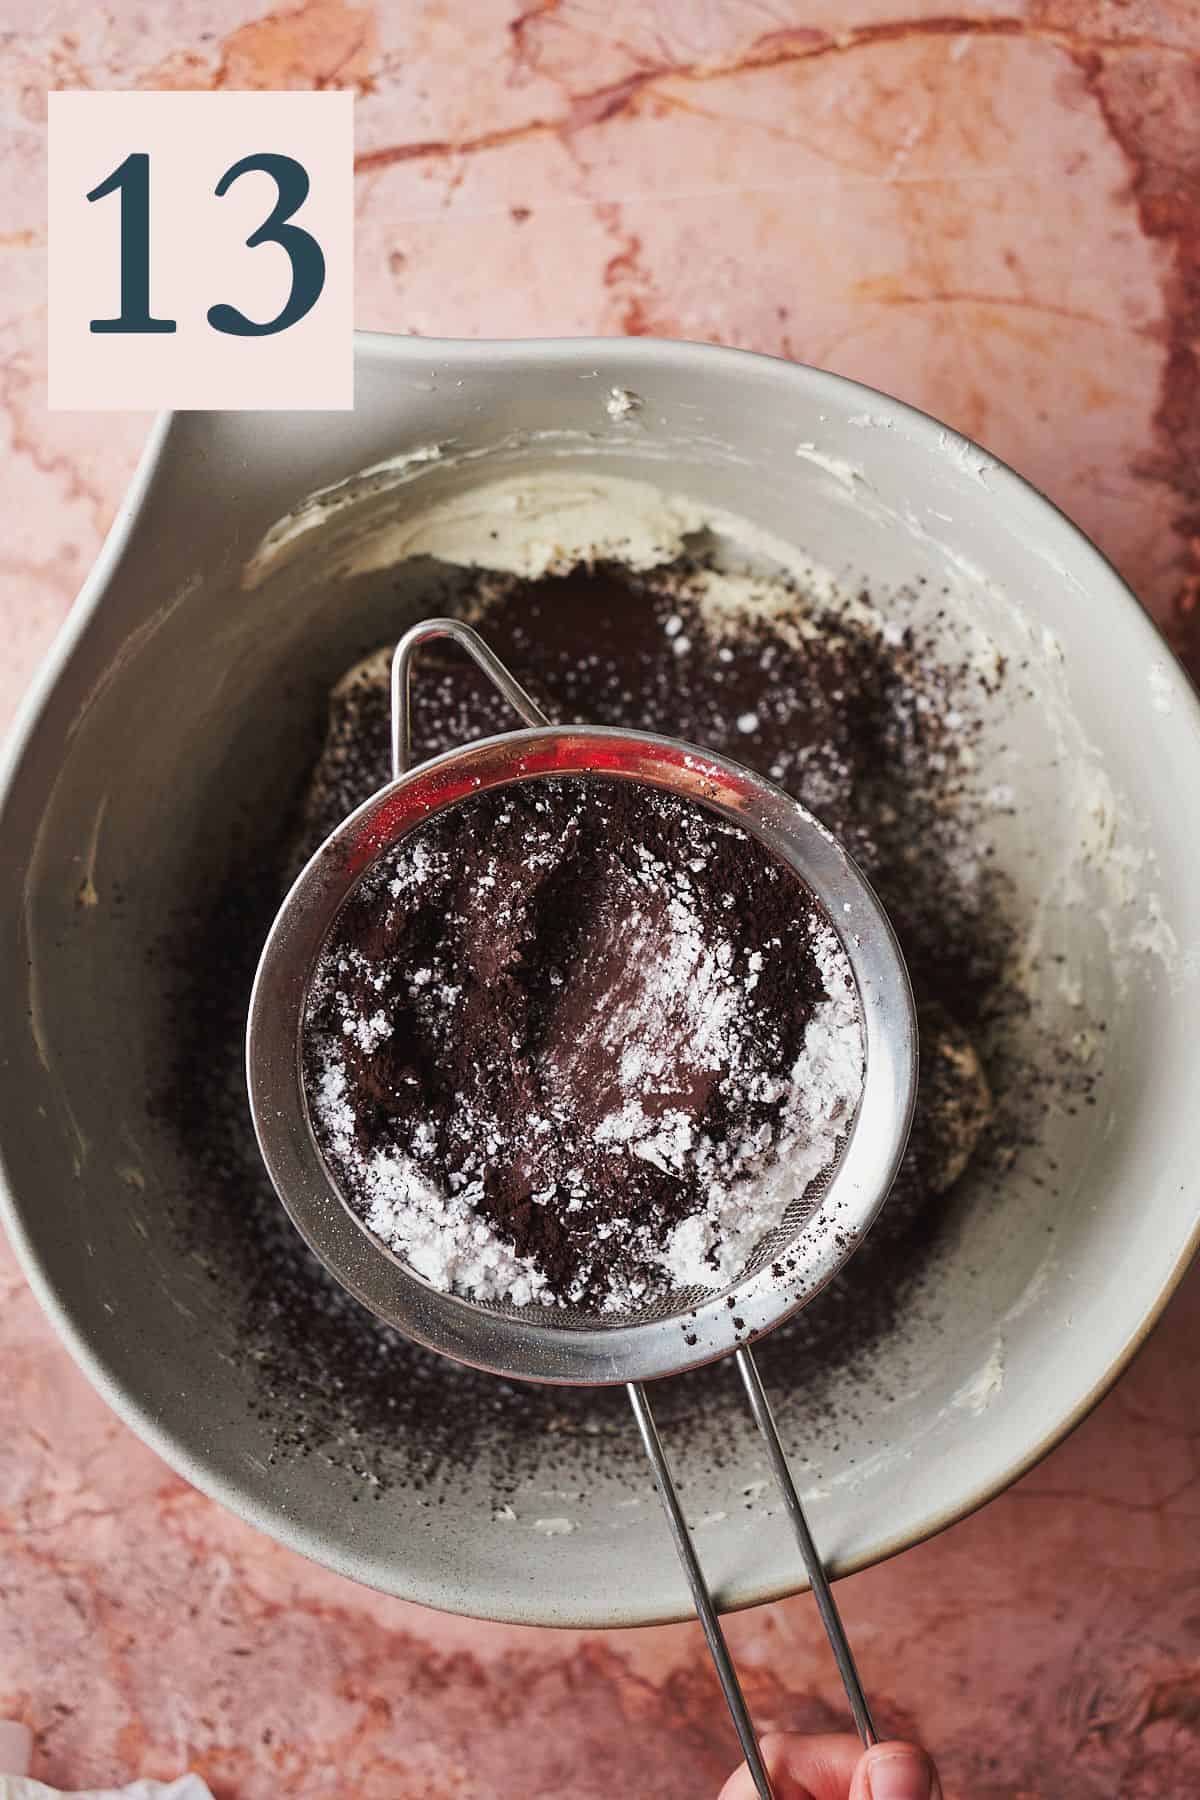
Sift in the powdered sugar (Image 12) and black cocoa powder (Image 13).
Mix on low speed to combine, and add in the salt and vanilla extract. Add more powdered sugar or a little cream to thin if desired until the consistency is where you'd like it.
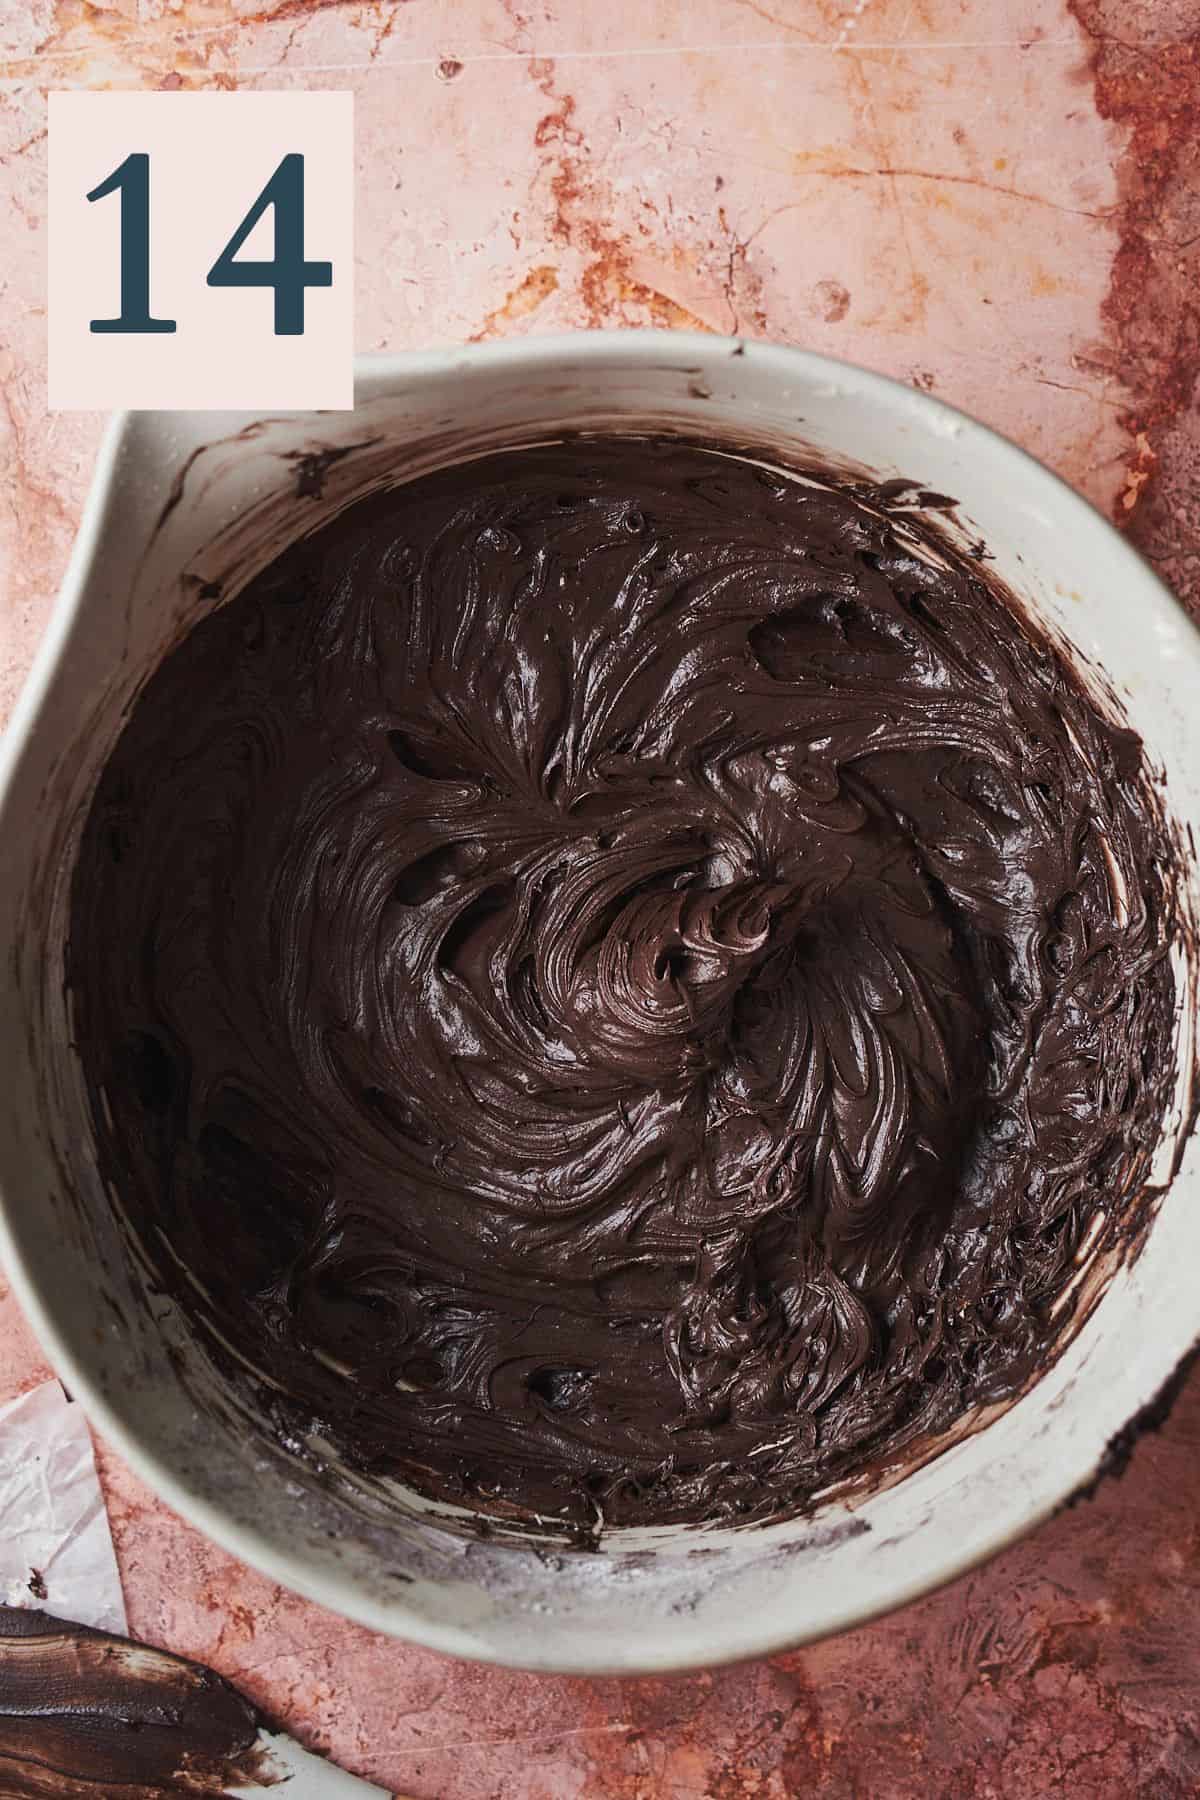
✨Pro Tip: Be careful when adding cream and make sure to add it slowly! It's really easy to thin the frosting too much, but hard to thicken it if it becomes too thin.
Frost and stack the cake according to your preference! The recipe will make a lot of frosting to fully frost this cake. Add sprinkles if desired for decoration. Enjoy!
✨Tips & tricks
- Use room temperature ingredients for the cake batter. Ingredients at room temperature will mix together much more smoothly. Set out any cold ingredients ahead of time, including the eggs, buttermilk, and heavy cream
- For the frosting, we prefer working with cold butter and cream cheese. Cream cheese frosting can become a little runny over time, but for frosting that is on the stiffer side, take it out of the fridge about 20 minutes before using, and that’s it. You want the butter and cream cheese to be quite cold so that they hold their shape.
- Measure accurately. Use a kitchen scale if you have one, as the sizes of cups vary. Accurate measurements can take a baked good from good to great!
- Don't overmix the cake batter. Mix your cake batter just until the ingredients are incorporated. This will ensure your cake layers are tender and fluffy, instead of tough and dense.
- For even cake layers, weigh the cake batter in the pans with a food scale. If you make sure there is roughly the same amount of batter in each pan, you will have nice even layers for the cake. They will bake up evenly as well.
- Bang the cake pans on the counter before baking in the oven to bring any trapped air bubbles to the surface.
- Chilled cake layers are easier to frost and level. Place in the fridge or freezer before assembling the cake if you have time.
- Take your time when creaming the butter and cream cheese for the frosting. We want to make sure we have a nice and smooth mixture with no lumps before adding in the powdered sugar and salt. Be sure to cream the butter for 4-5 minutes, and then cream cheese for another 3-4 minutes. We know it feels like a long time, but this will ensure a smooth and creamy result! Also don’t forget to scrape the bowl.
- Don’t add too much heavy cream to the frosting. Seriously, add less than you think you need. You can always add more if needed, but once it’s added to the frosting, it can be tricky to improve the texture if the frosting becomes too thin or runny.
- Be sure to use room-temperature heavy cream when adding it to the frosting. Cold cream from the fridge can cause the frosting to seize up.
Need supplies? Shop our Amazon store! Stock your pantry, and find all of our favorite kitchen tools! A Full Living LLC earns a small commission through purchases on our storefront to help support this site.
💭Frequently Asked Questions
Store the frosted cake in the refrigerator to keep the cream cheese frosting from spoiling. Store in an airtight container for up to 4-5 days. Allow it to sit at room temperature for 30 minutes or so before serving for the best texture.
Of course! The frosting and cake layers can be made in advance and stored in the fridge (or freezer for the cake layers) for easy assembly. It can also make your life a little easier and help to ensure you take your time at each step!
Yes, you can. Freeze cake pieces in tightly wrapped plastic wrap for up to 1 month. Thaw in the fridge overnight. It’s best to freeze the cake layers separately from the frosting whenever possible, as the cream cheese frosting will change in texture over time. Cake layers can remain frozen for up to 3 months.
🎃👻More Halloween Recipes To Consider
Did you try this recipe? Make sure to leave a 5-star review below! 🌟 This helps other readers find our recipes and encourages them to try them. Also, be sure to leave a comment with your experience. Follow along, and tag @AFullLiving on Instagram with your photos!
📖 Recipe

Black Velvet Cake
Equipment
- hand mixer (or stand mixer with a paddle and whisk attachment)
Ingredients
Black velvet cake
- ¾ cup black cocoa powder
- 2 cups all purpose flour
- 1.5 cups white granulated sugar
- 1 teaspoon kosher salt
- 2 teaspoons baking powder
- 1 teaspoon baking soda
- 3 large eggs, room temperature
- ⅔ cup avocado oil
- 1 cup buttermilk, room temperature
- 1 tablespoon vanilla extract
- 2 teaspoons distilled white vinegar
- ½ cup hot espresso or strong brewed coffee
Black cocoa cream cheese frosting
- 2 sticks unsalted butter, slightly softened (1 cup)
- 16 ounces full fat cream cheese, cold (2 blocks)
- ¾ cup black cocoa powder
- 3-5 cups powdered sugar (added as needed to achieve the correct consistency)
- ½ teaspoon kosher salt
- 2 teaspoons vanilla extract
- 4 tablespoons heavy cream, room temperature (added really slowly to achieve the right consistency)
Instructions
Black velvet cake
- Preheat the oven to 350°F. Grease four 6-inch cake pans with baking spray, then dust with black cocoa powder and add parchment paper rounds to prevent any sticking.
- In a large mixing bowl, sift in 2 cups of all purpose flour, 1.5 cups of white sugar, ¾ cup of black cocoa powder, 1 teaspoon of salt, 2 teaspoons of baking powder, and 1 teaspoon of baking soda. Use a whisk to make sure everything is evenly dispersed. Set aside.
- In a separate large bowl, add the eggs, ⅔ cup of avocado oil, 1 cup of buttermilk, 1 tablespoon of vanilla extract, and 2 teaspoons of distilled white vinegar. Whisk the mixture until completely combined.
- Slowly add the wet ingredients to the dry ingredients. We like to add about ⅓ of the wet ingredients at a time until completely combined. Mix the batter until smooth on low speed, but not much more than that. Be sure to scrape the sides to ensure everything is incorporated.
- Pour in the ½ cup of hot espresso or strong coffee while whisking to prevent cooking the eggs in the batter. Continue mixing until completely combined and smooth. The batter will be quite wet. Add the batter to the prepared cake tins and try to separate out the batter as evenly as possible, using a food scale for the most precise results.
- Place the cake pans on a baking sheet so that you can easily get them in and out of the oven, and bake for 35-40 minutes until a toothpick comes out mostly clean. Allow to cool in the tins for about 15 minutes, then transfer to a cooling rack to cool completely before frosting.
Black cocoa cream cheese frosting
- While the cake layers cool, make the frosting. In a mixing bowl, mix together 2 sticks of slightly softened butter for about 4 minutes until smooth using a hand mixer or a stand mixer with the whisk attachment. The butter should become light fluffy and pale in color.
- Add in the 2 blocks of cold cream cheese, and cream together for an additional 3-4 minutes, until the mixture is completely soft and free from lumps. Make sure to scrape the sides of the bowl a few times.
- Sift in about 3 cups of powdered sugar to start, along with ¾ cup of black cocoa powder, and ½ teaspoon of kosher salt.
- Mix on low speed to combine, and add in 2 teaspoons of vanilla extract. Add more powdered sugar or a little room temperature heavy cream (about a ½ a tablespoon at a time!) to thin if desired until the consistency is where you'd like it. Be careful when adding cream and make sure to add it slowly! It's really easy to thin the frosting too much, but hard to thicken it if it becomes too thin.
- Frost and stack the cake according to your preference! The recipe will make a lot of frosting to fully frost this cake. Add sprinkles if desired for decoration. Enjoy!
- Store the frosted cake in the refrigerator to keep the cream cheese frosting from spoiling. Store in an airtight container for up to 4-5 days. Allow it to sit at room temperature for 30 minutes or so before serving for the best texture.
Notes
-
- Make ahead. The frosting and cake layers can be made in advance and stored in the fridge (or freezer for the cake layers) for easy assembly. It can also make your life a little easier and help to ensure you take your time at each step!
- Freezing the cake. Freeze cake pieces in tightly wrapped plastic wrap for up to 1 month. Thaw in the fridge overnight. It’s best to freeze the cake layers separately from the frosting whenever possible, as the cream cheese frosting will change in texture over time. The cake layers can be frozen for up to 3 months.
- Use room temperature ingredients for the cake batter. Ingredients at room temperature will mix together much more smoothly. Set out any cold ingredients ahead of time, including the eggs, buttermilk, and heavy cream
-
- For the frosting, we prefer working with cold butter and cream cheese. Cream cheese frosting can become a little runny over time, but for frosting that is on the stiffer side, take it out of the fridge about 20 minutes before using, and that’s it. You want the butter and cream cheese to be quite cold so that they hold their shape.
-
- Measure accurately. Use a kitchen scale if you have one, as the sizes of cups vary. Accurate measurements can take a baked good from good to great!
-
- Don't overmix the cake batter. Mix your cake batter just until the ingredients are incorporated. This will ensure your cake layers are tender and fluffy, instead of tough and dense.
-
- For even cake layers, weigh the cake batter in the pans with a food scale. If you make sure there is roughly the same amount of batter in each pan, you will have nice even layers for the cake. They will bake up evenly as well.
-
- Bang the cake pans on the counter before baking in the oven to bring any trapped air bubbles to the surface.
-
- Chilled cake layers are easier to frost and level. Place in the fridge or freezer before assembling the cake if you have time.
-
- Take your time when creaming the butter and cream cheese for the frosting. We want to make sure we have a nice and smooth mixture with no lumps before adding in the powdered sugar and salt. Be sure to cream the butter for 4-5 minutes, and then cream cheese for another 3-4 minutes. We know it feels like a long time, but this will ensure a smooth and creamy result! Also don’t forget to scrape the bowl.
-
- Don’t add too much heavy cream to the frosting. Seriously, add less than you think you need. You can always add more if needed, but once it’s added to the frosting, it can be tricky to improve the texture if the frosting becomes too thin or runny.
-
- Be sure to use room-temperature heavy cream when adding it to the frosting. Cold cream from the fridge can cause the frosting to seize up.



Comments
No Comments