Ever wondered how to add that irresistible nutty flavor to your dishes and desserts? The secret is Brown Butter! Let's dive into the wonderful world of browned butter together – it's easier than you think and can turn your ordinary recipes into flavor-packed delights!
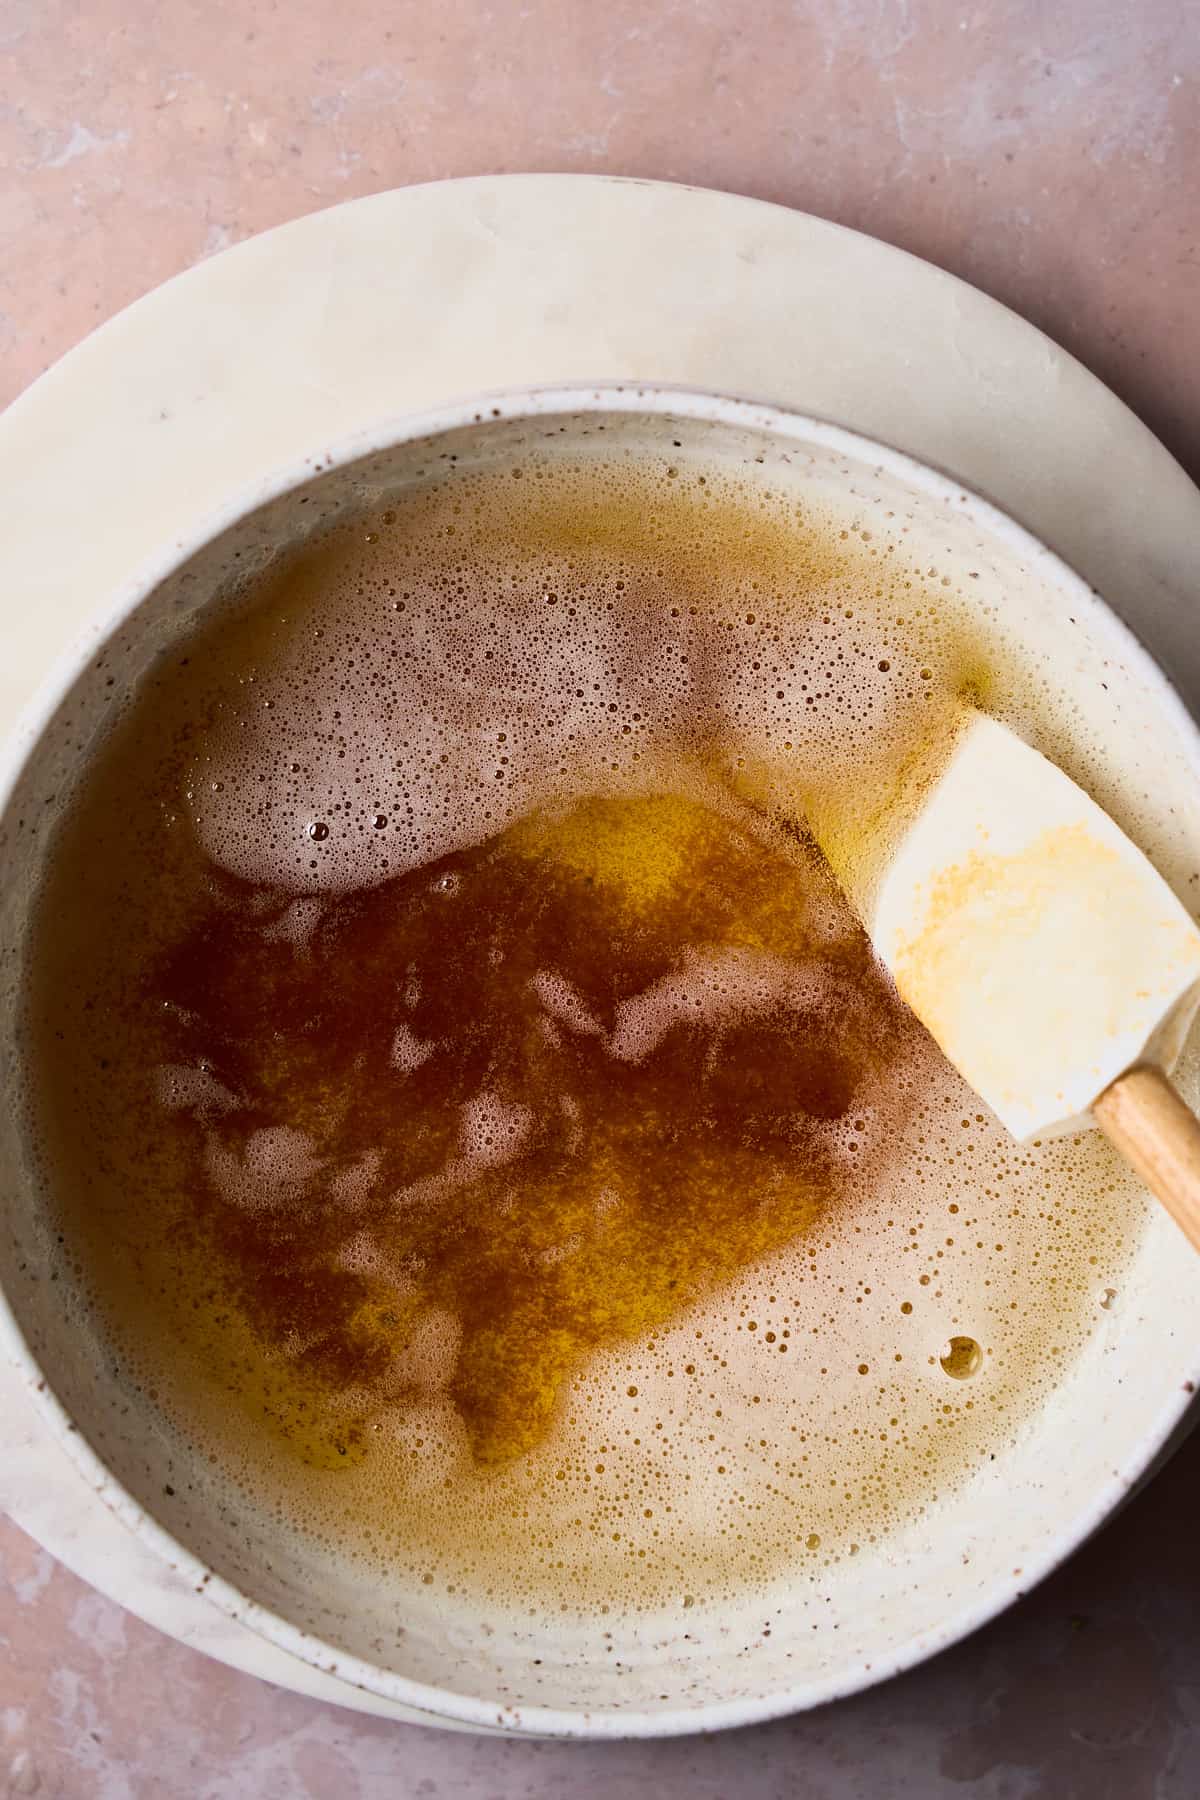
Everything from your favorite sweet treats to your favorite savory dishes can be elevated by the use of nutty brown butter. It's liquid gold, that takes the flavor of regular butter and really kicks it up a notch.
This French technique (known as beurre noisette) may seem intimidating, but it's really a simple technique, and with our step-by-step guide and photos, you'll get it right every time!
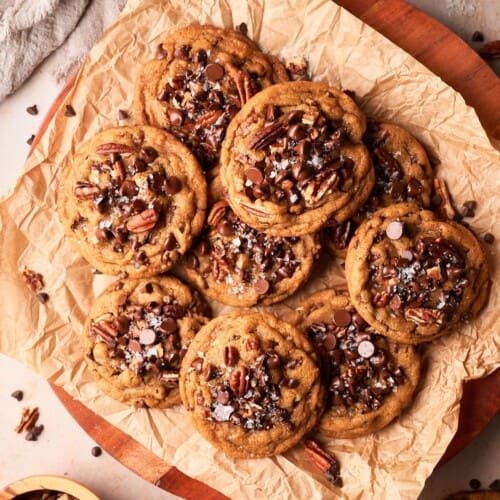
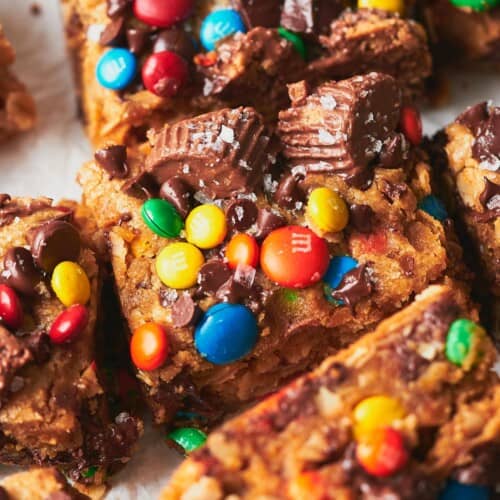
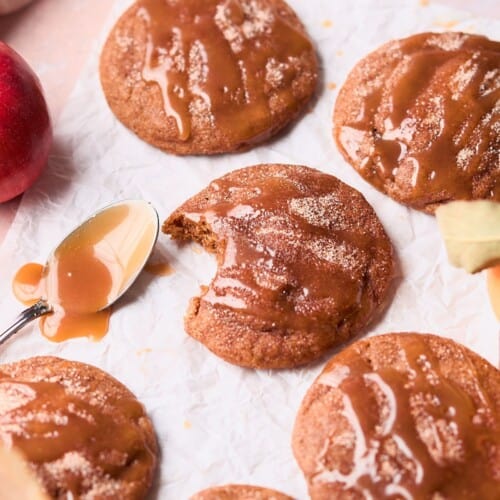
Try brown butter in cookies, like these monster cookie bars, these apple cider cookies, these pecan chocolate chip cookies, these Cadbury mini egg cookies, or these muesli cookies up a notch, for instance!
Try it in these loaded brownies, and these these red velvet brownies too!
Brown butter also enhances savory dishes, like this luscious duck pasta!
Browned butter is also great in pasta sauce, your favorite cookie recipe, or can even enhance the flavor of this salted caramel recipe even more! The uses for it are truly endless, and we know you'll find a ton of uses for it once you get the hang of it and will want to use it in all of your favorite recipes. Happy baking and cooking!
Jump to:
❤️Why we love this recipe
- Flavor enhancer. Brown butter has a rich, nutty flavor that adds depth and complexity to a wide range of dishes. It elevates both sweet and savory recipes, making them more delicious.
- Versatile. Brown butter can be used in various culinary applications, from sauces and pasta dishes to baked goods and roasted vegetables. It's a versatile ingredient that can transform ordinary recipes into extraordinary ones.
- Easy to follow. The step-by-step instructions provided in the guide are easy to follow, making it accessible for beginner cooks to master this technique.
- Quick. Making brown butter is a relatively quick process, taking just a few minutes. It's a simple way to enhance your meals without spending hours in the kitchen.
- Long shelf life. Brown butter can be made in advance and stored for weeks in the refrigerator or even longer in the freezer, making it a convenient ingredient to have on hand.
- Accesible ingredients. You really only need one ingredient - butter - for this recipe! Anyone anywhere can make this!
🧈Ingredients
You only need 1 ingredient and a couple of tools for this recipe!
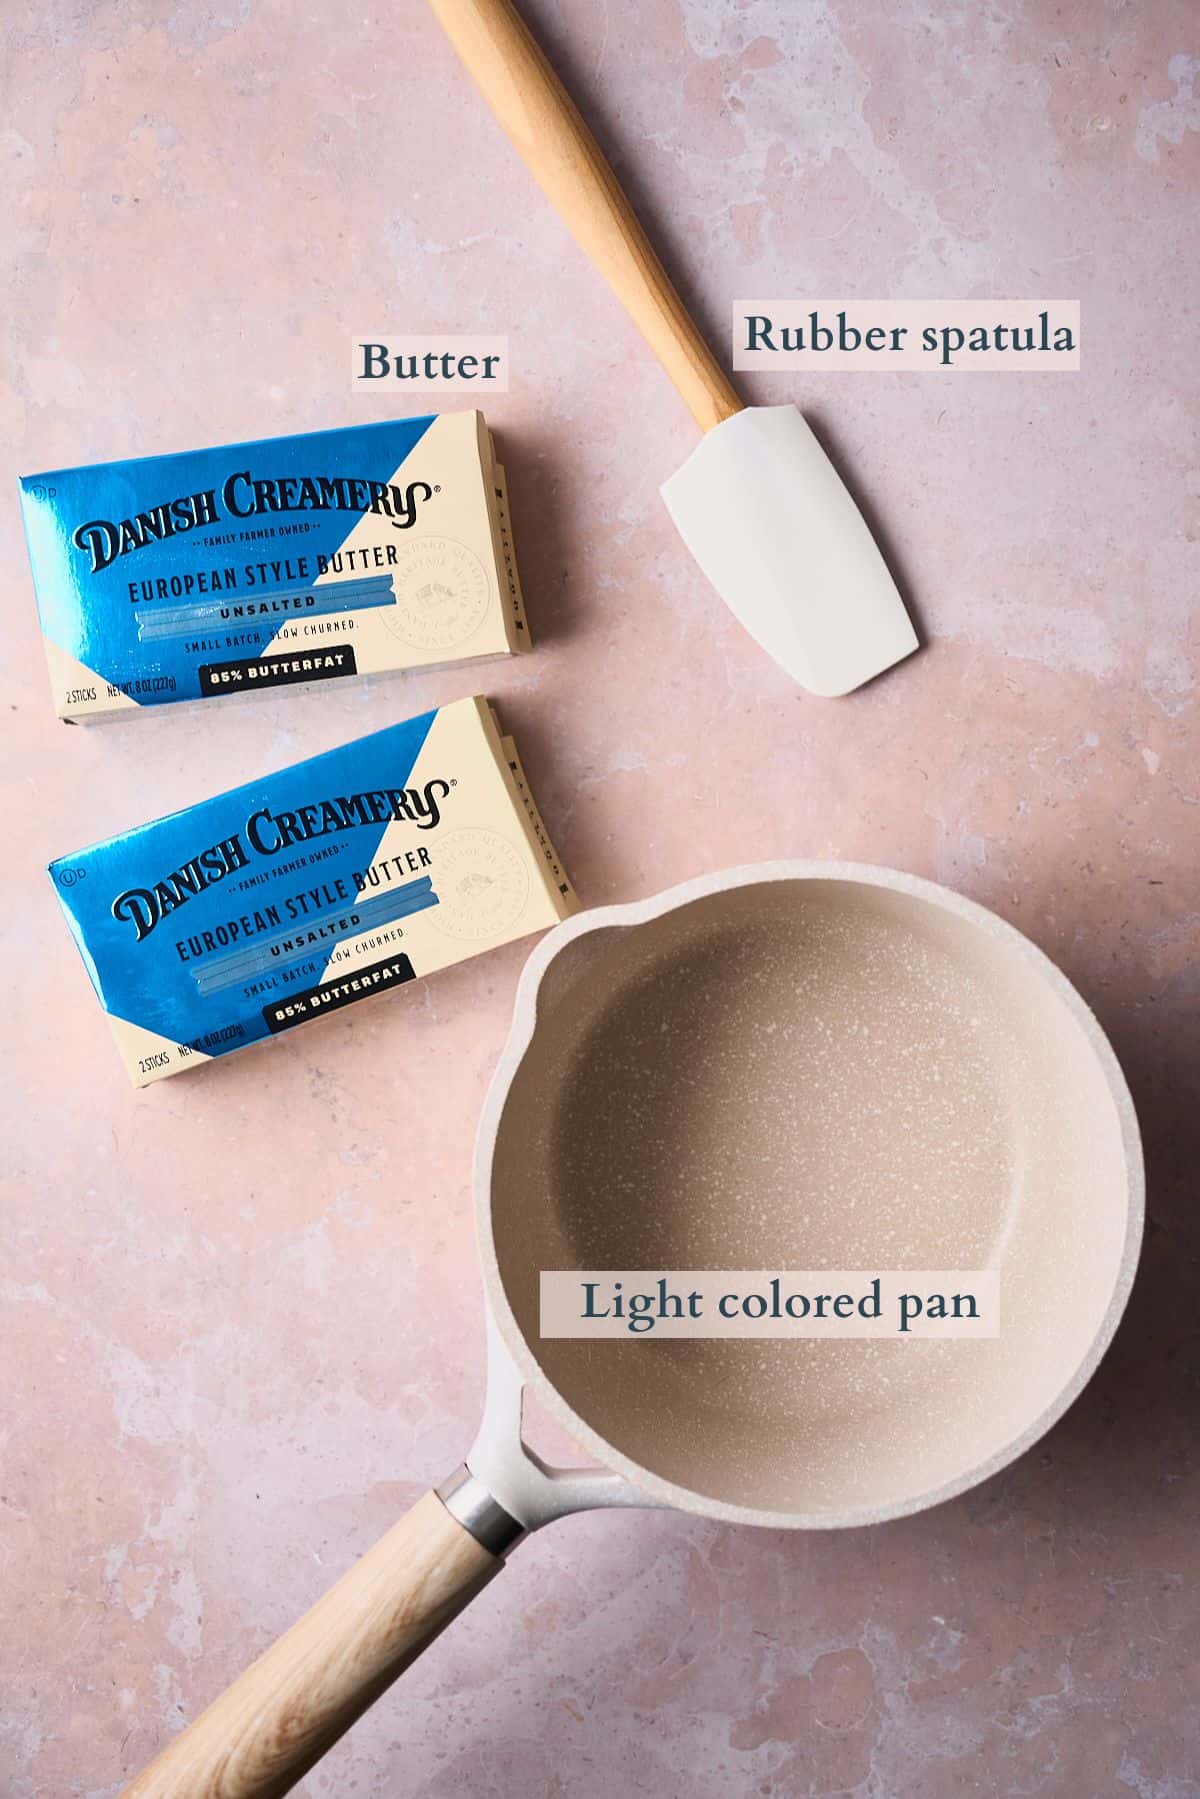
- Butter. The type of butter you use really doesn't matter too much. Unsalted butter and salted butter both work, but we do tend to prefer using unsalted so that we can control the salt level more easily.
- Make sure not to use cold butter (butter straight from the fridge or freezer) or too warm of butter. Take the butter out of the fridge 20-30 minutes before beginning and let it sit at room temperature. Cut the butter into chunks to help it melt and brown evenly. It's also worth noting that the water in the butter will evaporate during the cooking process, so the final volume will be between 20-25% less than what it was when you started.
- Light-colored pan. We recommend using a light-colored saucepan for this recipe so that you can see the bottom of the pan more easily and keep track of the brown specks to ensure they don't burn. We'd also recommend using a heavy bottom pan, like stainless steel (or something like it), so that it can maintain the heat in the pan better.
- Cooking utensil. Use a whisk, a wooden spoon, or our personal favorite, a rubber spatula, to scrape at the browned bits that form at the bottom of the pan during the browning process and ensure they don't stick.
Visit the recipe card for the full quantities and nutritional information.
✨Substitutions
Here are a few suggestions on additional flavors to try, or simple variations to this recipe.
- Dairy-free or vegan version. If you're lactose intolerant or vegan, you can make brown butter using dairy-free alternatives like vegan butter.
- Use salted butter. While it's common to use unsalted butter, you can use salted butter if you prefer. Just be mindful of the salt content in your dish, and adjust it accordingly.
✨Variations
- Herb-infused. Add fresh or dried herbs like sage, thyme, or rosemary to the brown butter while it's still hot. This infuses the butter with a delightful herbaceous flavor that pairs well with roasted vegetables or pasta.
- Citrusy. For a burst of freshness, add the zest of a lemon, or orange to the brown butter after removing it from the heat. This creates a citrusy twist that complements lots of things from seafood, pasta, desserts, and more.
- Spiced. Experiment with spices like cinnamon, nutmeg, or cardamom for a warm and aromatic twist. Perfect for drizzling over pancakes, waffles, or baked goods.
- Nutty. Toast chopped nuts, such as almonds, pecans, or hazelnuts, in the brown butter until they become fragrant and golden brown. This adds an extra layer of nuttiness and crunch to your dishes.
- Sweet version. To make a sweet version, add a touch of brown sugar, honey, or maple syrup to the brown butter. This can be used as a decadent topping for ice cream, pancakes, or French toast.
🔪Prep work
- Cut the sticks of butter into small, equal-sized pieces.
- Allow the butter to sit out at room temperature for 20-30 minutes before beginning so that it's not too cold.
📋Instructions
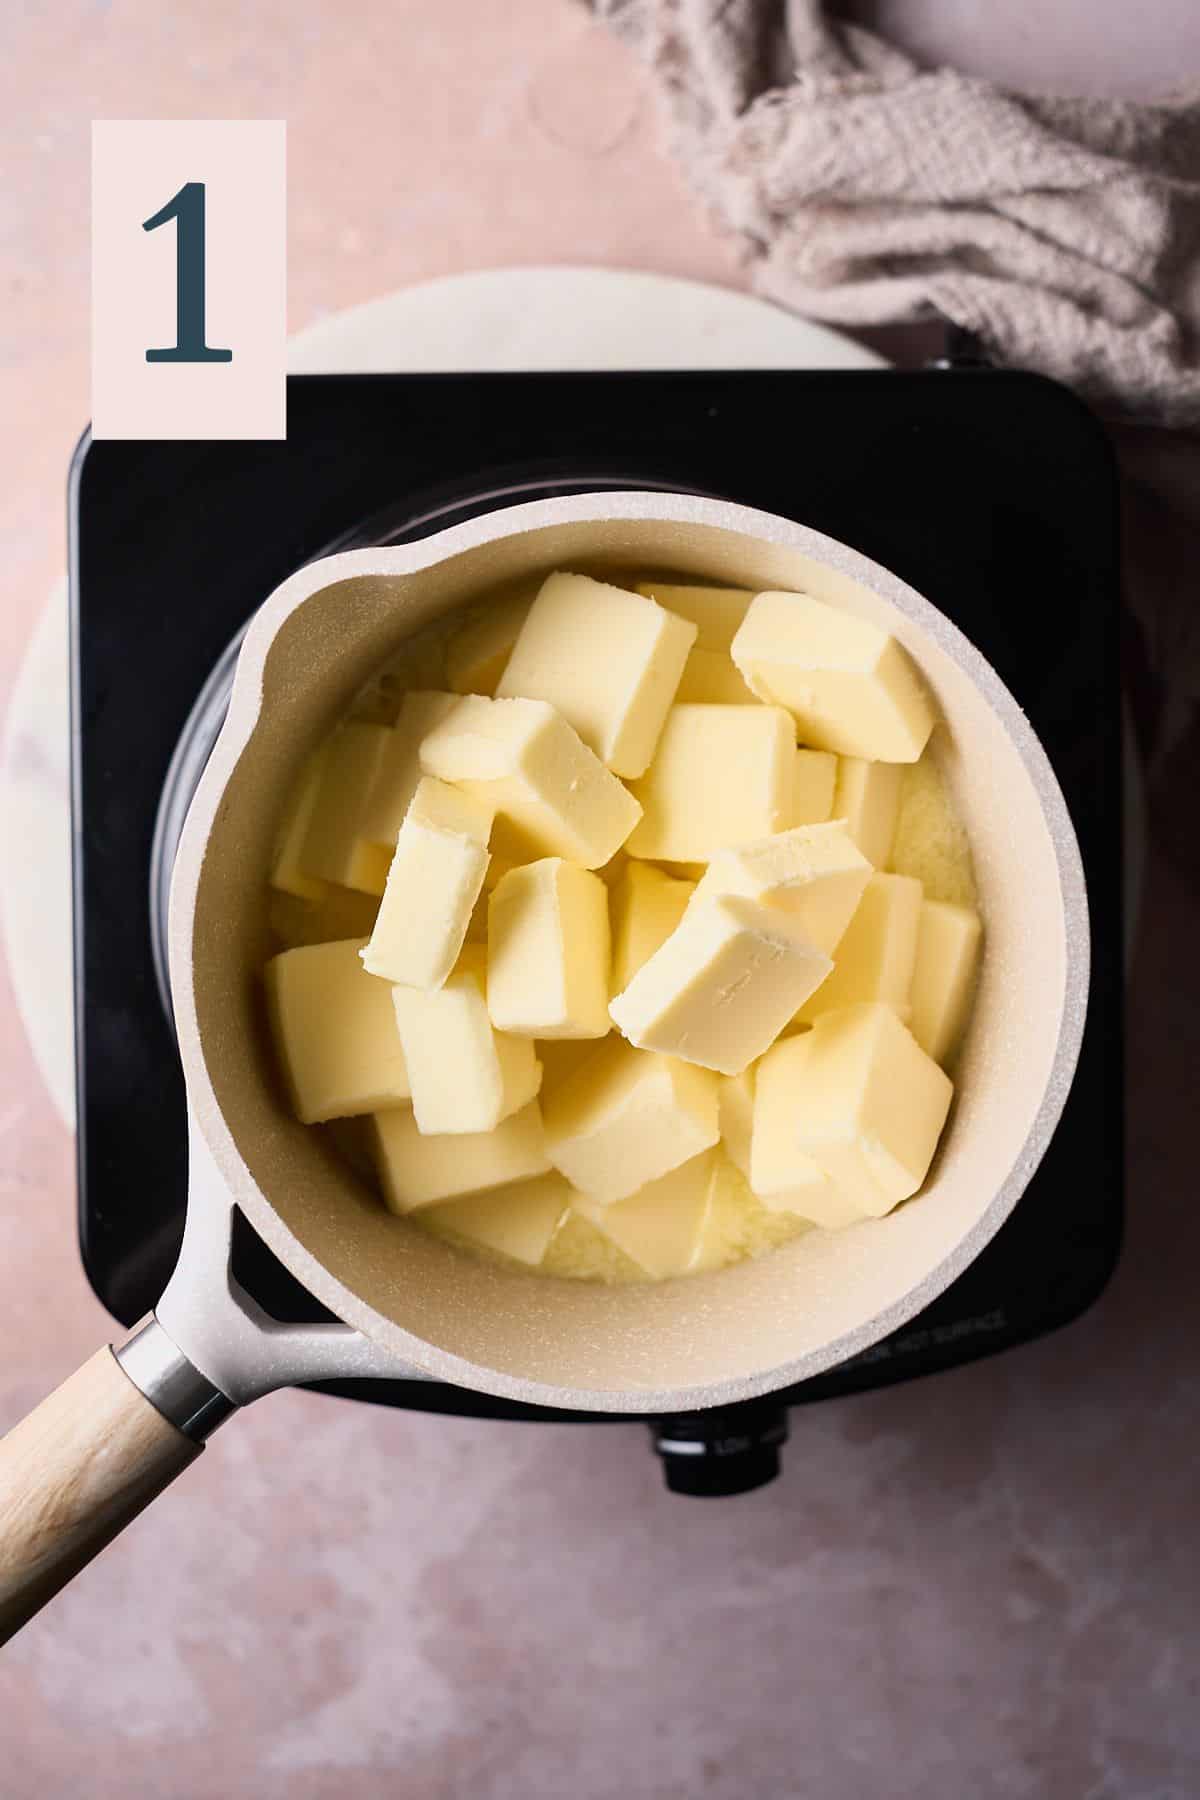
Place a saucepan over medium heat on the stovetop. Medium heat ensures the butter cooks evenly, an important factor in the success of this process. Add the chunks of butter to the saucepan. (Image 1)
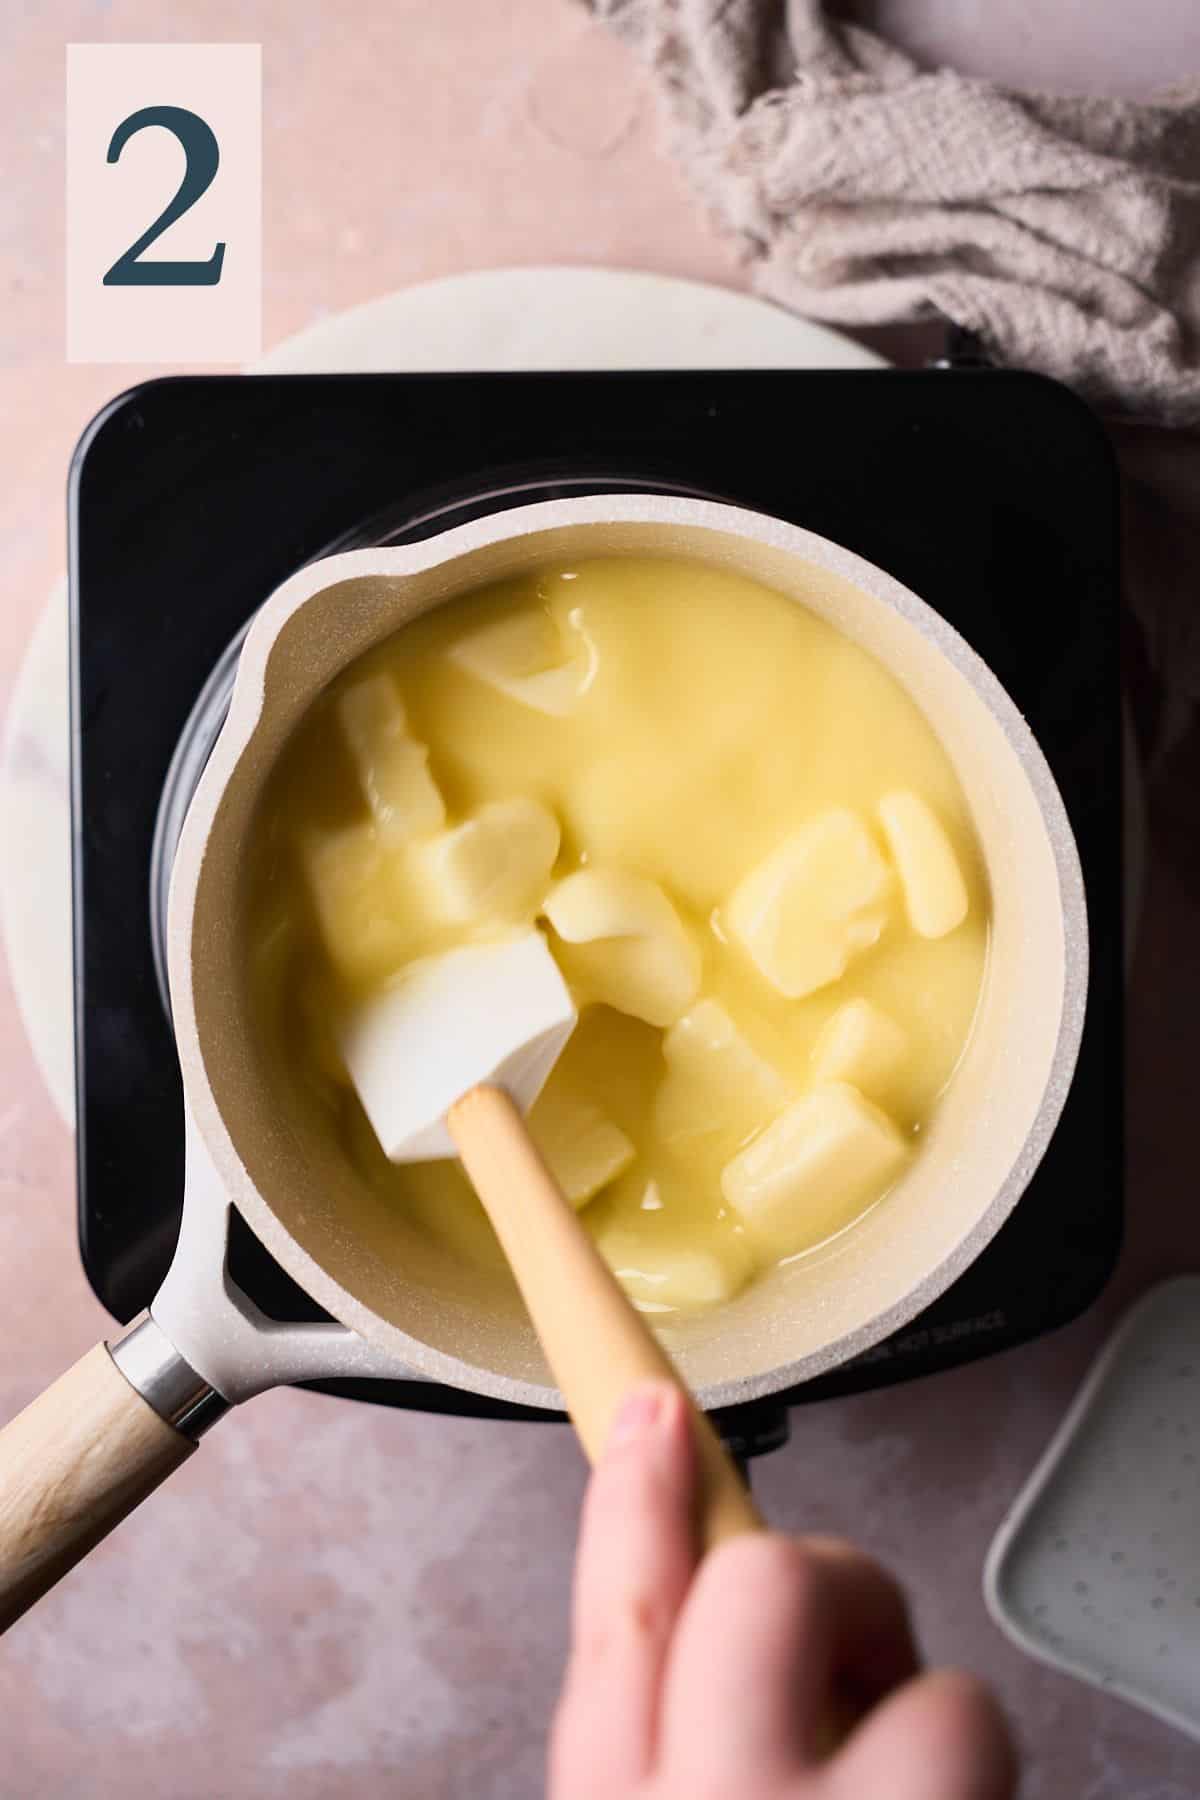
Begin stirring to move the butter around as it melts. (Image 2)
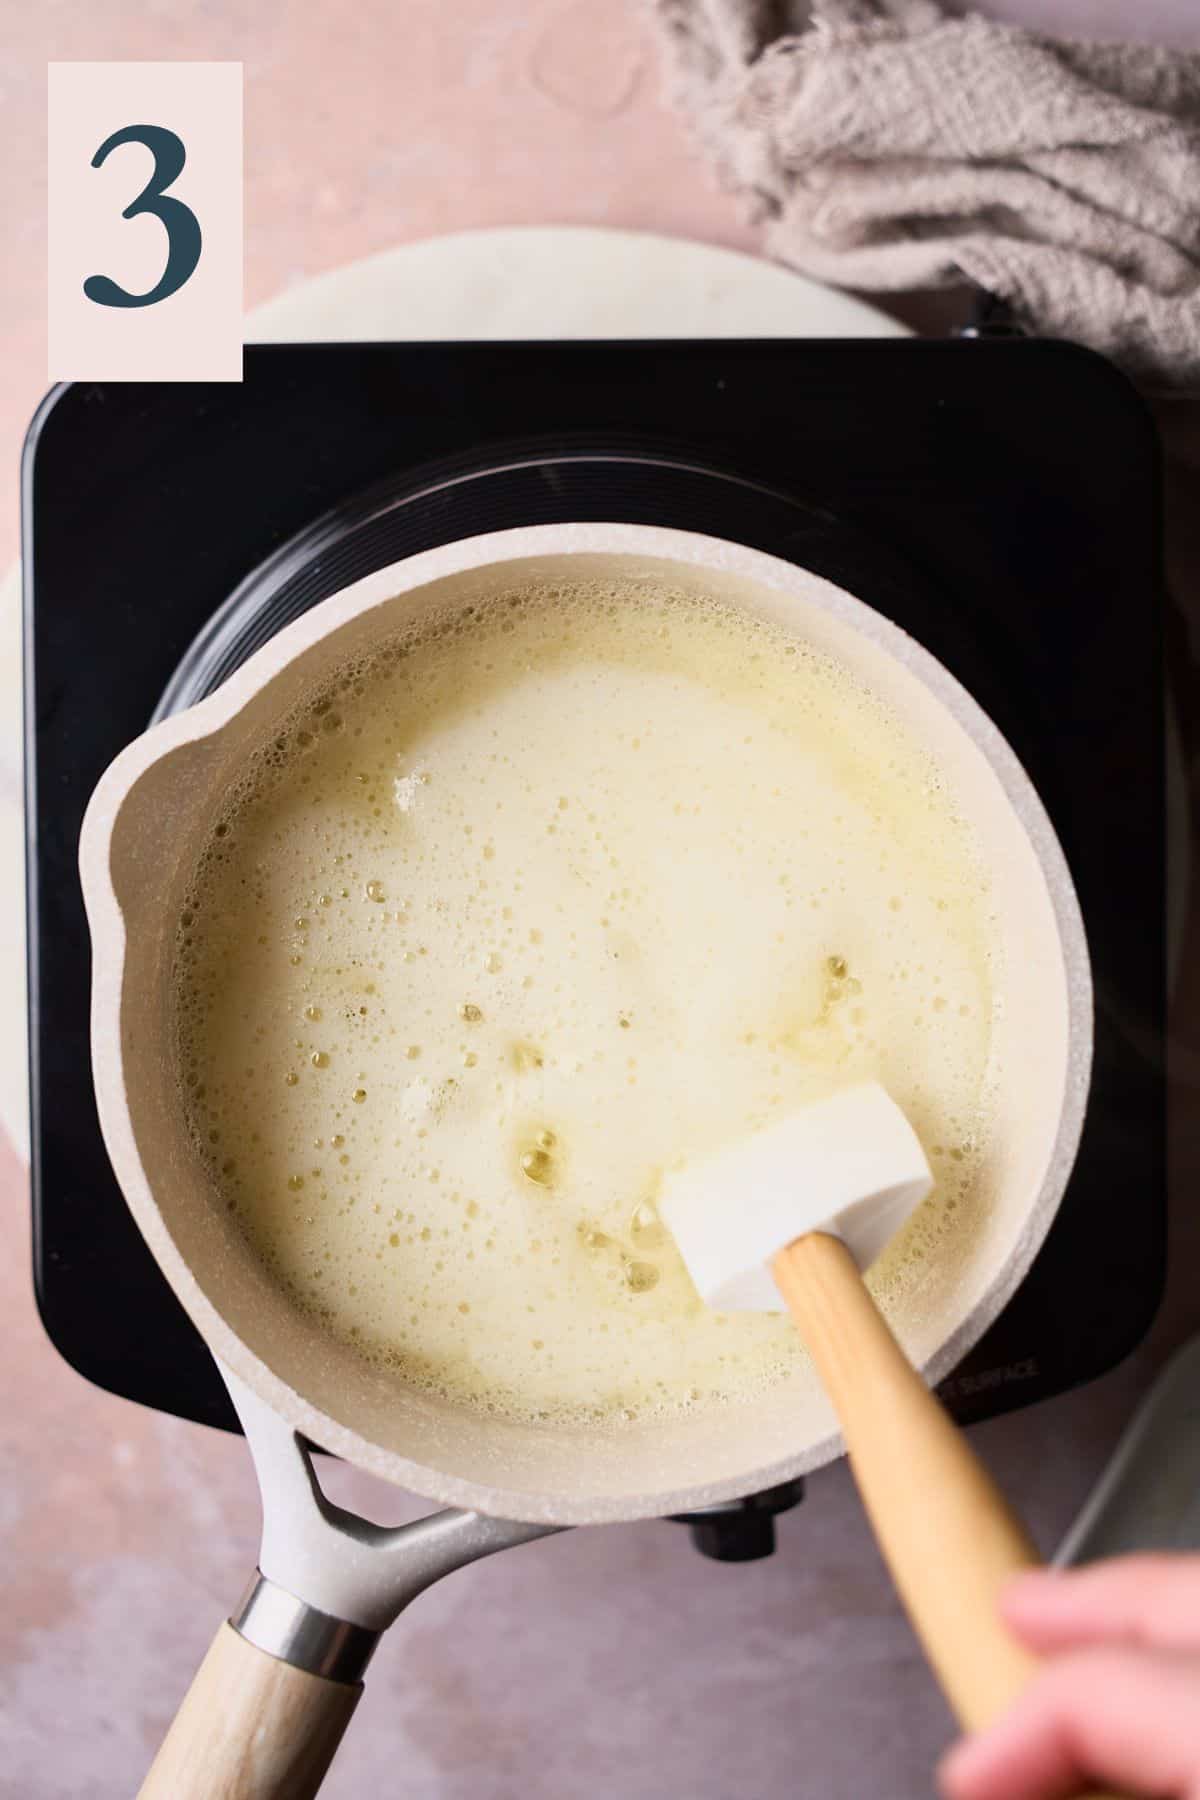
Once melted, the butter will get really foamy and sizzle around the edges. (Image 3) Keep stirring.
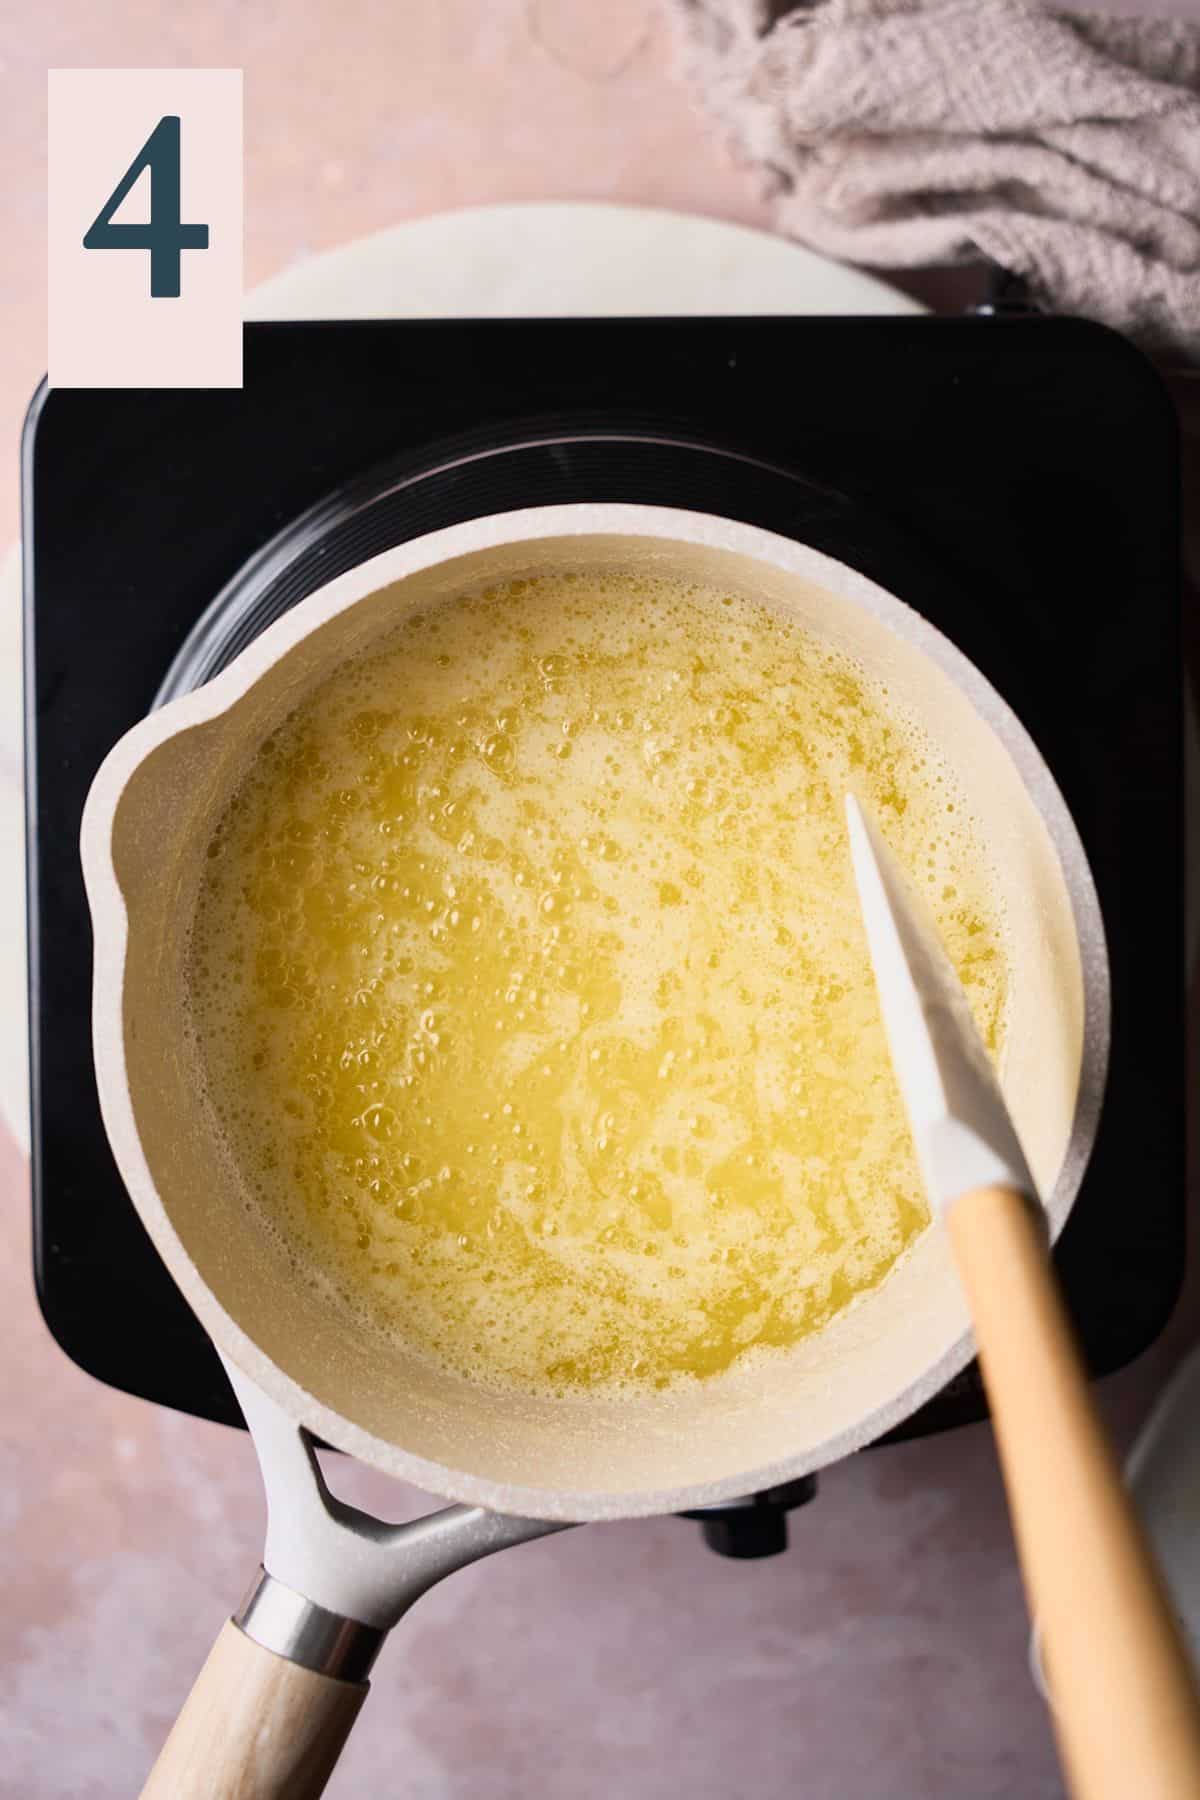
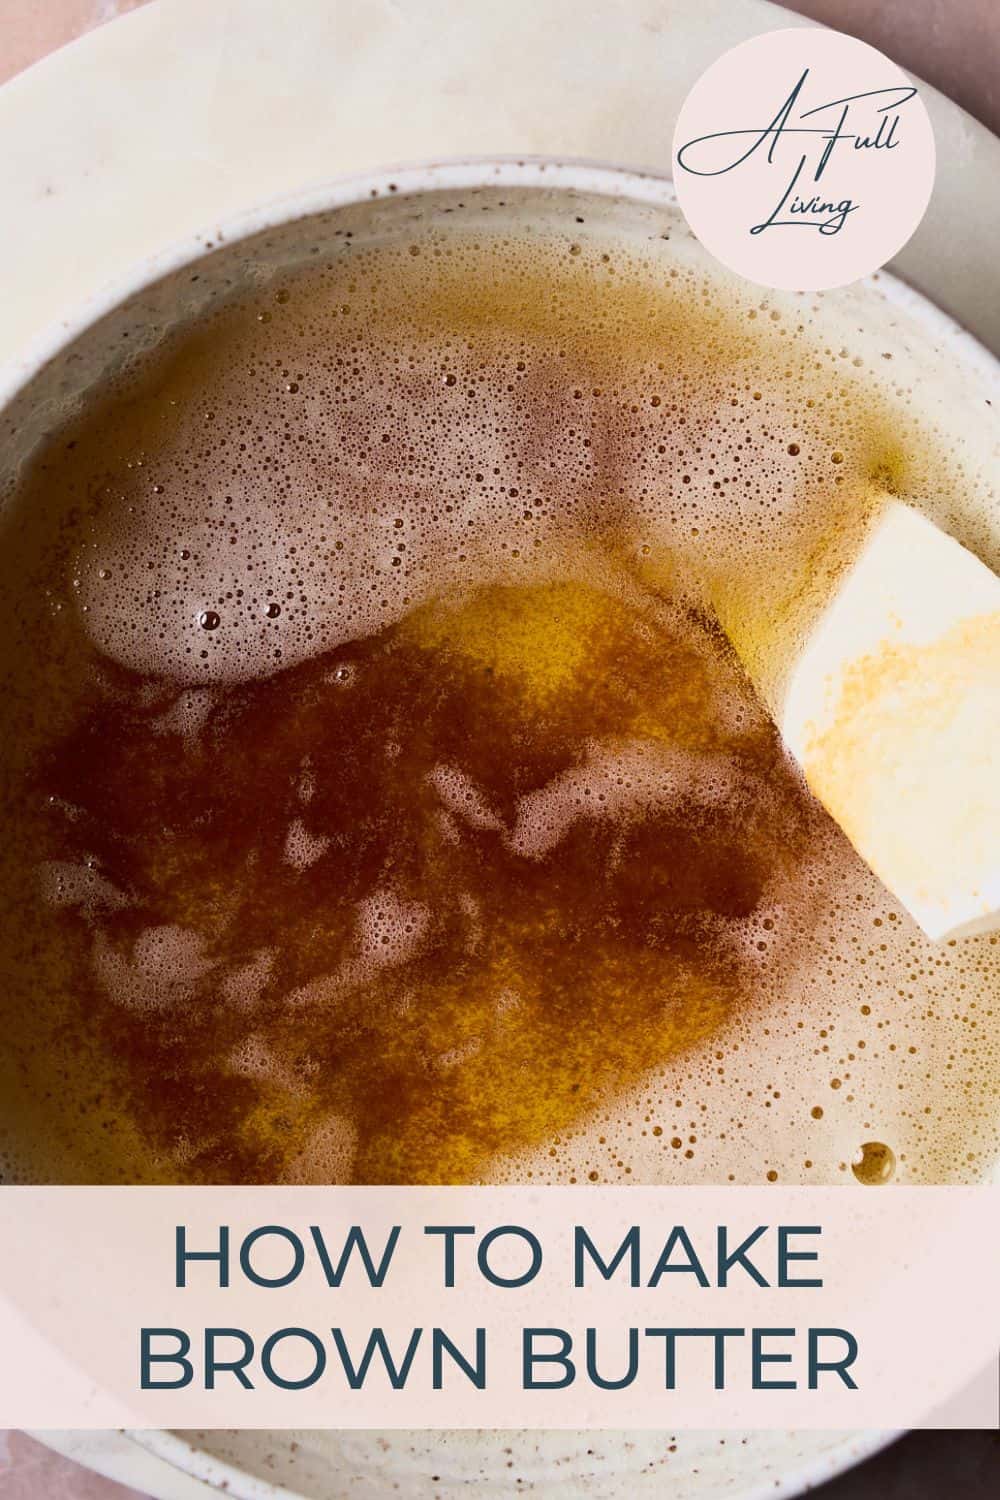
After a few moments, the butter will stop making so much noise, and the milk solids will begin to separate. (Image 4)
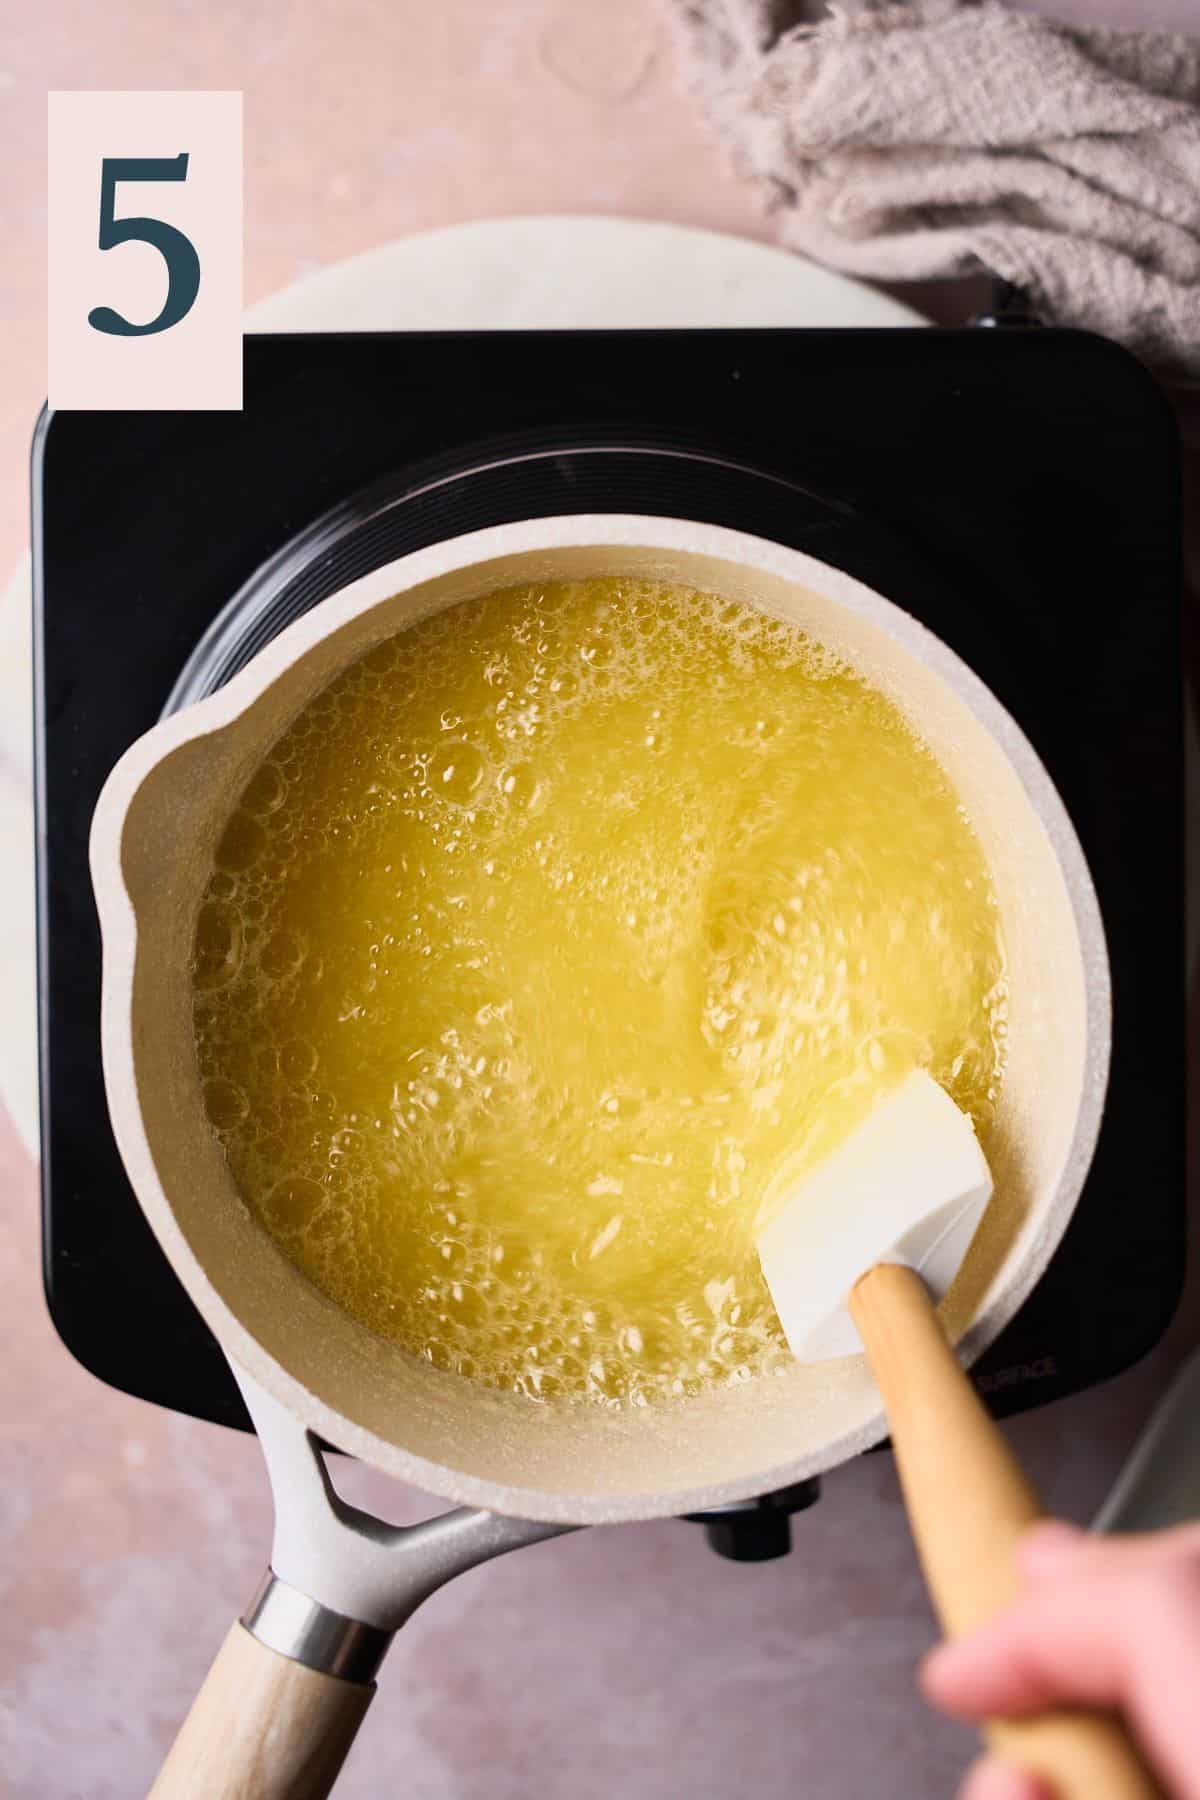
Keep moving the butter around to help the milk solids toast evenly. (Image 5)
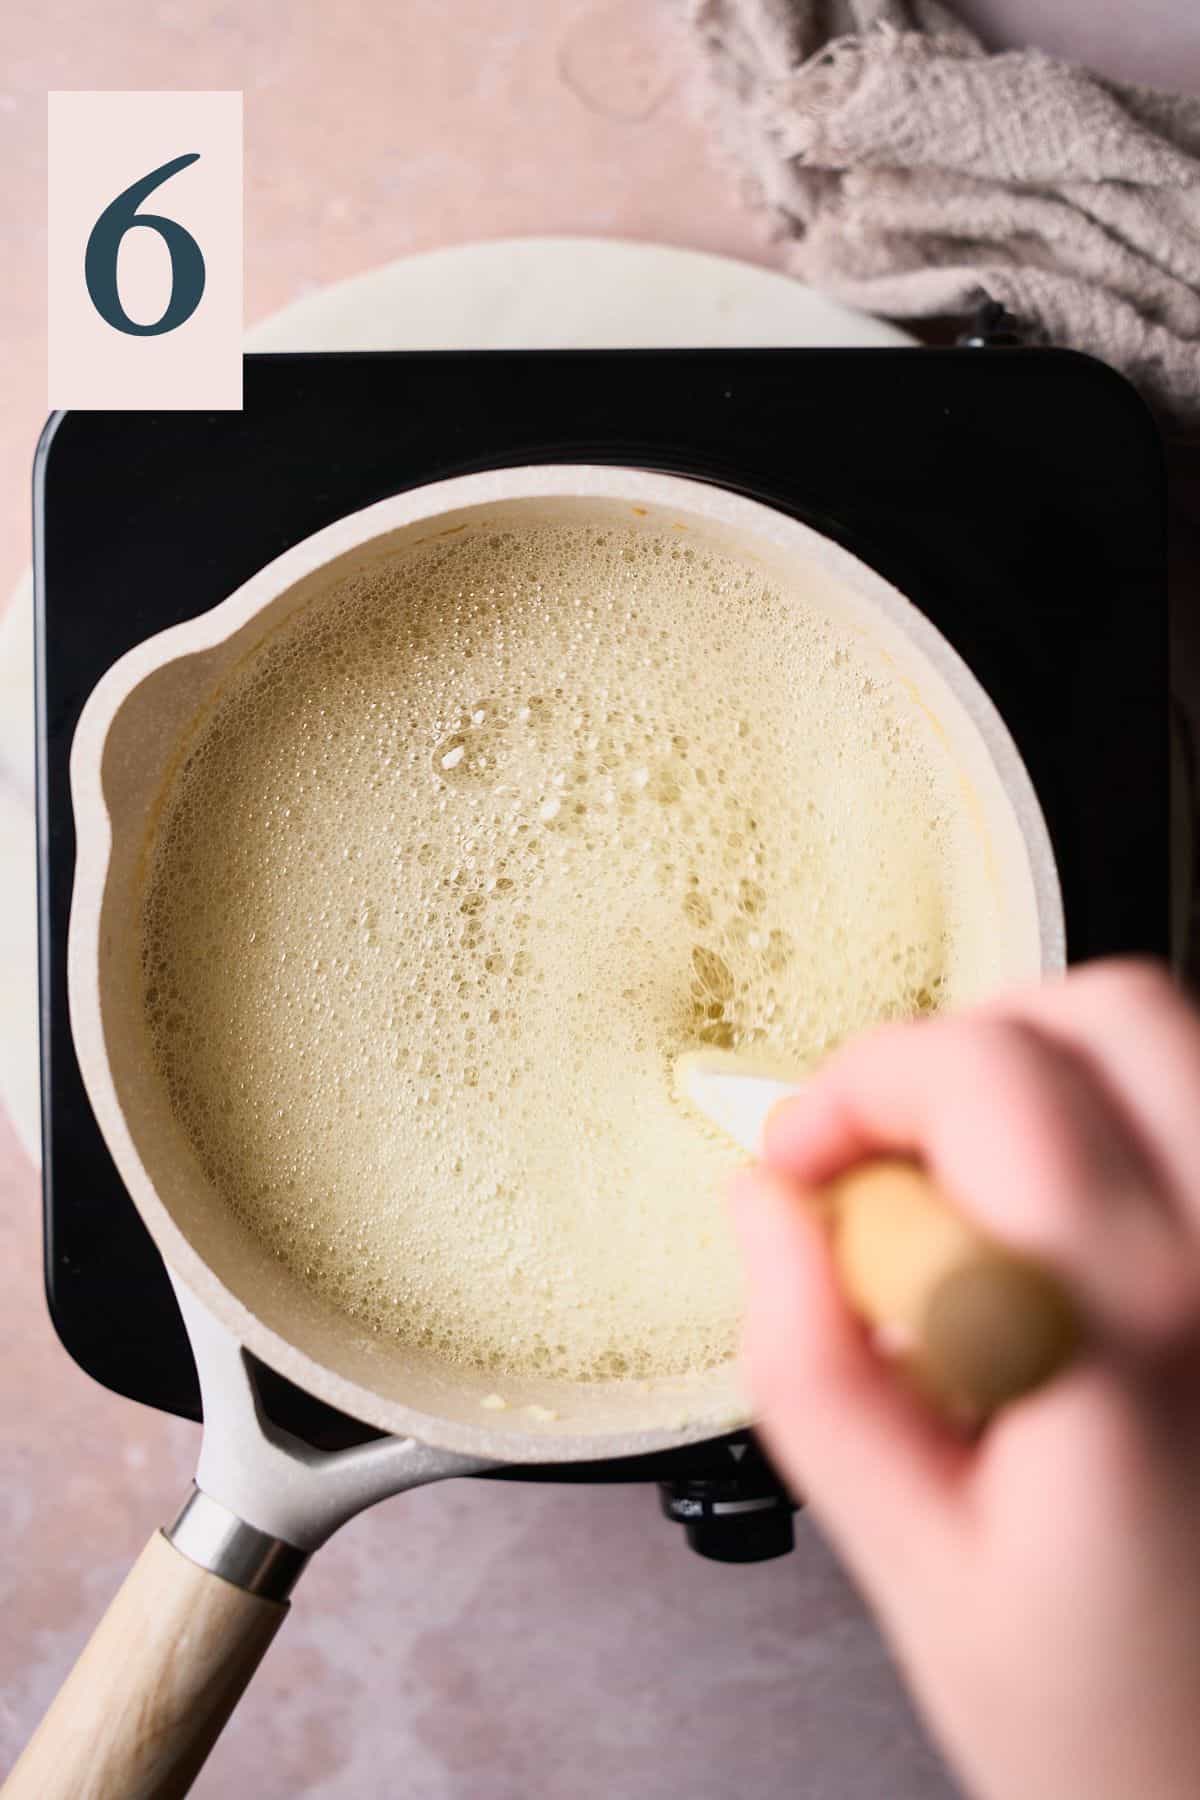
Keep a very close eye on it now, the butter will continue to bubble up, and you will want to keep it moving. (Image 6) It will brown and become a nice golden brown color very quickly.
When the butter is a nice golden amber color, you'll notice little brown bits at the bottom of the pan, and a nice nutty smell. (Image 7) This usually takes about 5-10 minutes depending on the amount of butter you're using.

✨Pro Tip: DO NOT walk away from the stovetop! This process goes quick, and your butter can go from browned to burnt and bitter very quickly!
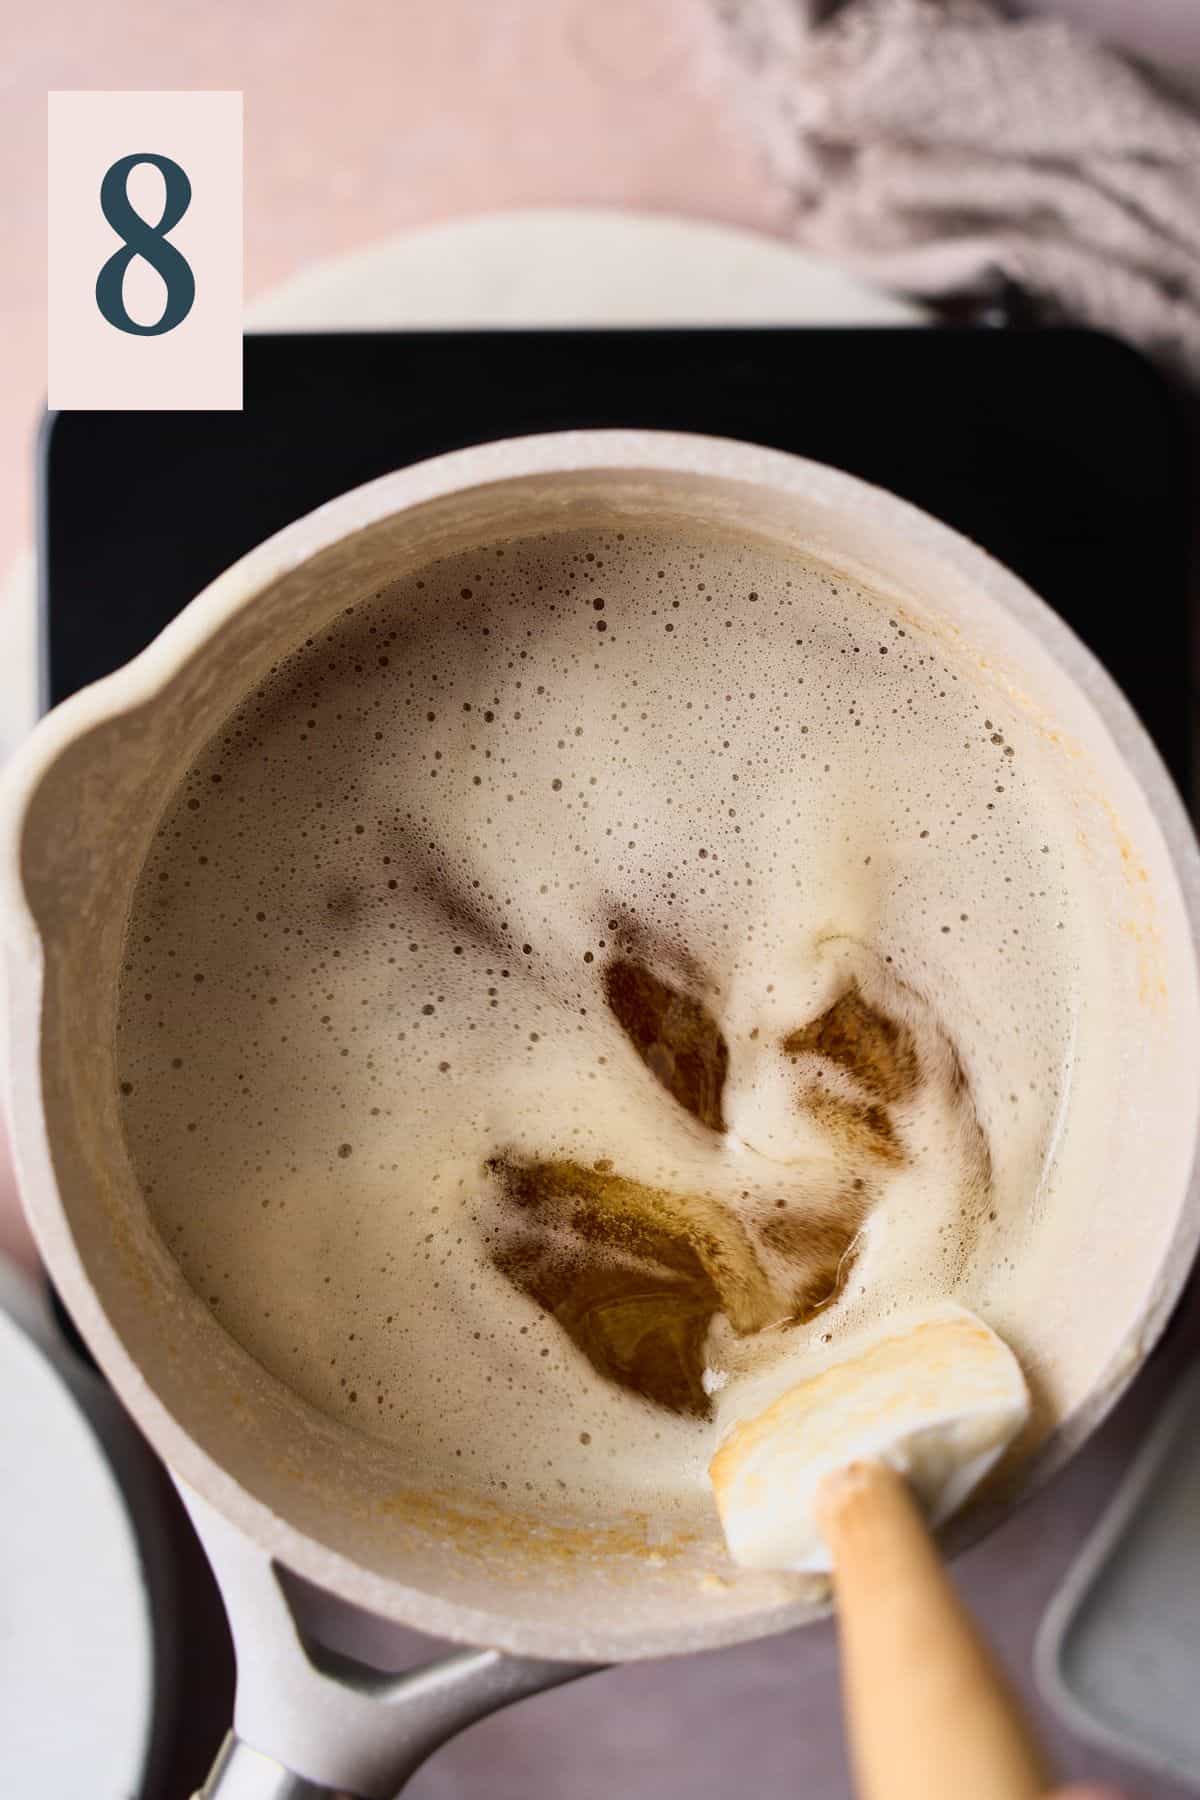
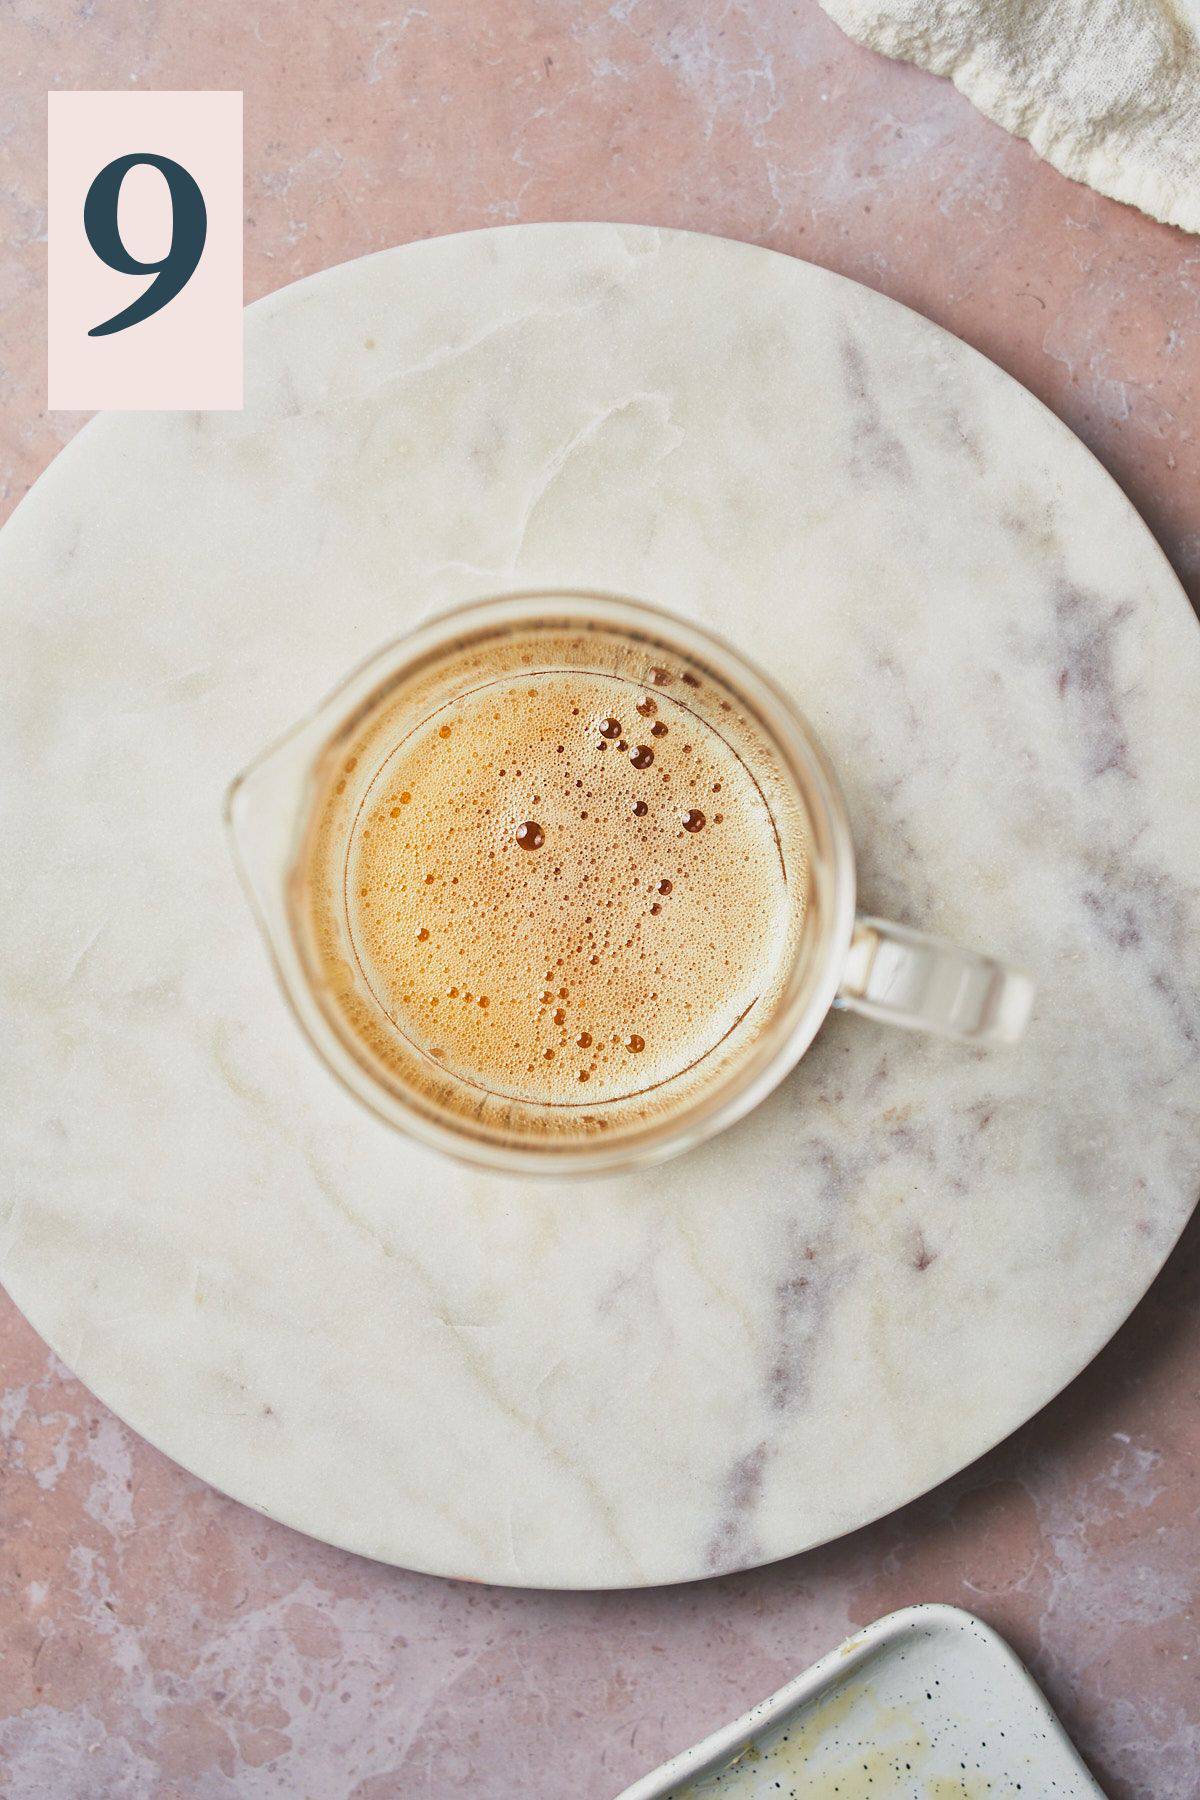
Once the butter has plenty of brown flecks on the bottom of the saucepan, (Image 8) remove it from the heat immediately and place it in a heatproof bowl or container. The residual heat will continue to cook it gradually even off the heat. (Image 9)
Now, weigh the remaining butter using a food scale. You can anticipate to lose about 20-25% of the total volume of the butter after cooking. This is because the water content will evaporate while the butter browns.
You can drop in a little bit of extra butter at the end and stir to melt, or, you can always brown about 25% more butter than you'll actually need for whatever recipe you're using to end up with the correct amount.
If you end up with too much, don't worry! Brown butter stores really well for long periods of time in the fridge and freezer.
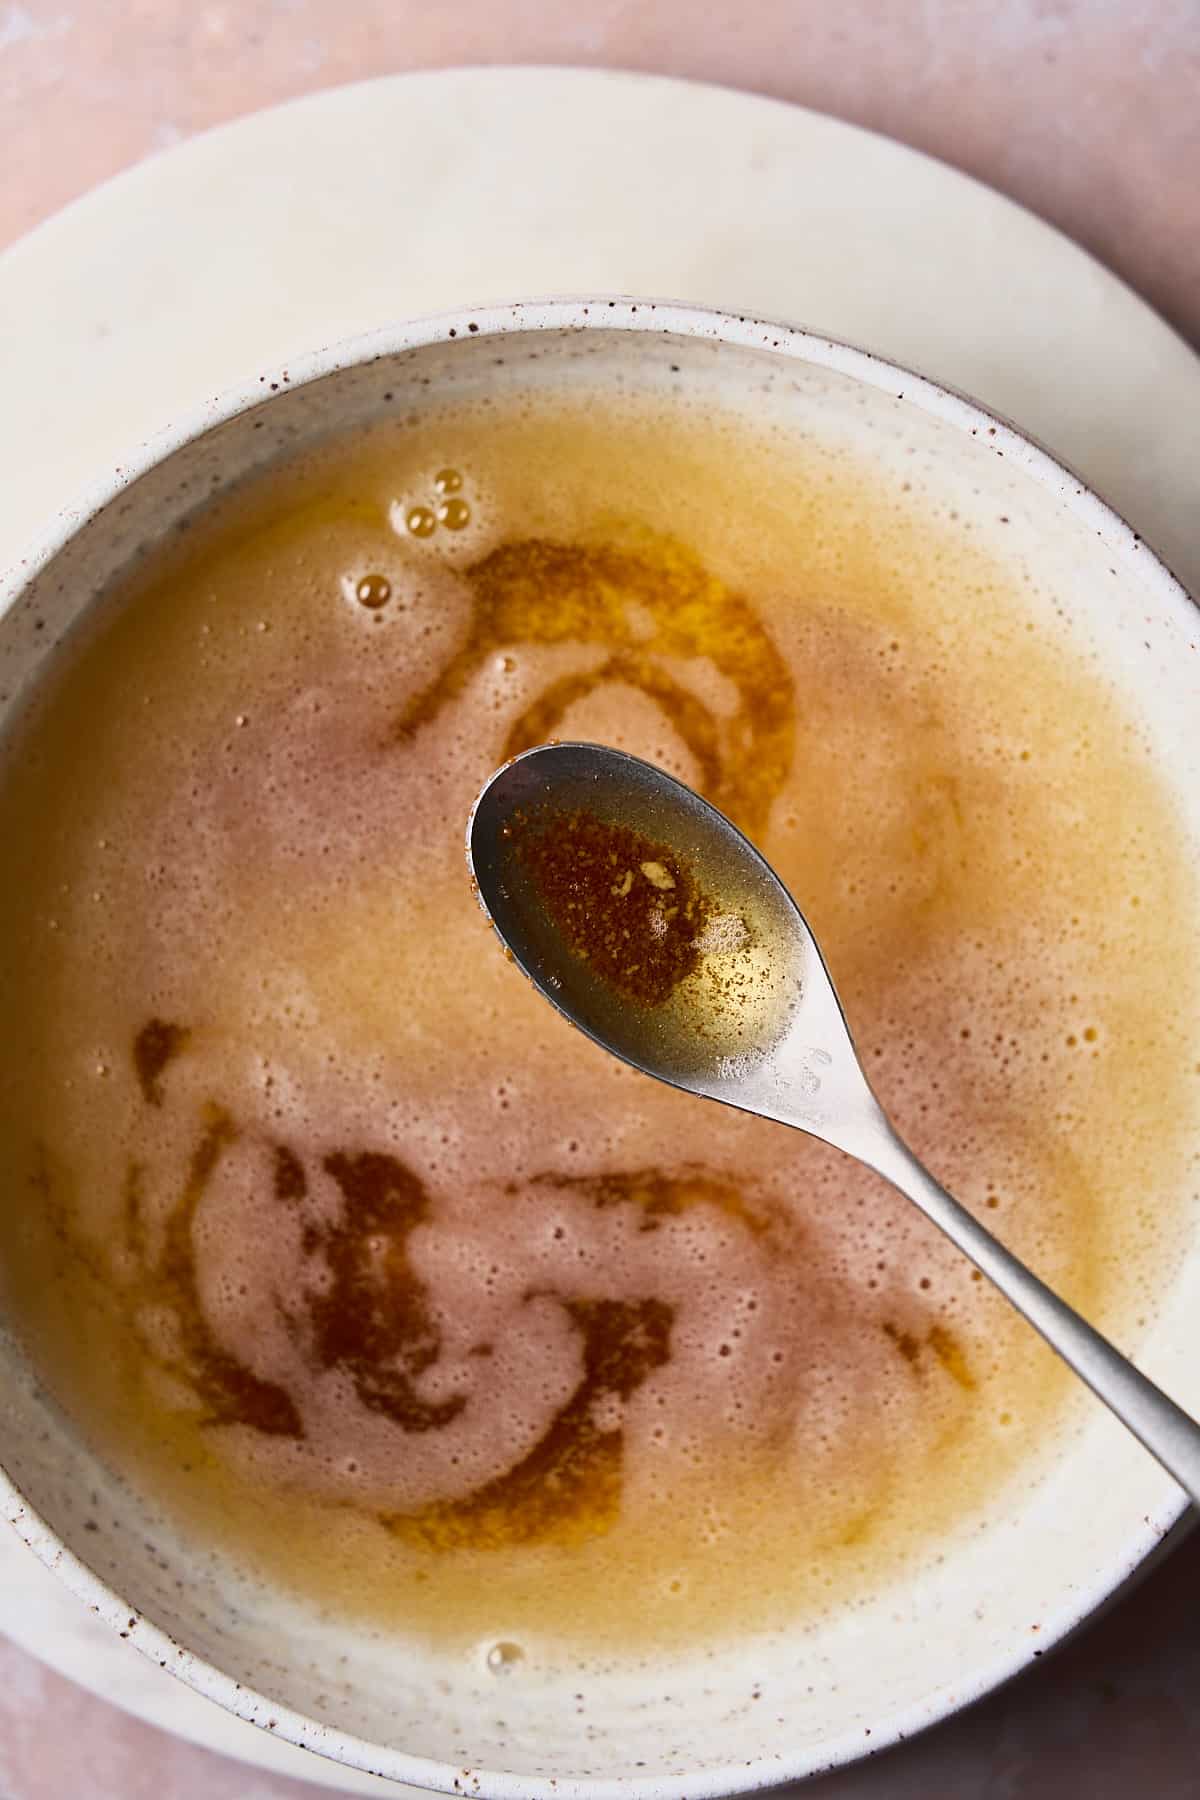
Your browned butter is ready to use! Enjoy it in a variety of dishes and baked goods!
✨Tips & tricks
- Use a light-colored pan. This helps you keep track of the color change of the butter to make sure it doesn't get burnt! You want a nice golden brown or amber color, not burnt butter, which will turn a little black and become very bitter!
- Cut the butter into chunks. This helps it melt and brown more evenly.
- Make sure the butter is at room temperature and not too cold. If the butter is too cold, it will splatter when it warms up in the pan, which can obviously burn and hurt you!
- Stir constantly. You don't want any of those toasty, caramelized milk solids to get stuck on the bottom of the pan and burn. Keep everything moving to ensure it browns as evenly as possible.
- Keep a close eye on the butter the whole time, and don't walk away from the stove! This recipe isn't difficult, but it is pretty hands-on. You will need to watch the butter during the whole process to make sure it doesn't go from golden brown to burnt. It can happen so fast, it's not worth walking away at any point.
- Use all of your senses. It's not just the color of the butter that gives away whether it's done or not. The nutty aroma will also be very apparent.
- Keep the heat source at medium the whole time. Medium heat will ensure that the butter doesn't brown too fast and burn. If you're using high heat, the butter can easily burn.
Need supplies? Shop our Amazon store! Stock your pantry, and find all of our favorite kitchen tools! A Full Living LLC earns a small commission through purchases on our storefront to help support this site.
💭Frequently Asked Questions
Store leftover brown butter in the fridge in an airtight container for up to 2 months. It can be kept easily in the freezer for up to 6 months.
Browned butter retains its milk solids, which are toasted to achieve a nutty flavor. Clarified butter, on the other hand, has had the milk solids removed, resulting in a clear, pure fat with a high smoke point.
🧈Recipes To Add Browned Butter To
Did you try this recipe? Make sure to leave a 5-star review below! 🌟 This helps other readers find our recipes and encourages them to try them. Also, be sure to leave a comment with your experience. Follow along, and tag @AFullLiving on Instagram with your photos!
📖 Recipe
How To Brown Butter
Equipment
- light-colored saucepan
- rubber spatula or whisk
Ingredients
- 4 sticks unsalted butter, room temperature & cut into chunks (can make any amount you prefer)
Instructions
- Cut the sticks of butter into small, equal-sized pieces. Allow the butter to sit out at room temperature for 20-30 minutes before beginning so that it's not too cold. Place a saucepan over medium heat on the stovetop. Add the chunks of butter to the saucepan, and stir to melt.
- Once melted, the butter will get really foamy and sizzle around the edges. Keep stirring. After a few moments, the butter will stop making so much noise, and the milk solids will begin to separate. Keep moving the butter around to help the milk solids toast evenly.
- Keep a very close eye on it now, the butter will continue to bubble up, and you will want to keep it moving. It will brown and become a nice golden brown color very quickly. When the butter is a nice golden amber color, you'll notice little brown bits at the bottom of the pan, and a nice nutty smell. This usually takes about 5-10 minutes depending on the amount of butter you're using. DO NOT walk away from the stovetop! This process goes quick, and your butter can go from browned to burnt and bitter very quickly!
- Once the butter has plenty of brown flecks on the bottom of the saucepan, remove it from the heat immediately and place it in a heatproof bowl or container. The residual heat will continue to cook it gradually even off the heat.
- Now, weigh the remaining butter using a food scale. You can anticipate to lose about 20-25% of the total volume of the butter after cooking. This is because the water content will evaporate while the butter cooks. You can drop in a little bit of extra butter at the end and stir to melt, or, you can always brown about 25% more butter than you'll actually need for whatever recipe you're using to end up with the correct amount.
- If you end up with too much, don't worry! Brown butter stores really well for long periods of time in the fridge and freezer. Your browned butter is ready to use! Enjoy it in a variety of dishes and baked goods!
- Store leftover brown butter in the fridge in an airtight container for up to 2 months. It can be kept easily in the freezer for up to 6 months.
Notes
- Use a light-colored pan. This helps you keep track of the color change of the butter to make sure it doesn't get burnt! You want a nice golden brown or amber color, not burnt butter, which will turn a little black and become very bitter!
- Cut the butter into chunks. This helps it melt and brown more evenly.
- Make sure the butter is at room temperature and not too cold. If the butter is too cold, it will splatter when it warms up in the pan, which can obviously burn and hurt you!
- Stir constantly. You don't want any of those toasty, caramelized milk solids to get stuck on the bottom of the pan and burn. Keep everything moving to ensure it browns as evenly as possible.
- Keep a close eye on the butter the whole time, and don't walk away from the stove! This recipe isn't difficult, but it is pretty hands-on. You will need to watch the butter during the whole process to make sure it doesn't go from golden brown to burnt. It can happen so fast, it's not worth walking away at any point.
- Use all of your senses. It's not just the color of the butter that gives away whether it's done or not. The nutty aroma will also be very apparent.
- Keep the heat source at medium the whole time. Medium heat will ensure that the butter doesn't brown too fast and burn. If you're using high heat, the butter can easily burn.


Comments
No Comments