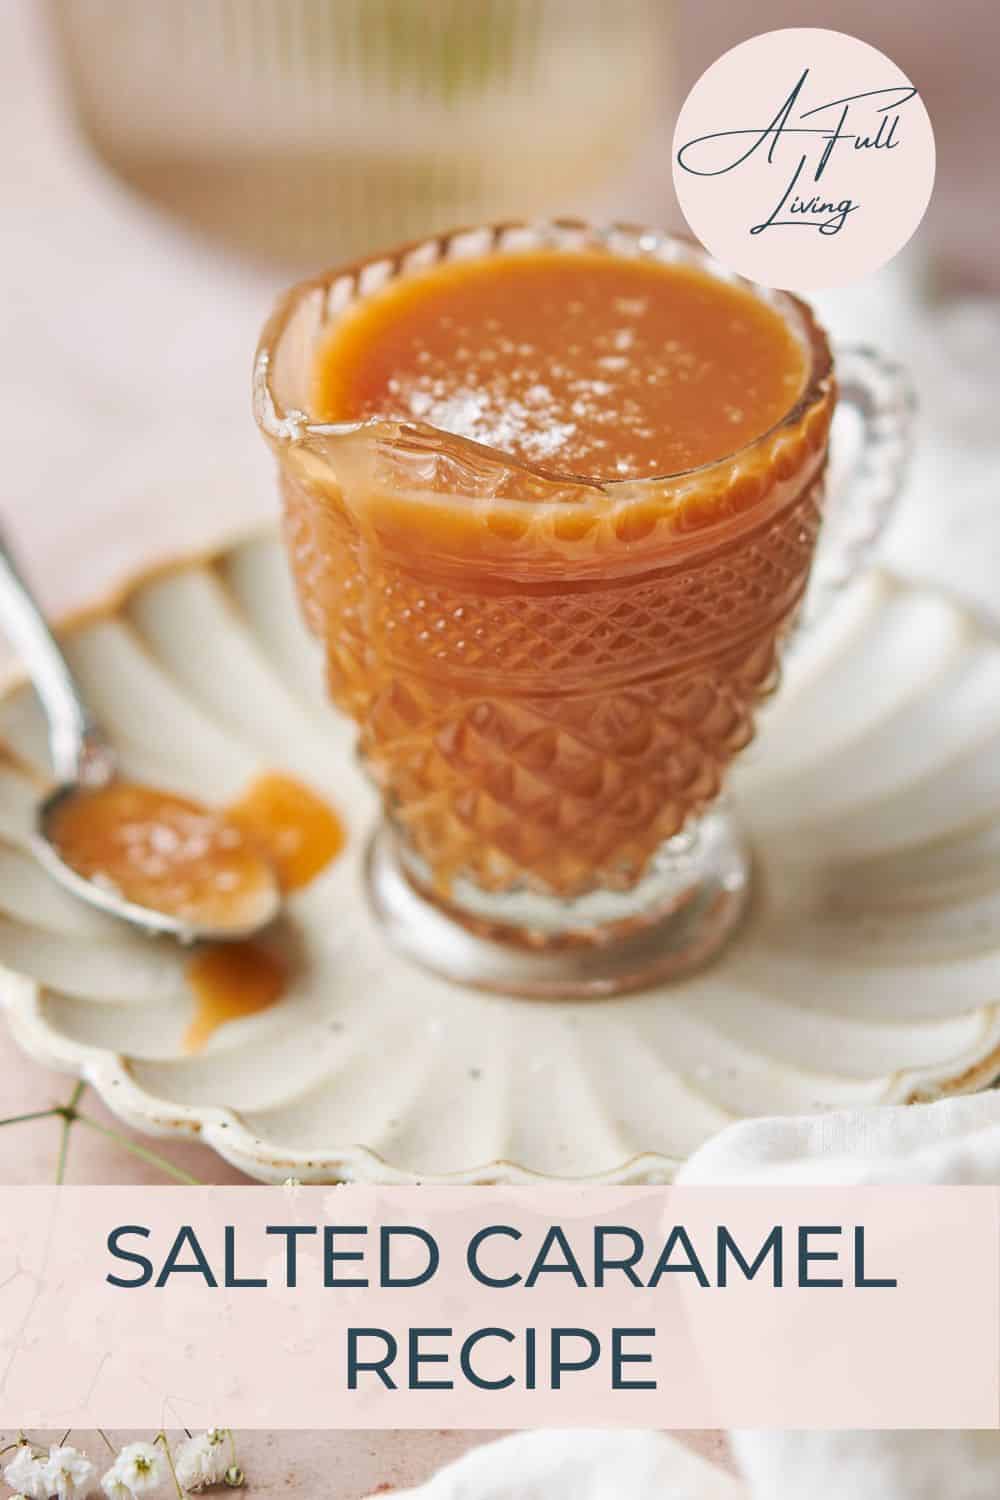
Dive into the world of homemade indulgence with this rich and velvety Homemade Salted Caramel Sauce Recipe. This recipe promises to elevate your desserts to a gourmet level with its luxurious texture and irresistible flavor, and is ready in only 15 minutes with just 5 simple necessary ingredients!
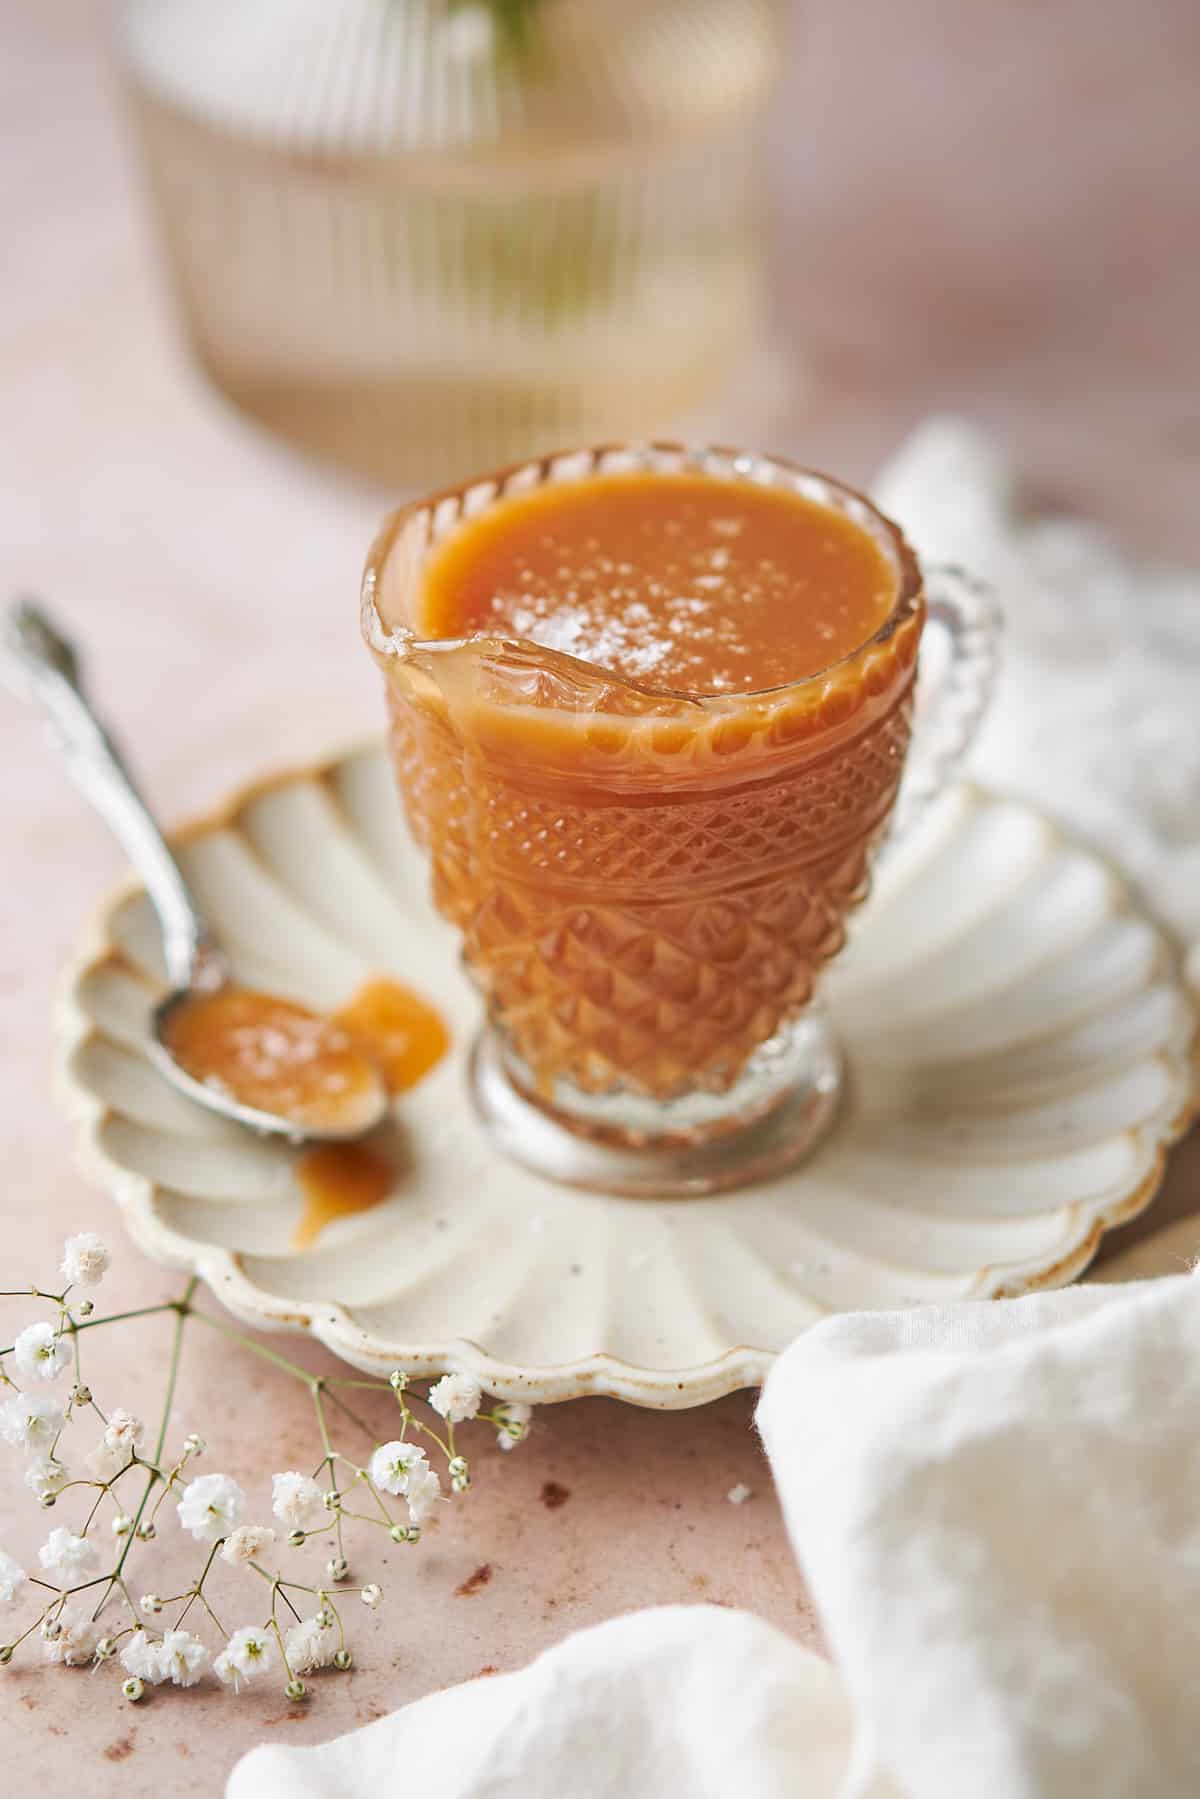
This salted caramel adds such an incredible layer of flavor to a variety of different desserts! There's nothing like making it homemade. Once you try it, you'll never go back to store-bought.
The balance of sweetness and a tinge of salt balances it all out, and makes it the perfect topping for all of your favorite desserts!
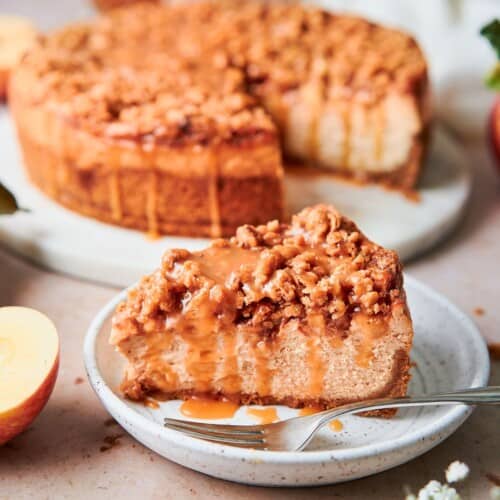
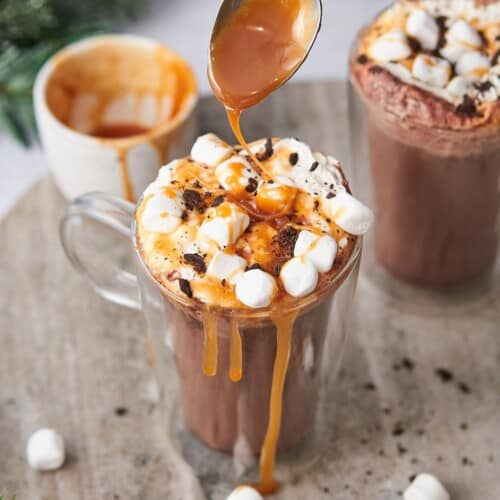
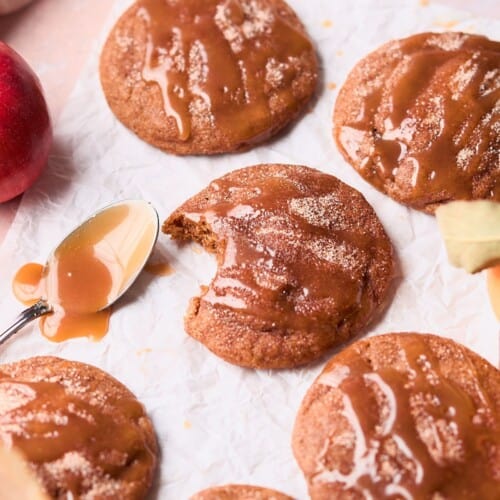
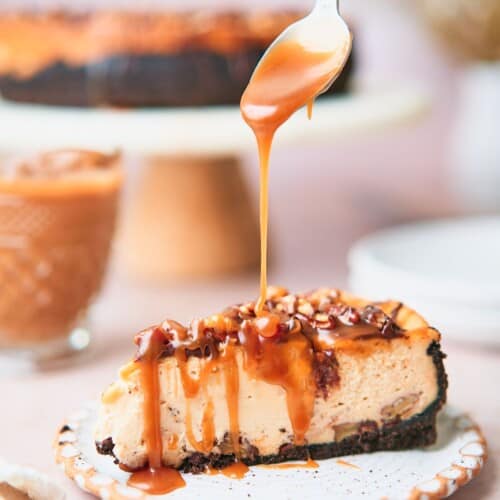
Try this homemade caramel sauce in this salted caramel hot chocolate, drizzled on a slice of this apple crisp cheesecake, in our decadent turtle cheesecake, on these apple cider cookies, or in our absolutely decadent loaded brownies!
You may also enjoy it drizzled over some blueberry and apple crumble, a scoop of vanilla ice cream, stirred into coffee, and so much more!
Jump to:
❤️Why we love this recipe
- Made with simple ingredients. Everything you need to make this recipe can be found at any grocery store if you don't already have them in the fridge or pantry. You only need 5 simple ingredients if you include the water and salt. If you add vanilla extract, that makes it 6 ingredients in total.
- Makes a great gift. Want to gift something homemade this season? Make caramel for your friends and family, then store them in a glass jar and wrap a ribbon around them.
- Simple recipe. Now we know caramel may seem a bit intimidating if it's your first time, but this a foolproof recipe with our step-by-step photos and tips and tricks. We've made this recipe countless times to get it right so that you can make the best salted caramel sauce every time. Plus, it only takes 15 minutes!
- Customizable. There are a few alterations that you can make to ensure this recipe suits your preferences, from the salt level to add-ins, and more. This recipe is naturally gluten-free, and it can even be made dairy-free/vegan. You may also like this keto salted caramel sauce if you eat a sugar-free diet.
🧈Ingredients
Here are the ingredients we used for this recipe. You can find more information for substitutions below.
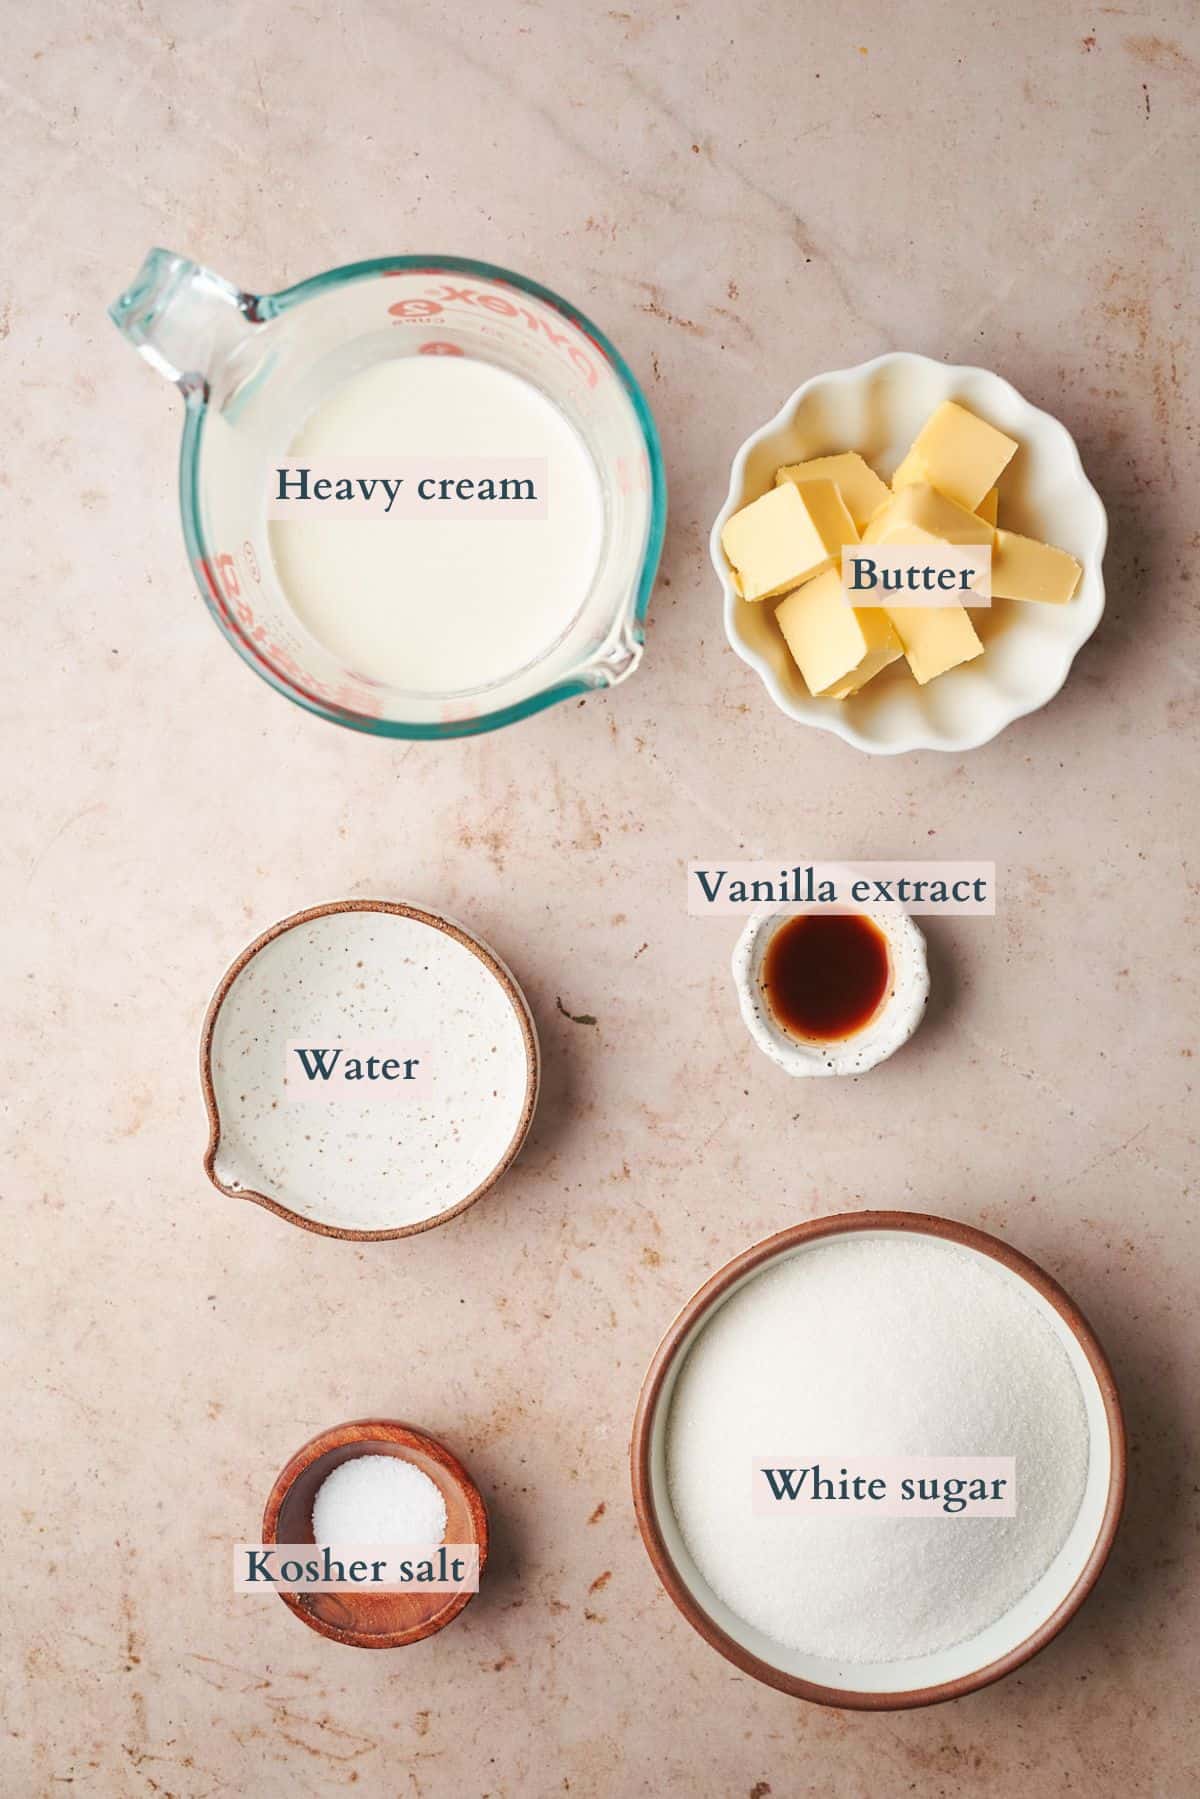
- Water. This recipe uses what is considered a "wet method" for preparing the caramel. We like this method because it helps the sugar melt faster and prevents it from burning or crystallizing, and it is a bit more forgiving and therefore easier to master! ☺️ You can read more about the wet caramel method here.
- Heavy cream. Full fat, and make sure it's room temperature.
- Butter. We like to use salted butter for an extra layer of salty flavor. Be sure to use room temperature butter so that it combines easier with the hot sugar mixture when preparing the caramel.
- Kosher salt. Choose high-quality salt that will dissolve nicely in the sauce. We like Diamond Kosher Salt (affiliate link). You can also use fine sea salt. We don't recommend using regular table salt, as it tastes much more salty, and it is more difficult to control the flavor.
- Vanilla extract. Optional, but adds an incredible layer of flavor.
Visit the recipe card for the full quantities and nutritional information.
✨Substitutions & variations
Here are a few suggestions on additional flavors to try, or simple variations to this recipe.
- More or less salty. Feel free to add more or less salt to taste. You can also use unsalted butter instead of salted butter to scale back on the salt.
- Dairy free and vegan. Swap the heavy cream for a dairy-free cream substitute, and use vegan butter instead of traditional butter.
- Sugar free and keto. We have a dedicated post on how to make keto salted caramel sauce. We recommend following those instructions because sugar substitutes behave a bit differently than sugar, and that recipe has been tested many times.
- Butterscotch. Swap brown sugar for the white sugar to make butterscotch instead!
- Whiskey caramel. Add in a few teaspoons of bourbon or whiskey for a rich flavor.
- Spiced. Feel free to whisk in cinnamon to give this caramel an extra layer of flavor!
- Browned butter. Use browned butter in this recipe for an added layer of depth and flavor.
- Plain caramel. Not looking for an extra salty version? Feel free to cut the amount of salt in half for a more "regular" tasting caramel with no hint of saltiness. Some salt will always be necessary in our recipes, however! Salt enhances flavors, including sweetness, so we find it to be necessary in everything!
🔪Prep work
- Bring heavy cream and butter to room temperature. This should take about an hour. This will help prevent the hot caramel from interacting with cold ingredients and seizing in the pan.
- Cut the butter into small blocks.
- With this recipe, it is incredibly important to have everything ready to go prior to beginning. Making caramel is really all about the timing, and you really don't want to have to be scurrying around if you need something. Don't walk away from the caramel! 😉
- Get a small bowl of water ready with a pastry brush. This is to help wash down sugar on the sides of the pan if sugar crystallizes while cooking.
- Measure out all remaining ingredients.
📋Instructions
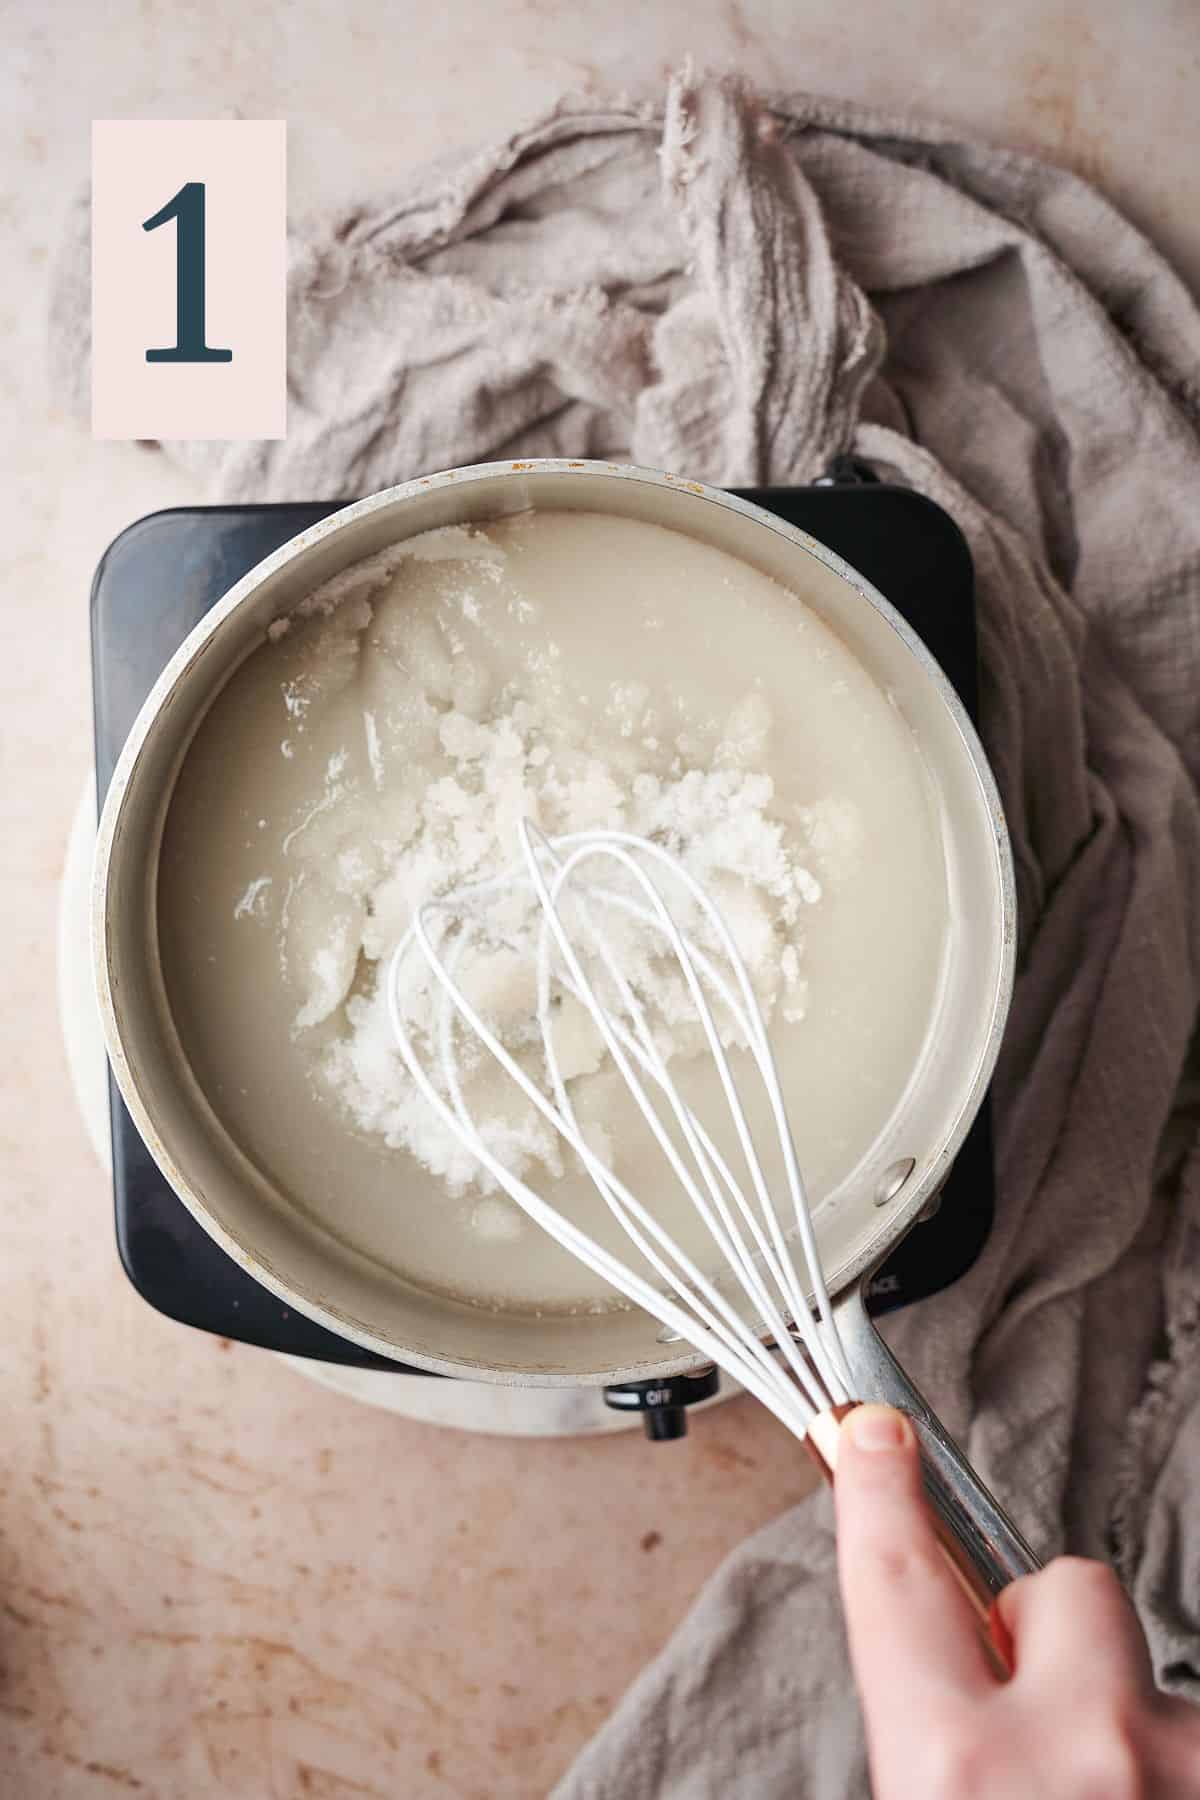
Add sugar and water to a saucepan. Gently tap the water and sugar together with a whisk, but don’t mix it up, just sort of push the sugar to the middle of the pan towards the water a few times to help incorporate some of the water into the sugar. (Image 1)
Put the mixture over medium heat and stop touching it! Use a thick walled pot, and a pastry brush with water to help wash the sugar down the sides as the mixture gets hot and crystallizes on the sides. (Image 2)
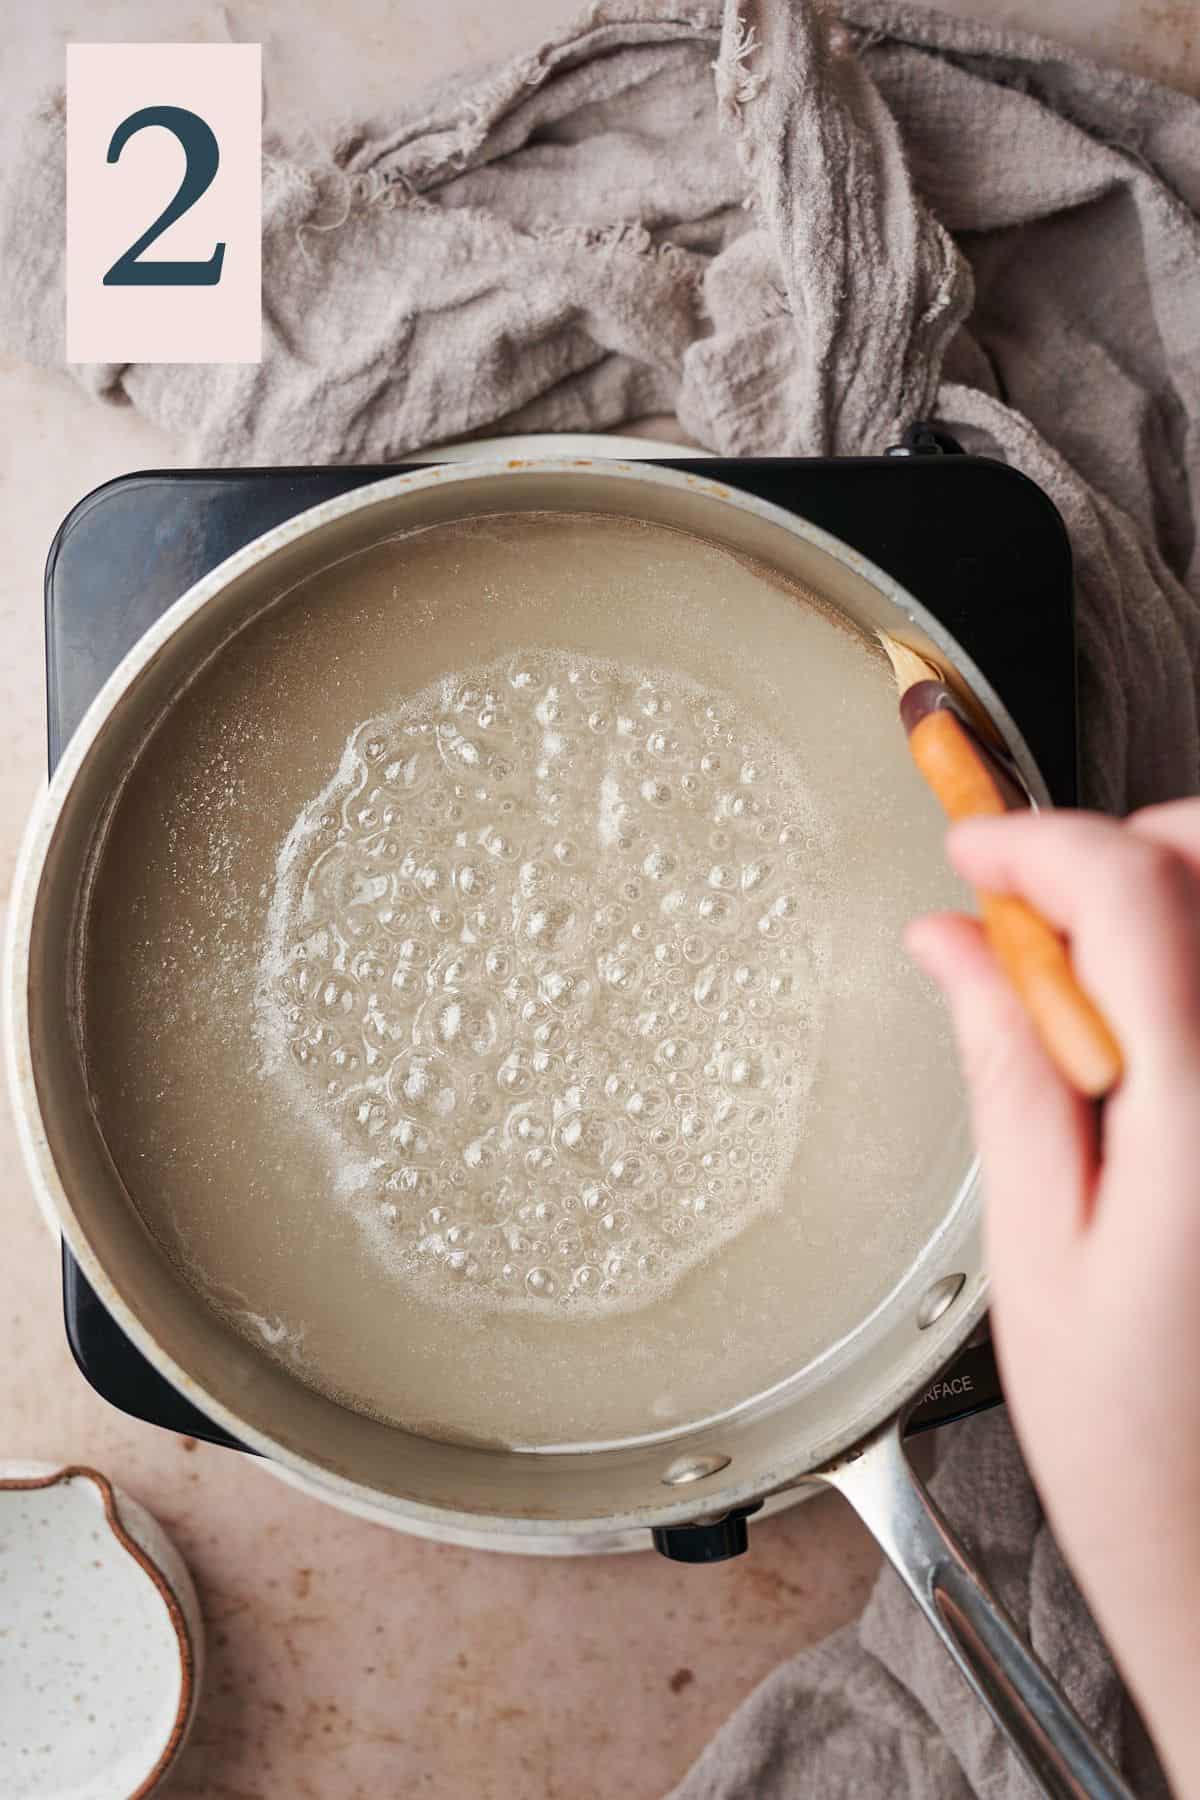
✨Pro tip: If you notice one side of the caramel is bubbling and water is dissolving, and the other side isn’t, don’t mix or stir! Instead, pick the saucepan up and gently swirl to incorporate water and sugar.
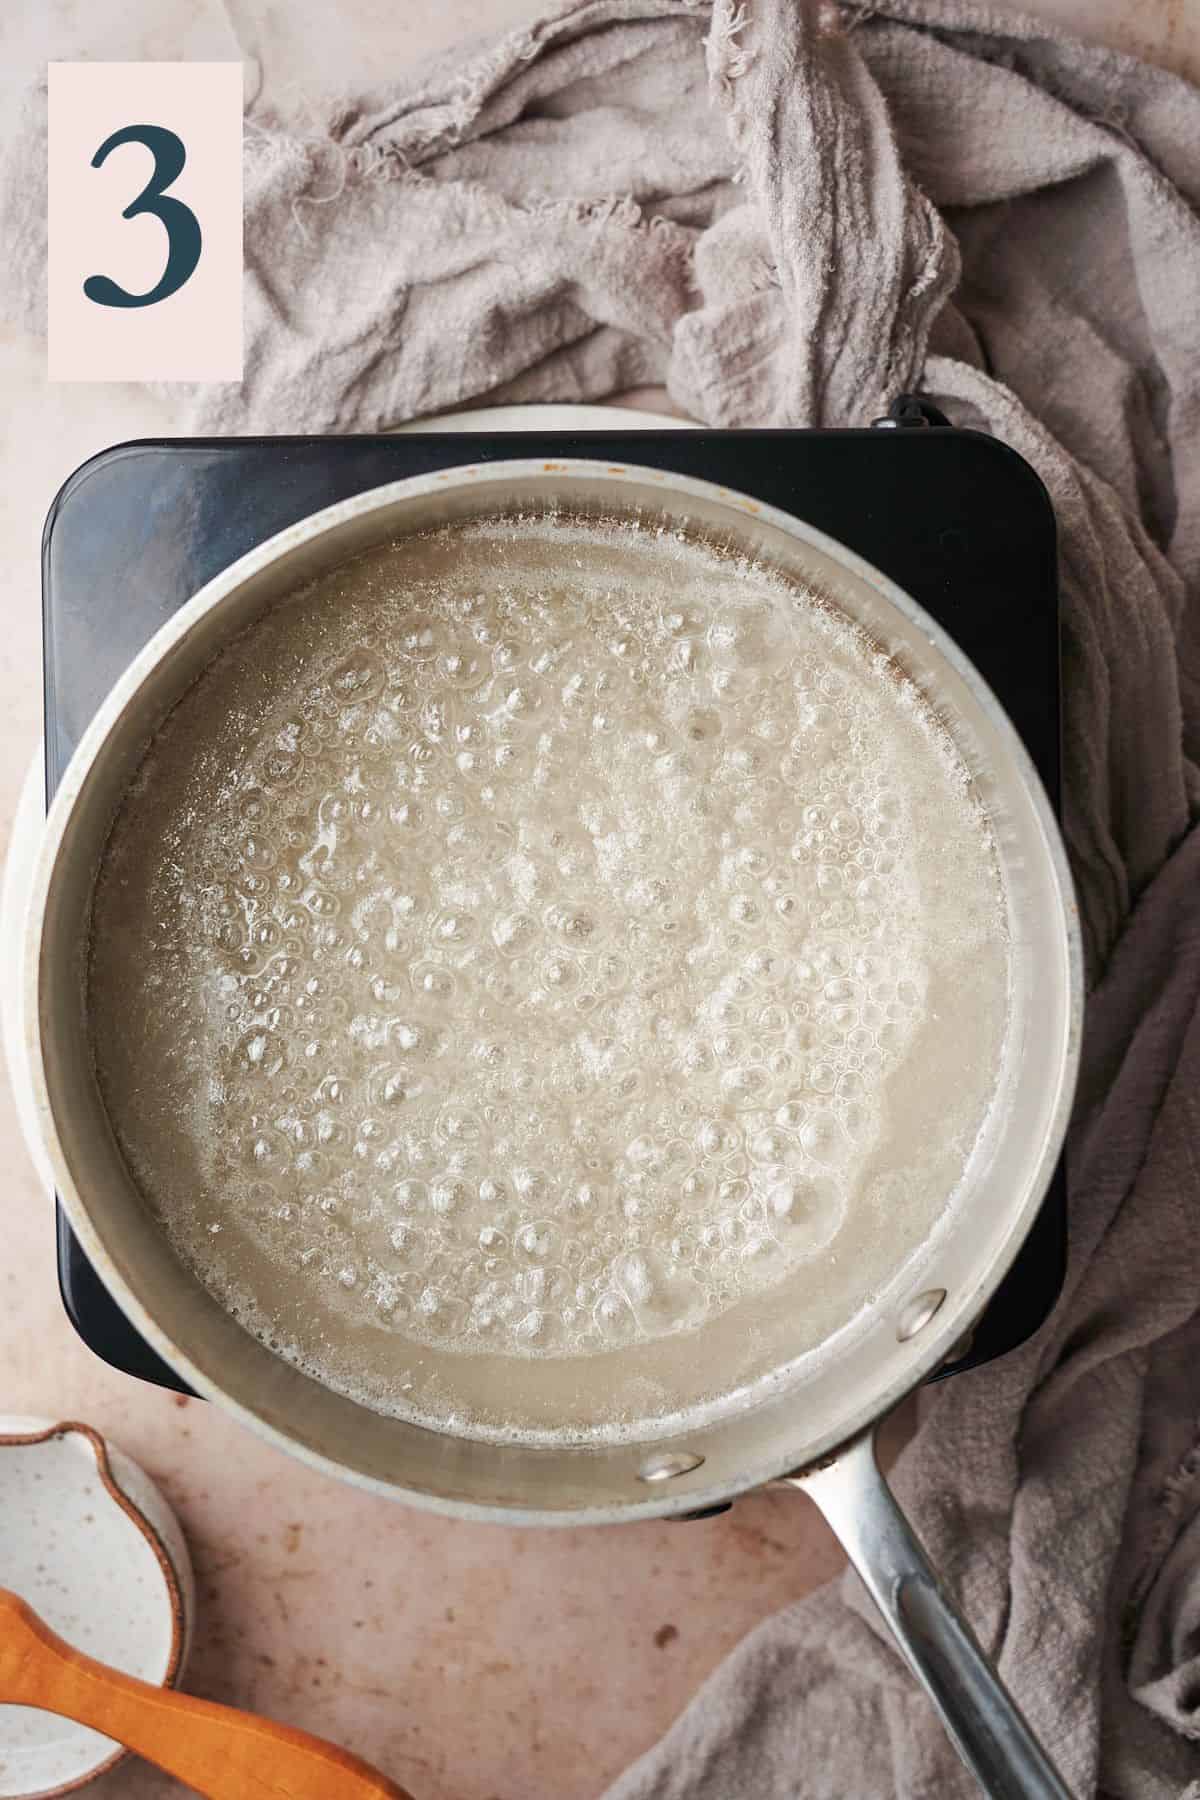
Allow the mixture to bubble and bubble for a few minutes. (Image 3) Continue to brush the sides with a wet pastry brush periodically to make sure no sugar crystals are forming.
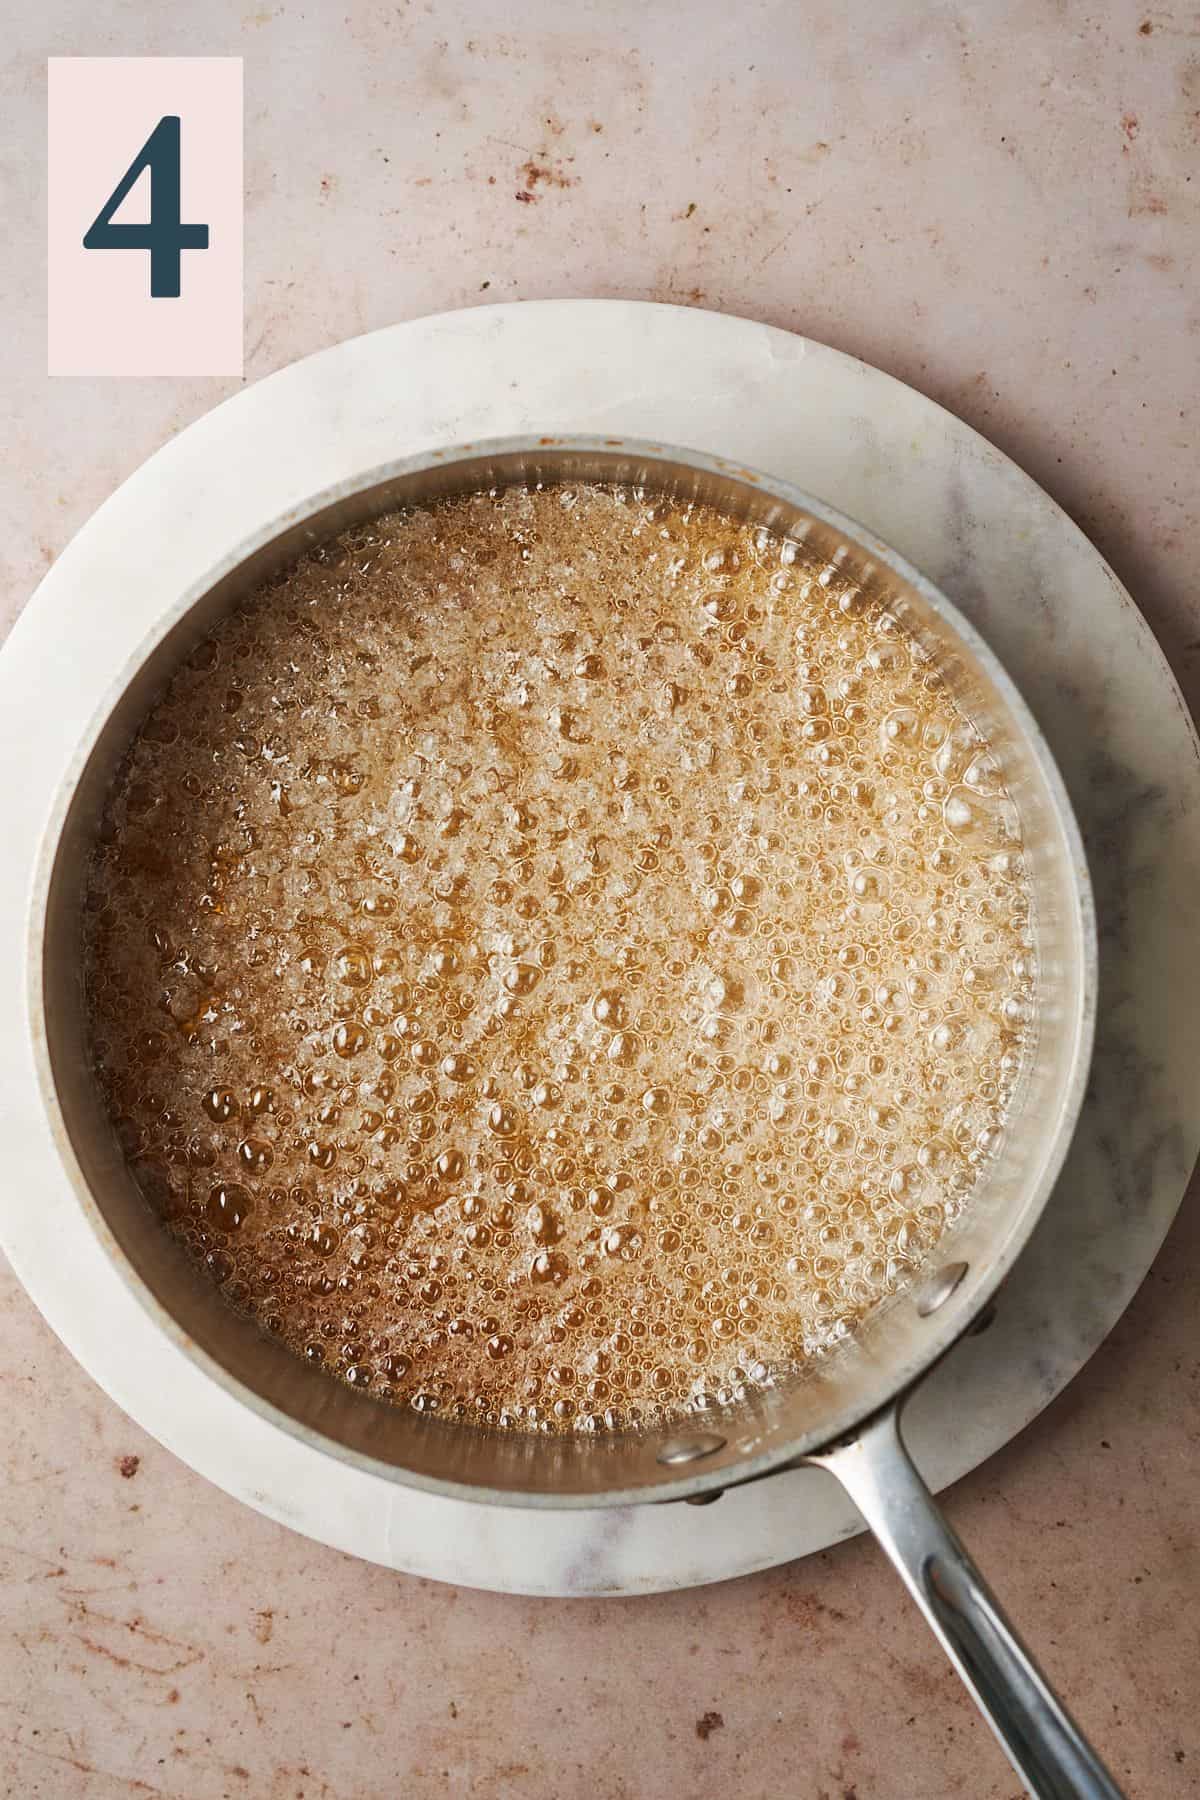
Cook until the sugar mixture becomes a golden amber color. (Image 4)
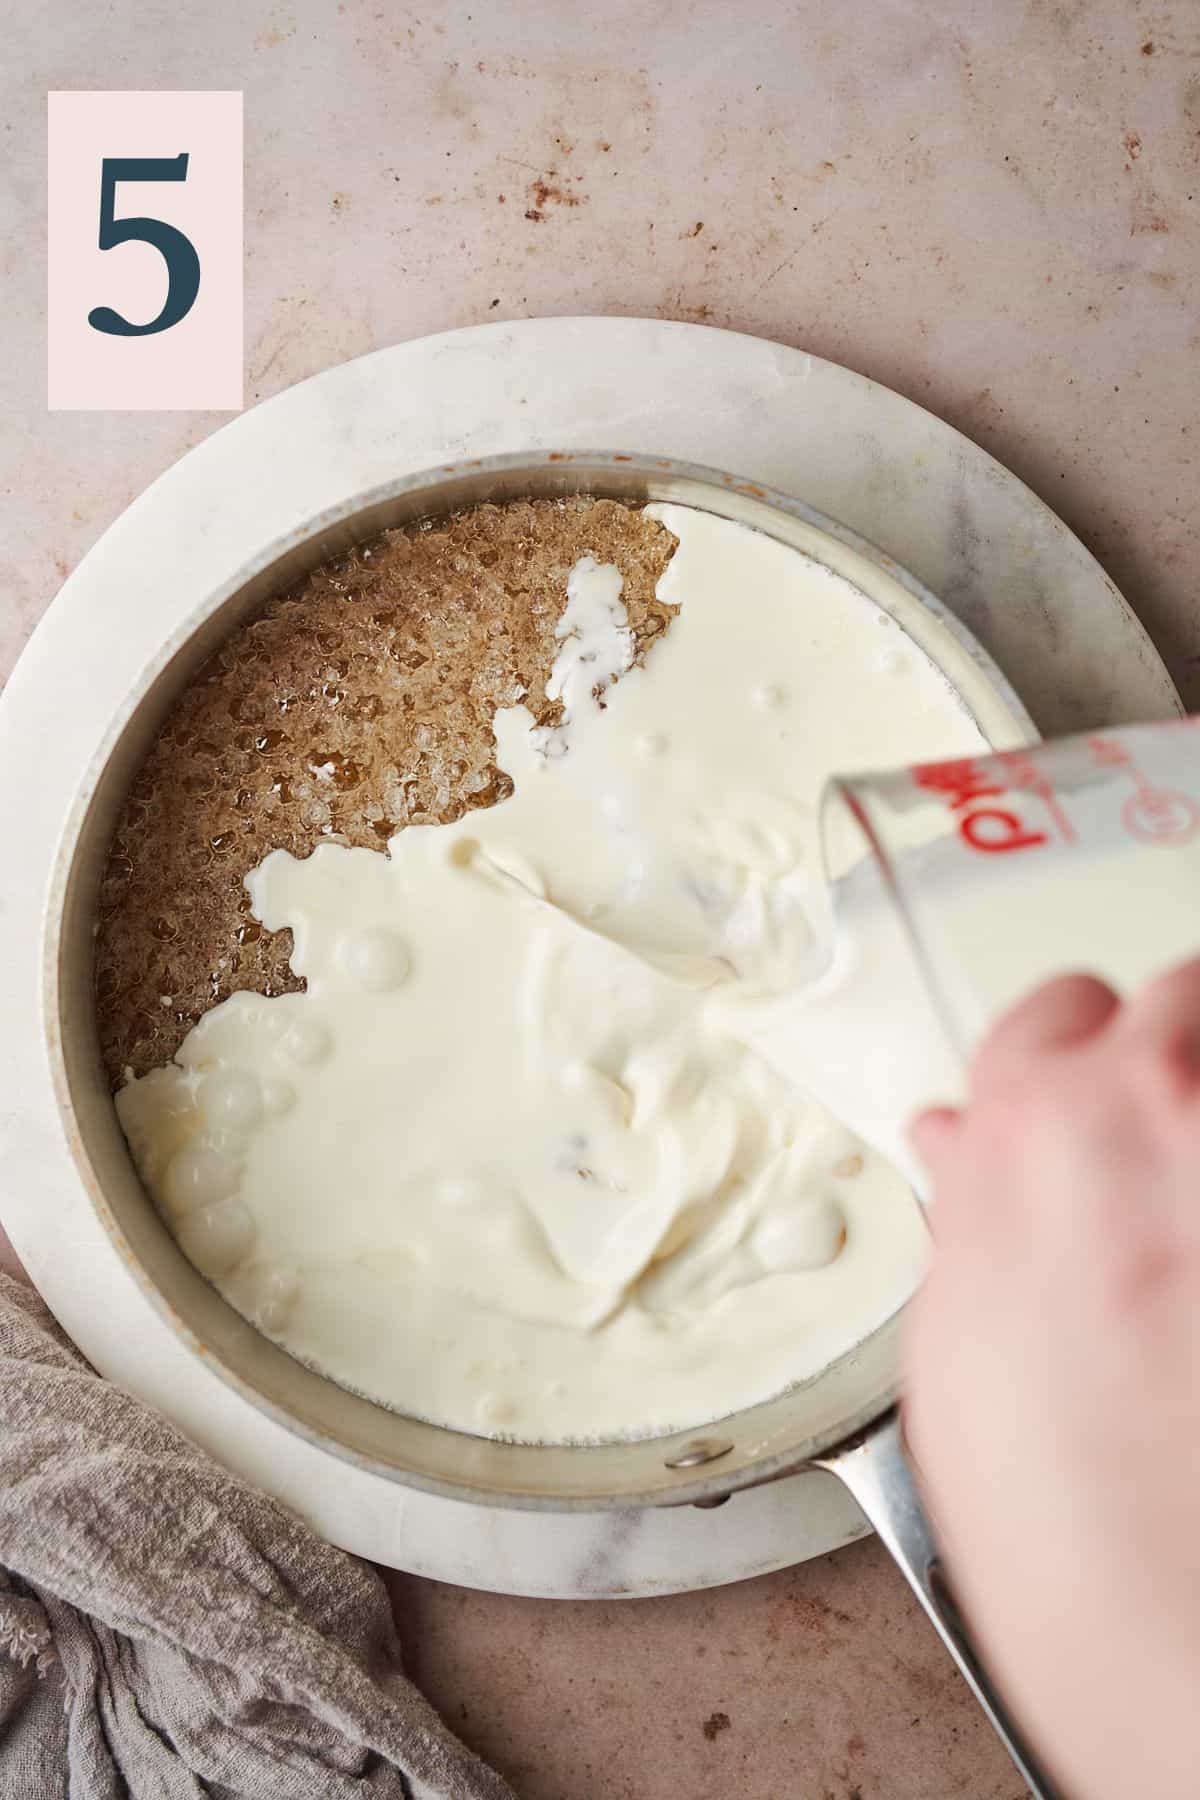
Immediately remove from the heat and very vigorously, whisk in the heavy cream. (Image 5)
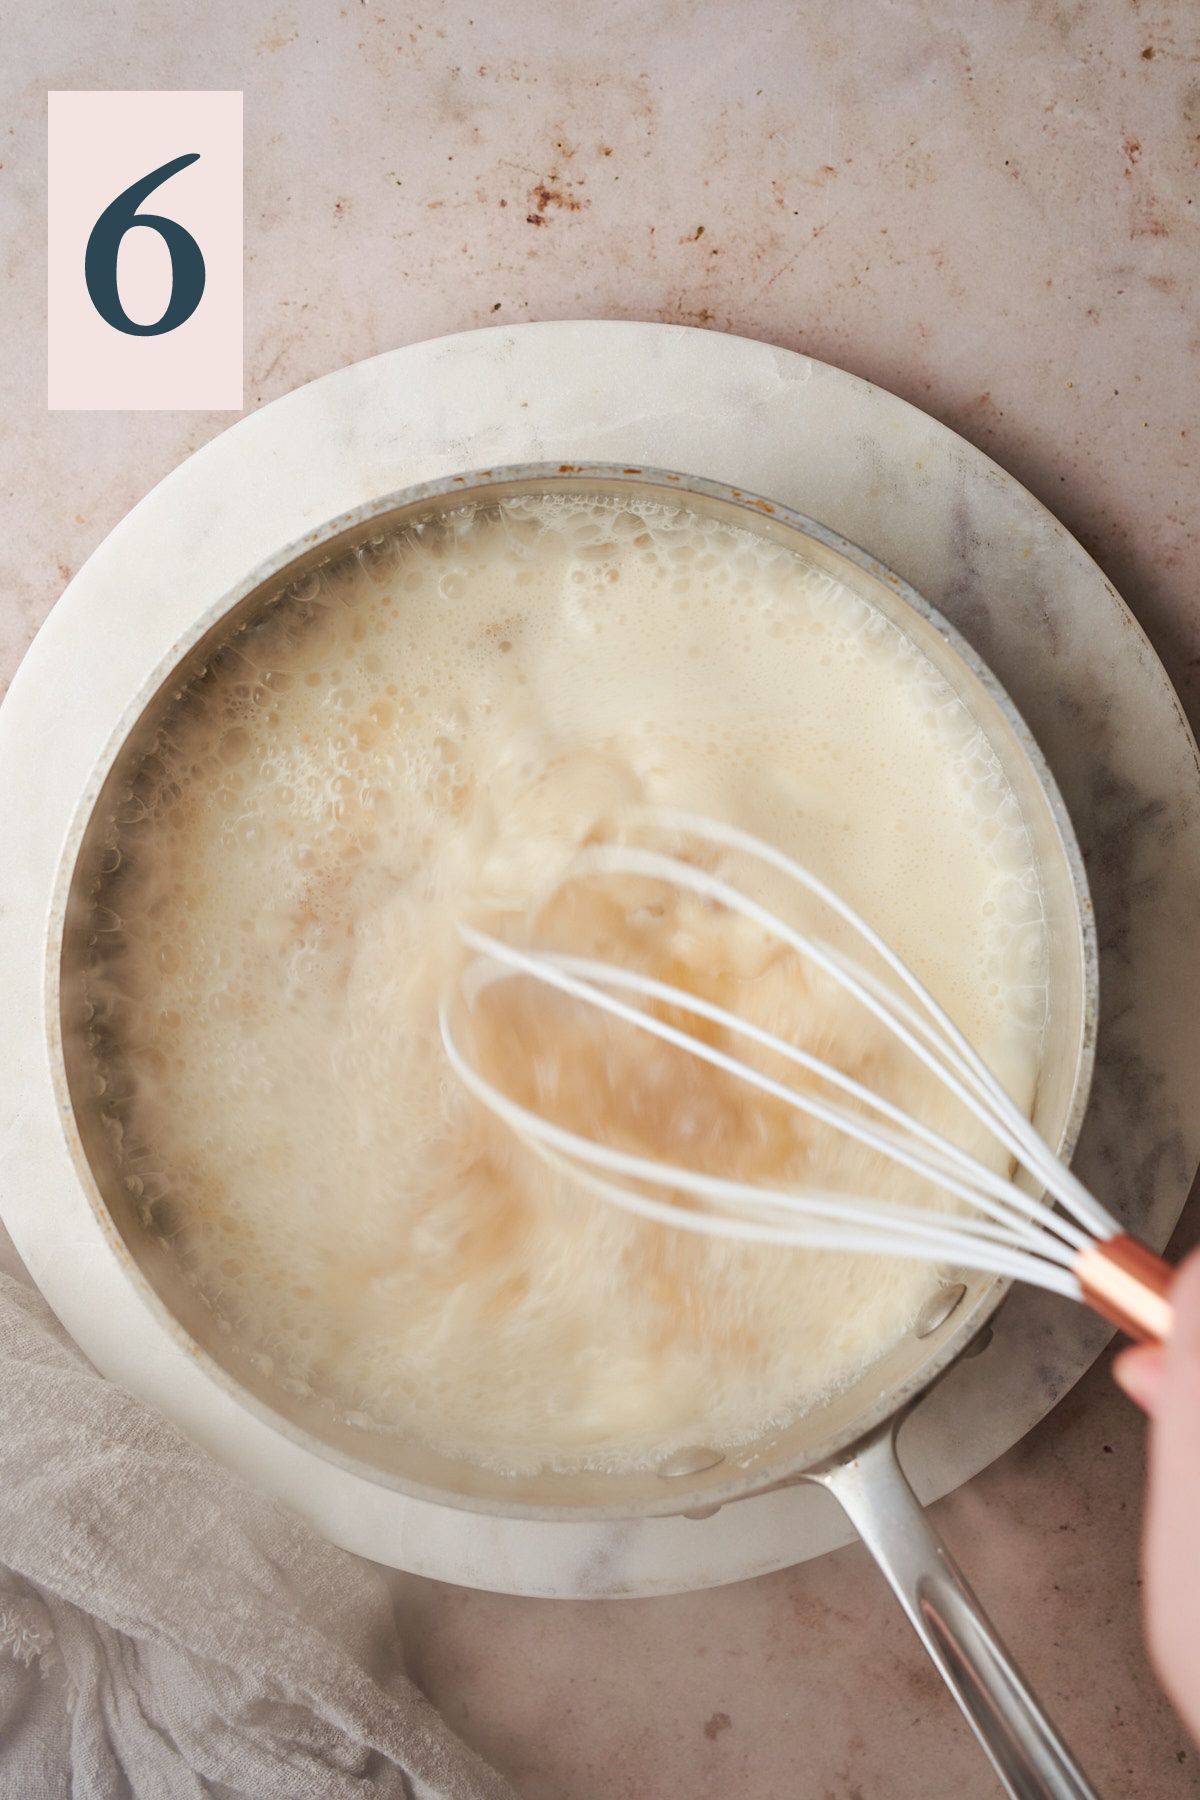
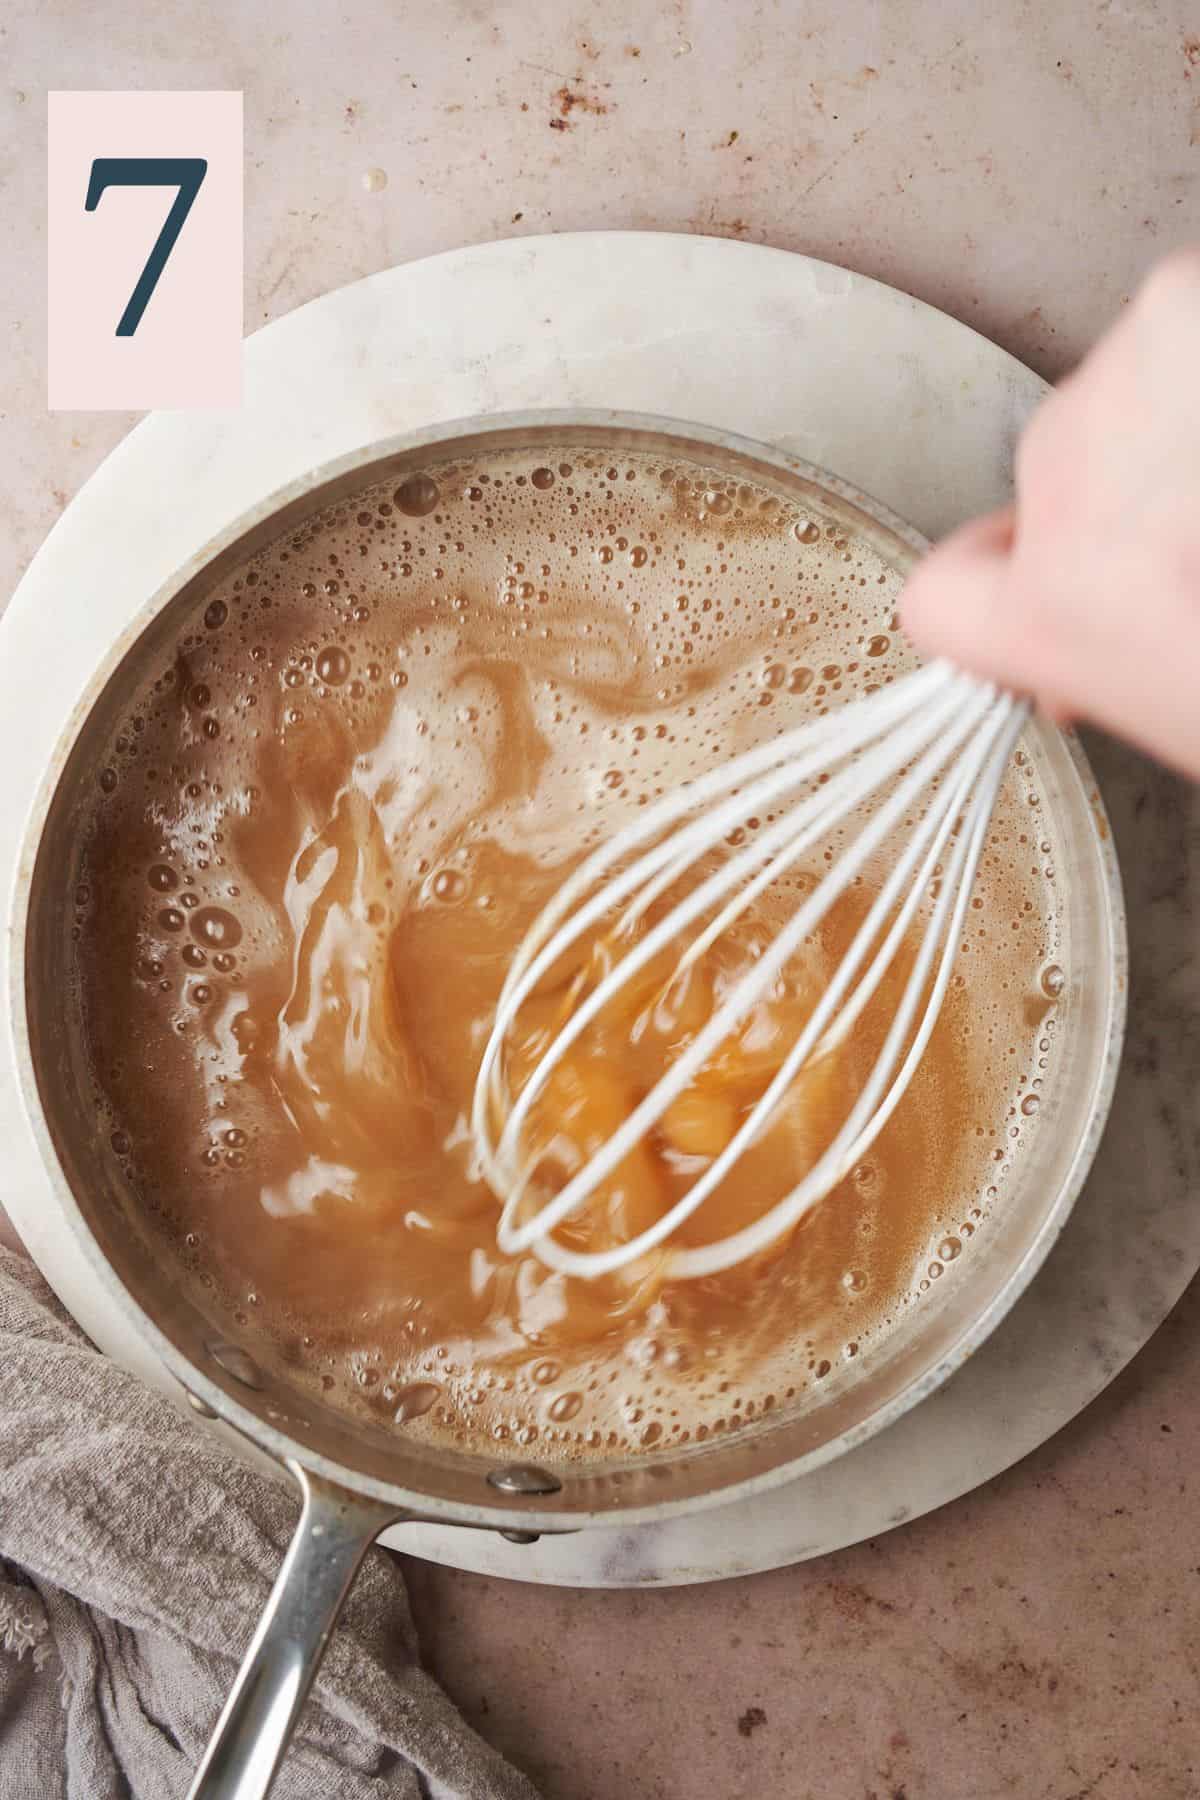
It will bubble up a lot, don’t worry, this is normal! (Image 6) Just be careful not to get burned by the steam, and continue whisking until the mixture comes together. It might take a few moments. Don't worry if some lumps are forming, keep whisking quickly! (Image 7)
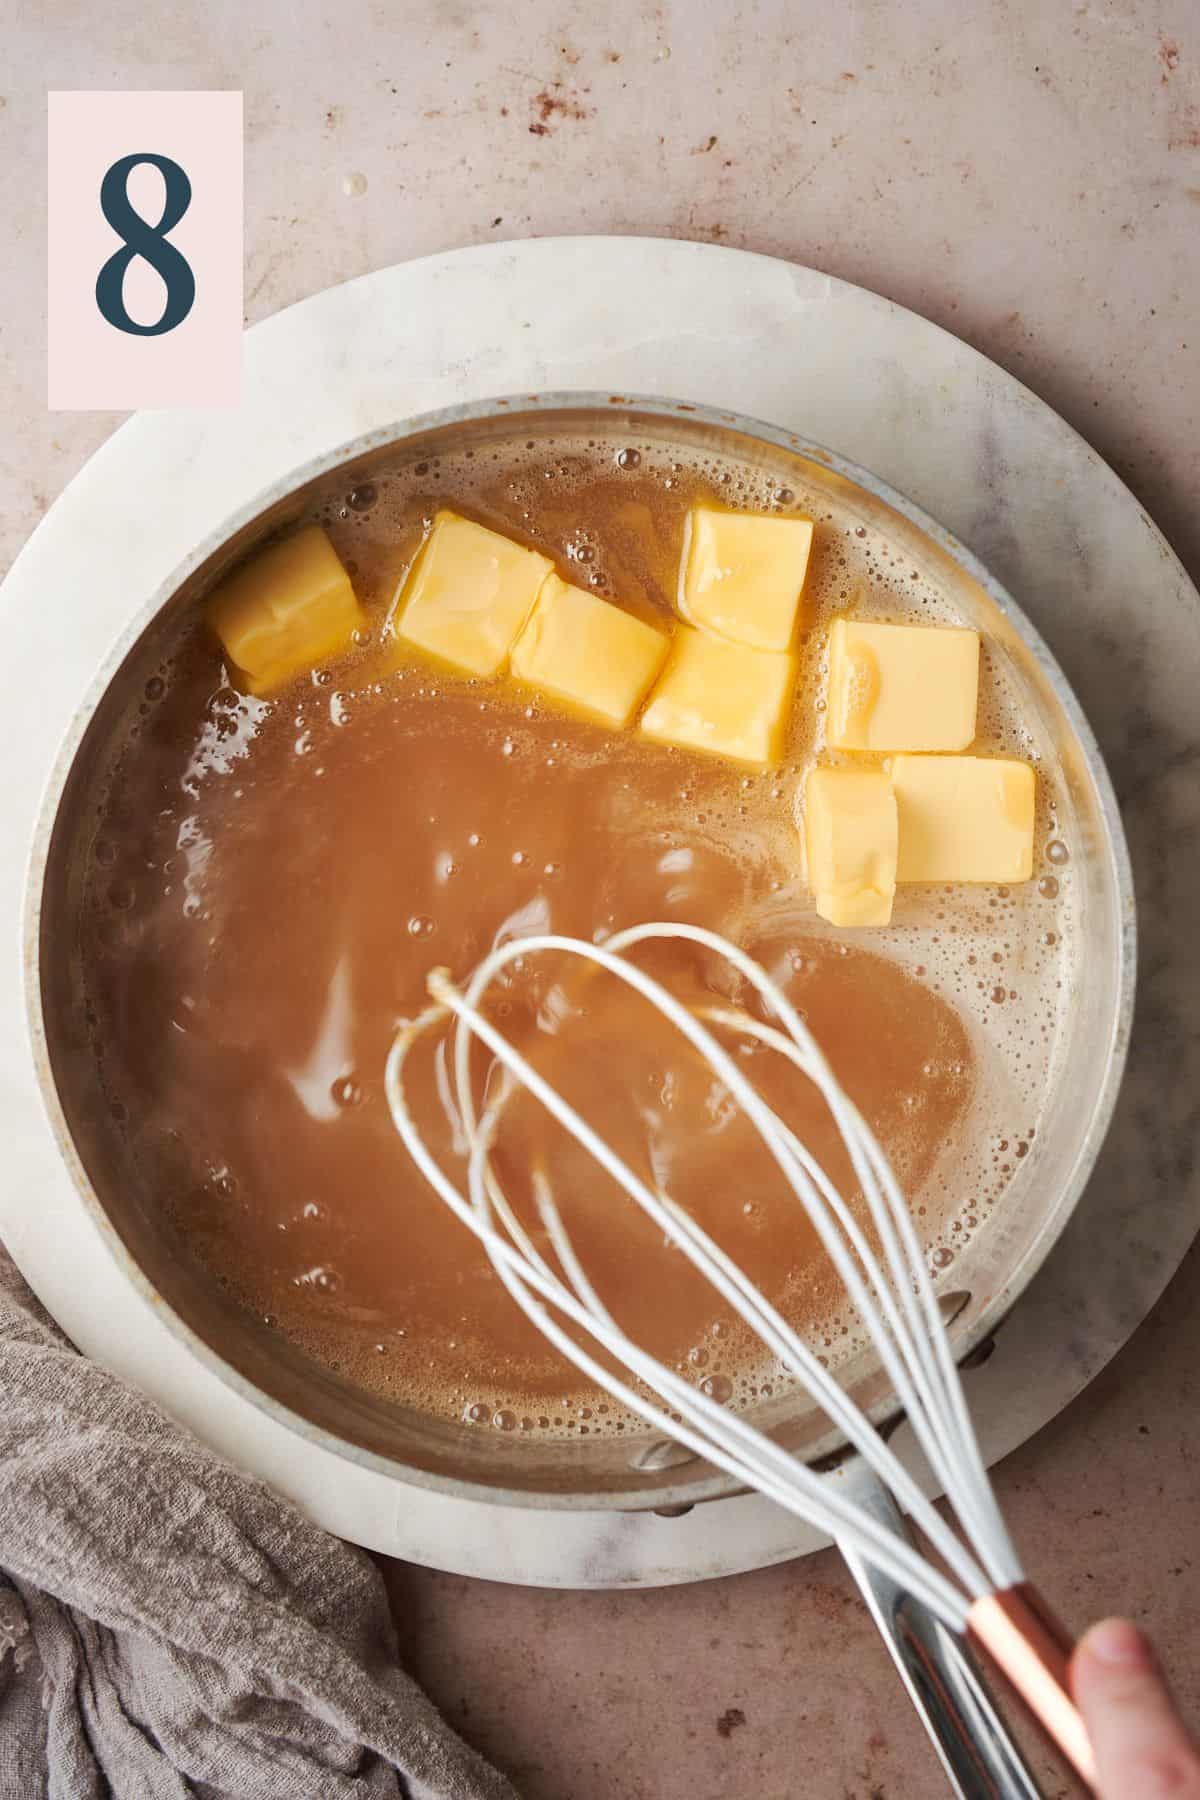
Add the butter to the mixture (Image 8) and whisk until completely combined.
Then, add back to the stove over medium-low heat. Continue whisking and cooking for another 2 minutes or so. It will bubble and thicken a bit. (Image 9)

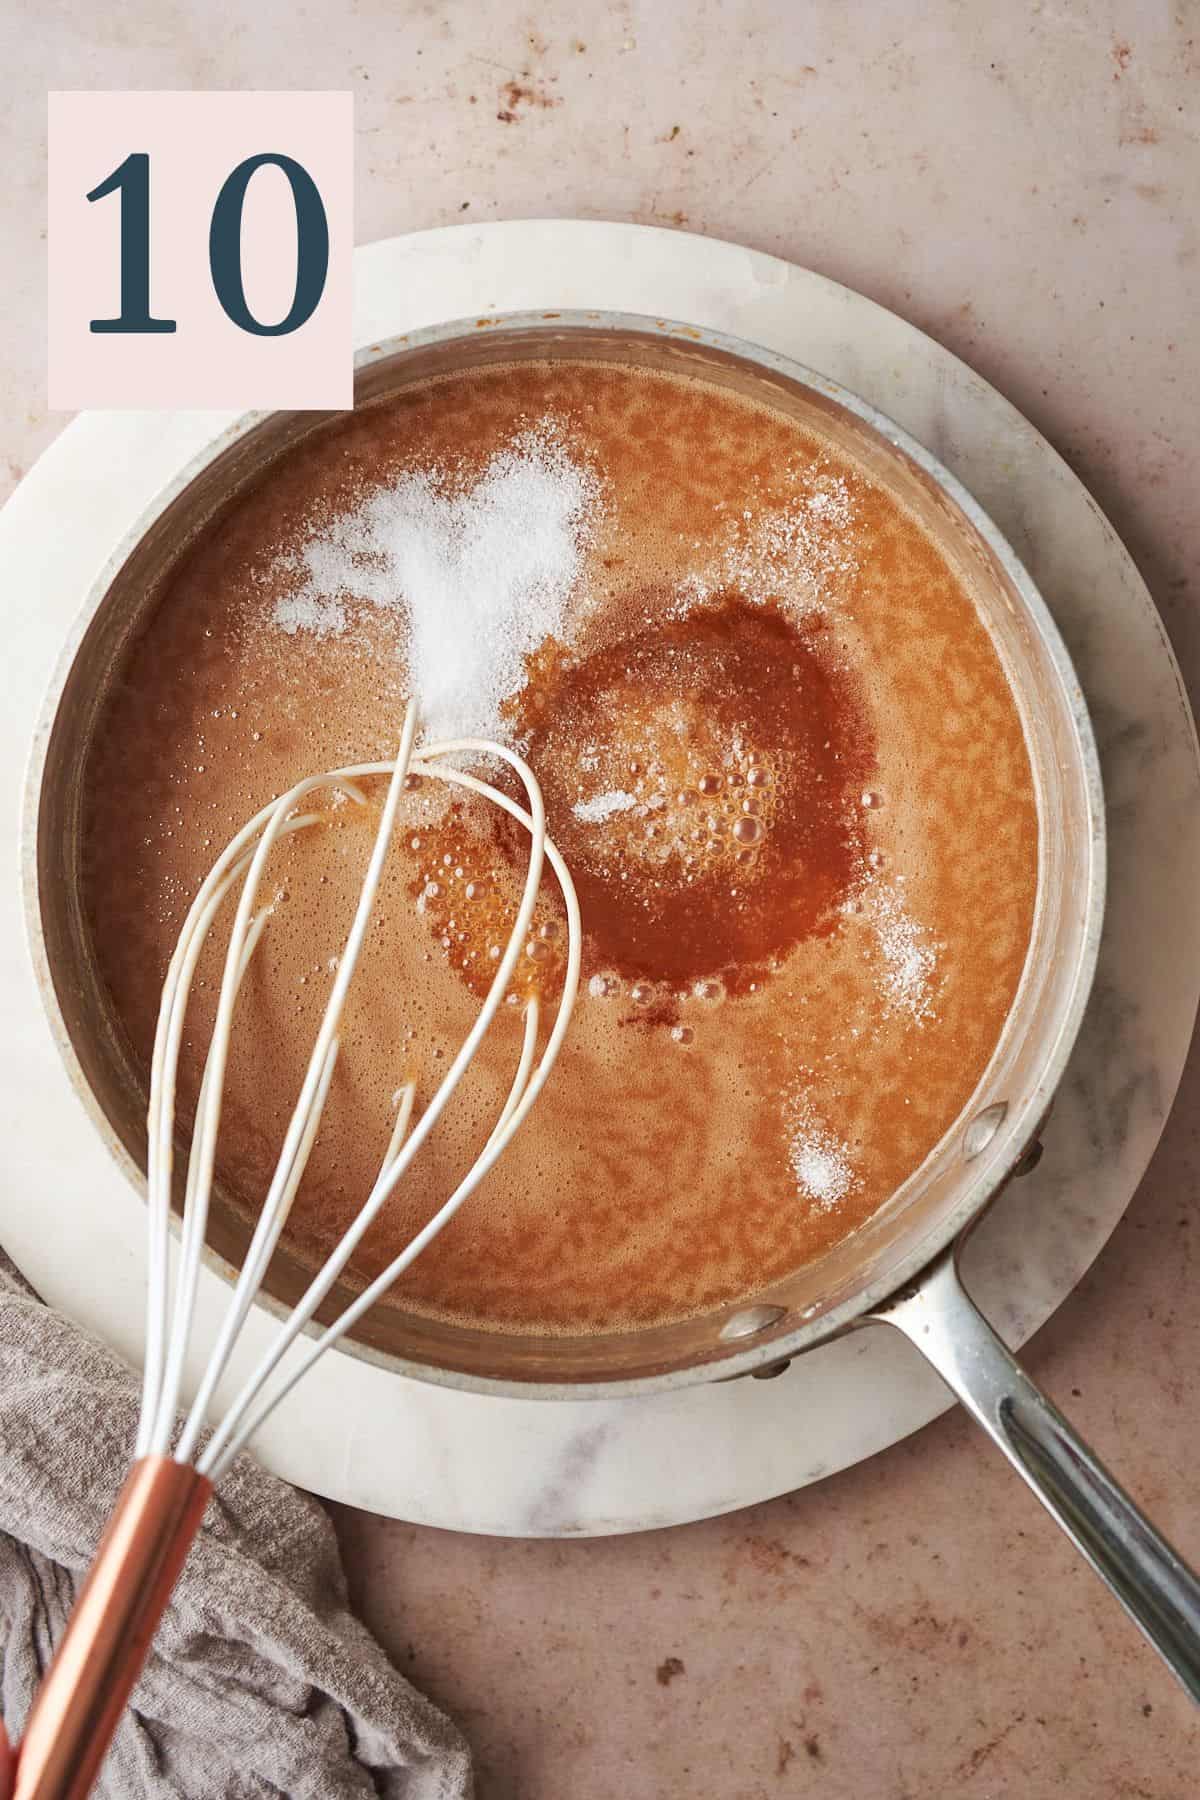
Remove from the heat and add in the salt, and optional vanilla, whisk to combine until smooth.
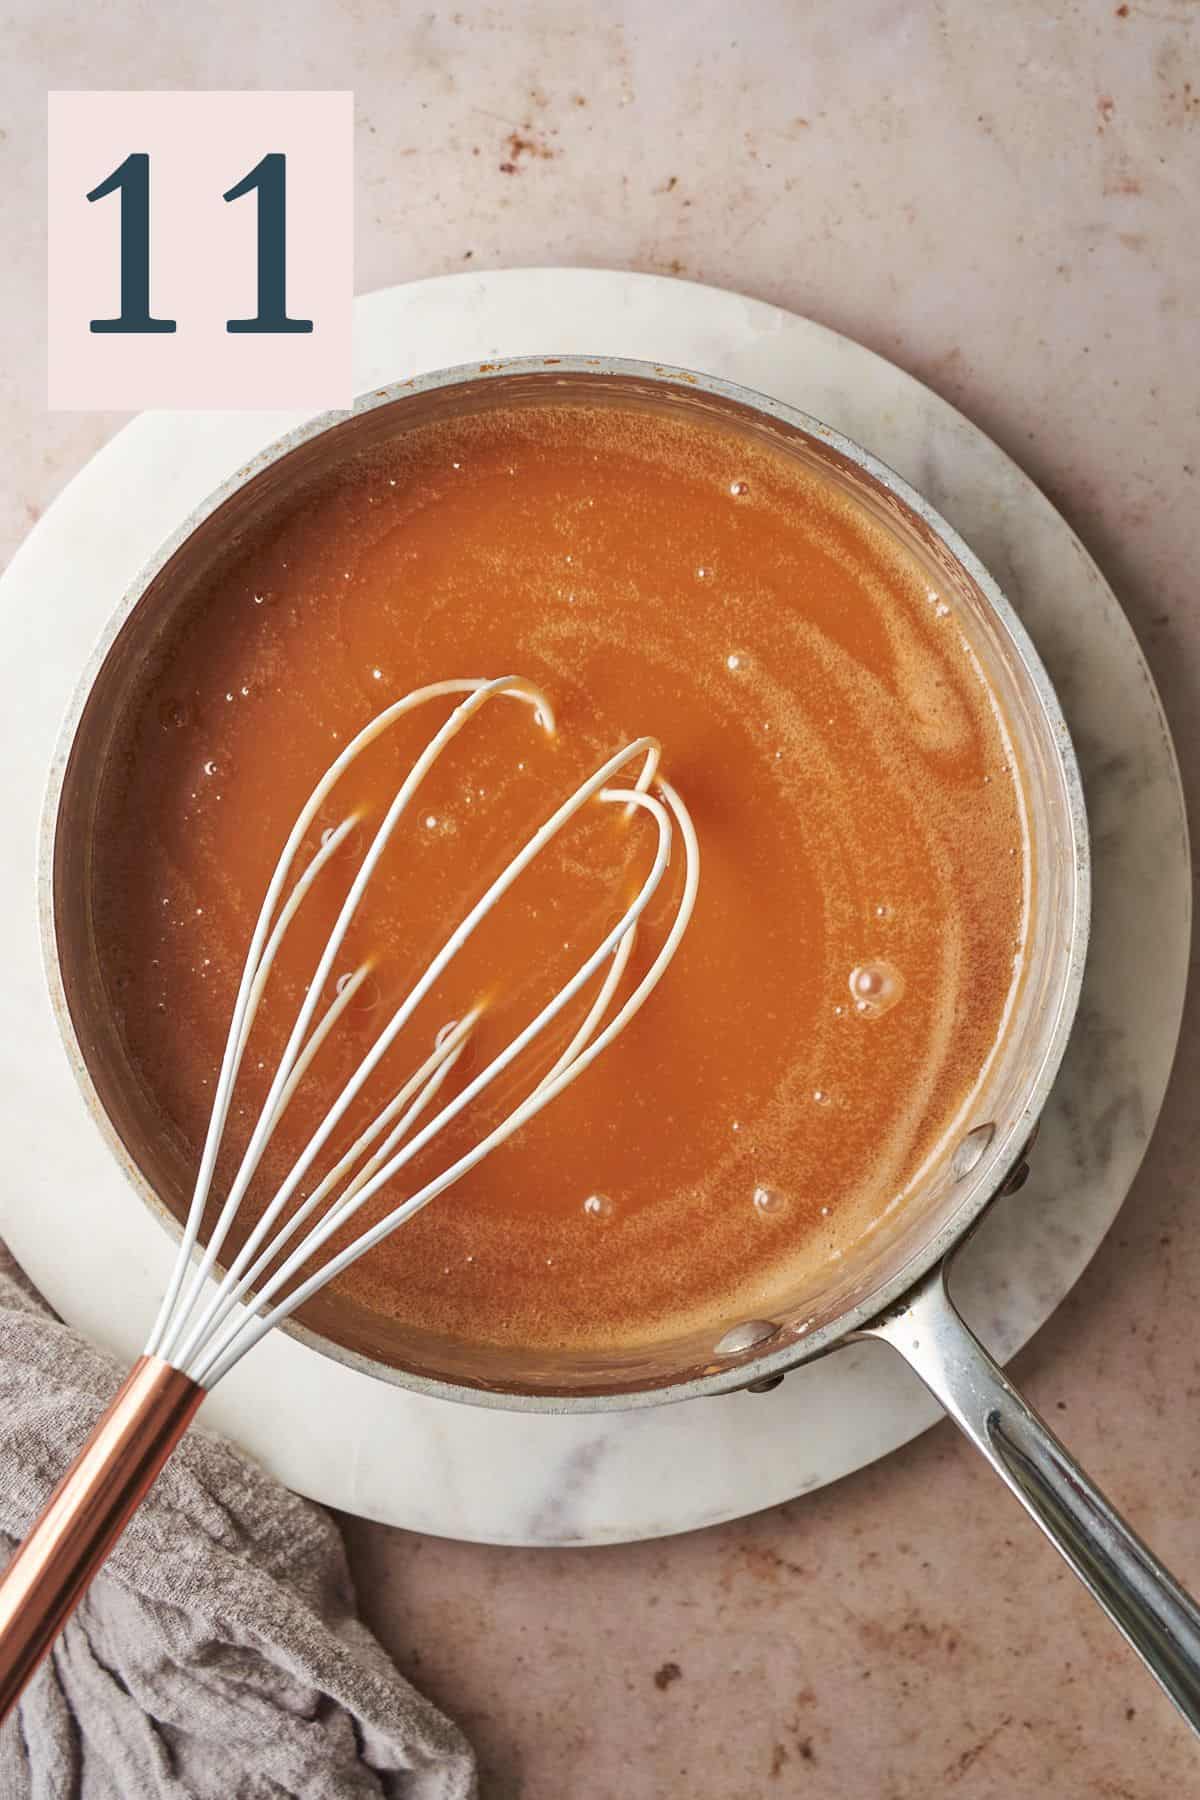
✨Pro Tip: Carefully taste the caramel using a spoon to determine if the salt level is where you want it.
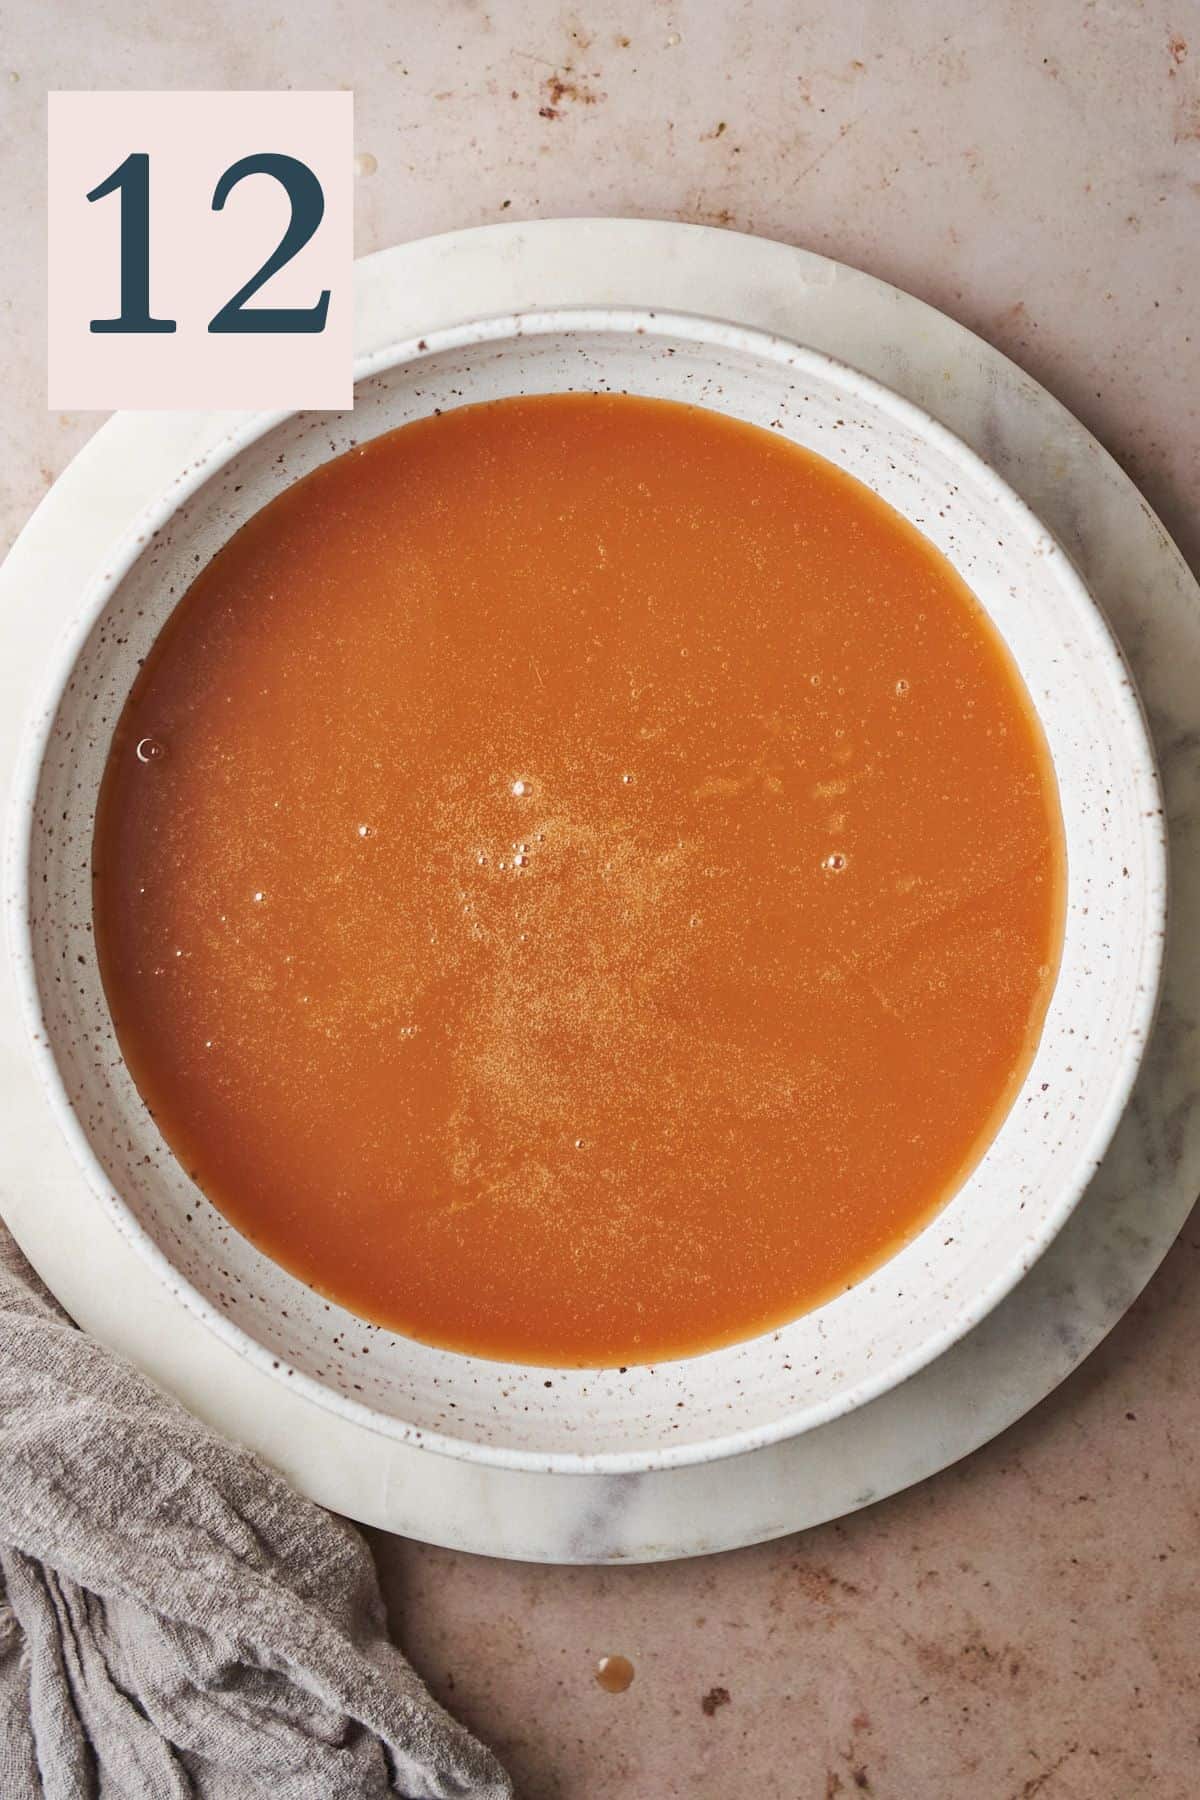
Remove from the pan and pour into heat safe containers. We want to cool down the caramel at this point and prevent it from cooking anymore in the hot pan.
If you pour some into a wide container, it will cool off faster if you're looking to use it right away! (Image 12)
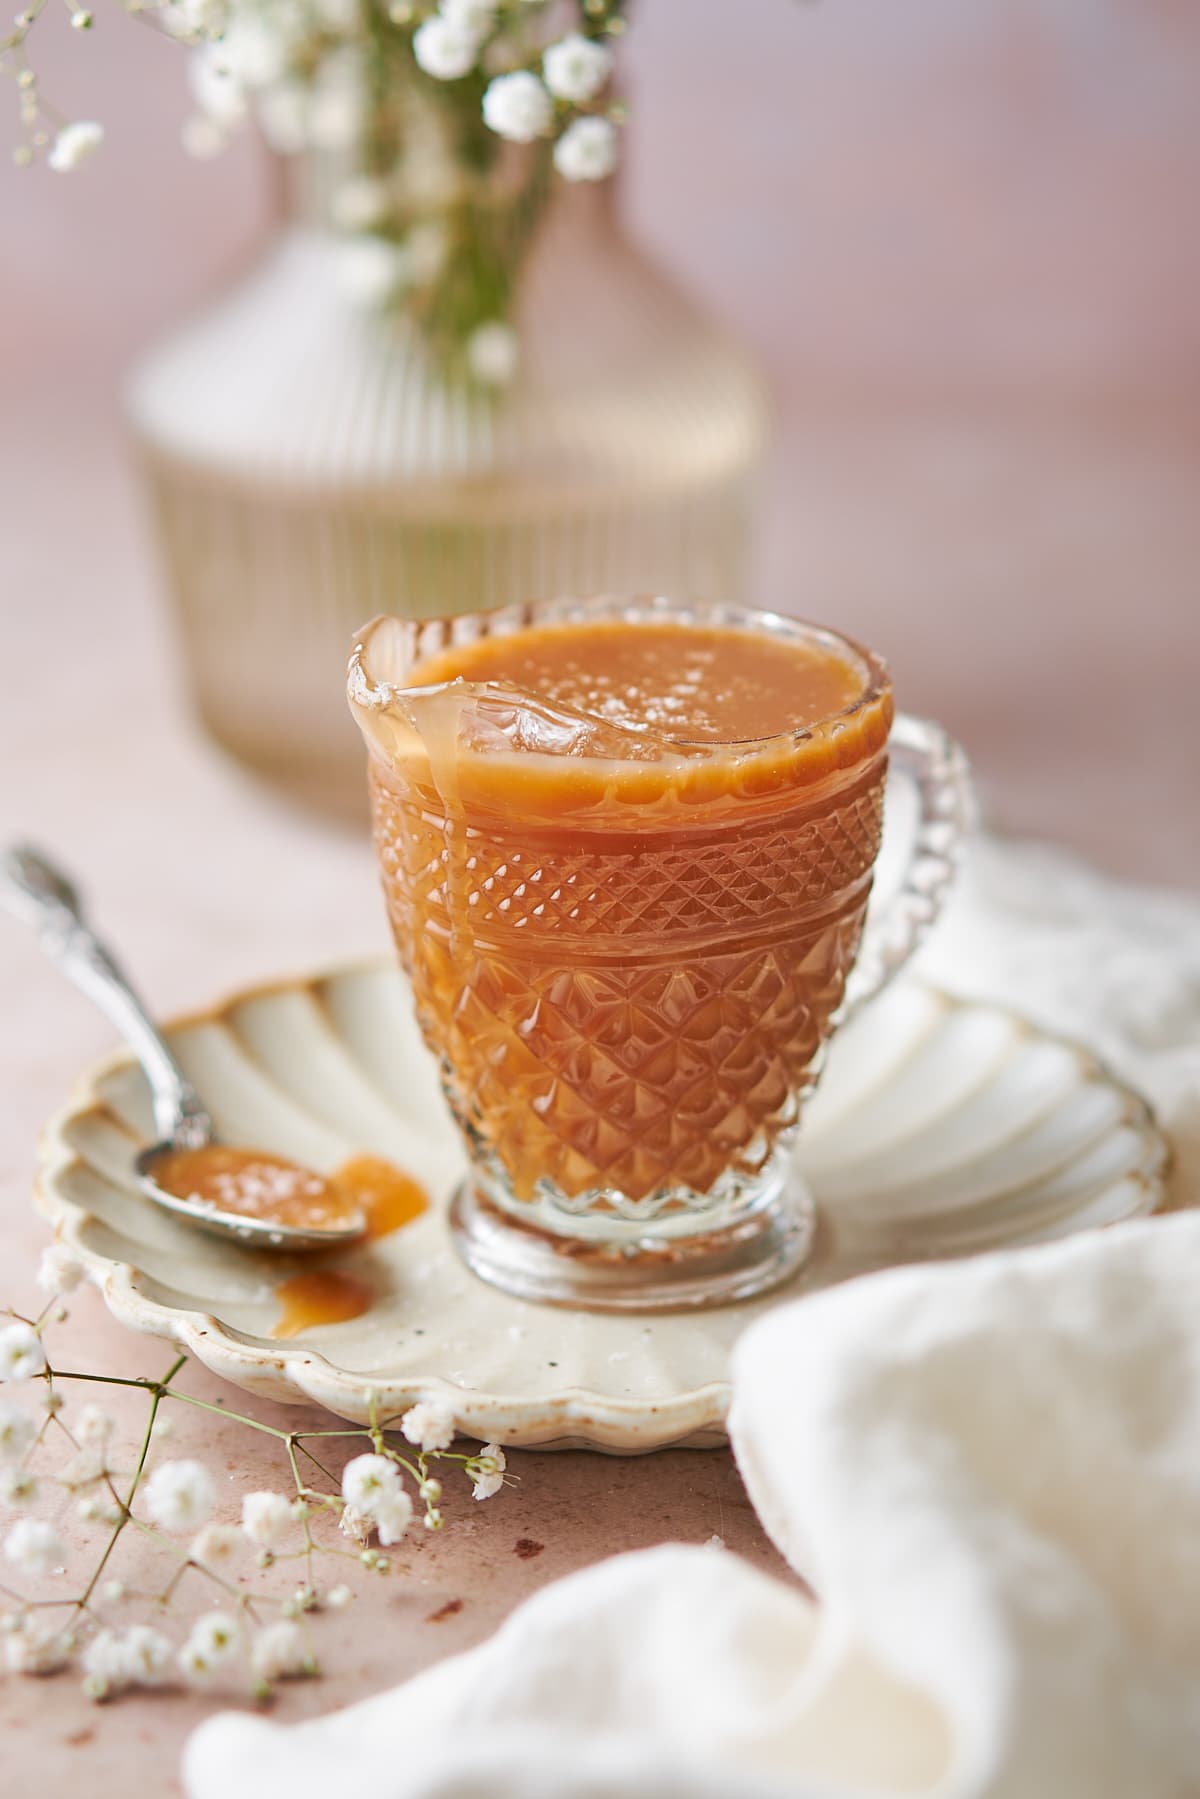
Top with a little flaky salt like Maldon salt or fleur de sel for a delicious bite as well as a beautiful presentation.
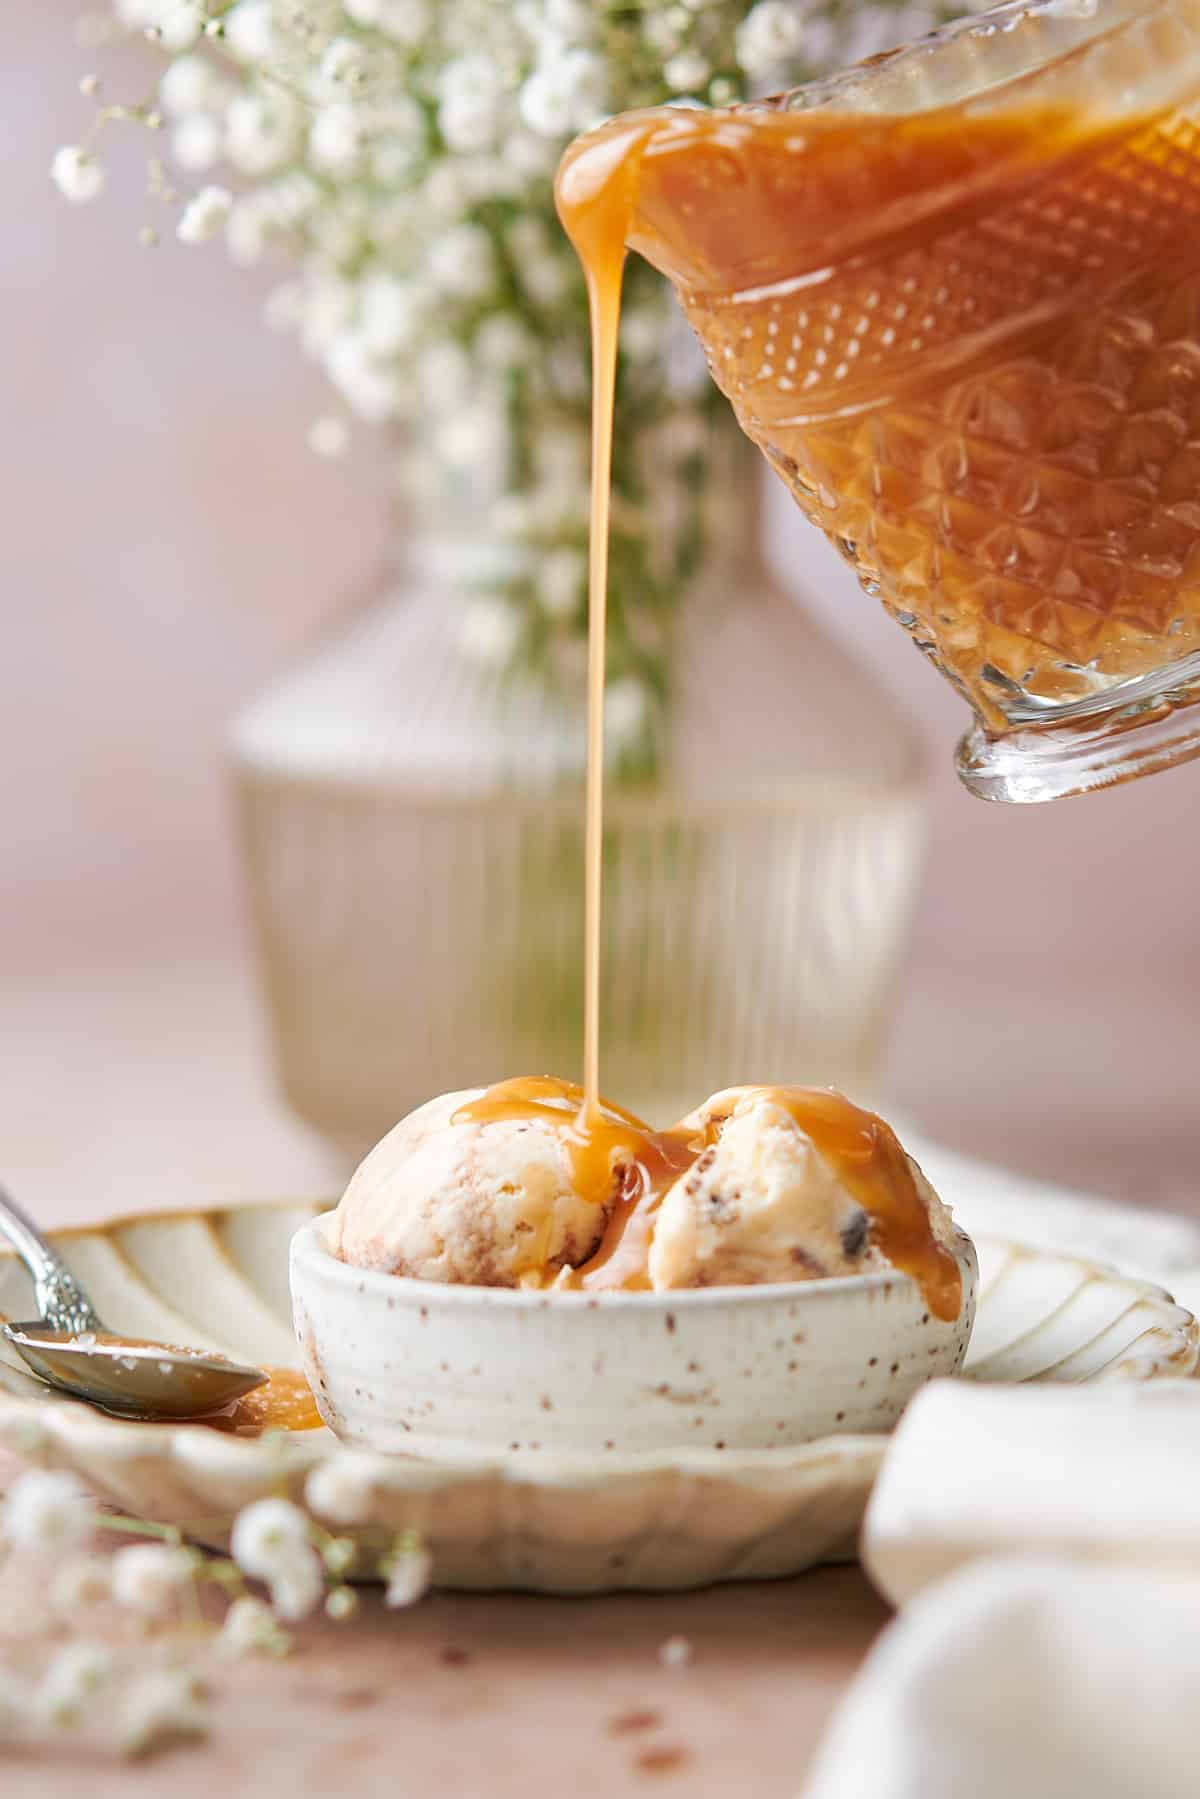
Serve over vanilla ice cream, in a caramel macchiato, on top of cheesecake, and so much more!
✨Tips & tricks
- Use room temperature ingredients. Make sure your heavy cream and butter are truly at room temperature. Cold ingredients can cause the hot caramel to seize, which is not something you want.
- Ensure consistent heat. The key to a successful caramel is consistent, medium heat. If the heat is too high, then you risk burning the sugar. If it's too low, the sugar may crystallize as it might not melt fast enough.
- Use a light-colored saucepan. Using a pot with a light-colored bottom helps you see the color of the caramel as it cooks more easily. This is crucial as the caramel can go from a perfect golden color to burnt in a matter of seconds.
- Don't walk away from the saucepan! If you're uncertain about the color, you can use a candy thermometer. For a pourable caramel, you want the temperature to be between 210°F - 240°F. But remember, color and texture are the most important indicators, and keep in mind that the caramel will thicken as it cools!
- Prevent crystallization. If you see crystals forming on the sides of the pan, use the pastry brush with some water to wash the sides of the pan gently. This will help wash down any sugar crystals on the side. You can also gently swirl the pan, if you notice butter melting unevenly on one side, but do not stir or whisk it until the cream and butter are added! This is actually crucial and will prevent it from crystallizing and forming sugar clumps. We know it's tempting, but you have to trust the process and avoid stirring while the sugar dissolves and boils.
- Be careful! Caramel gets extremely hot. Wear oven mitts when stirring in the cream and butter, and consider using a long-handled whisk to avoid splatters.
- Fix the texture after the fact. If your caramel sauce is too thick when it cools, you can gently reheat it and whisk in a tablespoon or two of room temperature heavy cream until you reach your desired consistency.
- Use a rubber spatula or whisk over a wooden spoon. This is more of a personal preference, but this helps us to ensure there are no leftover sugar clumps in the pan and that everything gets nice and incorporated.
- Use a heavy bottomed pan. If the walls or the bottom of the pan are too thin, this can cause the sugar to burn.
Need supplies? Shop our Amazon store! Stock your pantry, and find all of our favorite kitchen tools! A Full Living LLC earns a small commission through purchases on our storefront to help support this site.
💭Frequently Asked Questions
Store leftovers in an airtight container in the fridge for up to 2 weeks. Reheat gently in the microwave (at about 70% power) to make it pourable again.
To freeze, store in an airtight freezer safe container in the freezer for up to 3 months.
Cold cream or butter can cause hot caramel to seize. Make sure ingredients are at room temperature for best results. Keep whisking vigorously to help smooth the mixture back out. You can probably revive it!
You probably whisked the caramel too much before the sugar was fully dissolved and the cream was added. This will create lumps.
🍴Uses
The options for what to enjoy salted caramel sauce with are endless, and we will continue to add more recipes to accompany it. Here are a few ideas!
- To use in coffee or drinks, heat up gently in the microwave (at about 70% power) until the caramel is quite thin and runny. Try adding it to coffee or hot chocolate. Try it with this iced pumpkin spice latte.
- Drizzle it over top of this Halloween bark, this Halloween snack mix, or on this Halloween charcuterie board for dipping!
- Serve with fruit, ice cream, cakes, cookies, on pies, and so much more!
More Ideas
Did you try this recipe? Make sure to leave a 5-star review below! 🌟 This helps other readers find our recipes and encourages them to try them. Also, be sure to leave a comment with your experience. Follow along, and tag @AFullLiving on Instagram with your photos!
📖 Recipe
Easy Salted Caramel Recipe
Equipment
- heavy bottom saucepan
- Whisk
Ingredients
- 1 & ¼ cups white sugar (250 grams)
- 3 tablespoons water
- 6 tablespoons salted butter, cut into cubes and room temperature (can use unsalted butter)
- 1 cup heavy whipping cream, room temperature
- 1 - 1.5 teaspoons kosher salt (to taste)
- 1 teaspoon vanilla extract
Instructions
- With this recipe, it is incredibly important to have everything ready to go prior to beginning. Add 1 and ¼ cups sugar and 3 tablespoons of water to a saucepan. Gently tap the water and sugar together with a whisk, but don’t mix it up, just sort of push the sugar to the middle of the pan towards the water a few times to help incorporate some of the water into the sugar.
- Put the mixture over medium heat and stop touching it! Use a thick walled pot, and a pastry brush with water to help wash the sugar down the sides as the mixture gets hot and crystallizes on the sides. If you notice one side of the caramel is bubbling and water is dissolving, and the other side isn’t, don’t mix or stir! Instead, pick the saucepan up and gently swirl to incorporate water and sugar.
- Allow the mixture to bubble and bubble for a few minutes. Continue to brush the sides with a wet pastry brush periodically to make sure no sugar crystals are forming. Cook until the sugar mixture becomes a golden amber color. Then, immediately remove from the heat and very vigorously, whisk in 1 cup of room temperature heavy cream. It will bubble up a lot, don’t worry, this is normal! Just be careful not to get burned by the steam, and continue whisking until the mixture comes together. It might take a few moments. Don't worry if some lumps are forming, keep whisking quickly.
- Add 6 tablespoons of butter to the mixture and whisk until completely combined. Then, add back to the stove over medium-low heat. Continue whisking and cooking for another 2 minutes or so. It will bubble and thicken a bit.
- Remove from the heat and add in 1 - 1.5 teaspoons of salt to taste, and the optional 1 teaspoon of vanilla extract, whisk to combine until smooth.
- Remove from the pan and pour into heat safe containers. We want to cool down the caramel at this point and prevent it from cooking anymore in the hot pan. If you pour some into a wide container, it will cool off faster if you're looking to use it right away! Top with a little flaky salt if desired, and enjoy with your favorite desserts!
- Store leftovers in an airtight container in the fridge for up to 2 weeks. Reheat gently in the microwave (at about 70% power) to make it pourable again. To freeze, store in an airtight freezer safe container in the freezer for up to 3 months.
Notes
-
- Use room temperature ingredients. Make sure your heavy cream and butter are truly at room temperature. Cold ingredients can cause the hot caramel to seize or clump up.
-
- Ensure consistent heat. The key to a successful caramel is consistent, medium heat. If the heat is too high, then you risk burning the sugar. If it's too low, the sugar may crystallize as it might not melt fast enough.
-
- Use a light-colored saucepan. Using a pot with a light-colored bottom helps you see the color of the caramel as it cooks more easily. This is crucial as the caramel can go from a perfect golden color to burnt in a matter of seconds.
-
- Don't walk away from the saucepan! If you're uncertain about the color, you can use a candy thermometer. For a pourable caramel, you want the temperature to be between 210°F - 240°F. But remember, color and texture are the most important indicators, and keep in mind that the caramel will thicken as it cools!
-
- Prevent crystallization. If you see crystals forming on the sides of the pan, use the pastry brush with some water to wash the sides of the pan gently. This will help wash down any sugar crystals on the side. You can also gently swirl the pan, if you notice butter melting unevenly on one side, but do not stir or whisk it until the cream and butter are added! This is actually crucial and will prevent it from crystallizing and forming sugar clumps. We know it's tempting, but you have to trust the process and avoid stirring while the sugar dissolves and boils.
-
- Be careful! Caramel gets extremely hot. Wear oven mitts when stirring in the cream and butter, and consider using a long-handled whisk to avoid splatters.
-
- Fix the texture after the fact. If your caramel sauce is too thick when it cools, you can gently reheat it and whisk in a tablespoon or two of room temperature heavy cream until you reach your desired consistency.
- Use a rubber spatula or whisk over a wooden spoon. This is more of a personal preference, but this helps us to ensure there are no leftover sugar clumps in the pan and that everything gets nice and incorporated.
-

Comments
No Comments