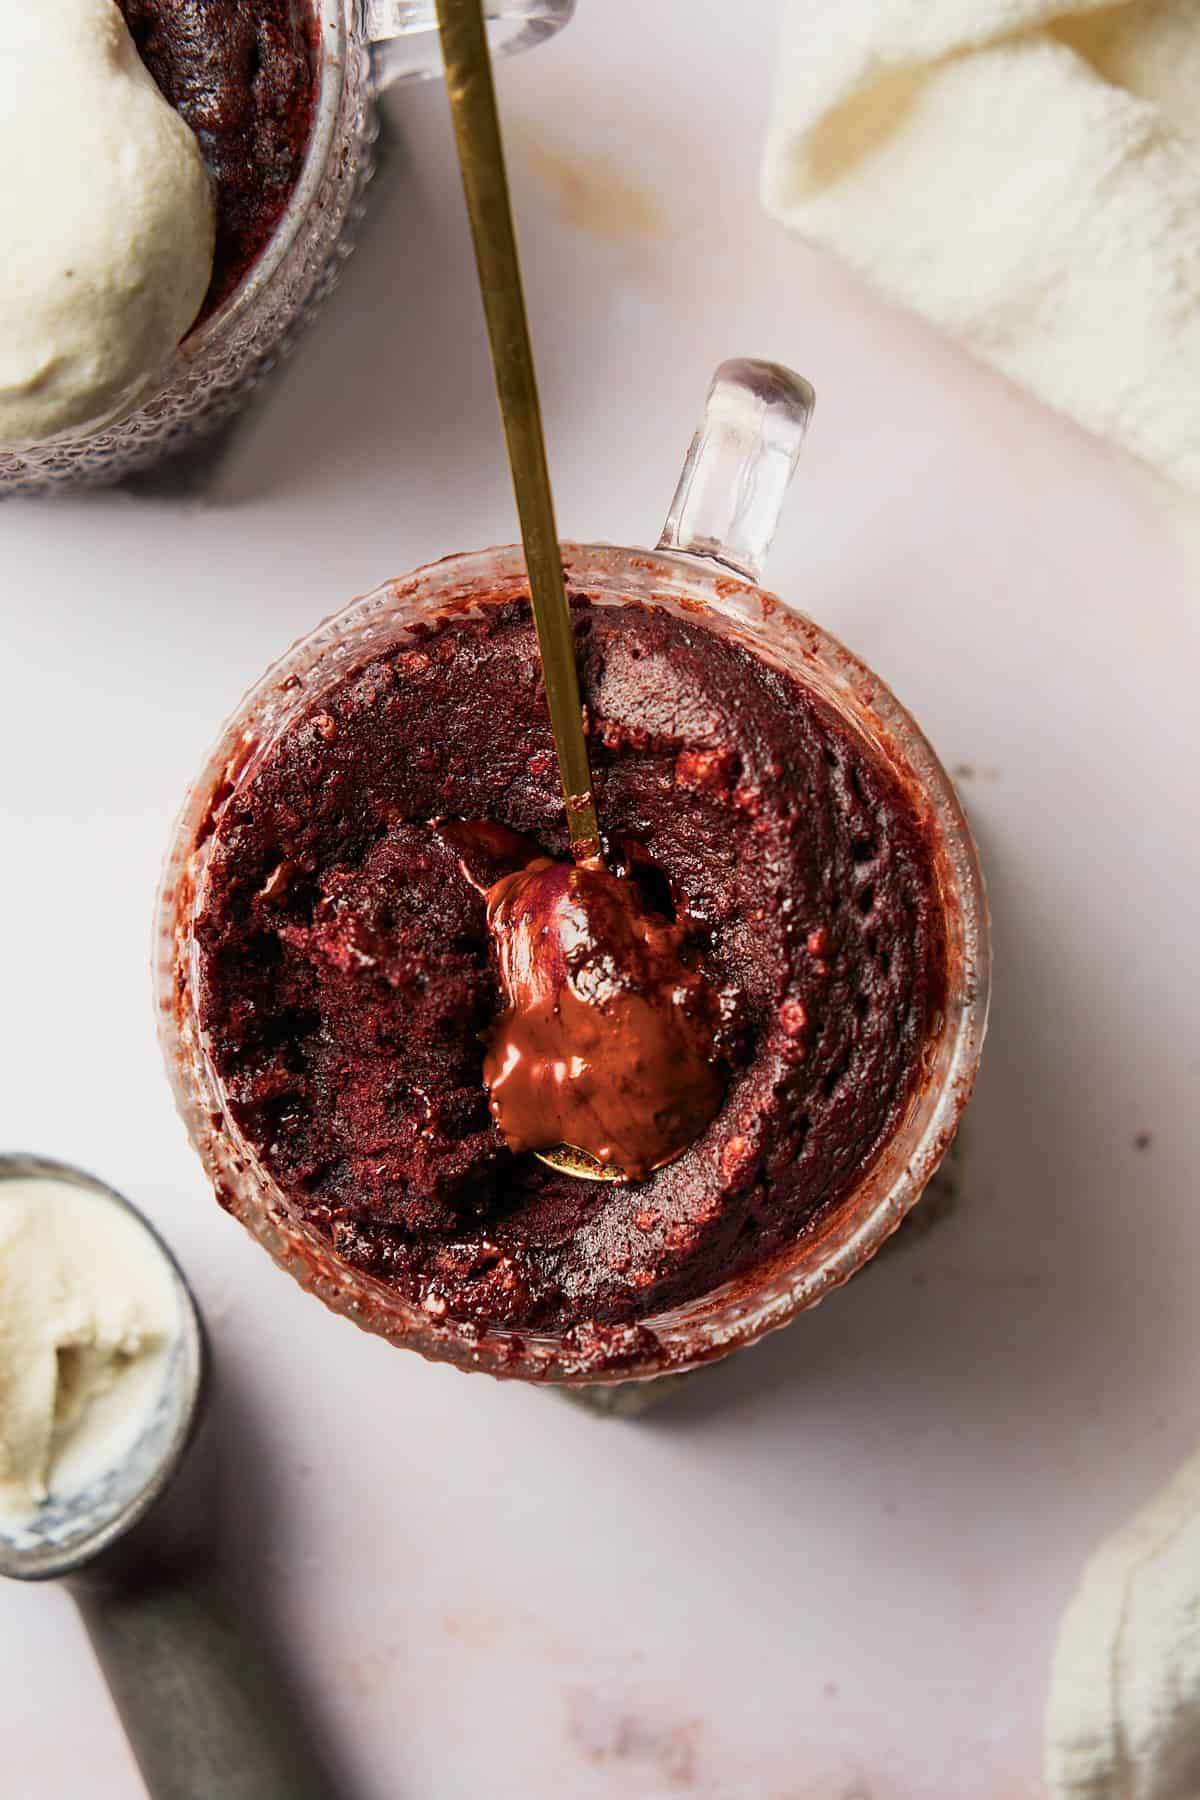
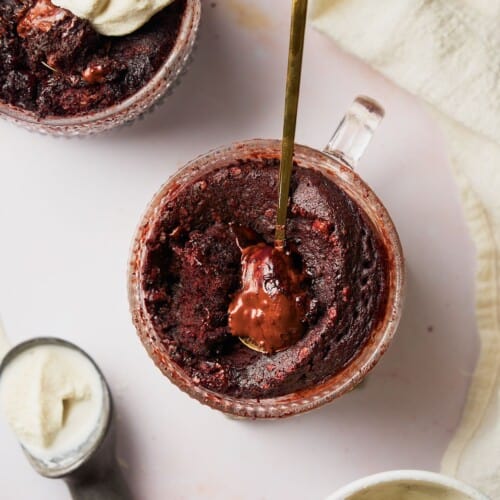
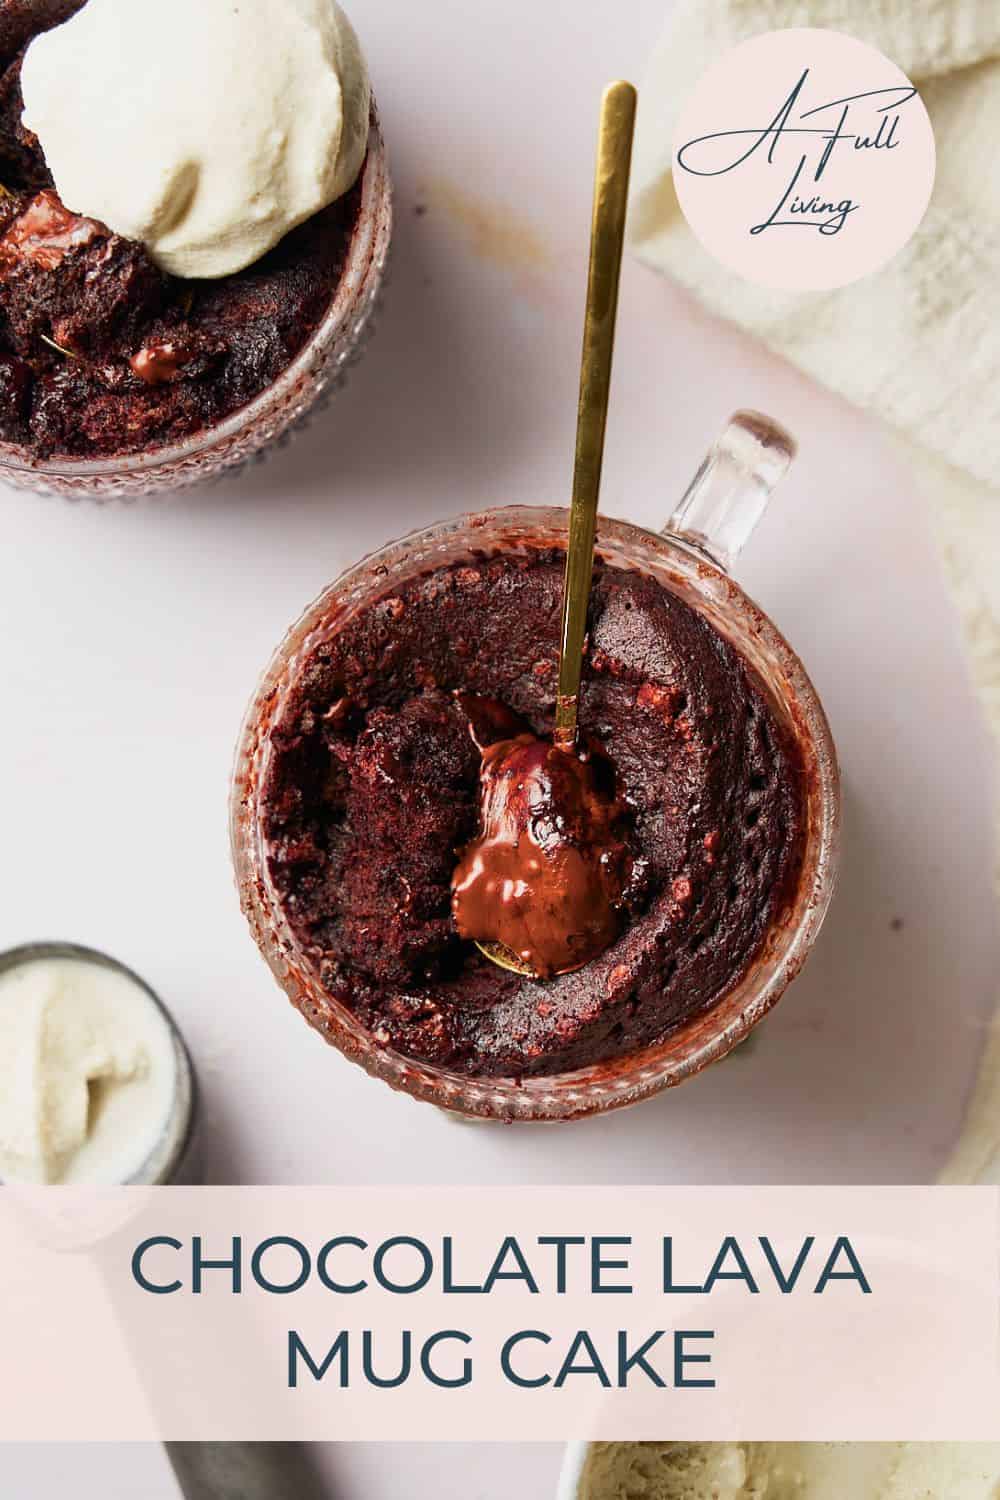
You won't believe how easy it is to make this luscious Chocolate Lava Mug Cake in just minutes in the microwave. This single-serve moist chocolate cake with a molten lava center is perfect when you need a warm, gooey dessert - and you need it in 5 minutes! It's easy enough to make any time you're craving something sweet - while also being super luxurious and great for date night or special occasions as well!
Disclosure: This recipe was originally published in February 14th, 2019, but has been re-photographed with a new recipe and republished with better instructions on February 9th, 2024. We hope you enjoy the new look!
Consider your chocolate cravings cured with this easy molten lava mug cake! Grab a large coffee mug and a few staple ingredients - this recipe will become your new go-to recipe when you need something low effort and delicious.
This easy dessert has a chocolaty, gooey center. Serve it with a big scoop of vanilla ice cream for the perfect dessert! This easy lava mug cake is the perfect treat for date nights, birthdays, anniversaries, or whenever you need an impressive last-minute, single-serving dessert!
It may not be as elaborate as our black velvet cake or black velvet cupcakes, but considering how easy it is to make in comparison, this dessert is pleasantly comparable in terms of decadence and texture!
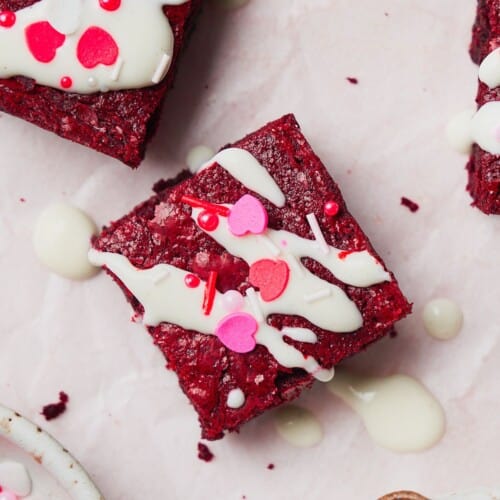
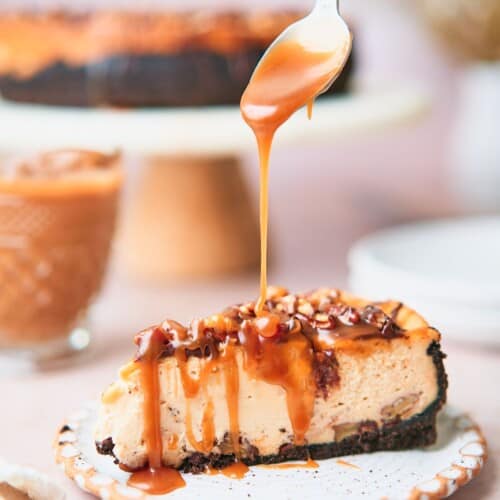
For more Valentine's Day treats, check out our red velvet brownies, these white chocolate covered strawberries, this turtle cheesecake, or these loaded brownies with Reese's, Oreos, and salted caramel!
Jump to:
❤️Why we love this recipe
- Quick and easy. Chocolate lovers will go crazy for this one. If you need some chocolate but you don't want a whole cake, this quick and easy molten lava cake in the microwave is the perfect solution. This dorm-room type of dessert can be made by anyone, anytime. No complex baking techniques or tools needed. Plus - it's easy to clean up!
- Made with simple ingredients. The ingredients you need are most probably in your pantry, but anything you don't already have can be found at any grocery store.
- Single-serve or shareable! This recipe is great for someone with a big appetite for chocolate cake, or perfect to share between two people.
- Easy to customize. This recipe can be adapted for those who eat dairy-free and gluten-free very easily!
🍫Ingredients
Here are the ingredients we used for this recipe. You can find more information for substitutions below.
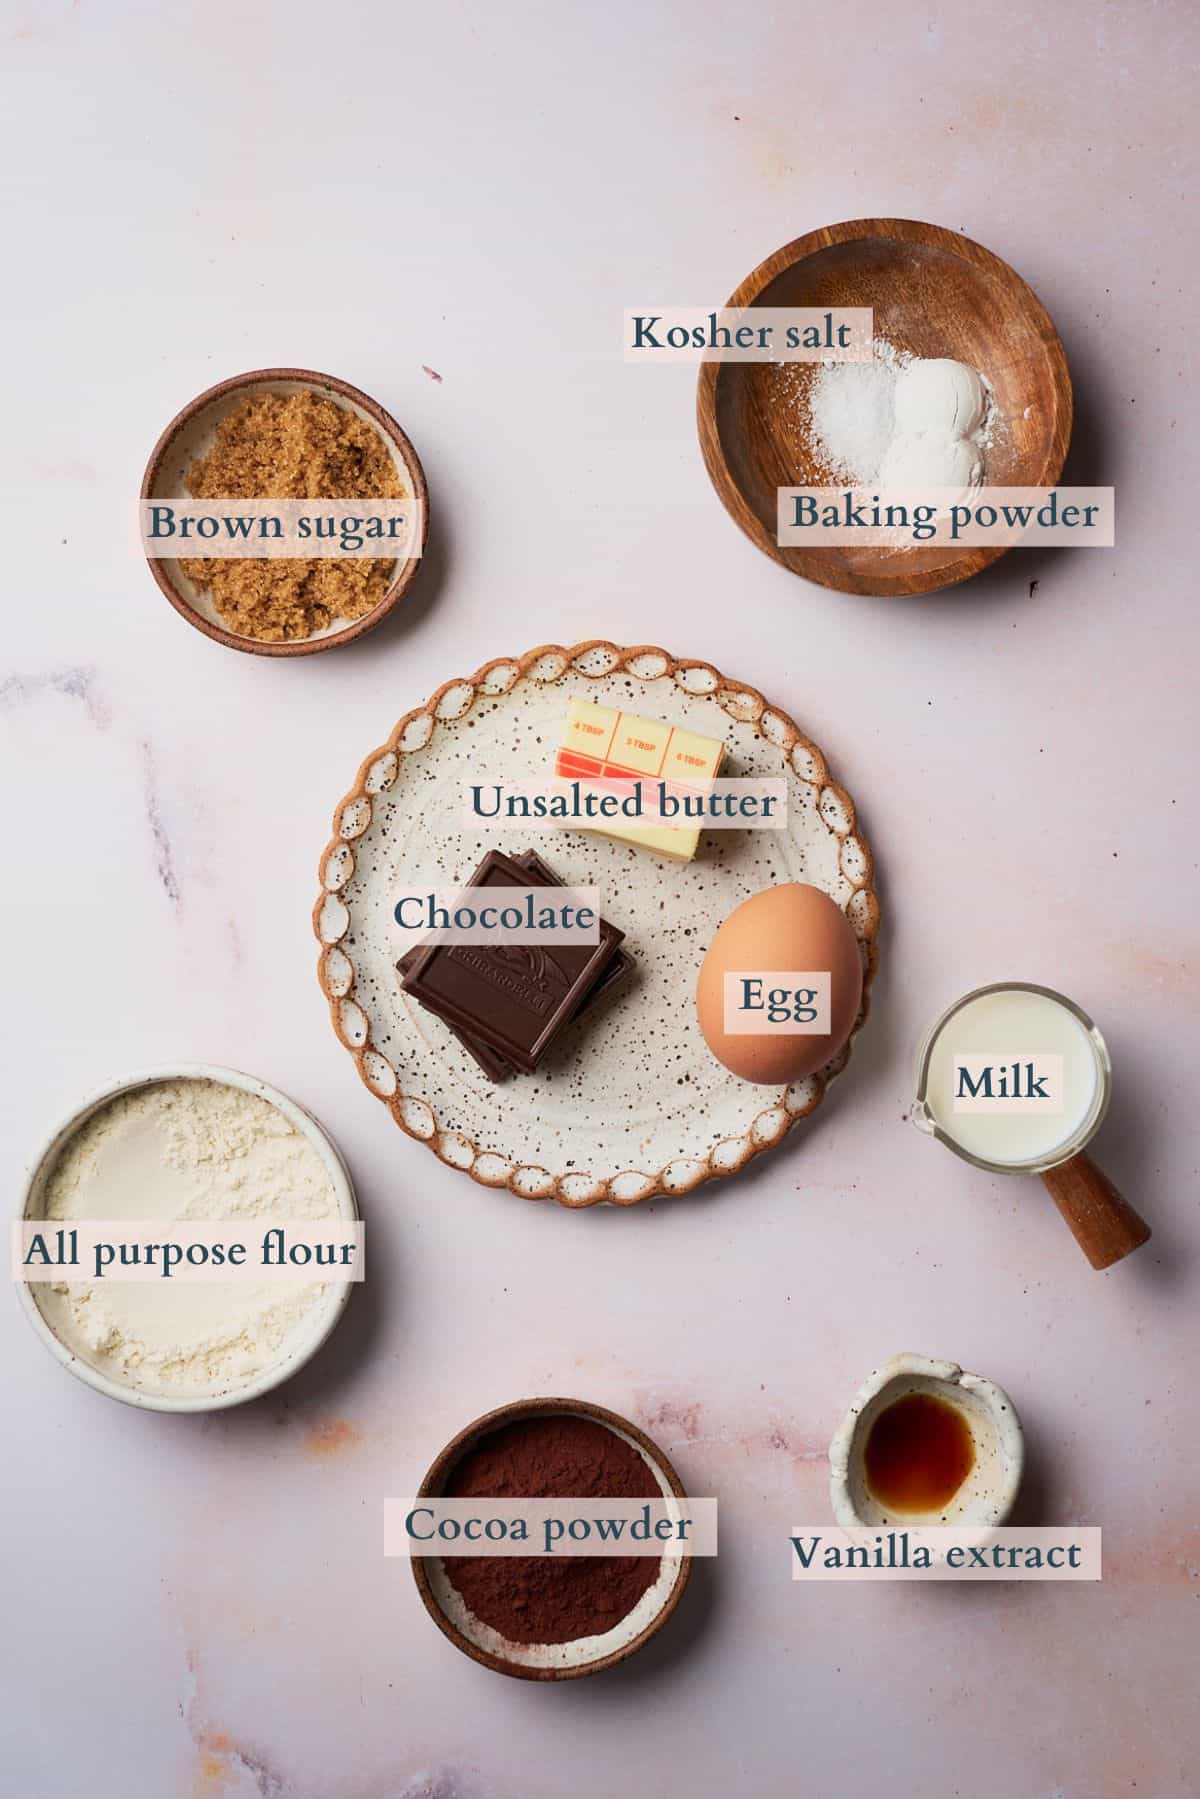
- Milk. This should be at room temperature.
- Egg. Make sure to leave it out at room temperature for a little while for best results.
- Dutch-processed cocoa powder. This type of cocoa has gone through alkalization which makes it less bitter, darker, and more soluble resulting in a sweeter cake with sweet, tender crumbs.
- Chocolate bar. Creates the gooey goodness of melted chocolate in the center!
Visit the recipe card for the full quantities and nutritional information.
✨Substitutions
Here are a few suggestions on additional flavors to try, or simple variations to this recipe.
- Swap the liquid. If you don't have milk on hand, you can always use room-temperature water, heavy cream, half and half, or coffee. Keep in mind that if you use water, it won't be as rich and creamy, but it will still work!
- Swap brown sugar. If you don't have brown sugar on hand, feel free to just use white sugar instead. We love using brown sugar because it adds so much molasses-like flavor, but of course regular sugar works!
- Use natural cocoa powder instead. Natural cocoa powder should work just fine in this recipe. Keep in mind that it will be a bit lighter in color!
- Chocolate chips. If you don't have a chocolate bar to use for the molten center you can use chocolate chips or chocolate chunks instead.
- Neutral oil. This is a good replacement for butter. It won't give the cake the same level of richness in terms of flavor but will make the lava cake super moist.
✨Variations
- Gluten-free. Simply swap the all-purpose flour with a 1:1 gluten free flour. We like using Bob’s Red Mill 1:1 gluten free flour.
- Dairy-free. Instead of using butter, use any neutral-tasting oil, or coconut oil. You will also need to swap the milk with any dairy-free alternative such as almond, soy, or oat milk.
- Add peanut butter! Adding a dollop of peanut butter alongside the chocolate or a peanut butter cup would be delicious!
- Keto lava cake. If you're looking for the keto version of this cake that uses powdered erythritol, unsweetened chocolate, and almond flour - feel free to send us a quick email and we'll send it to you! Heads up - that version is not a microwave version.
*This recipe hasn't been tested with other substitutions or variations. If you change or add any ingredients, please let us know how it turned out in the comments below.
🔪Prep work
- Take the egg and milk out of the fridge for at least 30 minutes to bring them to room temperature.
- Measure the remaining ingredients. We recommend using a digital food scale for measuring the flour so that you don't accidentally end up with too much. Too much flour will make this cake dry.
- Grease a large ramekin (ours was 14 ounces) or microwave-safe mug with baking spray or butter.
📋Instructions
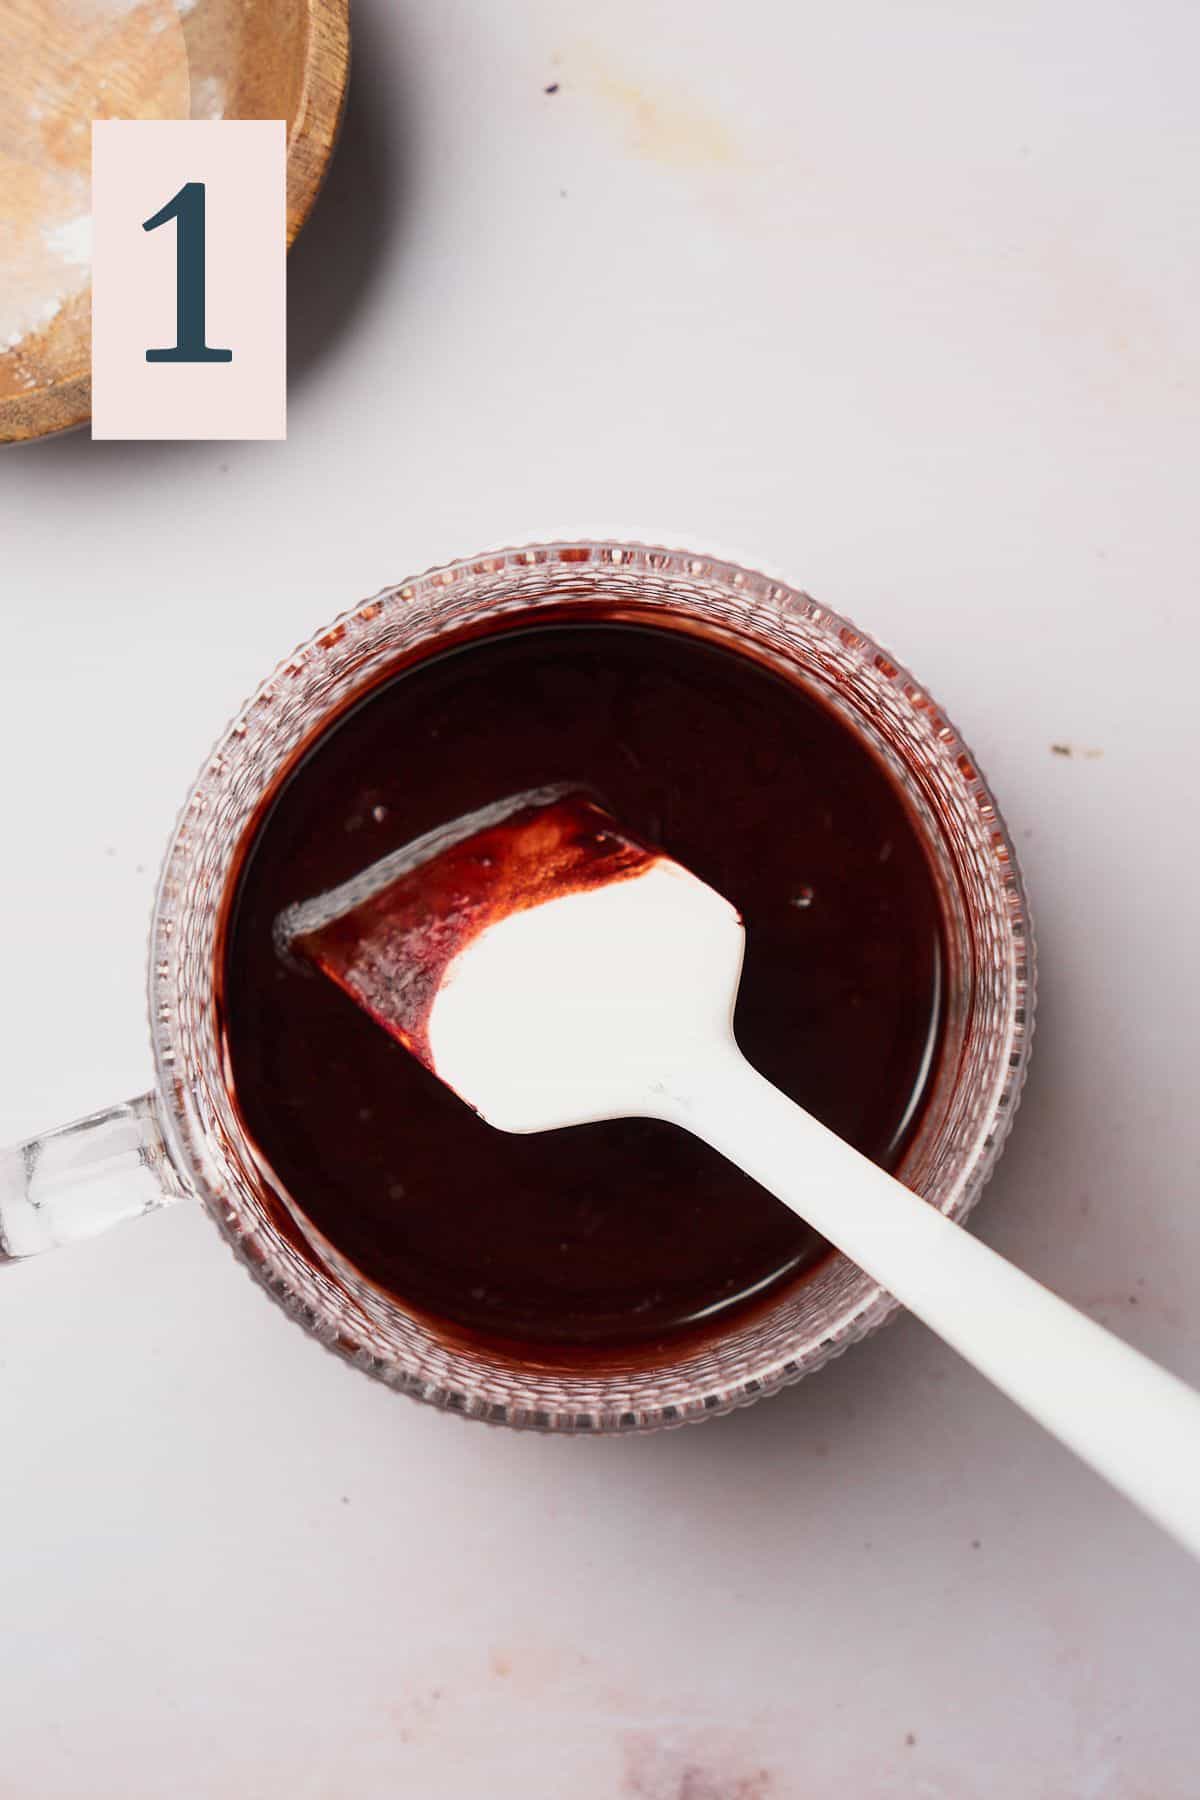
Put unsalted butter in a large mug. Melt in the microwave for about 20 seconds until completely melted, then stir in the cocoa powder with a rubber spatula until smooth. Set aside to cool. (Image 1)
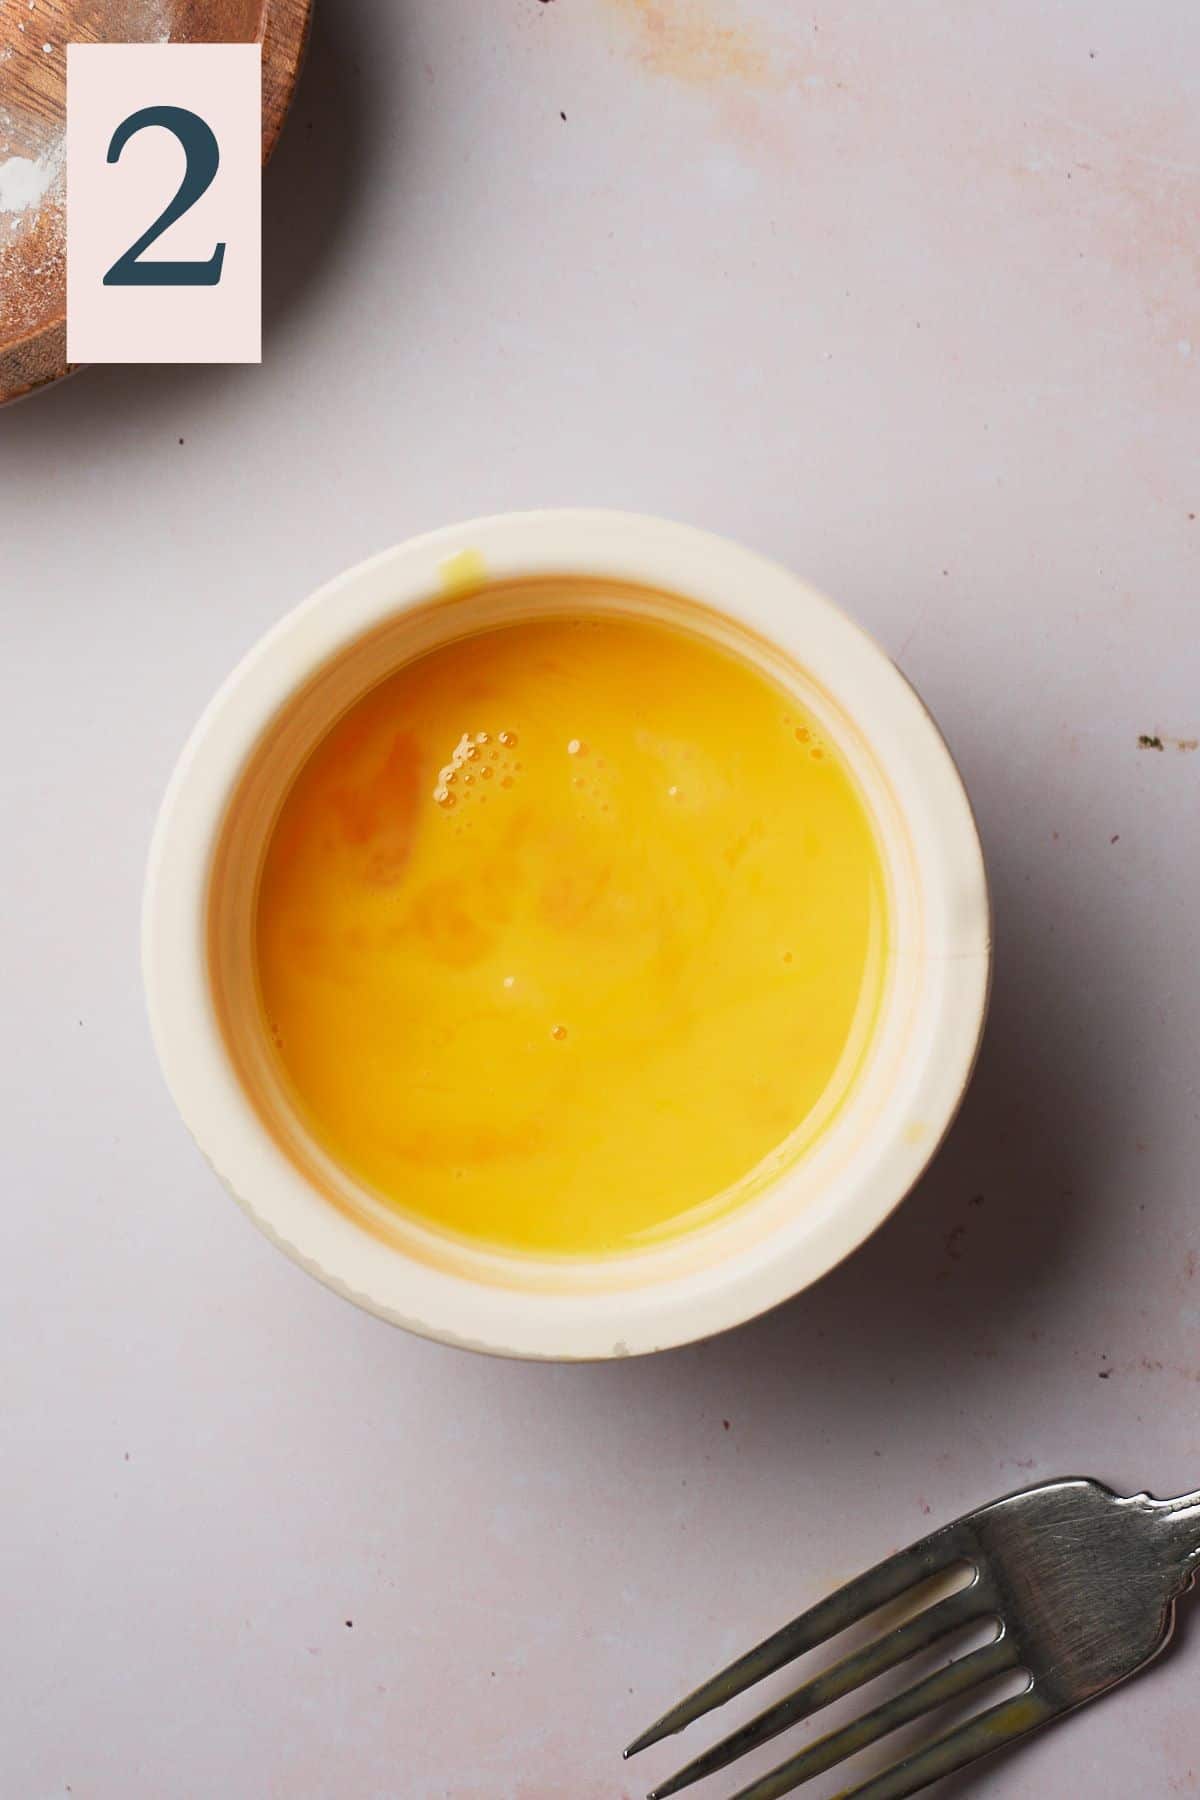
In a separate small bowl, whisk the egg. (Image 2)
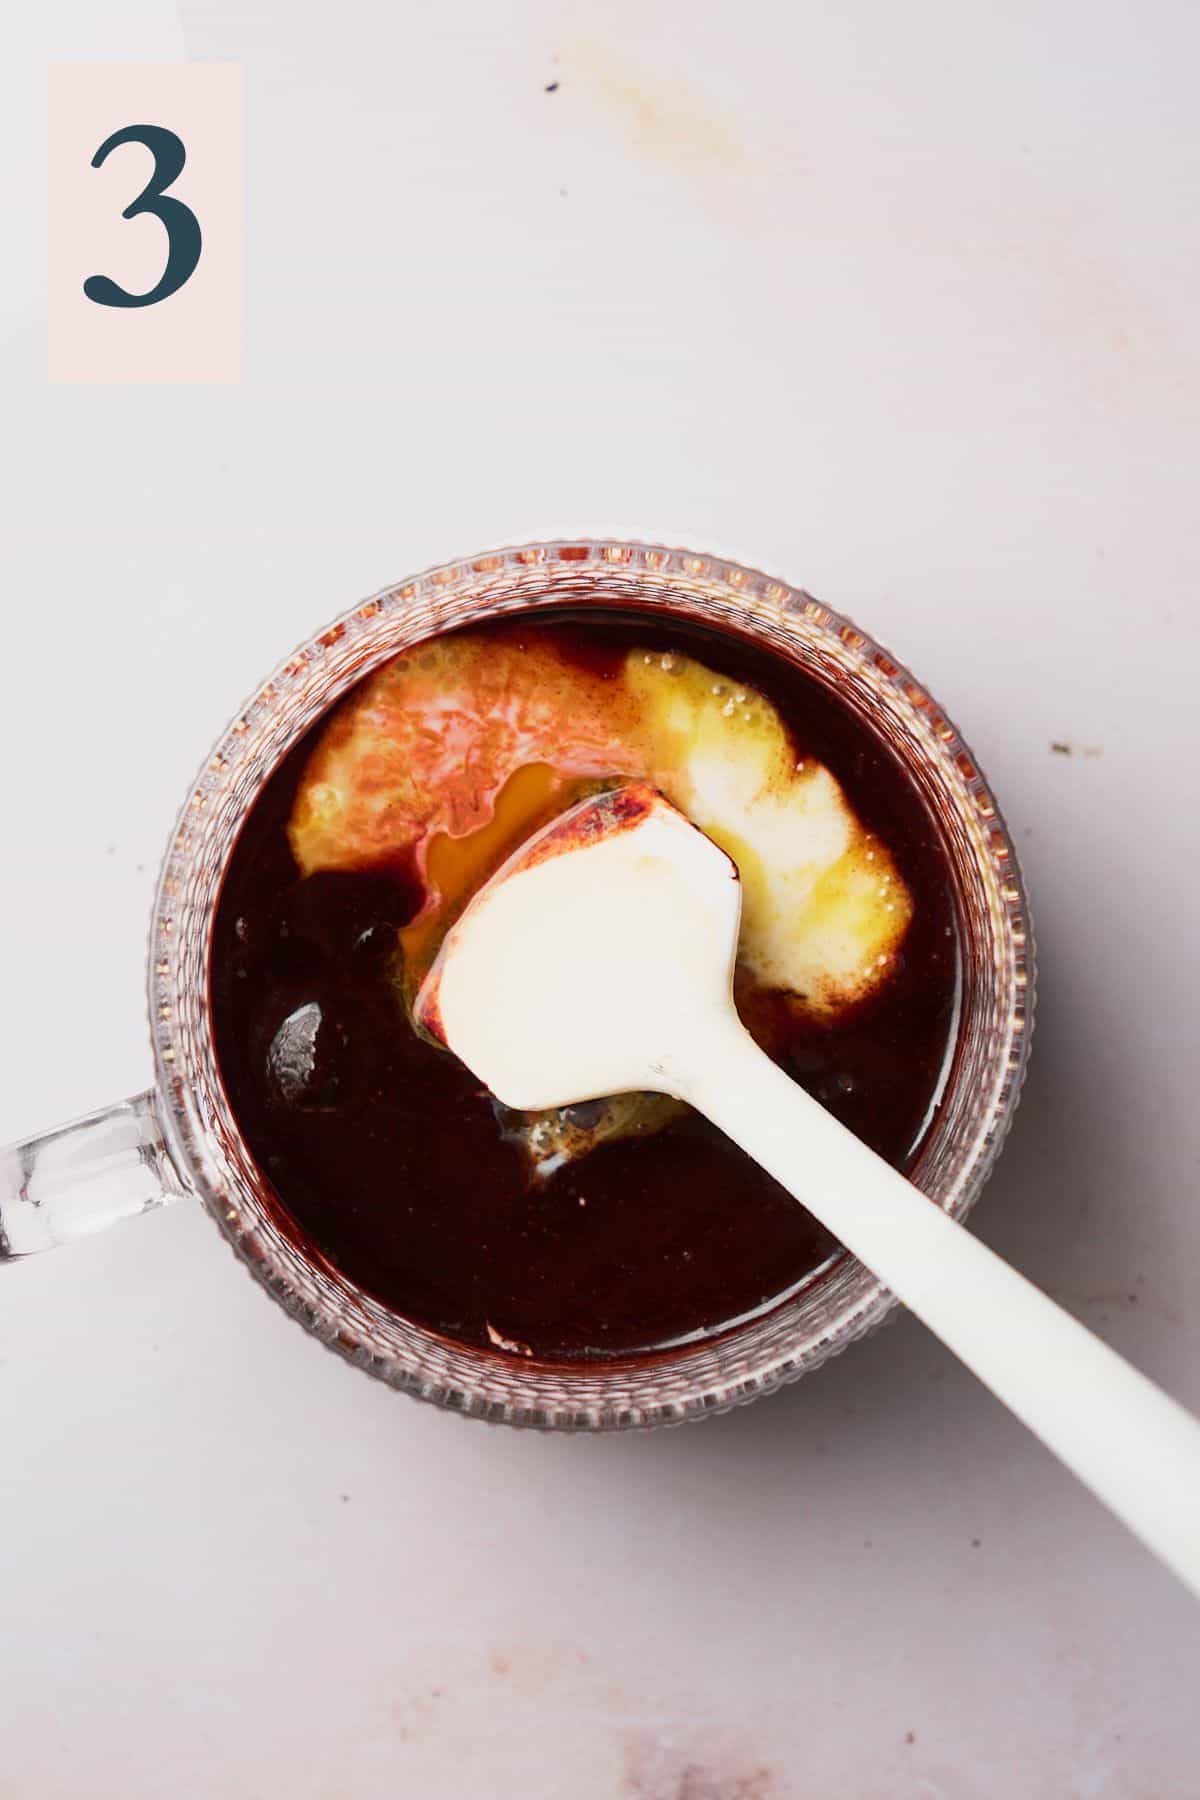
Once the butter and cocoa powder mixture is cooled off, add in whisked egg, milk, and vanilla extract. (Image 3)
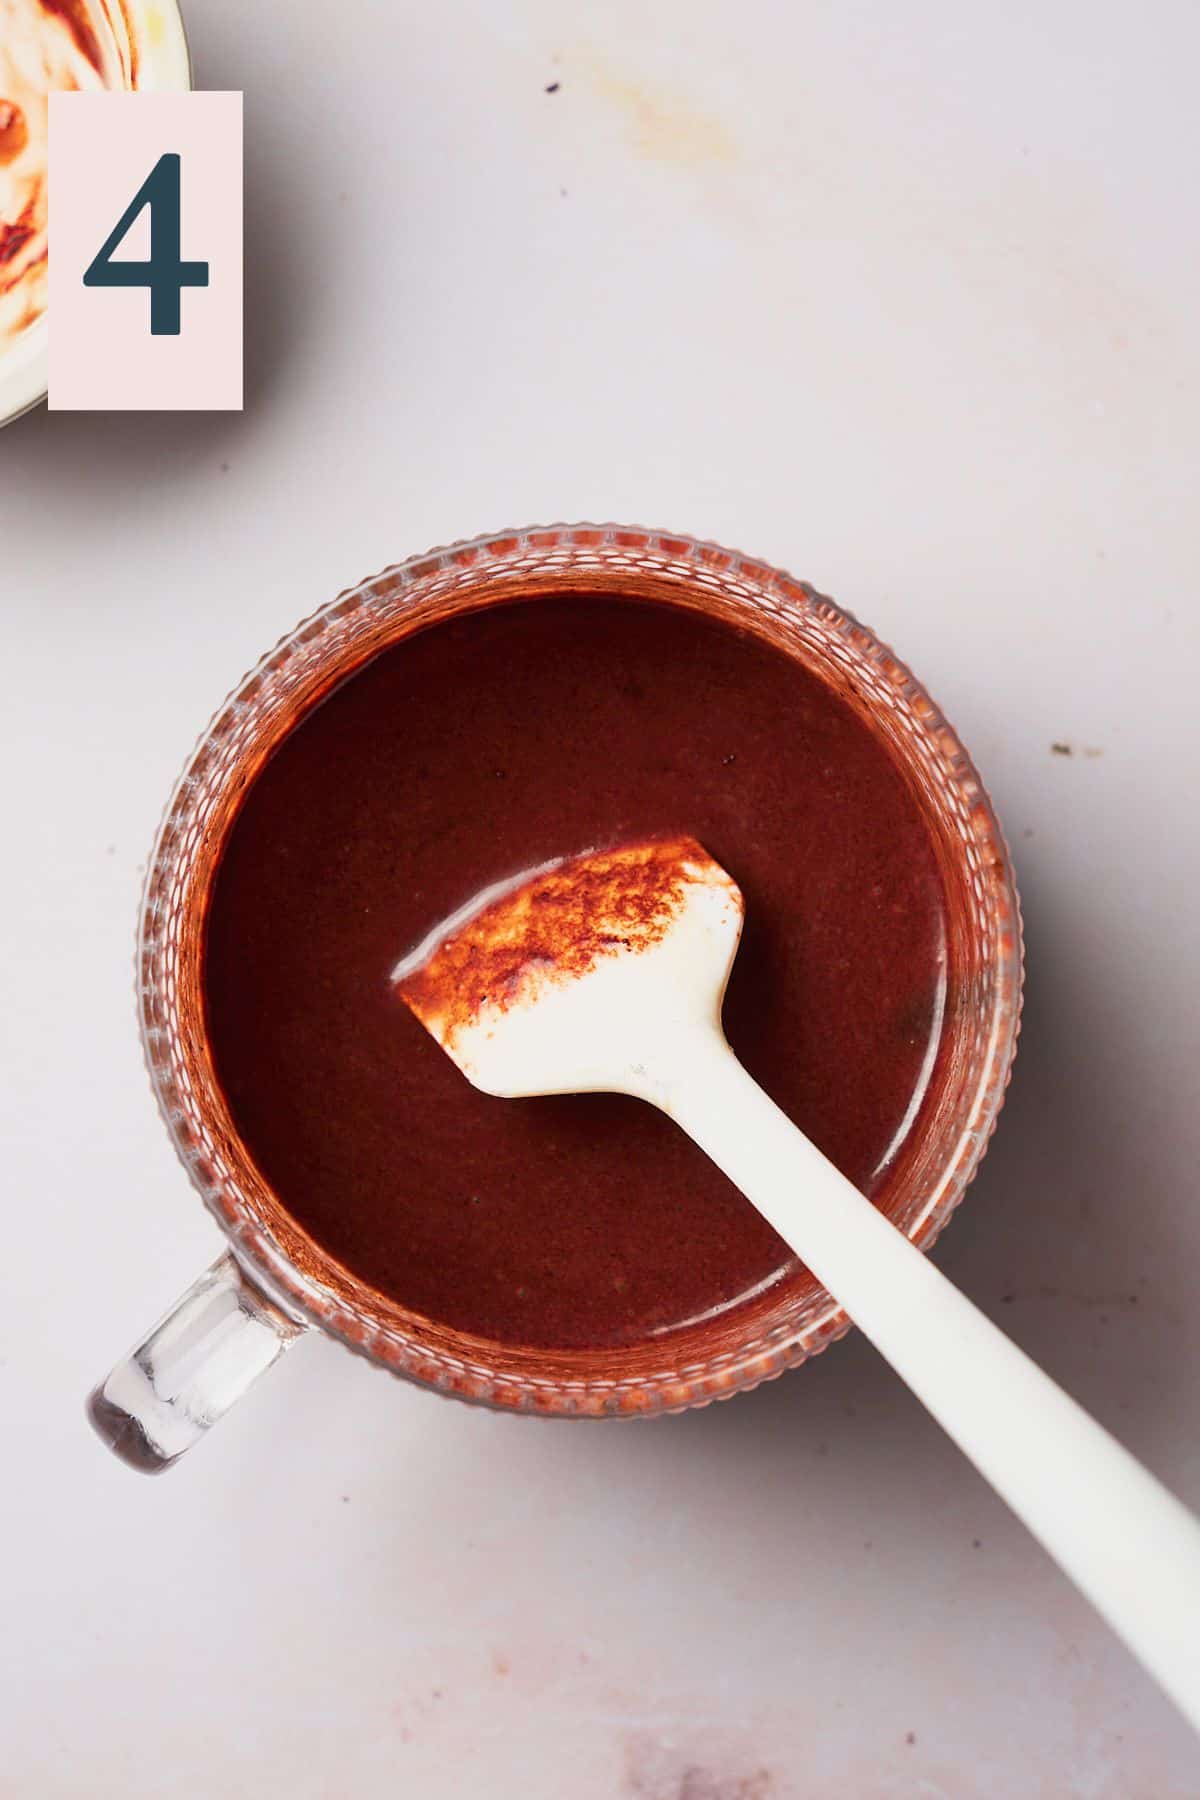
Stir until you get a nice, smooth batter. (Image 4)
✨Pro Tip: Make sure the cocoa powder and butter mixture isn't too hot (it can be warm) or else you will scramble the egg!
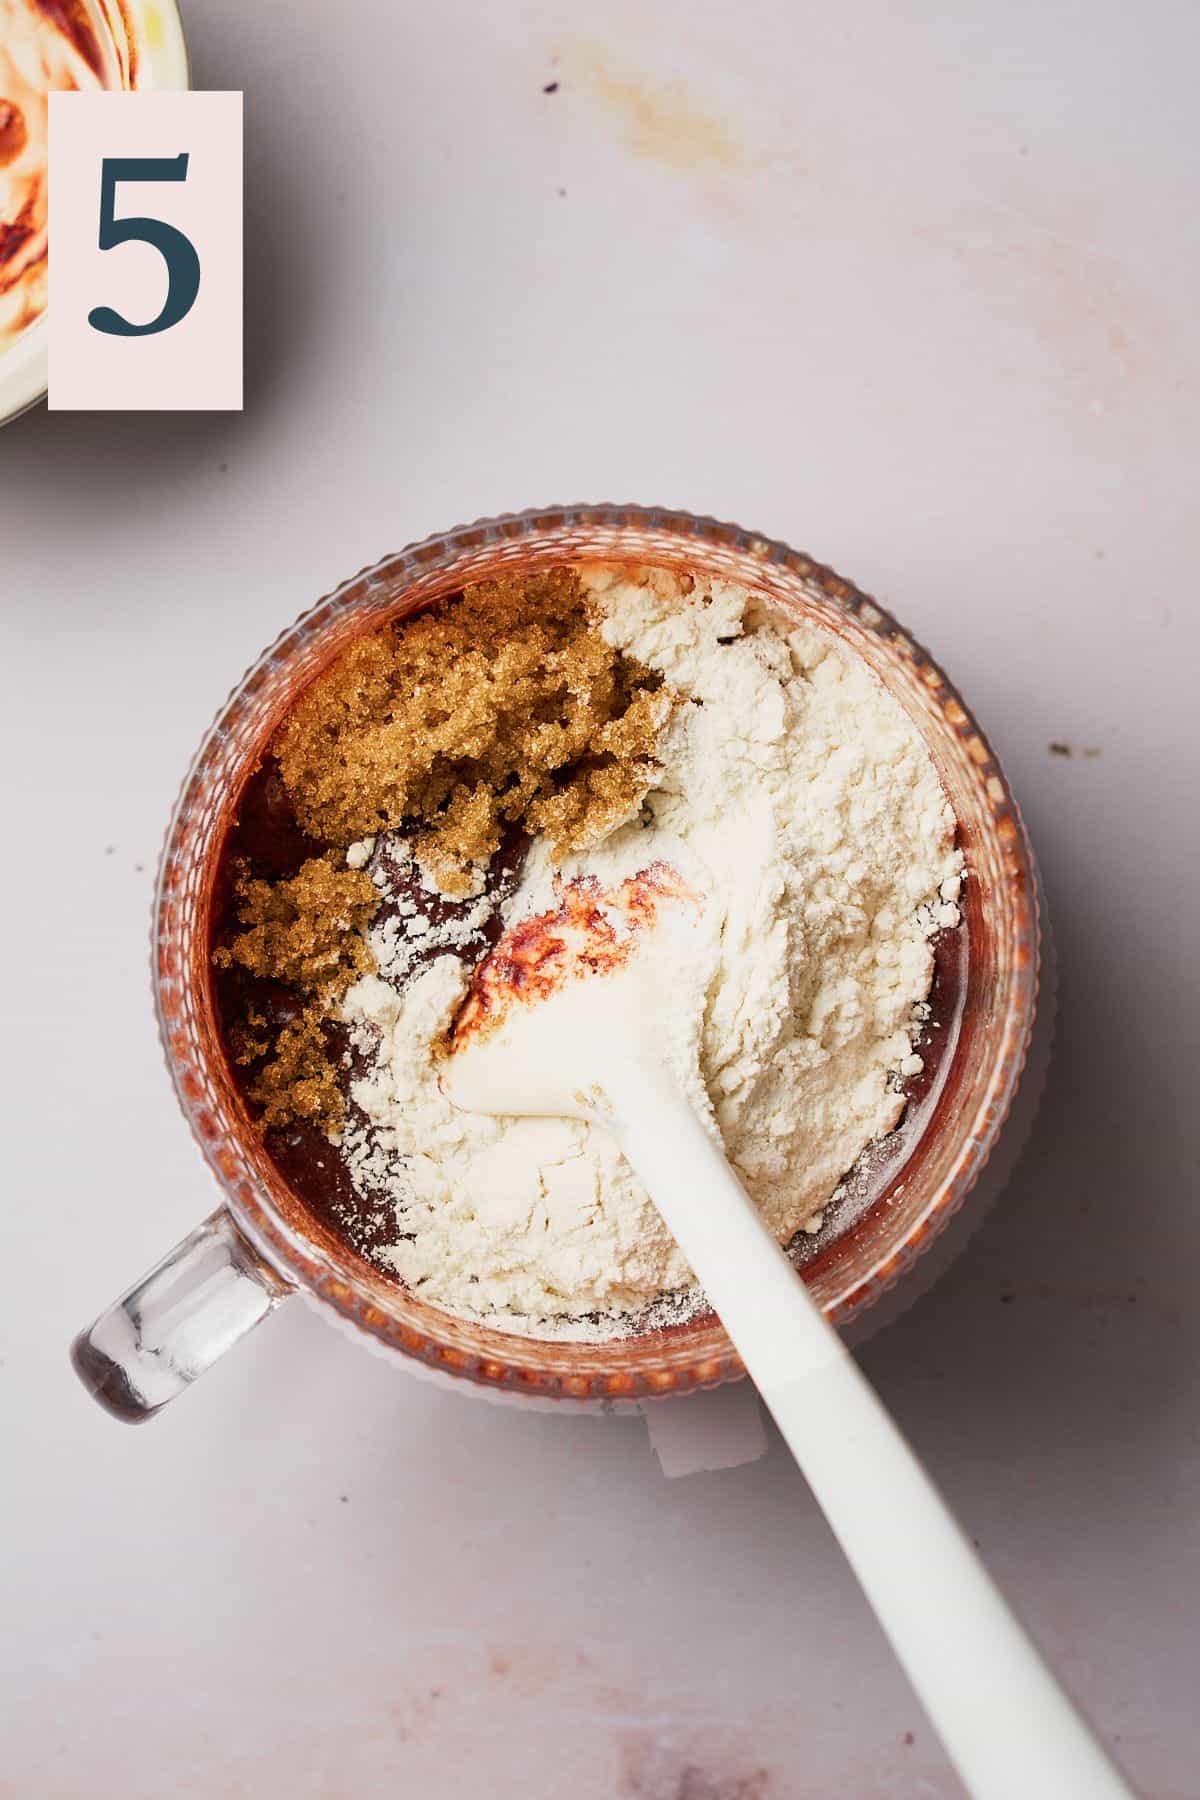
Add in flour, brown sugar, kosher salt, and baking powder. (Image 5)
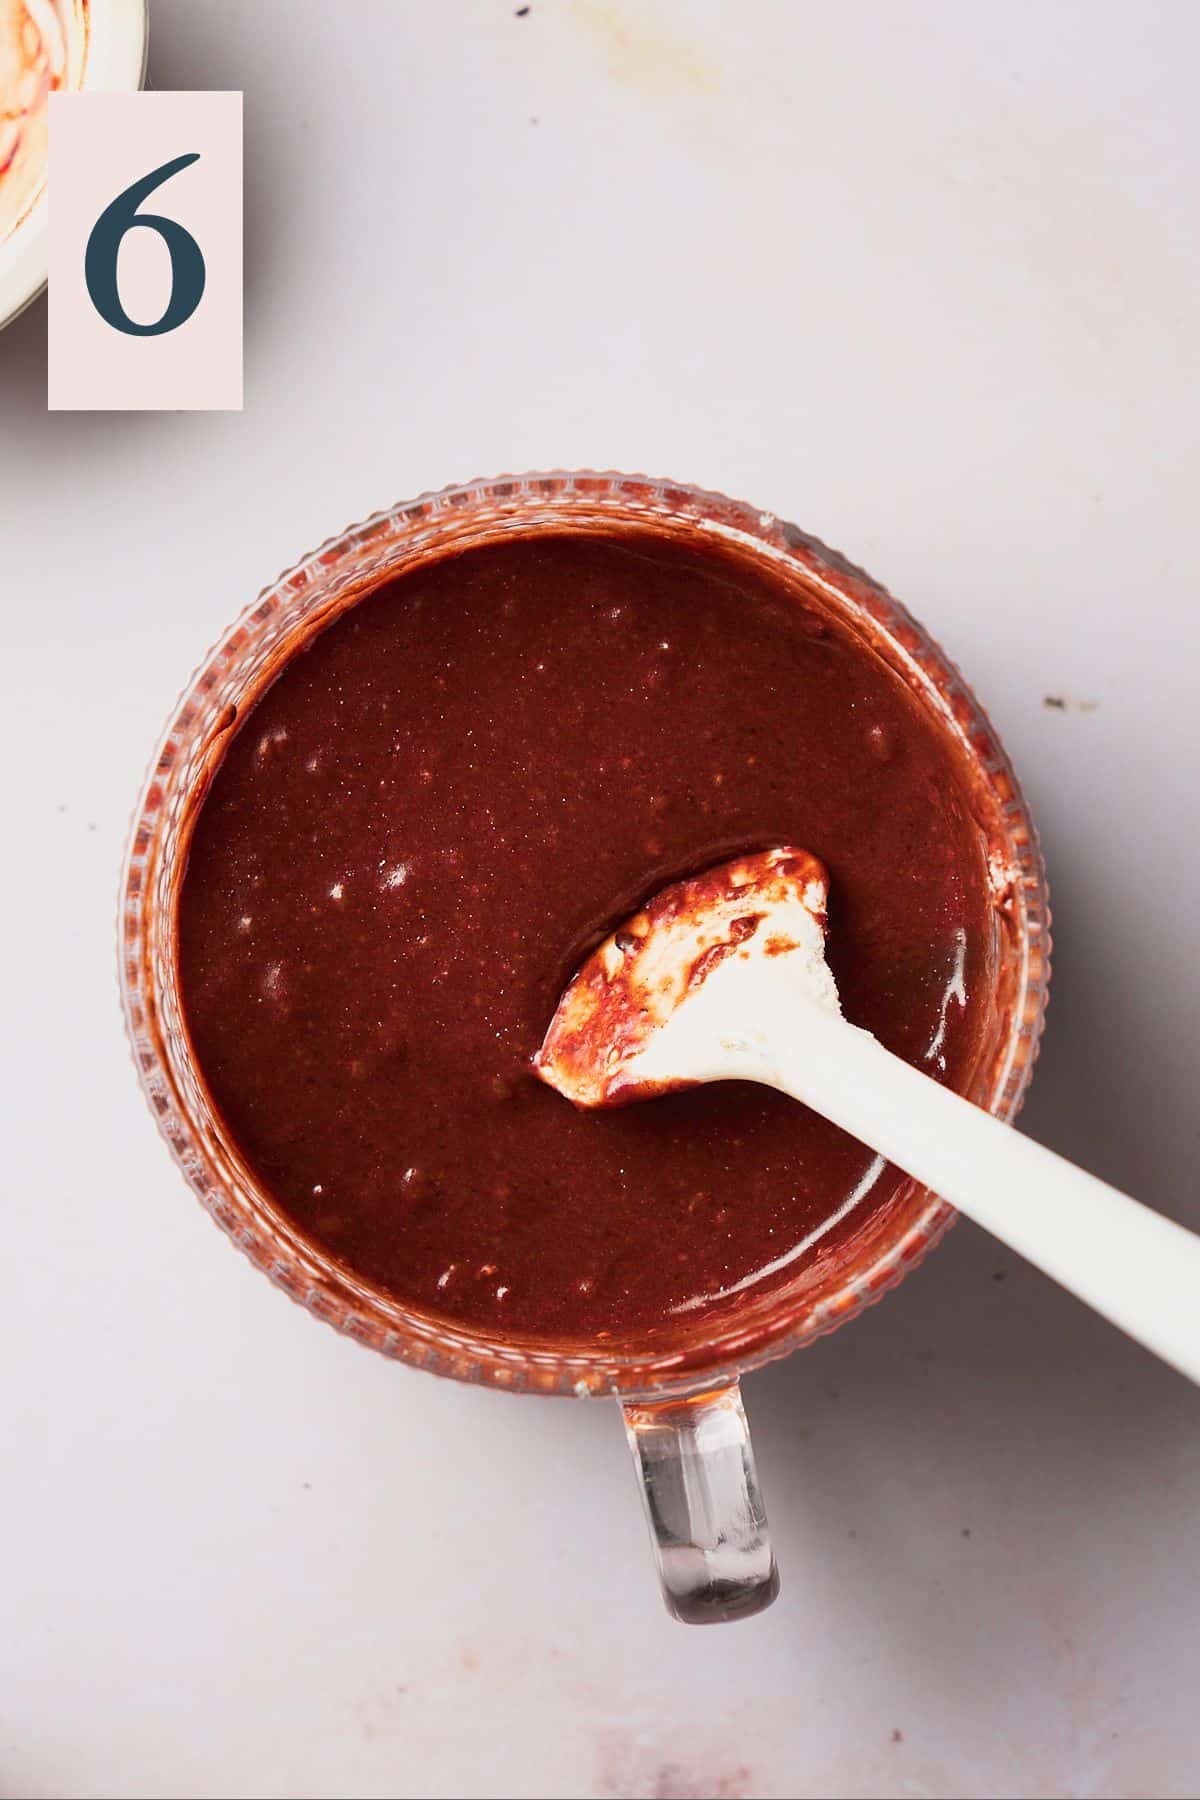
Stir until the batter is combined completely, but don't mix it too much, just until it's combined. (Image 6)
Add the chocolate squares to the top. (Image 7)
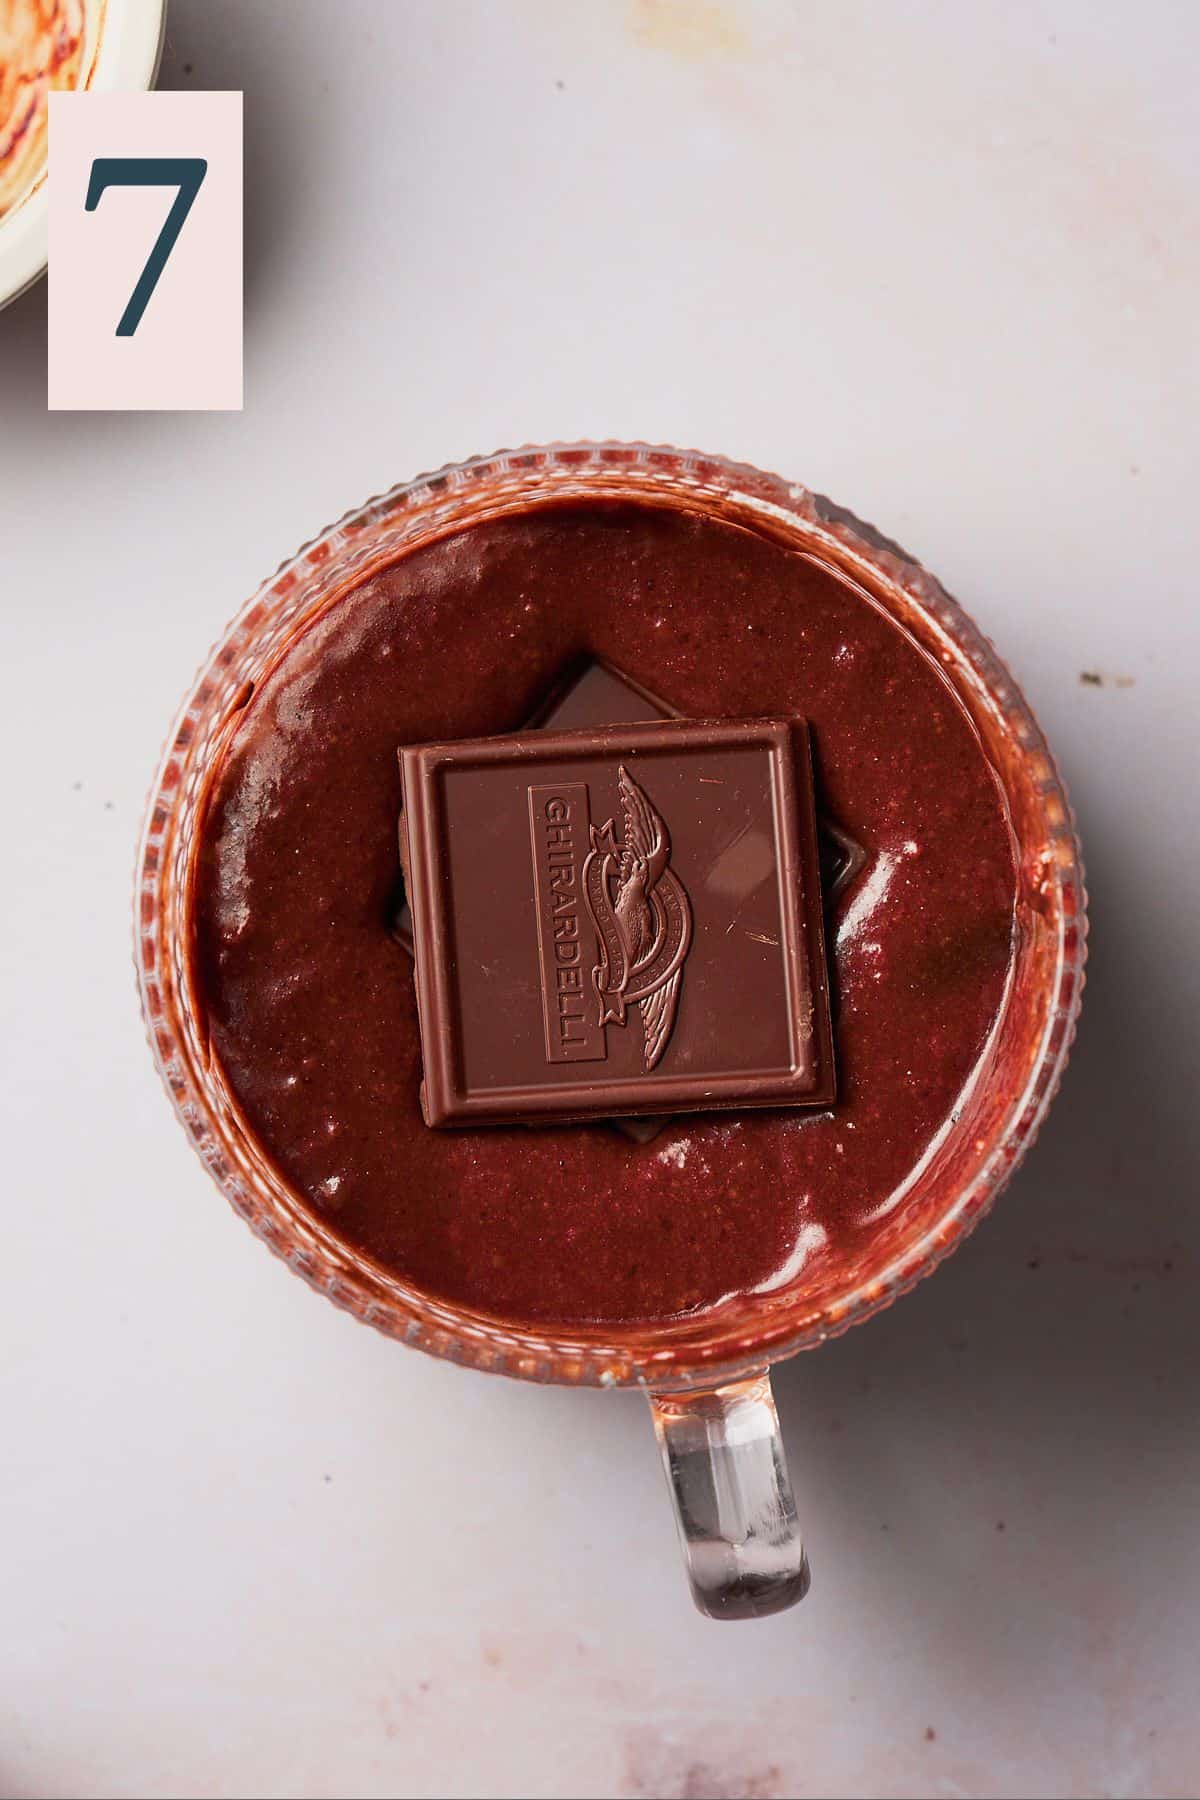
✨Pro Tip: Use a digital food scale for precise results when measuring the flour! Too much flour in a dessert this size especially (but really any dessert) can make it dry.
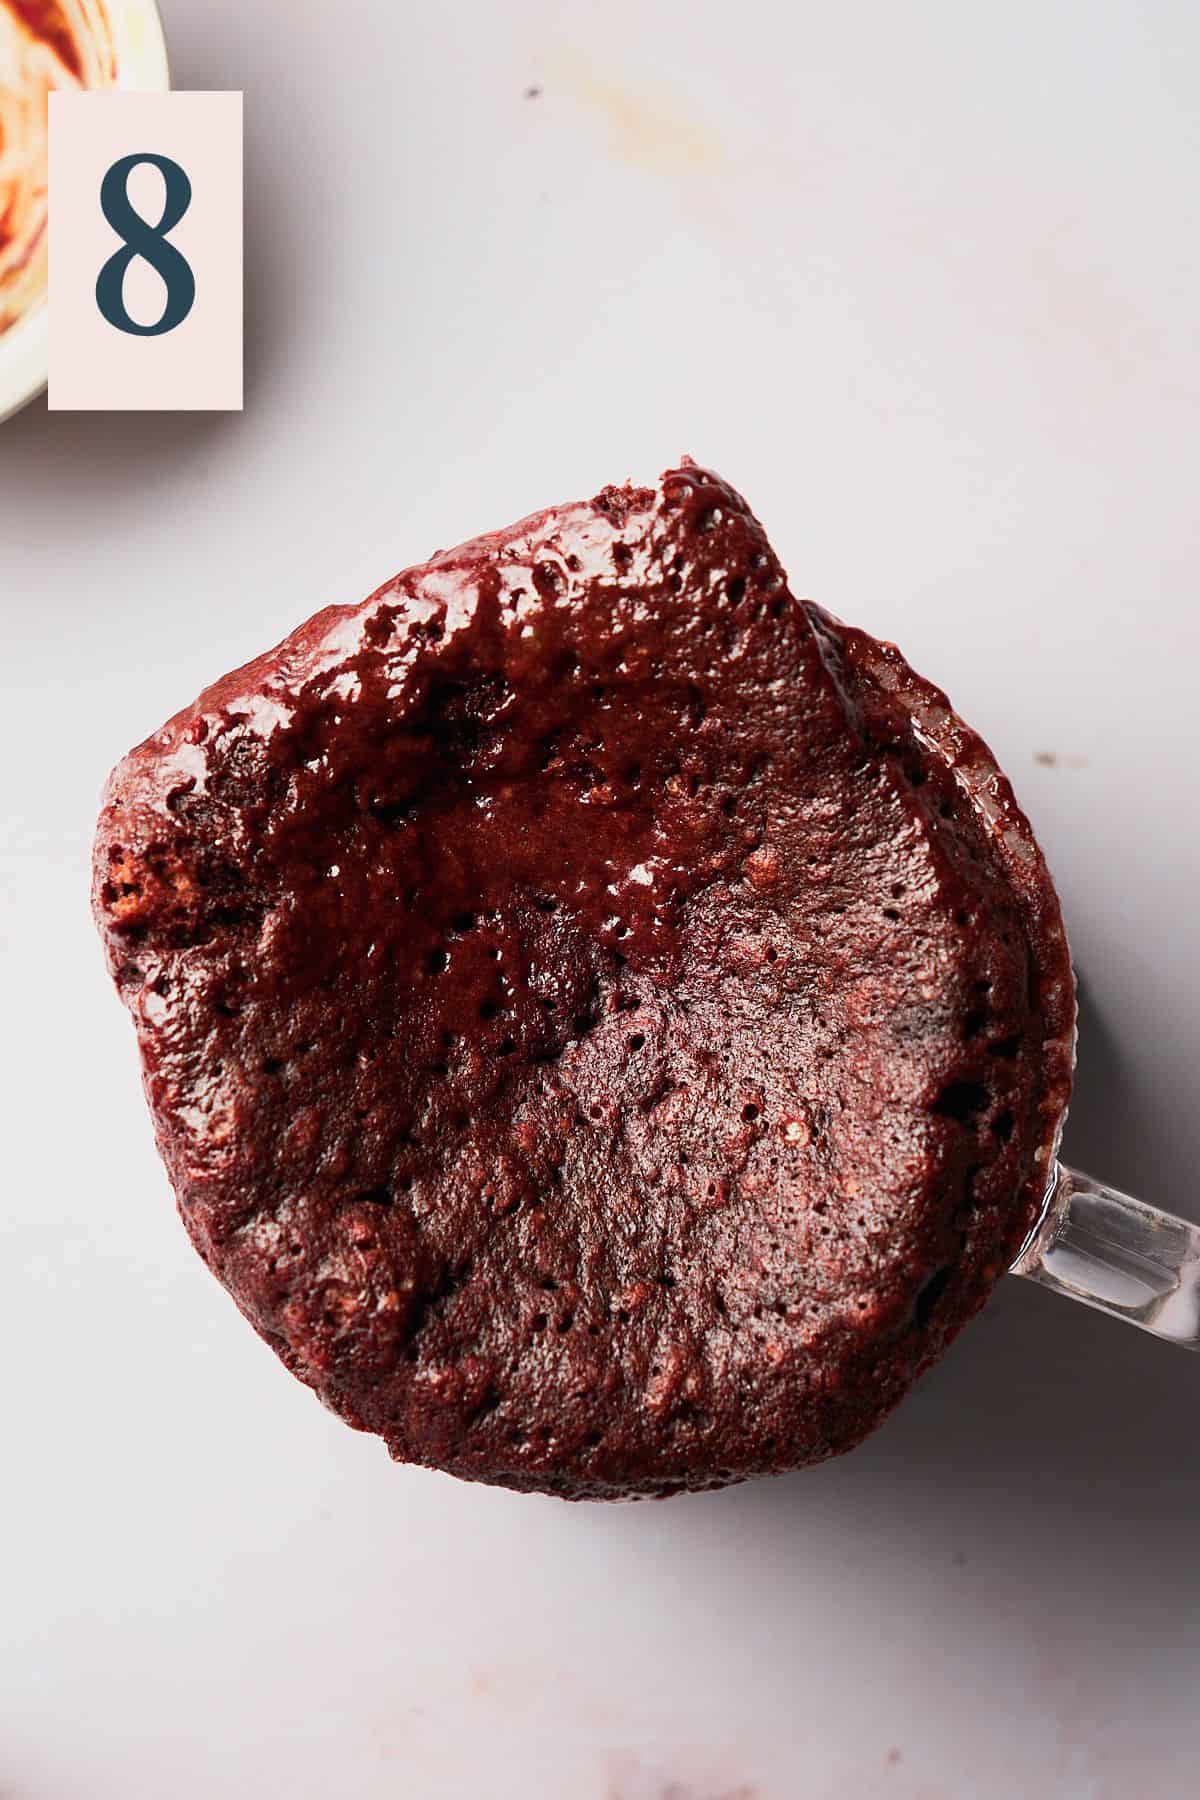
Pop it into the microwave at full power for about 50 seconds to 1 minute and 20 seconds. This can vary a lot depending on the wattage power of your microwave, so just keep a close eye on it. Start with 50 seconds, then check the cake. Microwave in 5 to 10-second increments until set.
The top should still be a little sticky, but fully set. It may rise out of the mug a little bit, but will deflate as it cools. (Image 8)
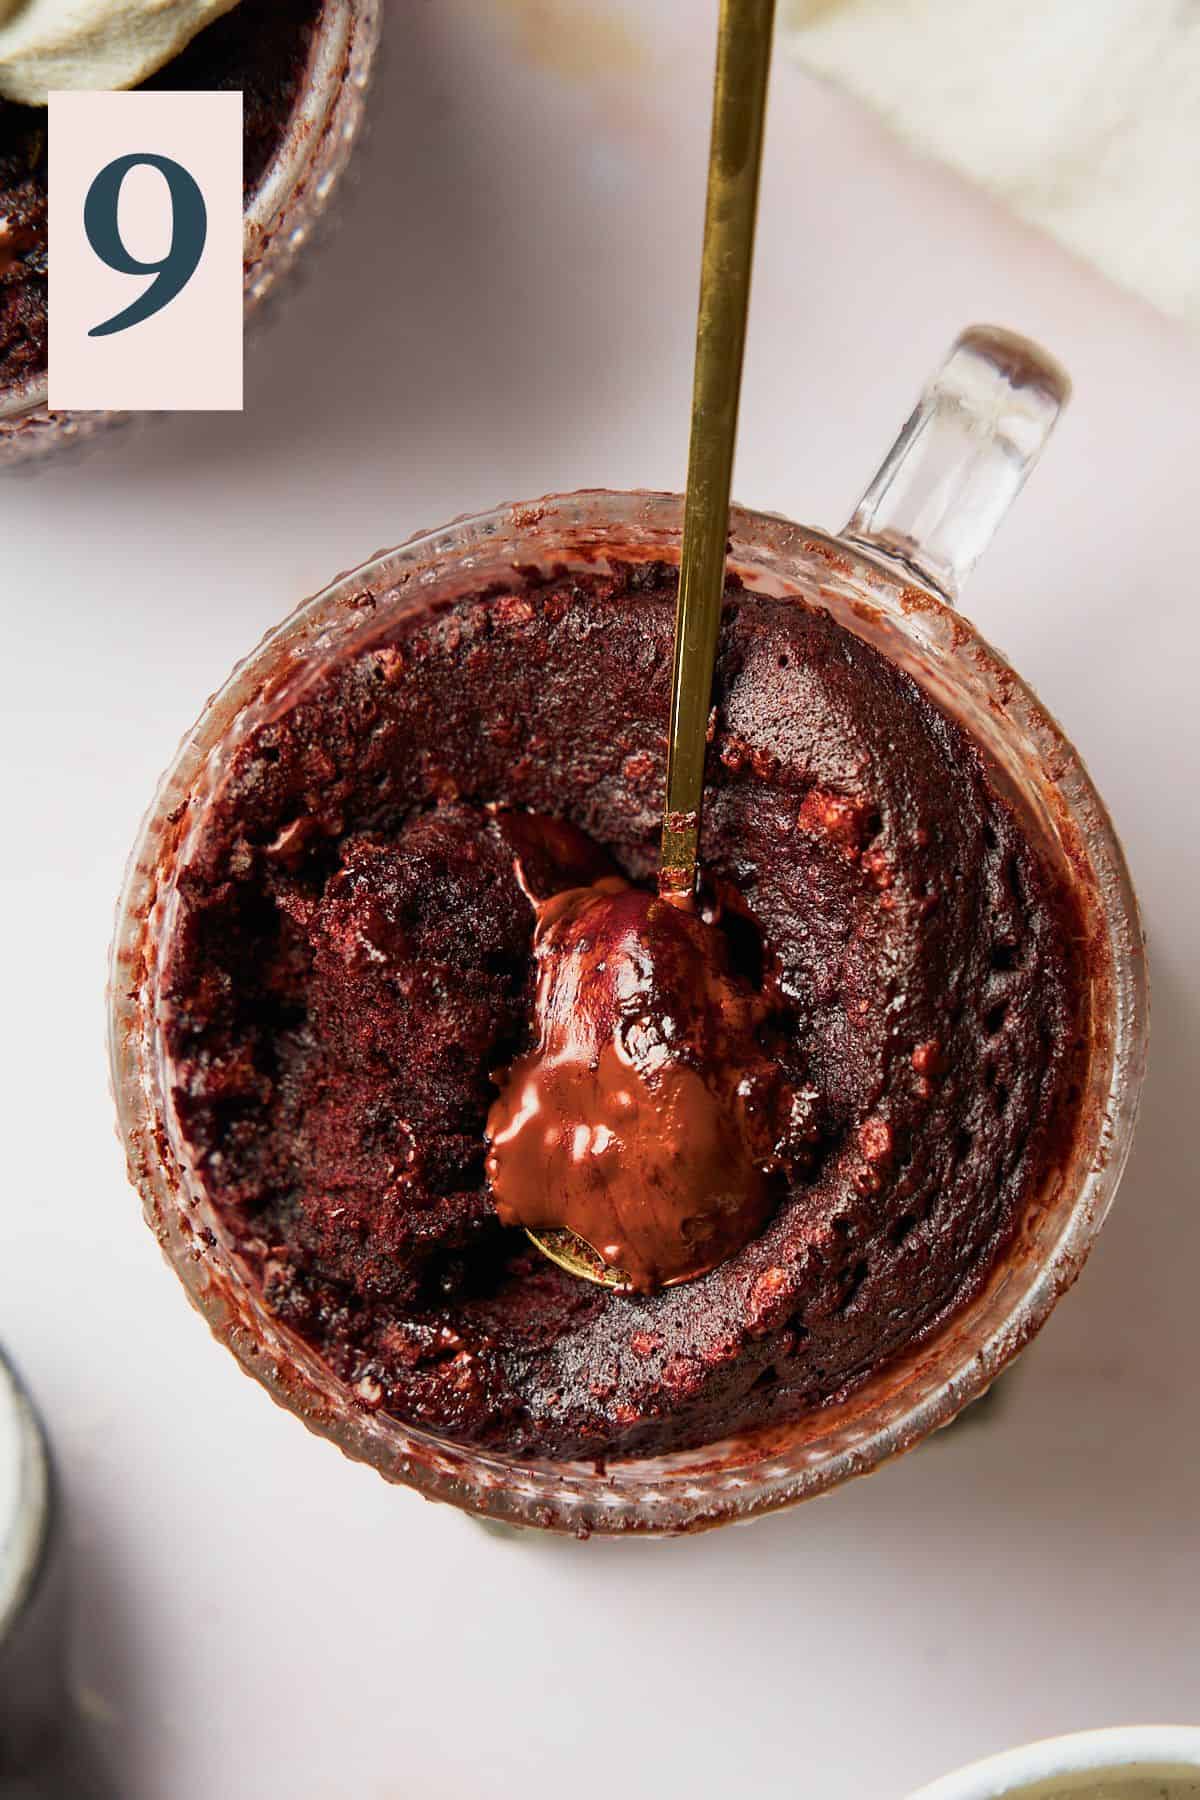
Dig in to see the delicious chocolatey center! (Image 9)
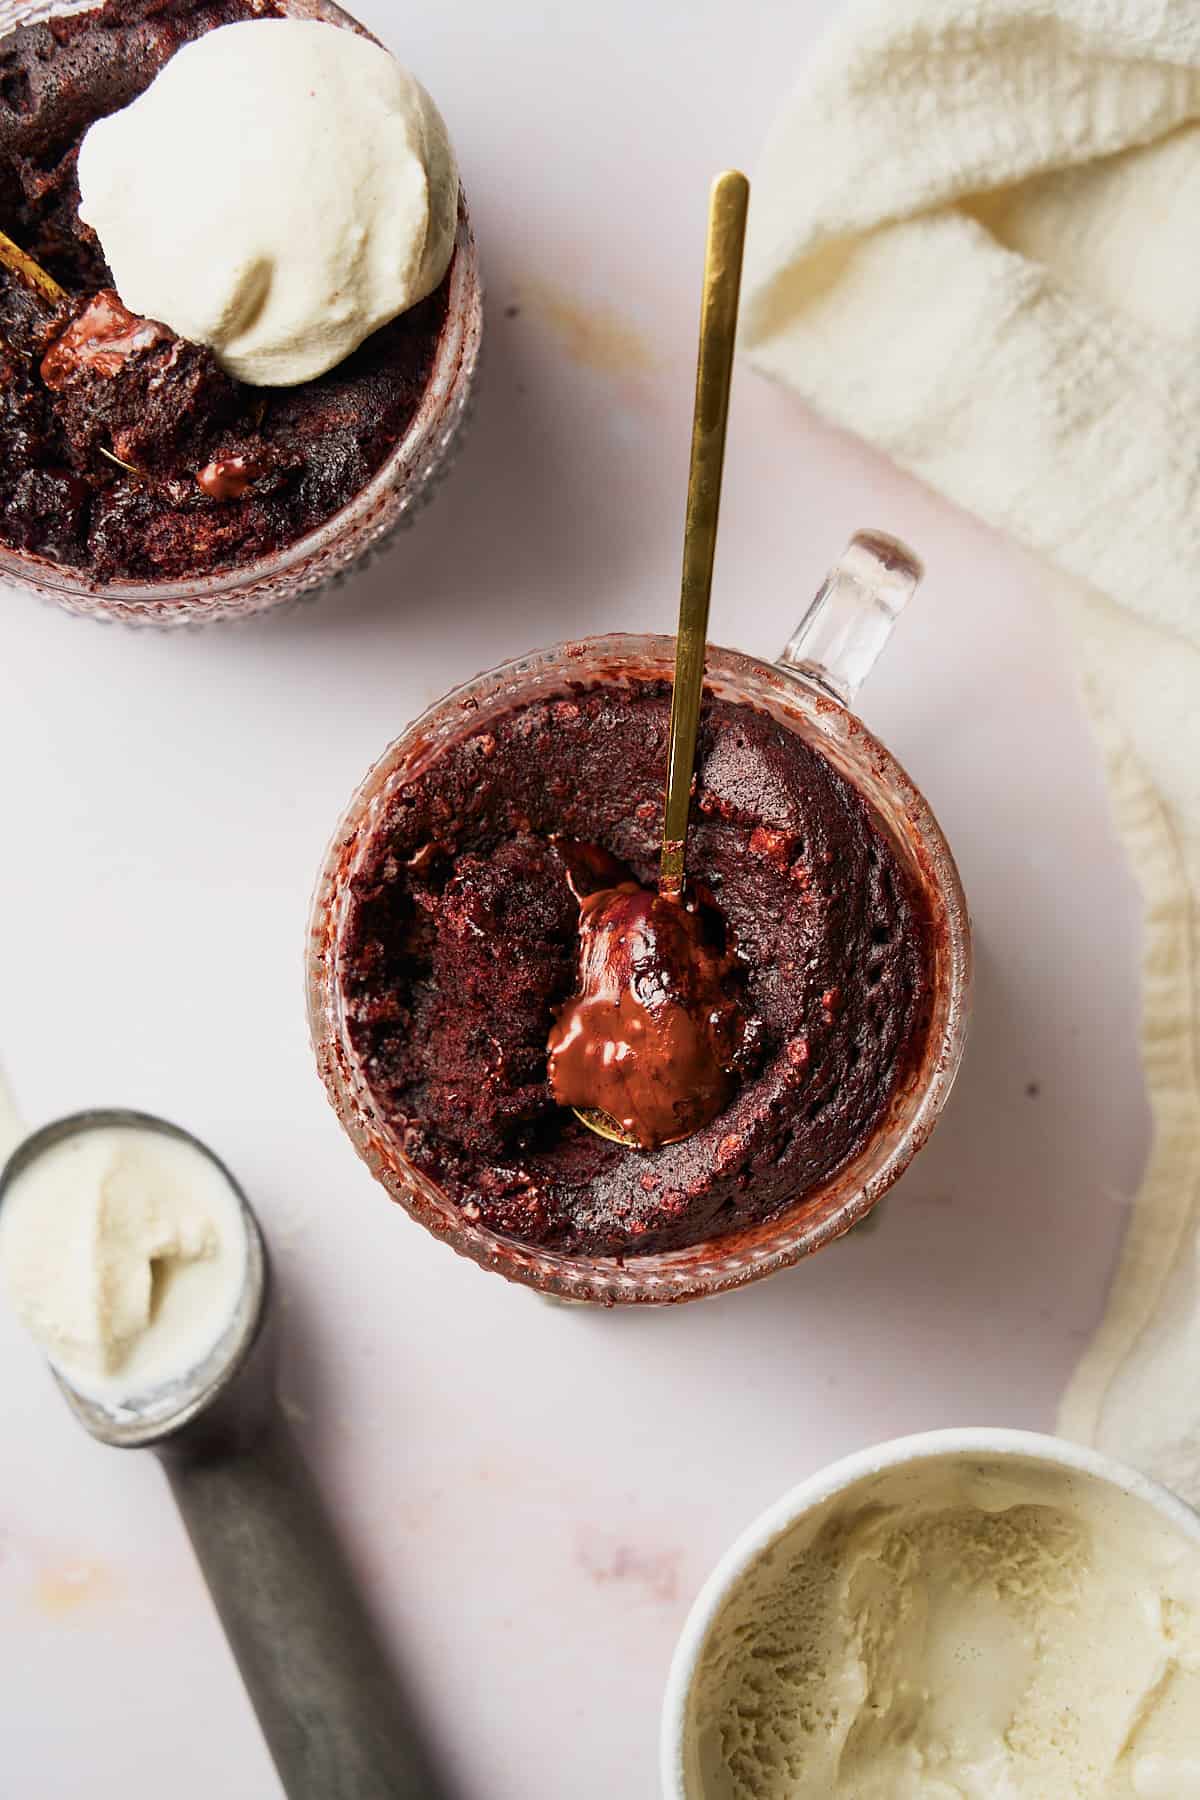
Dig in an enjoy right away while the cake is warm and the center is melty. Serve with vanilla ice cream, chocolate sauce, fresh berries, whipped cream, or whatever you like. Enjoy!
✨Tips & tricks
- This recipe makes one very large mug cake! It's perfect for sharing, or for anyone with quite the appetite for chocolate. It can also be divided between two mugs or ramekins to make smaller servings.
- Don't overcook the mug cake! Cook until the top of the cake is just a little sticky. Microwaves can overcook things quickly, so keep a very close eye on the mug cake after the 50-second mark. The cooking time may vary depending on the wattage of your microwave.
- Don’t overfill the mug. Fill the mug ¾ of the way only, leaving space for it to rise without overflowing. Our mug was a 14-ounce size, so, very large! If your mug isn't big enough, divide it between two mugs.
- Use a microwave-safe mug. Always check if the mug you are planning to use is microwave-safe. Avoid mugs that have gold or silver rims as they may melt or create sparks.
- No overmixing. While it's important to mix the ingredients well, avoid overmixing the batter, as this can result in a denser cake.
- Make sure your melted butter isn't too hot when you add the other ingredients. Otherwise, you may accidentally scramble the egg.
- Use room temperature ingredients if possible. The milk and egg should be at room temperature and not too cold, or the batter may seize up and not combine properly.
- Use Dutch-processed cocoa powder if possible. This has the richest chocolate flavor. This is because the chocolate has been alkalized to reduce the acidity, leaving you with a rich chocolate flavor.
- Use butter over oil if possible. This will add a rich flavor that is hard to match. Oil will work too, and if you need to use oil instead, use coconut oil, avocado oil, or a neutral oil of your choice.
- Use milk instead of water if possible. For the same reason as above, milk will provide a richer result! Water can be used, but milk just adds so much lovely flavor.
- Make sure your baking powder is fresh. For the mug cake to rise properly, the baking powder needs to be fresh. To test if your baking powder is fresh, combine a teaspoon of baking powder with one teaspoon of hot water. If it bubbles up a lot, it's good to go. If not, it needs to be replaced!
Need supplies? Shop our Amazon store! Stock your pantry, and find all of our favorite kitchen tools! A Full Living LLC earns a small commission through purchases on our storefront to help support this site.
💭Frequently Asked Questions
This recipe is meant to be eaten right away and we don't recommend storing the leftovers. With that said, you can keep whatever is leftover in the fridge for up to 3-4 days in an airtight container. It's best to not keep reheating it as it will get dry and overcooked.
We don't really recommend it. Although, you could I suppose, but it kind of defeats the whole purpose of the warm molten center! (See above!)
Feel free to make the batter and divide it equally between two small mugs or ramekins. This recipe does make a large single serve cake anyway. Keep in mind that this will definitely impact the amount of time it needs to be in the microwave. Heat it for 30 seconds to start, then return it to the microwave if the top looks sticky and wet, continue heating in 5-10 second increments until done.
More Romantic Dessert Recipes To Consider
Did you try this recipe? Make sure to leave a 5-star review below! 🌟 This helps other readers find our recipes and encourages them to try them. Also, be sure to leave a comment with your experience. Follow along, and tag @AFullLiving on Instagram with your photos!
📖 Recipe
Chocolate Lava Mug Cake
Equipment
- large microwave safe mug or ramekin (ours is a 14 ounce size)
Ingredients
- 3 tablespoons unsalted butter (can sub neutral oil)
- 3 tablespoons dutch processed cocoa powder 15g (can sub regular natural cocoa powder)
- 1 large egg room temperature
- 3 tablespoons milk room temperature (can sub water, cream, or coffee)
- ½ teaspoon vanilla extract
- 3 tablespoons light brown sugar 22.5g (can sub regular white sugar)
- 3 tablespoons all purpose flour 22.5g
- ¾ teaspoon baking powder
- ¼ teaspoon kosher salt
- 1.5 ounces chocolate bar or chips (opt for dark, bittersweet, or semi-sweet!)
Instructions
- Grease a large ramekin (ours was 14 ounces) or microwave-safe mug with baking spray or butter.
- Put 3 tablespoons of unsalted butter in a large mug. Melt in the microwave for about 20 seconds until completely melted, then stir in 3 tablespoons of cocoa powder with a rubber spatula until smooth. Set aside to cool. In a separate small bowl, whisk the egg.
- Once the butter and cocoa powder mixture is cooled off, add in whisked egg, milk, and ½ teaspoon of vanilla extract. Stir until you get a nice, smooth batter.
- Add in 3 tablespoons of flour, 3 tablespoons of brown sugar, ¼ teaspoon of kosher salt, and ¾ teaspoon of baking powder. Stir until the batter is combined completely, but don't mix it too much, just until it's combined. Add the chocolate squares to the top.
- Pop it into the microwave at full power for about 50 seconds to 1 minute and 20 seconds. This can vary a lot depending on the wattage power of your microwave, so just keep a close eye on it. Start with 50 seconds, then check the cake. Microwave in 5 to 10-second increments until set. The top should still be a little sticky, but fully set. It may rise out of the mug a little bit, but will deflate as it cools.
- Dig in an enjoy right away while the cake is warm and the center is melty. Serve with vanilla ice cream, chocolate sauce, fresh berries, whipped cream, or whatever you like. Enjoy!
Notes
- This recipe makes one very large mug cake! It's perfect for sharing, or for anyone with quite the appetite for chocolate. It can also be divided between two mugs or ramekins to make smaller servings.
- Don't overcook the mug cake! Cook until the top of the cake is just a little sticky. Microwaves can overcook things quickly, so keep a very close eye on the mug cake after the 50-second mark. The cooking time may vary depending on the wattage of your microwave.
- Don’t overfill the mug. Fill the mug ¾ of the way only, leaving space for it to rise without overflowing.
- Use a microwave-safe mug. Always check if the mug you are planning to use is microwave-safe. Avoid mugs that have gold or silver rims as they may melt or create sparks.
- No overmixing. While it's important to mix the ingredients well, avoid overmixing the batter, as this can result in a denser cake.
- Make sure your melted butter isn't too hot when you add the other ingredients. Otherwise, you may accidentally scramble the egg.
- Use room temperature ingredients if possible. The milk and egg should be at room temperature and not too cold, or the batter may seize up and not combine properly.
- Use Dutch-processed cocoa powder if possible. This has the richest chocolate flavor. This is because the chocolate has been alkalized to reduce the acidity, leaving you with a rich chocolate flavor.
- Use butter over oil if possible. This will add a rich flavor that is hard to match. Oil will work too, and if you need to use oil instead, use coconut oil, avocado oil, or a neutral oil of your choice.
- Use milk instead of water if possible. For the same reason as above, milk will provide a richer result! Water can be used, but milk just adds so much lovely flavor.
- Make sure your baking powder is fresh. For the mug cake to rise properly, the baking powder needs to be fresh. To test if your baking powder is fresh, combine a teaspoon of baking powder with one teaspoon of hot water. If it bubbles up a lot, it's good to go. If not, it needs to be replaced!



Comments
No Comments