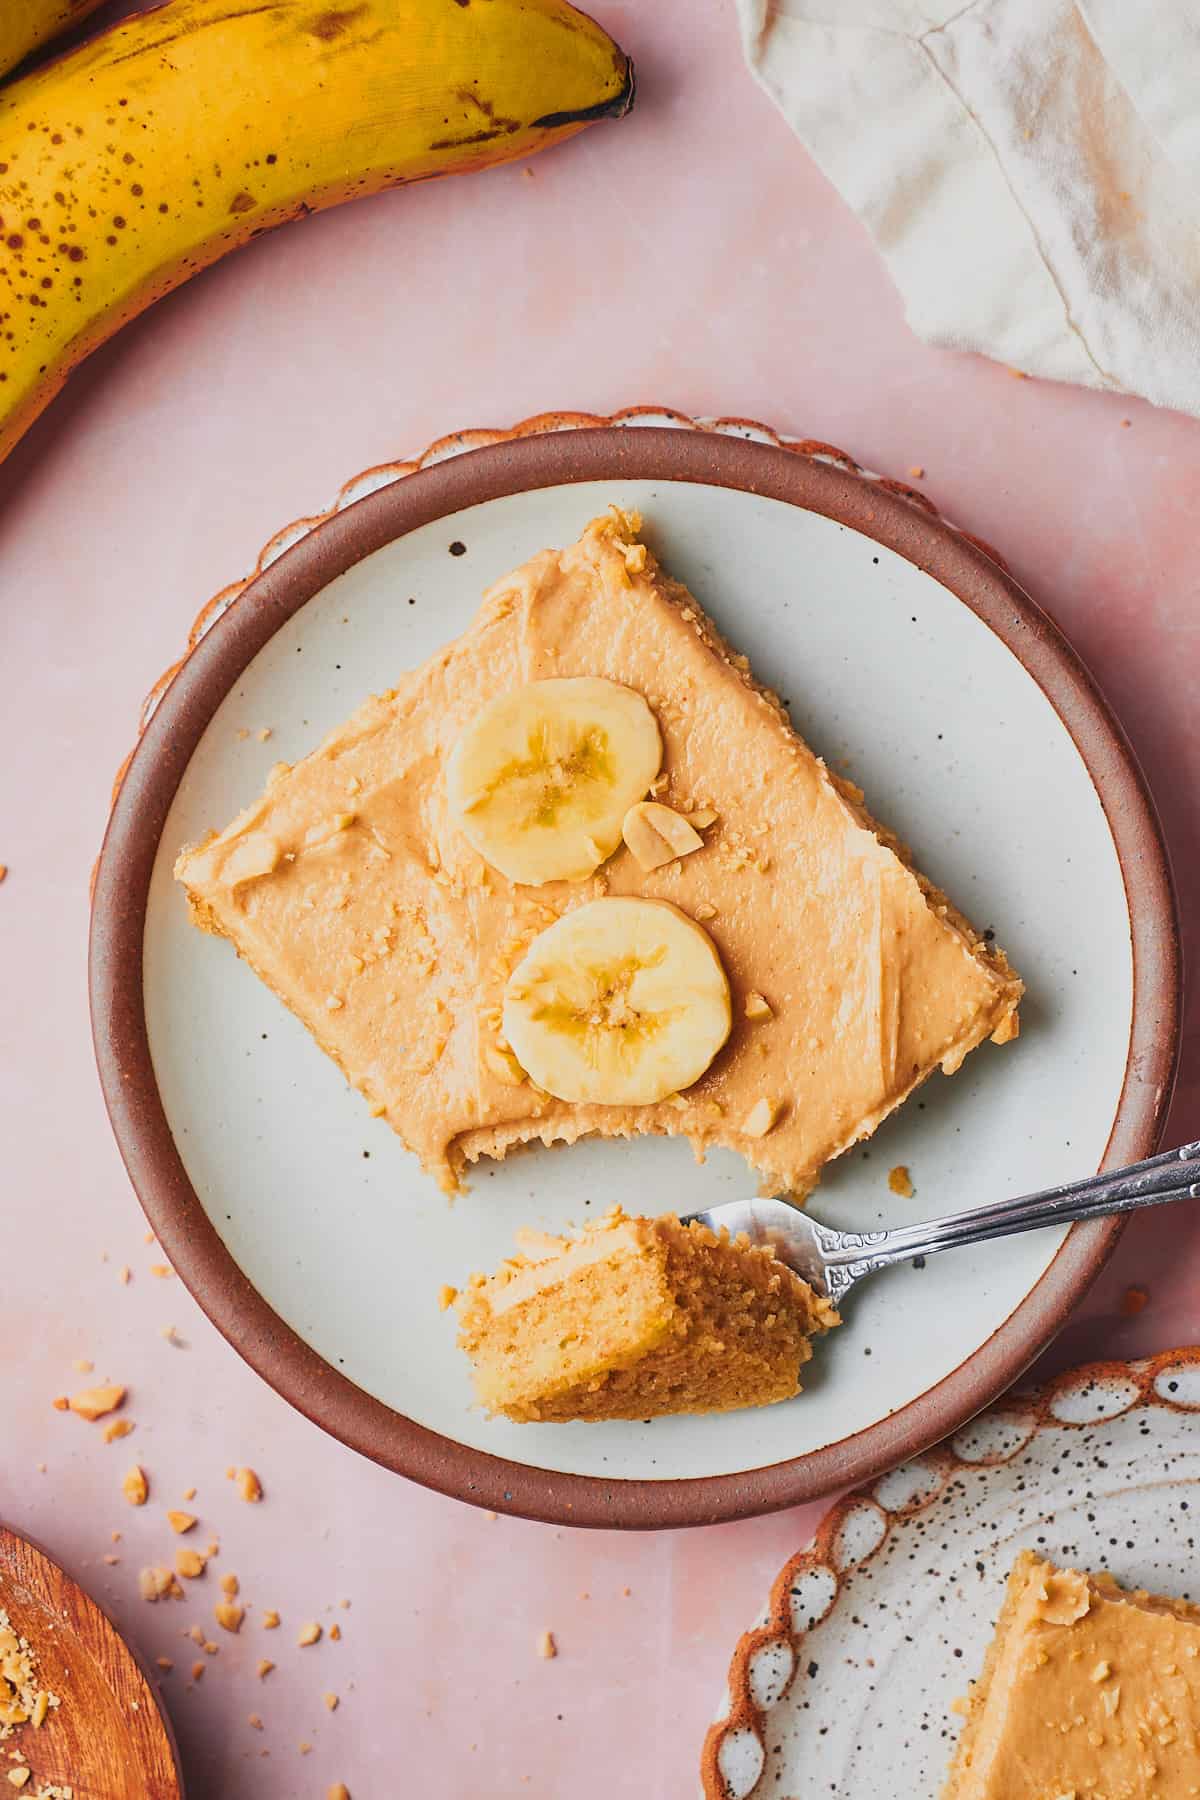
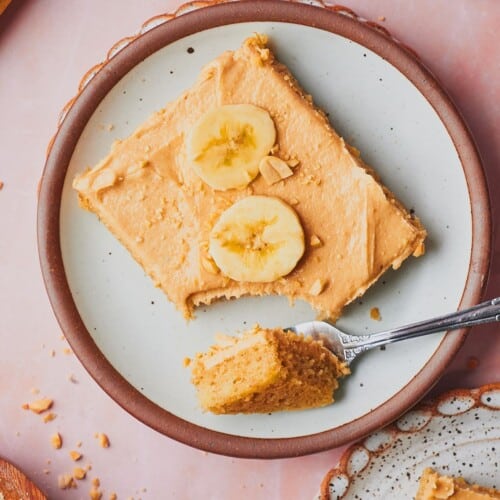
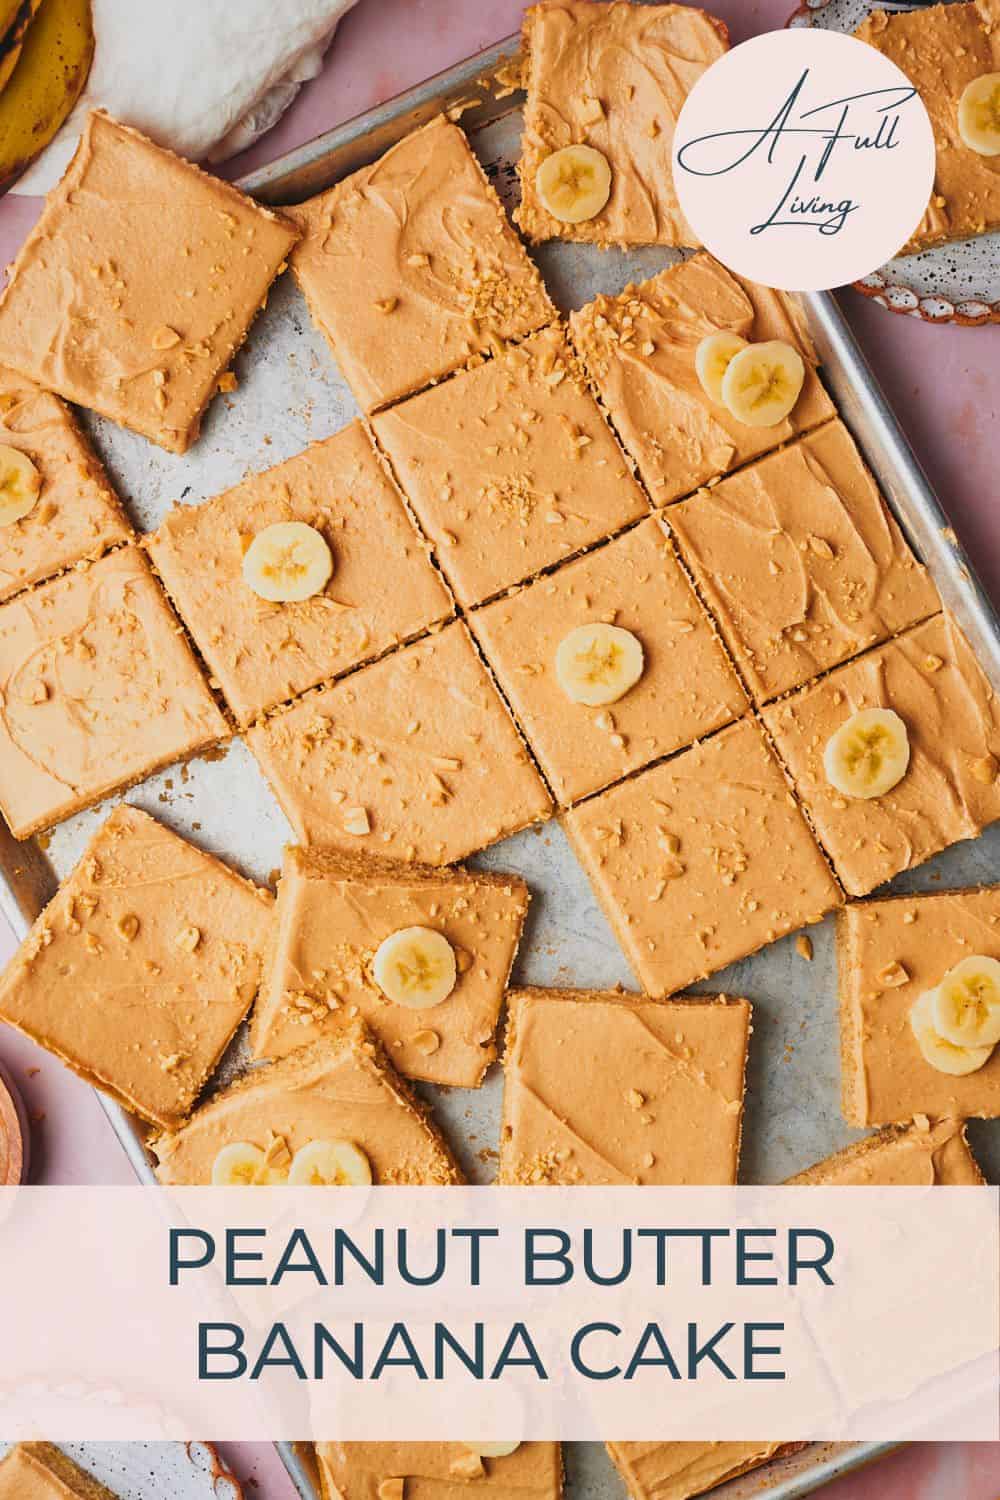
This delightful Peanut Butter Banana Cake is a moist banana cake with an incredible peanut butter cream cheese frosting! If you're a banana and peanut butter lover, this easy and fluffy cake is for you. It's the perfect blend of moist banana goodness and rich peanut butter flavor. It's made in a sheet pan, so no multiple layers to frost! Whether you're a seasoned baker or just starting, this recipe promises a delicious treat that will leave everyone asking for more.
Disclosure: This recipe was originally published on March 28th, 2021, but has been republished as of January 26th, 2024 with a whole new recipe and look. We hope you enjoy it! If you're looking for the original low carb version, drop a note in the comments or send us an email and we can send it to you!
This peanut butter banana cake recipe is perfect for serving at a birthday party, a baby shower, as a dessert for brunch, or just for enjoying alone to reward yourself after a long week of work. The cake is incredibly moist, and the creamy and tangy peanut butter frosting is to die for. So whip up this easy banana cake today and treat yourself. You deserve it. Happy baking!
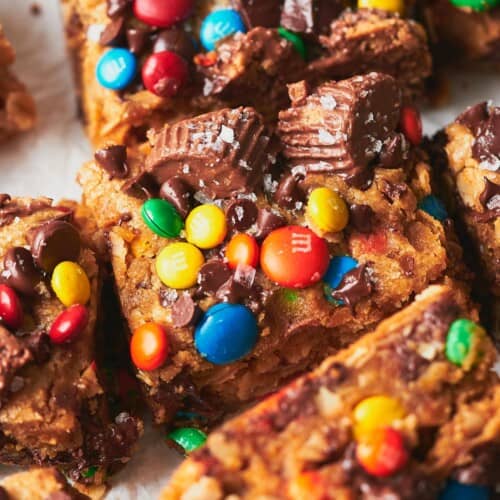
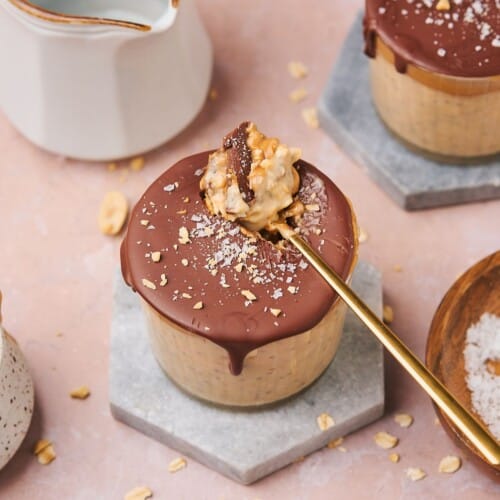
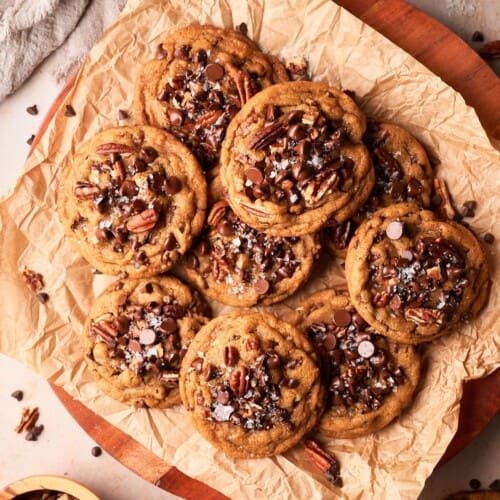
Craving sweets? Make sure to try our chocolate chip and white chocolate chip cookies, this turtle cheesecake, or these incredible monster cookie bars!
Jump to:
❤️Why we love this recipe
- Rich and decadent. Indulge in the best of both worlds—the comforting sweetness of bananas and the nutty richness of peanut butter. It's a flavor explosion that brings joy with every bite.
- Made with simple ingredients. This cake is made with pantry and kitchen staples that you may already have on hand or can find at any grocery store! The hardest part will be waiting for overripe bananas to make it!
- Easy to make. This snack cake is baked and served from a sheet pan. There are no layers to frost - which makes it super approachable for beginner bakers.
- Perfect for special occasions. This cake is the perfect sweet treat for any birthday celebration, baby shower, party, or gathering! It makes a very large batch at 24 servings! Make this cake for any party or get-together, and it's sure to be the star of the show and impress your guests.
🍌Ingredients
Here are the ingredients we used for this recipe. You can find more information for substitutions below.
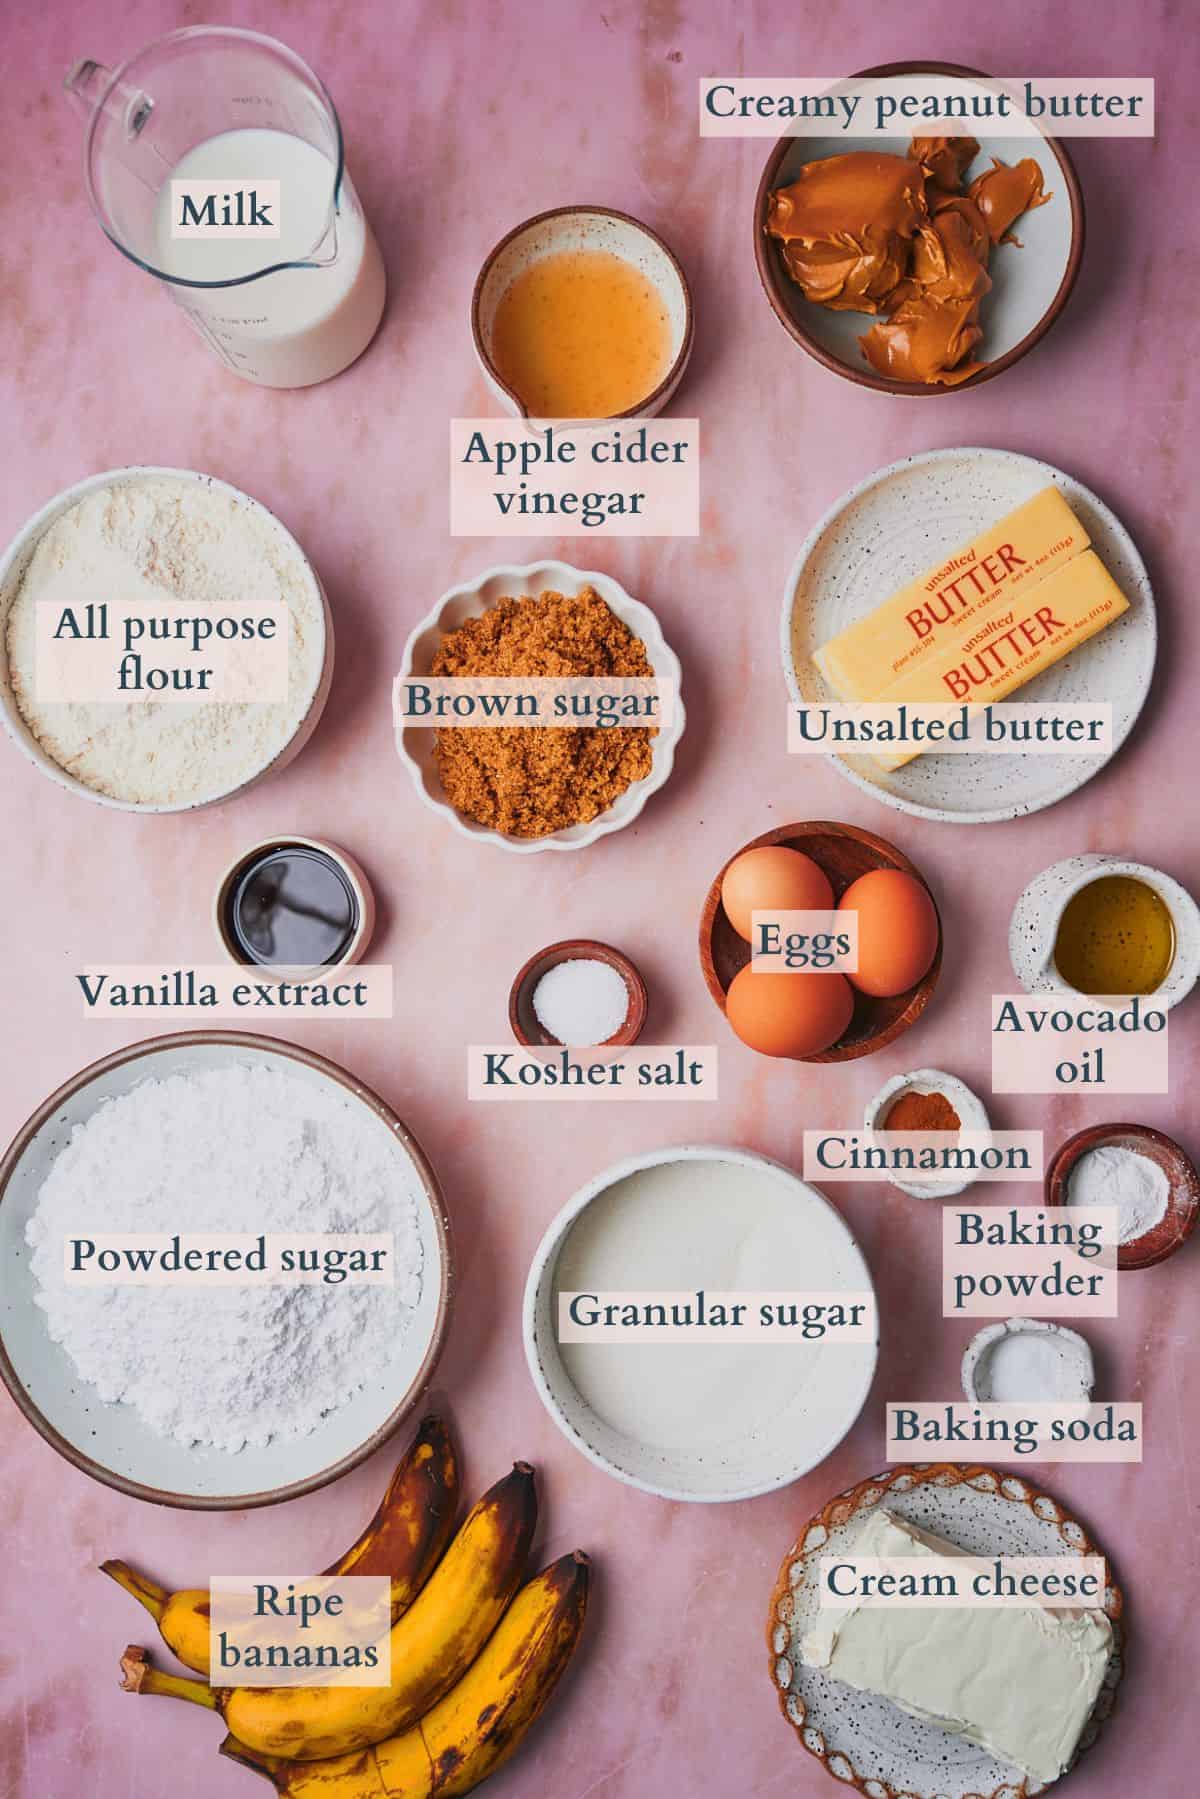
- Bananas. Ideally you'll want very ripe bananas, since they'll add a lot of sweetness and flavor to this cake!
- Unsalted butter. You want this to be softened, or melted. Your choice!
- Avocado oil. We love baking with avocado oil because it has an incredible neutral flavor. You can use any neutral oil you prefer here.
- Large eggs. Make sure they are room temperature.
- Milk and apple cider vinegar. We like using this homemade buttermilk substitute. You can use buttermilk if you'd like, or, just use plain milk + 1.5 tablespoons if you don't have vinegar.
- Creamy peanut butter. We'd recommend using something standardized like JIF, because it has a consistent result. Natural peanut butter contains oils and can vary a lot in texture from brand to brand.
- Cream cheese. Make sure to use the full fat blocks. Do not use the whipped kind that comes in a tub.
Visit the recipe card for the full quantities and nutritional information.
✨Substitutions
Here are a few suggestions on additional flavors to try, or simple variations to this recipe.
- No avocado oil. If you do not have avocado oil, you can use vegetable oil or another neutral oil like canola oil, or grapeseed oil.
- No apple cider vinegar? No worries! You can use distilled white vinegar for a 1:1 swap. No, you won't taste it!
- Swap milk + apple cider vinegar for buttermilk. If you have buttermilk, you can swap it for the milk and apple cider vinegar combo.
- No vinegar. If you don't have vinegar OR buttermilk, simply add in 1.5 tablespoons extra milk to replace the vinegar.
✨Variations
- Gluten-free. This can SHOULD work really well with gluten free flour! (We haven't tried it ourselves). Simply swap the all-purpose flour with a 1:1 gluten free flour. We like using Bob’s Red Mill 1:1 gluten free flour.
- Low carb version. You can swap the sugar, brown sugar, and powdered sugar for your favorite sugar free versions, but we do tend to scale back on the sweeteners when using sugar alternatives by about ⅓ to avoid any unwanted aftertastes. Send us an email if you want a low carb version of this cake that used to be on the site. We'd be happy to send it to you.
- Dairy free. Use dairy-free butter, milk, and cream cheese to make this cake dairy free.
- Chocolate chip. Add in some chocolate chips to the batter for extra flavor and decadence!
- Peanut butter cup version. Top the cake with chocolate ganache, and cut up peanut butter cups for an extra decadent version of the cake!
*This recipe hasn't been tested with other substitutions or variations. If you change or add any ingredients, please let us know how it turned out in the comments below.
🔪Prep work
- Preheat the oven to 350°F.
- Grease a 15x21-inch baking sheet well with baking spray. You can line with parchment paper if you'd like, but we find it works just fine to use baking spray.
- Make sure your butter for the cake is softened and at room temperature by letting it sit out for about an hour.
- Bring your eggs and milk to room temperature before beginning.
📋Instructions
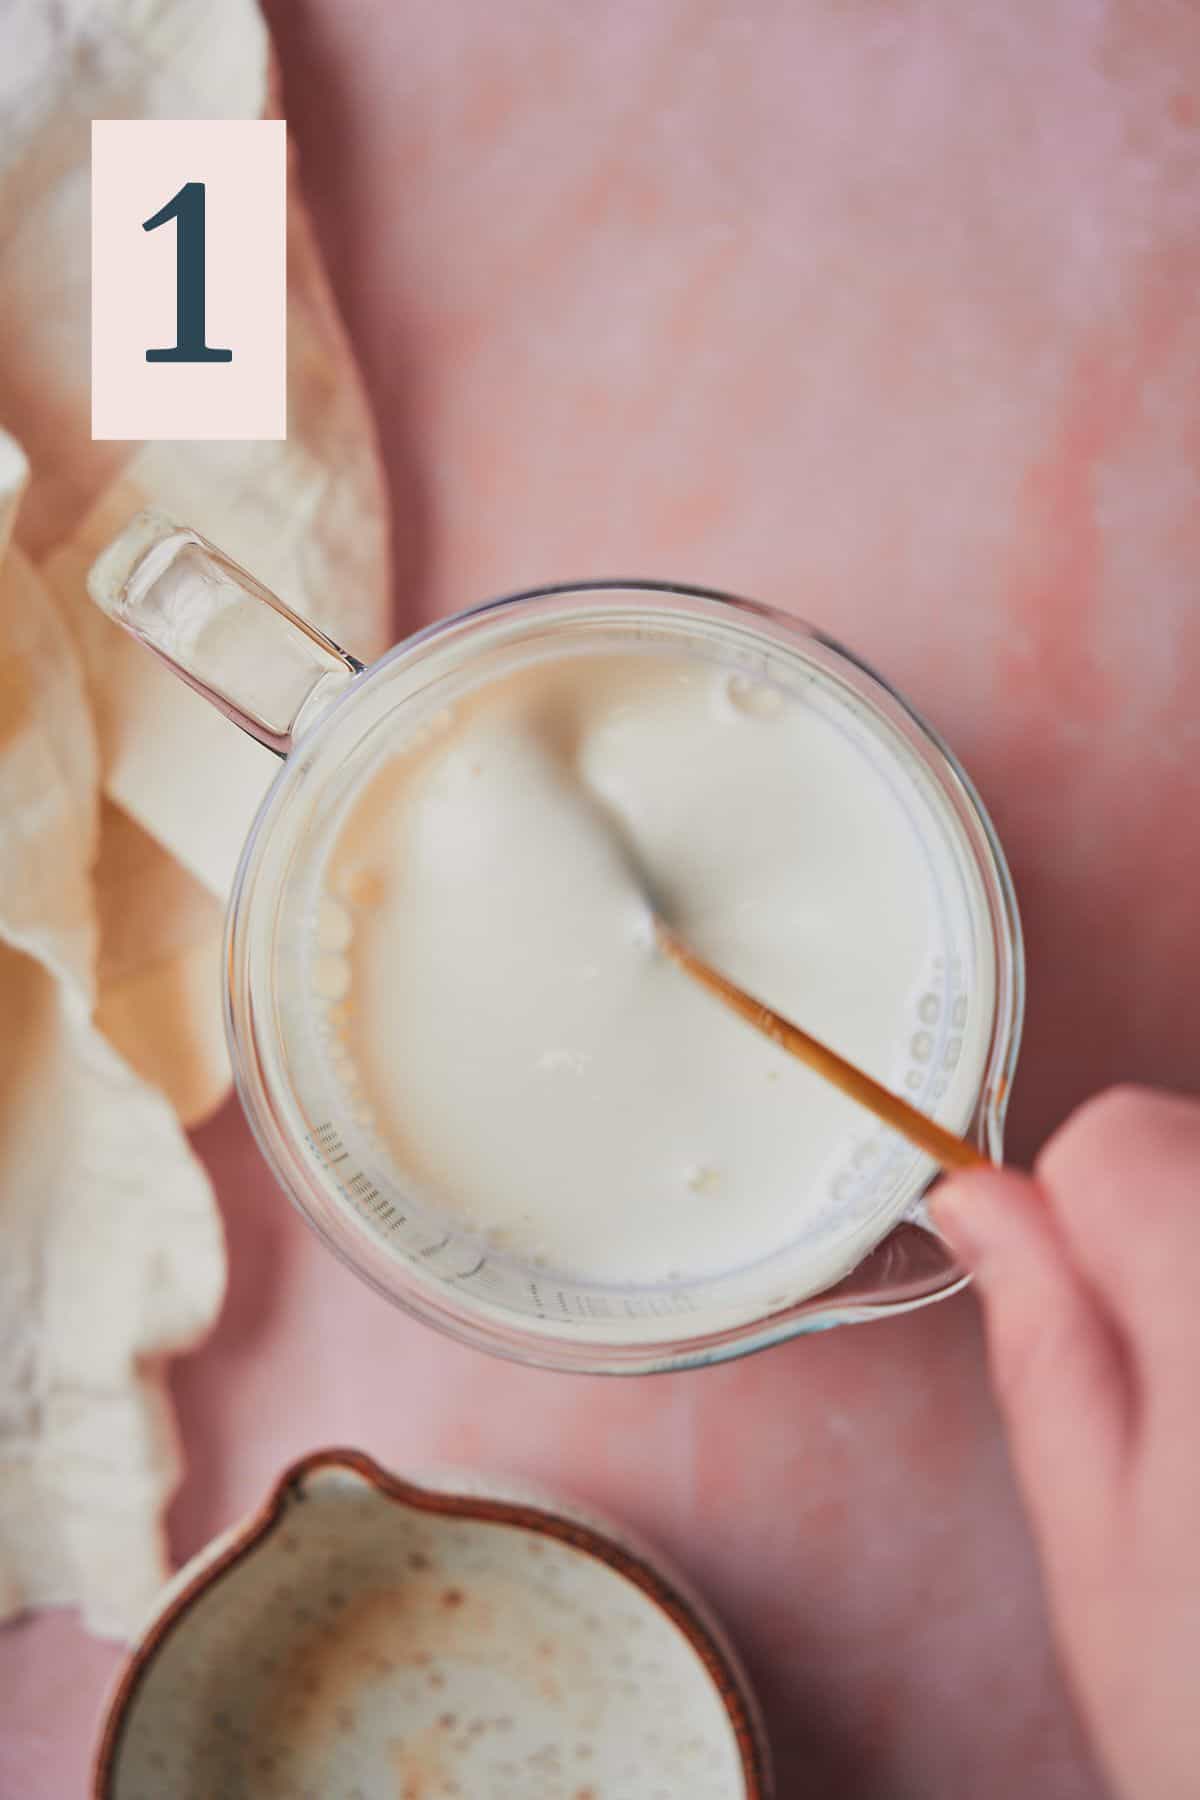
In a bowl or beaker, combine the milk and apple cider vinegar to make the homemade buttermilk mixture. Set aside while you work on the rest of the cake. (Image 1)
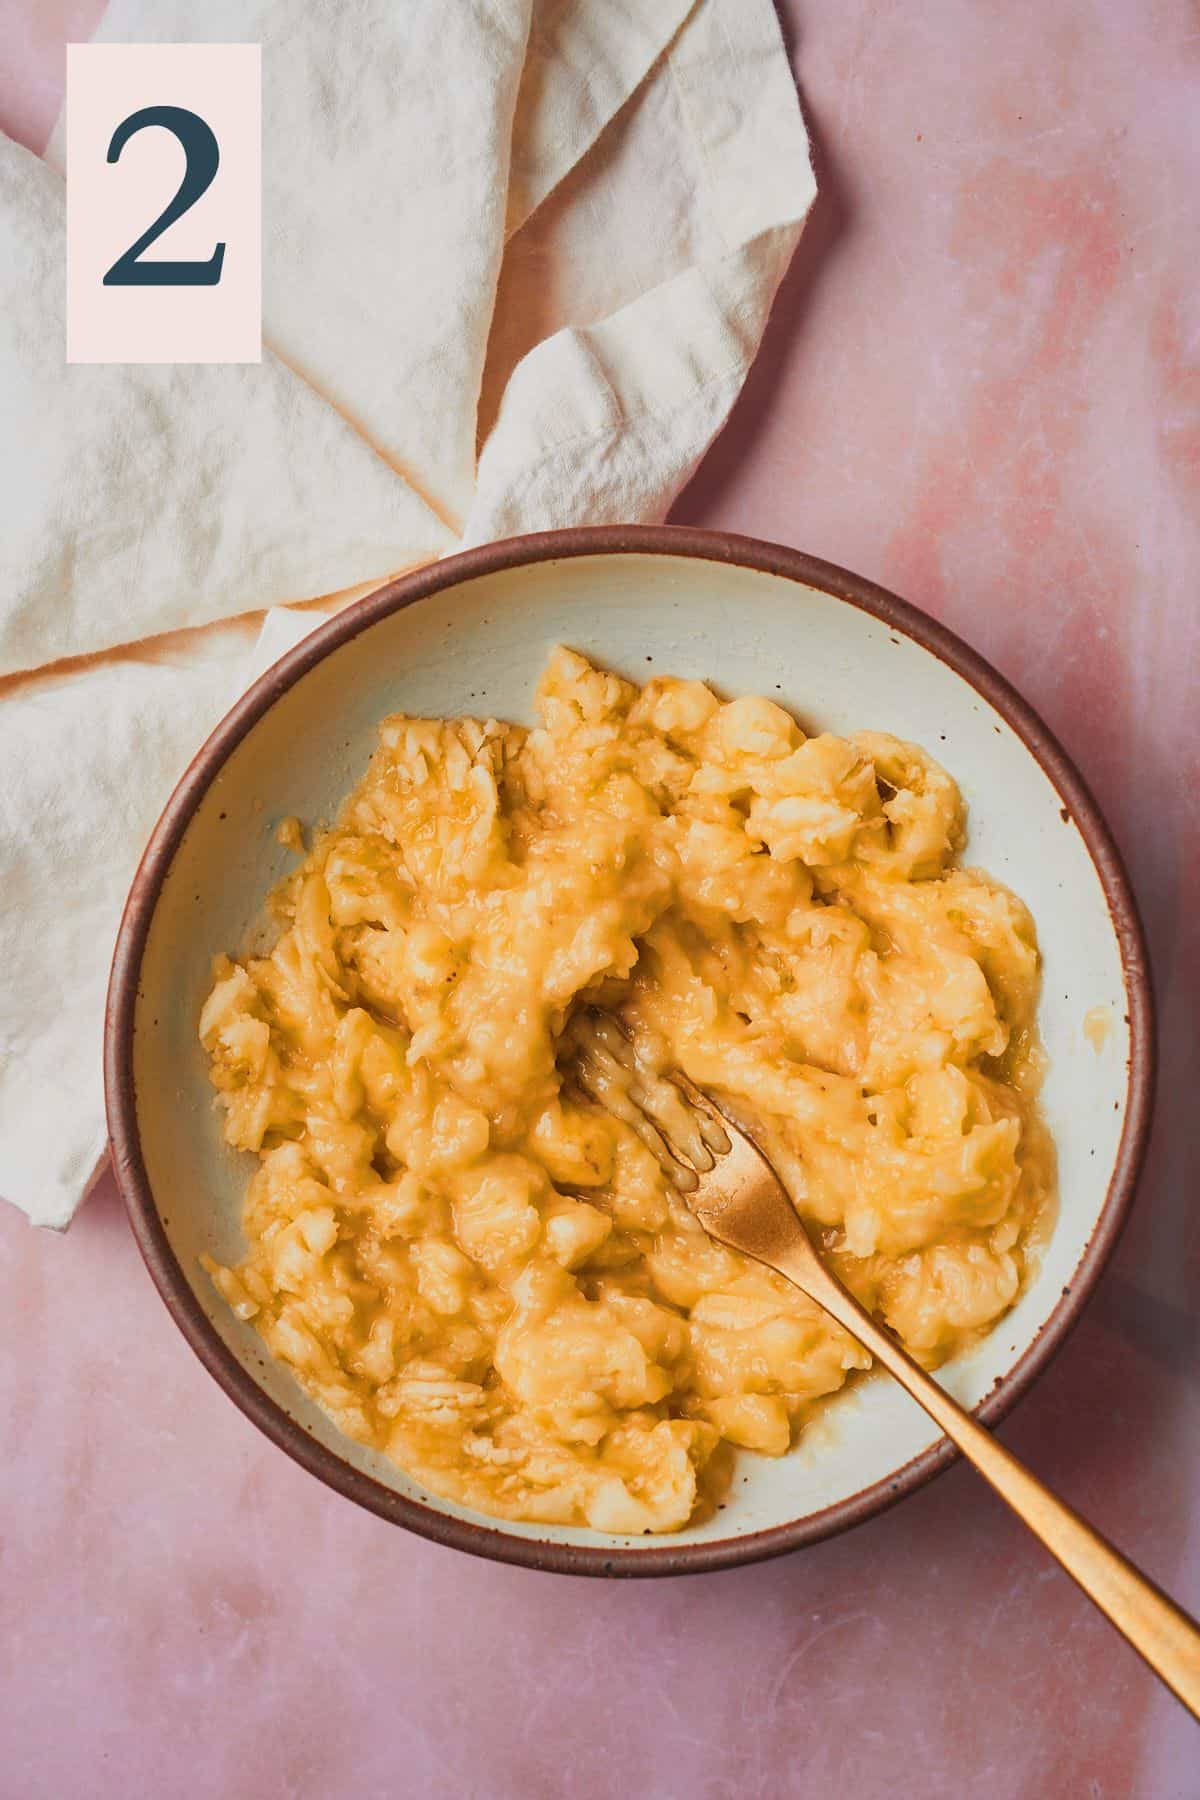
Mash together the bananas using a fork, and set aside. (Image 2)
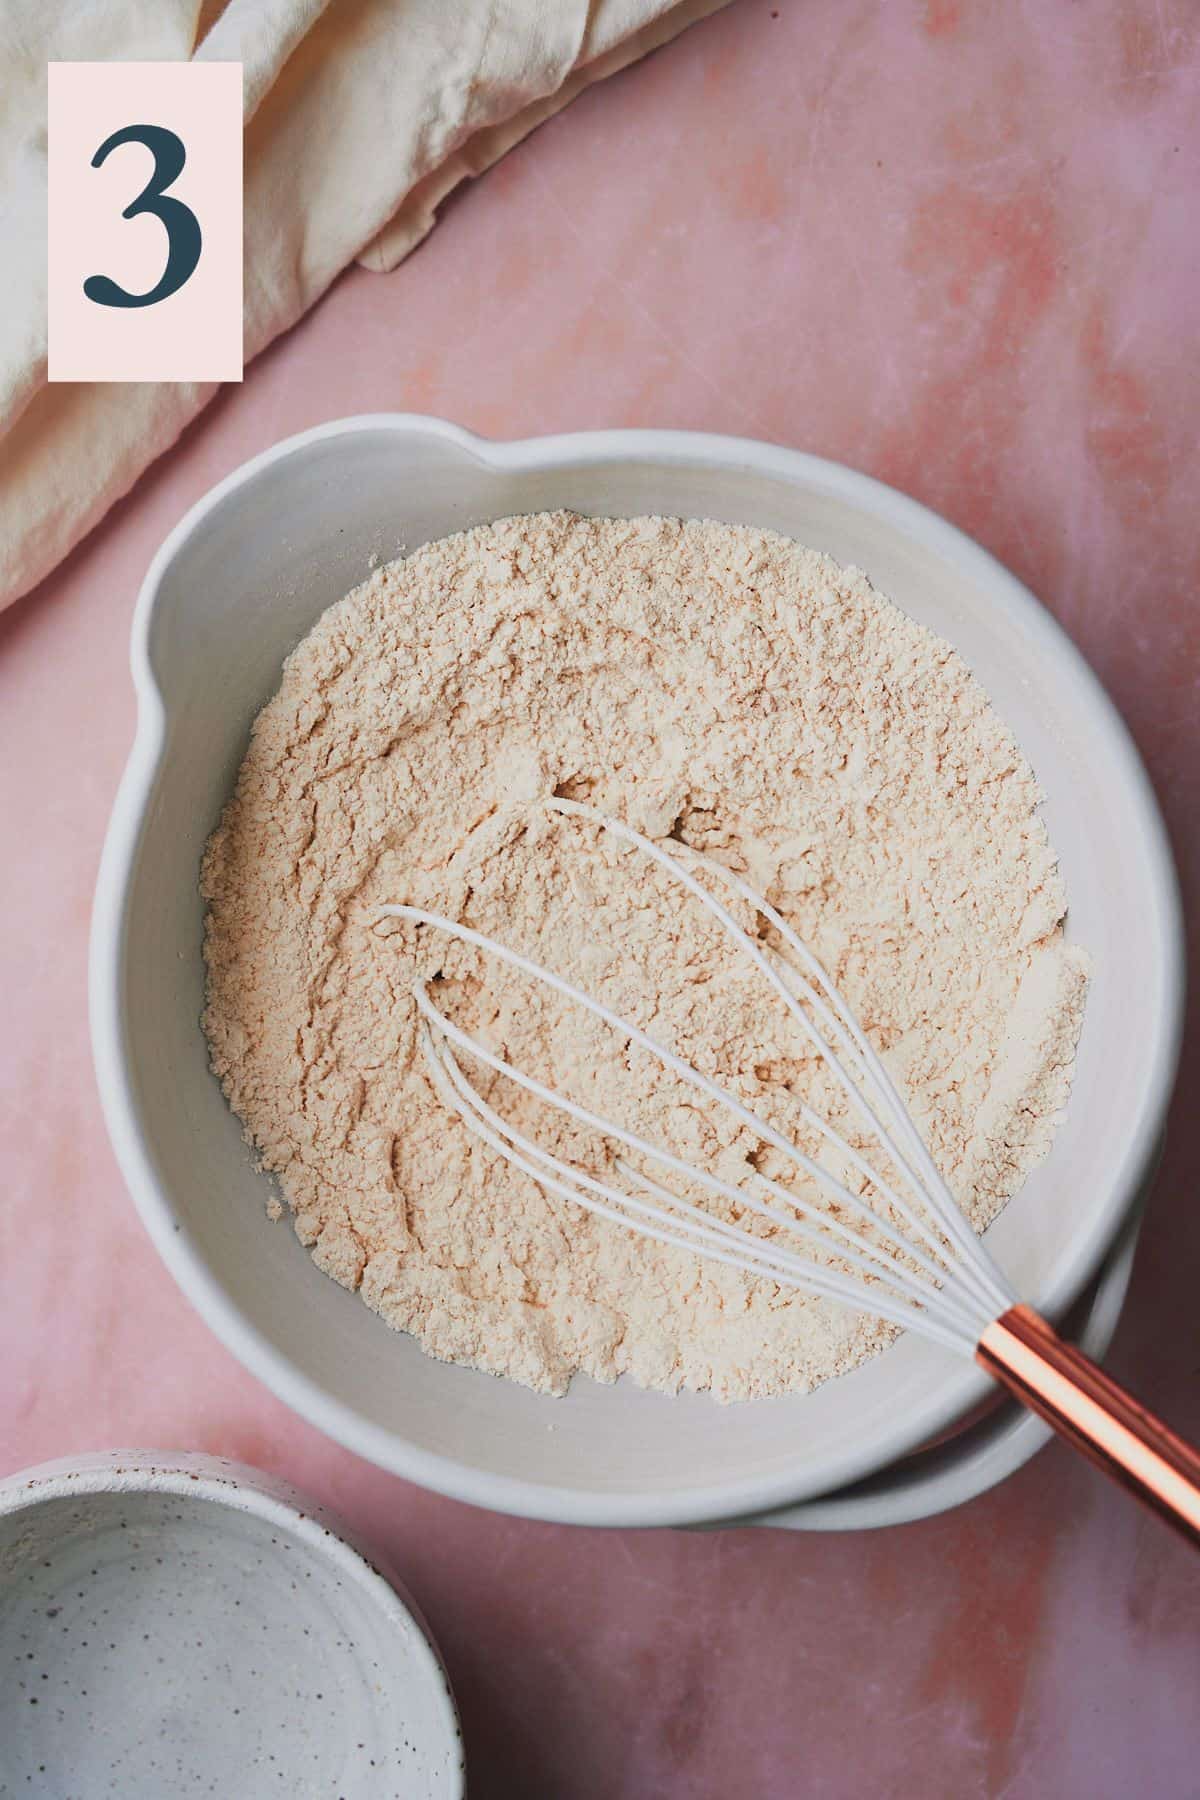
In a separate mixing bowl, whisk together the flour, cinnamon, baking powder, baking soda, and salt. Set aside. (Image 3)
✨Pro Tip: Use a digital food scale for precise results when measuring dry ingredients, as well as the bananas! Bananas can vary in size, and for this recipe we need about 340 grams. For us, that was about 3 bananas, but it could be more or less depending on the size of the bananas. Dry ingredients should always be measured with a scale, as even a few grams of flour can throw the whole thing off.
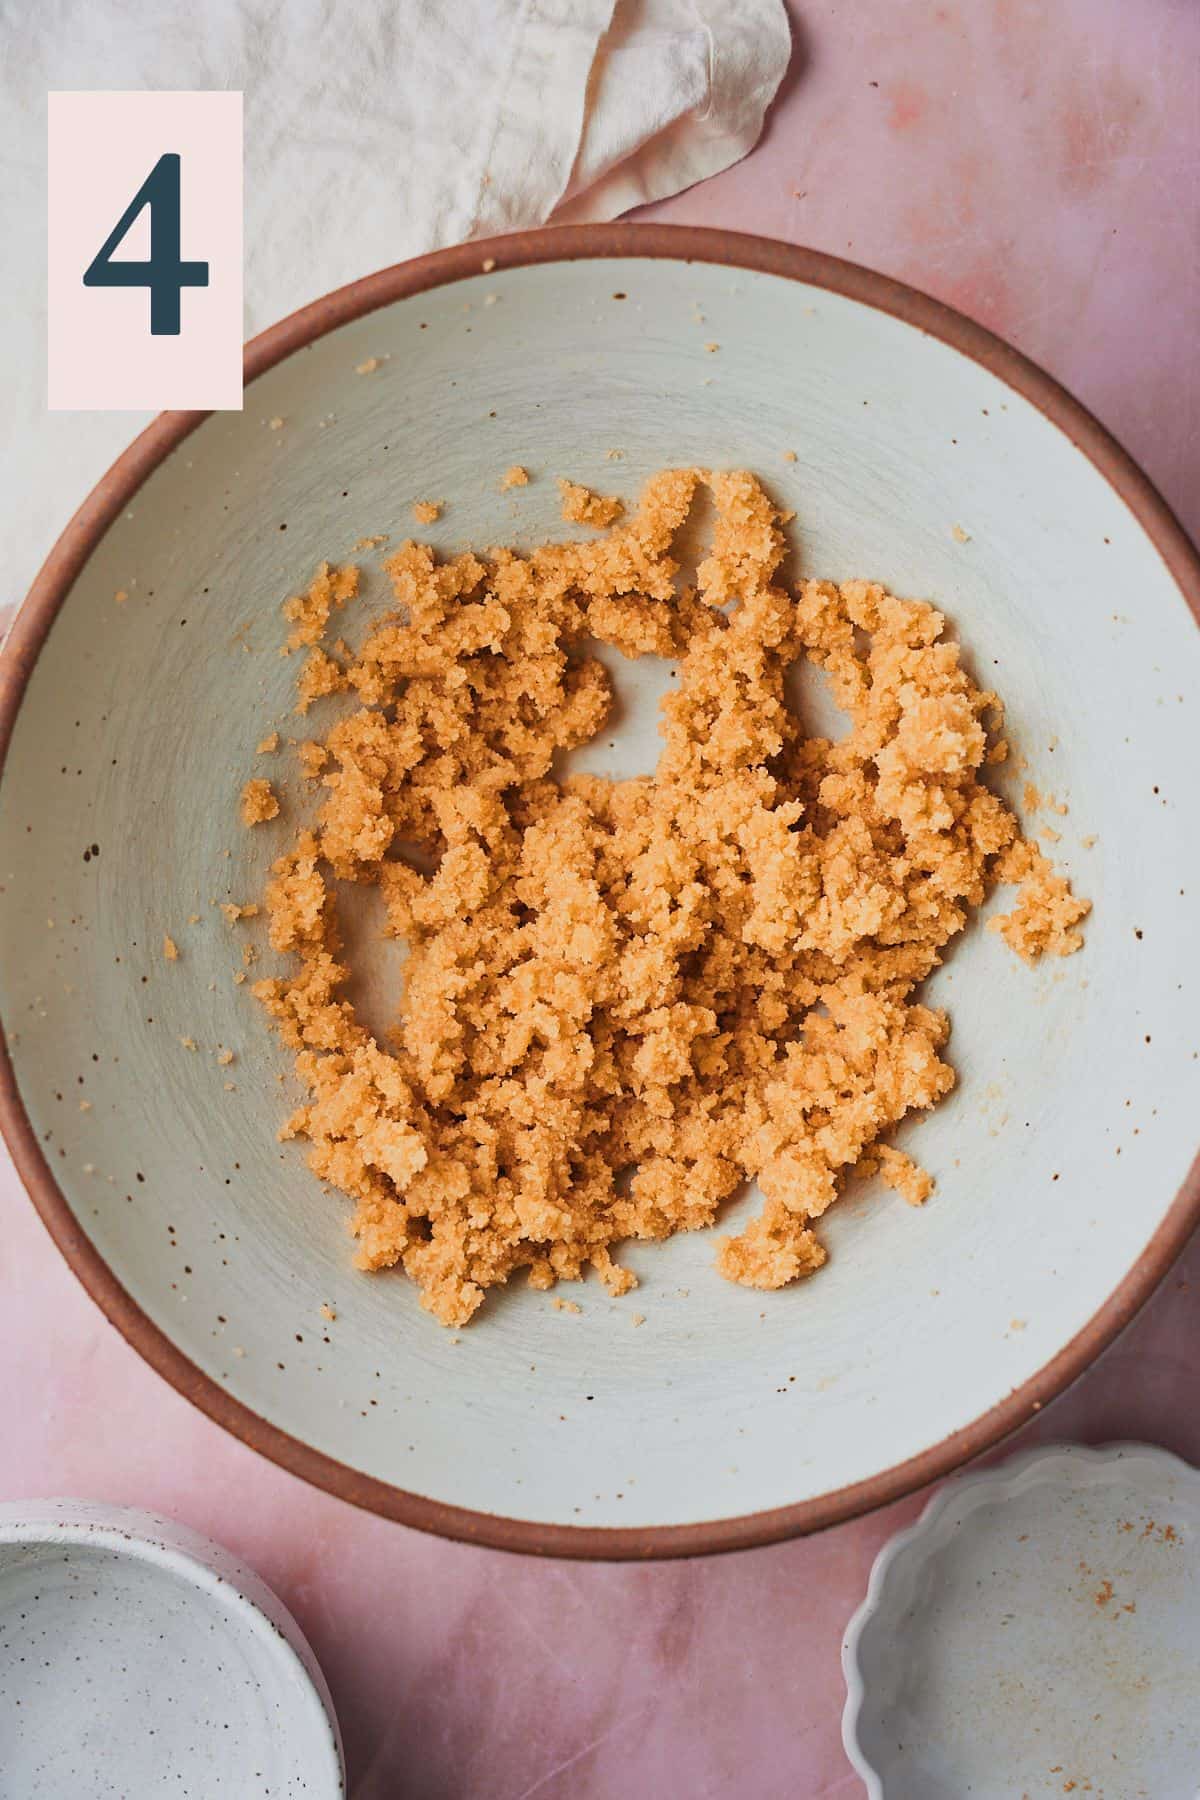
Using a handheld electric mixer or a stand mixer with the paddle attachment, beat the butter, white sugar, and brown sugar on medium speed until beginning to come together—about 3-4 minutes. Make sure to scrape the bowl a couple of times to ensure everything is incorporated. It will be a bit lumpy at this point. (Image 4)
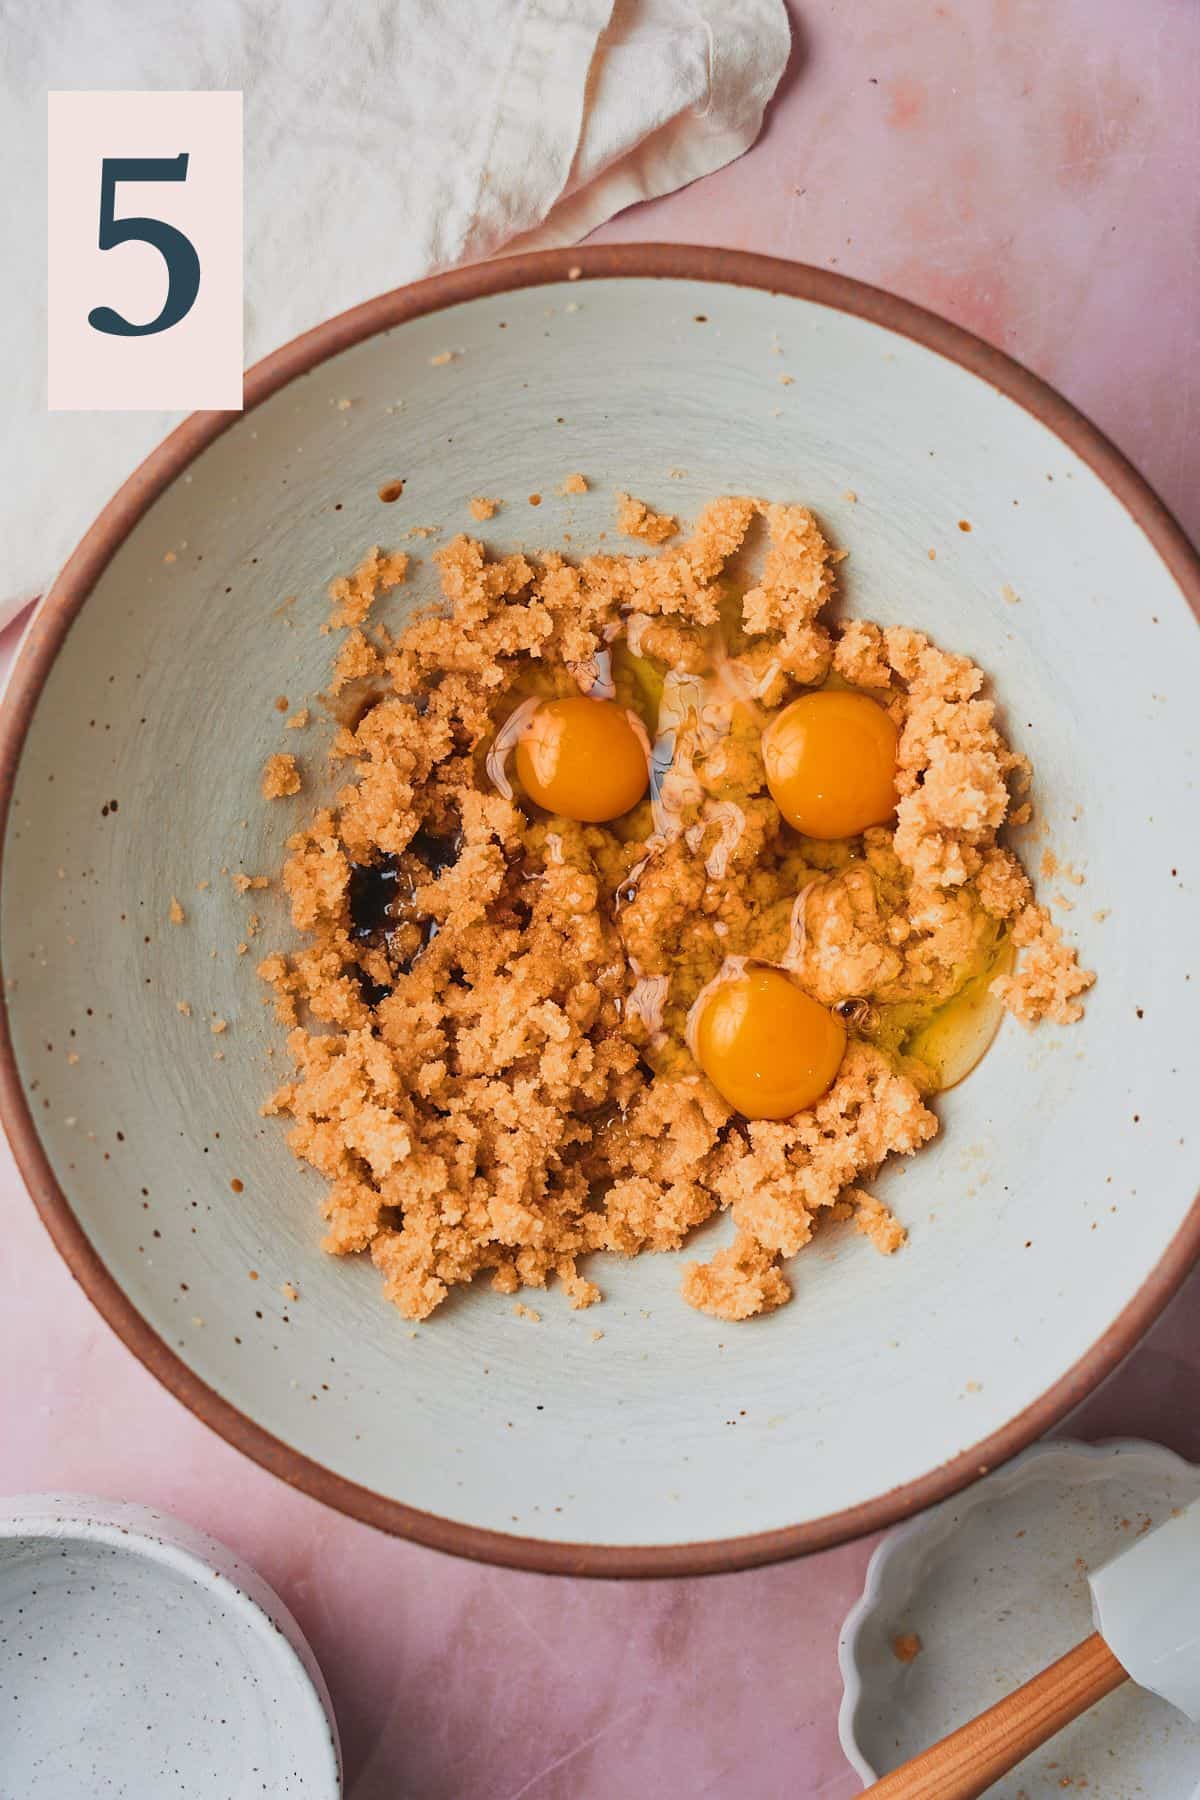
Add the eggs, vanilla, and avocado oil. (Image 5)
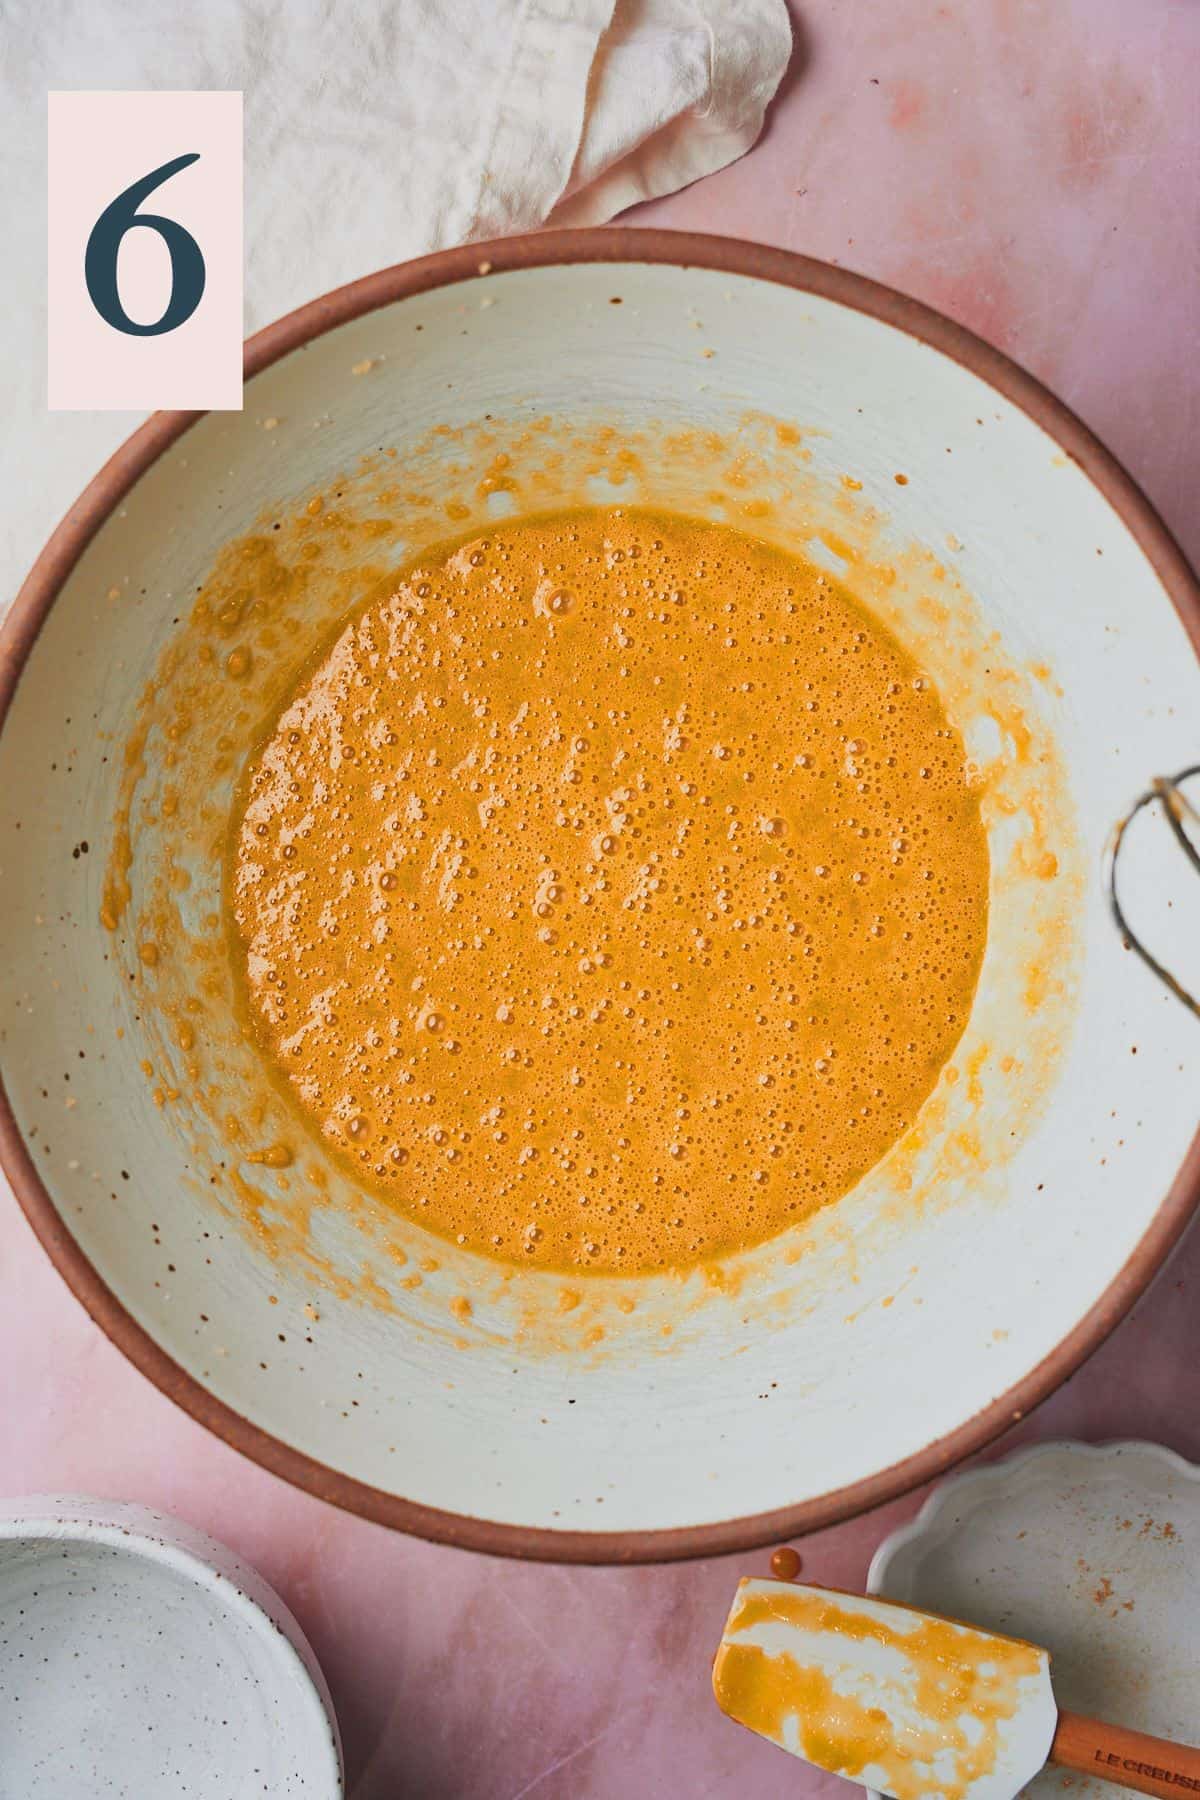
Beat on medium-high speed until completely incorporated, scraping the bowl with a rubber spatula until everything is incorporated. (Image 6)
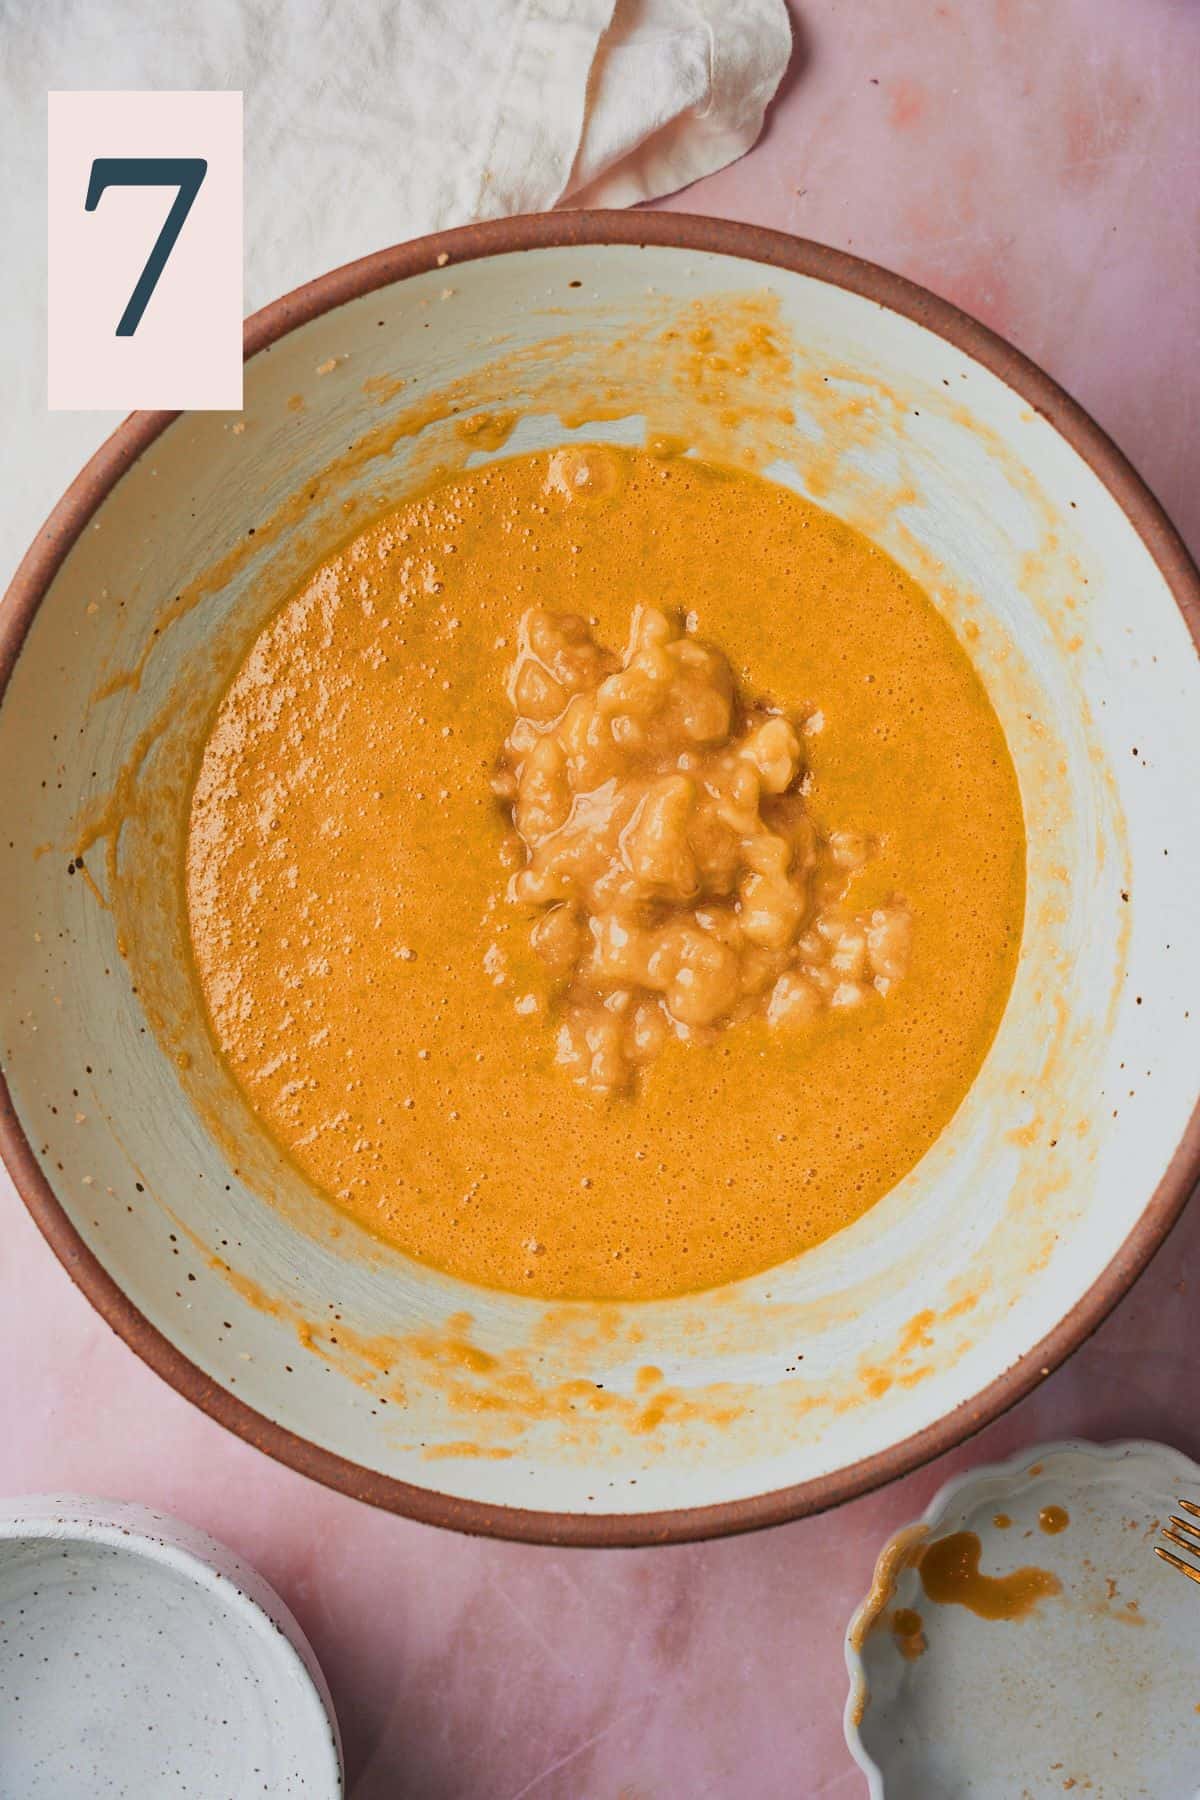
Next, mix in the mashed bananas. (Image 7)
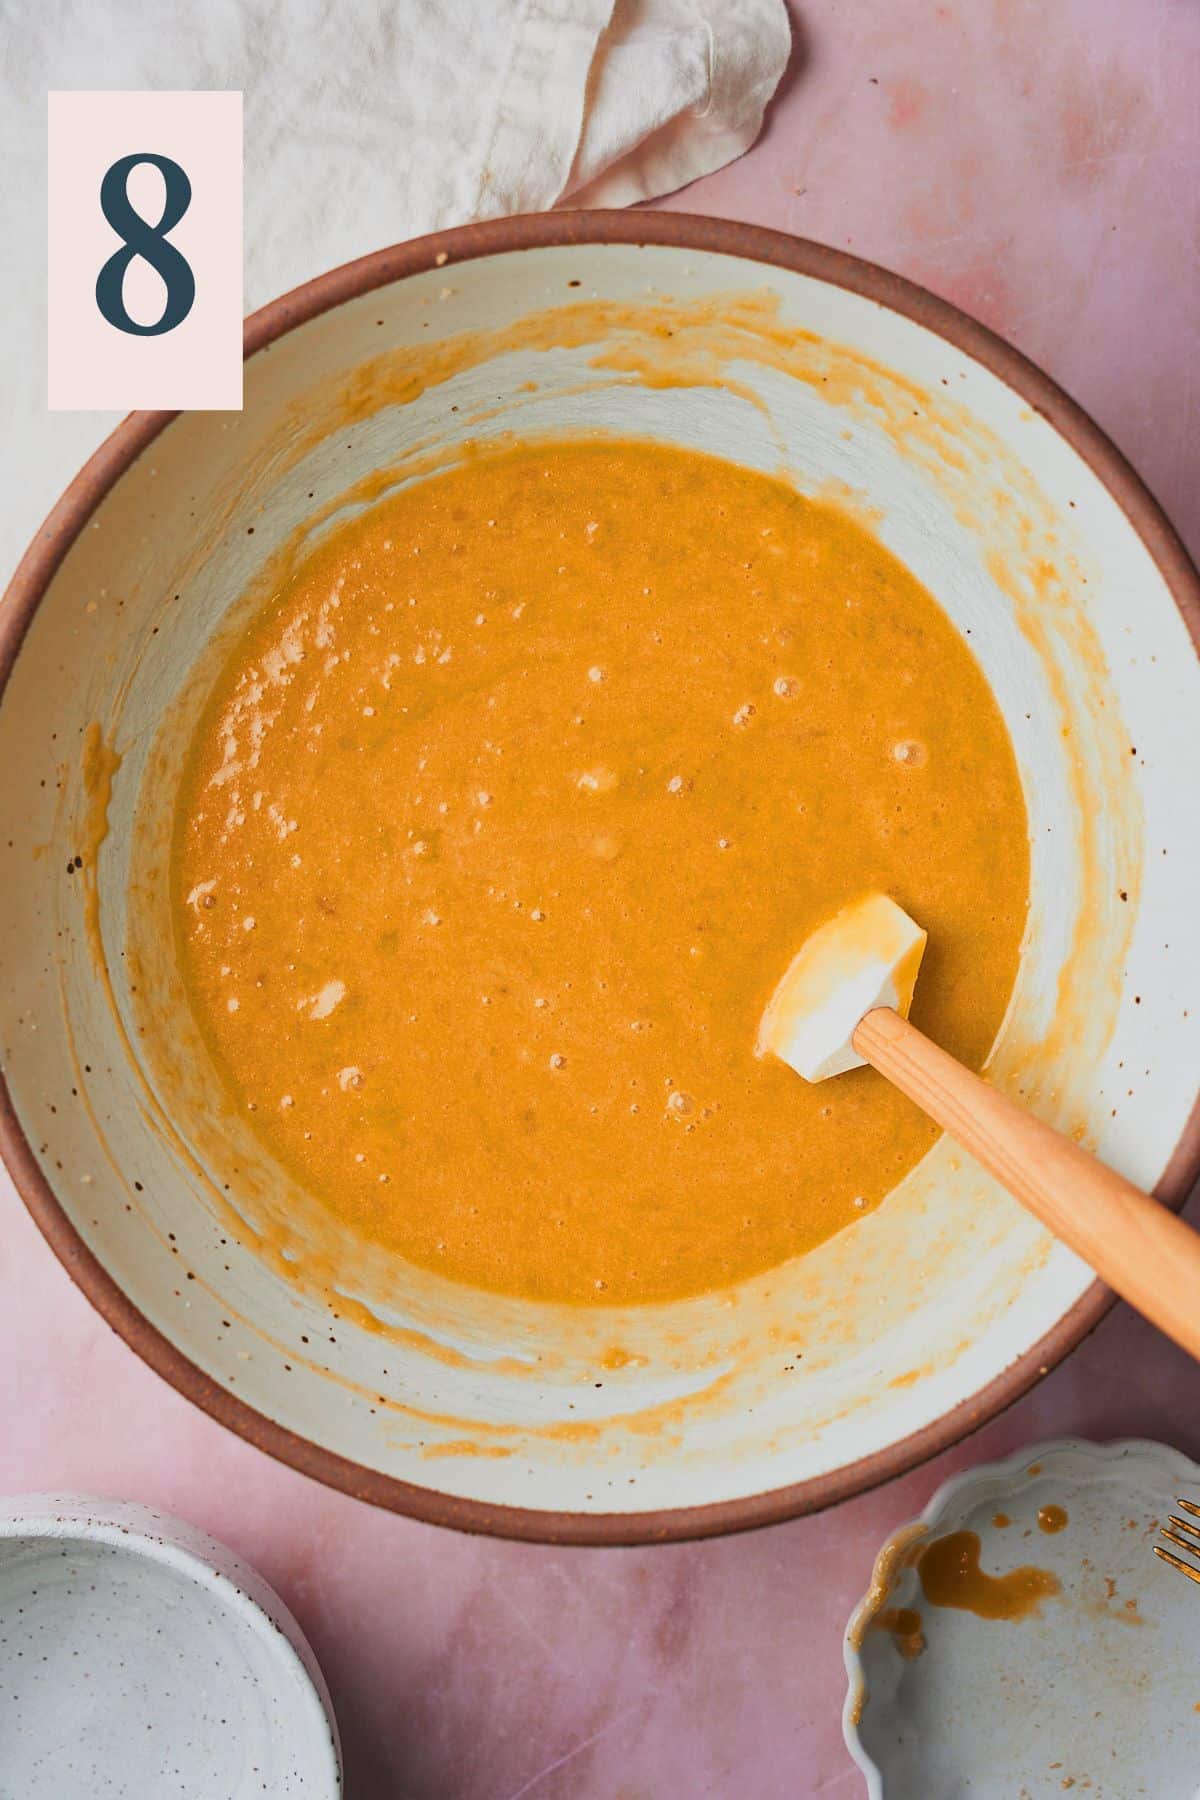
Scrape down the sides and up the bottom of the bowl to ensure everything is completely incorporated. (Image 8)
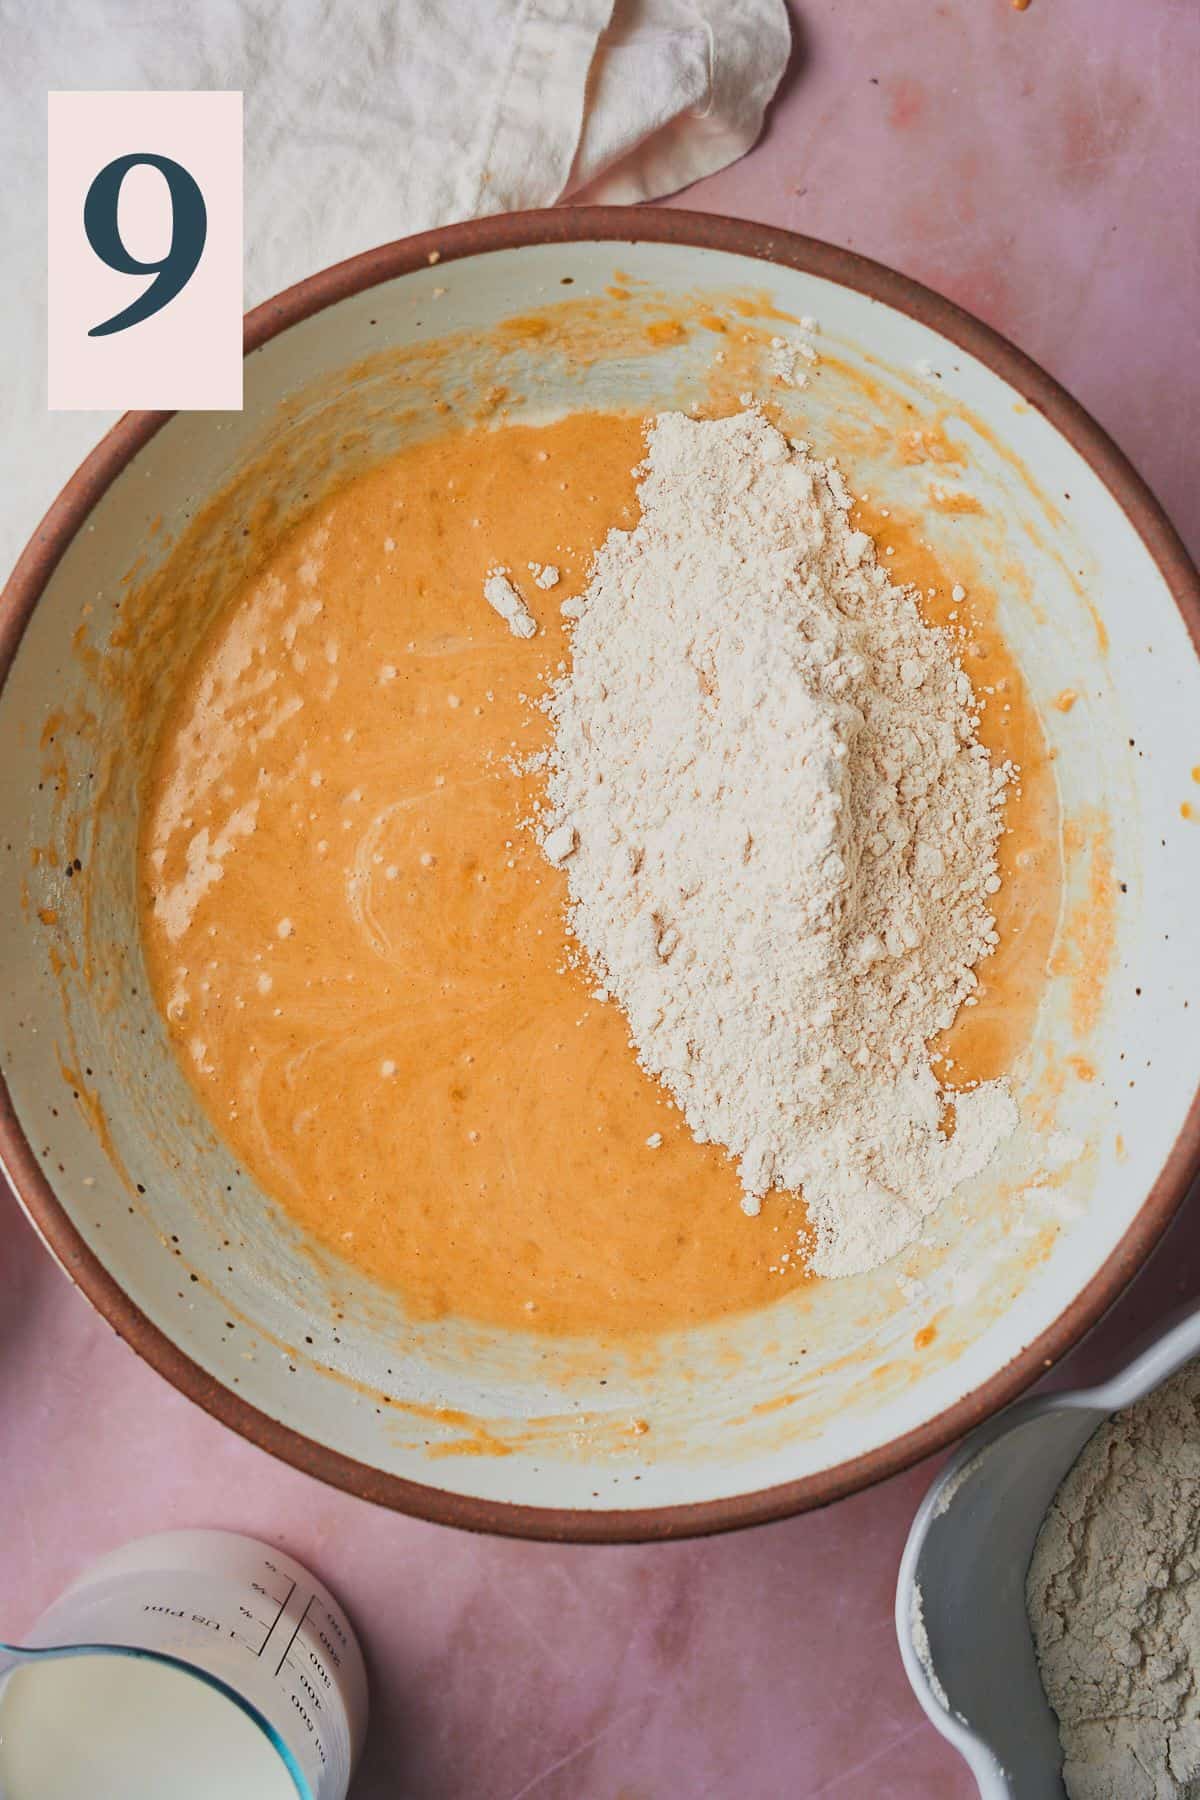
Add in about a third of the dry ingredients, (Image 9) and mix with the mixer on low until just combined.
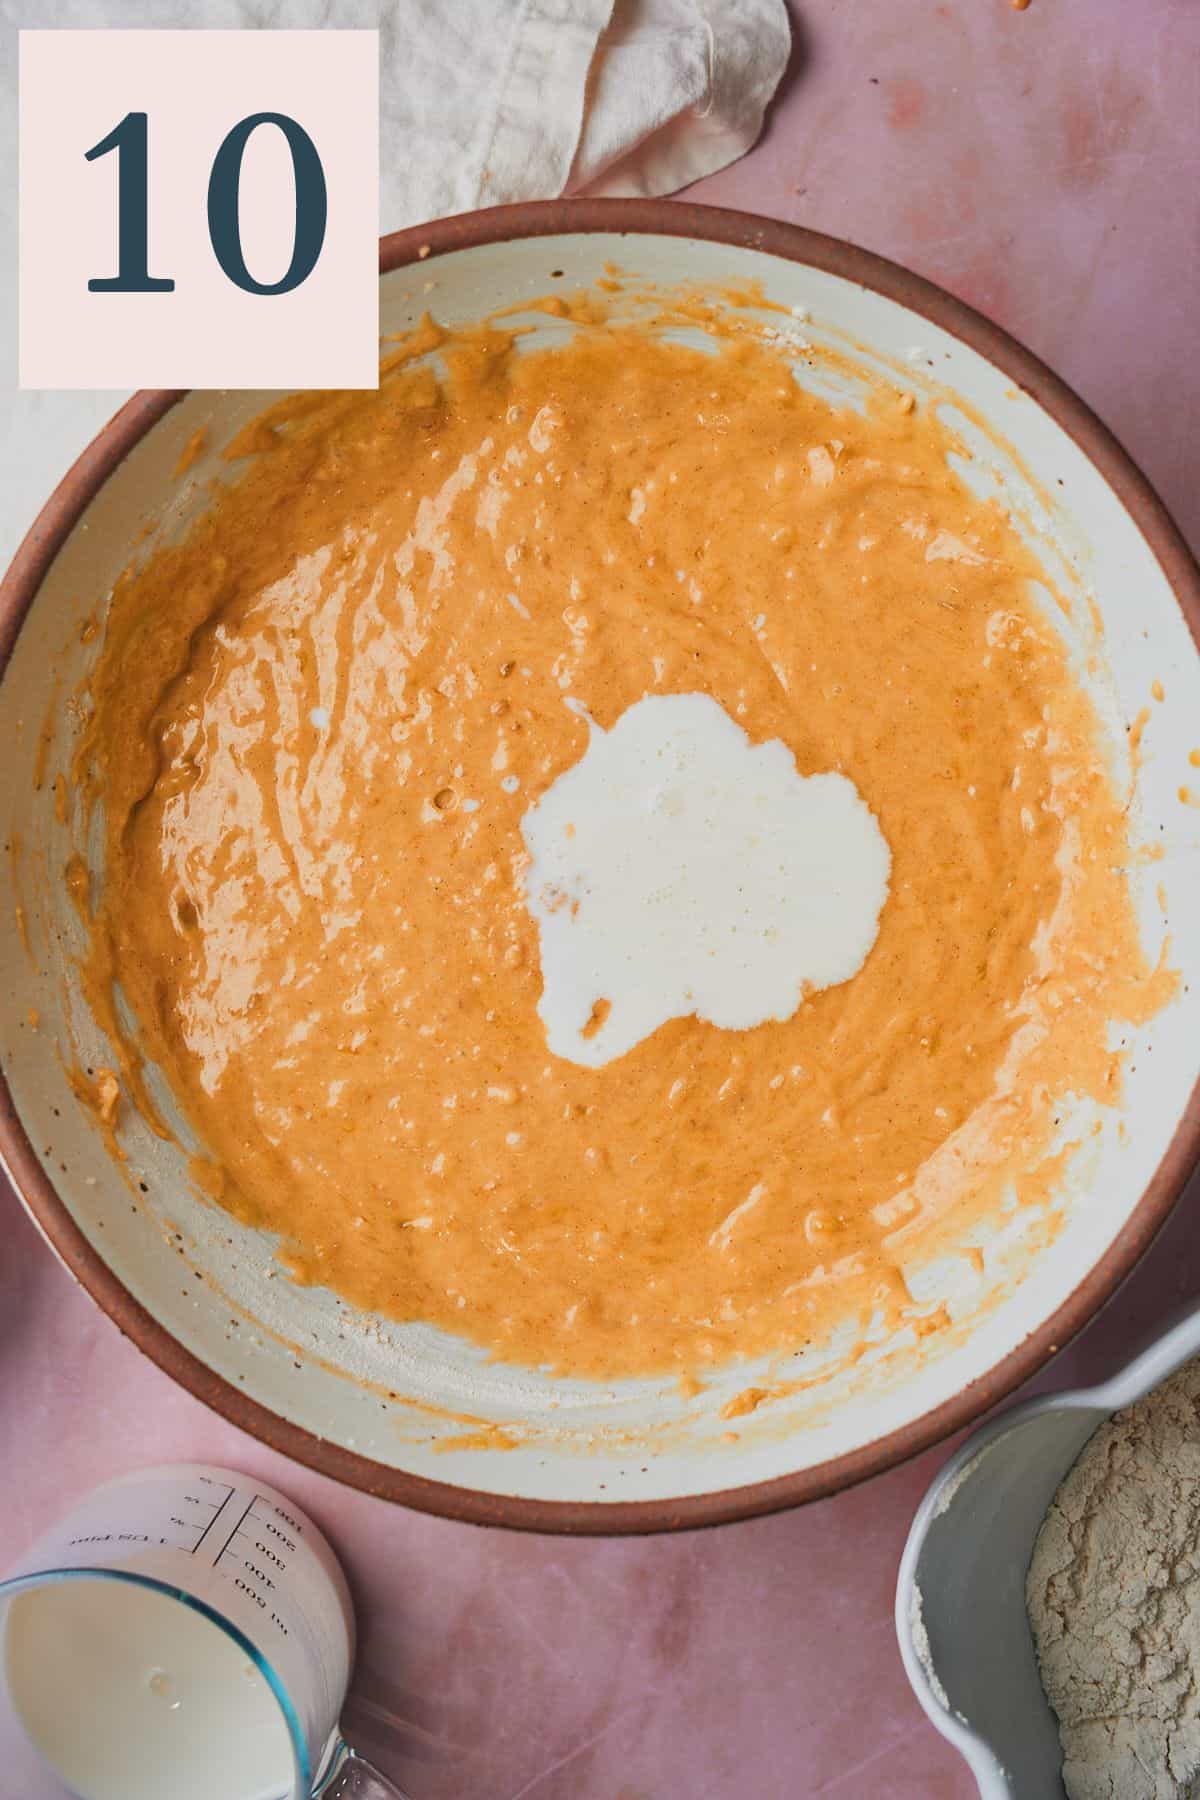
Then, add in about a third of the homemade buttermilk mixture and combine gently. (Image 10)
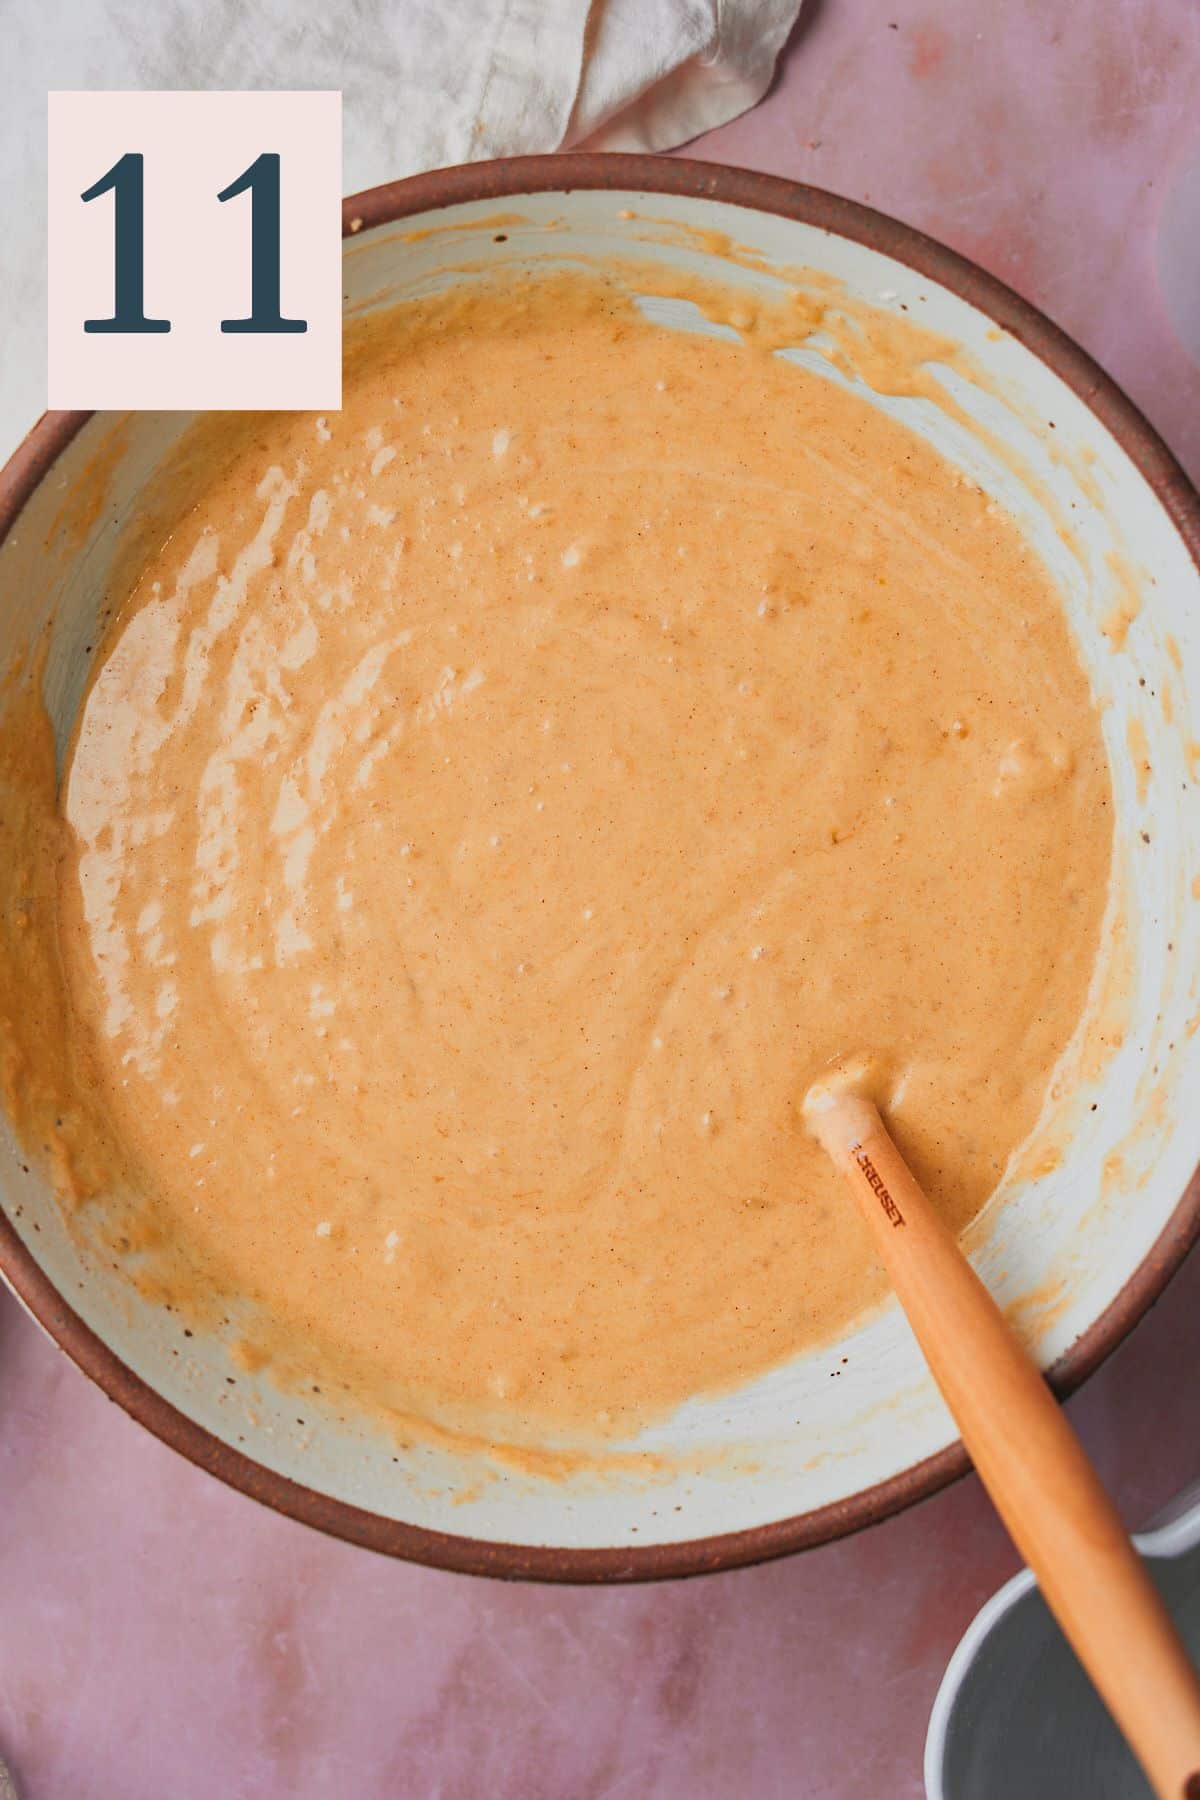
Continue alternating the dry ingredients and the buttermilk and mix on low speed until each addition just until incorporated. Do not overmix, or the cake will become dense. The batter will be thick, and it may have a few lumps. (Image 11)
✨Pro Tip: Alternating adding the dry ingredients and the buttermilk ensures that everything gets well incorporated without overmixing. You want to mix your cake batter just until the ingredients are incorporated. This will ensure the cake is tender and fluffy, instead of tough and dense.
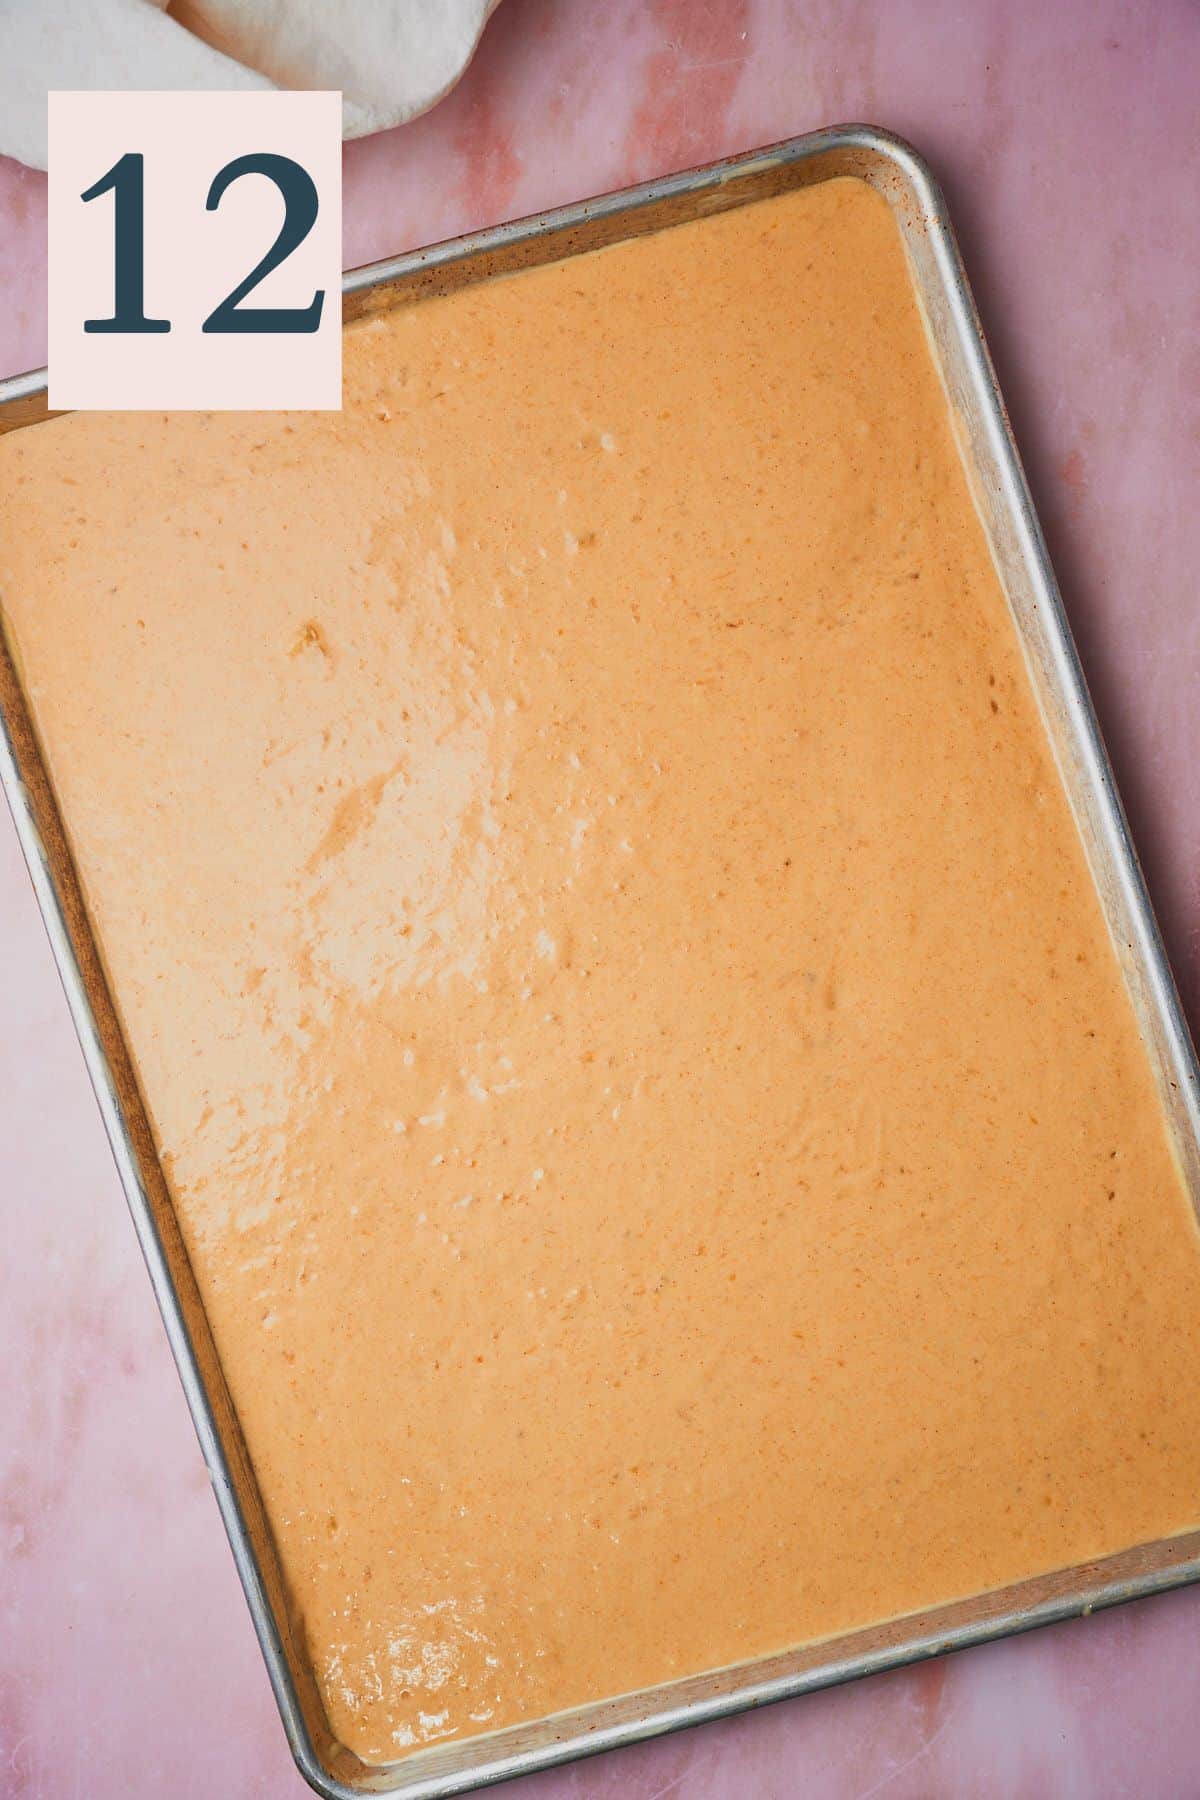
Pour the batter into the prepared baking sheet and smooth the top using an offset spatula or rubber spatula. (Image 12)
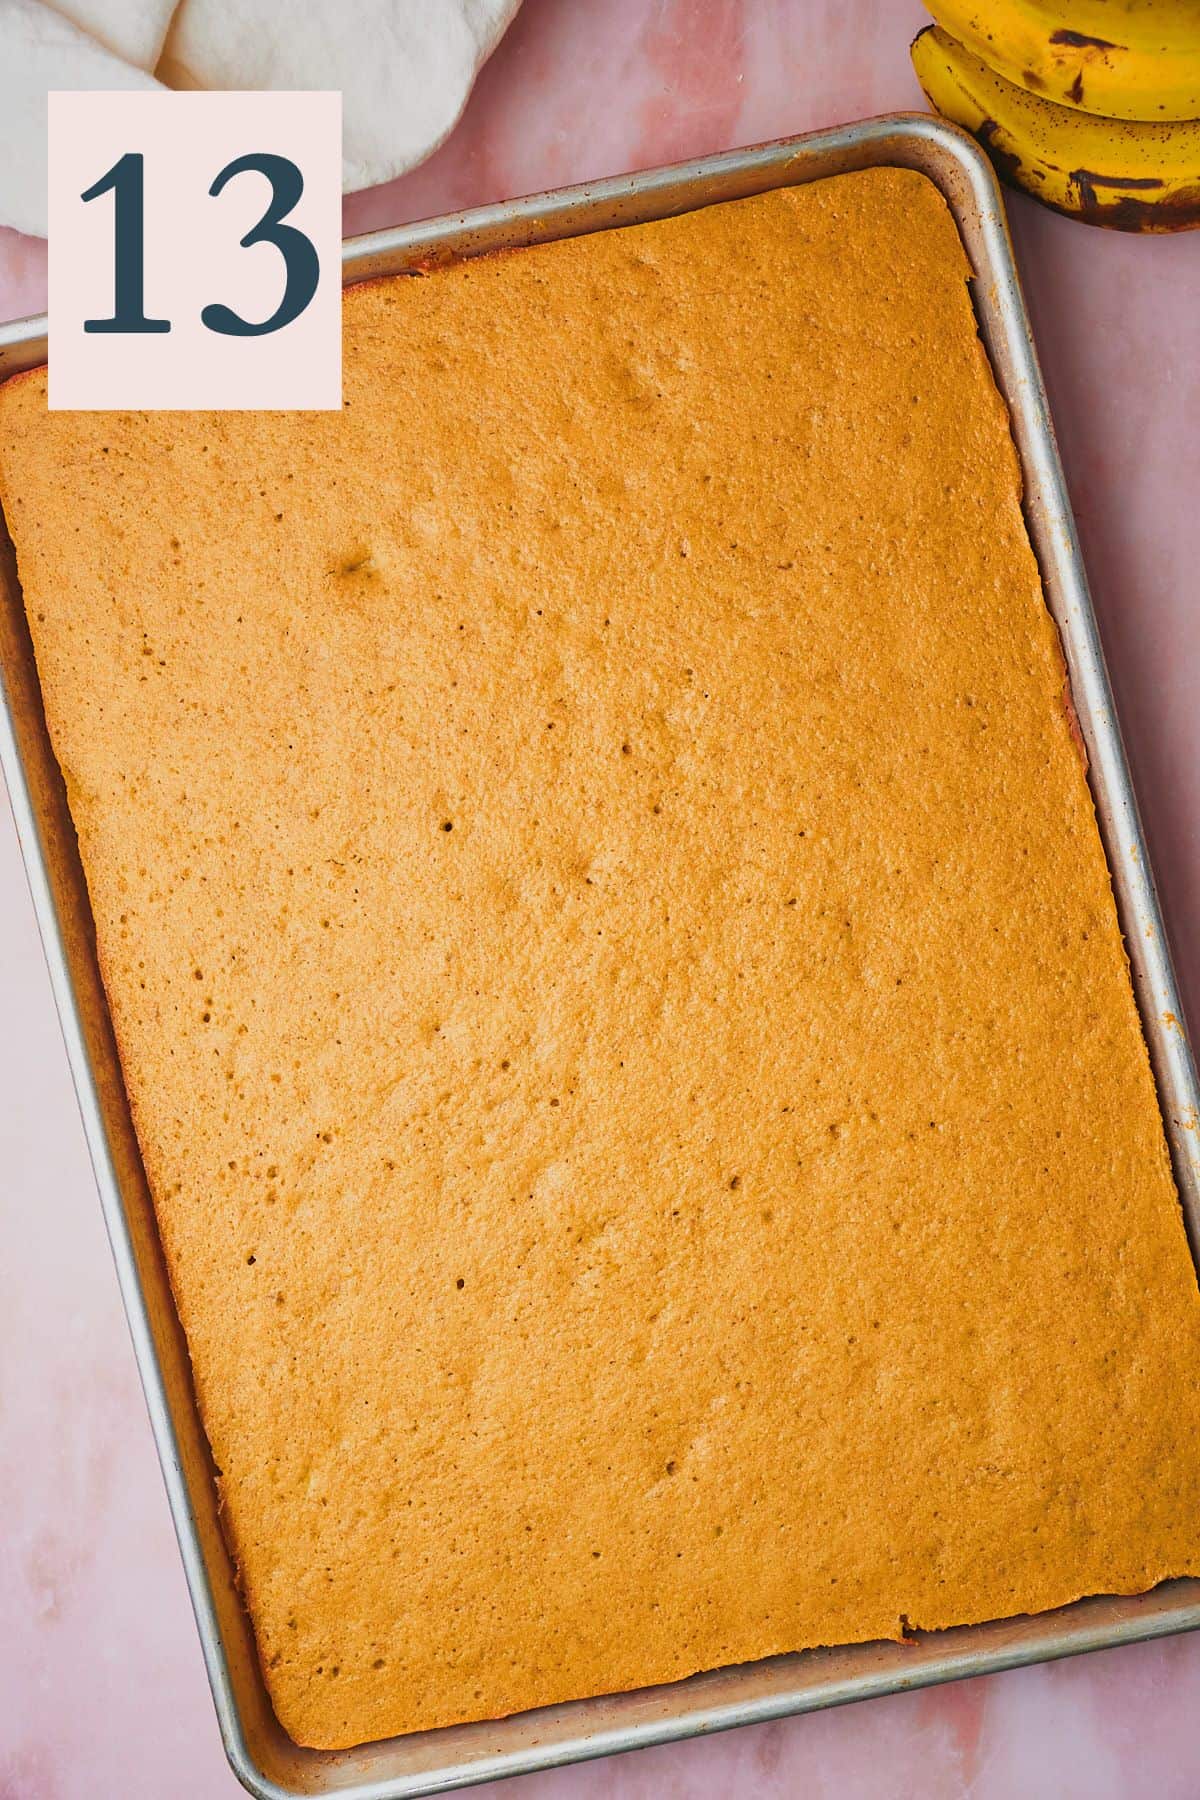
Bake in the preheated oven for 25-30 minutes or until a toothpick inserted into the center comes out clean, and the edges of the cake begin to pull away from the sides of the pan. (Image 13) Once the cake is done, remove it from the oven and let it cool completely in the baking pan on a wire rack.
Meanwhile, make the frosting while the cake is cooling.
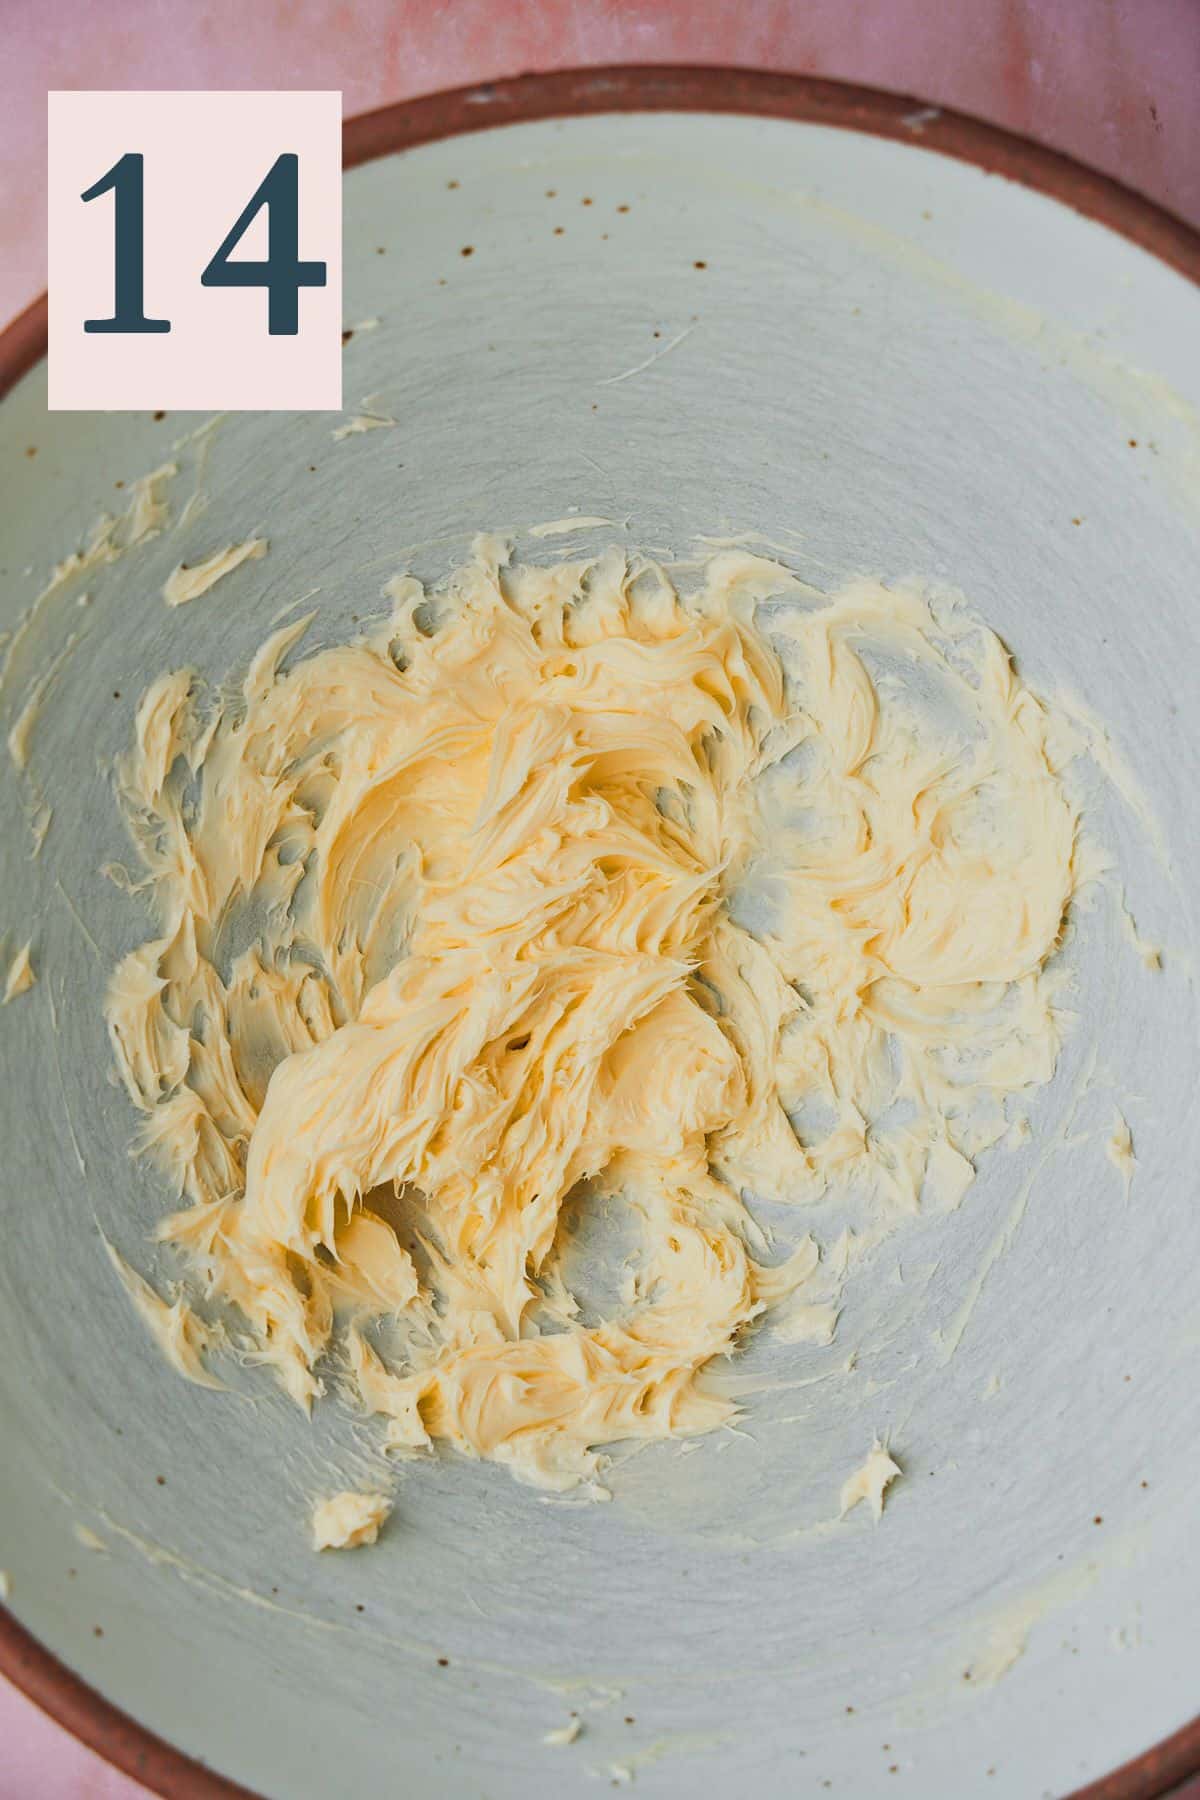
In a mixing bowl, mix together the slightly softened butter for about 4 minutes until smooth using a hand mixer or a stand mixer with the paddle attachment. The butter should become light fluffy and pale in color. (Image 14)
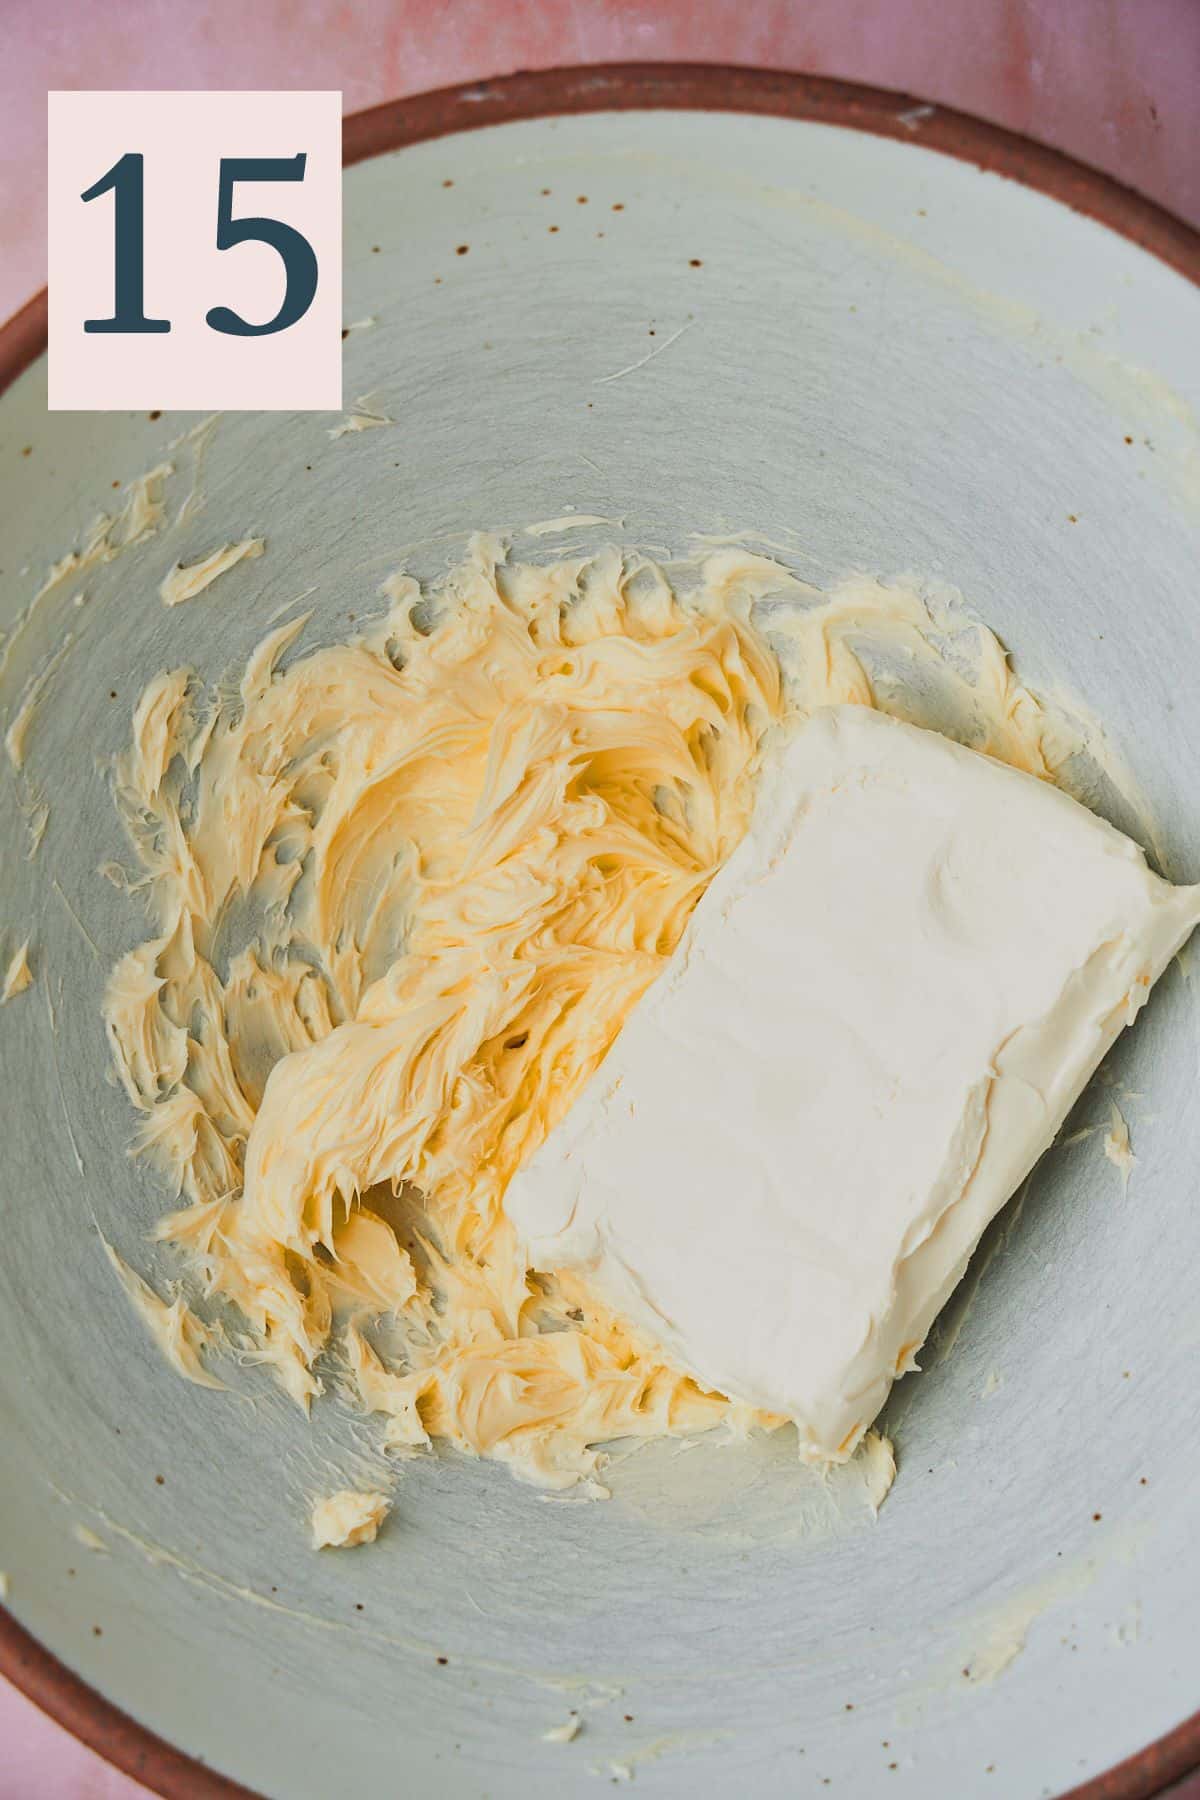
Add the cream cheese, (Image 15) and cream together for an additional 3-4 minutes, until the mixture is completely soft and free from lumps. Make sure to scrape the sides of the bowl a few times. (Image 16)
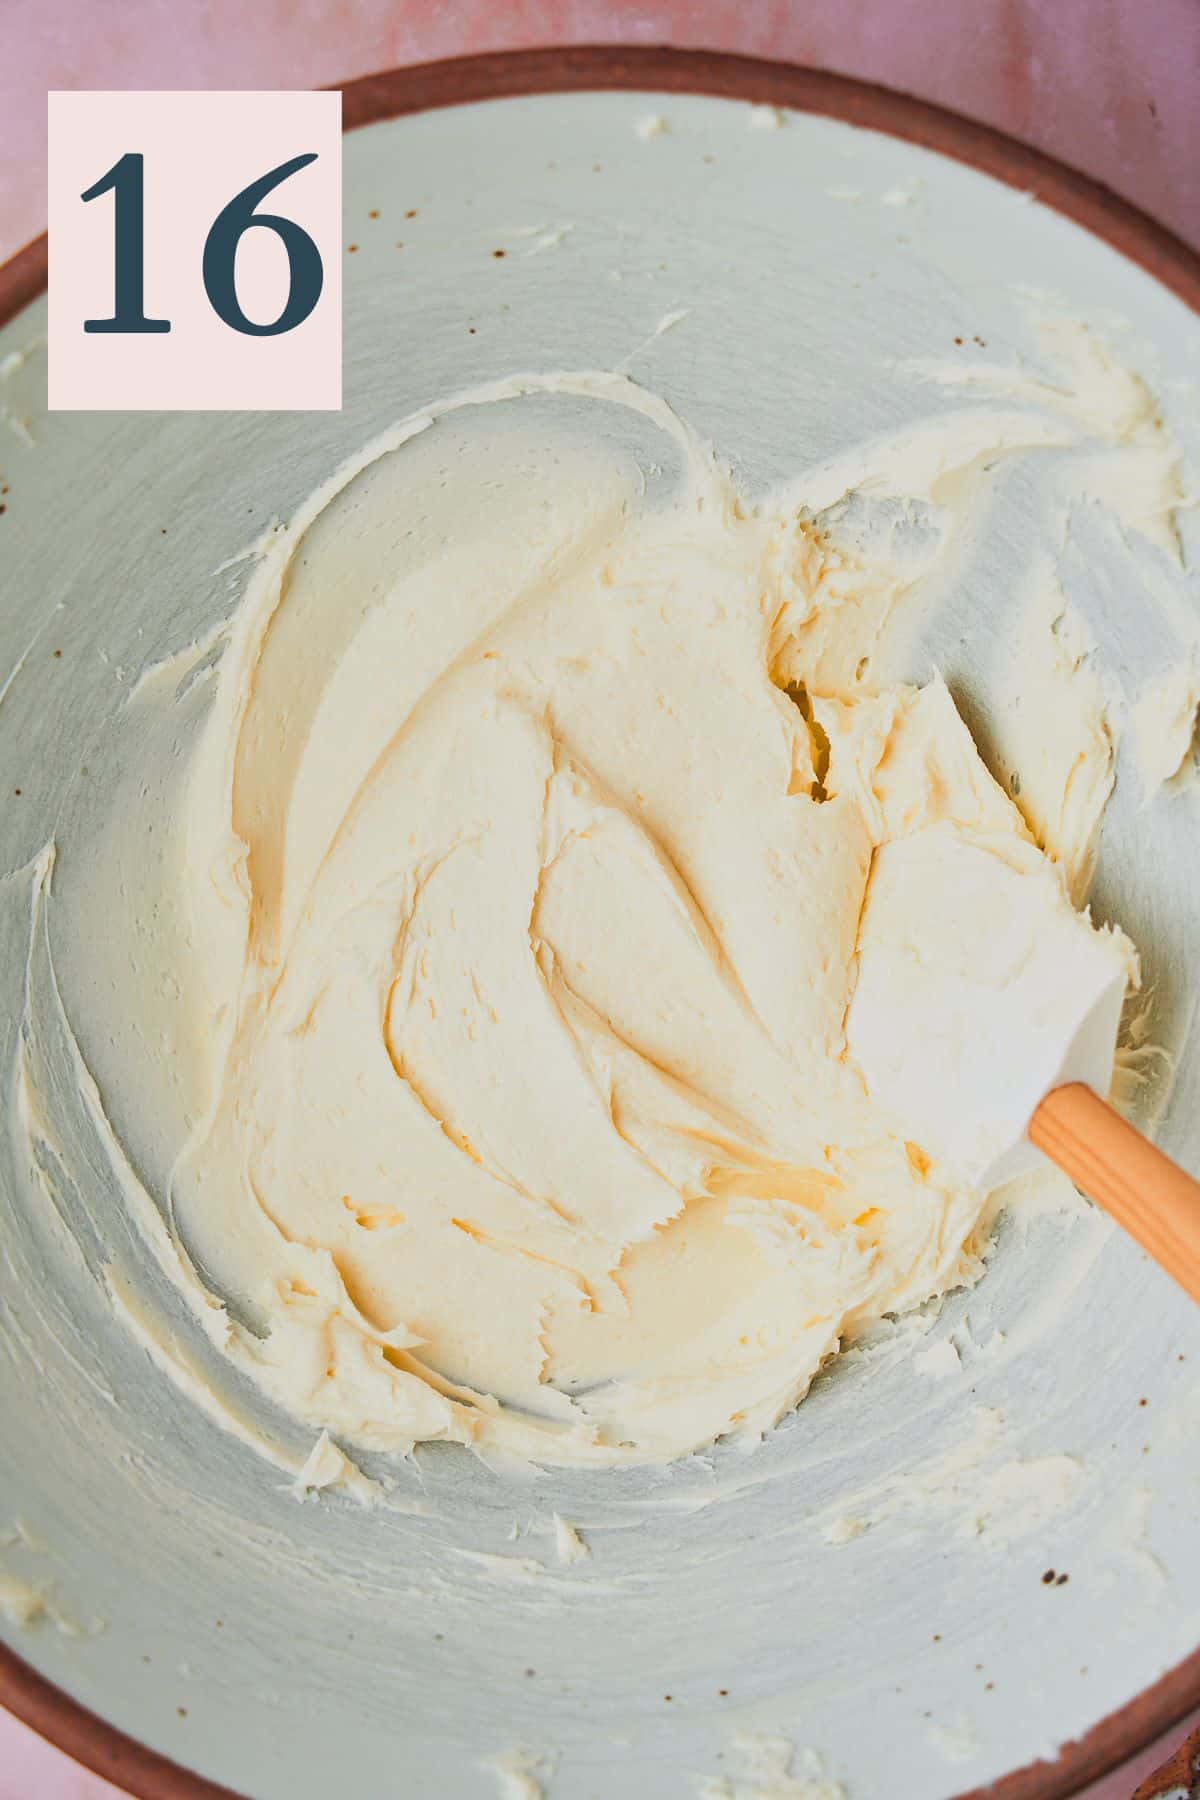
✨Pro Tip: You want to use butter and cream cheese that are just slightly softened for this recipe. That's because cream cheese frosting can become gloopy, so if it's a bit cold, it can hold it's shape better. You'll also want to take extra time to ensure the cream cheese and butter are super smooth and combined at this stage before the sugar is added!
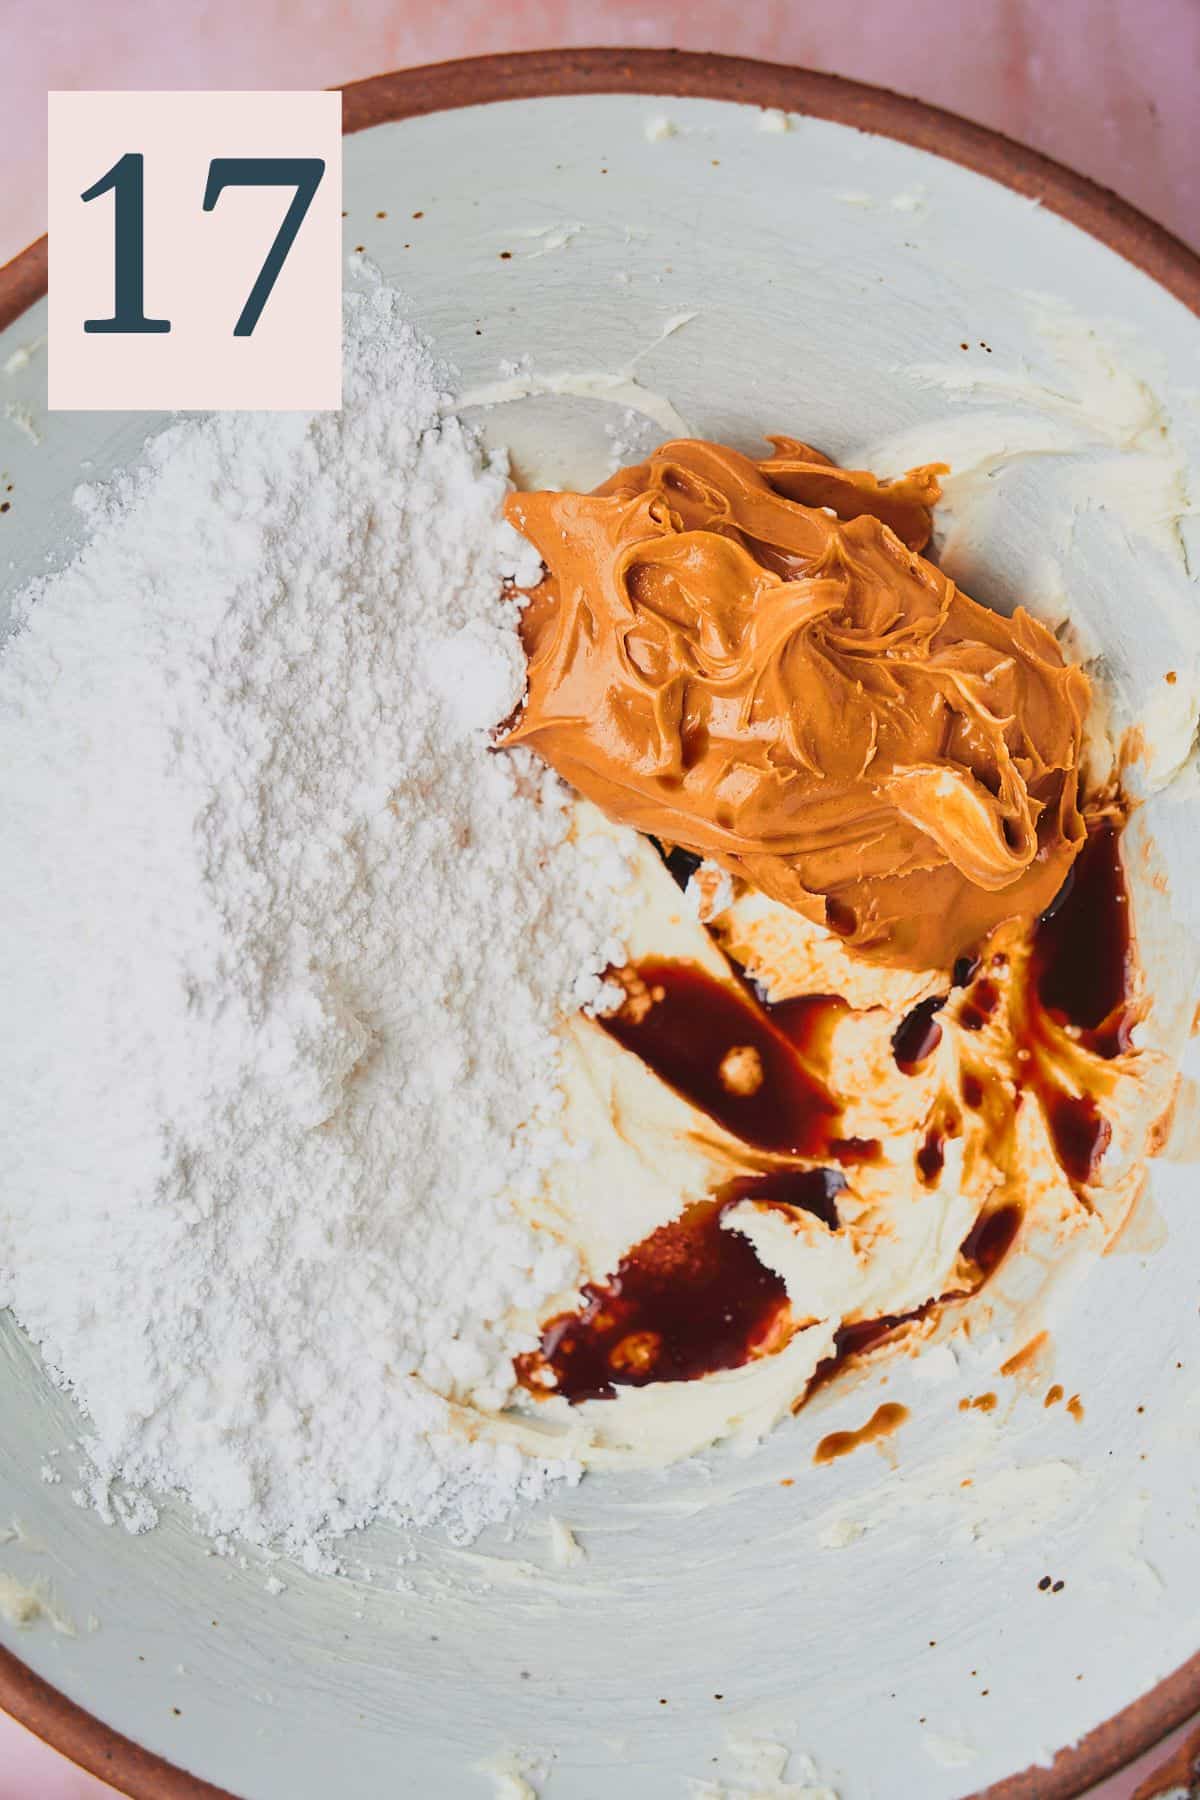
Add in the peanut butter, most of the powdered sugar, and salt. (Image 17)
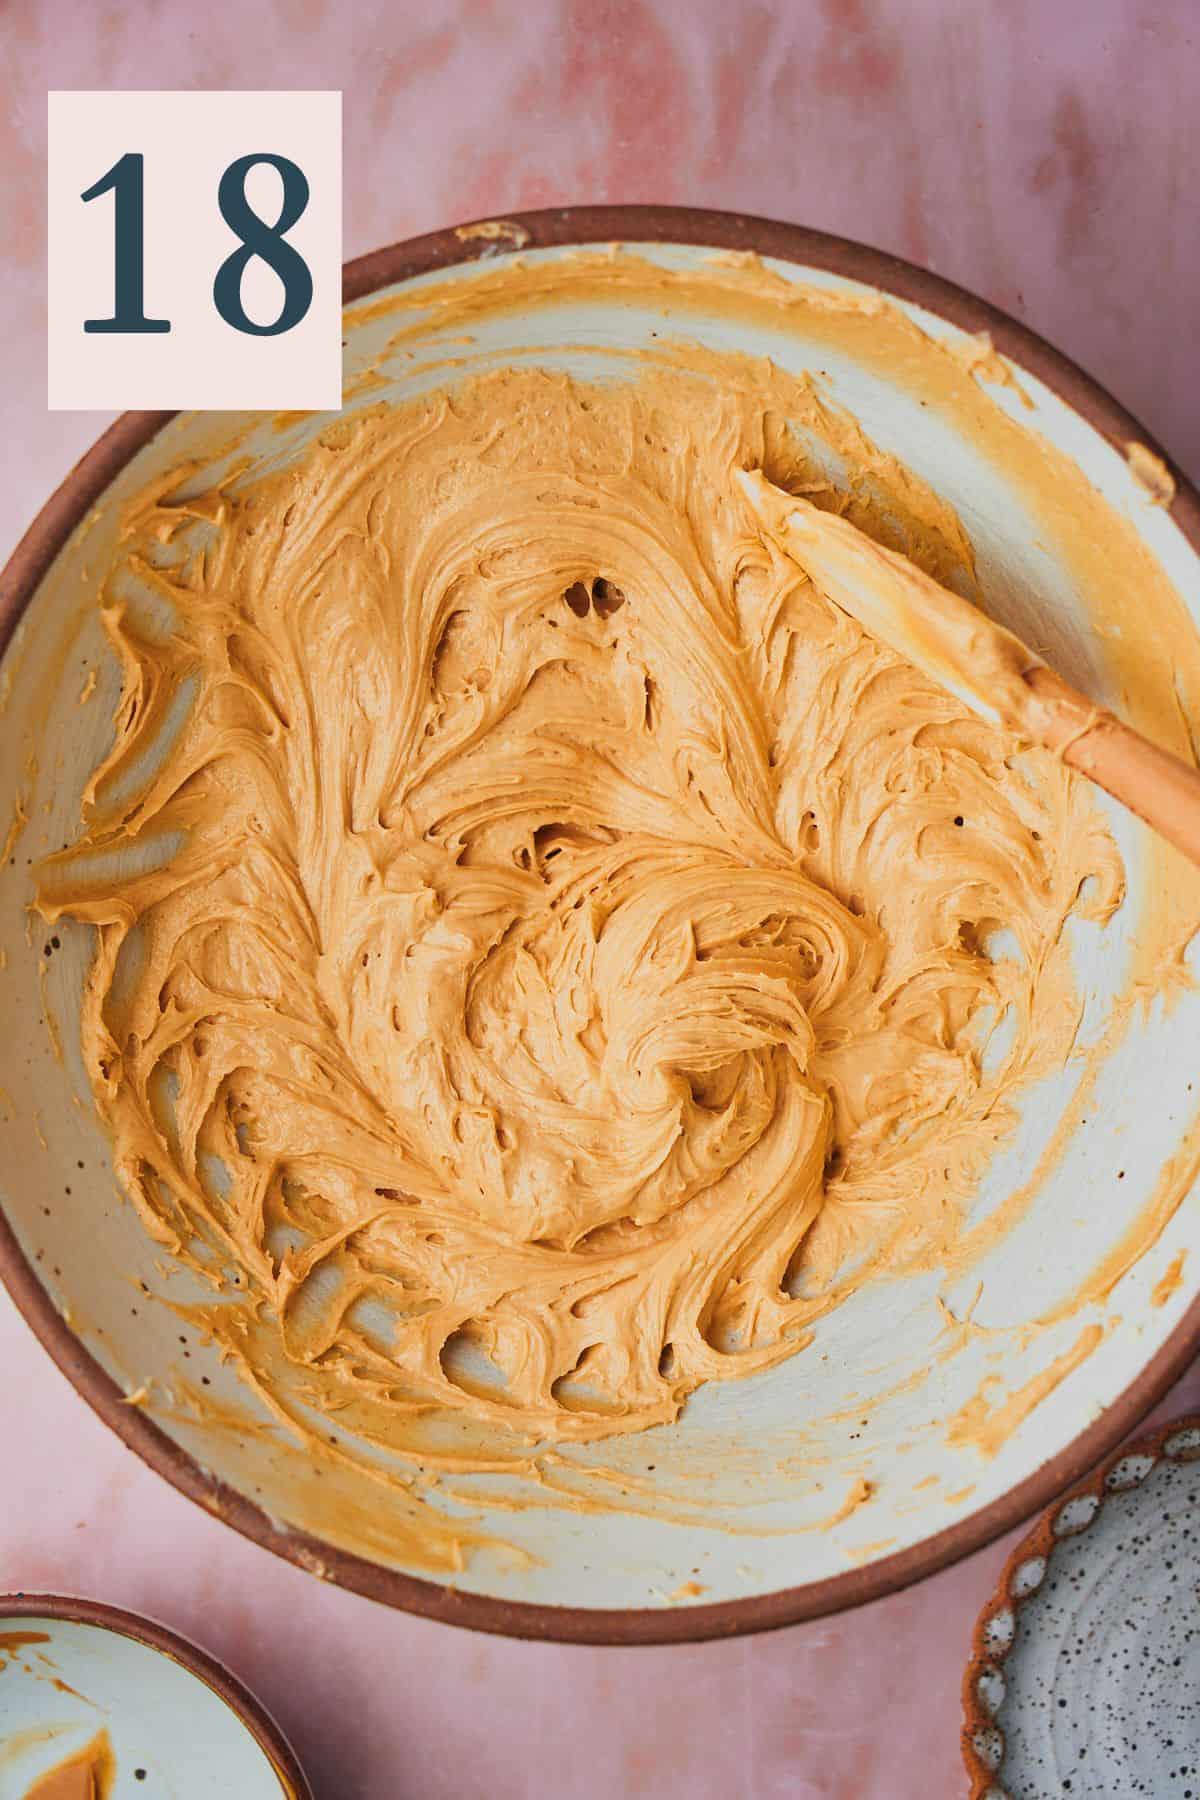
Mix together until nice and smooth. (Image 18) Add more powdered sugar if desired for a thicker texture or sweeter taste.
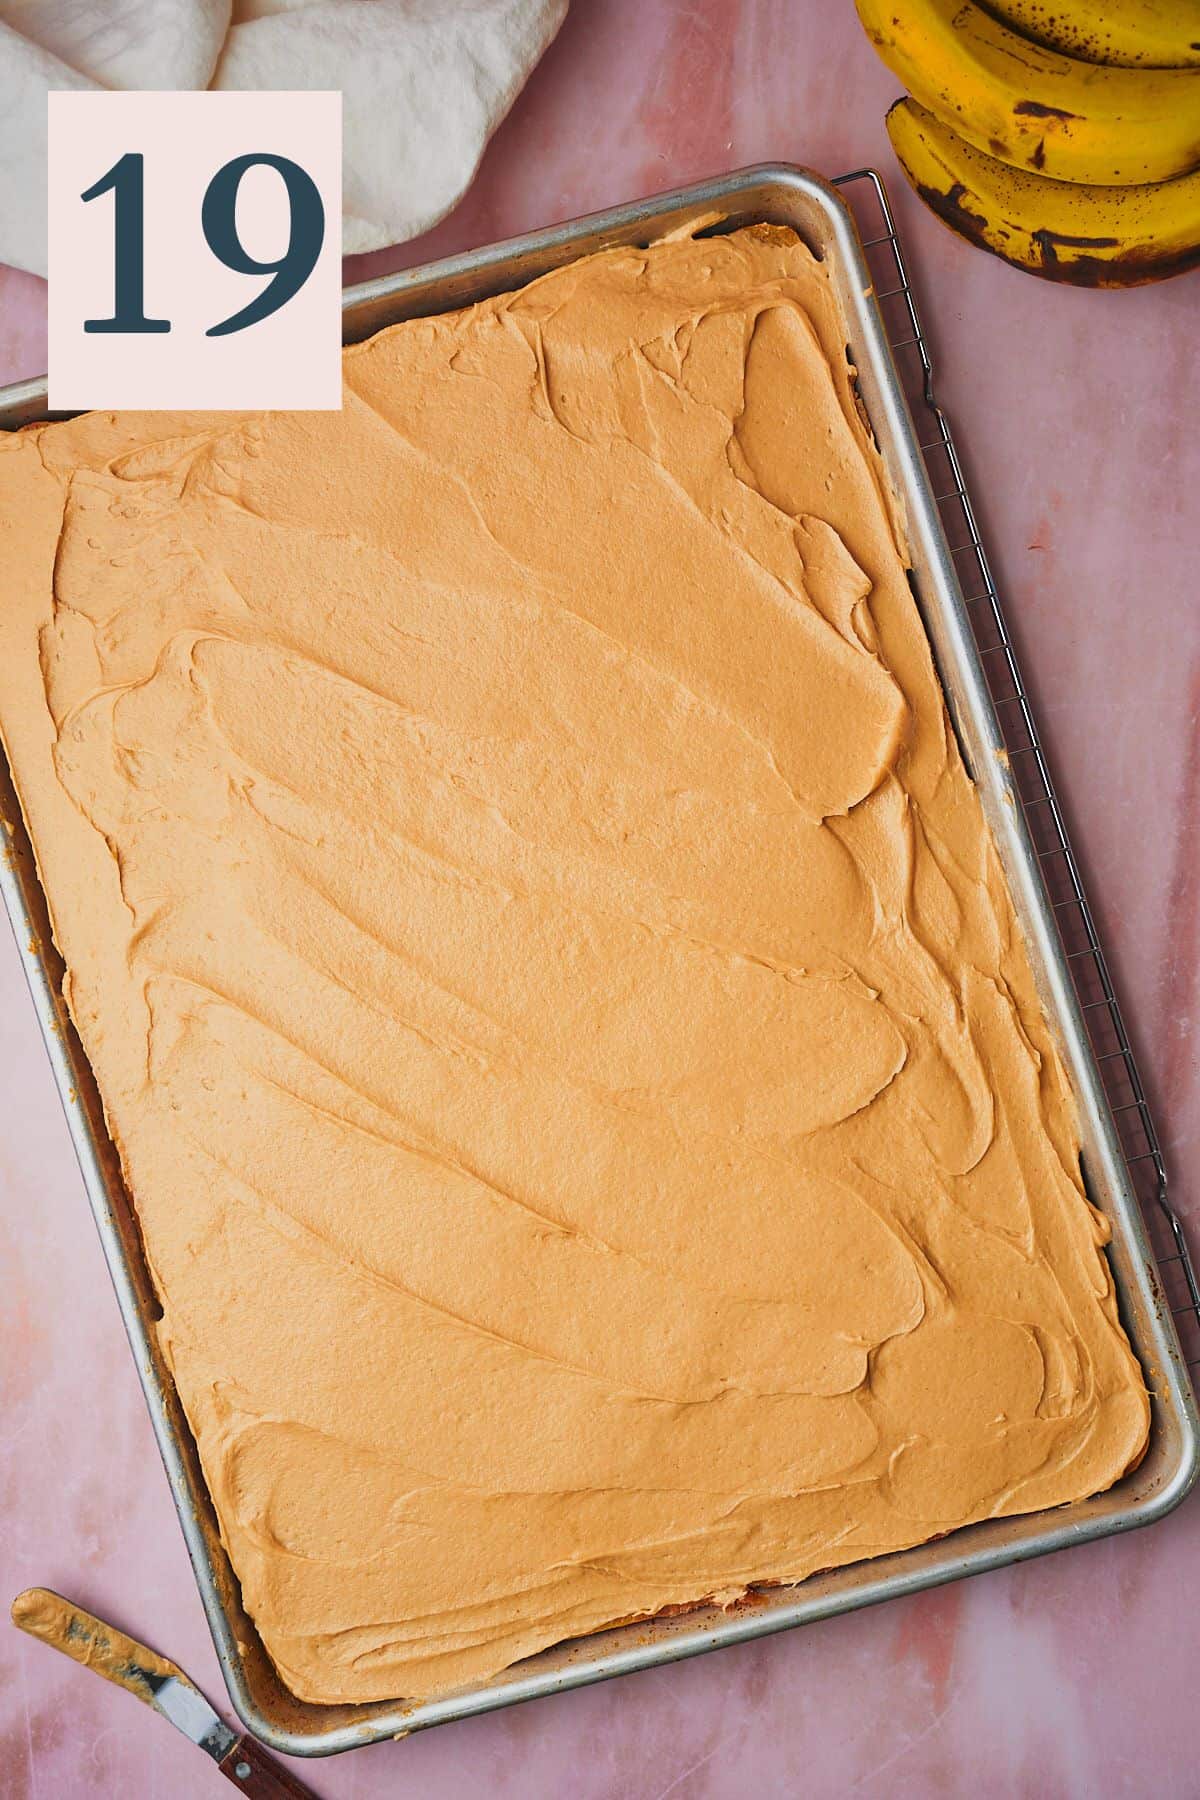
Once the cake has cooled completely, frost it using an offset spatula. (Image 19)
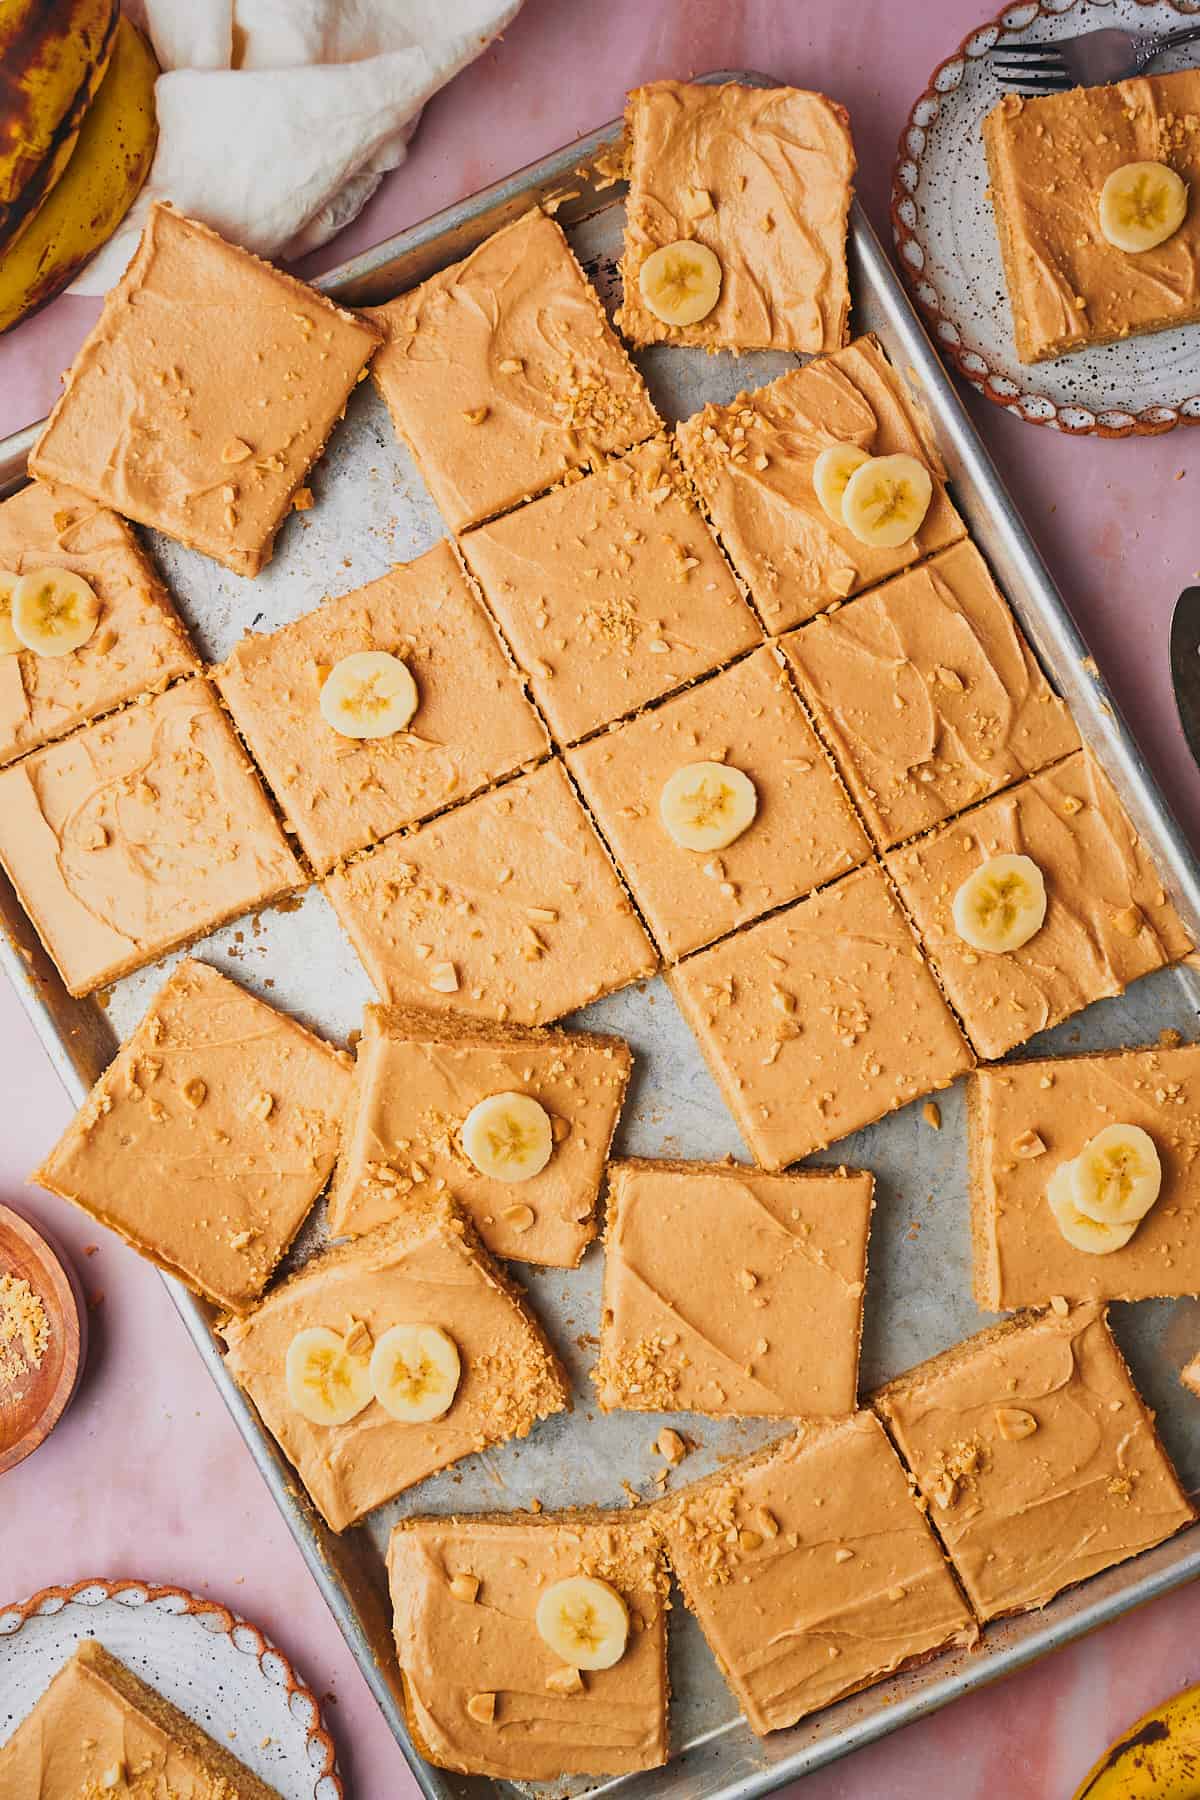
Now just decorate the cake with crushed peanuts and banana slices, cut into 24-pieces, and dig in!
✨Tips & tricks
- Use room temperature ingredients for the cake batter. Ingredients at room temperature will mix together much more smoothly. Set out the milk, eggs, and butter ahead of time so they aren’t super cold.
- For the frosting, we prefer working with cold or slightly softened butter and cream cheese. Cream cheese frosting can become a little runny over time, but for frosting that is on the stiffer side, take it out of the fridge about 20 minutes before using, and that’s it. You want the butter and cream cheese to be quite cold so that they hold their shape.
- Alternate dry and wet ingredients. When adding the flour mixture and homemade buttermilk, this method ensures even incorporation without overmixing.
- Measure accurately. Use a kitchen scale if you have one, as the sizes of cups vary. Accurate measurements can take a baked good from good to great!
- Use a standardized creamy peanut butter. We like using JIF for consistent results. Natural peanut butter won’t work as well because there is a lot of variation between different brands. Some brands will be more oily than others, and that can impact the final texture of the frosting. I do not suggest using crunchy peanut butter.
Need supplies? Shop our Amazon store! Stock your pantry, and find all of our favorite kitchen tools! A Full Living LLC earns a small commission through purchases on our storefront to help support this site.
💭Frequently Asked Questions
Store the frosted cake in the refrigerator to keep the cream cheese frosting from spoiling. Store in an airtight container for up to 4-5 days. Allow it to sit at room temperature for 30 minutes or so before serving for the best texture.
Of course! The frosting and cake layers can be made in advance and stored in the fridge (or freezer for the unfrosted cake) for easy assembly. It can also make your life a little easier and help to ensure you take your time at each step!
You can make this up to 3 days in advance of serving and store (separately) in the fridge. When it comes time to serve, frost, decorate and enjoy!
Yes, you can. Freeze frosted cake pieces in tightly wrapped plastic wrap for up to 1 month. Thaw in the fridge overnight. It’s best to freeze the cake separately from the frosting whenever possible, as the cream cheese frosting will change in texture over time. The unfrosted cake itself can remain frozen for up to 3 months.
Yes, it should be fine to use two 9x13-inch baking sheets instead of a 15x21-inch sheet. This will give you either 2 thin cake layers, or, you can make extra frosting to keep it in a sheet cake form.
If you opt for using smaller pans, you may just need a little less baking time, so keep a close eye on the cake after 10-15 minutes of baking, and test every 5 minutes with a toothpick until it comes out mostly clean.
Unfortunately, we haven't tested this cake in other pans, but we suspect if you use a deeper pan, that you will need 35-40 minutes for it to bake. If you try it, let us know how it goes in the comments!
More Recipes To Consider
Did you try this recipe? Make sure to leave a 5-star review below! 🌟 This helps other readers find our recipes and encourages them to try them. Also, be sure to leave a comment with your experience. Follow along, and tag @AFullLiving on Instagram with your photos!
📖 Recipe
Peanut Butter Banana Cake
Equipment
- hand mixer (or stand mixer with paddle attachment)
- digital kitchen scale
Ingredients
Cake
- 1 cup milk (can be subbed for buttermilk. If using buttermilk omit vinegar and add 1.5 tablespoons of buttermilk)
- 1.5 tablespoons apple cider vinegar sub white distilled vinegar
- 2.5 cups all purpose flour 300 grams
- 1 ½ teaspoons baking powder
- ½ teaspoon baking soda
- 1 teaspoon kosher salt
- ¾ teaspoon cinnamon optional
- 1.5 cups ripe bananas, mashed (About 3 large bananas, but will depend on the size of the bananas you have. You need about 340 grams total).
- ½ cup unsalted butter softened (1 stick)
- 1 ¼ cups granulated sugar
- ½ cup light brown sugar
- ¼ cup avocado oil sub other neutral oil
- 3 large eggs room temperature
- 1 tablespoon vanilla extract
Peanut butter cream cheese frosting
- ½ cup unsalted butter softened (1 stick)
- 8 ounces cream cheese room temperature (1 block)
- ¾ cup creamy peanut butter standard, like JIF
- ½ teaspoon kosher salt
- 2-3 cups powdered sugar as needed and to taste
- 1 tablespoon vanilla extract
- Crushed peanuts and banana slices for topping
Instructions
Banana cake
- Preheat the oven to 350°F. Grease a 15x21-inch baking sheet and set aside.
- In a small container, combine 1 cup milk and 1.5 tablespoons of apple cider vinegar to make homemade buttermilk. Set aside while you work on the rest of the cake.
- In a separate small bowl, mash together the bananas using a hand mixer, or by hand. You will need a total of 340 grams or 1.5 cups of mashed banana. Please be sure to measure as banana sizes vary.
- In a separate small bowl, whisk together 2.5 cups of flour, 1.5 teaspoons of baking powder, ½ teaspoon of baking soda, 1 teaspoon of kosher salt, and ¾ teaspoon of cinnamon (optional). Set aside.
- Using a handheld electric mixer or a stand mixer with the paddle attachment, beat 1 stick of unsalted softened butter, 1.25 cups of white sugar, and ½ cup of brown sugar on medium speed until beginning to come together—about 3-4 minutes. Make sure to scrape the bowl a couple of times to ensure everything is incorporated. It will be a bit lumpy at this point.
- Add the 3 eggs, 1 tablespoon of vanilla, and ¼ cup of avocado oil. Beat on medium-high speed until completely incorporated. Next, mix in the mashed bananas. Scrape down the sides and up the bottom of the bowl to ensure everything is completely incorporated.
- Sift in about a third of the dry ingredients, and mix with the mixer on low until just combined. Then, add in about a third of the homemade buttermilk mixture and combine gently. Continue alternating the dry ingredients and the buttermilk and mix on low speed until each addition just until incorporated. Do not overmix, or the cake will become dense. The batter will be thick, and it may have a few lumps.
- Pour the batter into the prepared baking dish and smooth the top using an offset spatula or rubber spatula. Bake in the preheated oven for 25-30 minutes or until a toothpick inserted into the center comes out clean.
- Once the cake is done, remove it from the oven and let it cool completely in the baking pan on a wire rack.
Frosting and serving
- Meanwhile, make the frosting while the cake is cooling. In a mixing bowl, mix together the 1 stick of softened butter for about 4 minutes until smooth using a hand mixer or a stand mixer with the paddle attachment. The butter should become light fluffy and pale in color.
- Add 8 ounces. ofcream cheese, and cream together for an additional 3-4 minutes, until the mixture is completely soft and free from lumps. Make sure to scrape the sides of the bowl a few times.
- Add in ¾ cup of peanut butter, most of the powdered sugar (about 2 cups), 1 tablespoon of vanilla extract, and ½ teaspoon salt. Mix together until nice and smooth. Add more powdered sugar if desired for a thicker texture or sweeter taste.
- Once the cake has cooled completely, frost it and dig in!
- Store leftovers in an airtight in the container in the fridge for up to 5 days.
Notes
- Use room temperature ingredients for the cake batter. Ingredients at room temperature will mix together much more smoothly. Set out the milk, eggs, and butter ahead of time so they aren’t super cold.
- For the frosting, we prefer working with cold or slightly softened butter and cream cheese. Cream cheese frosting can become a little runny over time, but for frosting that is on the stiffer side, take it out of the fridge about 20 minutes before using, and that’s it. You want the butter and cream cheese to be quite cold so that they hold their shape.
- Alternate dry and wet ingredients. When adding the flour mixture and homemade buttermilk, this method ensures even incorporation without overmixing.
- Measure accurately. Use a kitchen scale if you have one, as the sizes of cups vary. Accurate measurements can take a baked good from good to great!
- Use a standardized creamy peanut butter. We like using JIF for consistent results. Natural peanut butter won’t work as well because there is a lot of variation between different brands. Some brands will be more oily than others, and that can impact the final texture of the frosting. I do not suggest using crunchy peanut butter.

Briana says
Sorry about that. Typo, yes, 9-inch round cake pans!