
These decadent Red Velvet Oreo Cookies combine the flavors of red velvet and chunks of Oreos - with two types of chocolate! They're fudgy and chewy with crispy edges, loaded with melty chocolate, and topped with crushed Oreos. These cookies are perfect for holidays like Christmas or Valentine's Day, special occasions, or anytime you're craving the perfect cookie!

Save This Recipe! 💌
These cookies are an absolute HIT! They're everything you could want in a cookie.
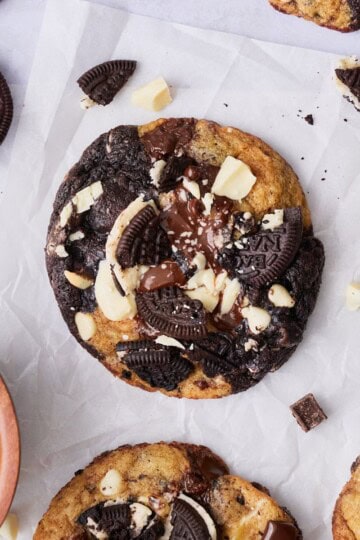
Just like our cookies and cream cookies, they're packed with two types of chocolate and plenty of crushed cookies! And similar to our black and white chocolate chip cookies, you get the best of both worlds, with a little of both!
Love red velvet? Also, make sure to try our deliciously decadent and fudgy red velvet brownies!
You may also love these delicious marshmallow chocolate chip cookies and these loaded brownies with Oreos!
Jump to:
❤️Why We Love This Recipe
- Perfect textures. These cookies have it all - a fudgy, chewy center, slightly crispy edges, melty chocolate chunks, and crunchy Oreo pieces throughout.
- Show-stoppers! The vibrant red color makes these cookies absolutely gorgeous, especially with the contrast of dark chocolate chunks and Oreo pieces on top.
- Easy to make. Even though these cookies look impressive, they are straightforward to make with simple ingredients you can find at any grocery store.
- Make ahead friendly. The dough can be chilled overnight, or even made ahead and stored in the freezer, making it perfect for planning ahead for parties or events.
- Great for gifting. These unique cookies are sure to impress and make perfect gifts for holidays or special occasions.
🍪Ingredients
Here are the ingredients we used for this recipe. You can find more information for substitutions below.

- Dark brown sugar & white sugar. The brown sugar gives the cookies an incredible molasses-like flavor and chewy, fudgy texture. The white sugar helps the cookies get crispy edges. We recommend using a combination of both sugars for the perfect texture.
- Butter. We recommend using unsalted butter if possible so you can completely control the salt level in these cookies.
- Red food coloring. We highly suggest using red gel food coloring, because a little bit goes a long way for a lot of impact in the color department, without impacting the texture of the cookie dough.
- Egg and egg yolk. Adding an egg yolk instead of a whole additional egg makes these cookies extra fudgy! Try to make sure the eggs are at room temperature so they mix well into the batter.
- Kosher salt. We always use Diamond Crystal kosher salt in our kitchen. Recently, they released a fine-grain baking salt that's perfect for this recipe! If using table salt or Morton's use less salt, as they are saltier than Diamond Crystal.
- Cocoa powder. We always use Dutch-processed cocoa powder, because it has such a rich, chocolatey flavor and deep color. With that said, any cocoa powder will work for this recipe!
- Espresso powder. Technically optional, but will really deepen the chocolate flavor and enhance the brownie!
- Chocolate. We recommend using a mixture of different kinds of chocolate, as well as different textures! We used regular and mini white chocolate chips, along with dark chocolate chunks for lovely melty pools of chocolate. We like the mix of dark and white chocolate, because the dark chocolate offsets some of the sweetness of the white chocolate. You can use what you like here!
Visit the recipe card for the full quantities and nutritional information.
✨Substitutions & Variations
Here are a few suggestions on additional flavors to try, or simple variations to this recipe.
- Add browned butter. To really ramp up the flavor of these cookies, use melted browned butter instead of just plain melted butter! Here's our step-by-step guide on how to brown butter!
- No Dutch-process cocoa powder. Swap for natural cocoa powder.
- No dark brown sugar. Light brown sugar can be substituted for dark brown sugar, or you can also add a touch of molasses (about a tablespoon!) to achieve the same flavor and texture!
- Gluten-free. This cookie should work really well with your favorite 1:1 gluten-free flour blend in place of all-purpose flour, though we haven't tried it ourselves. Also, be sure to use gluten-free Oreos!
- Dairy-free. Use dairy-free butter, and chocolate chips for this recipe.
- Make them festive. Add seasonal sprinkles on top for holidays like Valentine's Day or Christmas to dress them up for any occasion!
This recipe hasn't been tested with any other substitutions or variations, so we can't guarantee any results. If you make a change, let us know how it goes in the comments below!
🔪Prep Work
- Bring egg and egg yolk to room temperature by setting them out on the counter for about an hour before beginning. To do this quickly, place the eggs in a bowl of warm water for about 10-15 minutes and you're good to go!
- Melt the butter, and let it cool slightly.
- Line baking sheets with parchment paper.
- Measure out the rest of the ingredients using a food scale.
📋Instructions
Crush the Oreos using a rolling pin or a food processor. You want some big chunks of cookies left. Set aside. (Image 1)

In a bowl, whisk together the flour, cocoa powder, salt, and baking soda until well combined. (Image 2)

⭑Pro tip: If you end up with chunks of cocoa powder in the mixture (like we did) we suggest sifting the dry ingredients into the wet ingredients later.
In a large bowl, cream together the melted and slightly cooled butter and both sugars until smooth, and the mixture is pale in color. (Image 3)
Add in the egg and the egg yolk. (Image 4)
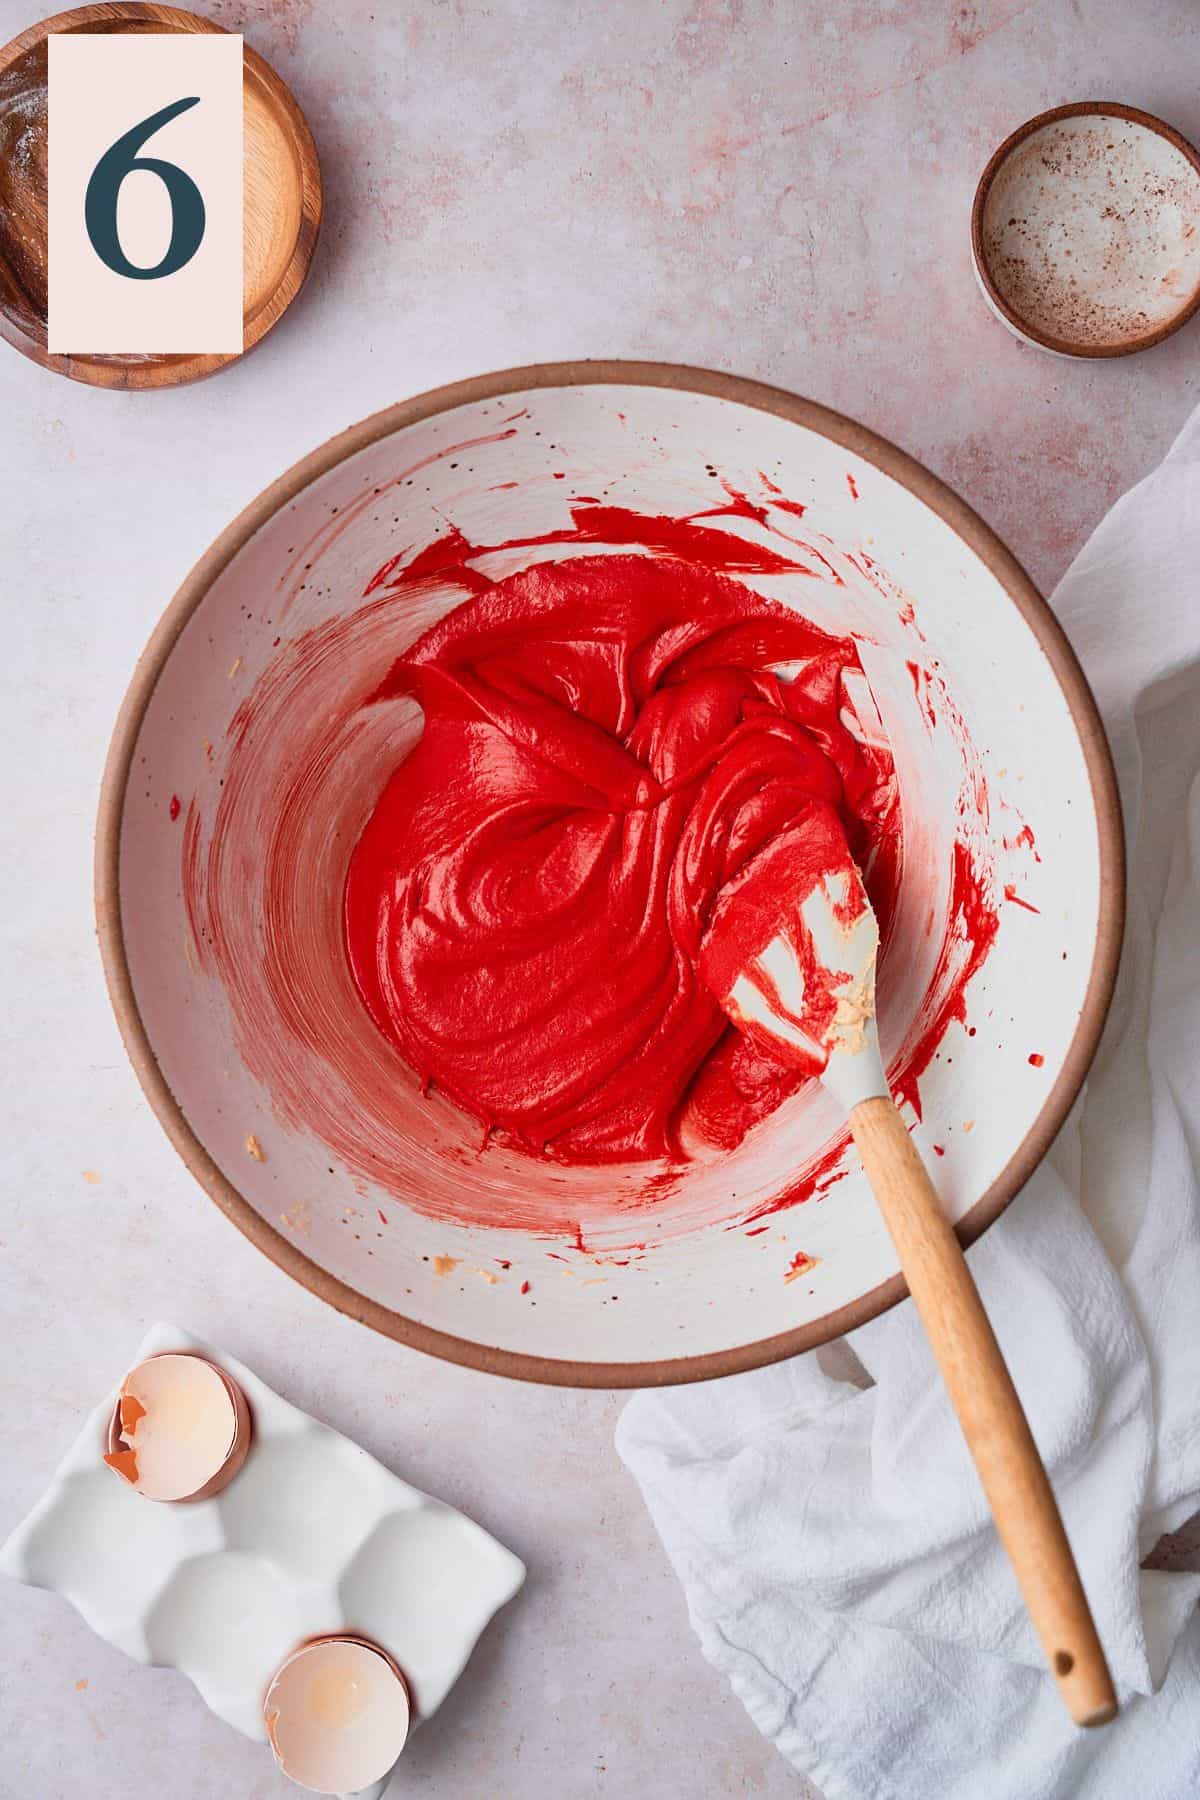
Mix again, then add in the red food coloring and vanilla (Image 5) and mix to combine again. (Image 6)
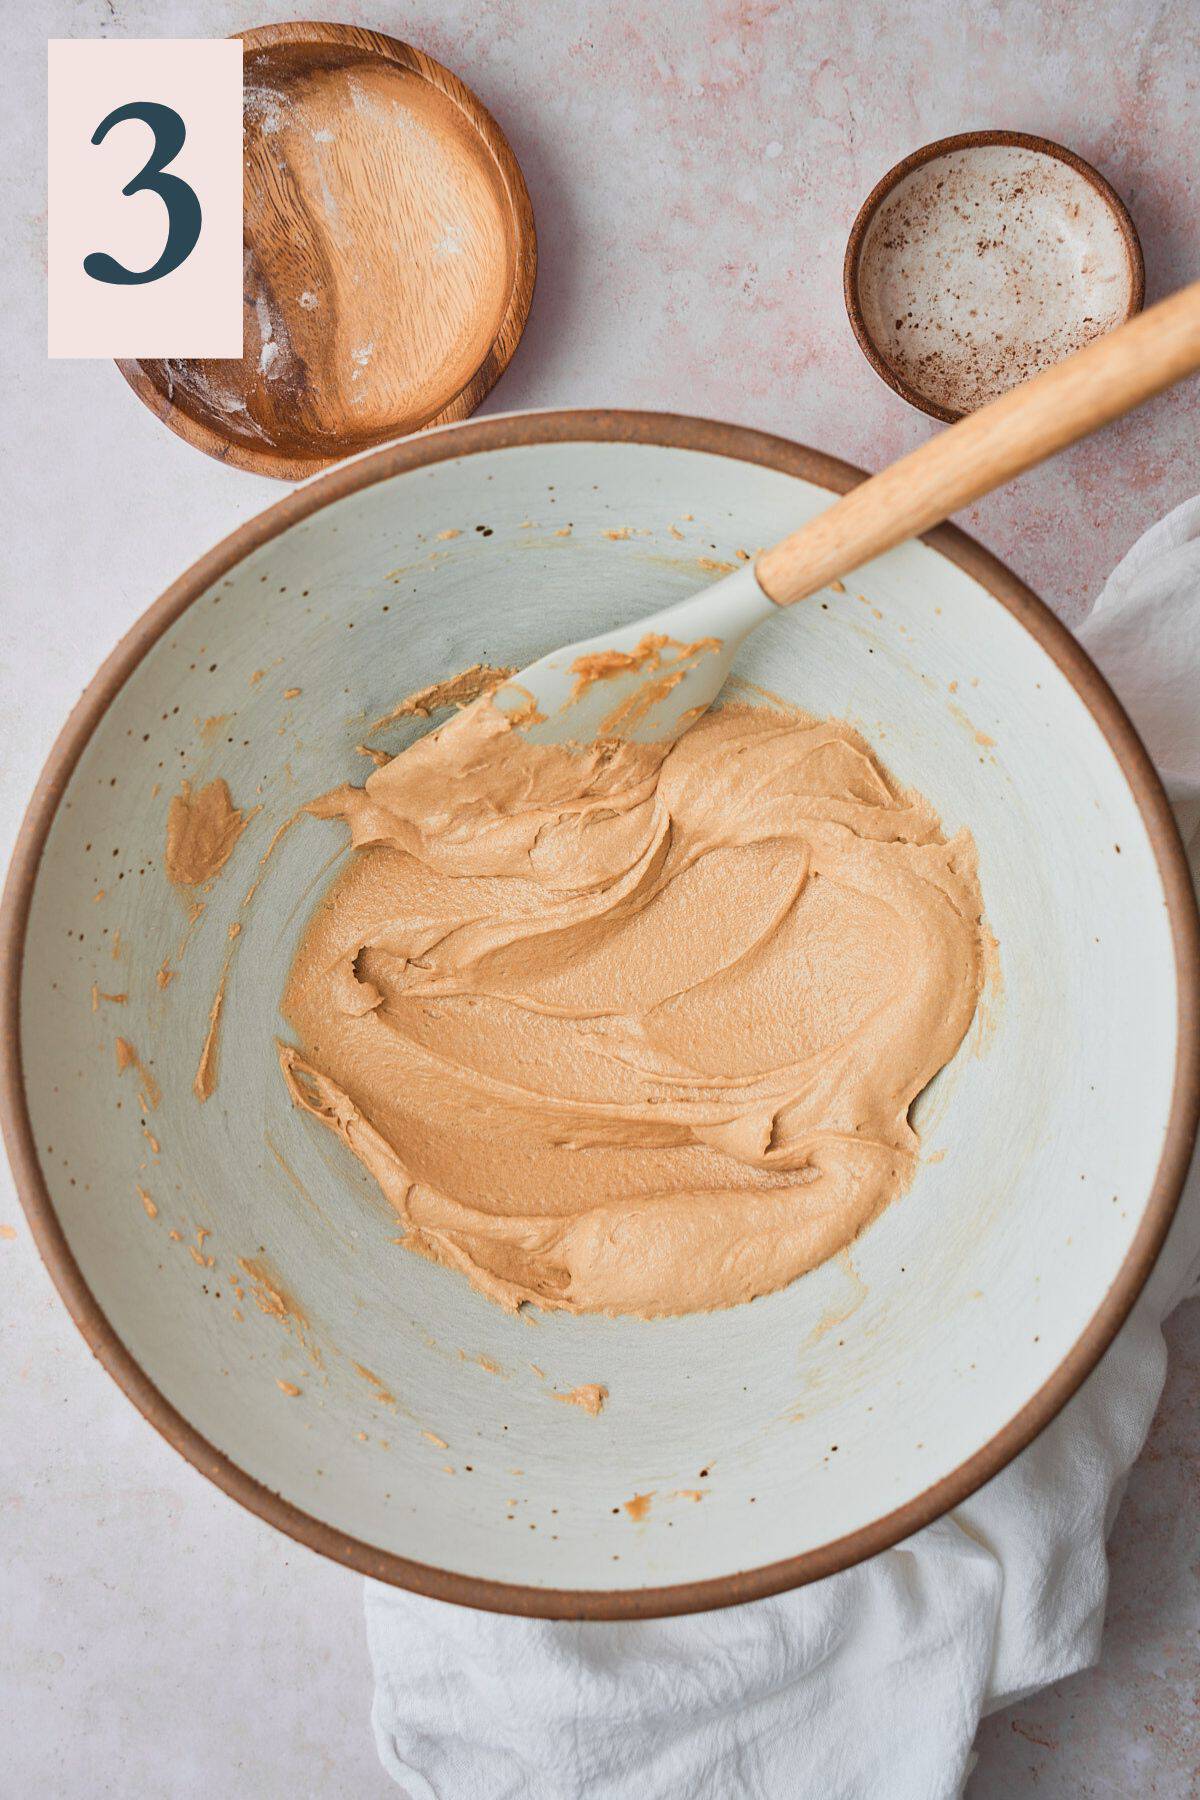


⭑Pro tip: We always recommend taking extra time to cream the butter and sugars, it helps the cookie have a great shape when it bakes, and prevents spreading!
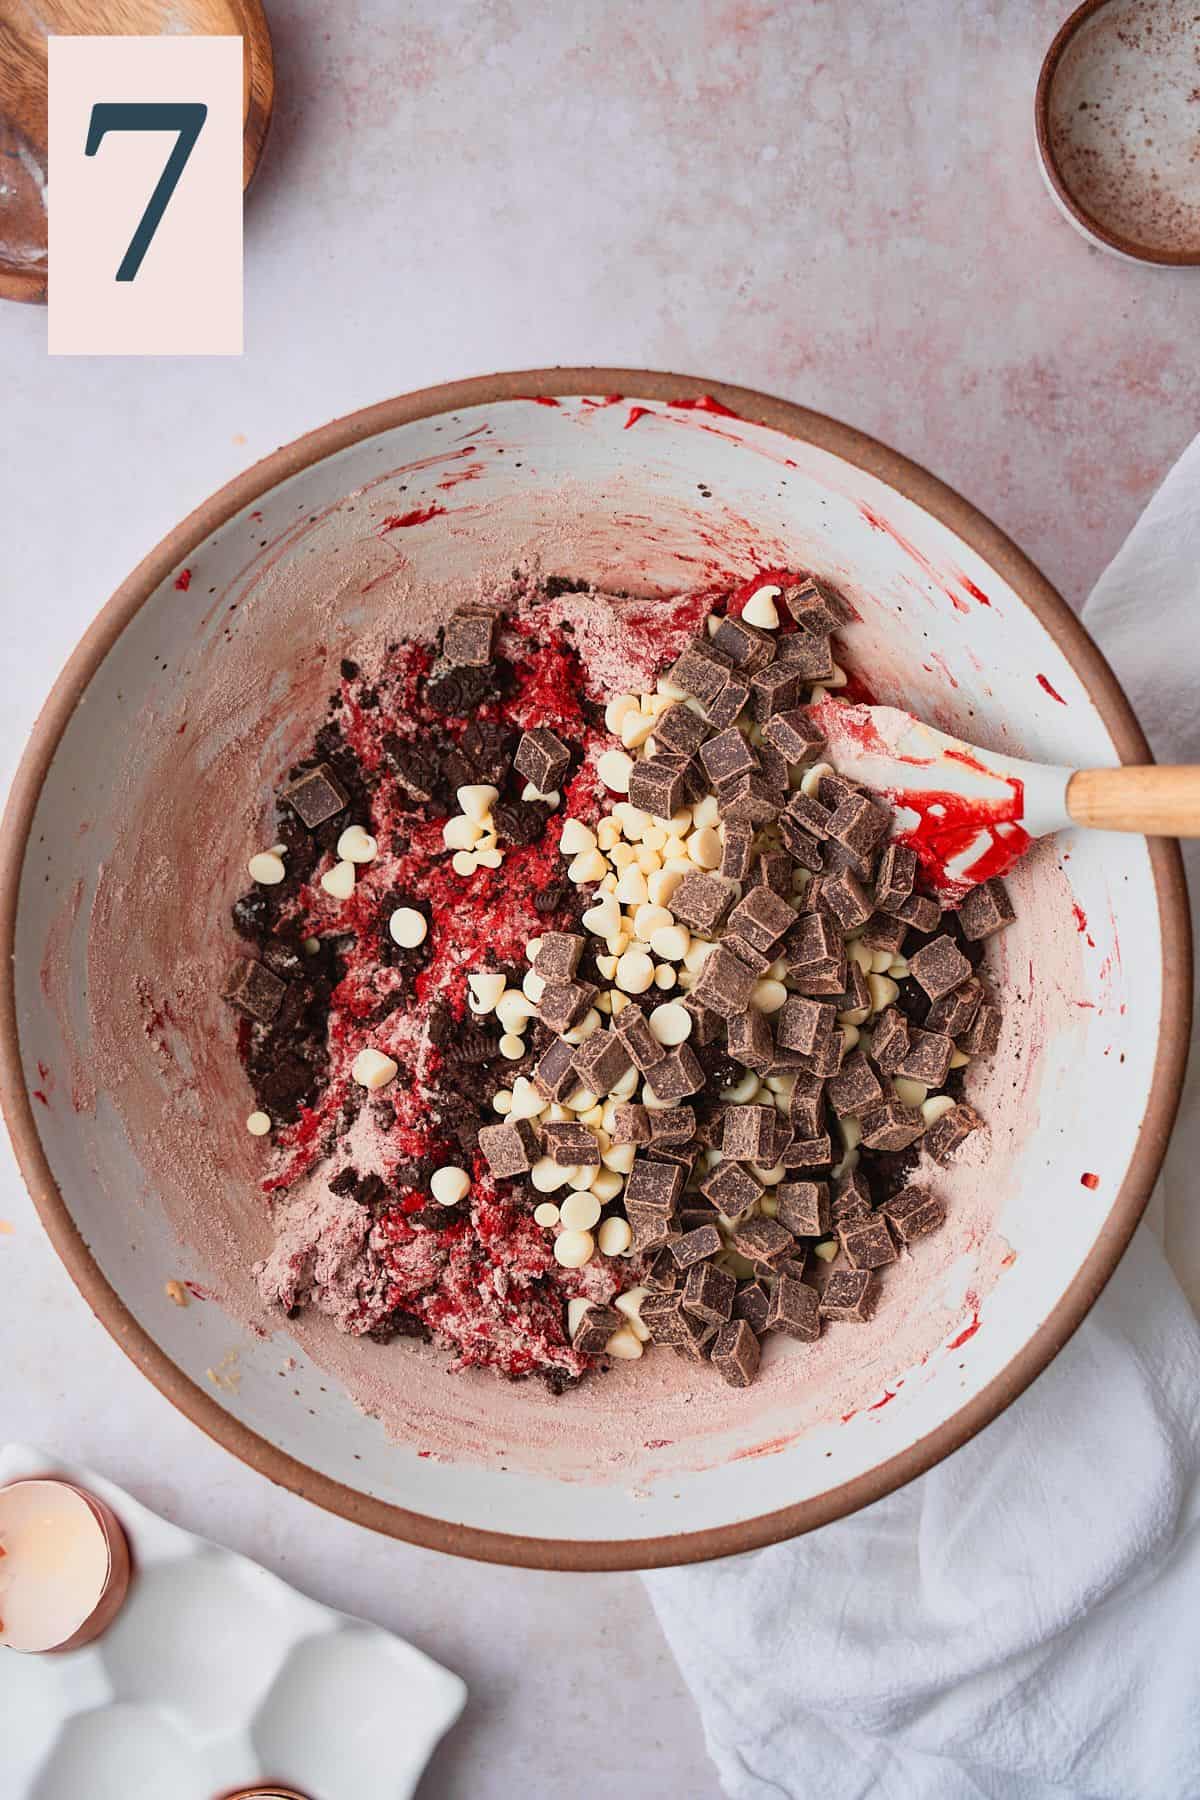
Sift in the dry ingredients and gently mix until about halfway combined. While there are still streaks of flour, fold in the chocolate chips, chunks, and crushed Oreo pieces, reserving some for topping the cookies later. (Image 7)
Mix until no more streaks of flour remain and stop. (Image 8)
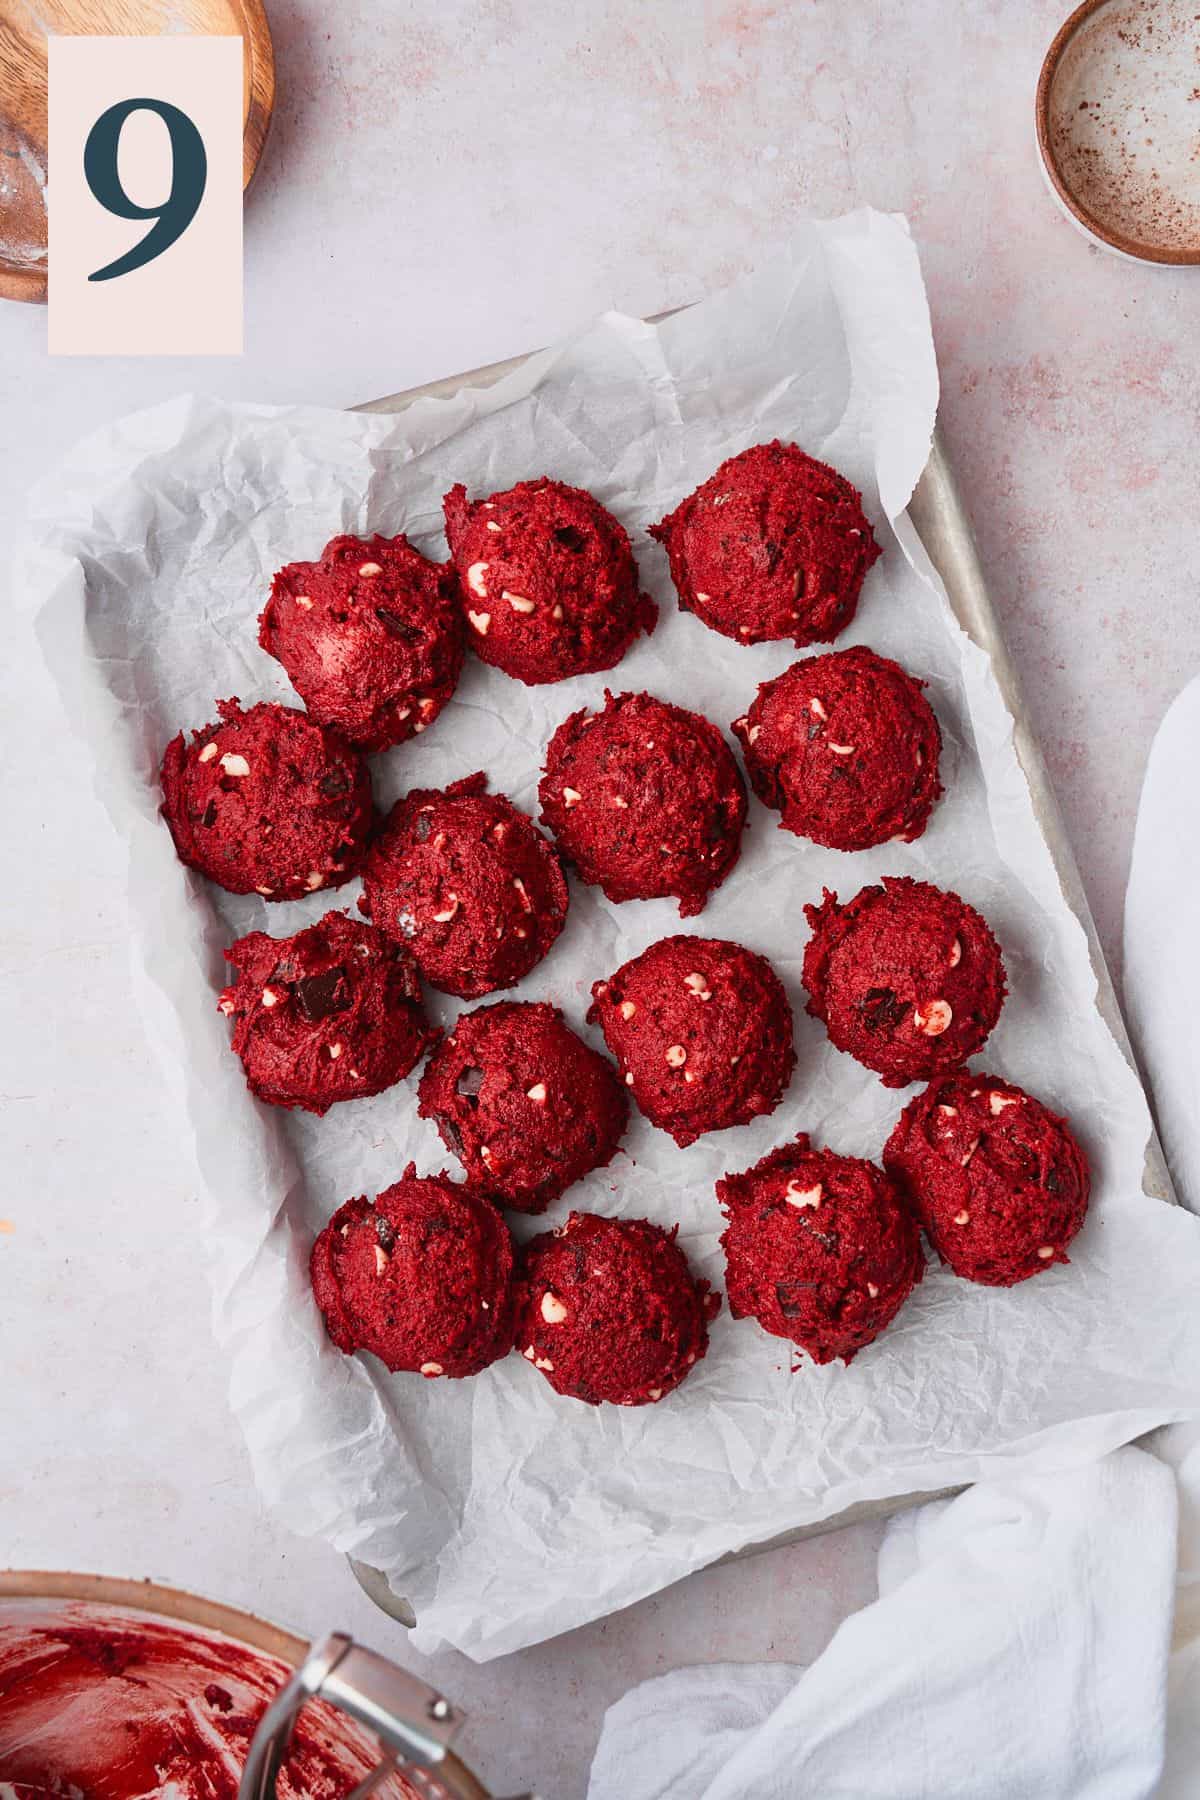
Using a large cookie scoop, portion the dough into 15-16 equal-sized scoops onto a parchment-lined baking sheet. (Image 9)
Chill the dough for at least 30 minutes while preheating the oven to 350°F.

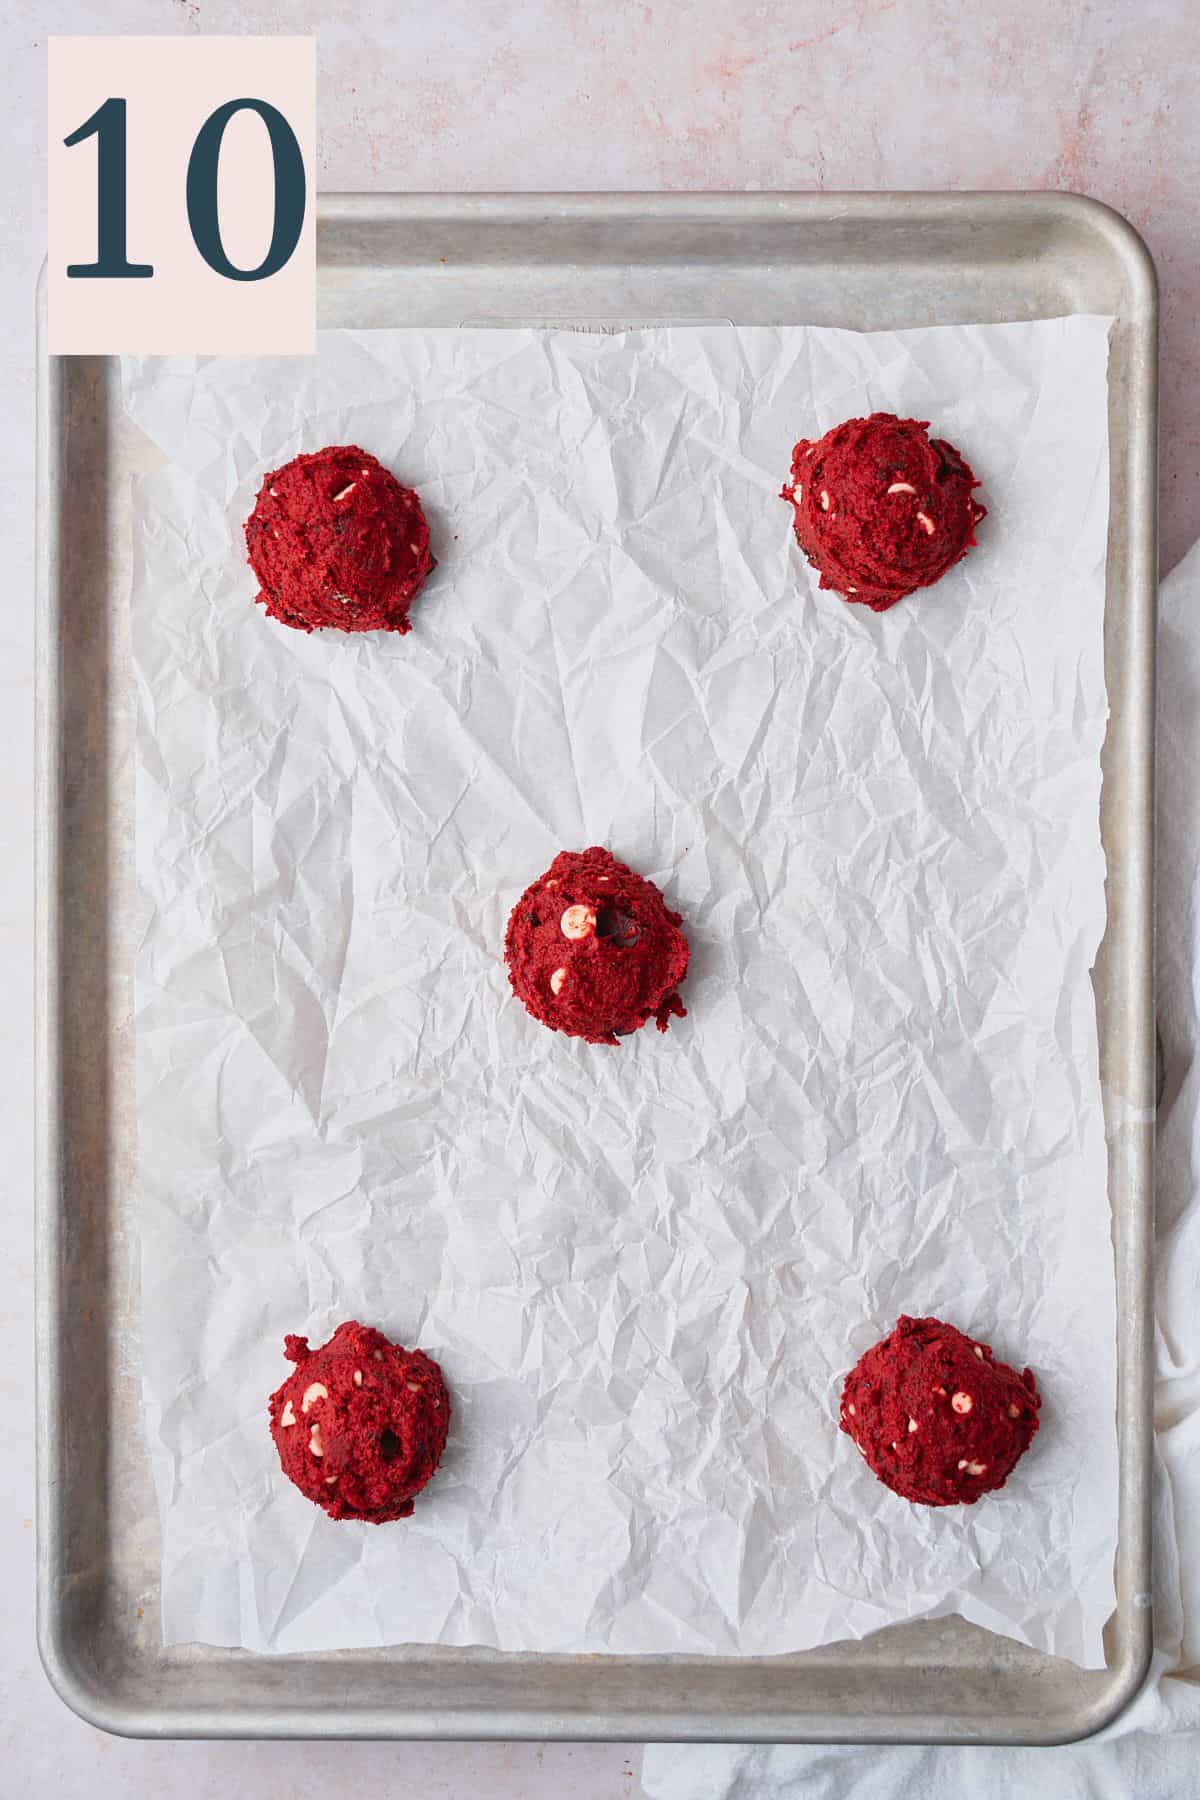
Bake 5 cookies at a time, giving them plenty of space between each other, (Image 10) for 11-12 minutes.
As soon as they come out of the oven, use a round cookie cutter or spatula to "scoot" them into perfect circles. (Image 11)
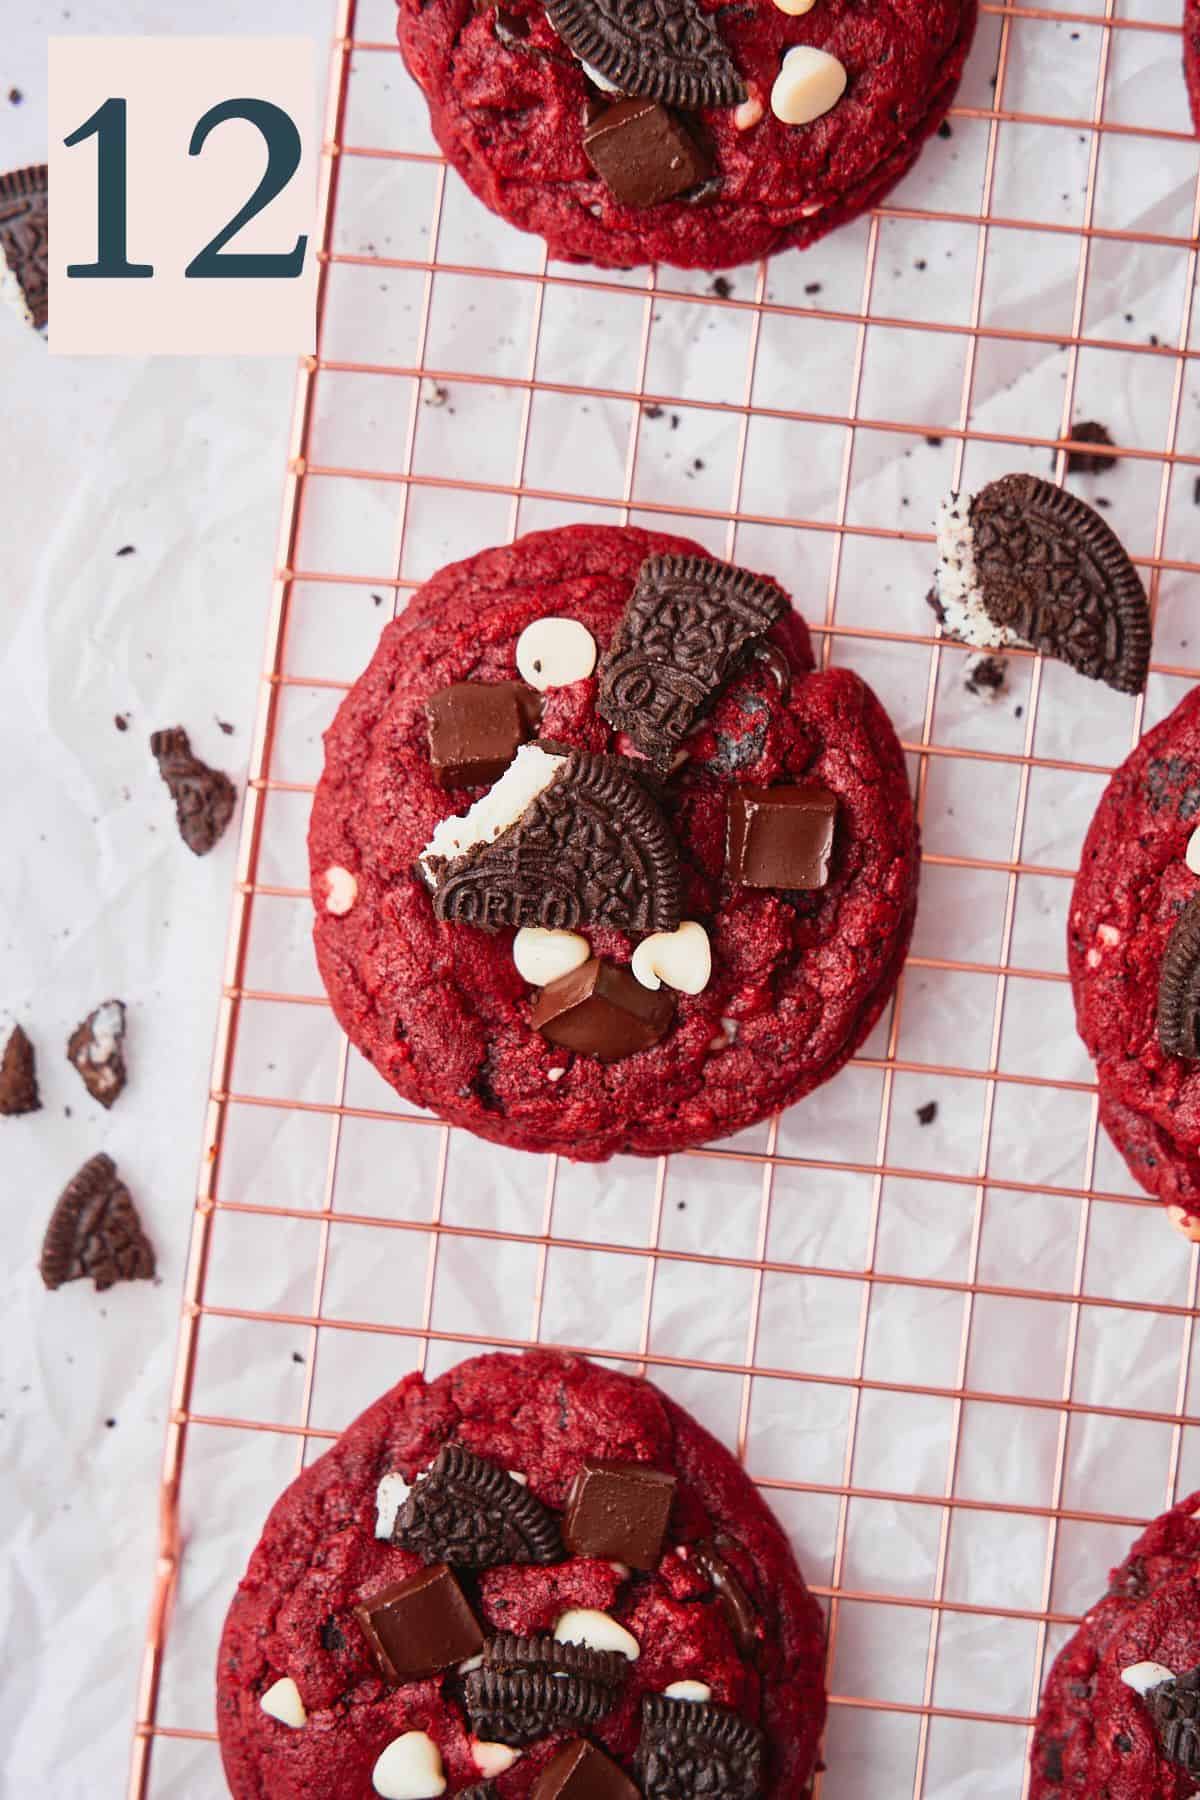
Top immediately with additional chocolate chips/chunks and Oreo pieces so they can melt slightly from the residual heat. Let them cool on the baking sheet for about 5 minutes before transferring to a cooling rack. (Image 12)

⭑Pro tip: Don't overbake! Take them out of the oven while they are still a bit gooey, they will continue to bake on the hot baking sheet. Underbaking slightly is what gives them such a fudgy texture.
Now, enjoy!

⭑Pro tip: We like to enjoy the cookies while they are still a little bit warm so that they are nice and gooey. Just make sure they have firmed up enough to hold and handle.
✨Top Tips
- Use a kitchen scale for the most accurate measurements, especially for flour and cocoa powder. Too much flour can easily ruin your cookies!
- Use room-temperature eggs for better incorporation into the dough.
- Don't overmix the dry ingredients. Mix until almost all the way combined using a rubber spatula, then fold in the mix-ins to prevent over-mixing. Mixing the flour too much can lead to a tough, dense cookie.
- Don't skip the chilling time. This helps prevent the cookies from spreading too much while baking and helps them to develop better flavor.
- Space cookies far apart on the baking sheet. They will spread while baking. We recommend only baking 5-6 cookies at a time on a standard half sheet.
- Reserve plenty of chocolate and Oreo pieces for topping the cookies right when they come out of the oven. The chocolate will melt perfectly on top for the perfect bite!
- Use an oven thermometer. Be aware of your oven's actual temperature! Some ovens run hotter or cooler than the temperature dial states. We always suggest using an oven thermometer to verify the actual temperature of the oven.
- Don't overbake! The cookies will continue to set up as they cool on the baking sheet.
Need supplies? Shop our Amazon store! Stock your pantry, and find all of our favorite kitchen tools! A Full Living LLC earns a small commission through purchases on our storefront to help support this site.
💭Frequently Asked Questions
Store cookies in an airtight container at room temperature for up to 5 days. Place wax or parchment paper between layers to prevent the cookies from sticking to one another.
Yes! Scoop the dough balls and freeze them solid on a baking sheet. Transfer to a freezer bag and store for up to 3 months. To bake them straight from frozen, you may need to add 1-2 minutes to the baking time.
Yes, definitely! If you're making a batch for a cookie exchange or party, and you want more cookies to share, you can make more cookies from this batch.
Use a medium cookie scoop (#40) instead of a large one. This will yield about 24-28 smaller cookies. Reduce the baking time to 8-10 minutes. Keep in mind that smaller cookies won't have quite the same chewy center as the larger ones.
🍫More Recipes To Consider


Did you try this recipe? Make sure to leave a 5-star review below! 🌟 This helps other readers find our recipes and encourages them to try them. Also, be sure to leave a comment with your experience. Follow along, and tag @AFullLiving on Instagram with your photos!
📖 Recipe

Red Velvet Oreo Cookies
Equipment
- large cookie scoop #20 (3.2 tablespoon size)
Ingredients
- 1 ¾ cups all-purpose flour 238g
- 2.5 tablespoons Dutch-processed cocoa powder 12.5g
- 1.5 teaspoons kosher salt
- 1 teaspoon baking soda
- 12 tablespoons unsalted butter melted
- ¾ cup dark brown sugar 150g
- ¼ cup granulated sugar 50g
- 1 tablespoon vanilla extract
- 1 teaspoon gel red food coloring 5g, or as needed to achieve desired color
- 1 large egg room temperature
- 1 large egg yolk room temperature
- ¾ cup dark chocolate chunks 125g
- ¾ cup white chocolate chips 125g
- 16 Oreos crushed, divided
Instructions
- In a small bowl, whisk together flour, cocoa powder, kosher salt, and baking soda. Set aside.1 ¾ cups all-purpose flour , 2.5 tablespoons Dutch-processed cocoa powder , 1.5 teaspoons kosher salt, 1 teaspoon baking soda
- Cream together melted butter and both sugars until smooth, about 3-4 minutes.12 tablespoons unsalted butter, ¾ cup dark brown sugar , ¼ cup granulated sugar
- Add vanilla and red food coloring, followed by the egg and egg yolk. Mix until smooth and well combined.1 tablespoon vanilla extract , 1 teaspoon gel red food coloring , 1 large egg, 1 large egg yolk
- Sift in the dry ingredients and gently mix until about halfway combined.
- Fold in chocolate chips, chunks, and crushed Oreo pieces, reserving some for topping the cookies later.¾ cup dark chocolate chunks, ¾ cup white chocolate chips, 16 Oreos
- Using a large cookie scoop, portion the dough into 15-16 equal-sized scoops onto a parchment-lined baking sheet.
- Chill the dough for at least 30 minutes while preheating the oven to 350°F.
- Bake 5 cookies at a time, giving them plenty of space between each other, for 11-12 minutes. As soon as they come out of the oven, use a round cookie cutter or spatula to "scoot" them into perfect circles.
- Top immediately with additional chocolate chips/chunks and Oreo pieces so they can melt slightly from the residual heat.Let cool on the baking sheet for about 5 minutes before transferring to a cooling rack to cool completely, then enjoy!
- Store cookies in an airtight container at room temperature for up to 5 days. Place wax or parchment paper between layers to prevent the cookies from sticking to one another.
Save This Recipe! 💌
Video
Notes
- Use a kitchen scale for the most accurate measurements, especially for flour and cocoa powder. Too much flour can easily ruin your cookies!
- Use room-temperature eggs for better incorporation into the dough.
- Don't overmix the dry ingredients. Mix until almost all the way combined using a rubber spatula, then fold in the mix-ins to prevent over-mixing. Mixing the flour too much can lead to a tough, dense cookie.
- Don't skip the chilling time. This helps prevent the cookies from spreading too much while baking and helps them to develop better flavor.
- Space cookies far apart on the baking sheet - they will spread while baking. We recommend only baking 5-6 cookies at a time on a standard half sheet.
- Reserve plenty of chocolate and Oreo pieces for topping the cookies right when they come out of the oven. The chocolate will melt perfectly on top for the perfect bite!
- Use an oven thermometer. Be aware of your oven's actual temperature! Some ovens run hotter or cooler than the temperature dial states. We always suggest using an oven thermometer to verify the actual temperature of the oven.
- Don't overbake! The cookies will continue to set up as they cool on the baking sheet.


Briana says
These cookies are incredible. Oooey gooey and delicious, ultra fudgy, and super decadent! A must make, and very straightforward!