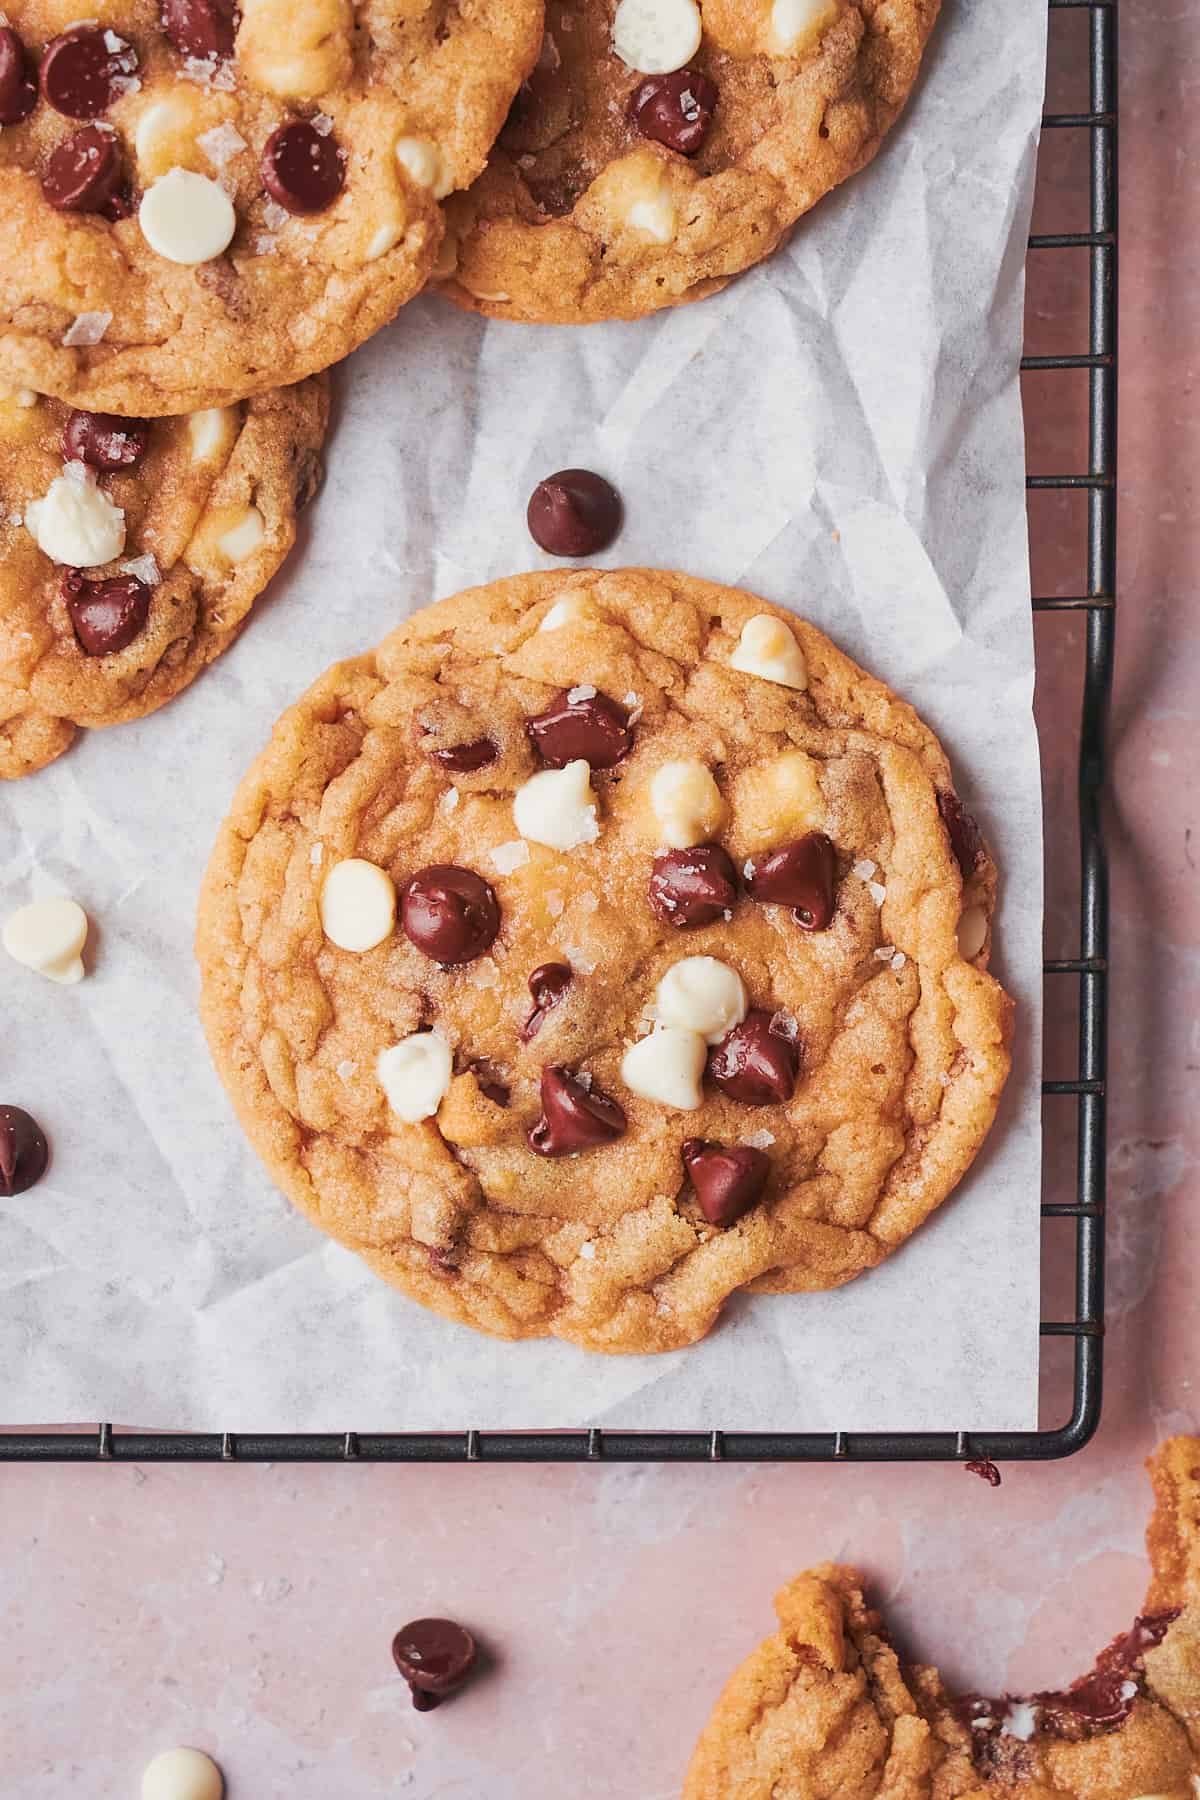
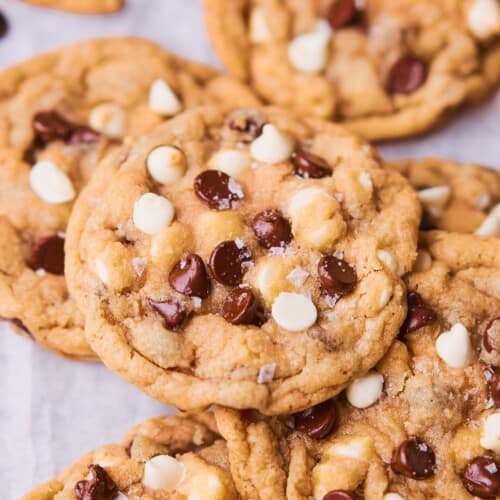
These Chocolate Chip and White Chocolate Chip Cookies are like two cookies in one! These delicious cookies are an elevated version of classic chocolate chip cookies, bursting with both semi-sweet chocolate chips and white chocolate chips. These chewy cookies have nice crispy edges, and they will definitely satisfy your sweet tooth.
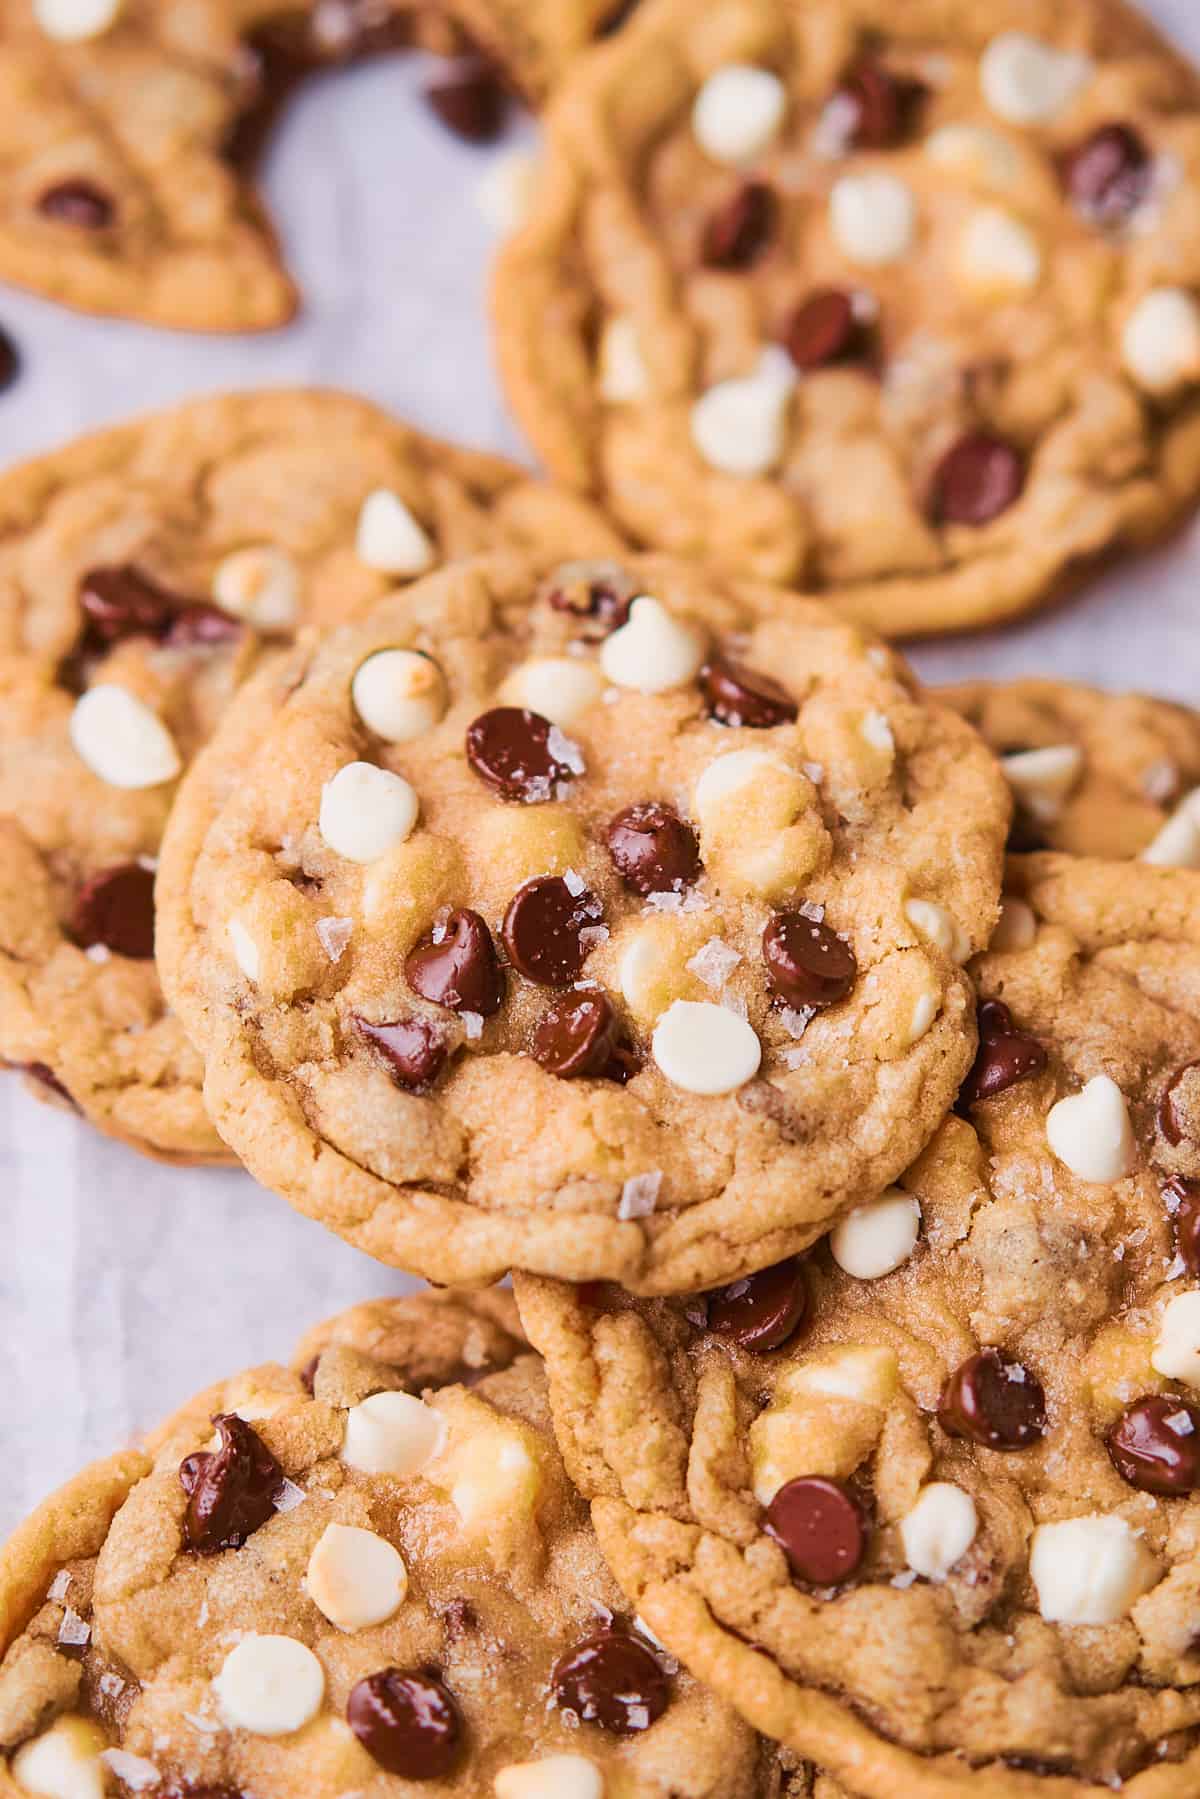
These double chocolate chip cookies are some of the best cookies to make when you have a sweet tooth. Who doesn't love cookies with two different types of chocolate?!
They're chewy chocolate chip cookies, with the addition of extra sweet and creamy white chocolate chips. We know you're going to love them!
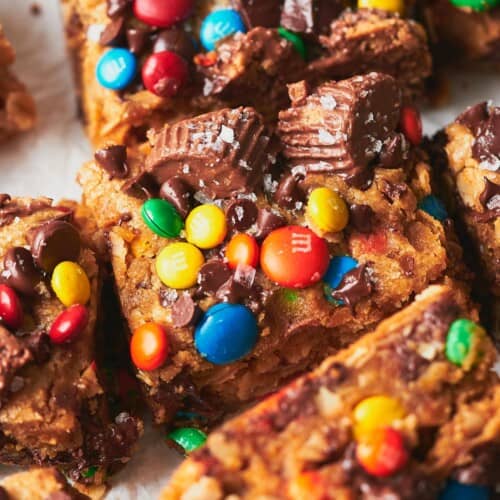
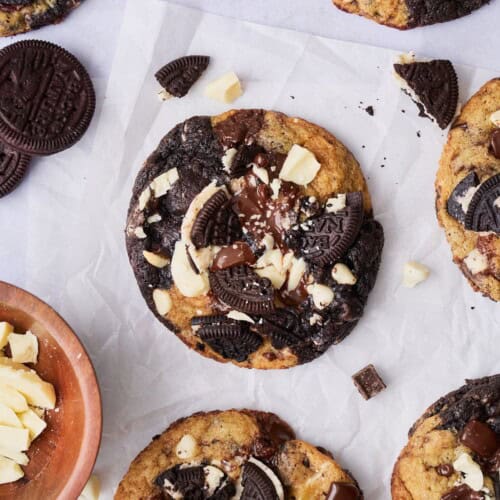
Looking for more cookie recipes to add to your collection? Try these cookies and cream cookies, chocolate chip pecan cookies, these Biscoff butter cookies, these monster cookie bars, these Cadbury mini egg cookies, or these Lucky Charms cookies!
You may also love these loaded brownies!
Jump to:
❤️Why we love this recipe
- Sweet and comforting. These cookies balance sweet white chocolate and semi-sweet chocolate for a delicious bite. Don't forget the flaky sea salt on top to balance out the sweetness.
- Amazing texture. These are the perfect chewy cookies with crispy edges. We designed this recipe with a combination of melted butter, light brown sugar, white sugar, and an egg plus an egg yolk for the most incredible texture! These gooey cookies have an incredibly soft center packed with melty chocolate chips. They are truly the ultimate cookie!
- Easy recipe. This recipe is a breeze to follow with our step-by-step instructions and photos, making it suitable for bakers of all skill levels. You don’t need to be a pro to achieve perfect results.
- Made with simple ingredients. Anything you need for this recipe can be found in your pantry or at any grocery store!
- Perfect for the holidays. The addition of white chocolate chips in this classic chocolate chip cookie recipe makes it a fun recipe to make for the holidays, cookie exchanges, parties, and family get-togethers.
🍪Ingredients
Here are the ingredients we used for this recipe. You can find more information for substitutions below.
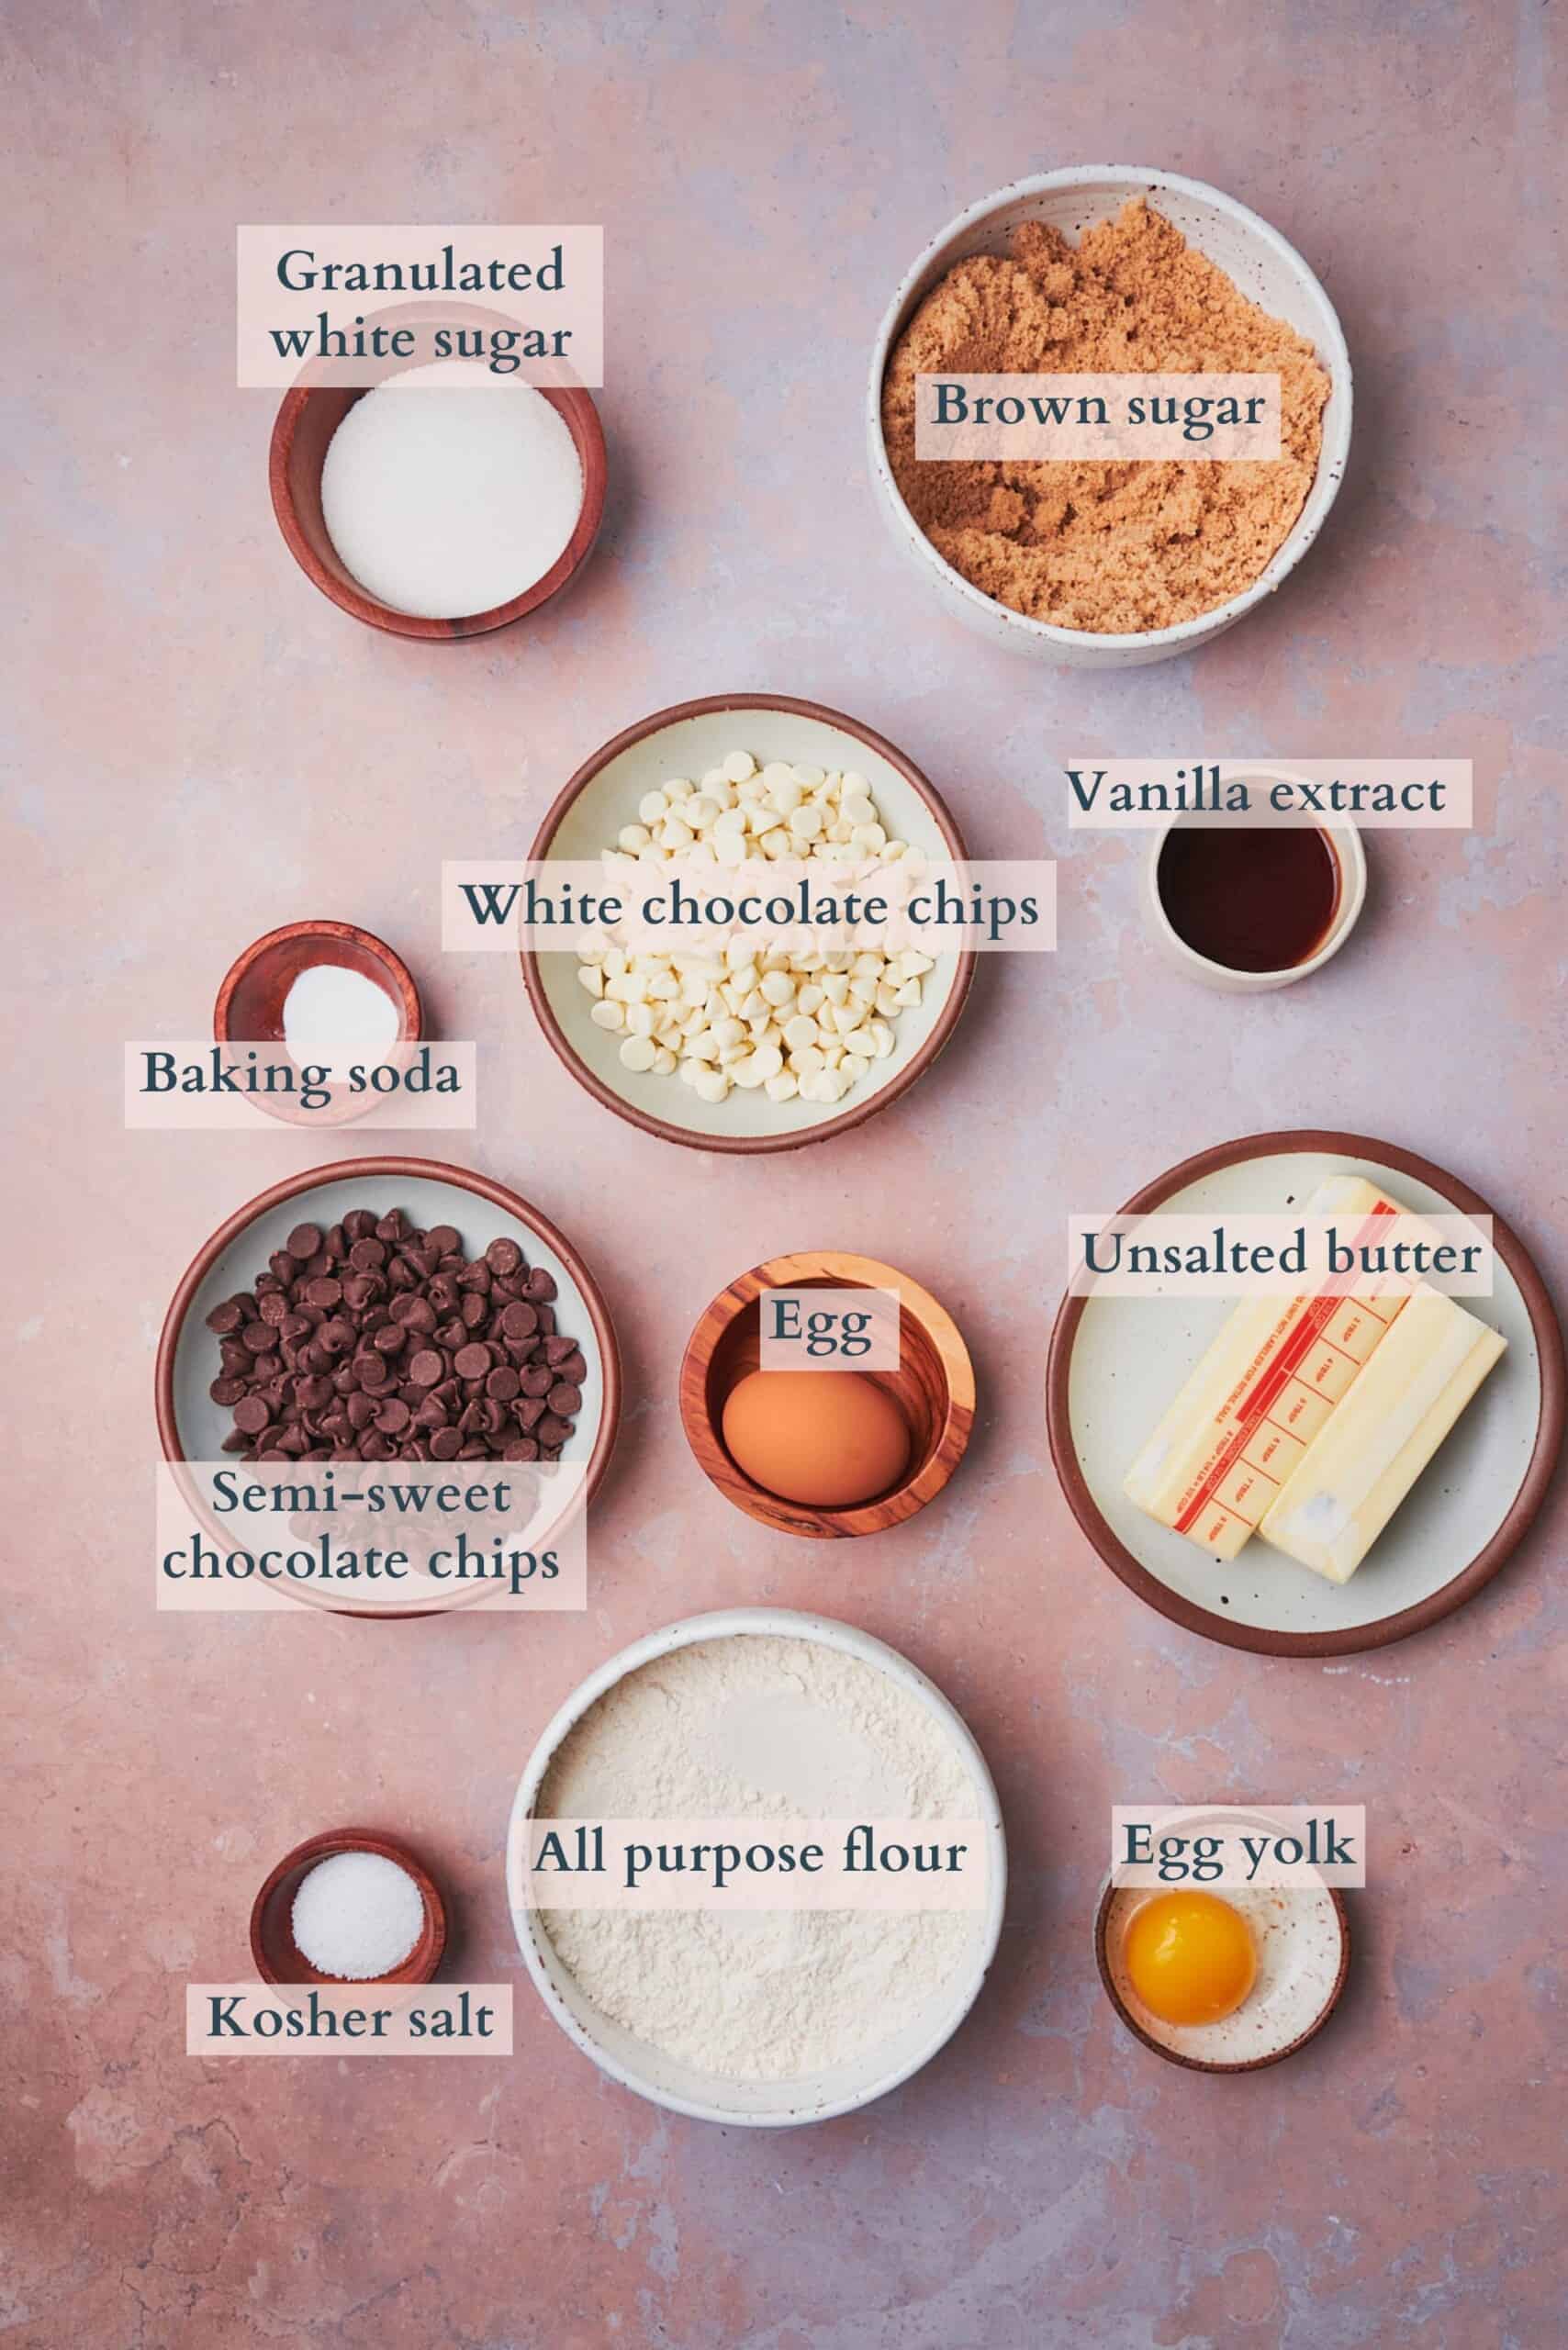
- Egg and egg yolk. Should be room temperature.
Visit the recipe card for the full quantities and nutritional information.
✨Substitutions
Here are a few suggestions on additional flavors to try, or simple variations to this recipe.
- Add white chocolate chunks and chocolate chunks, or cut up pieces of chocolate bars and fold them into the cookie dough. These will create beautiful pools of melted chocolate as the cookies bake. Chocolate chips hold their shape. If you like melty pools of chocolate, add some chunks into the mix!
- Use milk chocolate chips. If you prefer a sweeter and creamier flavor, you can use milk chocolate chips instead of semi-sweet ones for a twist on the classic.
- Swap semi-sweet for dark chocolate chips. Consider using dark chocolate chips for a richer flavor. They’ll add a deep, cocoa-rich taste to your cookies.
- Use dark brown sugar. For an extra molasses-like flavor, swap in dark brown sugar in place of light brown sugar.
- Swap the melted butter for browned butter. Want to add in an extra layer of flavor to these cookies? Use melted and cooled browned butter as a 1:1 substitute for melted butter! It will add an incredibly rich and nutty flavor. Here's our step-by-step guide on how to brown butter.
✨Variations
- Gluten-free. Simply swap the all-purpose flour with a 1:1 gluten free flour. We like using Bob’s Red Mill 1:1 gluten free flour.
- Dairy-free. Use vegan butter instead of regular butter to make this recipe dairy-free.
- Add in some nuts. You can add in nuts like pecans, peanuts, pistachios, or walnuts for a bit of crunch to this cookie!
- Spiced. Add in a dash of cardamom, nutmeg, or cloves for an extra flavorful cookie.
- Add espresso powder. Adding 1-2 teaspoons of espresso powder to the cookies will enhance the chocolate flavor! It won't make it taste like coffee though, don't worry.
*This recipe hasn't been tested with other substitutions or variations. If you change or add any ingredients, please let us know how it turned out in the comments below.
🔪Prep work
- Separate one egg yolk from the egg white for the cookies. Don't discard the egg white. Add it to scrambled eggs or an omelette!
- Allow the egg and the egg yolk to come to room temperature by letting them sit on the counter for about an hour or so before beginning.
- Line a baking sheet with parchment paper.
- Measure out the remaining ingredients using a food scale.
📋Instructions
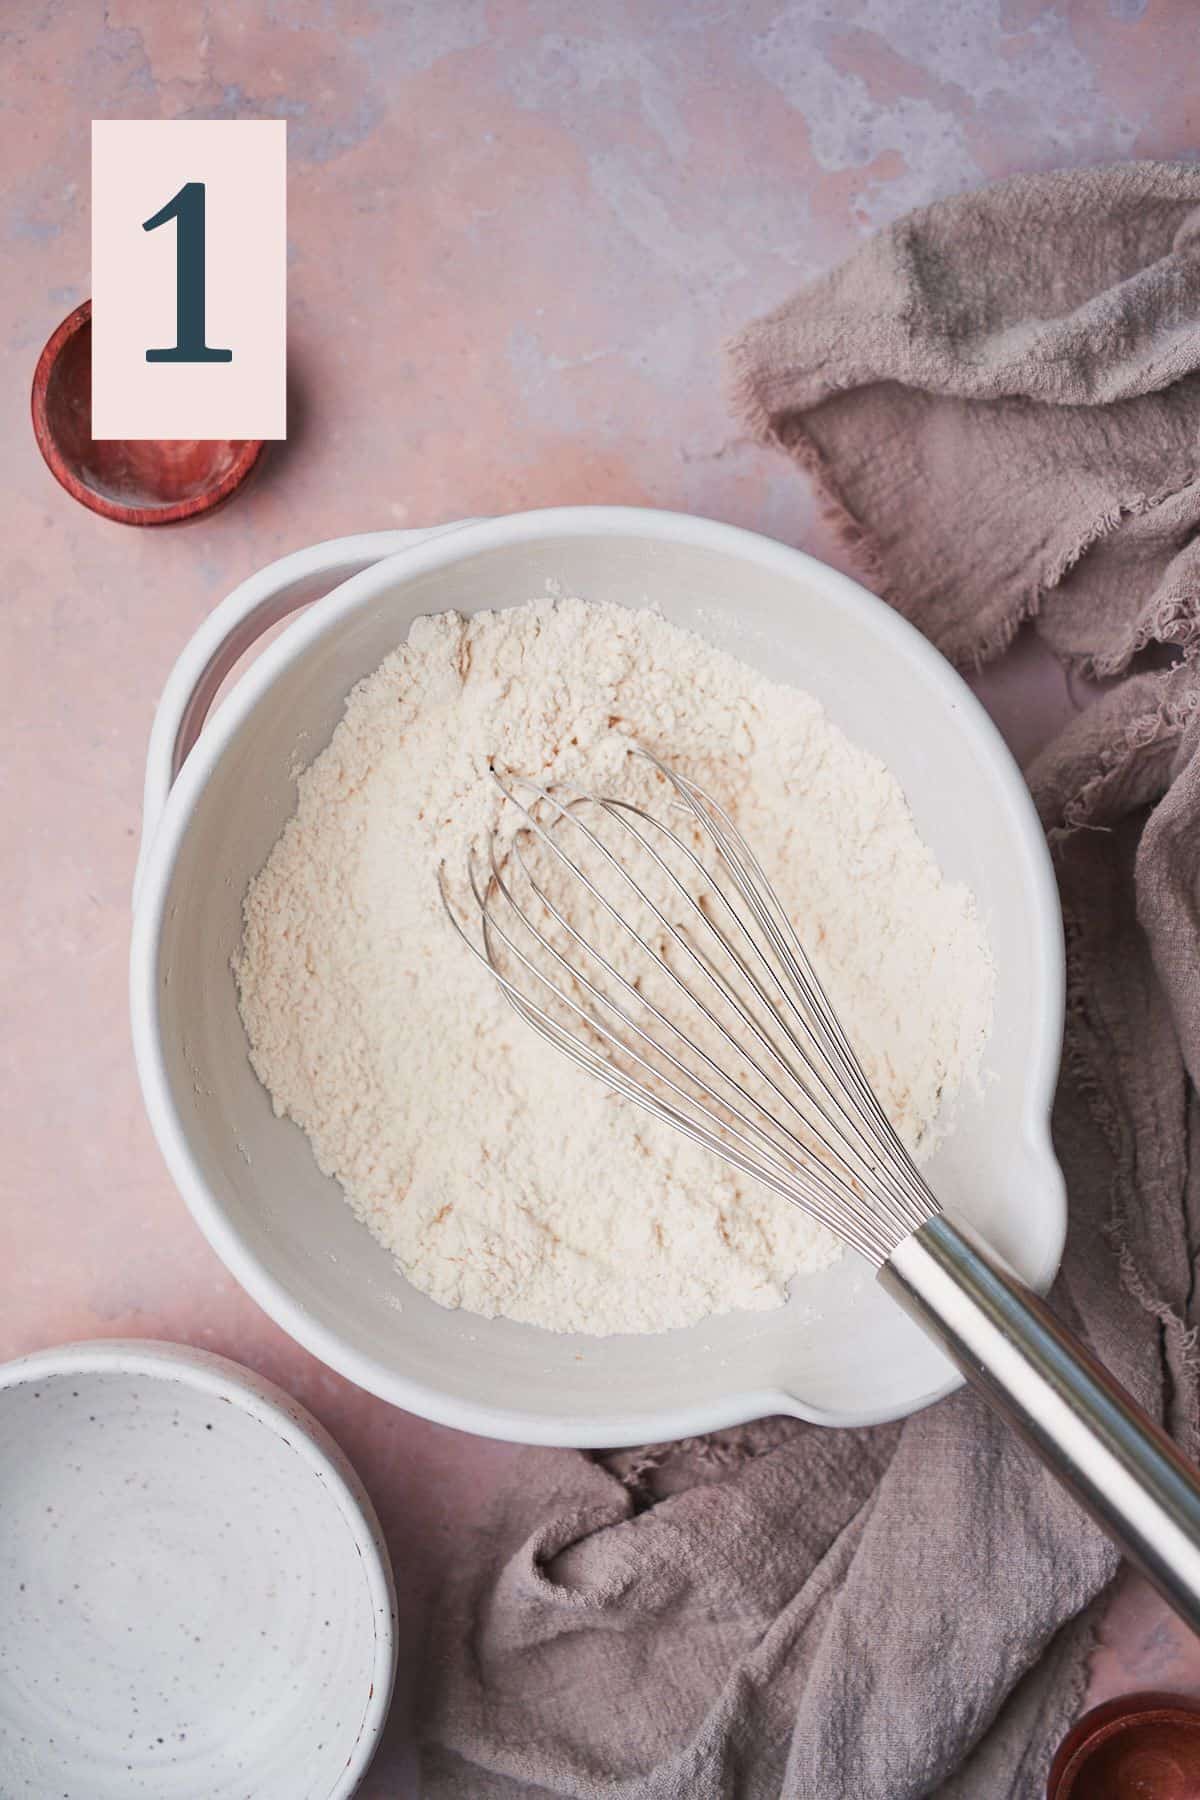
In a medium bowl, combine the all purpose flour, kosher salt, and baking soda. Whisk well to combine completely and make sure everything is evenly dispersed. (Image 1) Set aside.
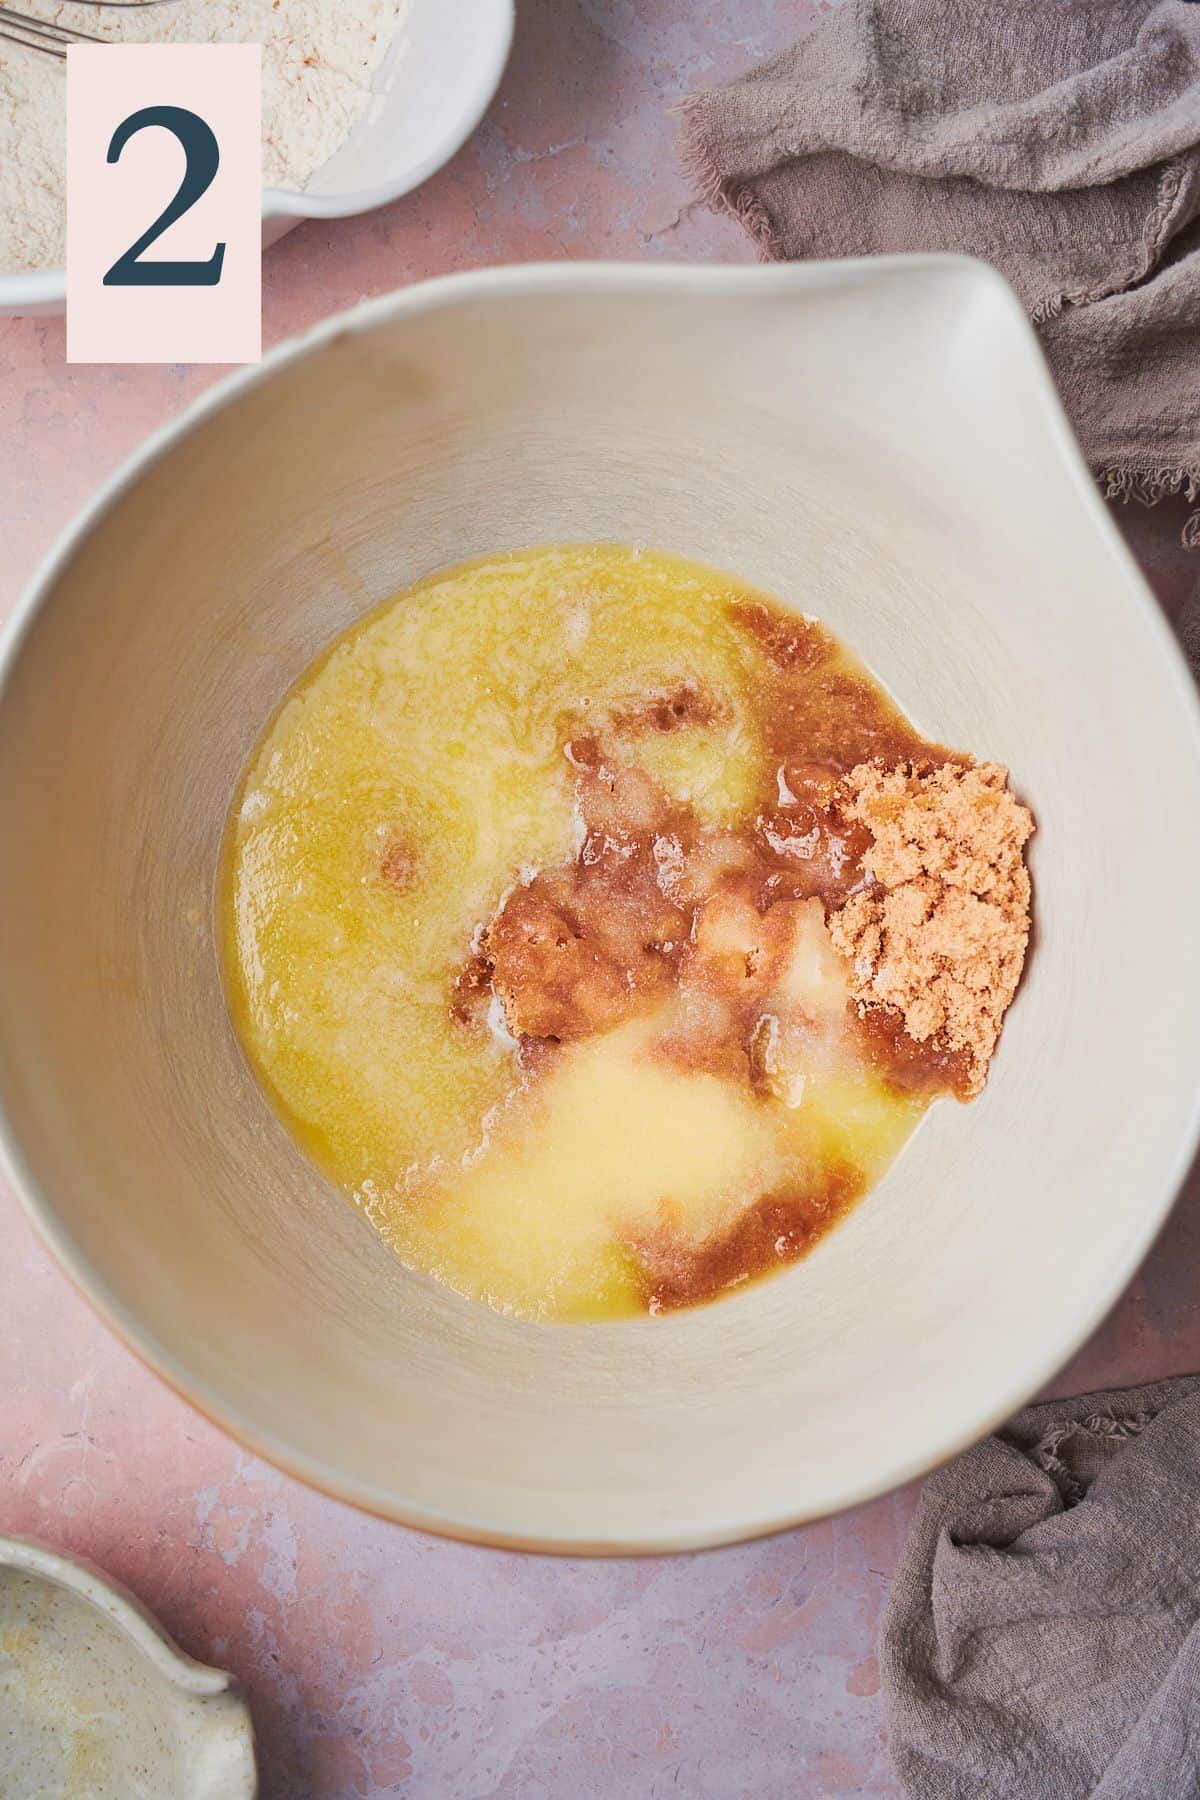
In a large bowl, combine the softened butter, white sugar, and brown sugar. (Image 2)
Cream together on medium speed with an electric mixer, or in a stand mixer with a paddle attachment until pale and fluffy, about 4-5 minutes. (Image 3) Be sure to scrape the sides of the bowl a few times to make sure everything is fully incorporated.
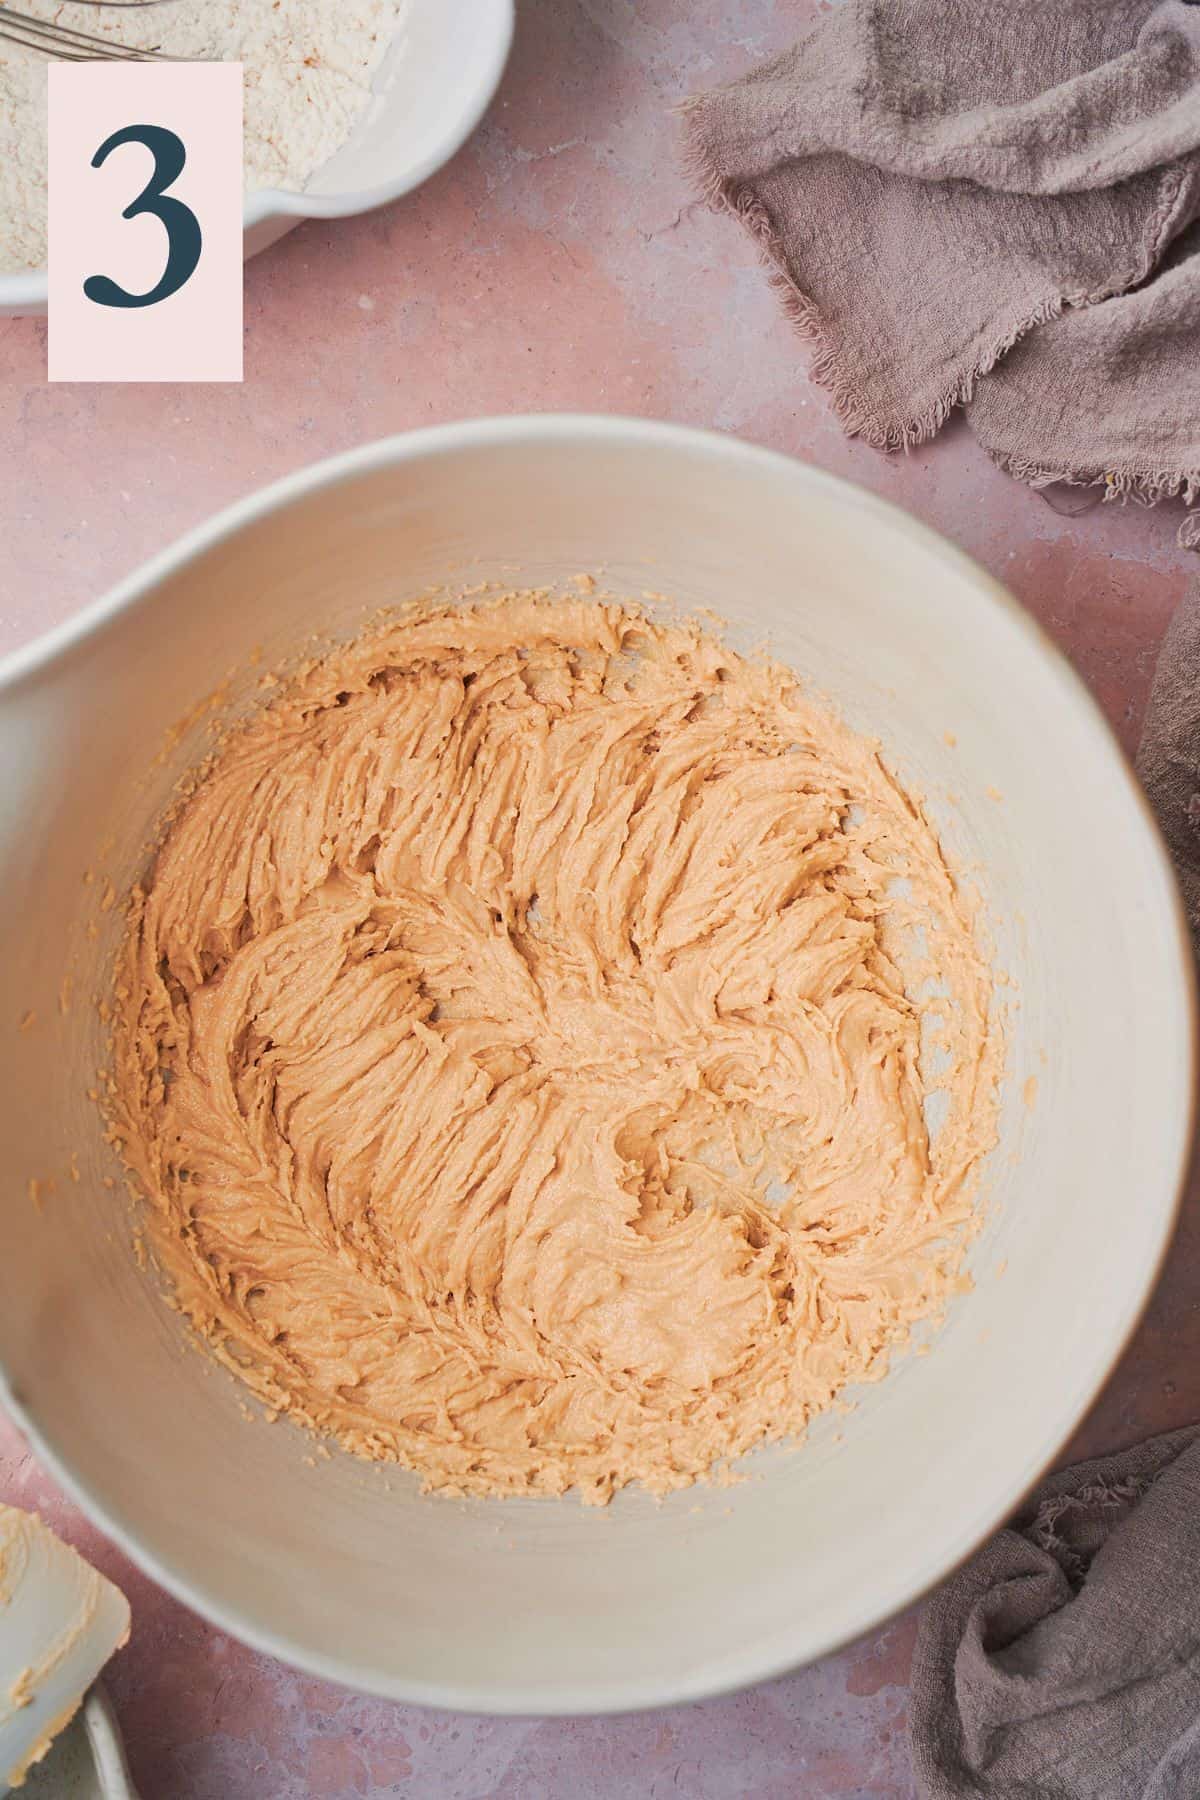
✨Pro Tip: Take your time mixing the butter and sugar. You want to fully dissolve the sugars and incorporate them into a smooth and creamy mixture. Also, you'll want to make sure the butter is not hot. It can be warm, just not very hot, or the sugar will dissolve too much, and lose its structure.
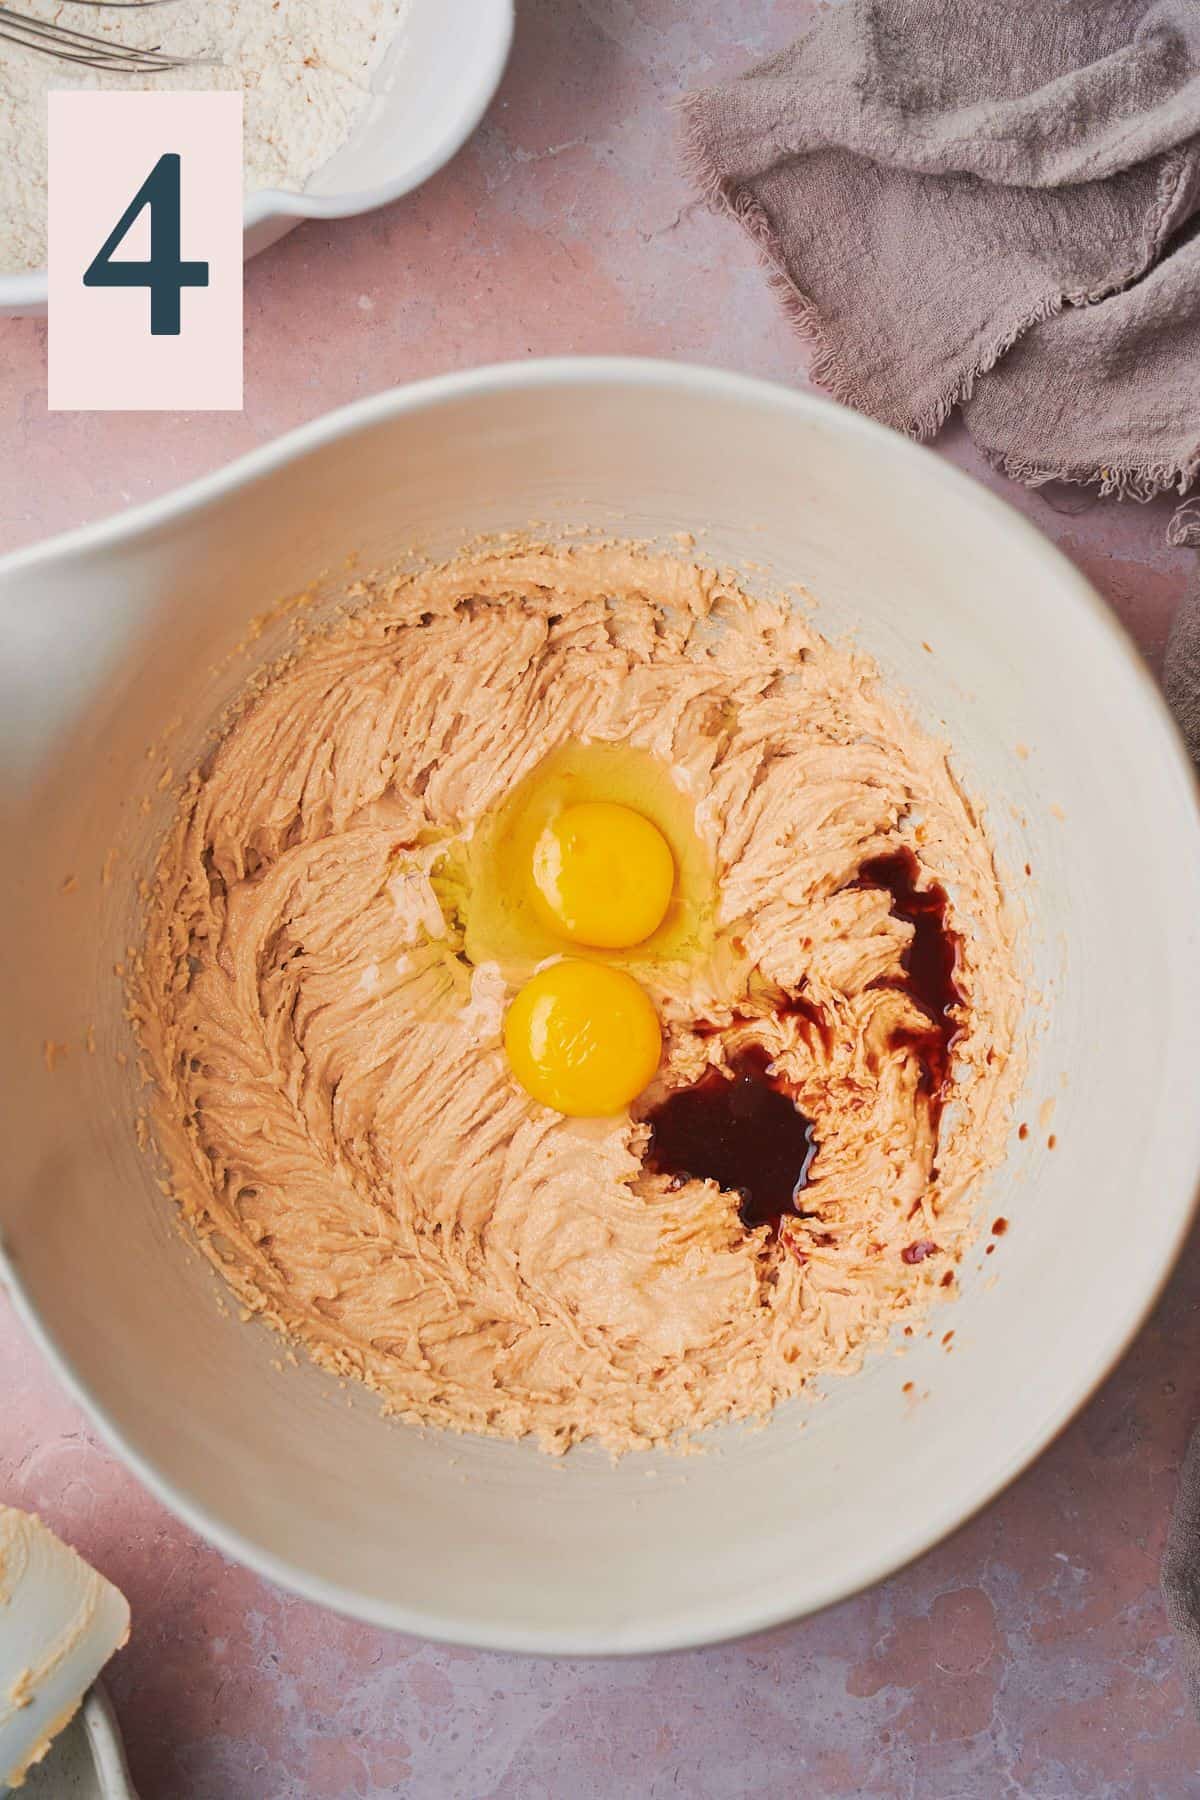
Next, add in the egg, egg yolk, and vanilla extract. (Image 4)
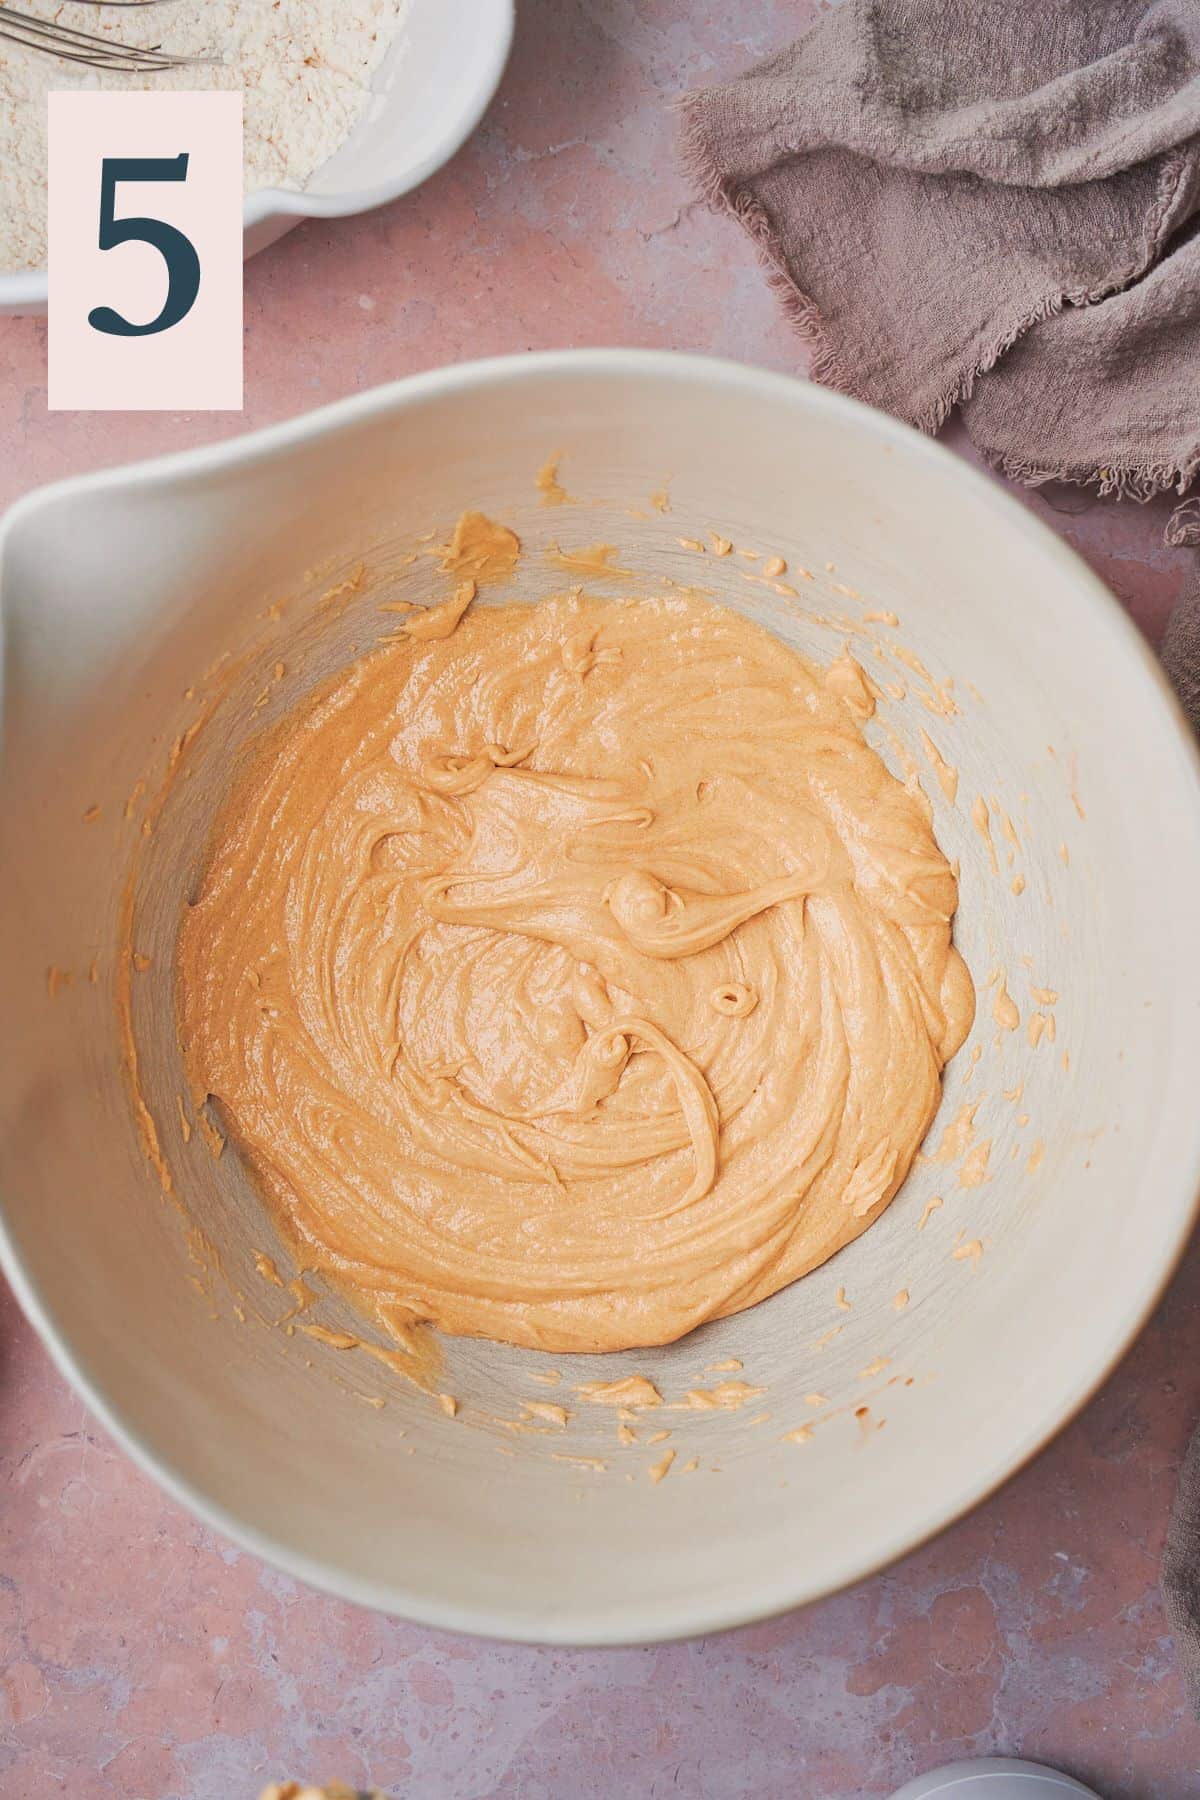
Mix until fully combined, but don’t continue to mix. Just make sure it’s completely combined with no streaks of egg or egg yolk. (Image 5)
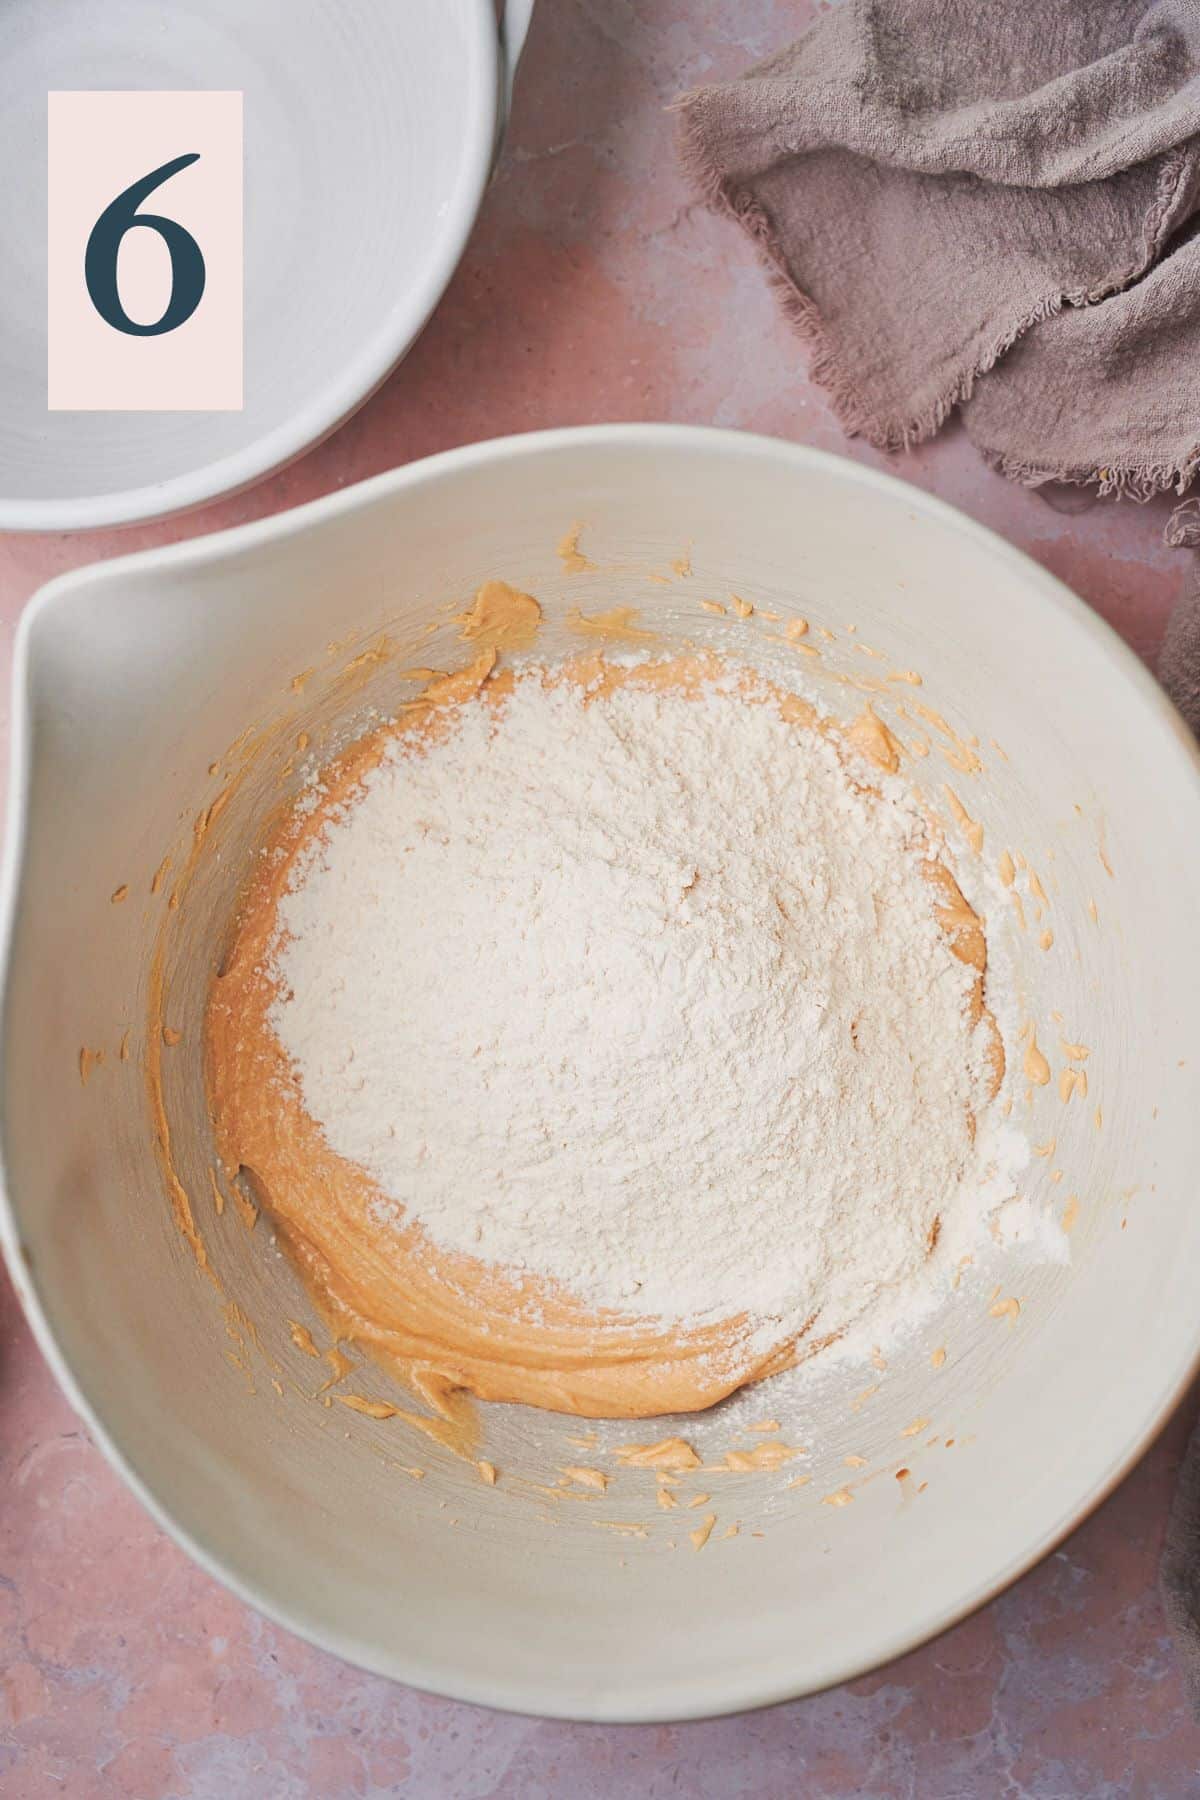
Gently add the dry ingredients to the wet ingredients. (Image 6)
Mix on low speed to combine, then switch to a rubber spatula to avoid overmixing the dough. When the dough is almost all of the way mixed (there may still be streaks of flour), add in most of the chocolate chips (reserve some for topping). (Image 7)
Fold until the chocolate chips are well incorporated. (Image 8)

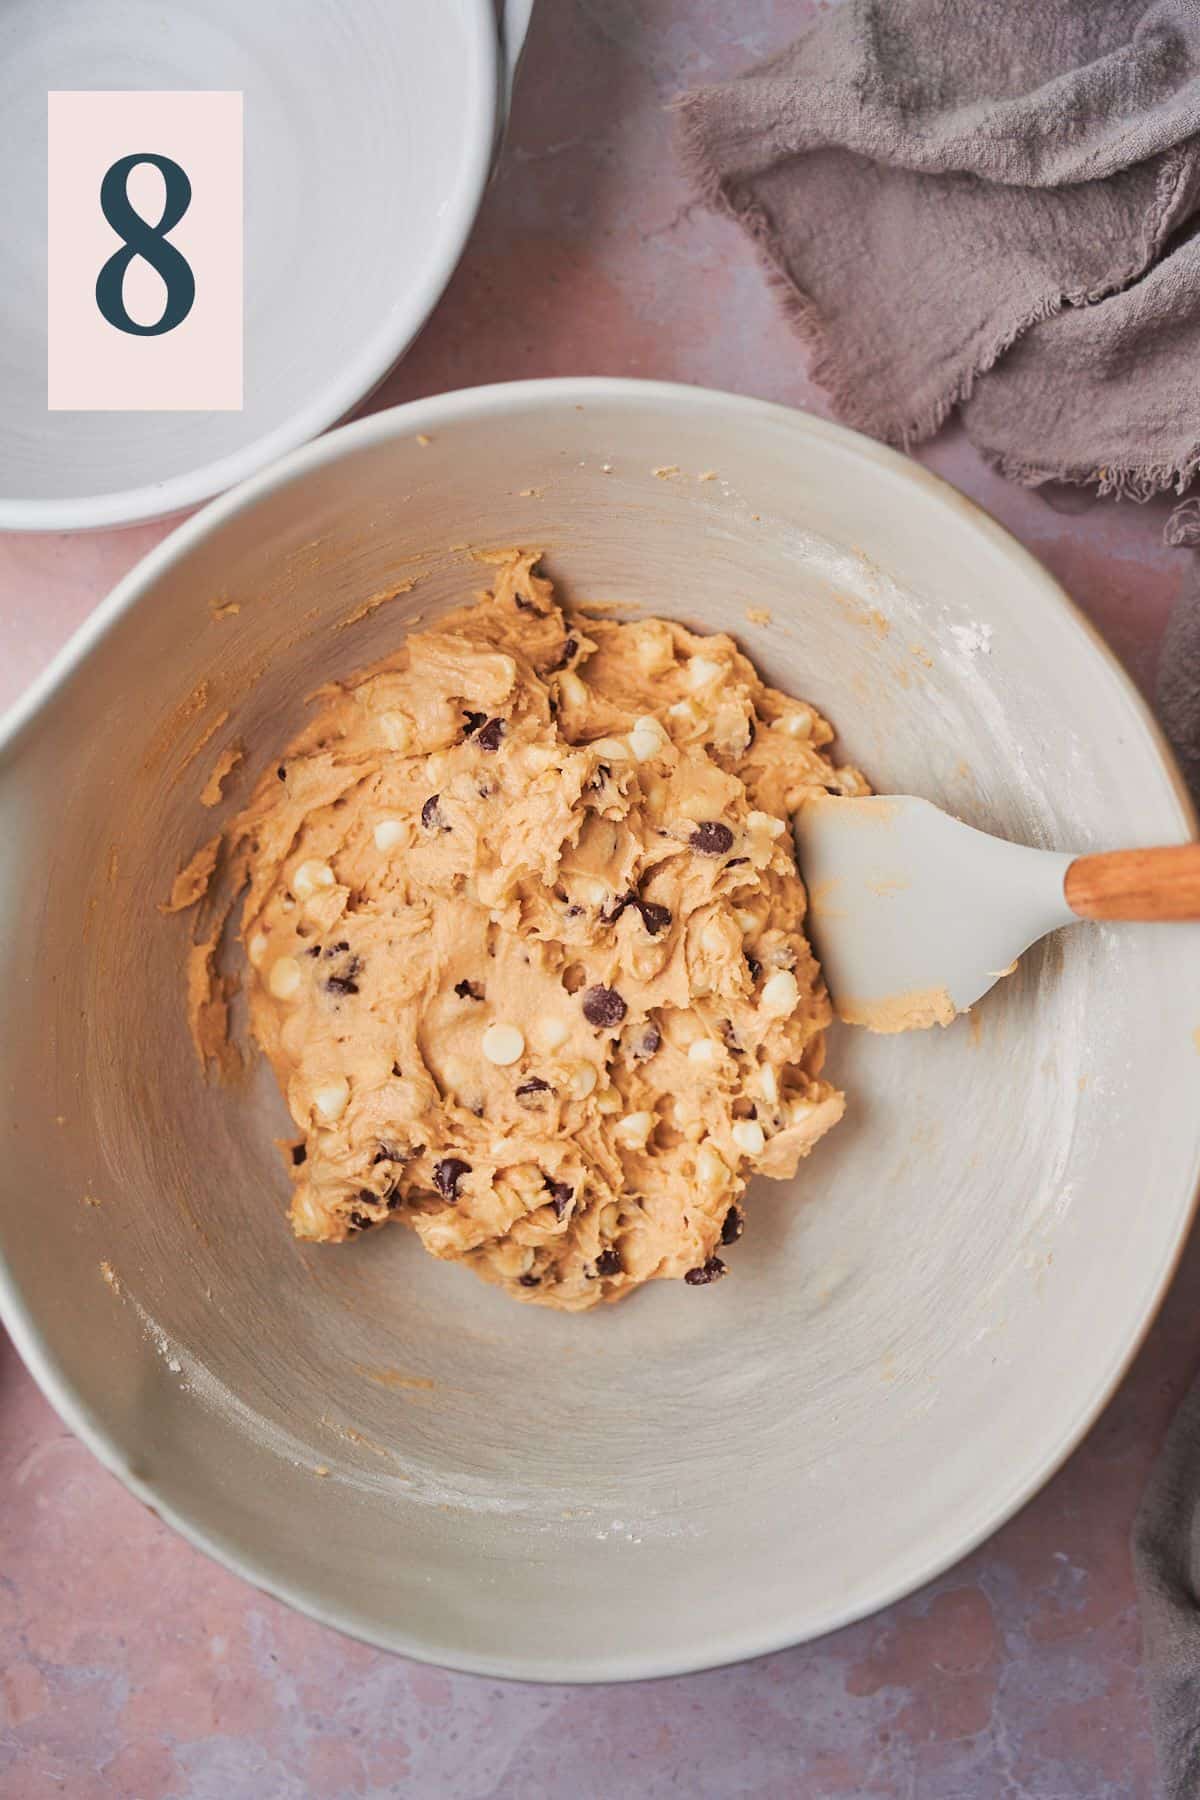
✨Pro Tip: Fold very gently at this point and don't overmix! This can cause the cookies to become tough and dense rather than chewy and soft.
Scoop cookie dough using a large cookie scoop (#20 size) onto a parchment-lined baking sheet. Add some more chocolate and white chocolate chips to the top of the cookies. (Image 9)
Cover with plastic wrap, transfer to the fridge, and chill the cookie dough balls for at least 30 minutes. You can also chill them for up to 2 days in the fridge or even freeze the dough balls (tightly wrapped) for up to 3 months if you plan to bake them later.
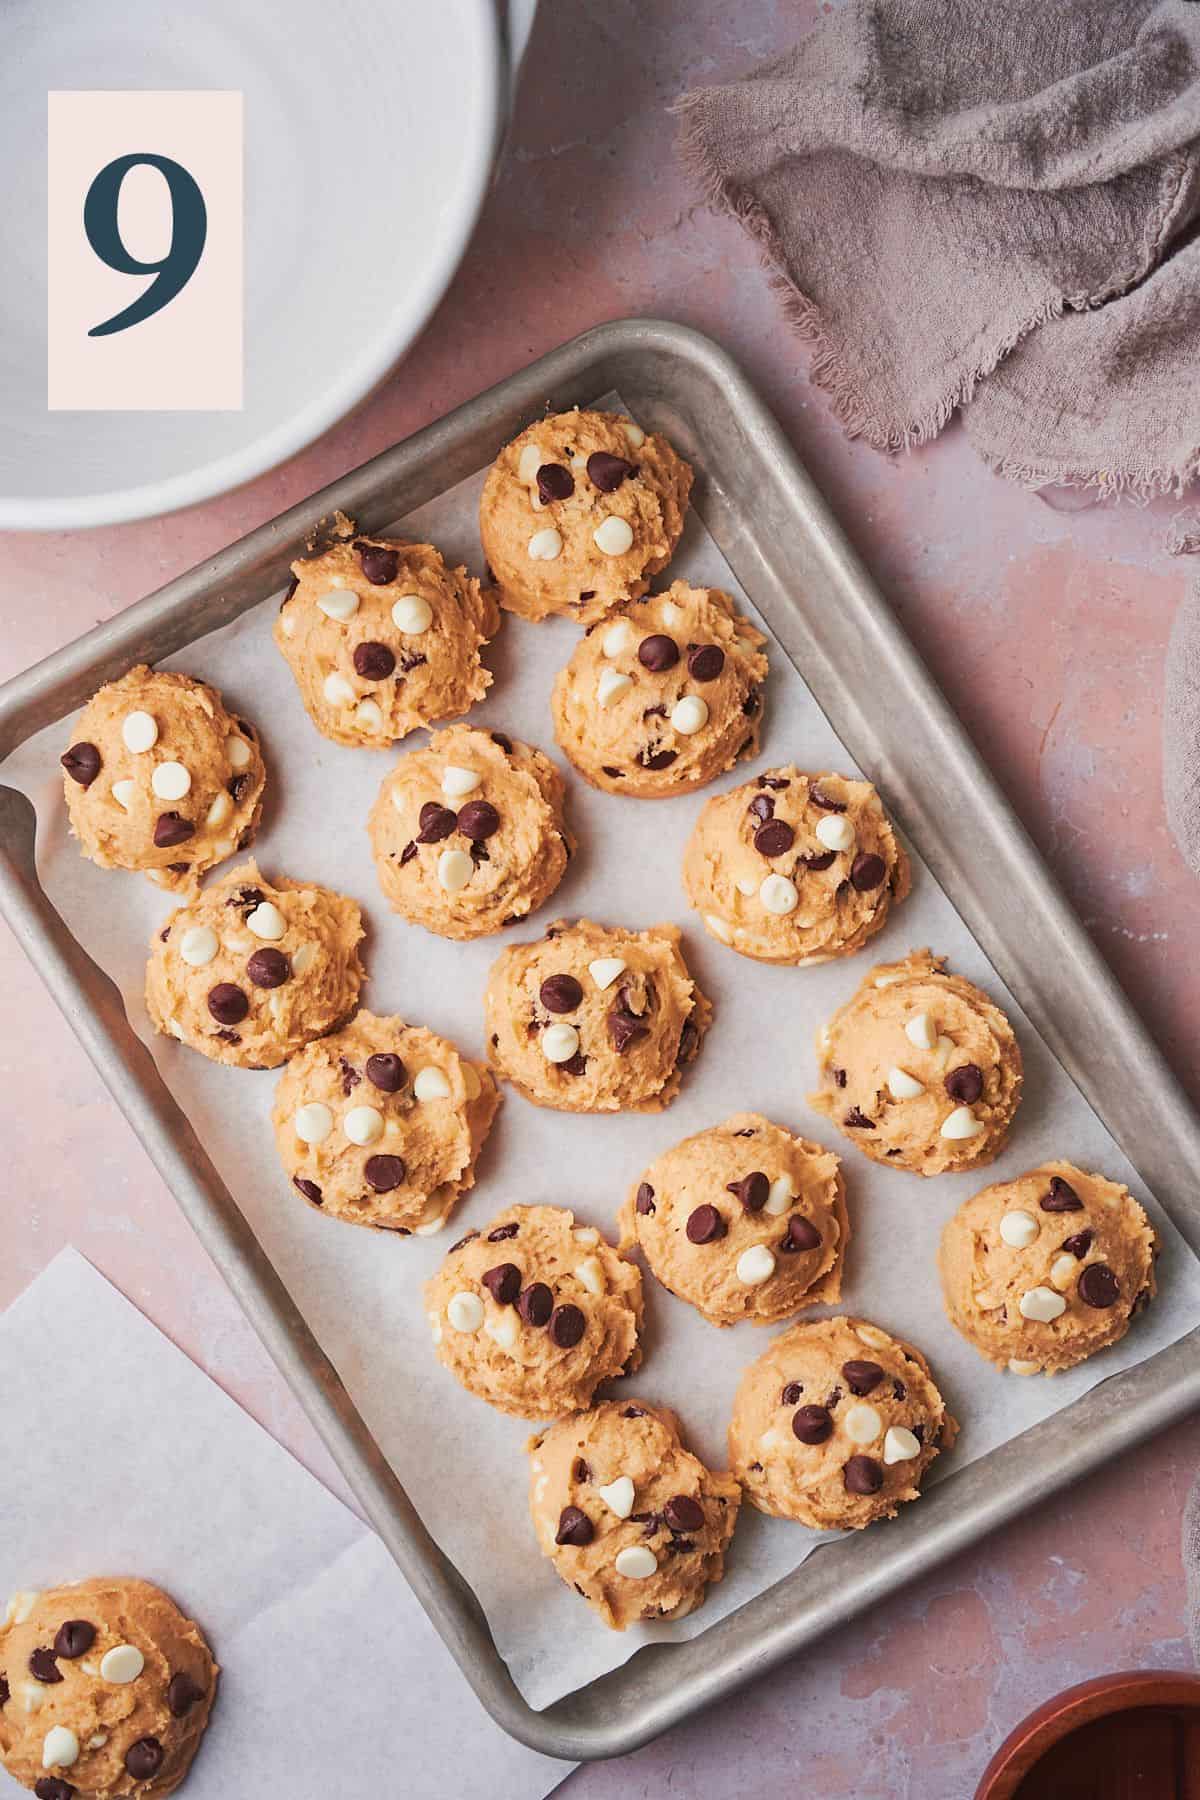
✨Pro Tip: It's very important for the dough to chill for at least 30 minutes before baking, because of the melted butter used to make the cookies. This allows the dough to firm up so it can hold its shape in the oven. It also helps the cookies have a deeper flavor!
After the cookies have chilled and it's time to bake the cookies, line a large cookie sheet with parchment paper and preheat the oven to 350°F. Once the oven reaches 350°F (we recommend using an oven thermometer to be sure), it’s ready to bake your cookies!
When it's time to bake, add about 5-6 balls of dough on the baking sheet, giving them plenty of room in between them in case they spread out. (Image 10)
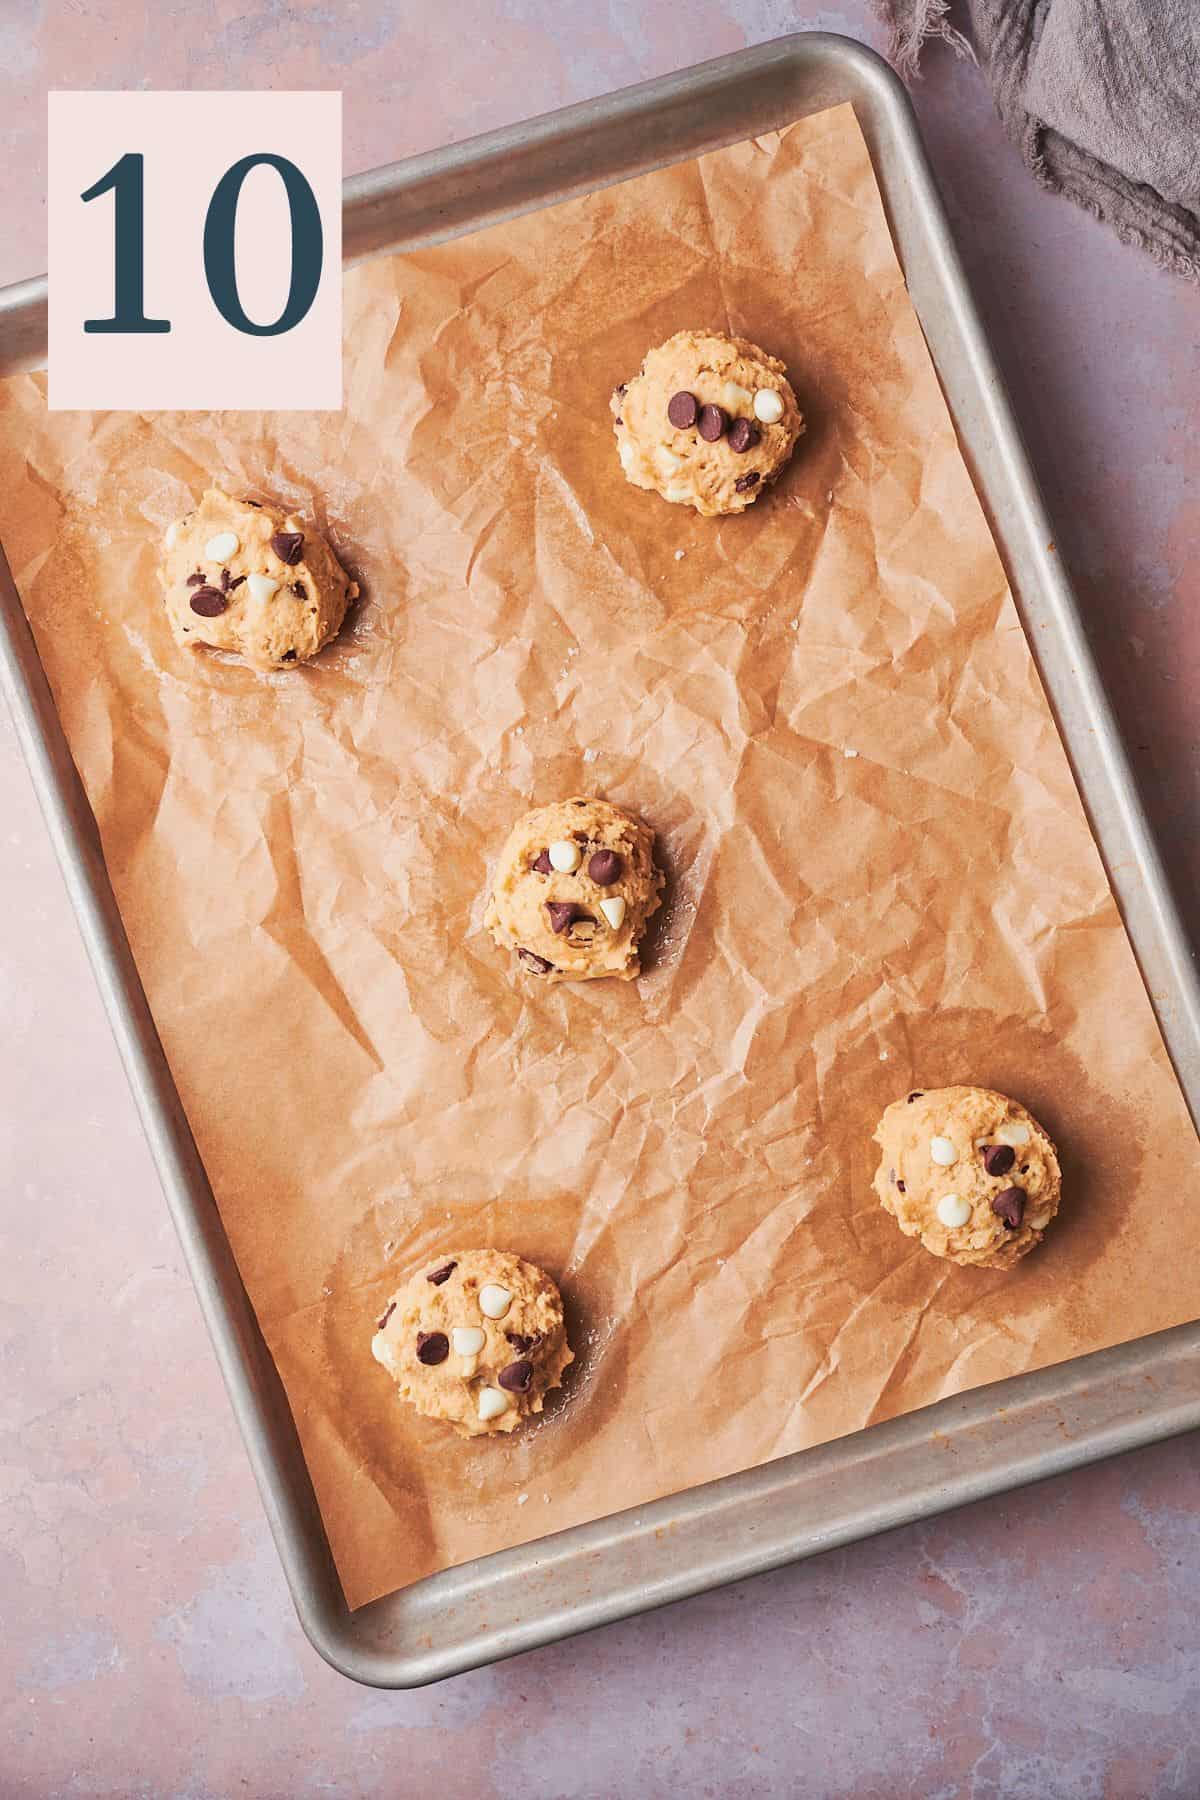
✨Pro Tip: Leave plenty of room between the cookies on the baking sheet, so that way, they don't end up spreading into each other while they bake!
Add them to the preheated oven, and bake for 13–15 minutes. The cookies are ready when the edges are golden brown, and the middle looks puffed, pale, slightly underdone, and a little gooey. The cookies will set up when they cool. Don’t overbake them.
Sprinkle the cookies immediately with flaky salt while they are hot. Allow them to rest on the baking sheet for 3-5 minutes so they can firm up enough to move them.
You can also use a round biscuit cutter to “scoot” the edges of the cookies while they are still hot and give them a nice round shape. (Image 11) Once the cookies have firmed up enough to move, transfer them to a wire rack to cool completely. Add the remaining balls of cookie dough to the baking sheet and bake those while the first round is cooling.
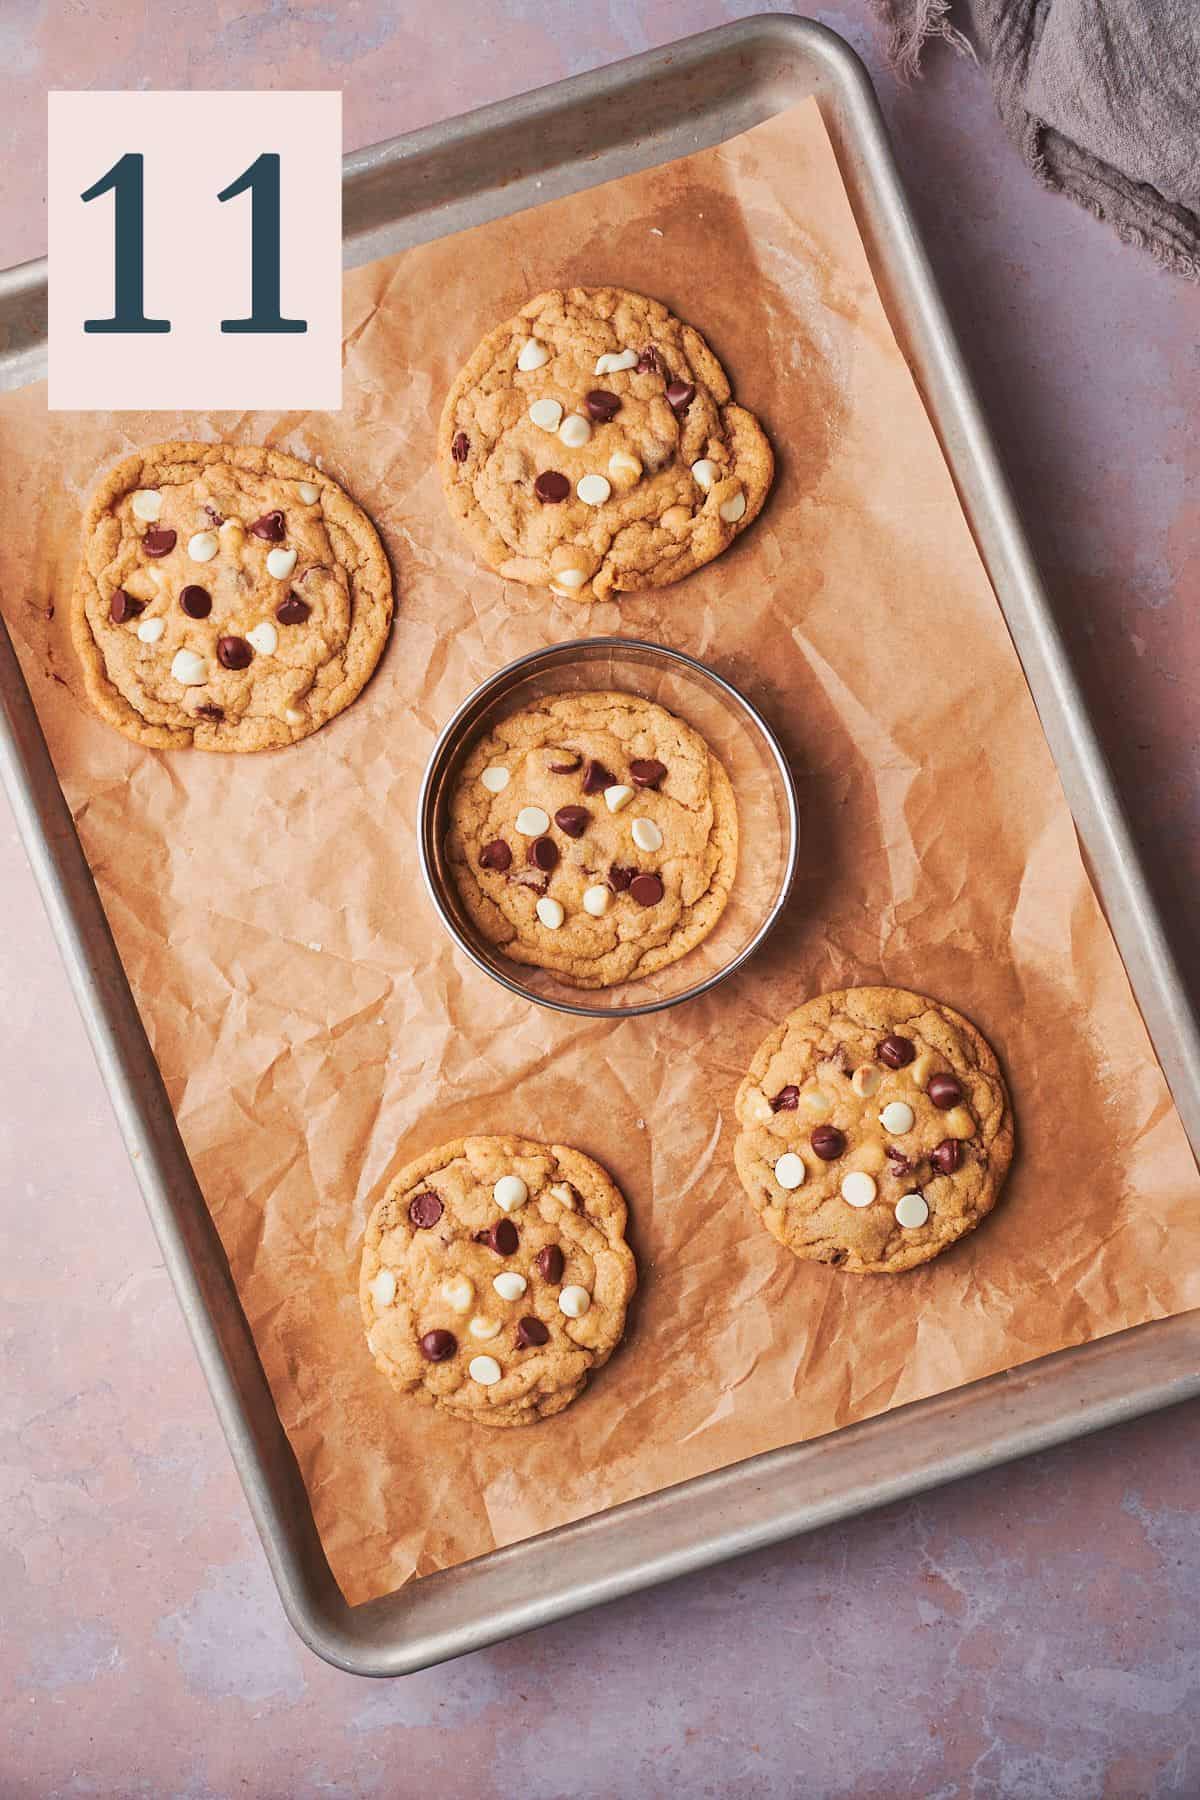
That's it. Now serve, and enjoy!
✨Tips & tricks
- Measure accurately. Use a kitchen scale if you have one, as the sizes of cups vary. Accurate measurements can take a baked good from good to great!
- Make sure your baking soda is fresh. If your baking soda is no longer active, your cookies just won't turn out properly. To check and see if it's fresh, combine 1 teaspoon of baking soda with some vinegar in a dish. If it bubbles lots, you're good to go! If it doesn't, it's time to toss the baking soda.
- Use room-temperature ingredients. Make sure the egg and egg yolk are at room temperature for easier mixing and a smoother batter.
- Don’t skip creaming the butter and sugar. While it’s not entirely necessary, it will yield the best results, and we highly recommend it. The butter should become very pale and fluffy. It helps dissolve and disperse the sugars in the dough, as well as helps the cookies bake properly and prevents spreading. It will yield a thick and chewy cookie!
- Don’t overmix. Once you add the dry ingredients to the wet ingredients, mix just until combined to avoid tough, dense cookies. Start adding in the chocolate chips when there are still a few streaks of flour in the dough.
- Fold in add-ins carefully. Make sure to fold in the chocolate chips carefully, and ensure there is enough in every cookie! Use a rubber spatula to fold the ingredients in gently.
- Use an oven thermometer. Make sure your oven is fully preheated before baking. An oven thermometer can help confirm that the oven has reached the right temperature. Often, the beep you hear from the oven goes off prematurely before the temperature is reached. Also, different ovens run at different temperatures.
- Parchment paper. Always line your baking pan with parchment paper for easier cookie removal and cleanup. It helps prevent the cookies from sticking.
- Chill the cookie dough. We know it’s hard to wait! However, chilling the cookie dough for at least 30 minutes allows the flour to absorb the other ingredients, resulting in a delicious, dense, and chewy cookie with crispy edges. Plus, it helps the cookies hold their shape when baking, so they don't spread out all over the cookie sheet.
- Bake fewer cookies at a time. We know this feels like an annoying step, but again, these are large cookies, and we don't want them to run together on a baking sheet!
- If freezing the cookie dough, you may need to bake them for an extra minute or two after pulling them out of the freezer.
- Don’t forget the flaky salt! These cookies are quite sweet, especially with the addition of white chocolate, so the extra bit of salt balances out some of the sweetness and enhances the flavor.
Need supplies? Shop our Amazon store! Stock your pantry, and find all of our favorite kitchen tools! A Full Living LLC earns a small commission through purchases on our storefront to help support this site.
💭Frequently Asked Questions
Store leftovers in an airtight container at room temperature for up to 5 days.
It's preferable to freeze the cookie dough before being baked if possible. To freeze, allow them to cool off a room temperature completely before transferring them to a parchment-lined baking sheet and freezing them solid, and an even layer in the freezer. Once frozen transfer to a freezer bag, where they will keep for up to three months in the freezer. Bake the cookie dough straight from frozen. They may need an extra minute or two to bake if baking from frozen.
The cookies can be stored in the freezer if fully baked for up to 2 months. Defrost on the countertop. Just be aware the texture may change.
Yes, you can. Cookie dough can be stored in the fridge before baking for a few days if covered in plastic wrap or in an airtight container.
Yes, definitely! This recipe makes 16 large cookies. You can divide the cookies in half to make 32 smaller cookies. If doing this, you may only need to bake them for about 10 minutes. Keep a close eye on them if you decide to make them smaller.
More Recipes To Consider
Did you try this recipe? Make sure to leave a 5-star review below! 🌟 This helps other readers find our recipes and encourages them to try them. Also, be sure to leave a comment with your experience. Follow along, and tag @AFullLiving on Instagram with your photos!
📖 Recipe
Chocolate Chip and White Chocolate Chip Cookies
Equipment
- hand mixer (or stand mixer with a paddle attachment)
- mixing bowls
- Rubber Spatula
- large baking sheets (18x13 inch)
Ingredients
- 14 tablespoons unsalted butter, melted and cooled
- 1 cup light brown sugar (200g)
- ½ cup granulated white sugar (100g)
- 1 large egg, room temperature
- 1 large egg yolk, room temperature
- 1 tablespoon vanilla extract
- 2 cups all purpose flour (240g)
- 1 teaspoon baking soda
- 1.5 teaspoons kosher salt
- 1 cup chocolate chips (154g)
- 1 cup white chocolate chips (154g)
Instructions
- Add 14 tablespoons of melted and slightly cooled unsalted butter (it can be a bit warm, just not hot), 1 cup of brown sugar, and ½ cup of white sugar to a large mixing bowl. Cream together with a hand mixer or in a stand mixer with the paddle attachment until light and fluffy, about 4–5 minutes. Be sure to scrape the sides of the bowl a few times to make sure everything is fully incorporated.
- Next, whisk in the egg, egg yolk, and 1 tablespoon of vanilla extract. Mix until fully combined, but don’t continue to mix. Just make sure it’s totally combined with no streaks of egg or egg yolk.
- Sift in 2 cups of flour, 1 teaspoon of baking soda, and 1.5 teaspoons of kosher salt. Mix gently to incorporate using a rubber spatula. When the dough is almost all of the way mixed (there may still be streaks of flour), fold in most of the chocolate chips (reserve some for topping).
- Scoop cookie dough using a large cookie scoop (#20 size) onto a parchment-lined baking sheet. Add some more chocolate and white chocolate chips to the top of the cookies. Cover with plastic wrap, transfer to the fridge, and chill the cookie dough balls for at least 30 minutes. You can also chill them for up to 2 days in the fridge or even freeze the dough balls (tightly wrapped) for up to 3 months if you plan to bake them later.
- After the cookies have chilled and it's time to bake the cookies, line a large cookie sheet with parchment paper and preheat the oven to 350°F. Once the oven reaches 350°F (we recommend using an oven thermometer to be sure), it’s ready to bake your cookies! Place about 5–6 cookies on the baking sheet, leaving lots of room between them.
- Bake for 13–15 minutes. The cookies are ready when the edges are golden, and the middle looks puffed, pale, slightly underdone, and a little gooey. The cookies will set up when they cool. Don’t overbake them.
- Sprinkle the cookies immediately with flaky salt while they are hot. Allow them to rest on the baking sheet for 3-5 minutes so they can firm up enough to move them. You can also use a round biscuit cutter to “scoot” the edges of the cookies while they are still hot and give them a nice round shape. Once the cookies have firmed up enough to move, transfer them to a wire rack to cool completely. Add the remaining balls of cookie dough to the baking sheet and bake those while the first round is cooling.
- Allow your baked cookies to cool and set up slightly before digging in, or else they will just fall apart. Once they have firmed up, enjoy!
- Store leftovers in an airtight container at room temperature for up to 5 days.
Notes
-
-
- Measure accurately. Use a kitchen scale if you have one, as the sizes of cups vary. Accurate measurements can take a baked good from good to great!
-
- Make sure your baking soda is fresh. If your baking soda is no longer active, your cookies just won't turn out properly. To check and see if it's fresh, combine 1 teaspoon of baking soda with some vinegar in a dish. If it bubbles lots, you're good to go! If it doesn't, it's time to toss the baking soda.
-
- Use room-temperature ingredients. Make sure the egg and egg yolk are at room temperature for easier mixing and a smoother batter.
-
- Don’t skip creaming the butter and sugar. While it’s not entirely necessary, it will yield the best results, and we highly recommend it. The butter should become very pale and fluffy. It helps dissolve and disperse the sugars in the dough, as well as helps the cookies bake properly and prevents spreading. It will yield a thick and chewy cookie!
-
- Don’t overmix. Once you add the dry ingredients to the wet ingredients, mix just until combined to avoid tough, dense cookies. Start adding in the chocolate chips when there are still a few streaks of flour in the dough.
-
- Fold in add-ins carefully. Make sure to fold in the chocolate chips carefully, and ensure there is enough in every cookie! Use a rubber spatula to fold the ingredients in gently.
-
- Use an oven thermometer. Make sure your oven is fully preheated before baking. An oven thermometer can help confirm that the oven has reached the right temperature. Often, the beep you hear from the oven goes off prematurely before the temperature is reached. Also, different ovens run at different temperatures.
-
- Parchment paper. Always line your baking pan with parchment paper for easier cookie removal and cleanup. It helps prevent the cookies from sticking.
-
- Chill the cookie dough. We know it’s hard to wait! However, chilling the cookie dough for at least 30 minutes allows the flour to absorb the other ingredients, resulting in a delicious, dense, and chewy cookie with crispy edges. Plus, it helps the cookies hold their shape when baking, so they don't spread out all over the cookie sheet.
-
- Bake fewer cookies at a time. We know this feels like an annoying step, but again, these are large cookies, and we don't want them to run together on a baking sheet!
-
- If freezing the cookie dough, you may need to bake them for an extra minute or two after pulling them out of the freezer.
-
- Don’t forget the flaky salt! These cookies are quite sweet, especially with the addition of white chocolate, so the extra bit of salt balances out some of the sweetness and enhances the flavor.
-
- Freezing.
- It's preferable to freeze the cookie dough before being baked if possible. To freeze, allow them to cool off a room temperature completely before transferring them to a parchment lined baking sheet and freezing them solid, and an even layer in the freezer. Once frozen transfer to a freezer bag, where they will keep for up to three months in the freezer. Bake the cookie dough straight from frozen. They may need an extra minute or two to bake if baking from frozen.
- The cookies can be stored in the freezer if fully baked for up to 2 months. Defrost on the countertop. Just be aware the texture may change.


Comments
No Comments