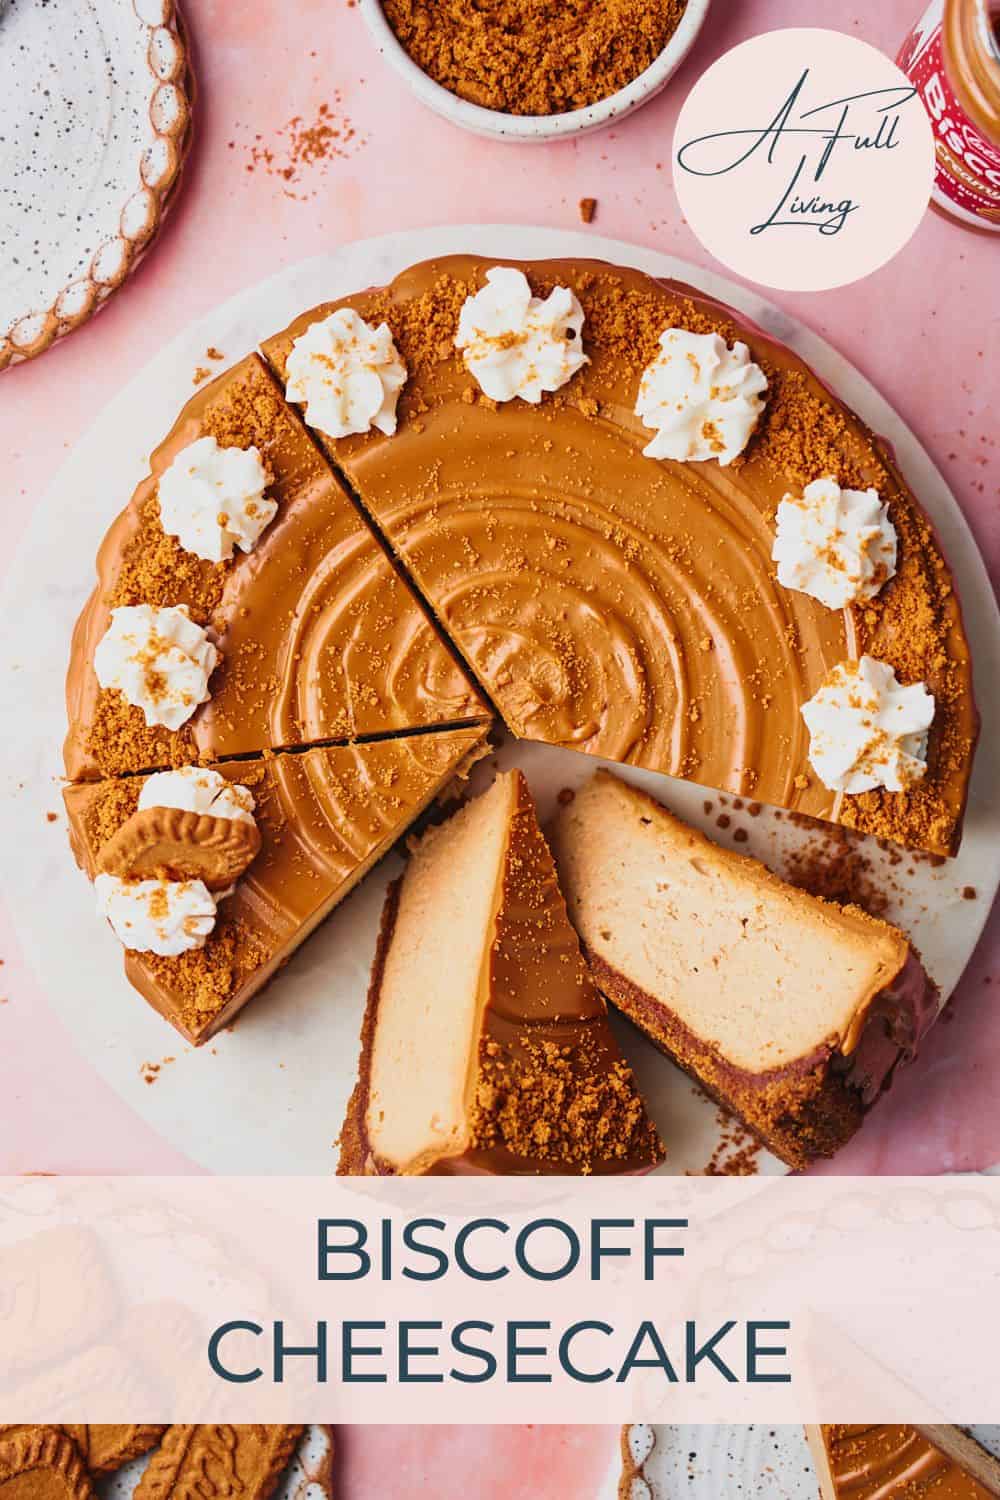
Celebrate special moments with this decadent Biscoff Cheesecake - a dream dessert for Biscoff lovers! Made with a buttery, crunchy Biscoff cookie crust, and filled with a creamy Biscoff cookie butter cheesecake center, then gets topped with more creamy cookie butter, and a sprinkle of crispy Biscoff cookie crumbs. This dessert is a showstopper!

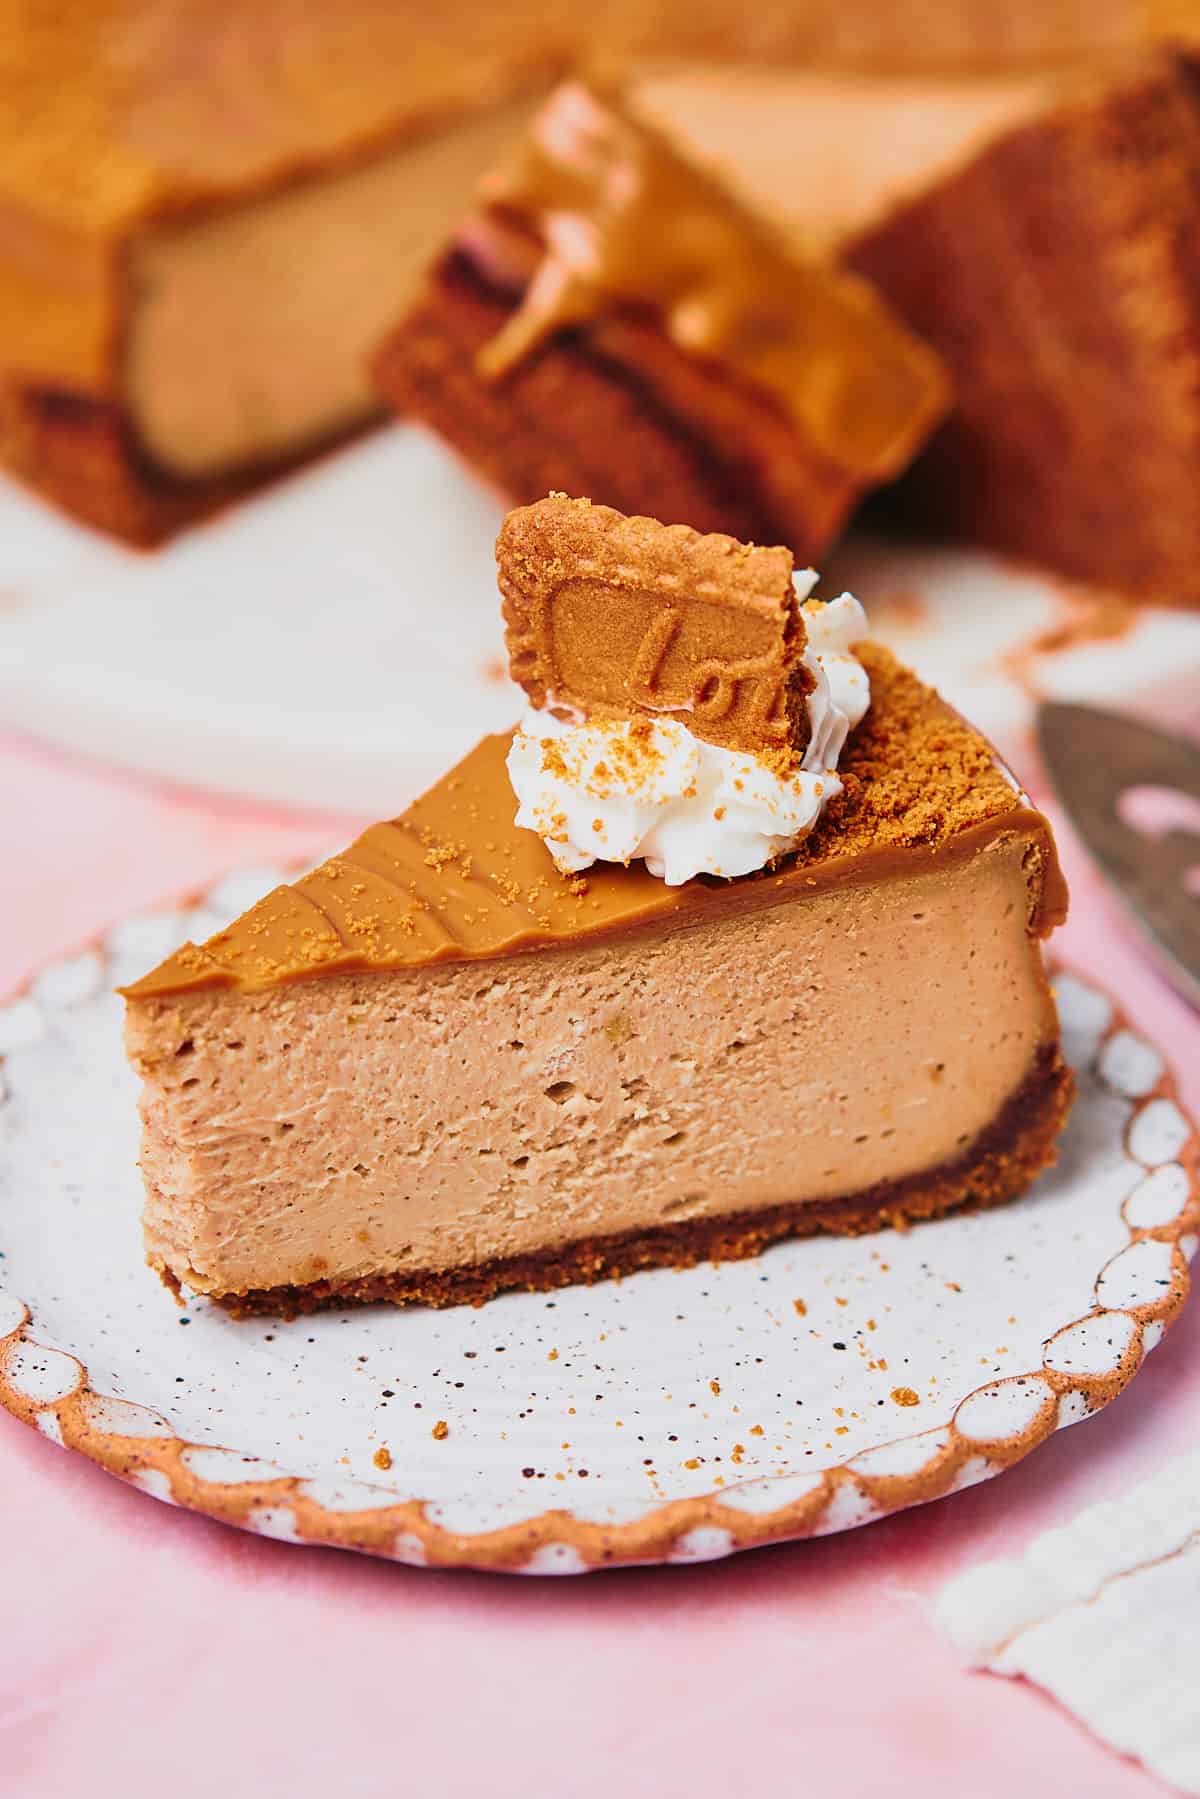
This delicious cheesecake will be the star of your next gathering. It's visually appealing with the luscious and shiny cookie butter top, with just the right amount of fine crumbs sprinkled all over it. Top it all off with a little whipped cream if you want! It's absolutely bursting with cookie butter flavor, and we know you'll love it.
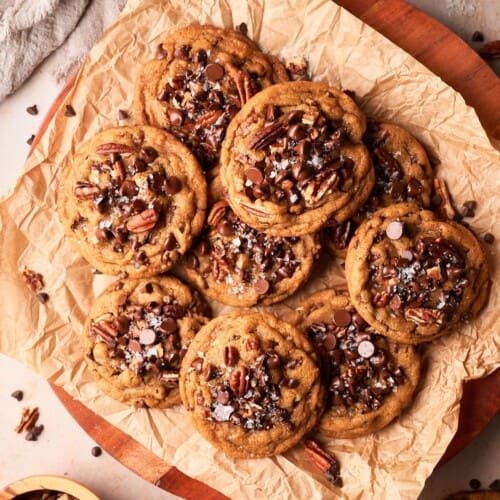
Looking for more Biscoff recipes? You may also love these Biscoff butter cookies!
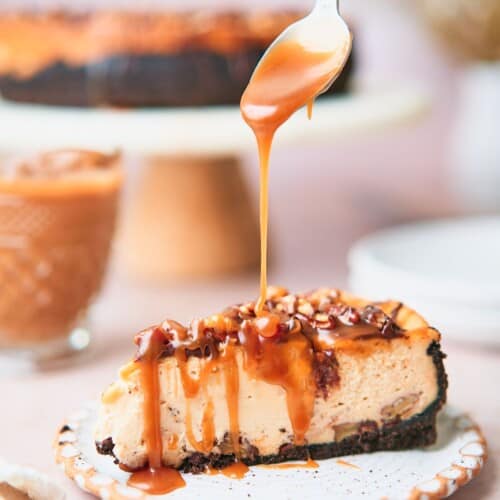
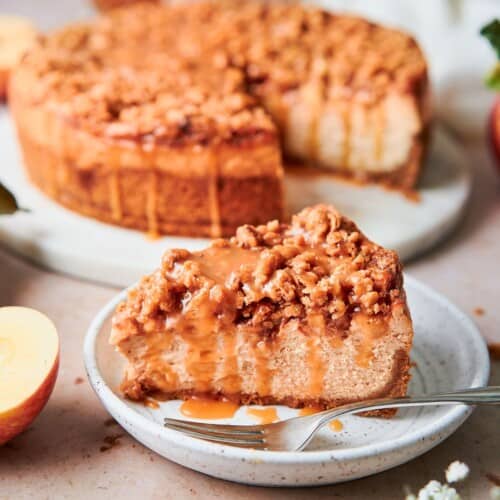
If you're in the mood for more cheesecake, be sure to check out our turtle cheesecake, or this apple crisp cheesecake.
Jump to:
❤️Why we love this recipe
- Unique flavor and textures. Biscoff cookies and cookie butter spread are incorporated in various forms in the cheesecake, and it offers a distinct caramelized, spiced flavor and different textures throughout the entire bite. This cheesecake is different from traditional cheesecakes, and it's totally irresistible.
- Perfect for special occasions. The elegant presentation and decadent taste of this cheesecake make it an ideal choice for celebrations, gatherings, or as a special treat for holidays and birthdays. Biscoff cookies are especially popular during Christmas time and Easter!
- Biscoff lover's dream. This recipe is a dream come true for fans of Biscoff cookies, since it incorporates flavor in every layer.
- Straight forward yet impressive. While this recipe is very impressive looking and tastes gourmet, it's easy enough to follow and master with our step-by-step instructions, tips, and tricks.
🧈Ingredients
Here are the ingredients we used for this recipe. You can find more information for substitutions below.
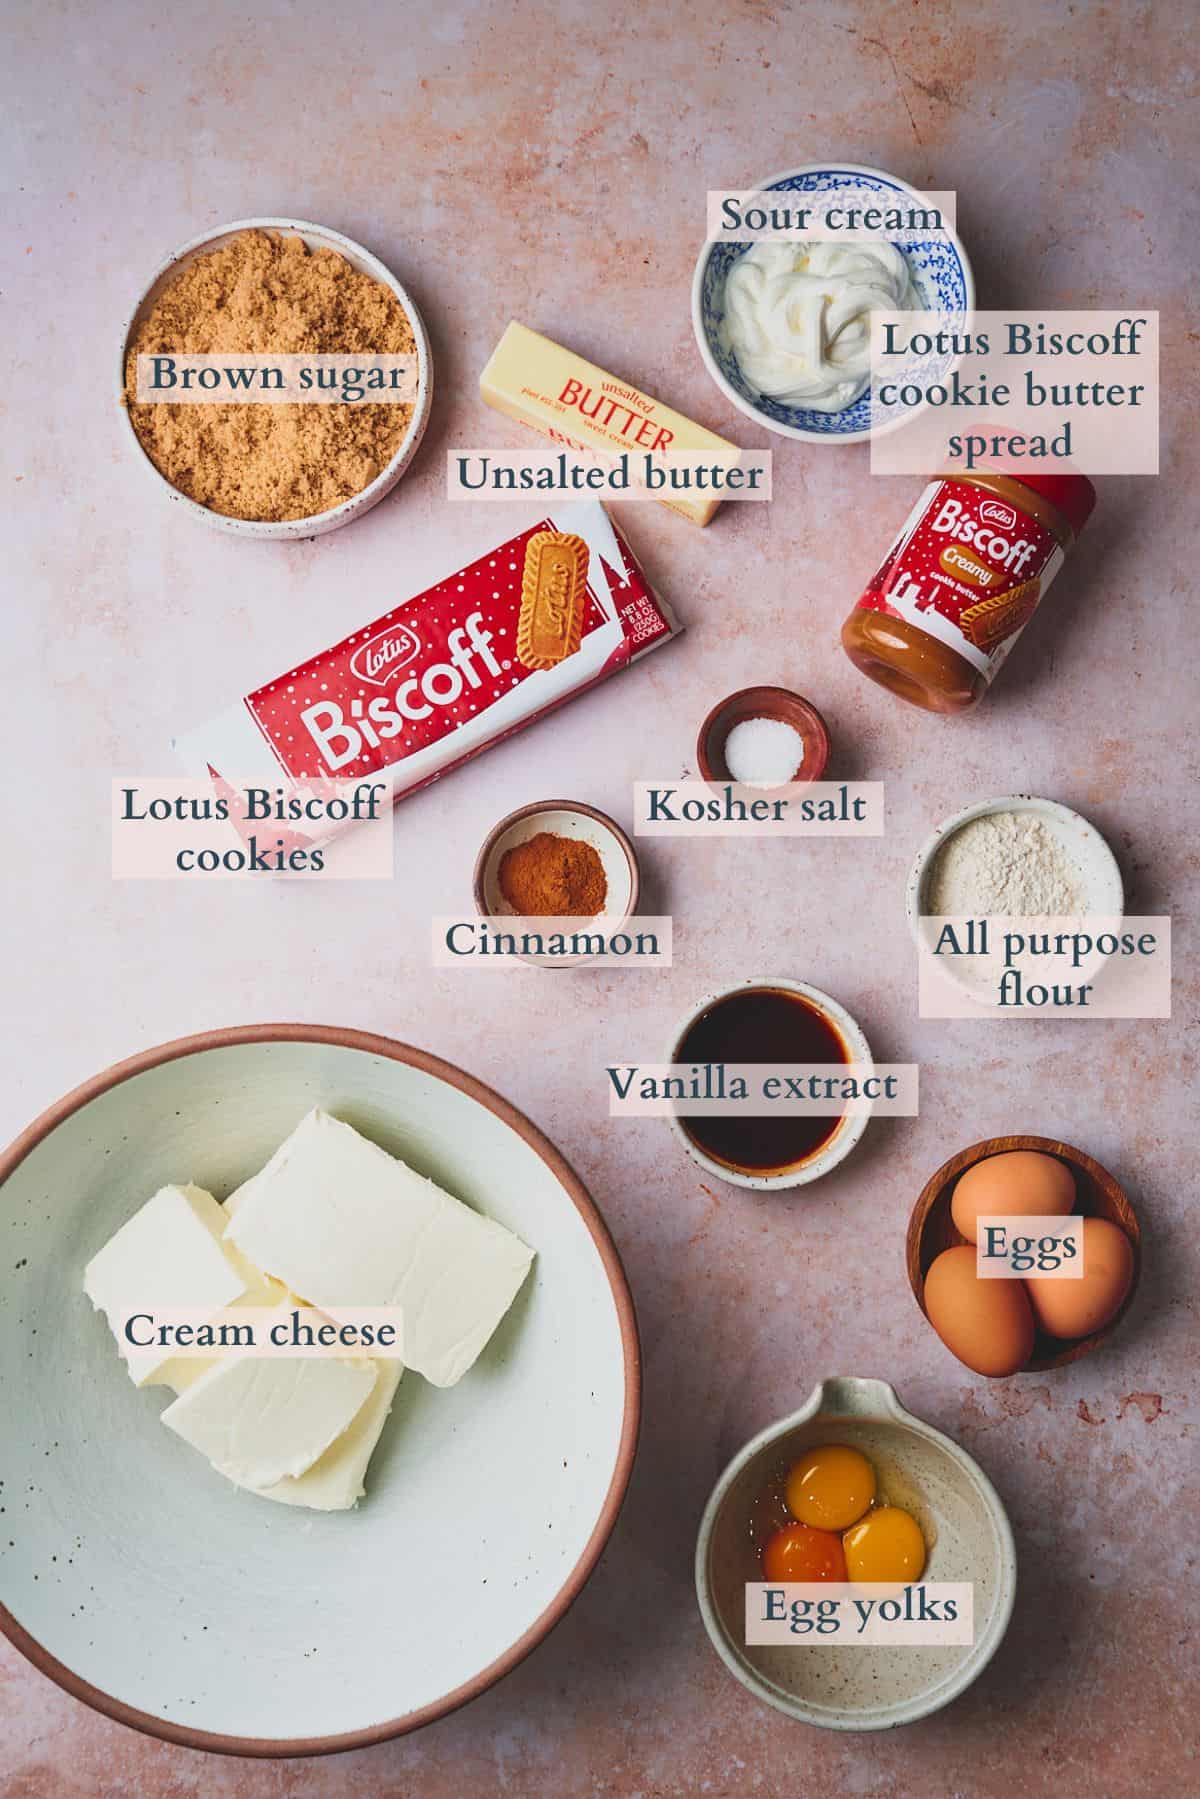
- Cream cheese. Use full-fat cream cheese that is not whipped! This is very important. Don't use a reduced-fat version. Make sure to leave the cream cheese out at room temperature for at least 2-3 hours to help it get nice and soft. We like to leave ours out (inside of the wrapping) on the counter for 6-8 hours.
- Sour cream, eggs & egg yolks. Take the eggs and sour cream out of the fridge at let them sit at room temperature for about 2 hours. For the egg yolks, we recommend separating them from the whites right before adding it to the cheesecake batter, or they can dry out.
- Biscoff cookie butter. Choose the creamy variety of Biscoff cookie spread for the best results. The cookie butter can be found near the peanut butter in most grocery stores, and often on end caps in the store during the holiday season.
- Lotus Biscoff biscuits (cookies). These are the iconic cookies that have a light cinnamon and caramel-like flavor to them. They have a less spicy, mild, and buttery gingerbread flavor and they have a very distinct taste! Make sure you get the plain cookies and now the ones stuffed with caramel filling.
Visit the recipe card for the full quantities and nutritional information.
✨Substitutions
Here are a few suggestions on additional flavors to try, or simple variations to this recipe.
- No Lotus Biscoff spread? You can use any speculoos cookie butter if you can't find Lotus Biscoff cookie butter spread. Lotus Biscoff spread is almost identical to Trader Joe's speculoos cookie spread.
- No Lotus Biscoff cookies. If you can't find Biscoff cookies, use any speculoos cookies that you prefer.
- Swap the light brown sugar. You can swap light brown sugar for regular white sugar, or even dark brown sugar for an extra molasses-like taste.
✨Variations
- No sour cream. You can also use plain or even Vanilla Greek yogurt. The cheesecake may might be slightly more tangy.
- Dairy free. Use a dairy-free cream cheese, dairy free sour cream, and vegan butter.
*This recipe hasn't been tested with other substitutions or variations. If you change or add any ingredients, please let us know how it turned out in the comments below.
🔪Prep work
- Allow the cream cheese to sit out for at least 2-3 hours so that it can get nice and soft. We like for ours to sit out for 6-8 hours.
- Let the sour cream, eggs, and egg yolks sit out for about 2 hours at room temperature.
- Grease a 9-inch springform pan very well with baking spray. Add a 9-inch parchment paper round liner to the bottom of the pan. Make sure to grease the bottom of the springform pan and the sides of the pan really well to prevent any sticking.
- Preheat the oven to 350°F.
- Measure out all remaining ingredients.
📋Instructions
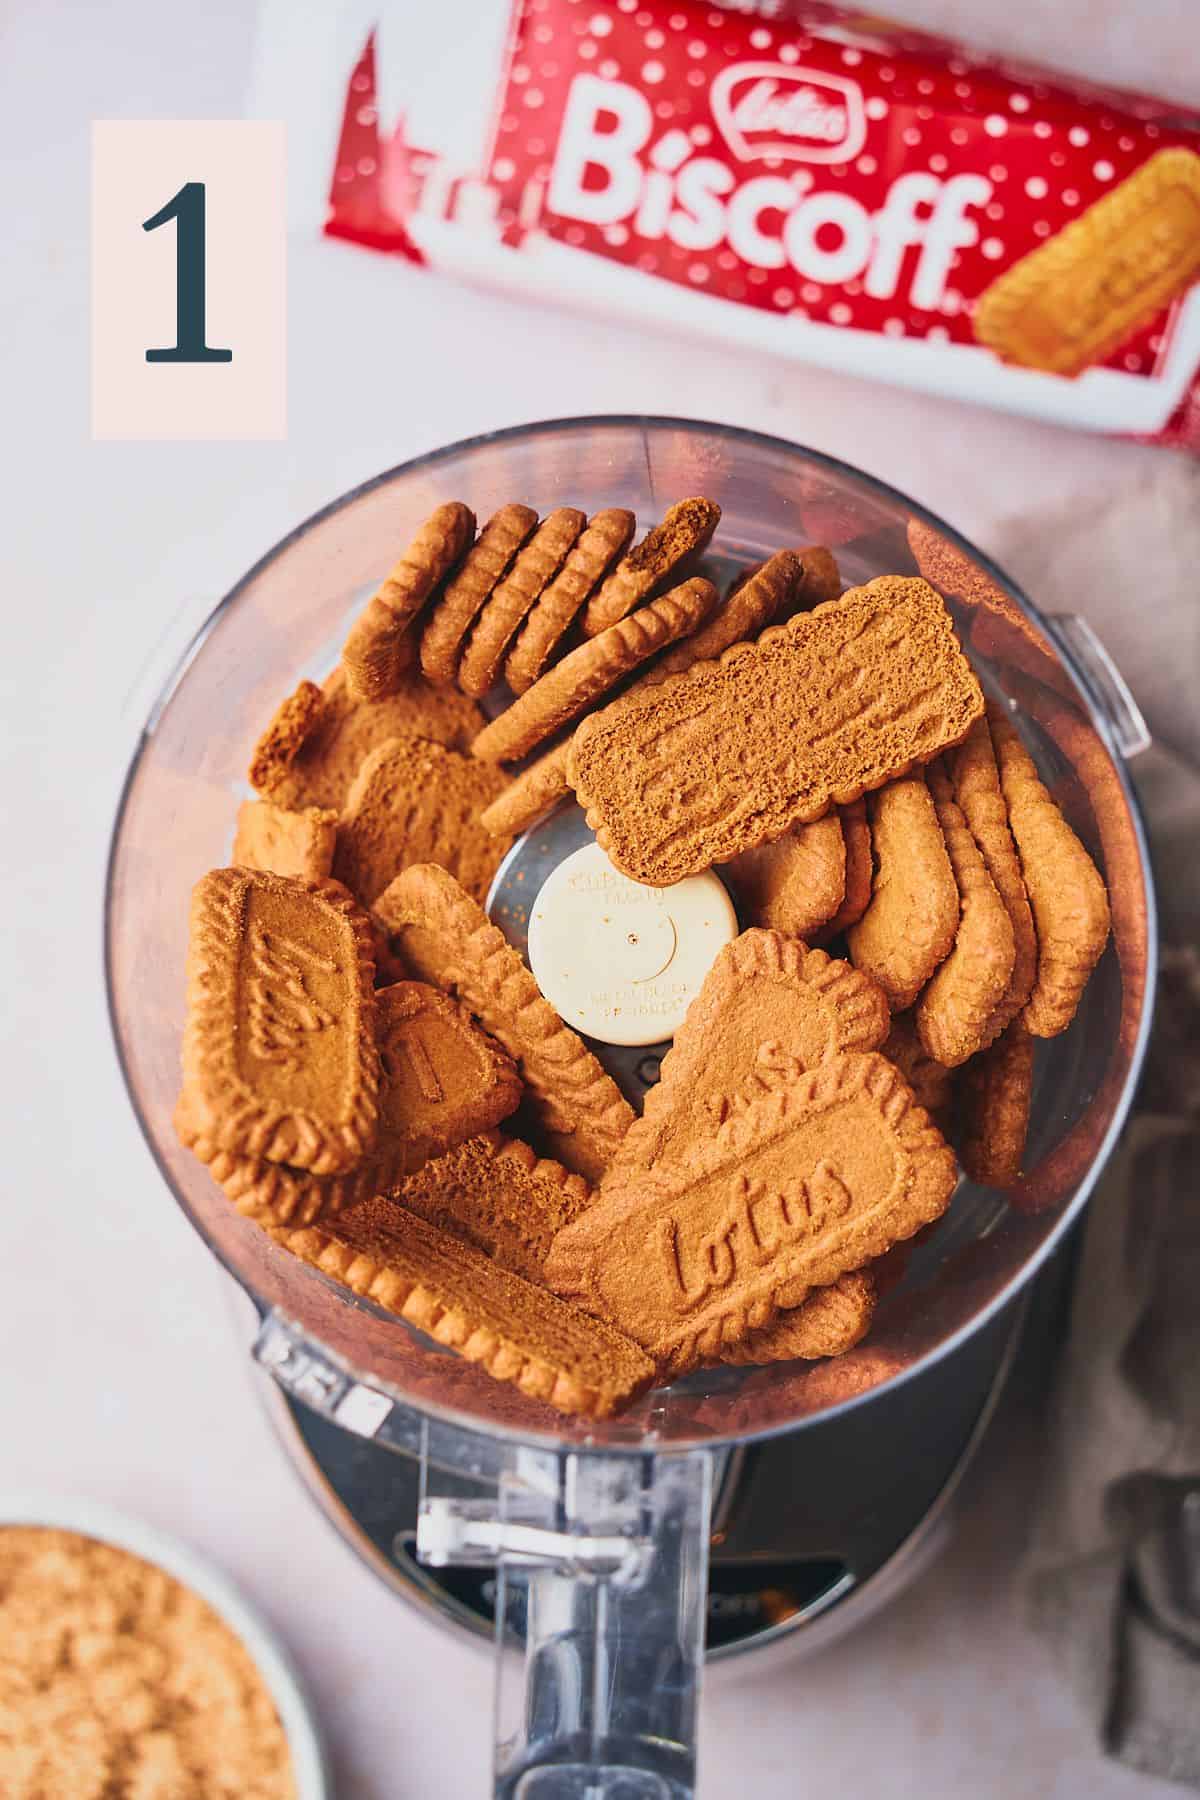
Place the Biscoff cookies in a food processor. (Image 1)
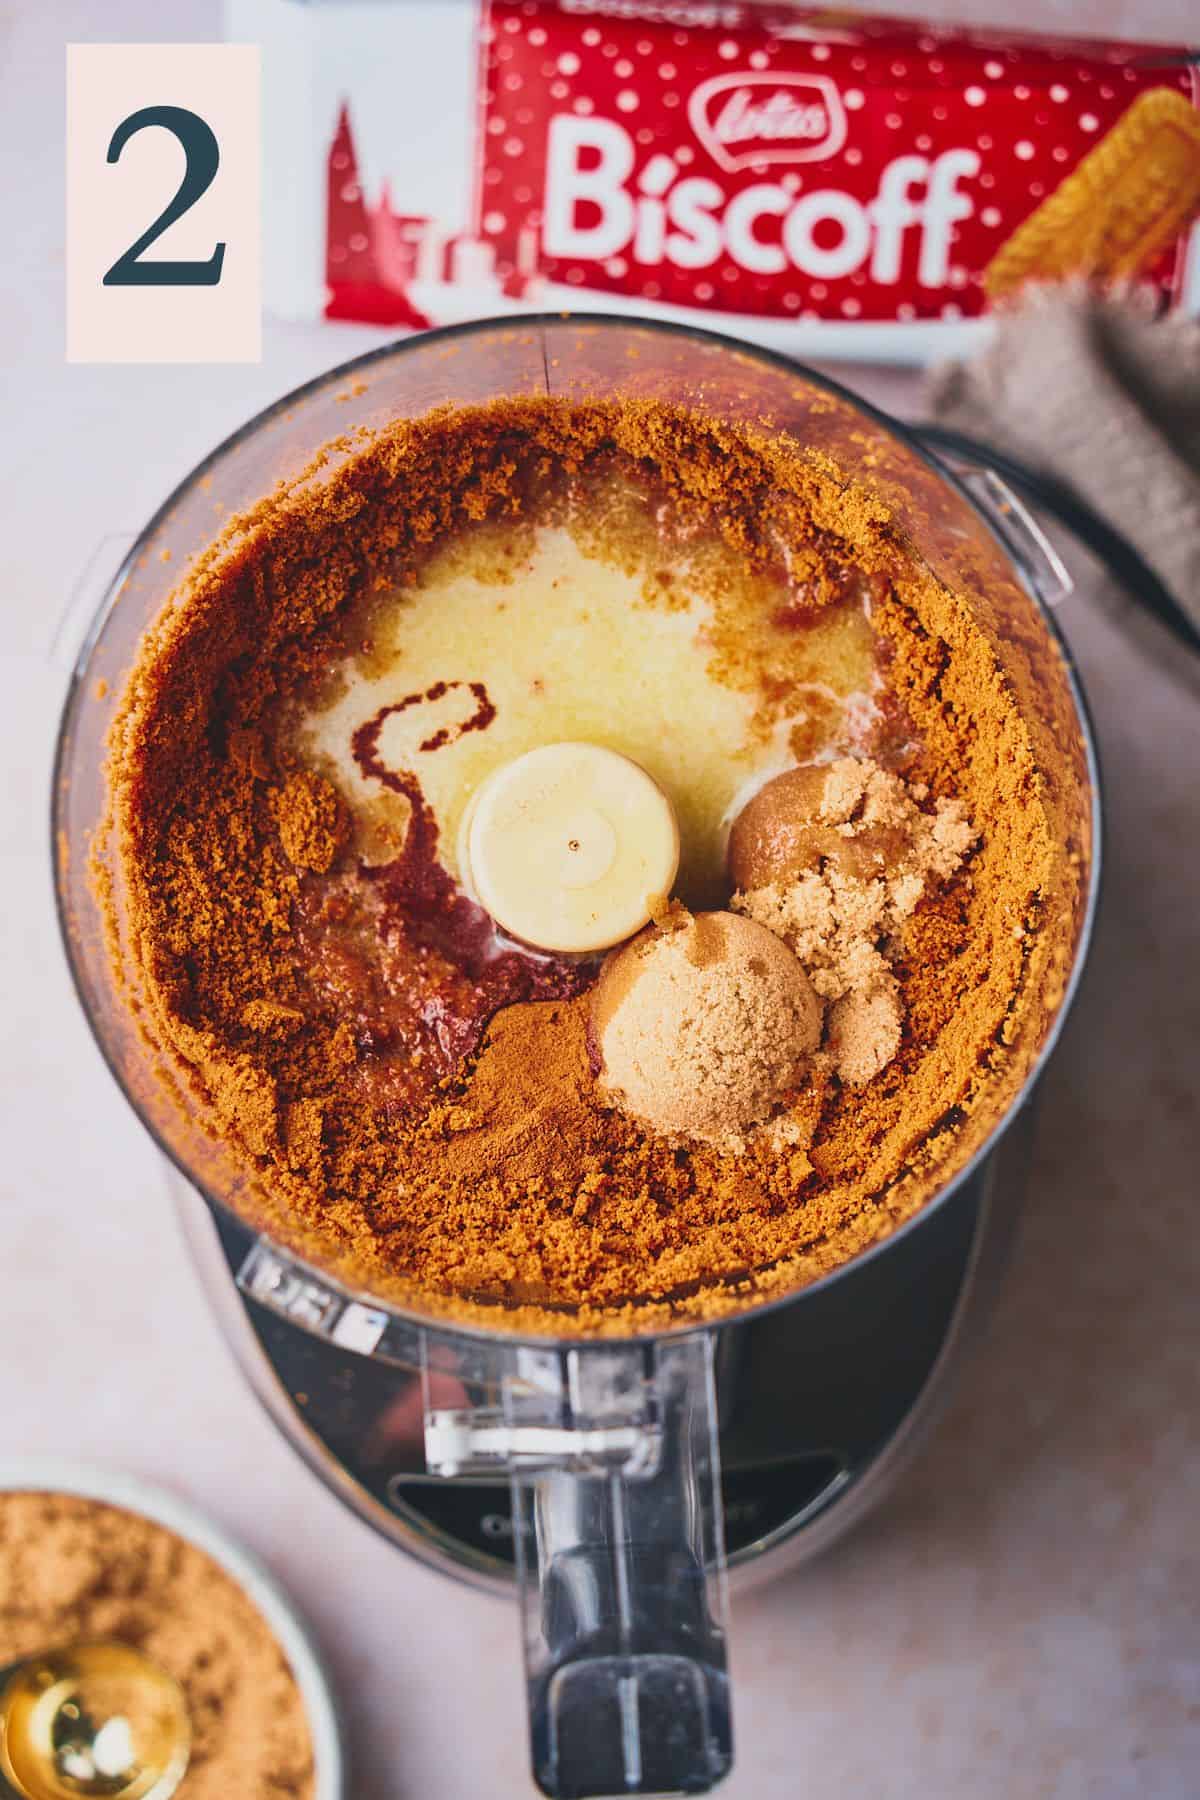
Pulse until a fine crumb forms, then add in melted and cooled unsalted butter, brown sugar, and cinnamon. (Image 2)
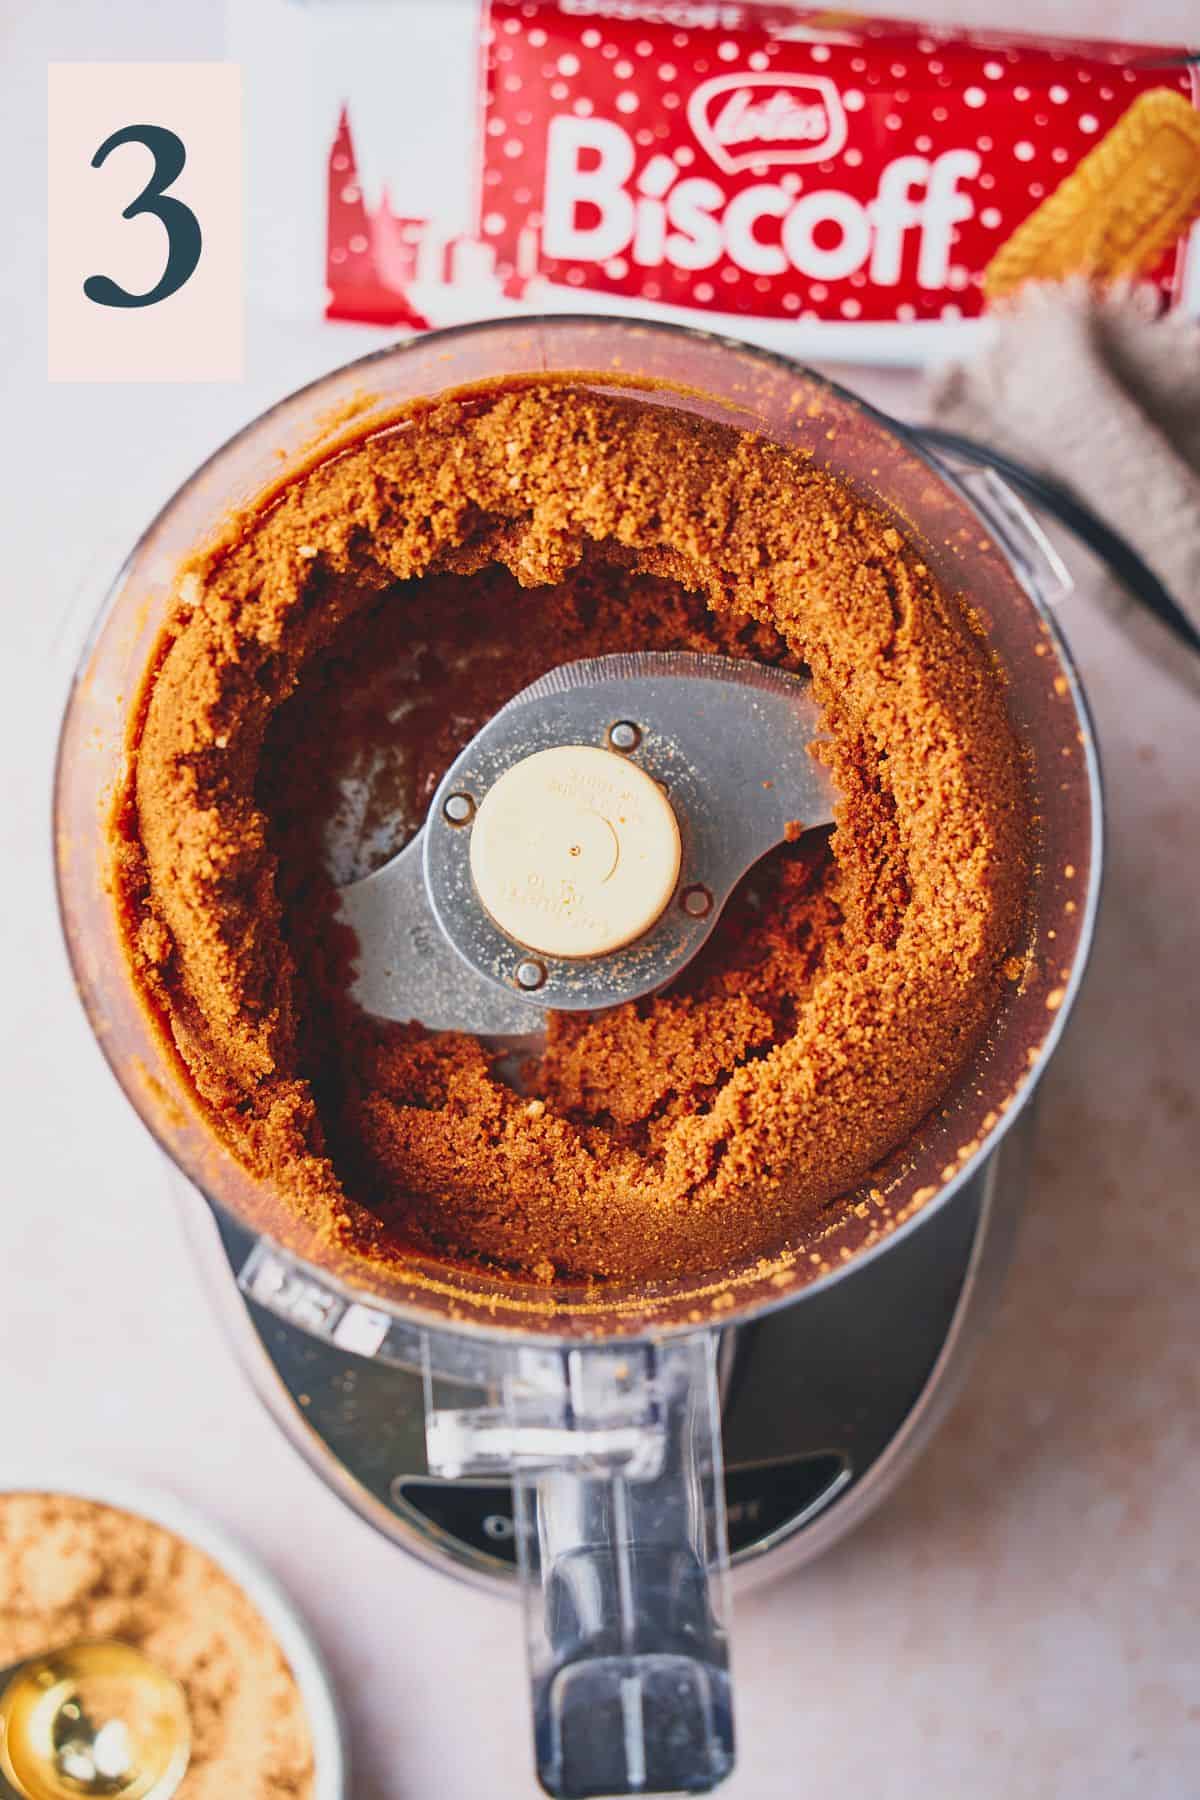
Pulse again to combine. (Image 3)
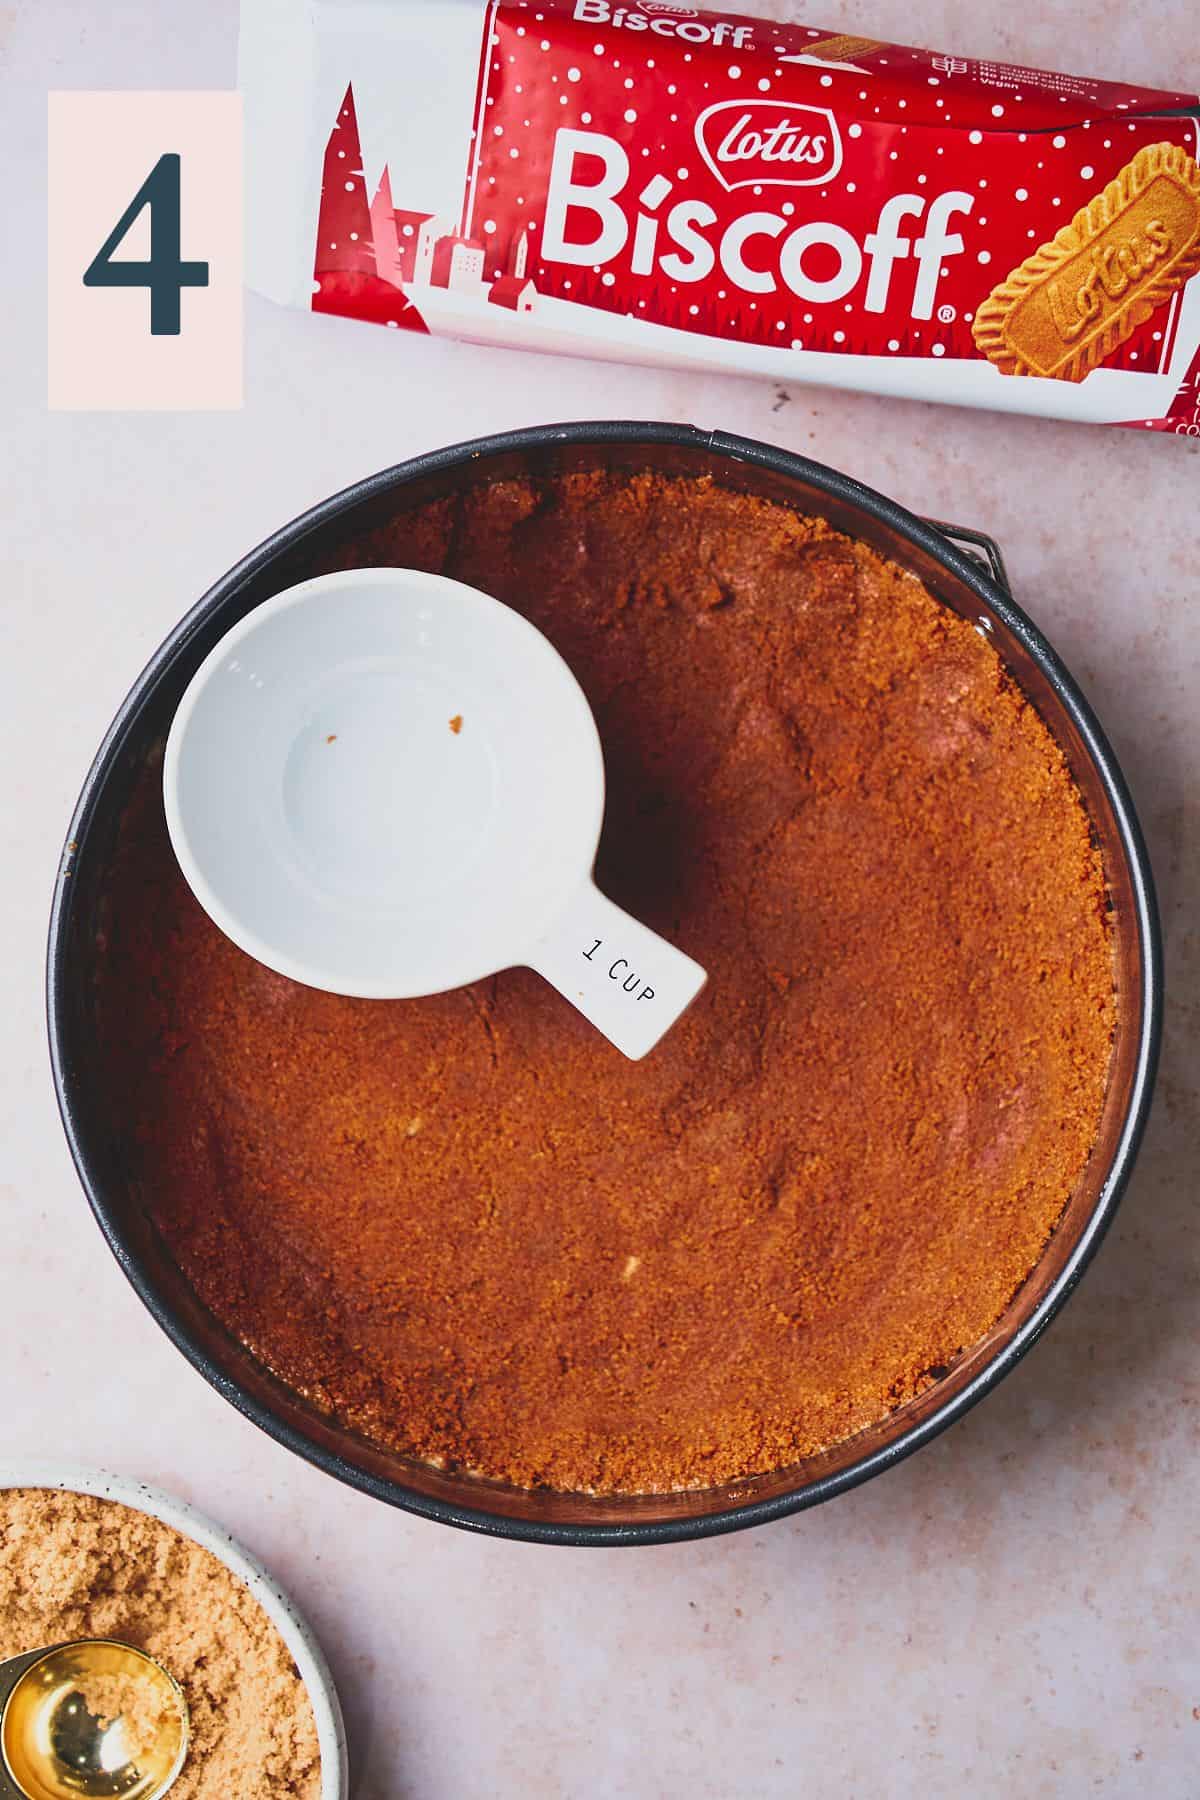
Pour the crust into the greased and lined pan and spread into a loose even layer with your fingers. Then use the bottom of a flat measuring cup to press it into the bottom and up the sides. (Image 4)
Bake for 8-10 minutes, until the crust is a nice golden brown. Place on a cooling rack and allow the crust to cool while you make the cheesecake batter. (Image 5)
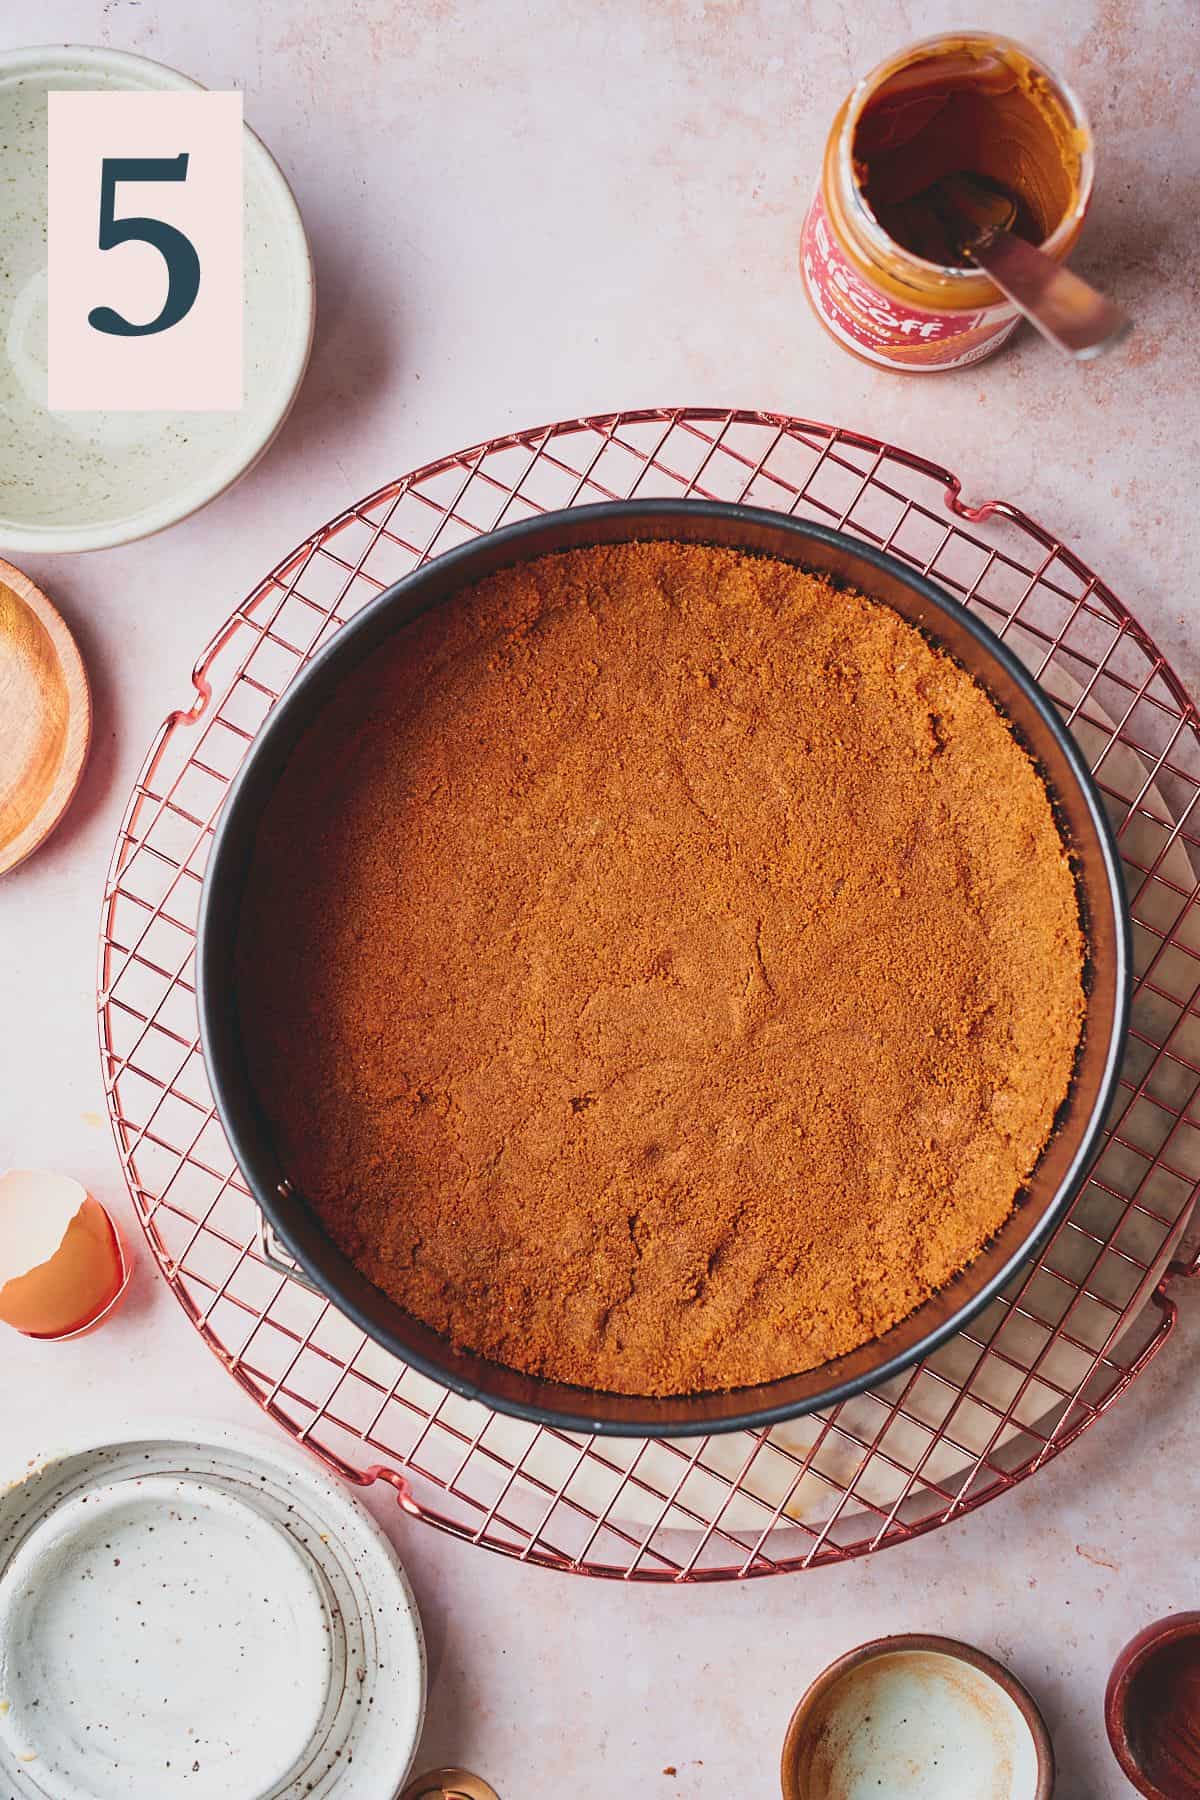
✨Pro Tip: This makes a taller crust that reaches up the sides of the cheesecake. For a bottom crust only, cut the recipe in half.
Now, it's time to prepare for making the cheesecake batter and baking the cheesecake.
- Drop the oven temperature to 325°F.
- Place a large roasting pan on the bottom rack of the oven, and make sure the second rack is positioned in the middle above it.
- Start a pot of boiling water (about 6 cups) on the stove. This will be for the water bath that goes into the roasting pan underneath the cheesecake. This step is very important because it keeps the oven and the cheesecake moist to prevent cracks in the top of the cheesecake.
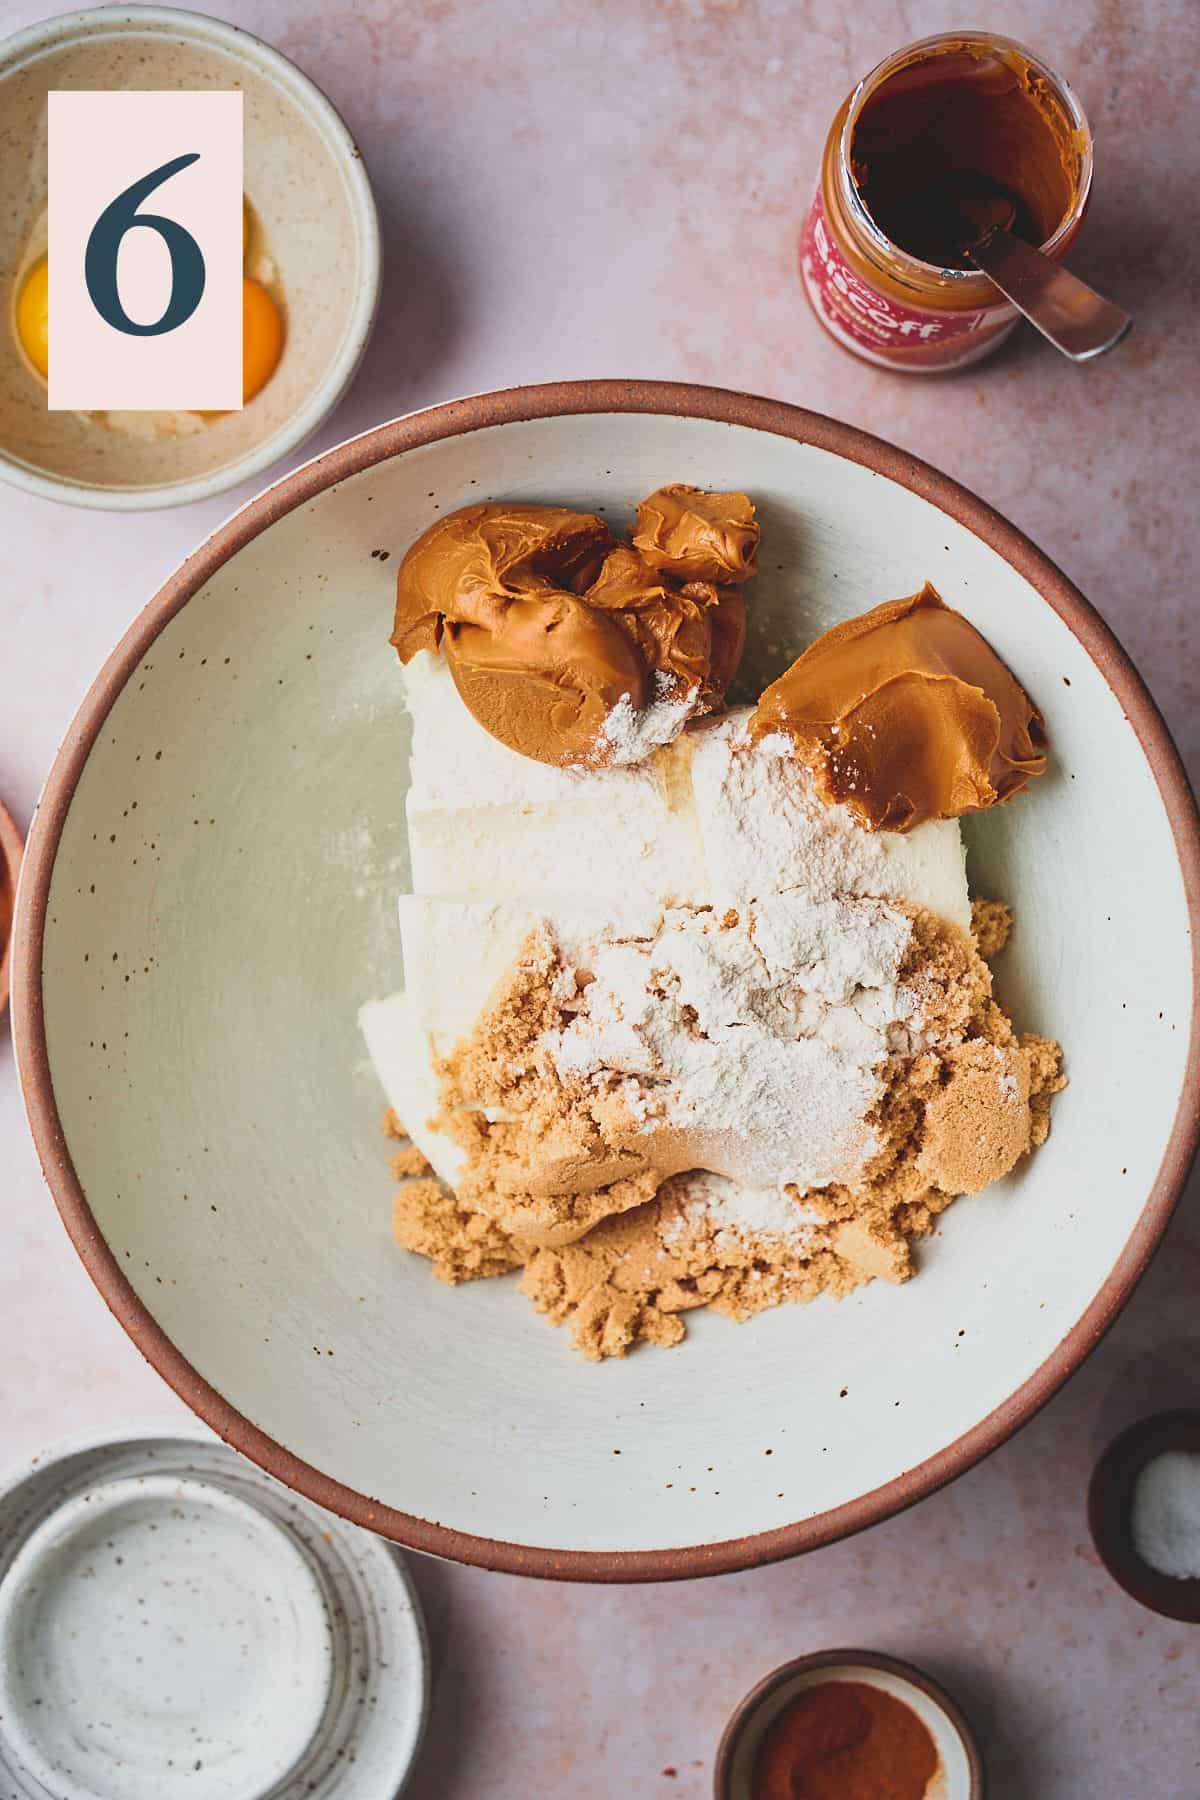
Add the softened room-temperature cream cheese, Biscoff cookie butter, all-purpose flour, and brown sugar to a large mixing bowl. (Image 6)
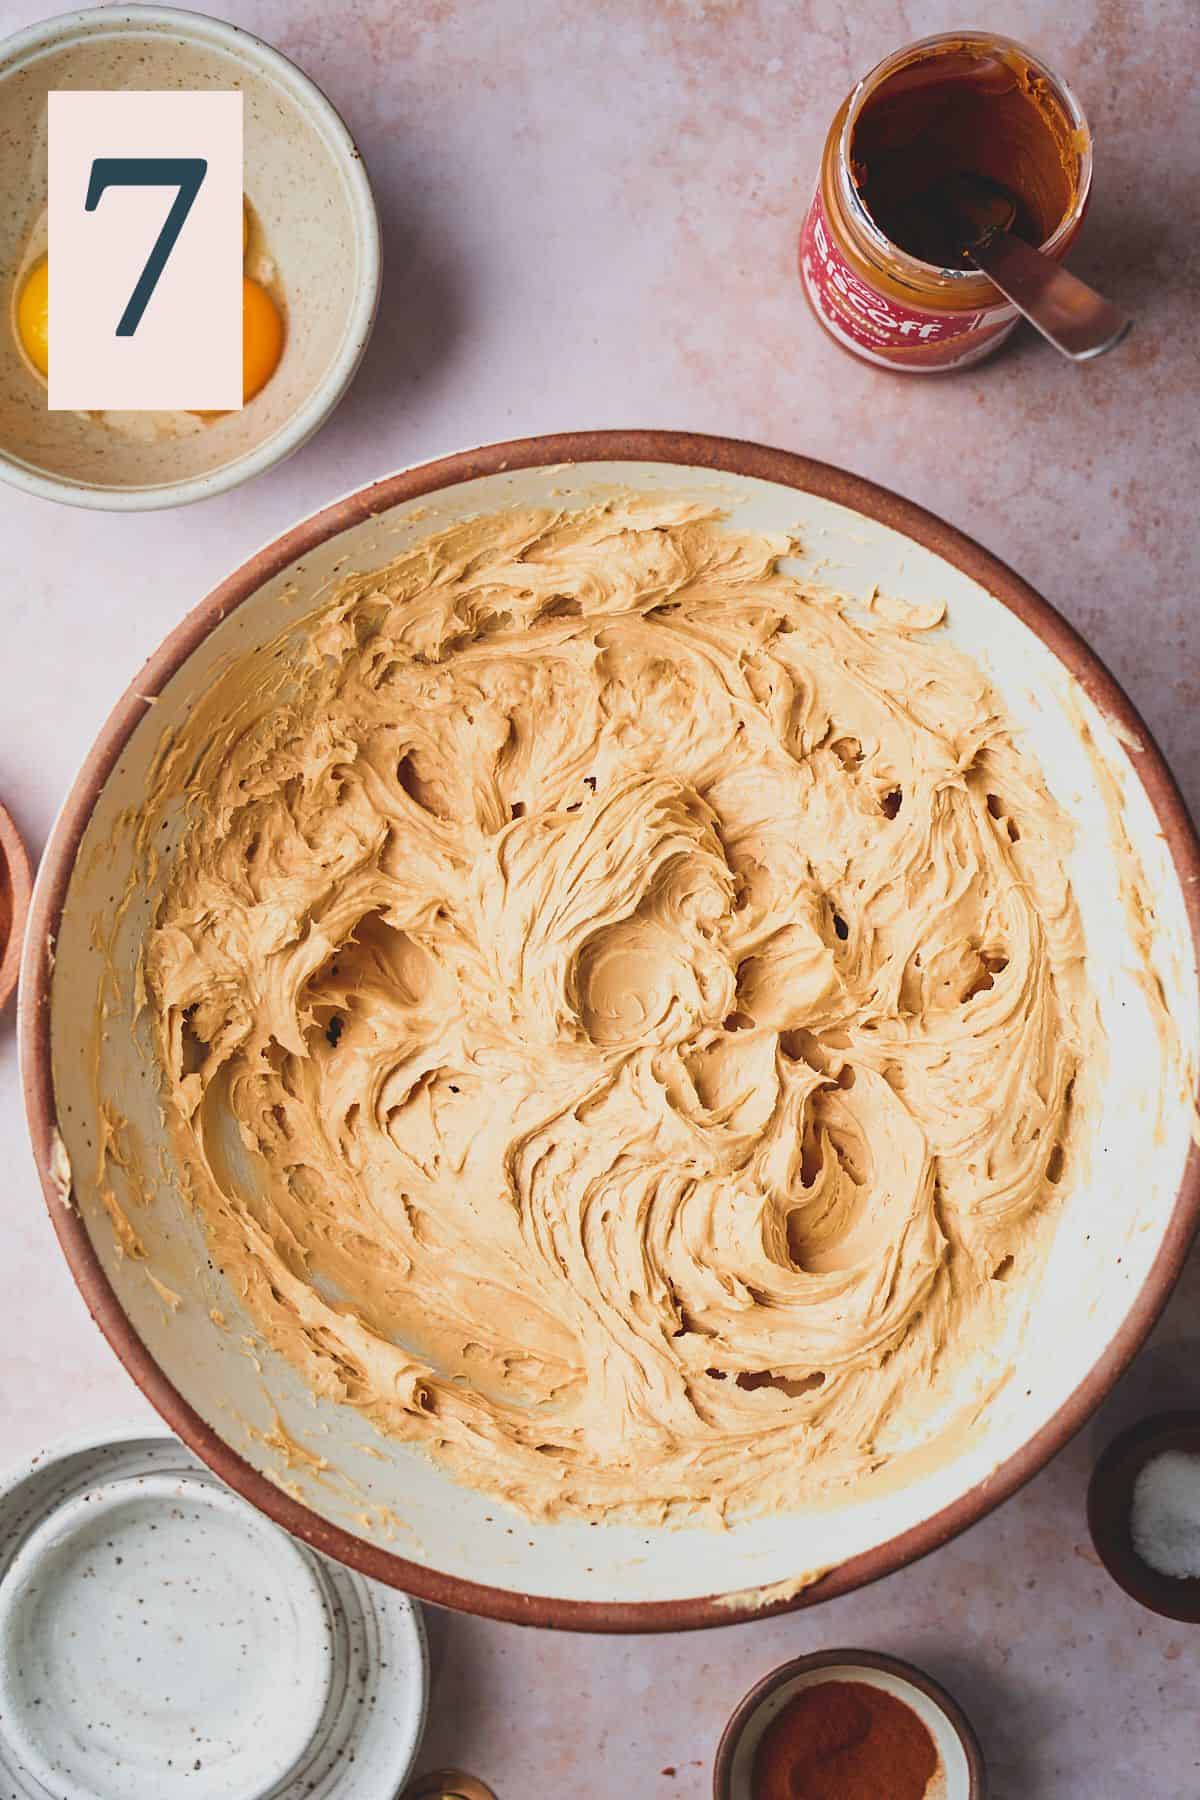
Using an electric mixer or the bowl of a stand mixer with the paddle attachment, mix on LOW speed until it comes together and forms a smooth texture. Scrape down the bowl and mix on low for another 20 seconds. (Image 7)
Next, mix in the eggs one at a time on LOW speed. Only add the next when the one prior is just incorporated. After the 2nd egg is mixed in, stop and scrape down the bowl. (Image 8)
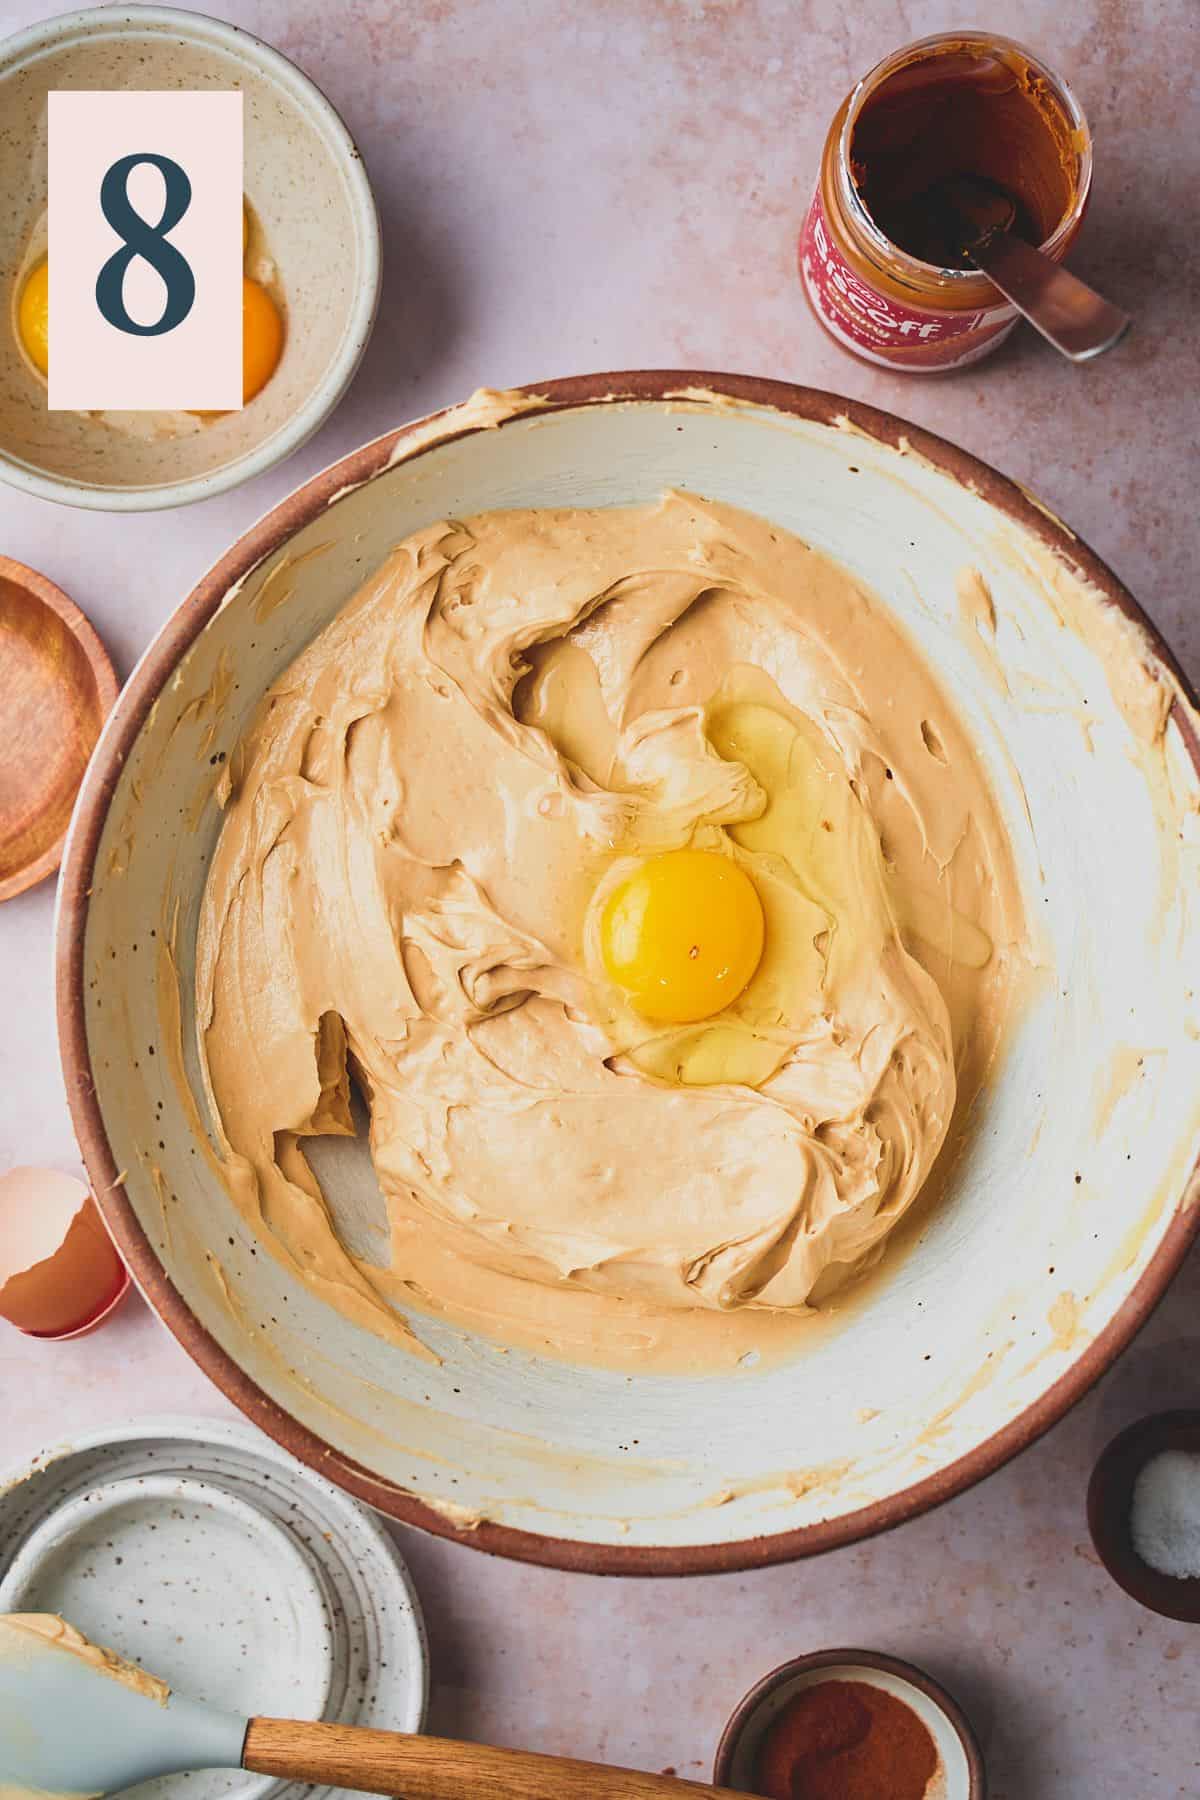
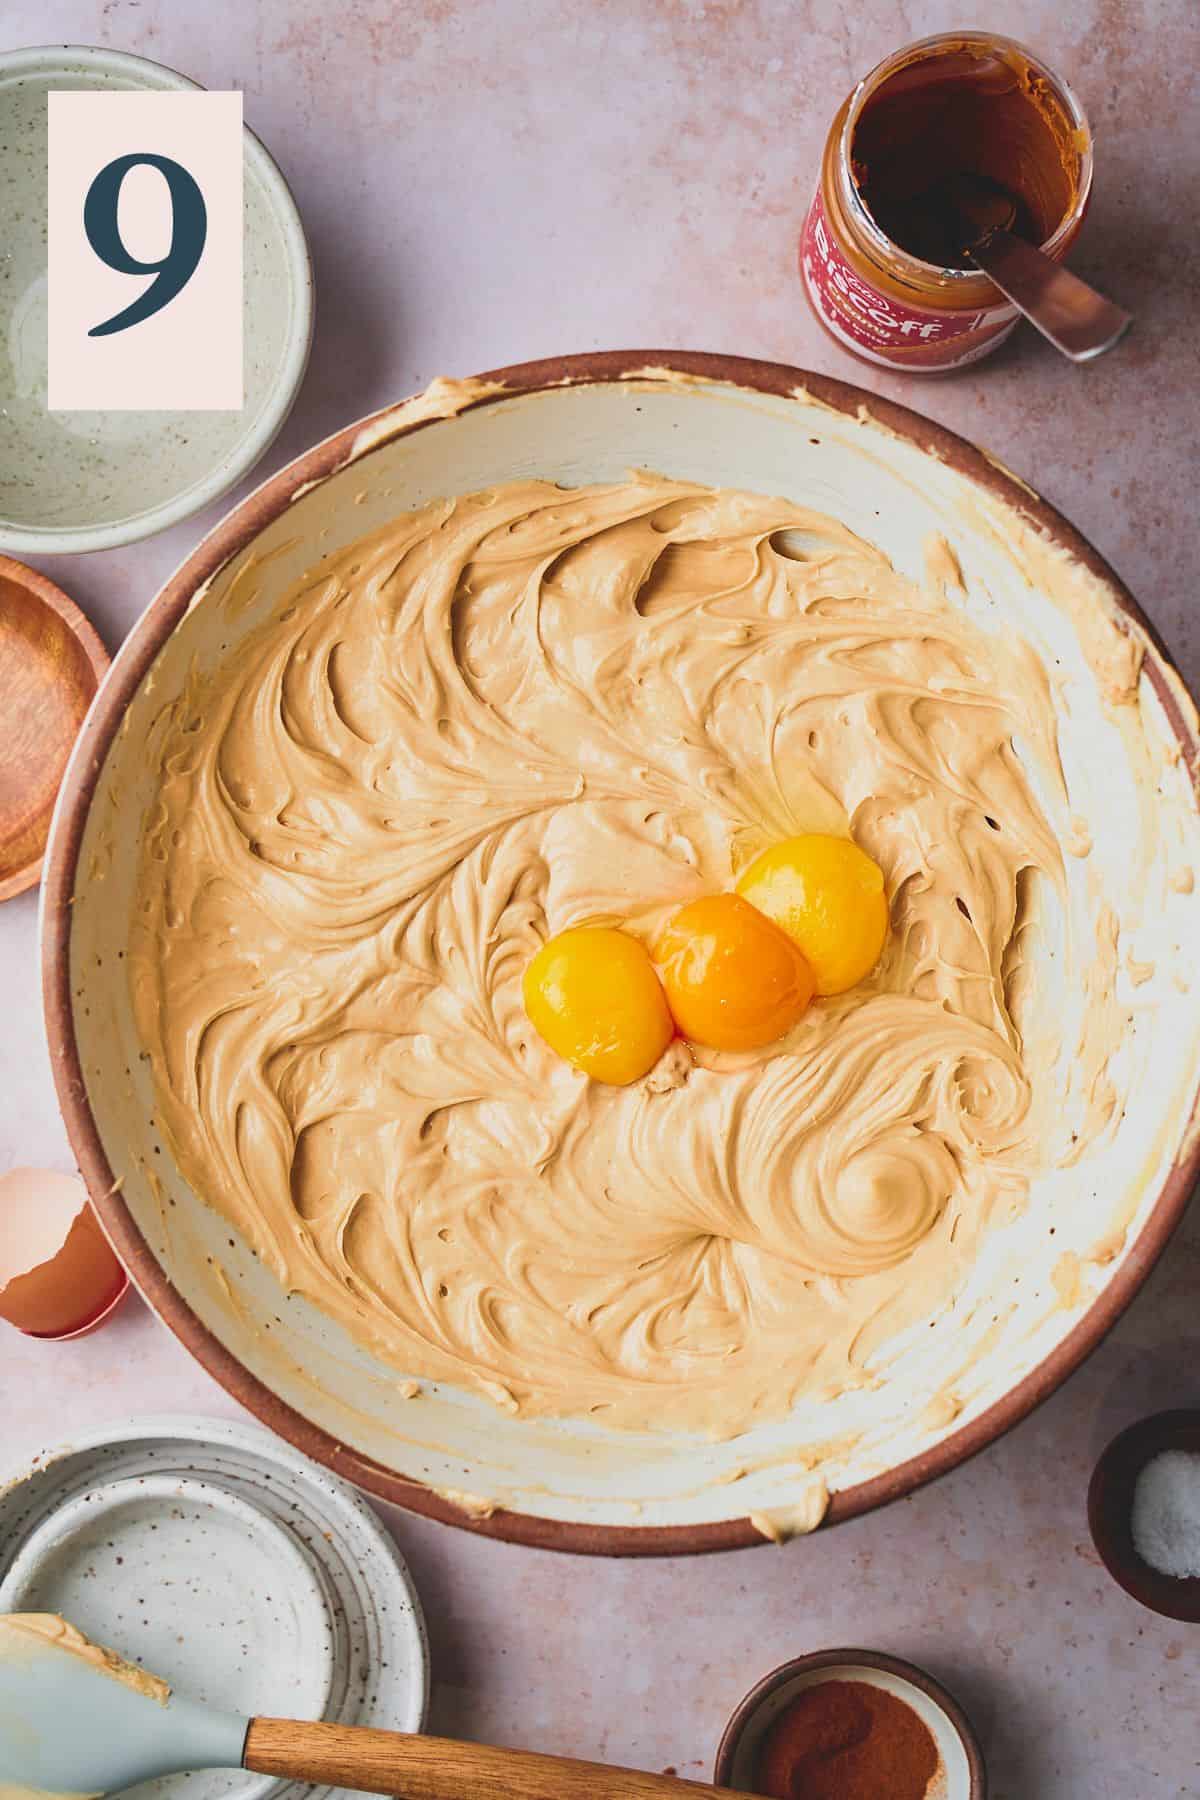
Mix for another 20 seconds then continue with the 3rd egg and the egg yolks. (Image 9)
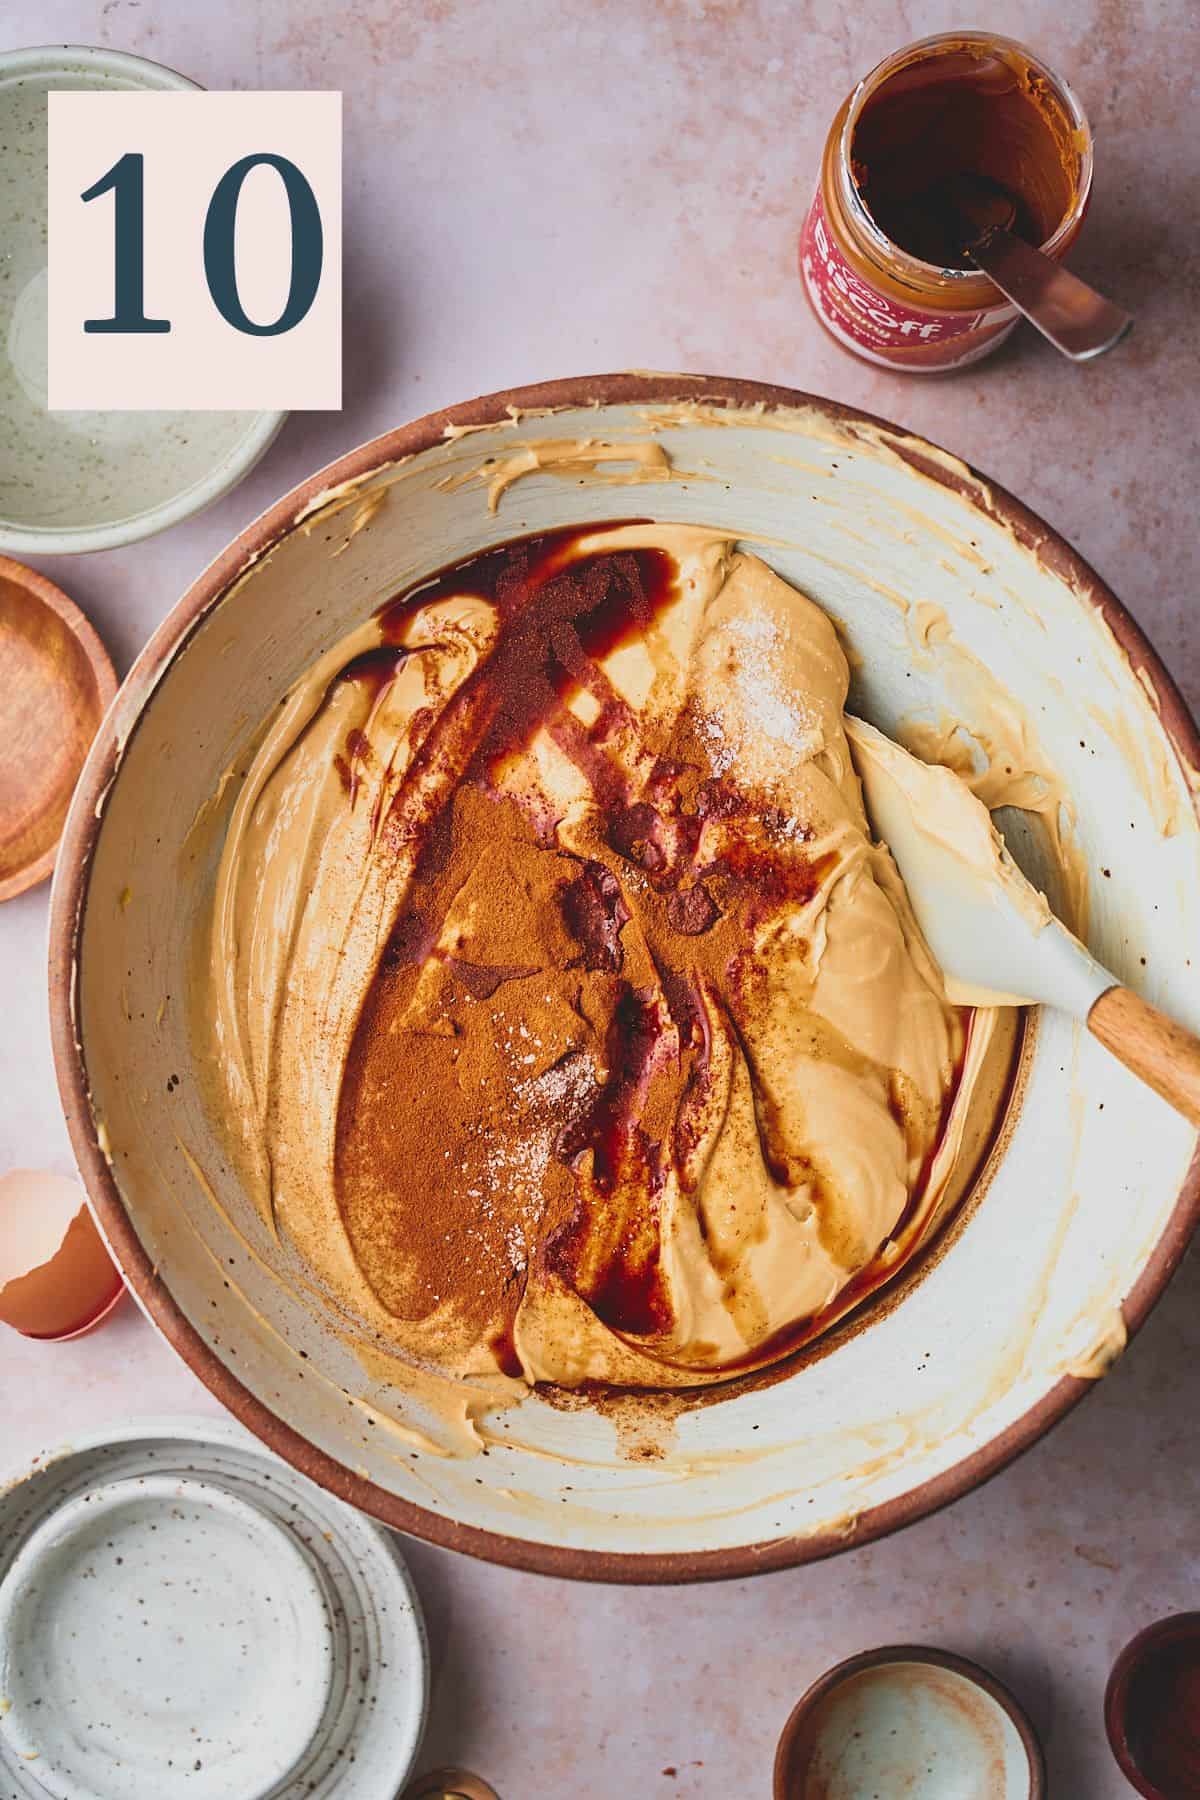
Add in the vanilla extract, cinnamon, and kosher salt. (Image 10)
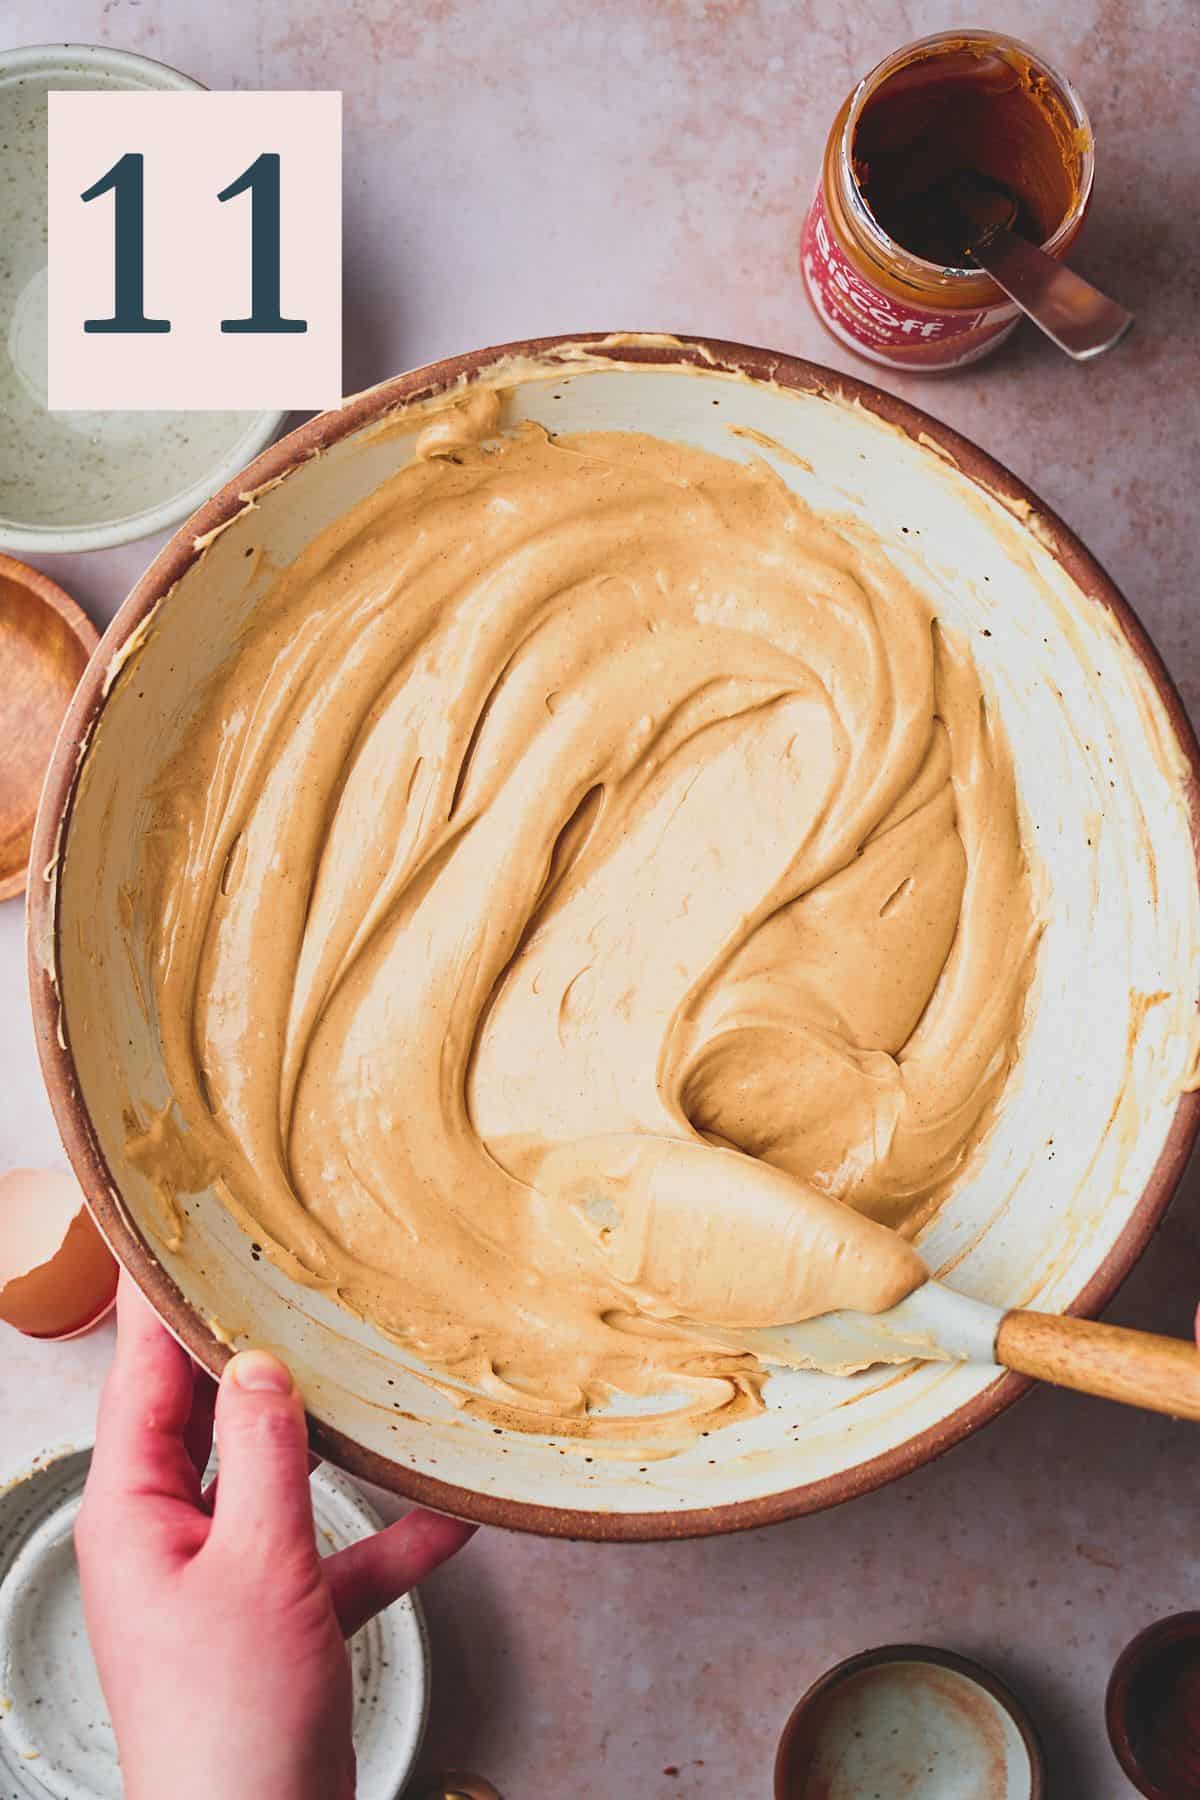
Continue mixing on low speed until the mix is velvety smooth, then stop mixing! Mixing too much can incorporate too much air into the batter, which can cause it to crack later on. (Image 11)
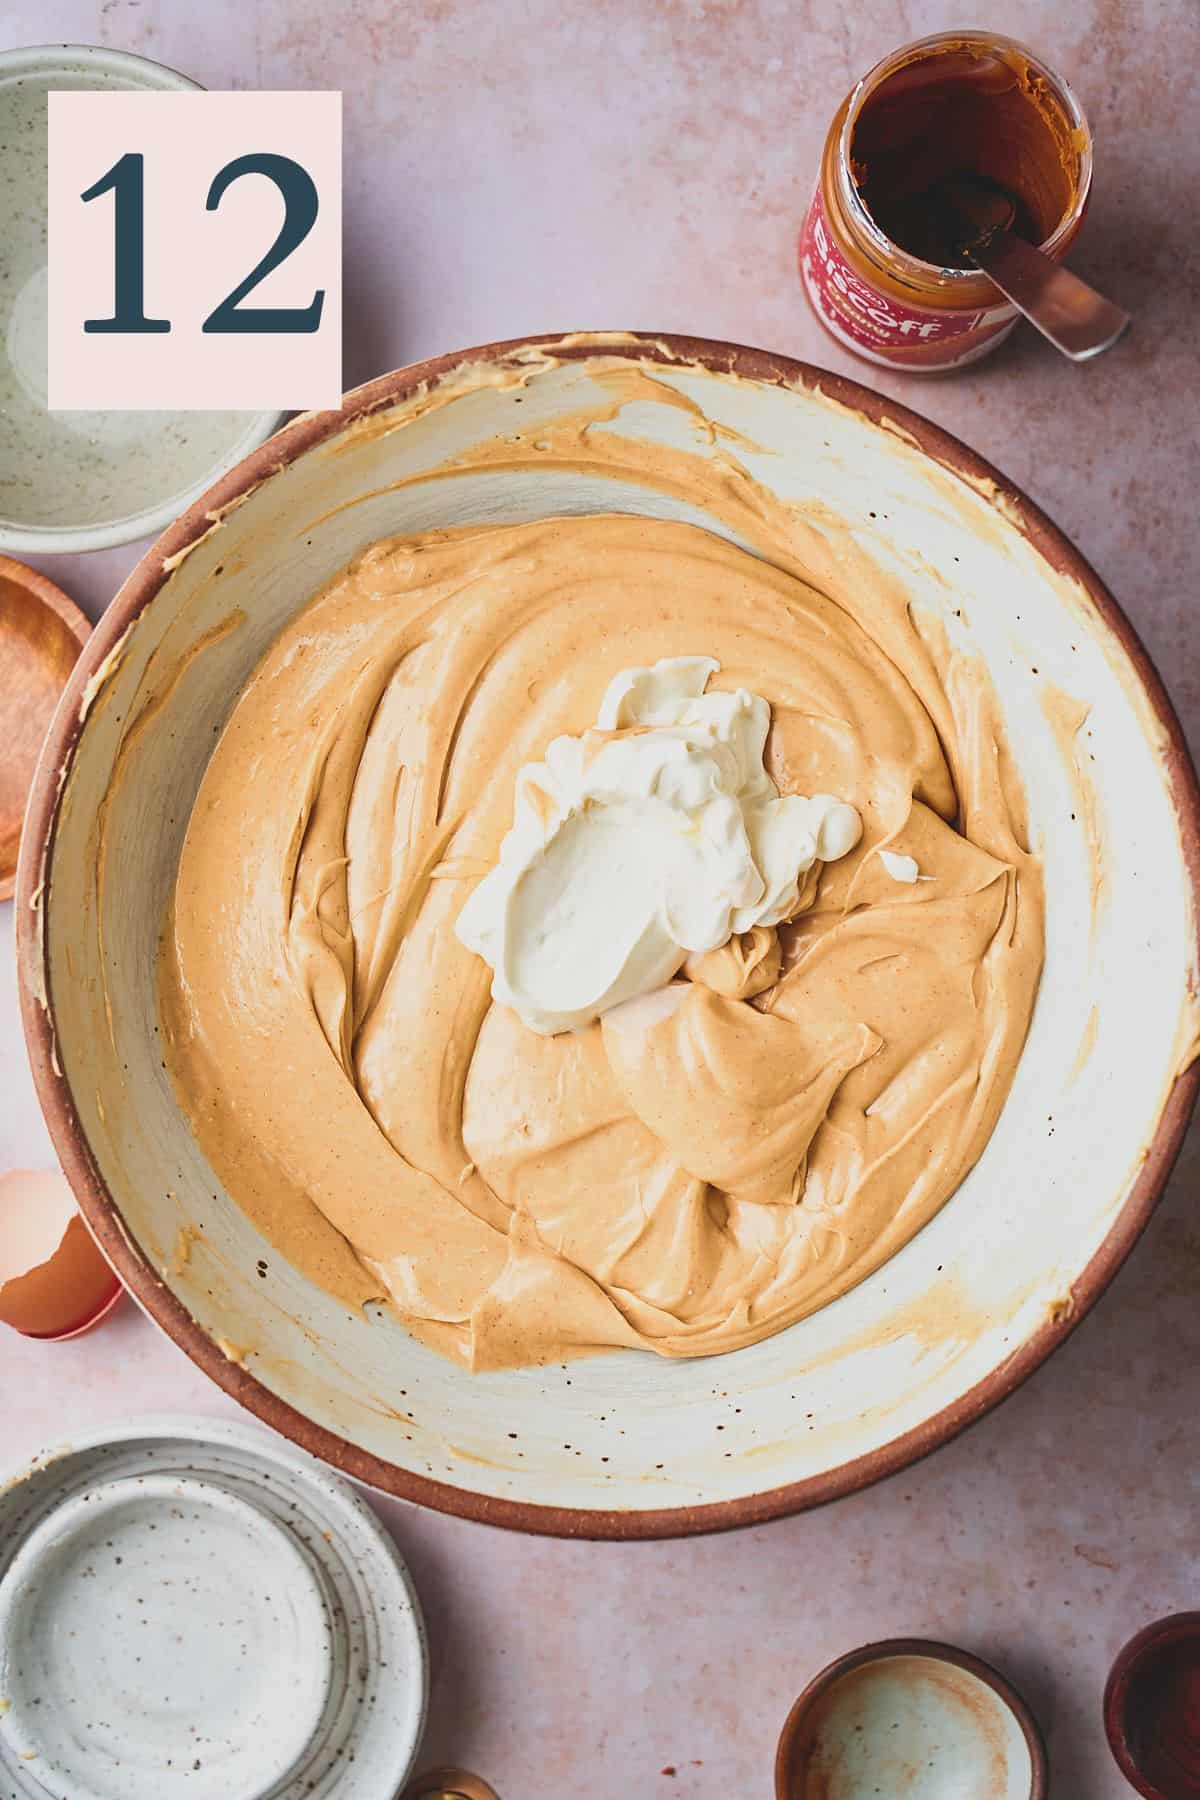
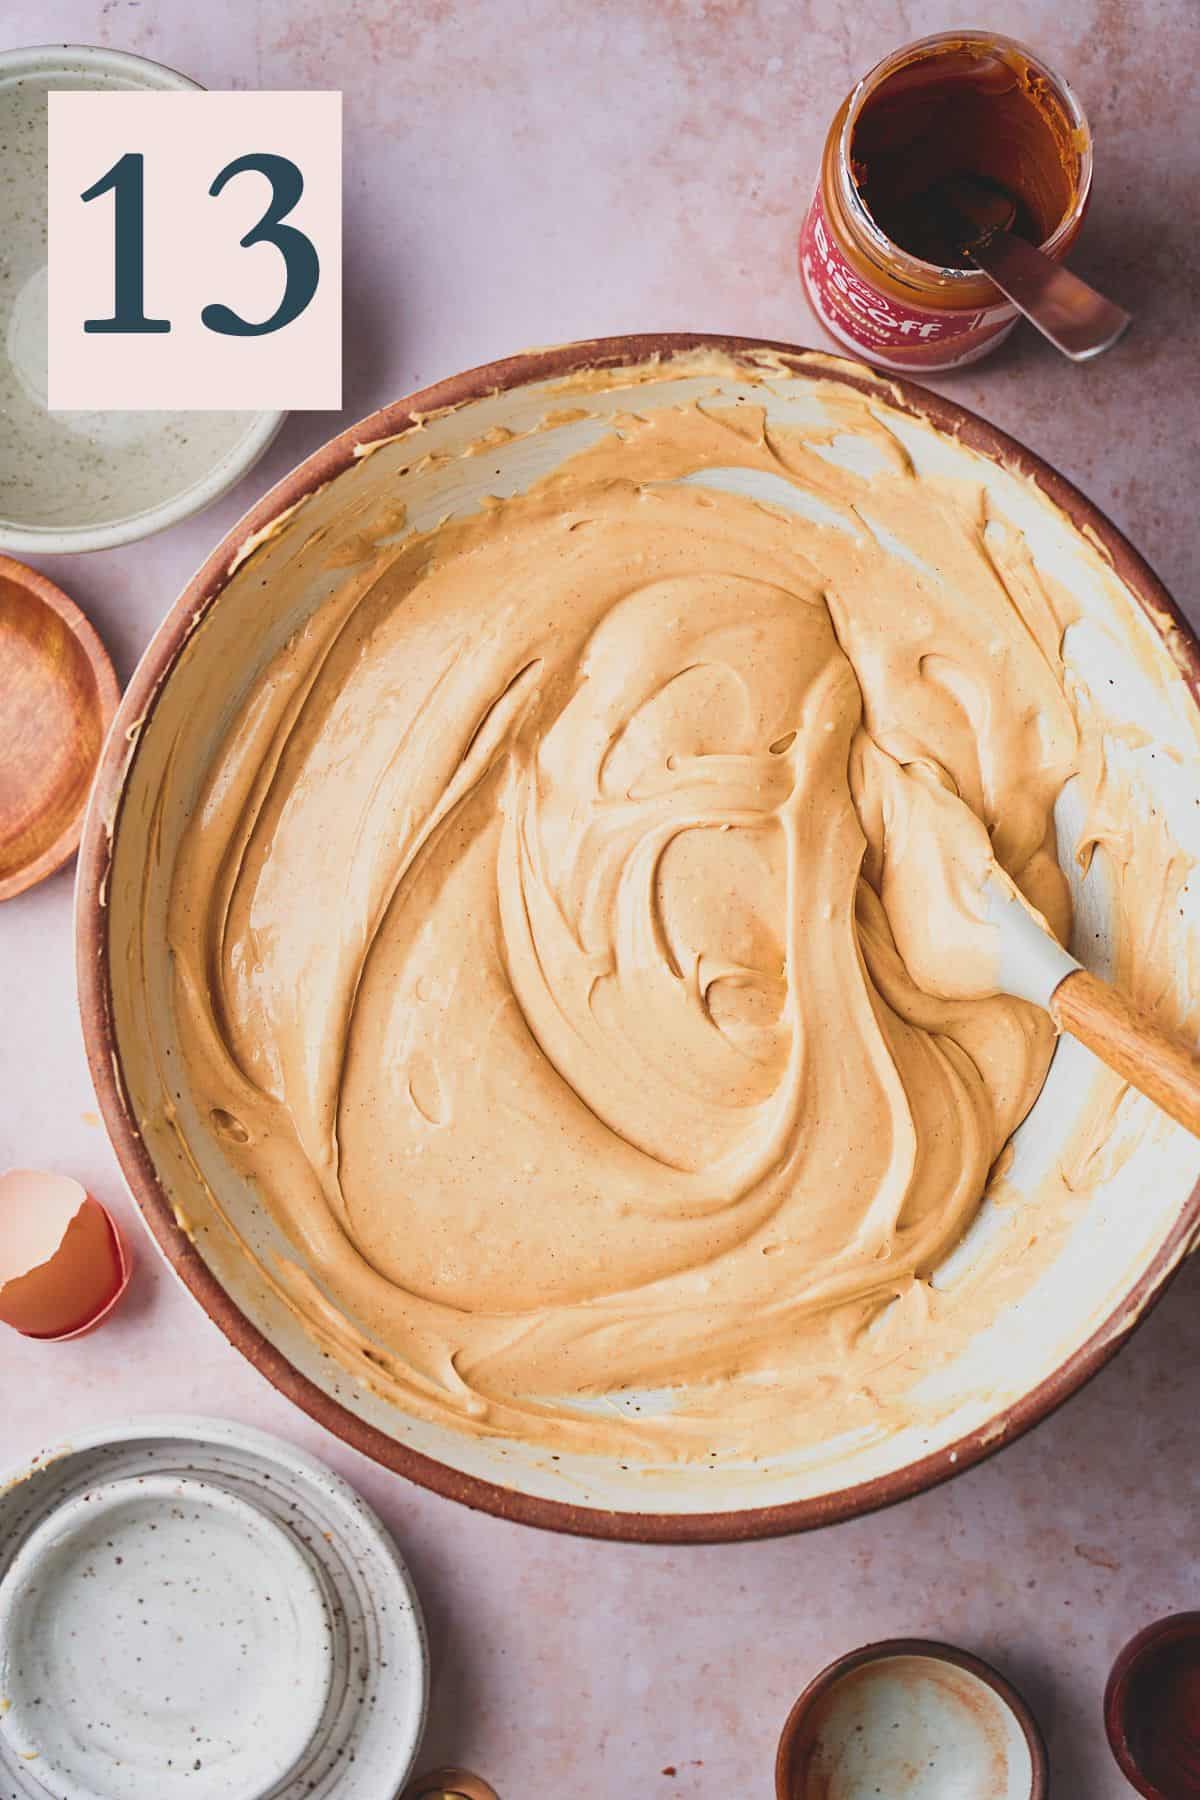
Add in the sour cream (Image 12) and fold it into the batter using a rubber spatula until it's completely incorporated and smooth. (Image 13).
✨Pro Tip: Mix until completely incorporated, but not more than that, or you can whip too much air into the batter, which may cause the cheesecake to crack later on. You also want to keep your electric mixer or stand mixer on LOW speed for the same reason.
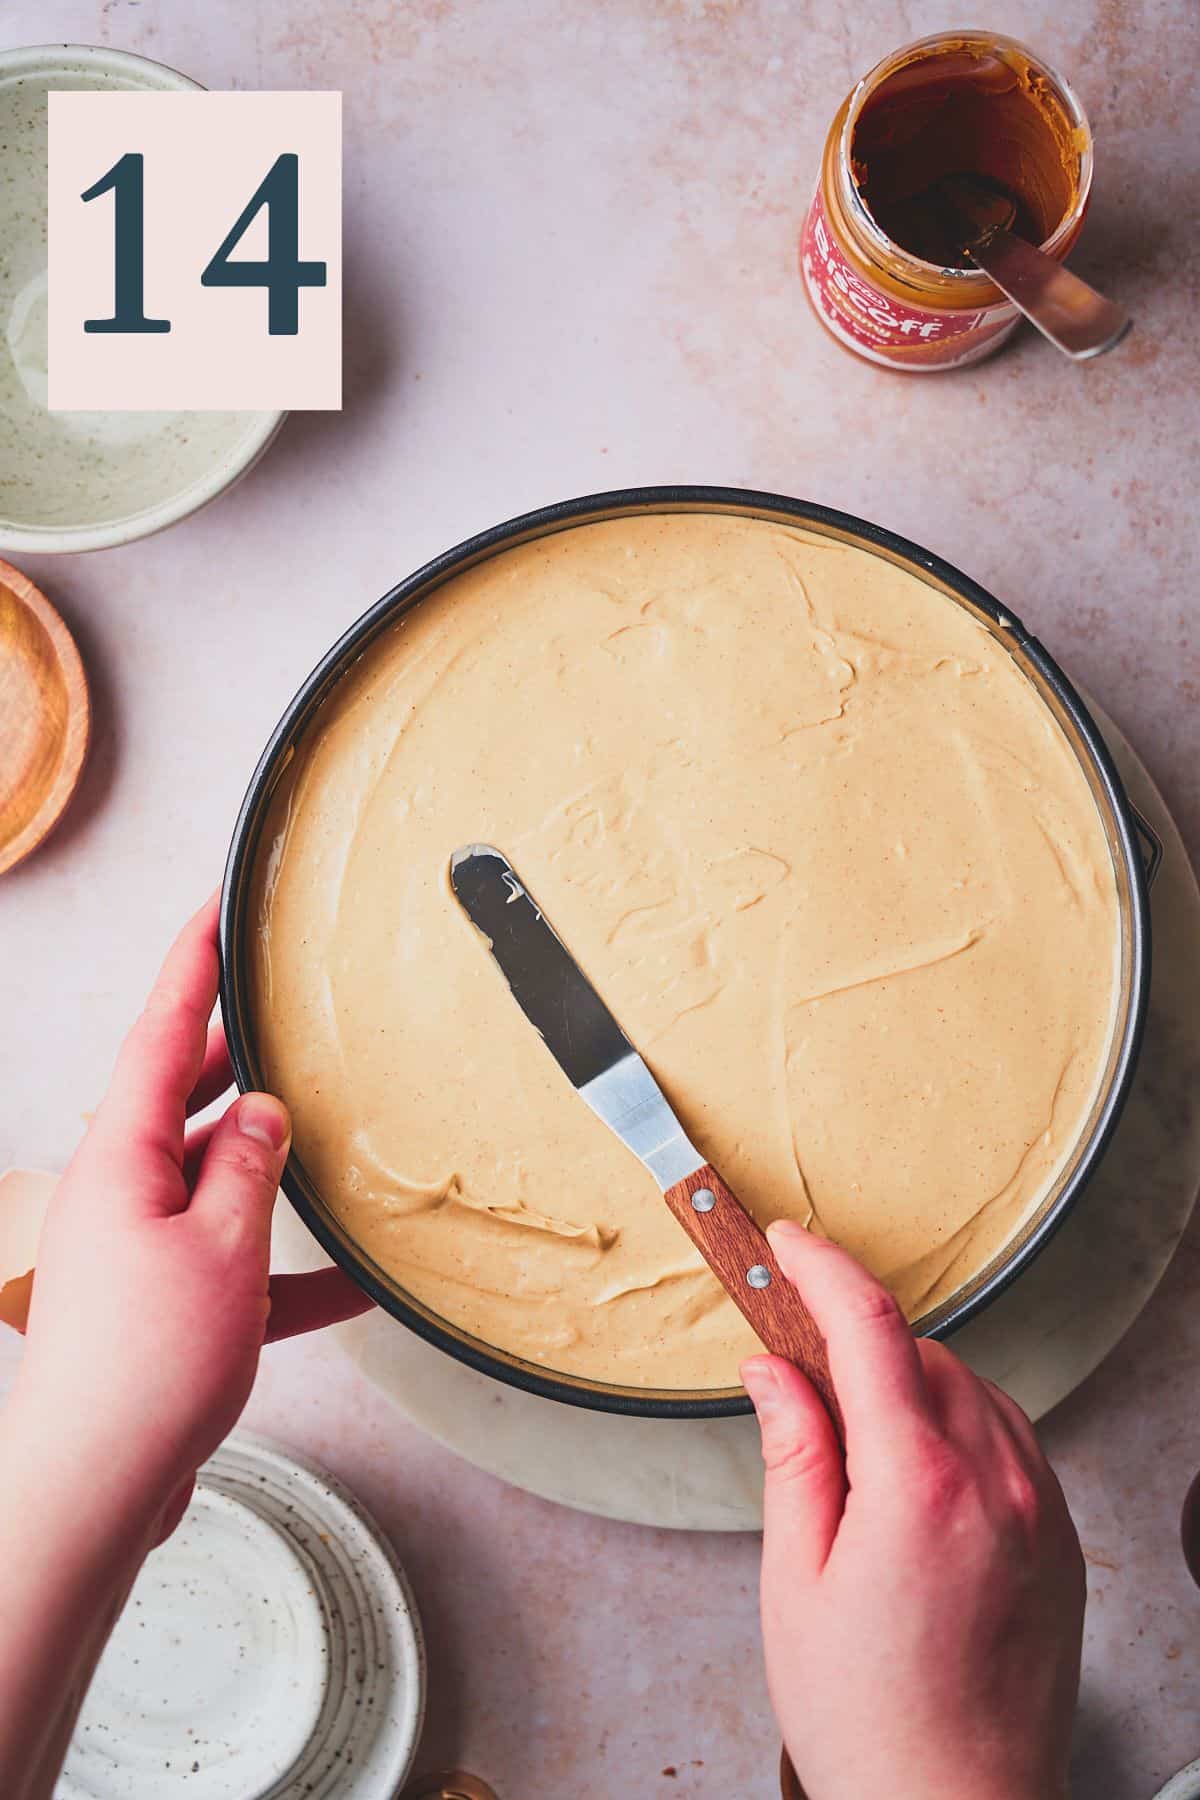
Pour the batter into the cooled Biscoff crust, and spread it even using an offset spatula. (Image 14)
Tap the cheesecake on the counter gently to release any air bubbles and bring them to the surface. This will help prevent the cheesecake from cracking later.
✨Pro Tip: We recommend using a baking sheet to get the springform pan in and out of the oven easily.
- To Bake. Open the oven door and slide out the bottom rack with the roasting pan on it. Carefully pour the boiling water into the pan in the preheated oven and push the rack back in.
- Place the cheesecake just above the roast pan on the middle rack. Quickly close the door (to stop the steam from escaping).
- Alternative method. You can also place the springform pan directly into the water bath, but we don't like this method as much because water often leaks into the cheesecake. If you use this method, wrap the base of the springform pan tightly with aluminum foil to prevent water from getting in.
- Add the cheesecake on a baking sheet on the middle rack over top of the water bath and bake. When the cheesecake is done, the edges should be puffed up slightly and completely set. The center will be slightly sunken down. Give the springform pan a gentle nudge.
- It should jiggle just slightly in the center, sort of like jello. It's almost like a "vibration" type of movement. If it wiggles any more than that, it should continue baking for another 5-10 minutes or so.
- Cooling. After baking, turn the oven off, and crack the oven door, leaving the cheesecake inside. We like to place a wooden spoon in the door to help prop it open. Leave it there for 1 hour.
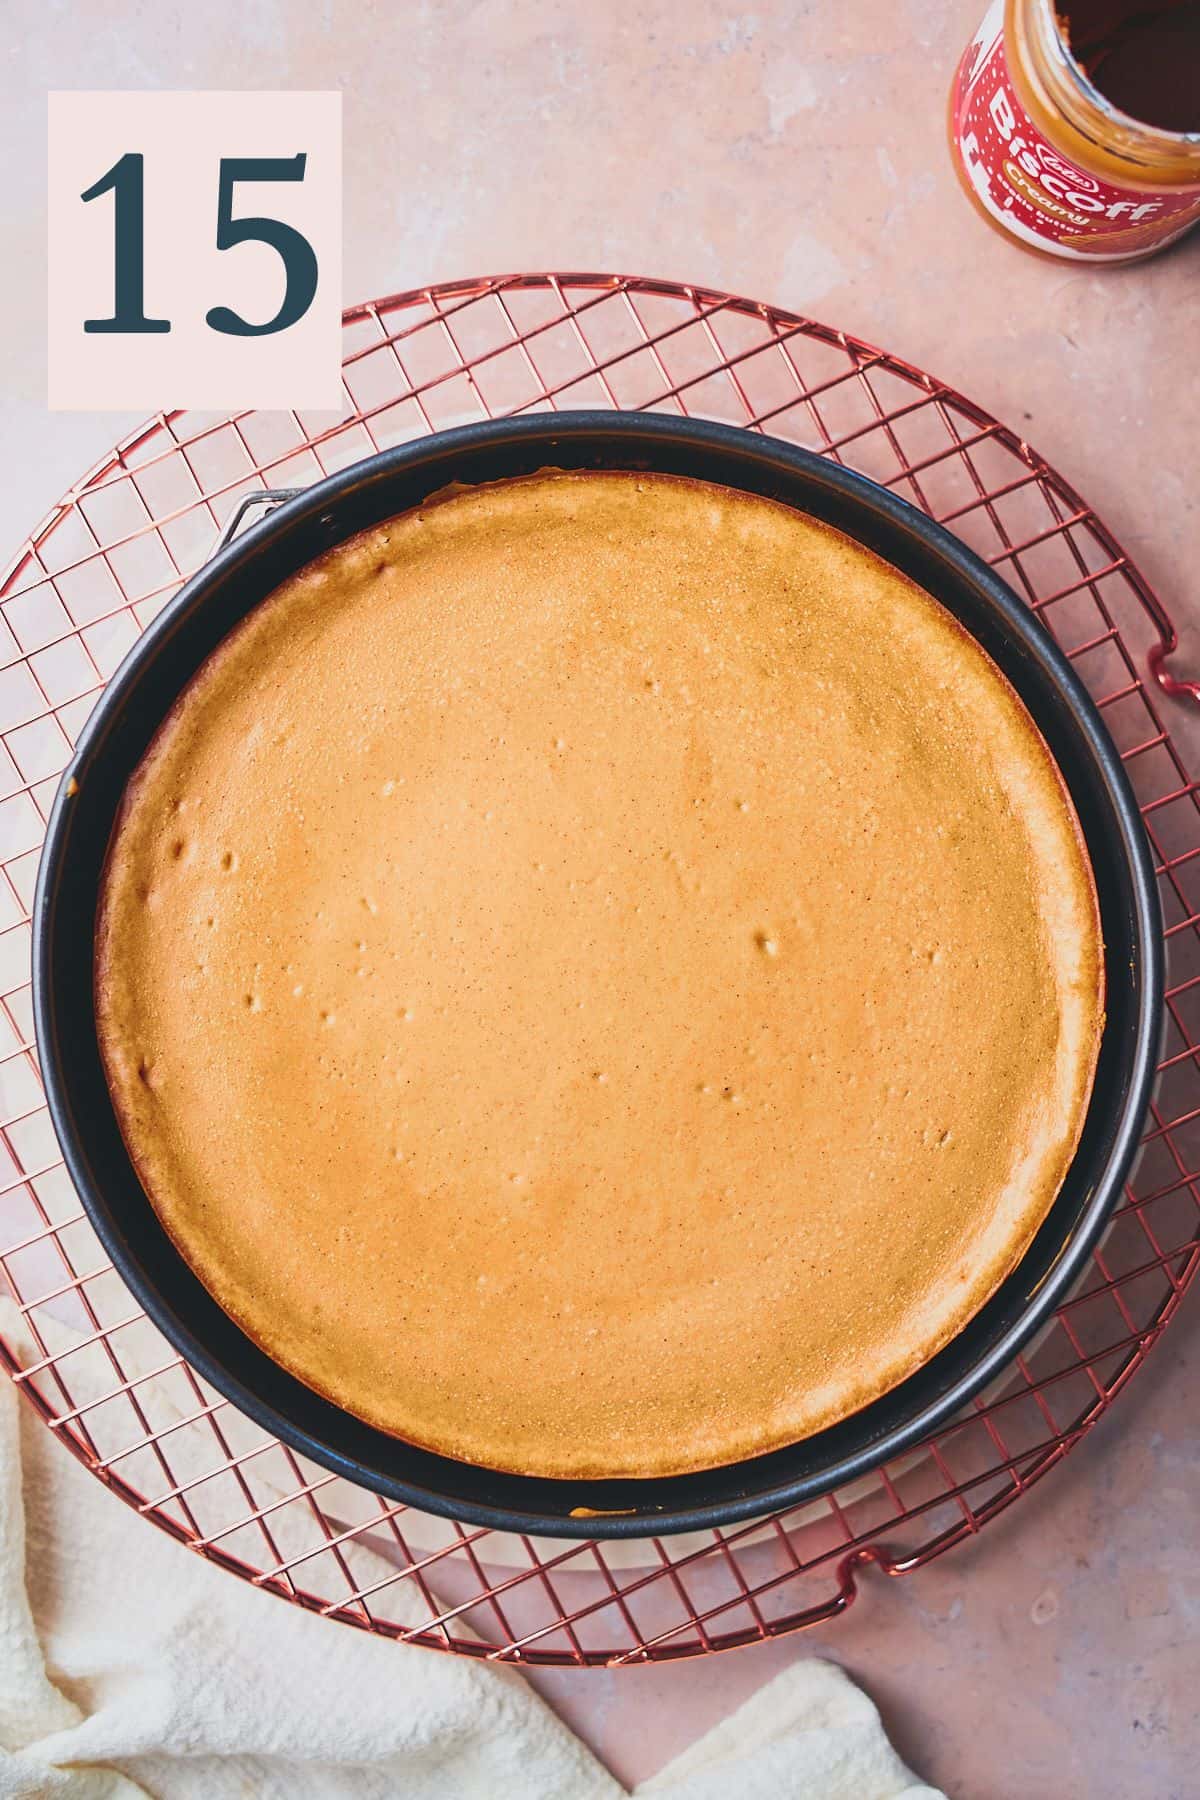
- Then, take the cheesecake out of the oven and let it sit at room temperature on a cooling rack. At this point, we like to run an offset spatula or butter knife along the edge of the cheesecake carefully to help release any stuck bits from the edge of the pan. Let the cheesecake cool for at least another 30 minutes, preferably another hour on a cooling rack in the springform pan. (Image 15)
- After an hour of cooling at room temperature, transfer the cheesecake to the fridge, uncovered, and let it chill for at least 4 hours, but preferably overnight.
✨Pro tip: We don't recommend covering the baked cheesecake with plastic wrap when it's in the fridge overnight because this might create some condensation on the top of the cheesecake
When it's time to decorate and serve, transfer the cooled cheesecake to a serving plate or over a wire rack.
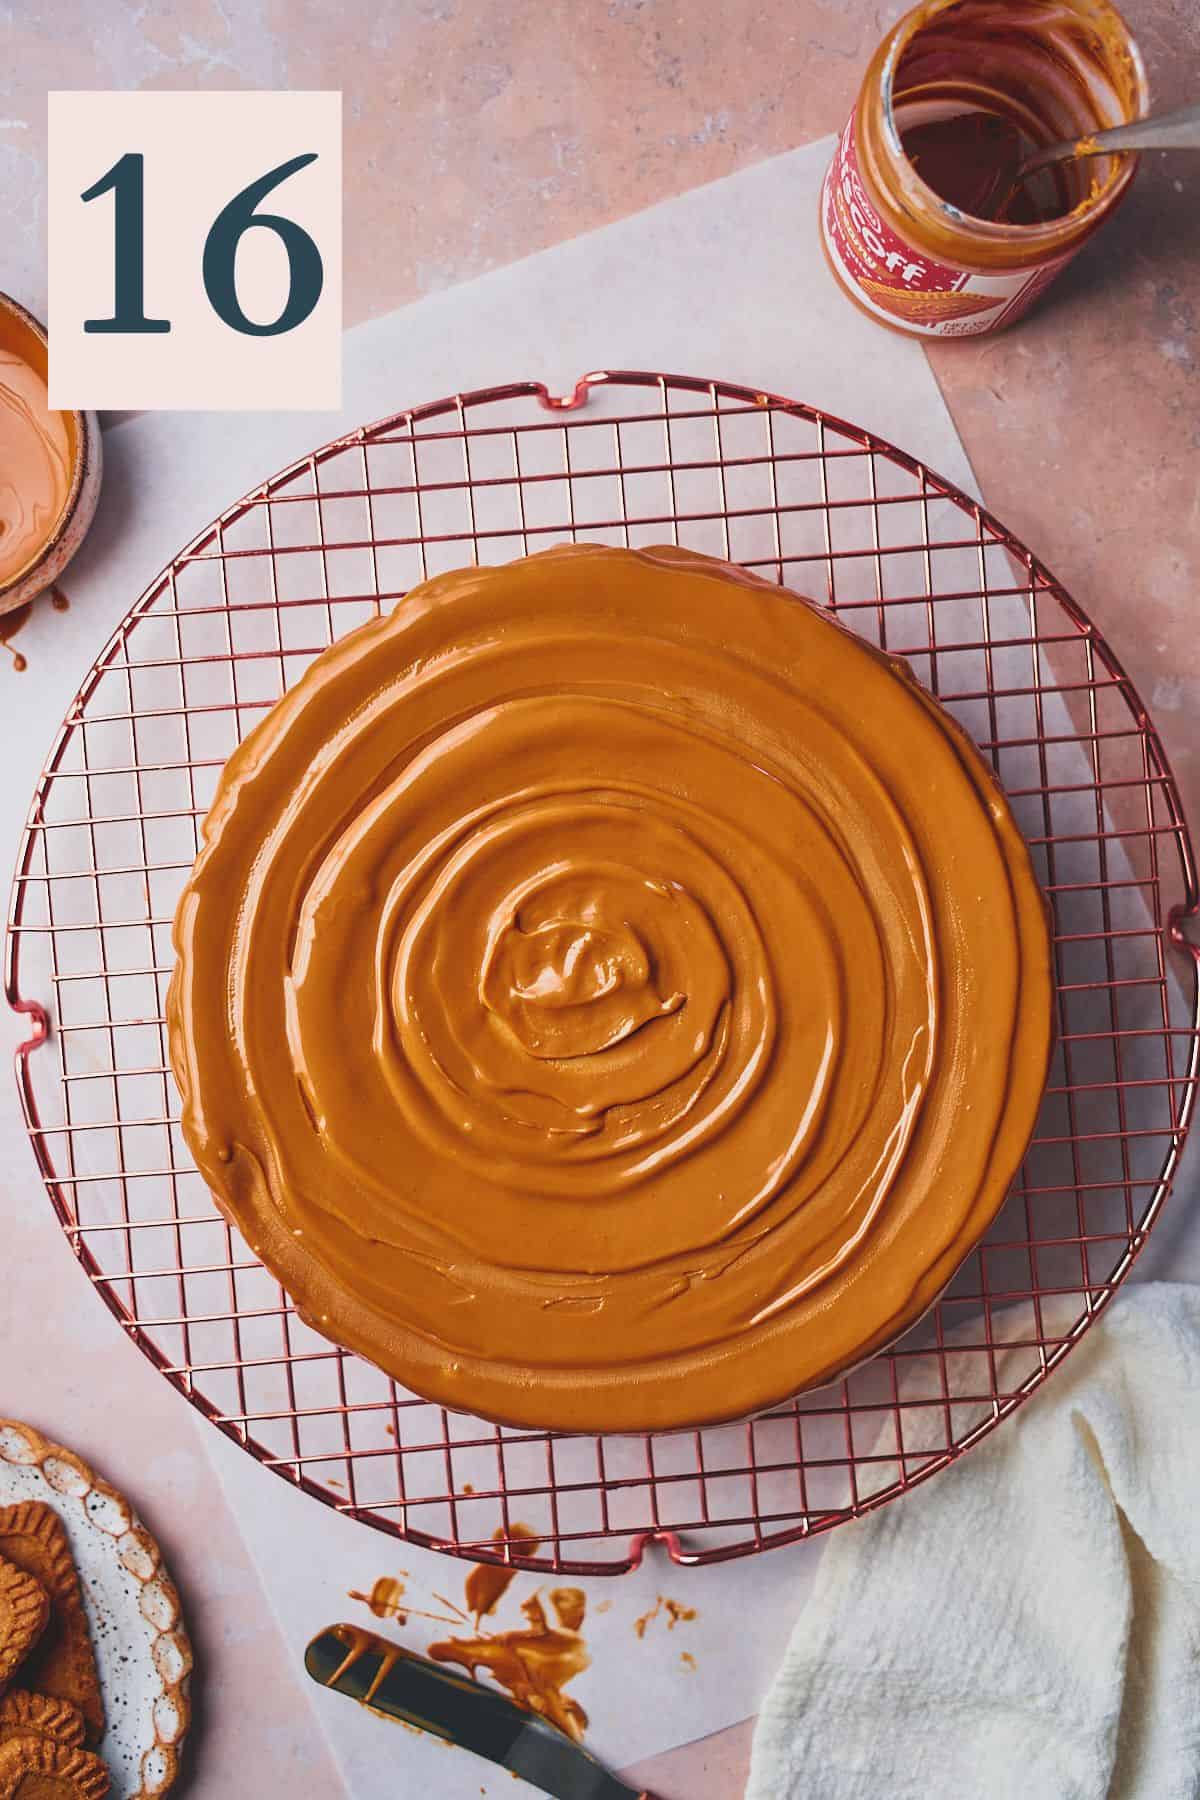
Pour the melted cookie butter on top of the cheesecake. Use an offset spatula to spread the melted Biscoff spread all over the top of the cheesecake, and let it drip down the sides. We like to use a lazy Susan to do this easily and create a bit of a swirl pattern on the top of the cheesecake. (Image 16)
Return the cheesecake to the fridge for about 20 minutes, or until the cookie butter is set.
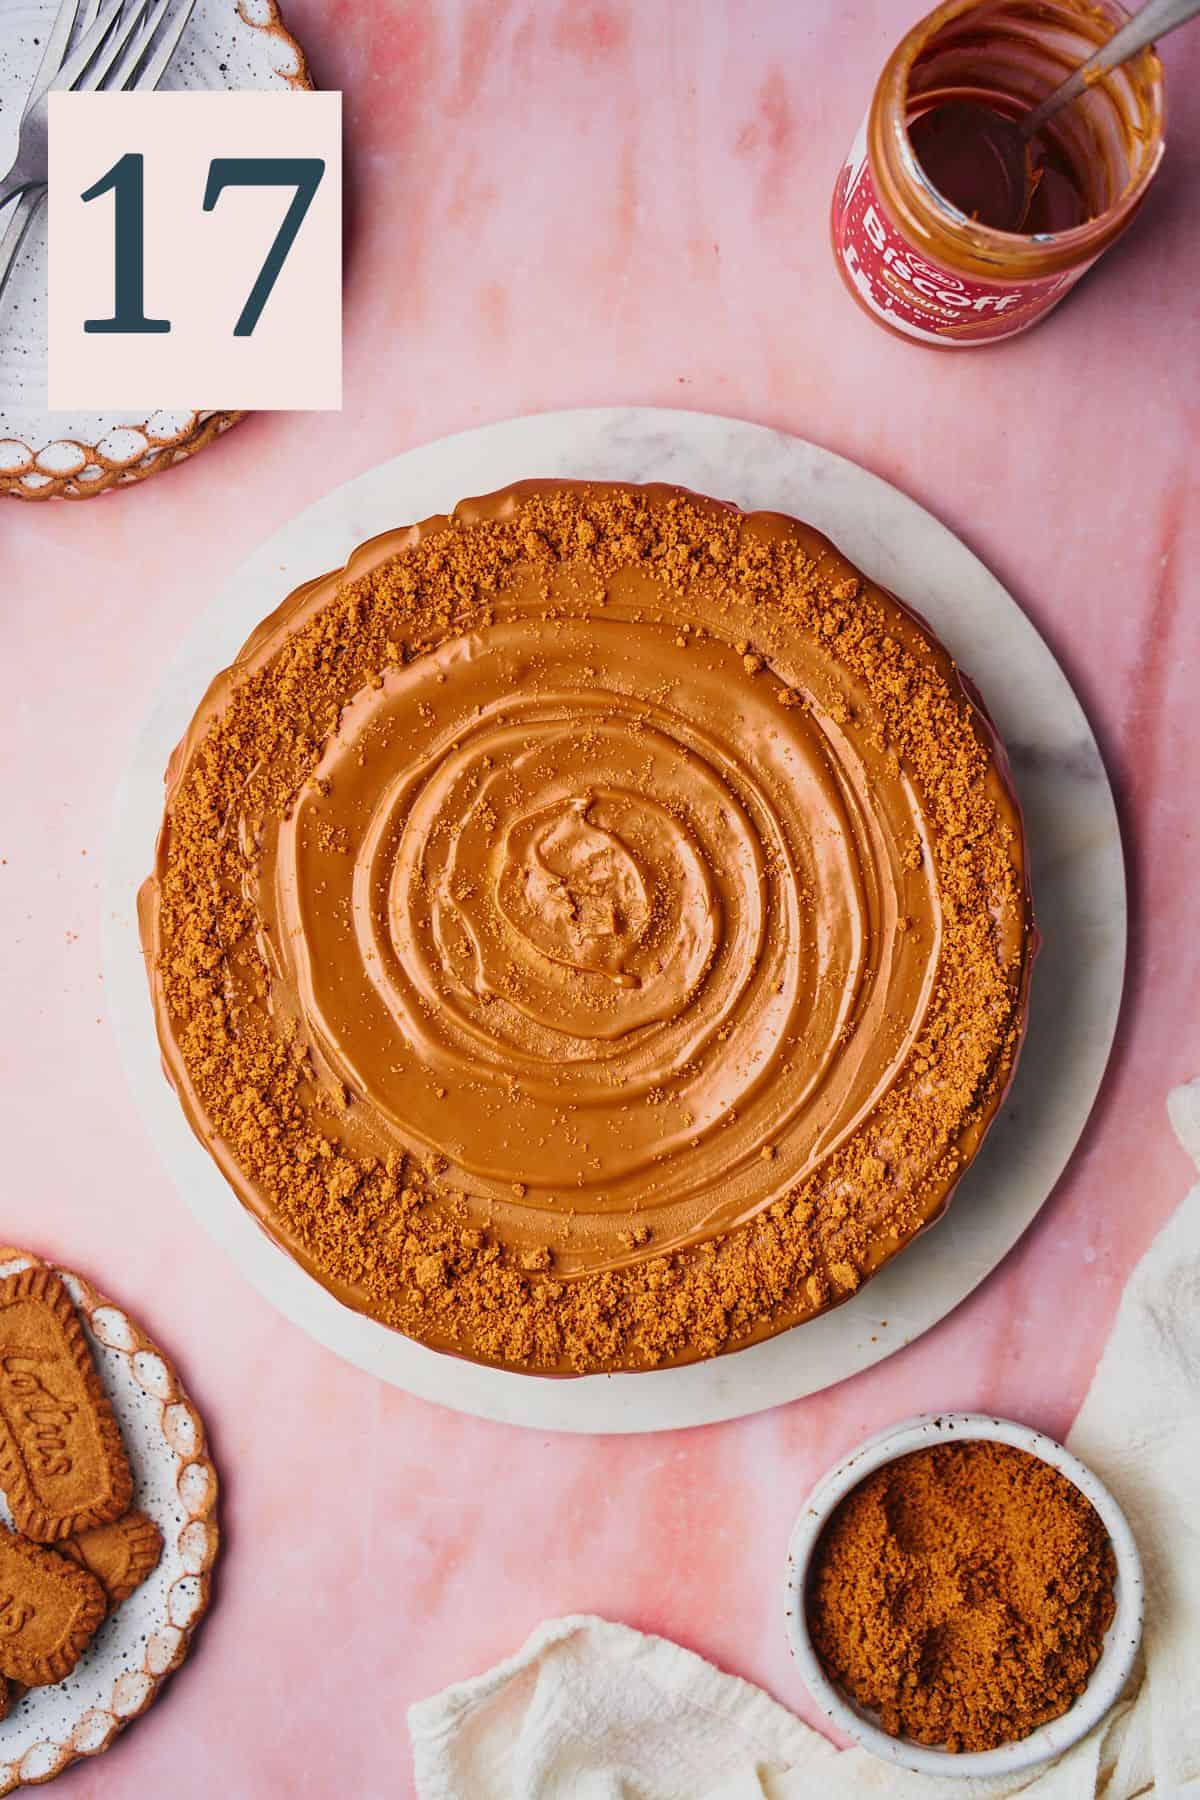
You can make more cookie crumbs in a food processor, or you can place the cookies in a Ziploc bag and use a rolling pin to crush them into crumbs.
Remove the cheesecake from the fridge, and continue decorating it with Biscoff cookie crumbs if desired. (Image 17)
Serve with whipped cream and Biscoff cookies if desired, and enjoy!
✨Tips & tricks
- Use room temperature ingredients. This is absolutely crucial! Ensure the cream cheese, sour cream, and eggs are at room temperature before mixing. This helps in achieving a smoother batter without lumps. The cream cheese especially needs to be incredibly soft. If you use too cold of ingredients, you will end up with clumps of cream cheese in the batter and they will never fully incorporate.
- Don't skip the parchment paper and grease the pan. This really helps prevent anything from sticking, which can cause a cheesecake to crack as it cools.
- To ensure a creamy cheesecake - don't skip the water bath! This helps the cheesecake stay nice and creamy and helps prevent cracking. We use a simple water bath method, where the cheesecake pan doesn't actually have to sit in the water or be wrapped in aluminum foil. Instead, we add a large roasting pan to the oven rack below with a little bit of boiling hot water. This creates steam in the oven while the cheesecake bakes without having to worry if the cheesecake will end up with water in it. We find baking it above works really well, but you can also wrap the bottom of the pan with aluminum foil and place it inside the roasting pan if you prefer. We just find this method gets water in our cheesecake sometimes.
- Mix gently! Overmixing the batter can incorporate too much air, which can cause cracks during baking. Mix until just combined and smooth, then stop. Keep the speed of the mixer on LOW.
- Cool gradually. Once baked, turn off the oven and slightly open the oven door. Let the cheesecake cool inside for an hour, then transfer it to the counter to cool for another hour before refrigerating. This helps prevent sudden temperature changes that can cause cracking.
- Chill overnight. The cheesecake needs a lot of time to set, so we recommend 4 hours in the fridge at minimum. If possible, you should let the cheesecake chill overnight.
Need supplies? Shop our Amazon store! Stock your pantry, and find all of our favorite kitchen tools! A Full Living LLC earns a small commission through purchases on our storefront to help support this site.
💭Frequently Asked Questions
Cheesecakes should be refrigerated and can be kept for up to 5 days in an airtight container. To freeze, make sure it's properly wrapped in plastic wrap or foil and placed in a freezer-safe bag or container. It can last up to 3 months frozen.
Yes, prepare the cheesecake through all of the steps just before baking, then wrap it with plastic wrap in the fridge. You can store it in the fridge for up to 2-3 days before baking.
Not technically, but we do recommend it. Cheesecakes can dry out easily so the water bath helps it retain moisture that prevents it from cracking. It also makes sure your cheesecake stays nice and creamy and cooks evenly.
The edges should be set, but the center should still have a slight jiggle. It will firm up as it cools.
Cracking can happen due to overmixing, baking at too high a temperature, or rapid cooling. A water bath during baking can help prevent this, as well as gentle mixing, and cooling gradually.
Yes. Cheesecakes need time to set up, and unfortunately, you can't fast track the process, or you will end up with a runny, unset cheesecake, or a cheesecake with a large crack!
More Recipes To Consider
Did you try this recipe? Make sure to leave a 5-star review below! 🌟 This helps other readers find our recipes and encourages them to try them. Also, be sure to leave a comment with your experience. Follow along, and tag @AFullLiving on Instagram with your photos!
📖 Recipe
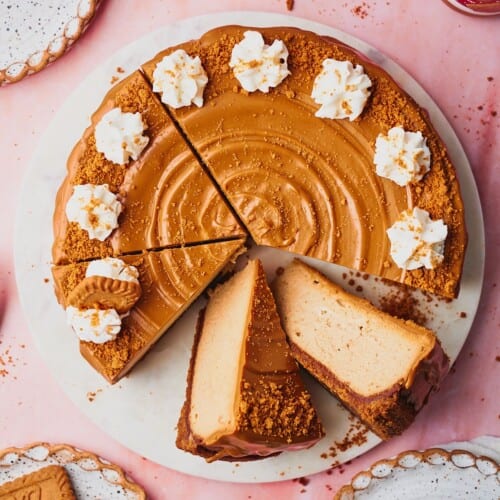
Biscoff Cheesecake Recipe
Equipment
- food processor
- mixing bowls
- Rubber Spatula
- hand mixer (or stand mixer with the paddle attachment)
Ingredients
Biscoff cookie crust
- 32 whole Lotus Biscoff cookies (1 package or 250g)
- 2 tablespoons brown sugar
- ½ teaspoon cinnamon (optional)
- ¼ teaspoon kosher salt
- 5 tablespoons unsalted butter melted
Cookie butter cheesecake
- 32 ounces cream cheese, softened (4 blocks)
- 1 cup Lotus Biscoff creamy cookie butter (240g)
- ¾ cup light brown sugar (150 g)
- 2 tablespoons all-purpose flour (15g)
- 1.5 tablespoons vanilla extract
- 1.5 teaspoons cinnamon
- 1 teaspoon kosher salt
- 3 large eggs, room temperature
- 3 large egg yolks, room temperature
- ½ cup sour cream, room temperature (123g)
Toppings
- ¾ cup Lotus Biscoff creamy cookie butter, melted (180 g)
- whipped cream (optional)
- Biscoff cookies and cookie crumbs (optional)
Instructions
Biscoff cookie crust
- Preheat the oven to 350°F. Coat a 9″ springform pan in nonstick spray. Place a 9" round of parchment paper on the bottom of the pan. Make sure the sides of the pan are greased very well to prevent any sticking.
- In a large food processor, pulse 32 Biscoff cookies to a fine crumb. Add in 2 tablespoons of brown sugar, ½ teaspoon of ground cinnamon, ¼ teaspoon of kosher salt, and 5 tablespoons of melted and slightly cooled unsalted butter. Combine until evenly moistened and a wet sand-like texture is created. This recipe makes a thick crust that reaches up the sides of the cheesecake. If you prefer less crust, cut the recipe in half.
- Pour the crust into the greased and lined pan and spread into a loose even layer with your fingers. Then use the bottom of a flat measuring cup to press it into the bottom and up the sides. Bake for 8-10 minutes, until the crust is a nice golden brown. Place on a cooling rack and allow the crust to cool while you make the cheesecake batter.
Cookie butter cheesecake
- Drop the oven temperature to 325°F. Place a large roasting pan on the bottom rack of the oven, and make sure the second rack is positioned in the middle above it. Start a pot of boiling water (about 6 cups) on the stove. This will be for the water bath that goes into the roasting pan underneath the cheesecake.
- Add 4 blocks (32 ounces) of softened room-temperature cream cheese, 1 cup of creamy Biscoff cookie butter, ¾ cup of brown sugar, and 2 tablespoons of all-purpose flour to a large mixing bowl with an electric mixer or the bowl of a stand mixer with the paddle attachment. Mix on LOW speed until it comes together and forms a smooth texture. Scrape down the bowl and mix on low for another 20 seconds.
- Next, mix in 3 eggs one at a time on LOW speed. Only add the next when the one prior is just incorporated. After the 2nd egg is mixed in, stop and scrape down the bowl. Mix for 20 seconds then continue with the 3rd egg and the egg yolks.
- Mix in 1.5 tablespoons of vanilla, 1.5 teaspoons of cinnamon, and 1 teaspoon of kosher salt, until the mix is velvety smooth, then stop mixing! Mixing too much can incorporate too much air into the batter, which can cause it to crack later on.
- Add in the ½ cup of sour cream and fold into the batter using a rubber spatula until it's completely incorporated. Pour the batter into the cooled Biscoff crust, and spread it even using an offset spatula. Give the pan a couple of gentle taps against your counter to release any air bubbles.
Assemble and bake
- Open the oven door and slide out the bottom rack with the roast pan on it. Carefully pour the boiling water into the pan in the preheated oven and push the rack back in. Place the cheesecake just above the roasting pan on the middle rack. Quickly close the door (to stop the steam from escaping). We recommend using a baking sheet to get the springform pan in and out of the oven easily.
- Bake for 60-80 minutes. When the cheesecake is done, the edges should be puffed up slightly and completely set. The center will be slightly sunken down. Give the springform pan a gentle nudge. It should jiggle just slightly in the center, sort of like jello. It's almost like a "vibration" type of movement. If it wiggles any more than that, it should continue baking for another 10 minutes or so.
- Turn the oven off and prop open the oven door with a wooden spoon, and with the cheesecake still inside. Leave it there for 1 hour.
- Then, take the cheesecake out of the oven and let it sit at room temperature on a cooling rack. At this point we like to run an offset spatula along the edge of the cheesecake carefully to help release any stuck bits from the edge of the pan. Let the cheesecake cool for at least another 30 minutes, preferably another hour.
- After 1 hour, place the cheesecake uncovered in the fridge for at least 4 hours but preferably overnight.
Serving
- Transfer the cooled cheesecake to a serving plate. Pour ¾ cup (180g) of melted cookie butter on top of the cheesecake. Use a mini offset spatula to smooth it out. Return the cheesecake to the fridge for about 10- 20 minutes, or until the cookie butter is set.
- Once the cookie butter is set, remove the cheesecake from the fridge and sprinkle with Biscoff cookie crumbs and decorate with Biscoff cookies and whipped cream if desired, then serve!
- Store leftovers in the fridge in an airtight container for up to 5 days. To freeze, wrap pieces tightly in plastic wrap, and store in a freezer safe bag for up to 4 months.
Notes
- Use room temperature ingredients. This is absolutely crucial! Ensure the cream cheese, sour cream, and eggs are at room temperature before mixing. This helps in achieving a smoother batter without lumps. The cream cheese especially needs to be incredibly soft. If you use too cold of ingredients, you will end up with clumps of cream cheese in the batter and they will never fully incorporate.
- Don't skip the parchment paper and grease the pan. This really helps prevent anything from sticking, which can cause a cheesecake to crack as it cools.
- To ensure a creamy cheesecake - don't skip the water bath! This helps the cheesecake stay nice and creamy and helps prevent cracking. We use a simple water bath method, where the cheesecake pan doesn't actually have to sit in the water or be wrapped in aluminum foil. Instead, we add a large roasting pan to the oven rack below with a little bit of boiling hot water. This creates steam in the oven while the cheesecake bakes without having to worry if the cheesecake will end up with water in it. We find baking it above works really well, but you can also wrap the bottom of the pan with aluminum foil and place it inside the roasting pan if you prefer. We just find this method gets water in our cheesecake sometimes.
- Mix gently! Overmixing the batter can incorporate too much air, which can cause cracks during baking. Mix until just combined and smooth, then stop. Keep the speed of the mixer on LOW.
- Cool gradually. Once baked, turn off the oven and slightly open the oven door. Let the cheesecake cool inside for an hour, then transfer it to the counter to cool for another hour before refrigerating. This helps prevent sudden temperature changes that can cause cracking.
- Chill overnight. The cheesecake needs a lot of time to set, so we recommend 4 hours in the fridge at minimum. If possible, you should let the cheesecake chill overnight.


Sam says
This was my first time making cheesecake and it was incredible! I went for a thinner crust and I made sure to eat it with some cookie butter on the side The cheesecake part itself is very rich and one cheesecake is enough for a small gathering to all have a satisfactory piece. I will definitely be using this again for my next big event.
Briana says
We're so happy it worked out Sam! Thanks for your review and for sharing with us how you made it. 🙂