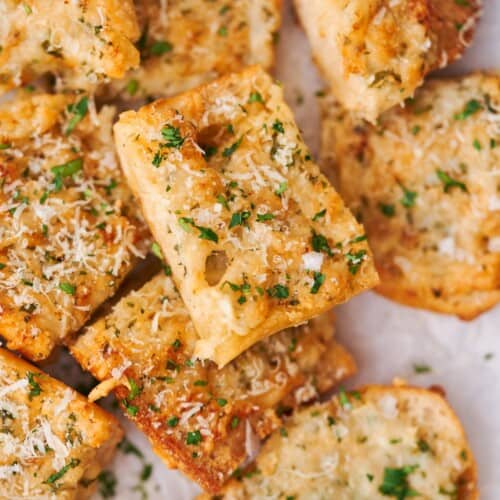
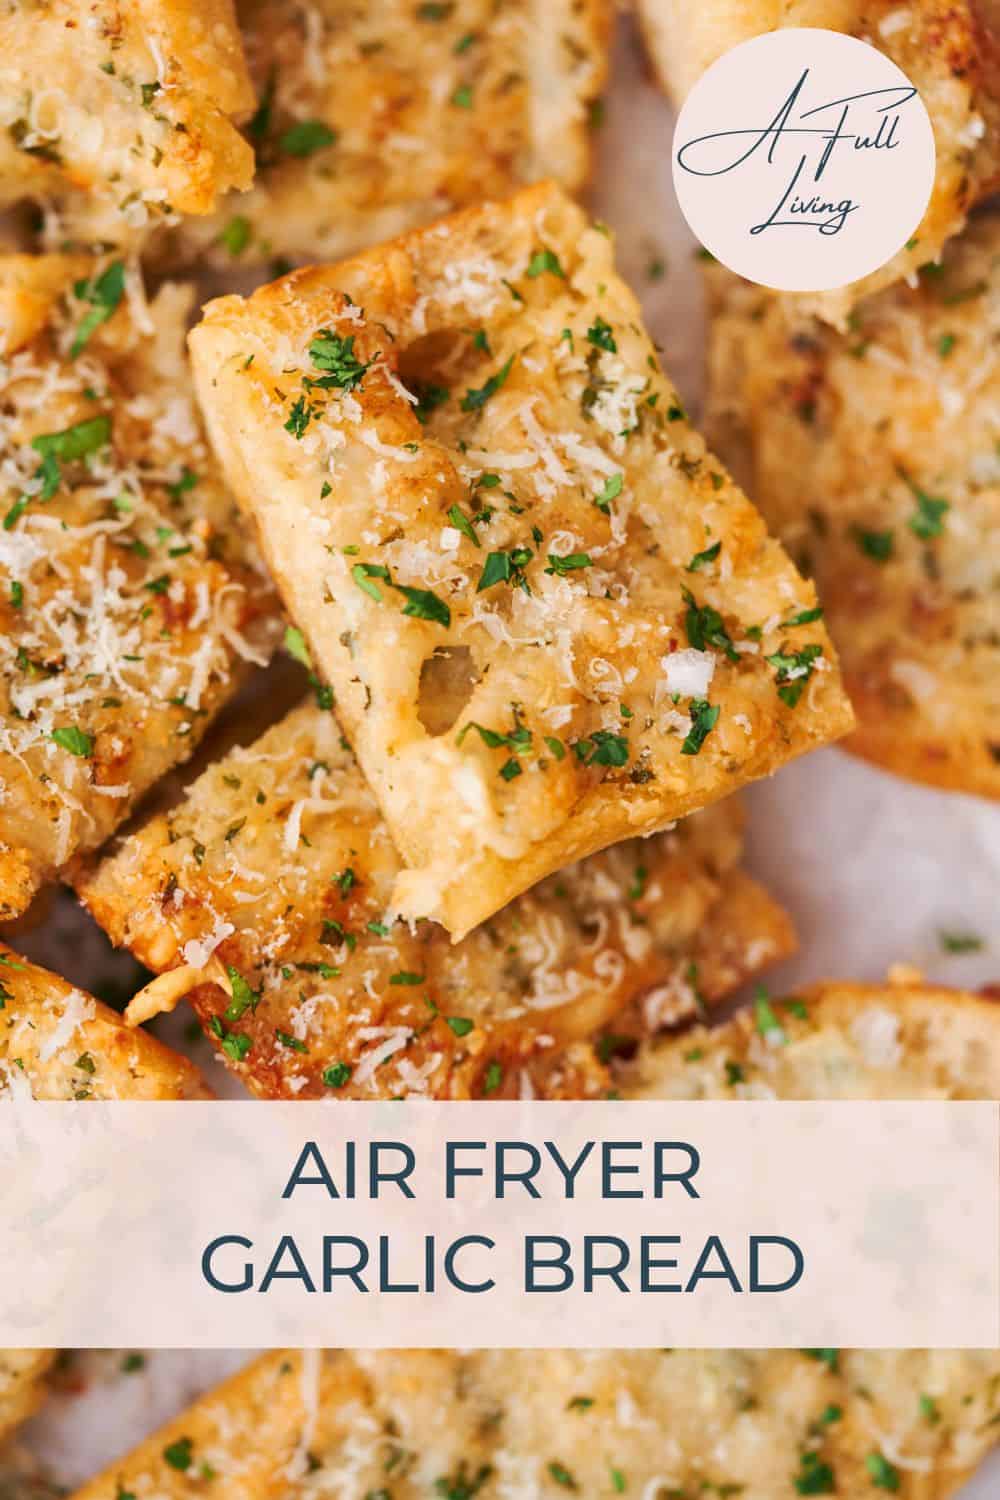
If you're a garlic bread lover, this Air Fryer Garlic Bread Recipe is a must-try! This easy side dish has crispy edges, a soft center, and a delicious garlic buttery flavor. Enjoy it as the perfect side dish for pasta dishes or a quick snack.
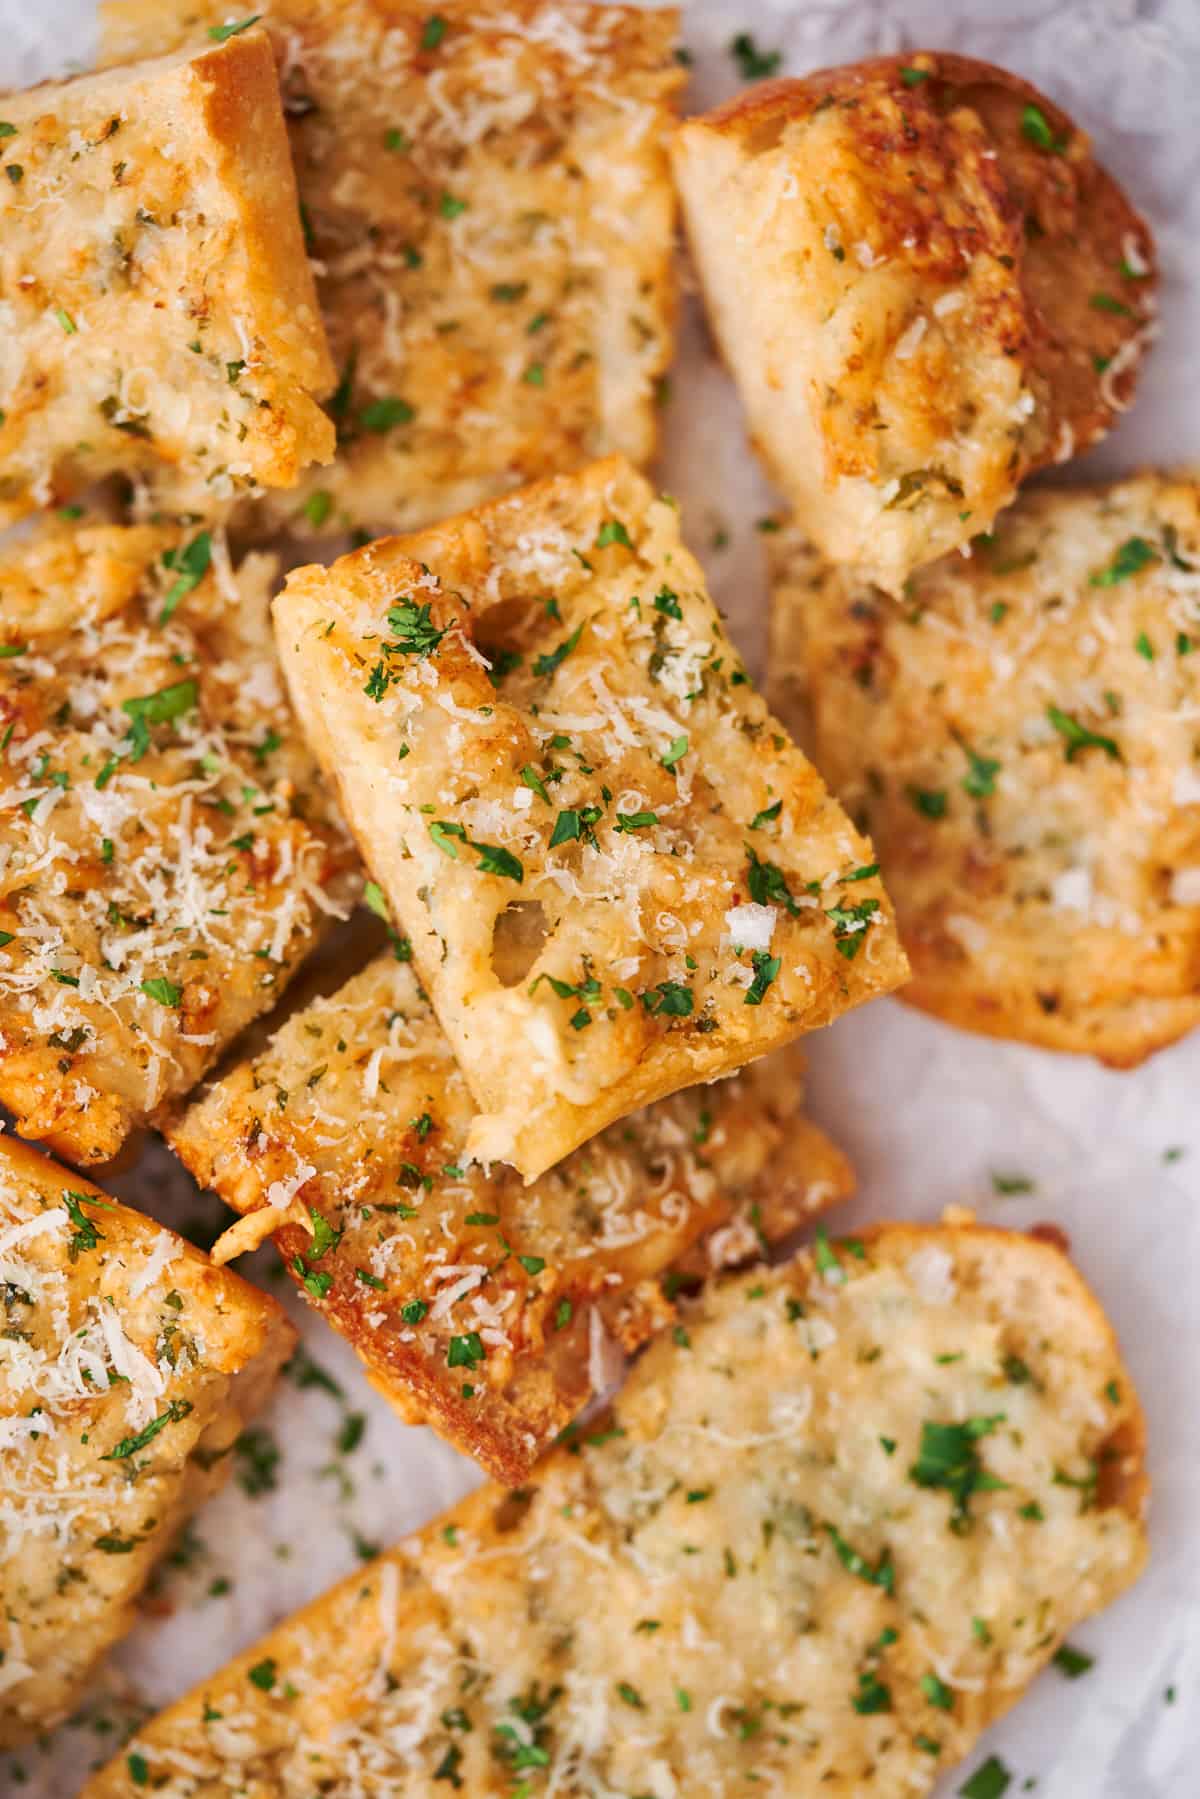
This cheesy garlic bread is a recipe that the whole family loves, and it's the perfect addition to dinner. Make some homemade garlic butter and slather it on top of crusty bread with plenty of parmesan cheese for extra flavor. Making it in the air fryer is the best way to do it since it saves so much time!
Looking for more tasty air fryer side dishes? Try these air fryer waffle fries, this air fryer zucchini, or these air fryer fingerling potatoes!
Make this
Jump to:
❤️Why we love this recipe
- Quick & easy. This simple recipe is ready in under 20 minutes from prep time to completion, which is less than half the time it takes to make garlic bread in the oven! Spend time elsewhere while your easy air fryer garlic bread cooks to perfection.
- Perfectly cooked. Crispy and golden brown on the outside, soft and tender on the inside for the perfect bite.
- Simple ingredients. Everything you need to make this recipe can be found at most grocery stores, or in your pantry!
- Flavorful. Bursting with a delicious garlic butter flavor, with fresh parsley and parmesan cheese, you can't go wrong with this cheesy garlic bread.
- Family favorite. Impress your friends and family with this homemade garlic bread that tastes like a restaurant-worthy version. Skip the frozen garlic bread, this appetizer is a hit!
🧄Ingredients
Here are the ingredients we used for this recipe. You can find more information for substitutions below.
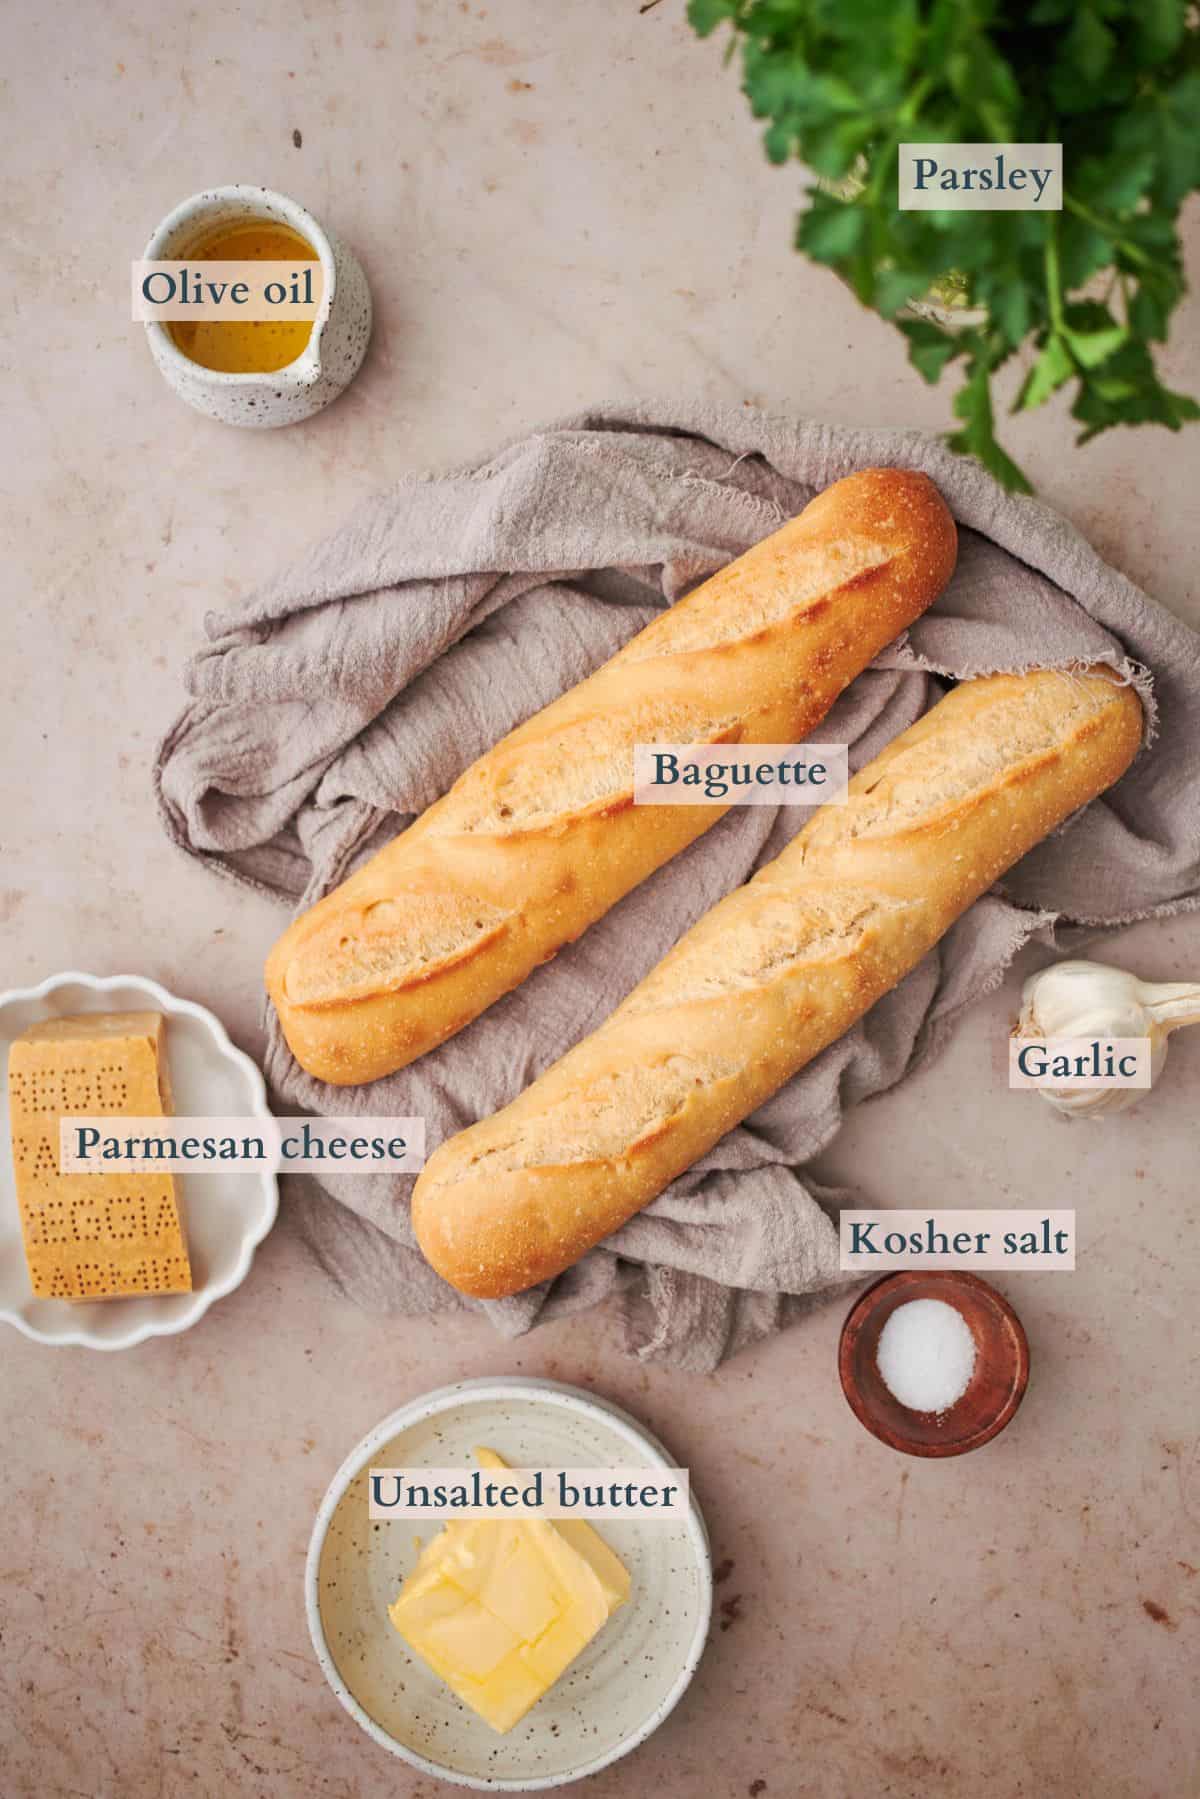
- Bread - We like using French bread or a French baguette for this recipe. It's up to you to decide on the texture you prefer, whether you prefer crusty bread or soft bread.
- Fresh garlic - Finely minced.
- Unsalted butter - Use softened butter to make it easy to mix with a spoon. You can use salted butter if you prefer, but we like to be able to control the salt level completely, as parmesan cheese is naturally salty, so we like to taste as we go and add salt if needed.
- Olive oil - This helps us to mix the butter together easier. It also helps prevent the garlic from burning. You can use all butter if you want.
- Parmesan cheese - Freshly grated or pre-shredded both work perfectly fine here.
- Kosher salt - To taste, wait to add any salt until you've added the parmesan cheese so you can control the salt levels according to your preference.
- Parsley - Optional, but classic and adds a nice freshness to the garlic bread.
Visit the recipe card for the full quantities and nutritional information.
✨Substitutions & variations
Here are a few suggestions on additional flavors to try, or simple variations to this recipe.
- Swap the bread. You can use other types of bread such as Italian bread, Texas toast, sourdough bread, ciabatta, or even whole wheat bread.
- Switch the fresh garlic. If you don't have any fresh garlic, just use a bit of garlic powder or garlic salt. If using garlic salt, you may want to omit any additional salt.
- Different cheese. Feel free to add more types of cheese, or swap the parmesan for mozzarella cheese, cheddar cheese, or asiago cheese.
- Gluten free. Use your favorite gluten free bread or rolls for this recipe. The rest of the ingredients are naturally gluten free.
- Keto. You can use your favorite keto friendly bread, or, if you want to make something from scratch, try our gluten-free and keto-friendly cheesy bread.
- Dairy free and vegan. You can swap the butter with olive oil or a vegan butter substitute, and swap the parmesan cheese for a vegan version. Please note, the taste of real butter is hard to replicate.
- Different herbs. Feel free to add more herbs like basil, thyme, or oregano to the garlic butter mixture in place of or in addition to parsley. You can also add some dried Italian seasoning to the mixture.
- Spicy. Add some red pepper flakes or Calabrian chili paste (affiliate link) to the garlic butter.
- Smoky. Add a bit of smoked paprika to the mix.
- Pesto. Try adding some homemade walnut pesto to the butter.
- Dipping sauces. This garlic bread goes really well with marinara sauce, or this Wingstop ranch dressing. For a hint of spicy, smoky sweetness, try serving with a drizzle of our hot honey sauce.
🔪Prep work
- Make sure to leave some butter out overnight or for an hour or so before beginning so that it's easier to spread.
- Preheat the air fryer to 350°F.
- Mince garlic and parsley.
- If grating your own parmesan, do this before beginning.
- Our air fryer is non-stick, so there's no need to add any additional oil. However, you may need to spray the basket or trays with cooking oil or line them with perforated parchment paper (affiliate link) to prevent sticking.
- Measure out all remaining ingredients.
📋Instructions
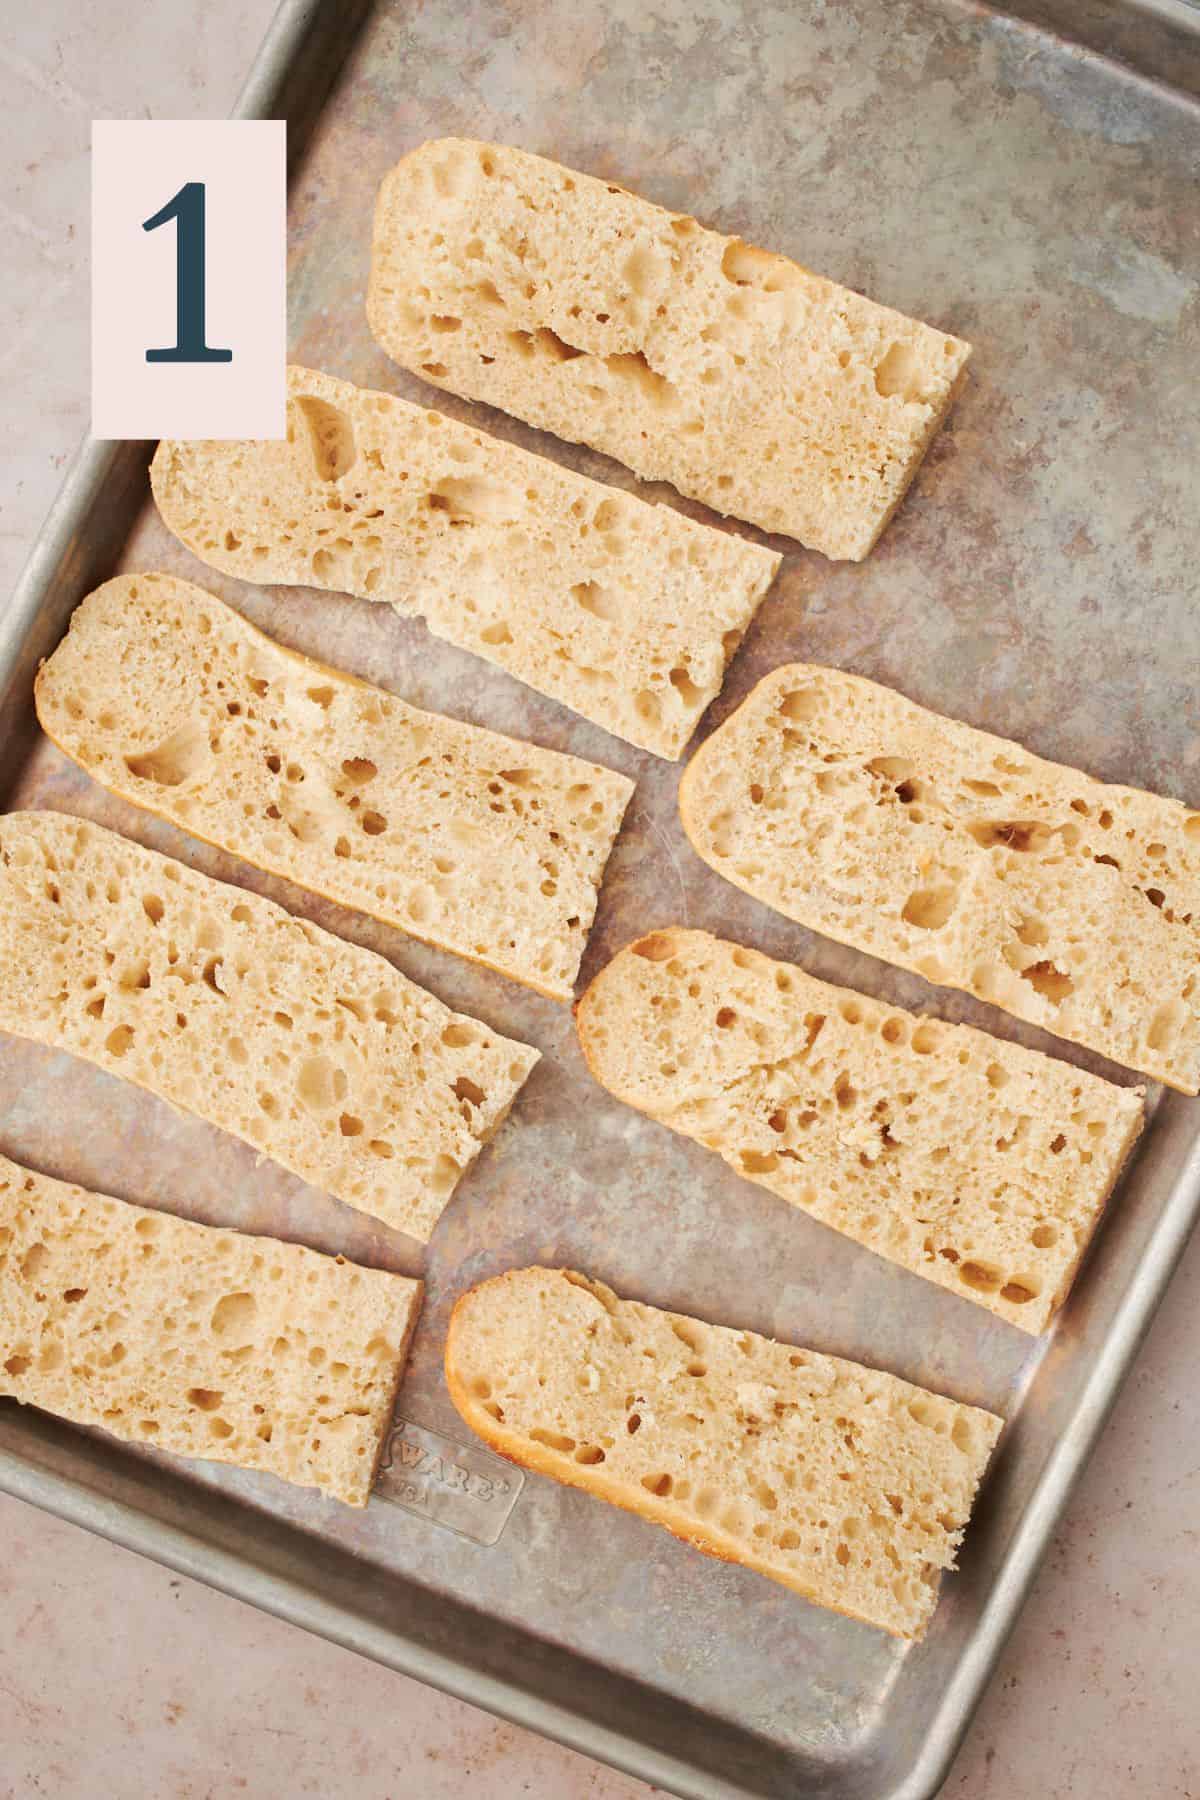
Slice the baguette in half lengthwise, then again widthwise, or until the pieces fit onto your air fryer tray. (Image 1)
🥖Tip: It's up to you if you want to cut individual slices before air frying. We find it easier to cut the bread into pieces after they are done cooking, but you can also toast individual slices if you prefer.
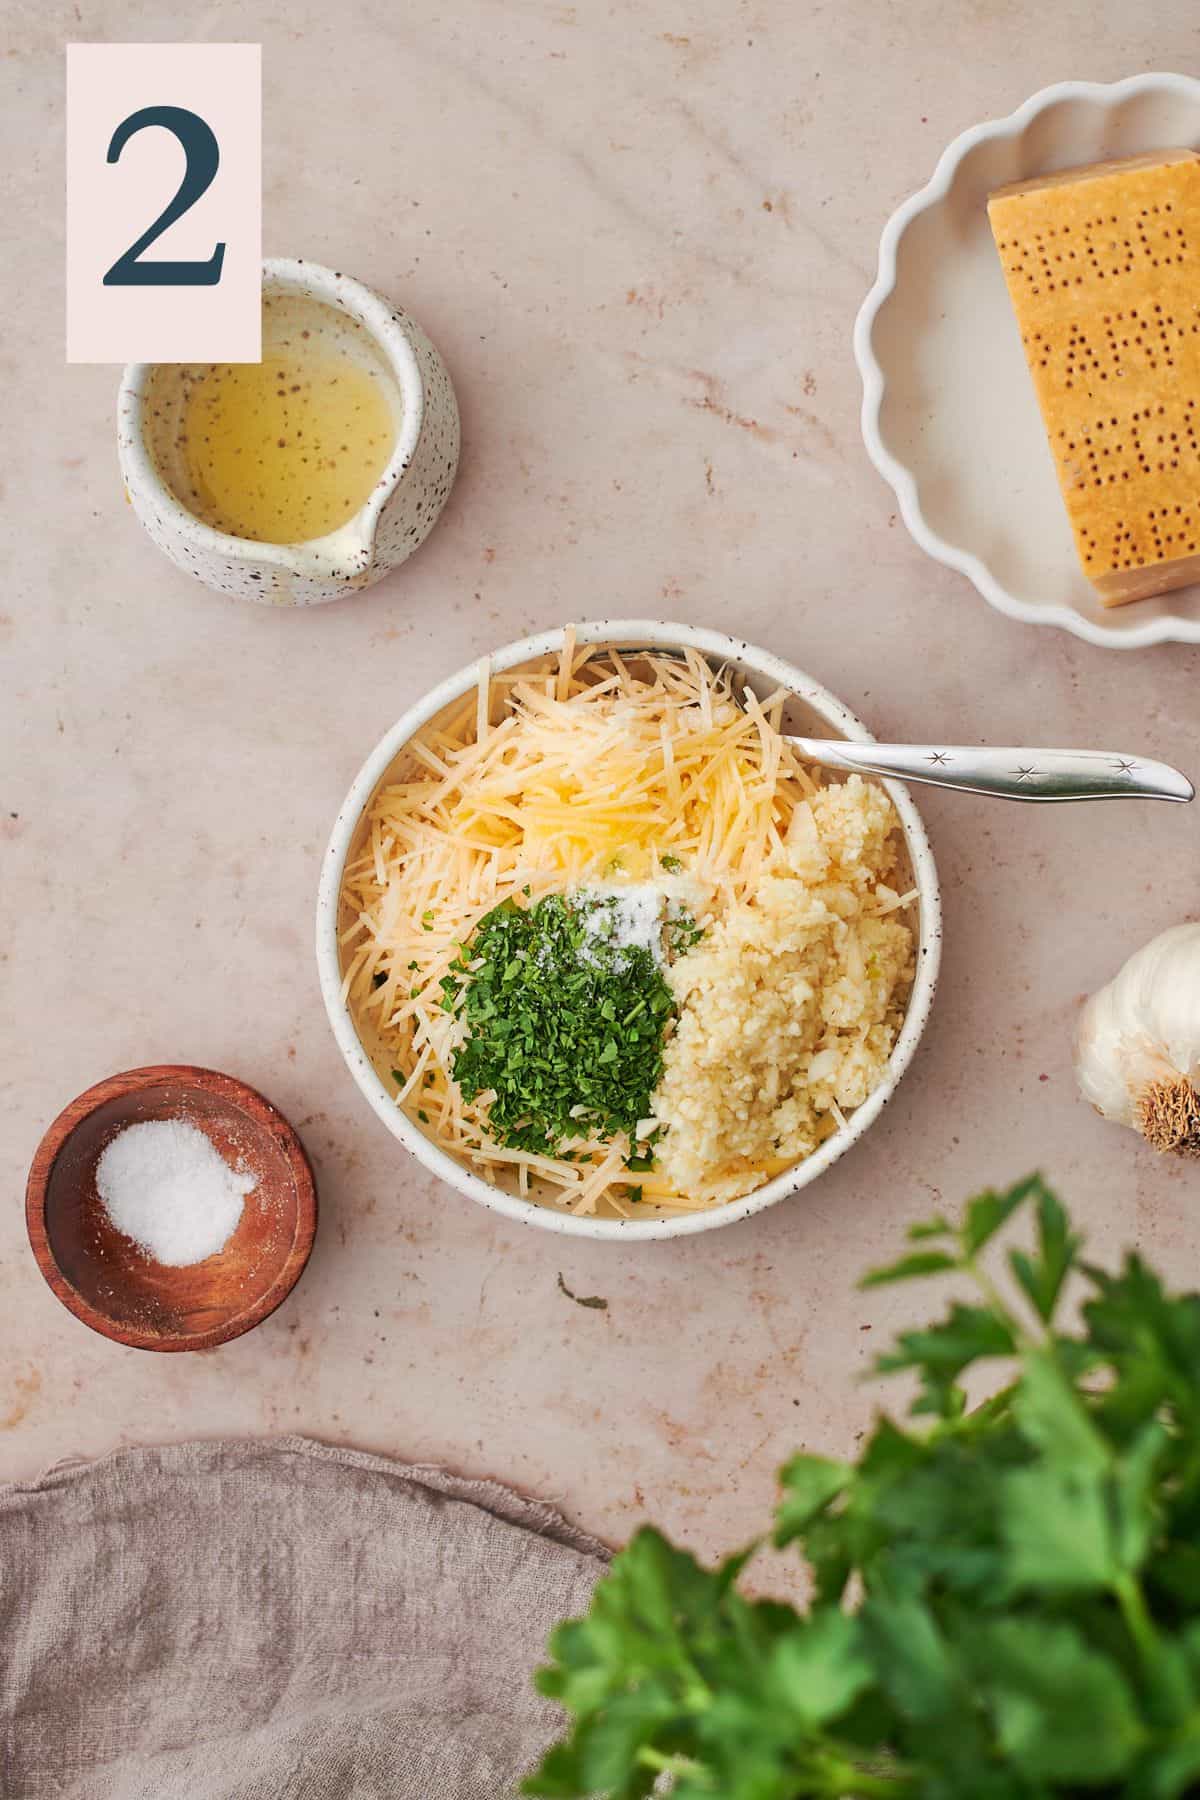
In a small bowl, combine softened butter, olive oil, garlic, parmesan, a pinch of salt, and parsley. (Image 2)
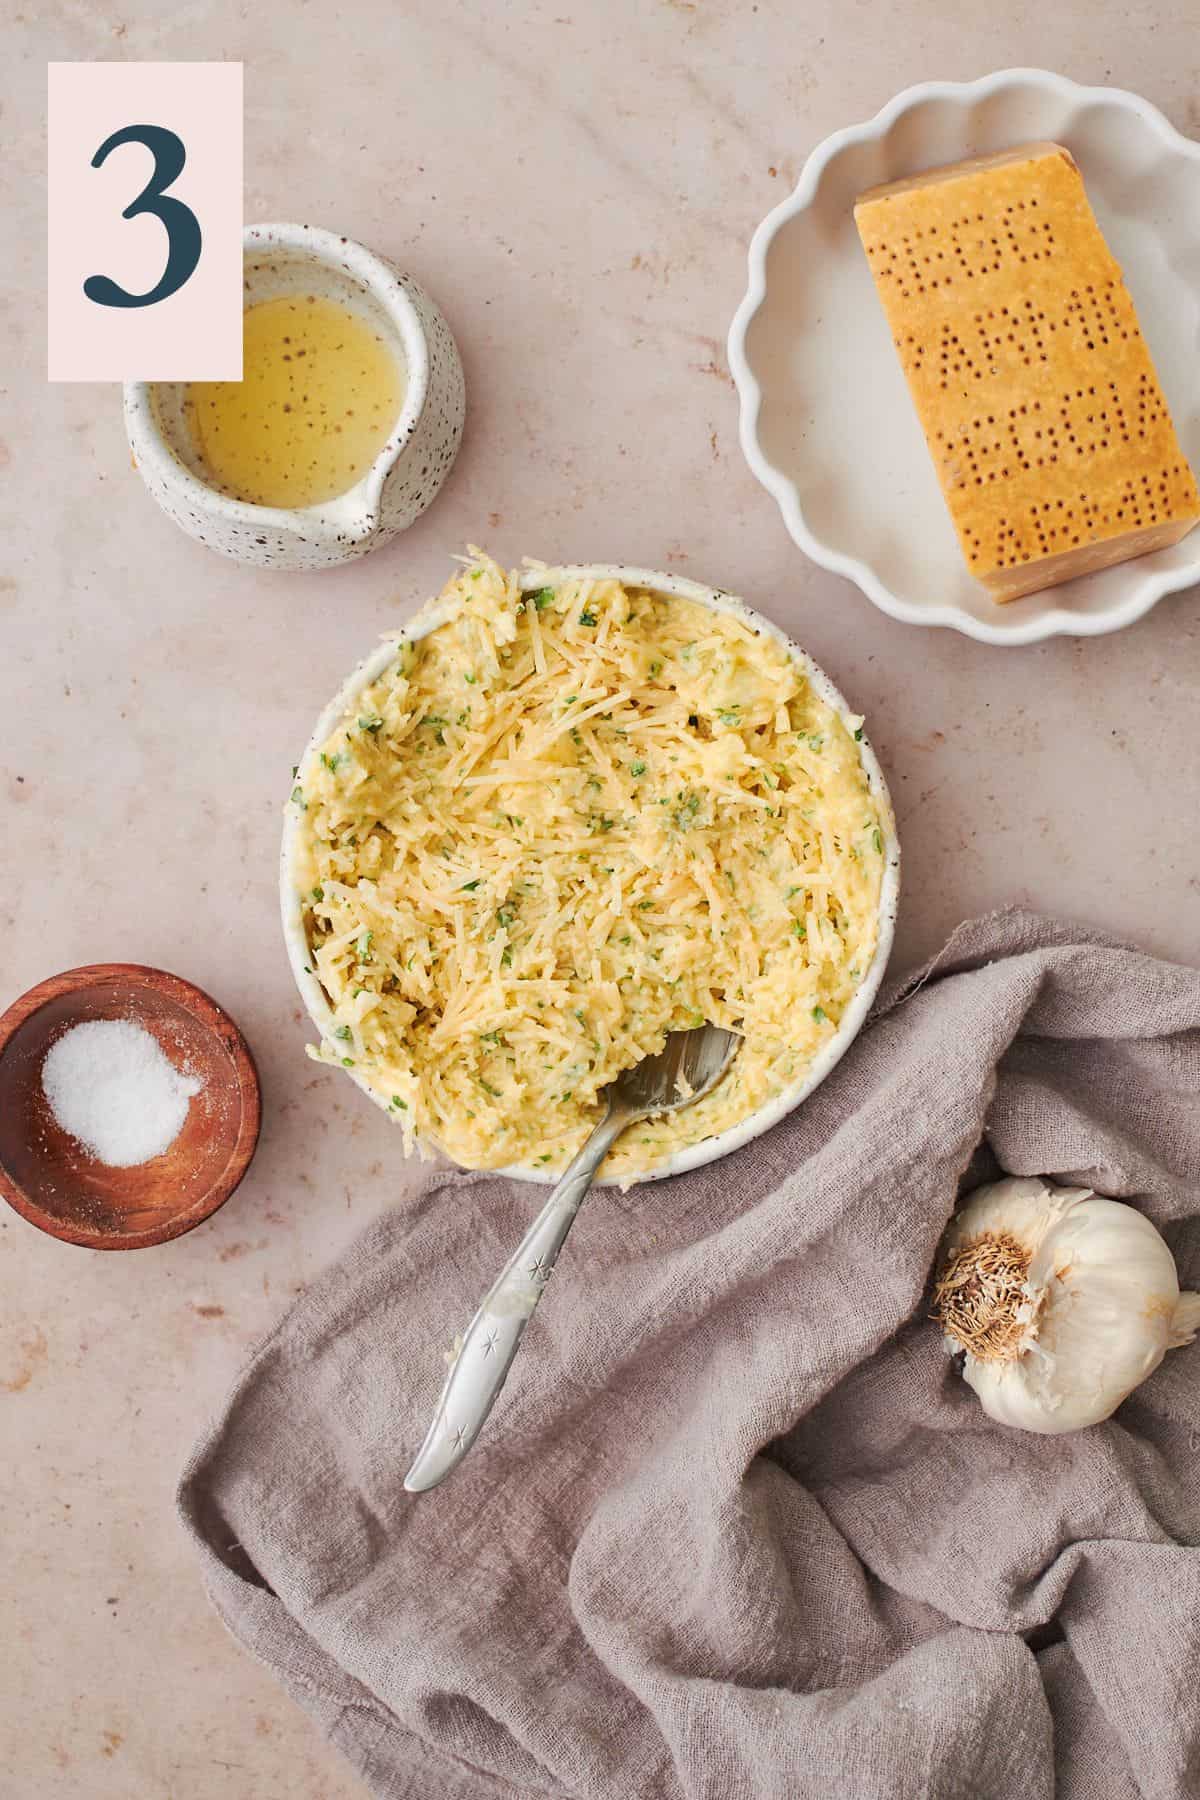
Using a spoon, mix together until thick paste forms. Add more salt to taste. (Image 3)
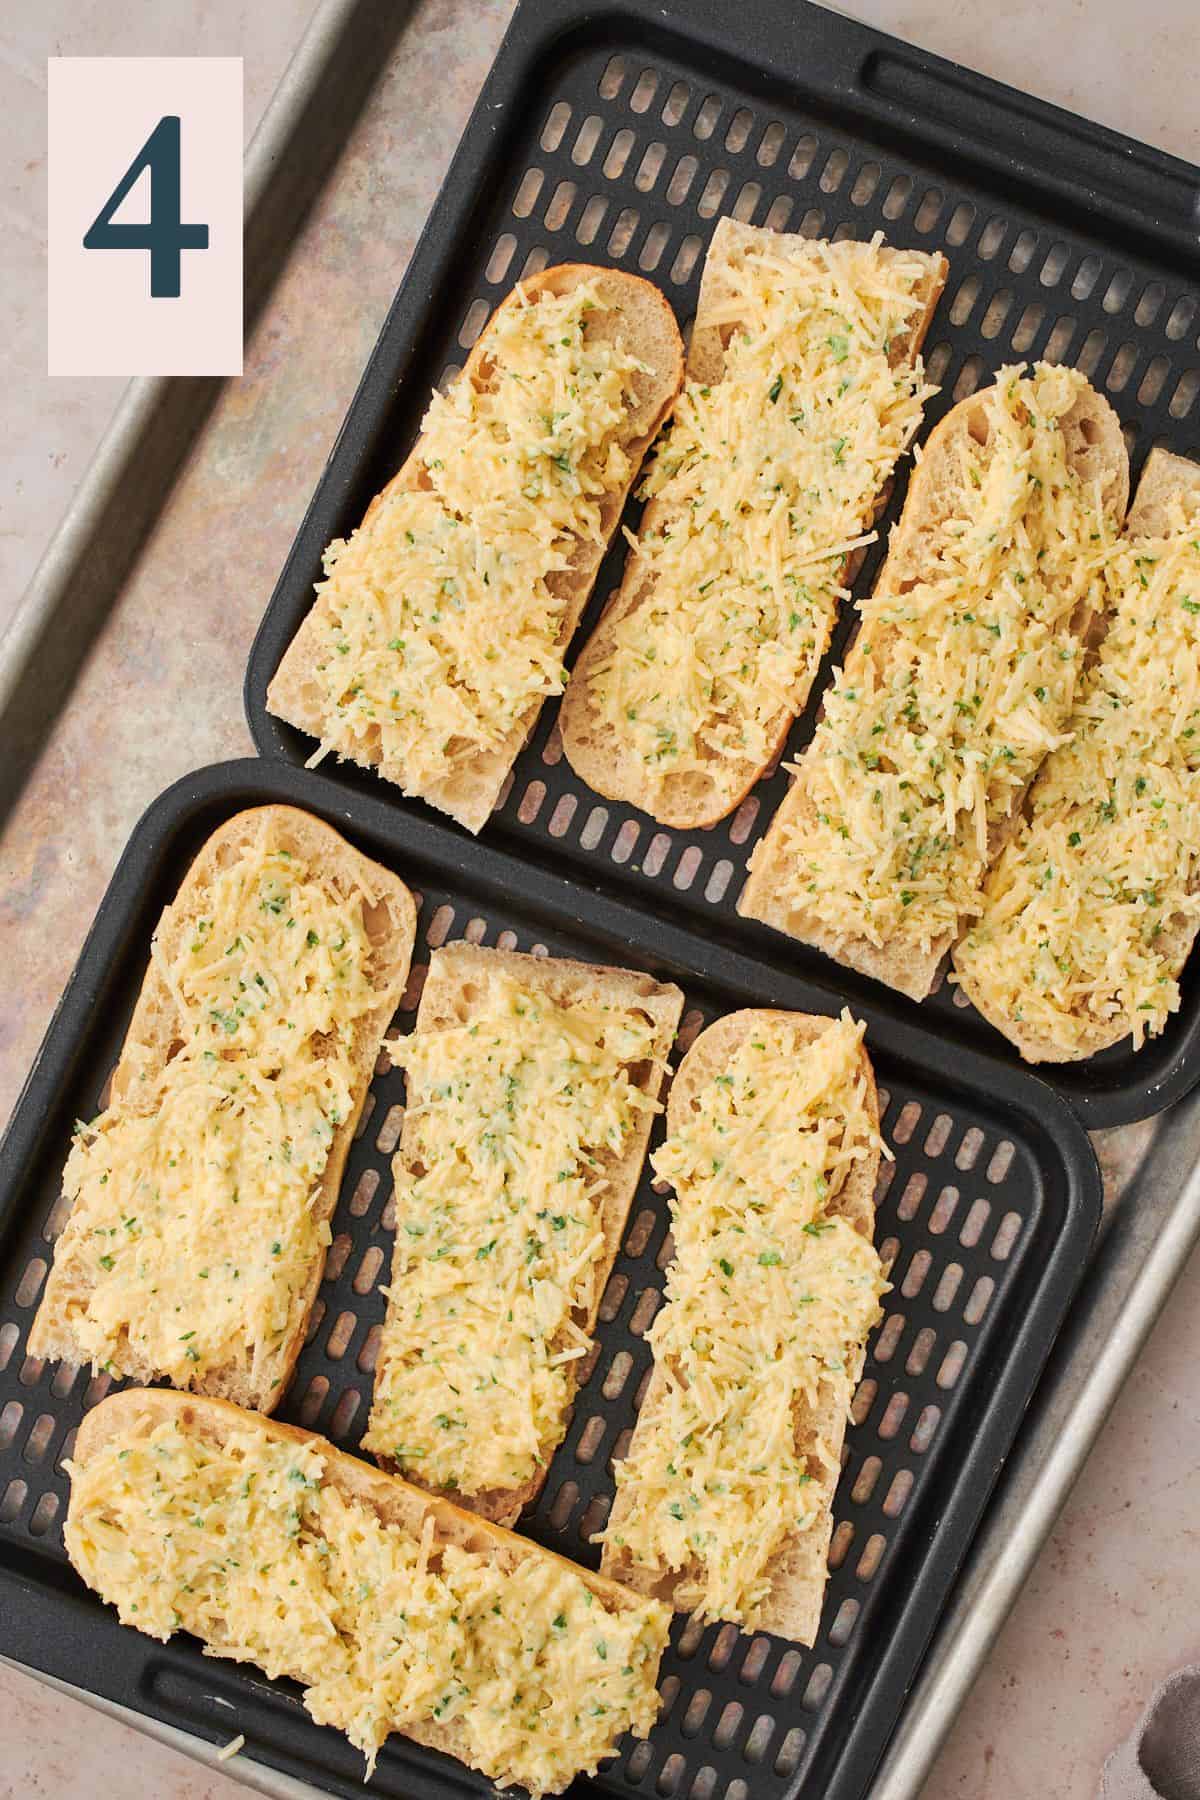
Generously spread the buttery cheesy mixture over top of the bread. Place bread slices in a single layer in the air fryer basket or on trays, with the cheese and butter mixture facing up. (Image 4)
Depending on the size of your air fryer, you may have to make this garlic cheese bread in batches.
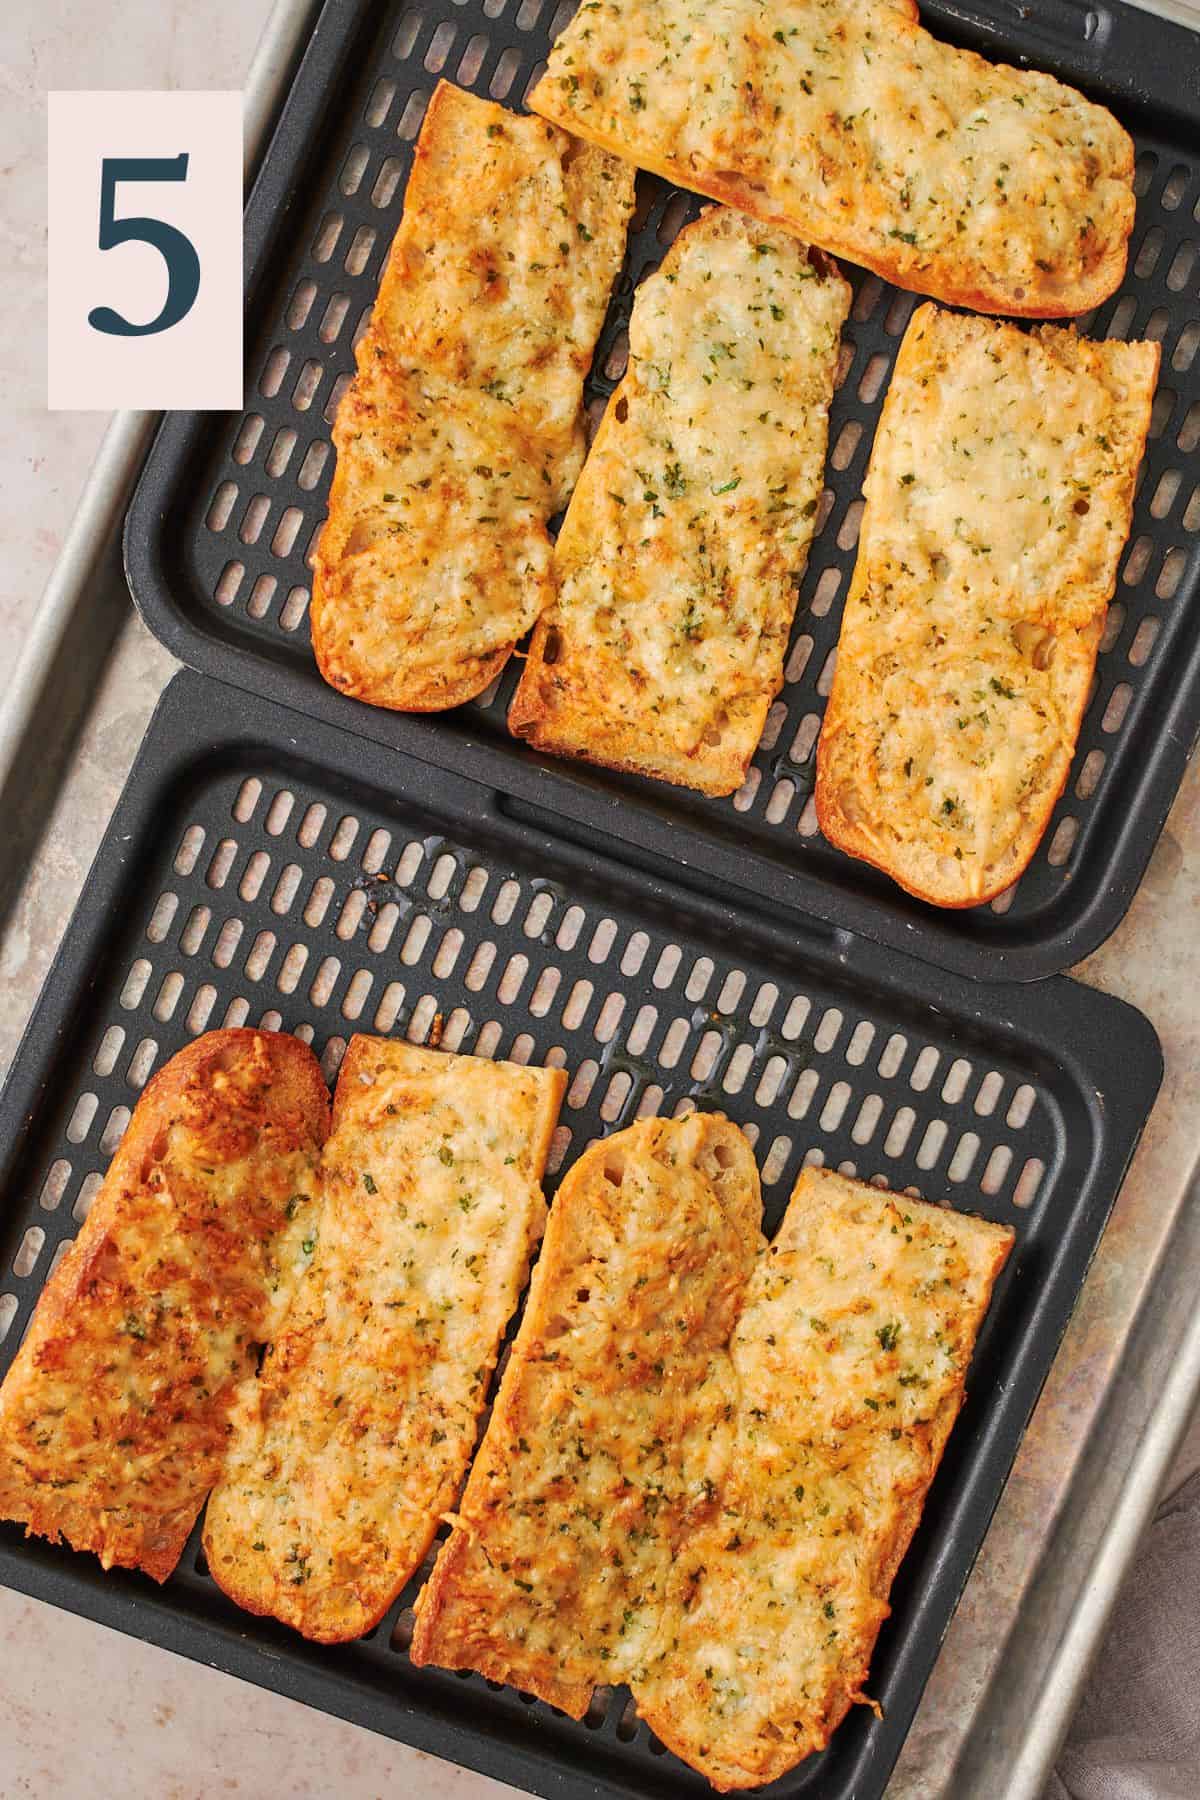
Air fry for 4-7 minutes, or until the edges are crispy and the bread is golden brown. (Image 5)
🥖 Pro tip: Keep a very close eye on the bread while it cooks! They go from golden to overcooked kind of quickly.
Cut bread into pieces, and top with more parsley and parmesan cheese. Dip in your favorite sauce, like marinara or ranch. Enjoy!
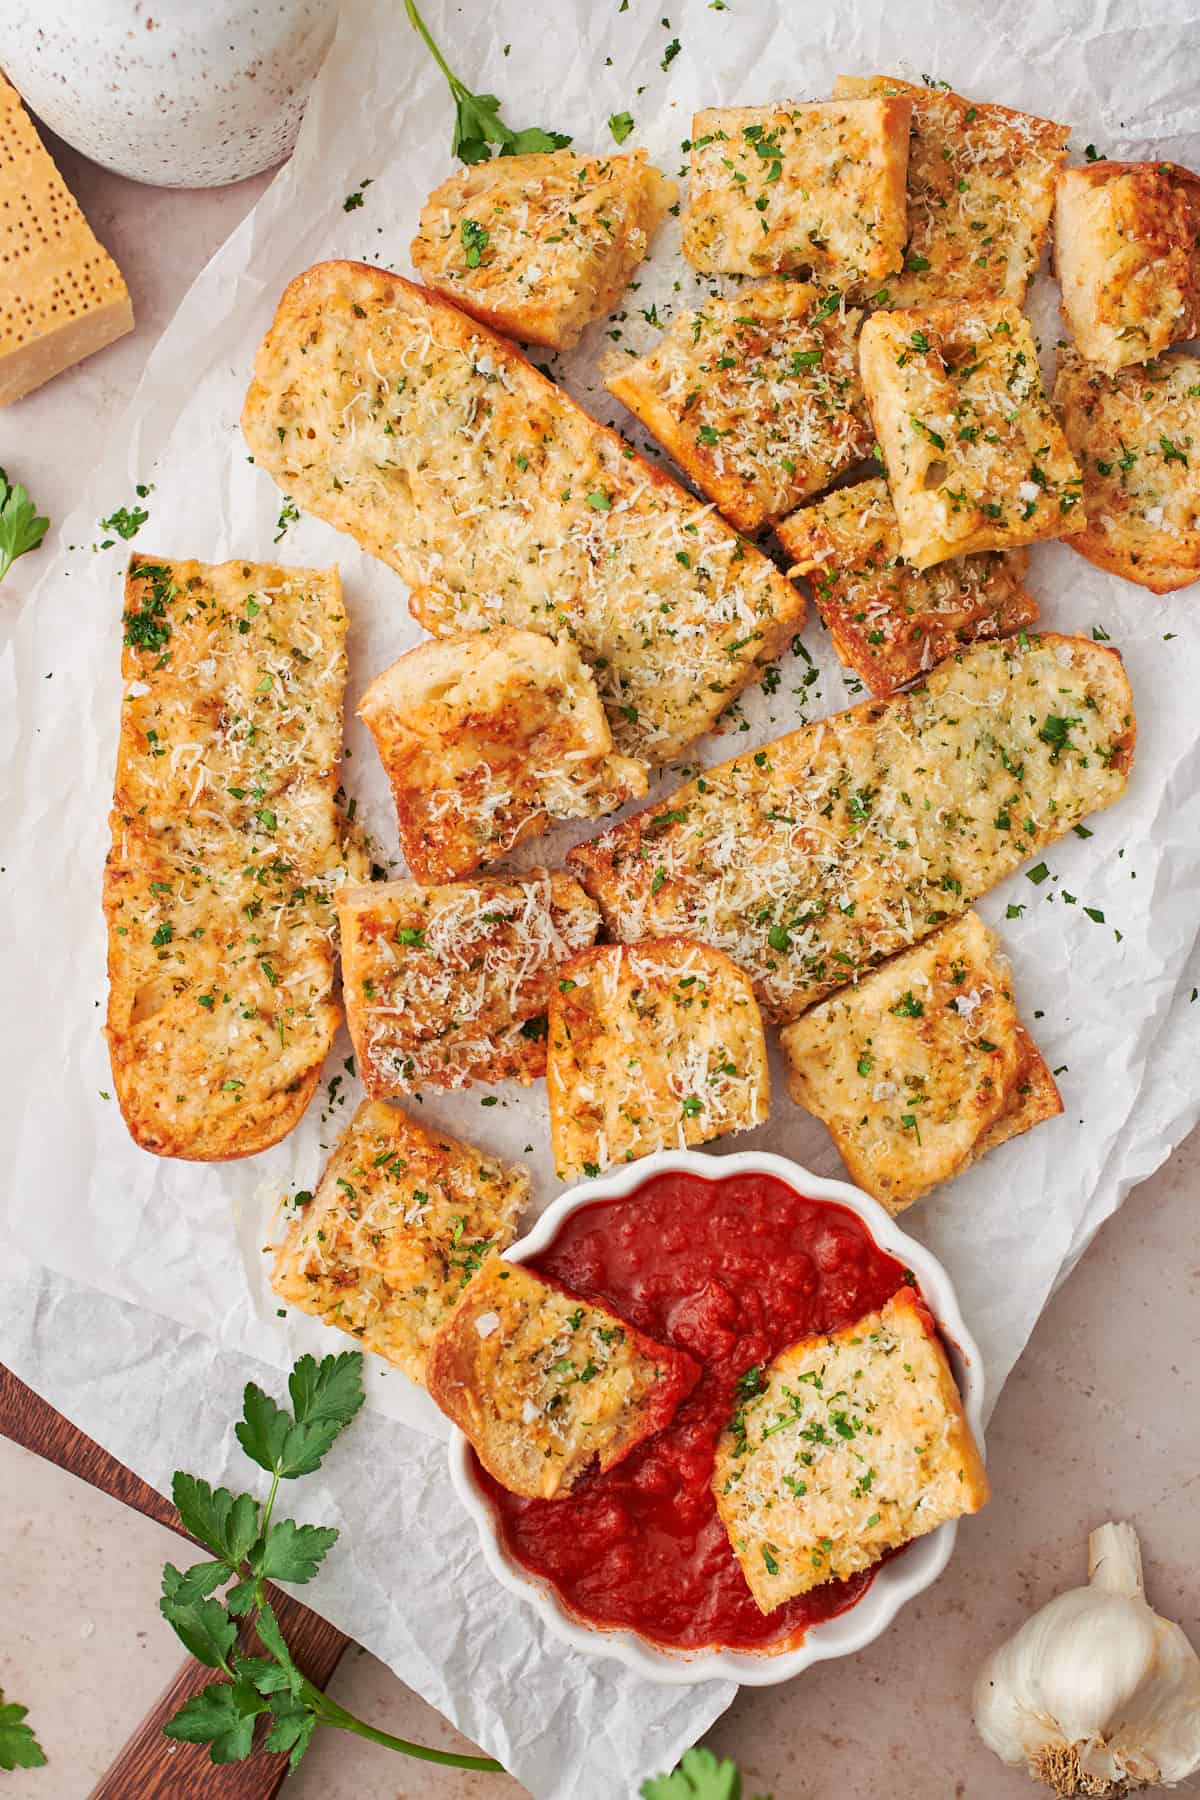
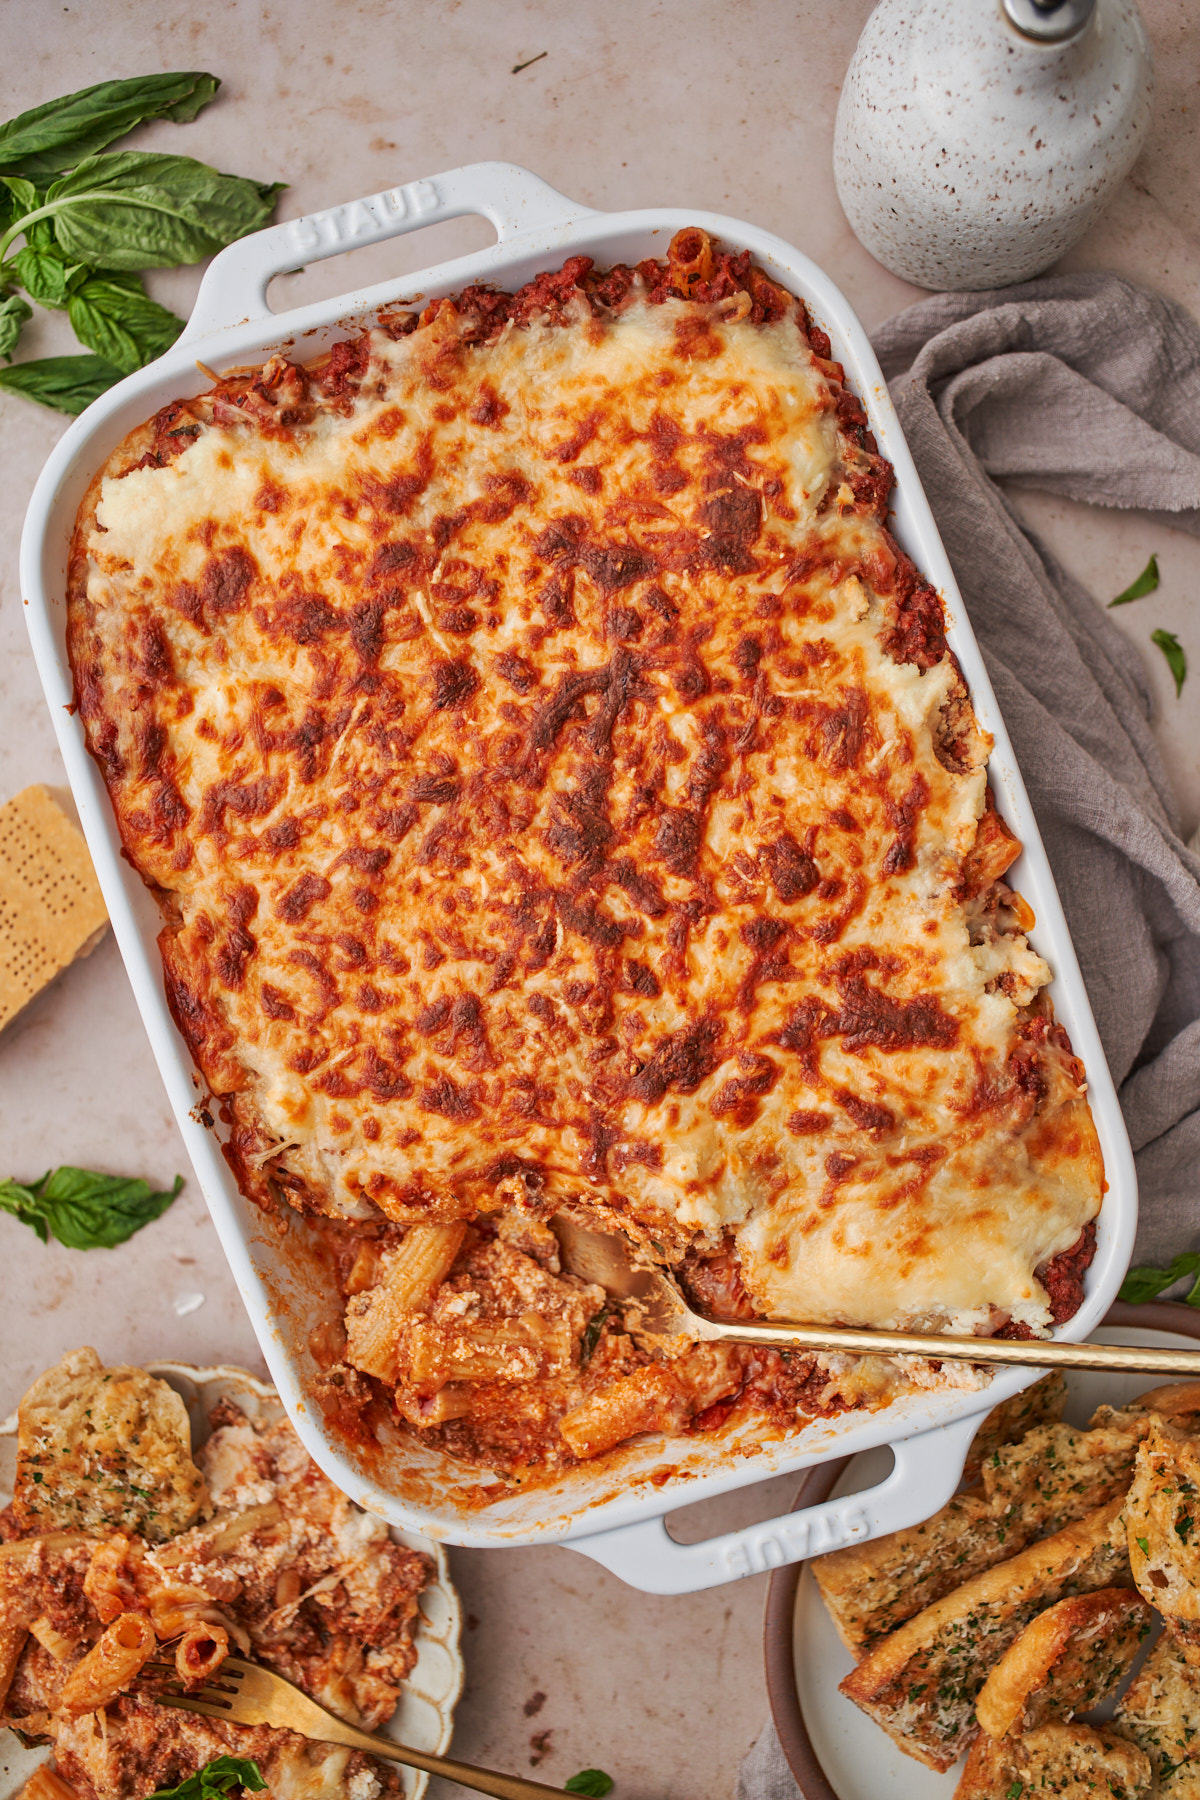
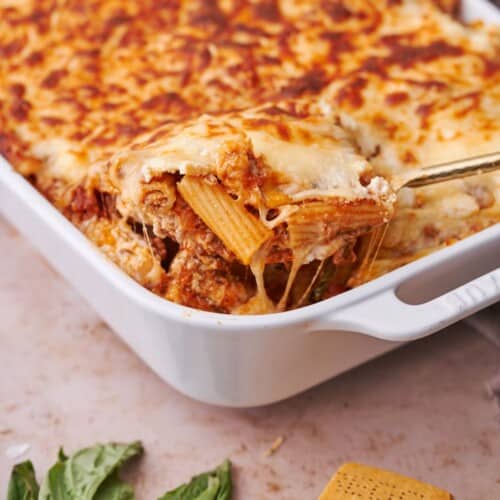
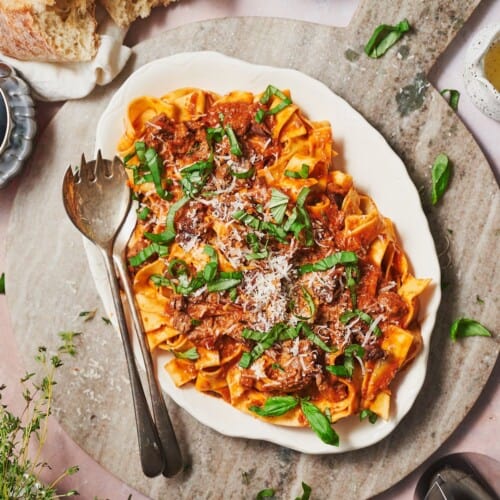
This garlic bread is a wonderful appetizer or side dish. Try it with this baked rigatoni and an arugula spinach salad for a delicious meal!
✨Tips & tricks
- To avoid burning the garlic, Be sure to brush the garlic butter mixture evenly onto the bread slices and avoid spreading too much garlic in one spot. Also, keep an eye on the garlic bread as it cooks, and remove any slices that are browning too quickly.
- Do not overcrowd the air fryer basket. This can prevent the bread from crisping up.
- Check on the bread slices frequently during cooking to prevent burning.
- Let the garlic bread cool for a few minutes before serving, as the butter and cheese will be very hot.
Need supplies? Shop our Amazon store! Stock your pantry, and find all of our favorite kitchen tools! A Full Living LLC earns a small commission through purchases on our storefront to help support this site.
💭Frequently Asked Questions
Store leftovers in an airtight container for 2-3 days. Reheat in the oven or air fryer to help crisp them up again. We do not recommend refrigerating leftovers, as this will just dry out the bread and it will become stale.
To freeze leftovers, wrap bread tightly in aluminum foil or plastic wrap, and then inside of a heavy duty freezer bag. Store for up to 3 months and reheat in the oven or air fryer.
Yes, you can make this garlic bread in the oven instead if you prefer.
Preheat the oven to 400°F (200°C) and bake the bread slices on a prepared baking sheet for 10-12 minutes or until golden brown.
More Recipes To Consider
Did you try this recipe? Make sure to leave a 5-star review below! 🌟 This helps other readers find our recipes and encourages them to try them. Also, be sure to leave a comment with your experience. Follow along, and tag @AFullLiving on Instagram with your photos!
📖 Recipe
Air Fryer Garlic Bread
Equipment
Ingredients
- 1 medium baguette, sliced in half lengthwise, and then into pieces widthwise to fit your air fryer (roughly a 12-ounce baguette)
- 10 tablespoons unsalted butter, softened
- 8 cloves garlic, minced
- 2 tablespoons parsley, minced
- 5 ounces parmesan, shredded or grated
- ½ teaspoon kosher salt (to taste)
Instructions
- Preheat the air fryer to 350°F. You may need to spray the basket or trays with cooking oil or line them with perforated parchment paper to prevent sticking depending on the model you have.
- In a small bowl, combine softened butter, olive oil, garlic, parmesan, a pinch of salt, and parsley. Using a spoon, mix together until thick paste forms. Adjust salt according to your preferences.
- Generously spread the buttery cheesy mixture over top of the bread. Place bread slices in a single layer in the air fryer basket or on trays, with the cheese and butter mixture facing up. Depending on the size of your air fryer, you may have to make this garlic cheese bread in batches.
- Air fry for 4-7 minutes, or until the edges are crispy and the bread is golden brown.
- Cut bread into pieces, and top with more parsley and parmesan cheese. Dip in your favorite sauce, like marinara or ranch. Enjoy!
- Store leftovers in an airtight container for 2-3 days. Reheat in the oven or air fryer to help crisp them up again. We do not recommend refrigerating leftovers, as this will just dry out the bread and it will become stale.
Notes
- It's up to you if you want to cut individual slices before air frying. We find it easier to cut the bread into pieces after they are done cooking, but you can also toast individual slices if you prefer.
- To freeze leftovers, wrap bread tightly in aluminum foil or plastic wrap, and then inside of a heavy duty freezer bag. Store for up to 3 months and reheat in the oven or air fryer.
- To avoid burning the garlic, Be sure to brush the garlic butter mixture evenly onto the bread slices and avoid spreading too much garlic in one spot. Also, keep an eye on the garlic bread as it cooks, and remove any slices that are browning too quickly.
- Do not overcrowd the air fryer basket. This can prevent the bread from crisping up.
- Check on the bread slices frequently during cooking to prevent burning.
- Let the garlic bread cool for a few minutes before serving, as the butter and cheese will be very hot.

Comments
No Comments