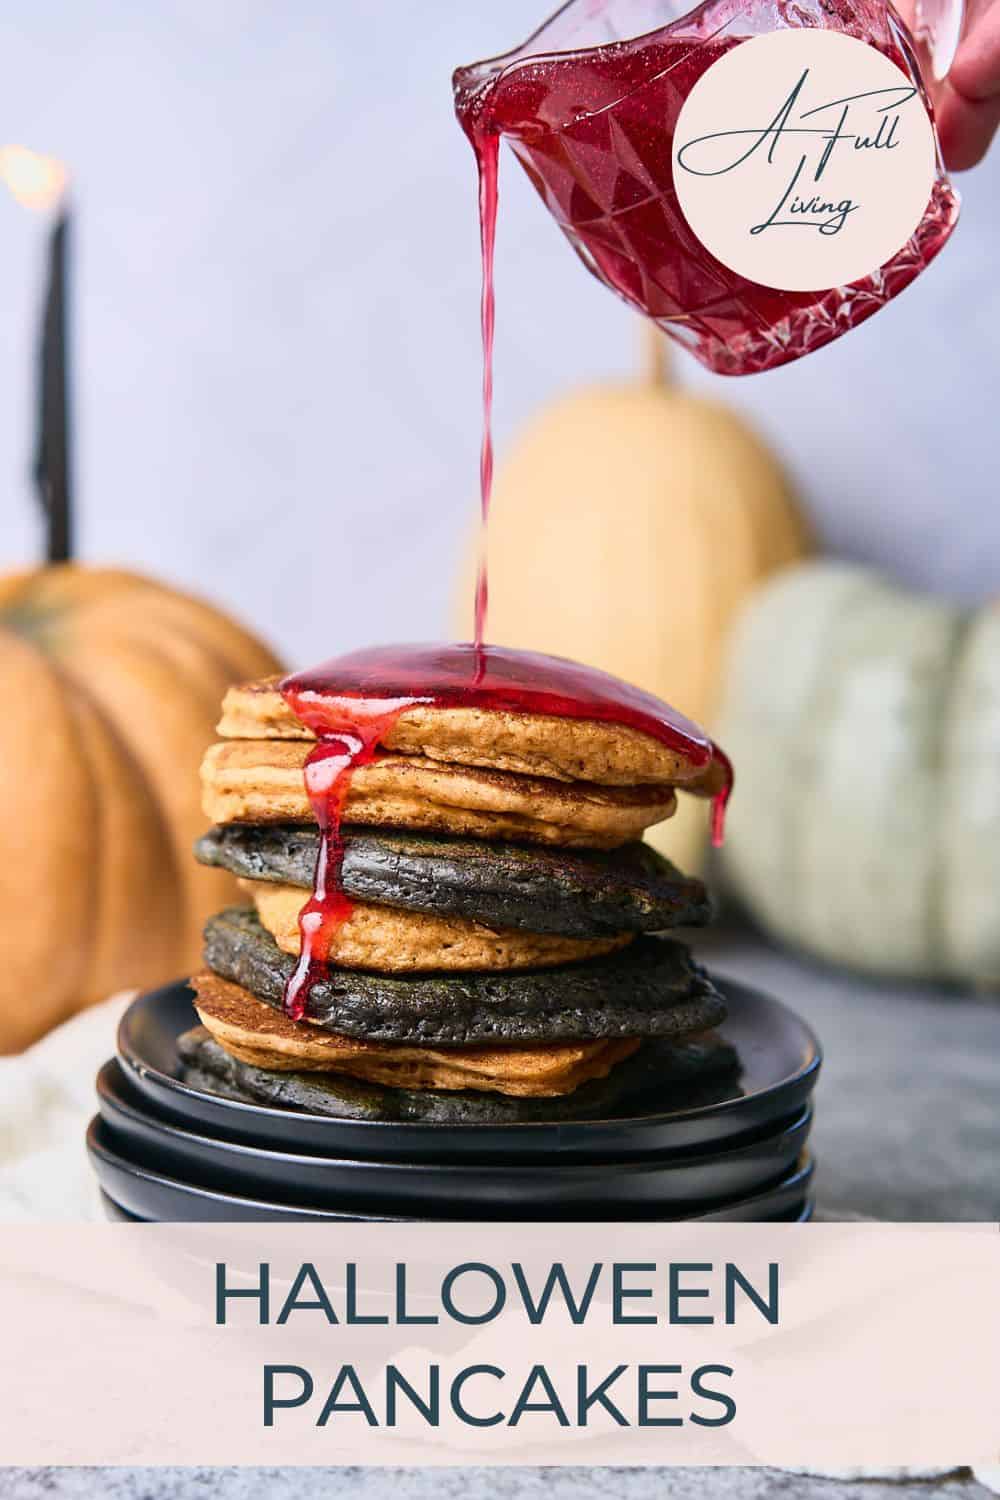
This Halloween Pancake Recipe is the perfect breakfast for Halloween morning! These orange and black spooky pancakes are topped with homemade "bloody" raspberry syrup and are an easy way to get into the Halloween spirit. We took our favorite recipe for regular pancakes and made them Halloween colors with just a hint of pumpkin spice for a fall twist. They're quick, easy, and so much fun!
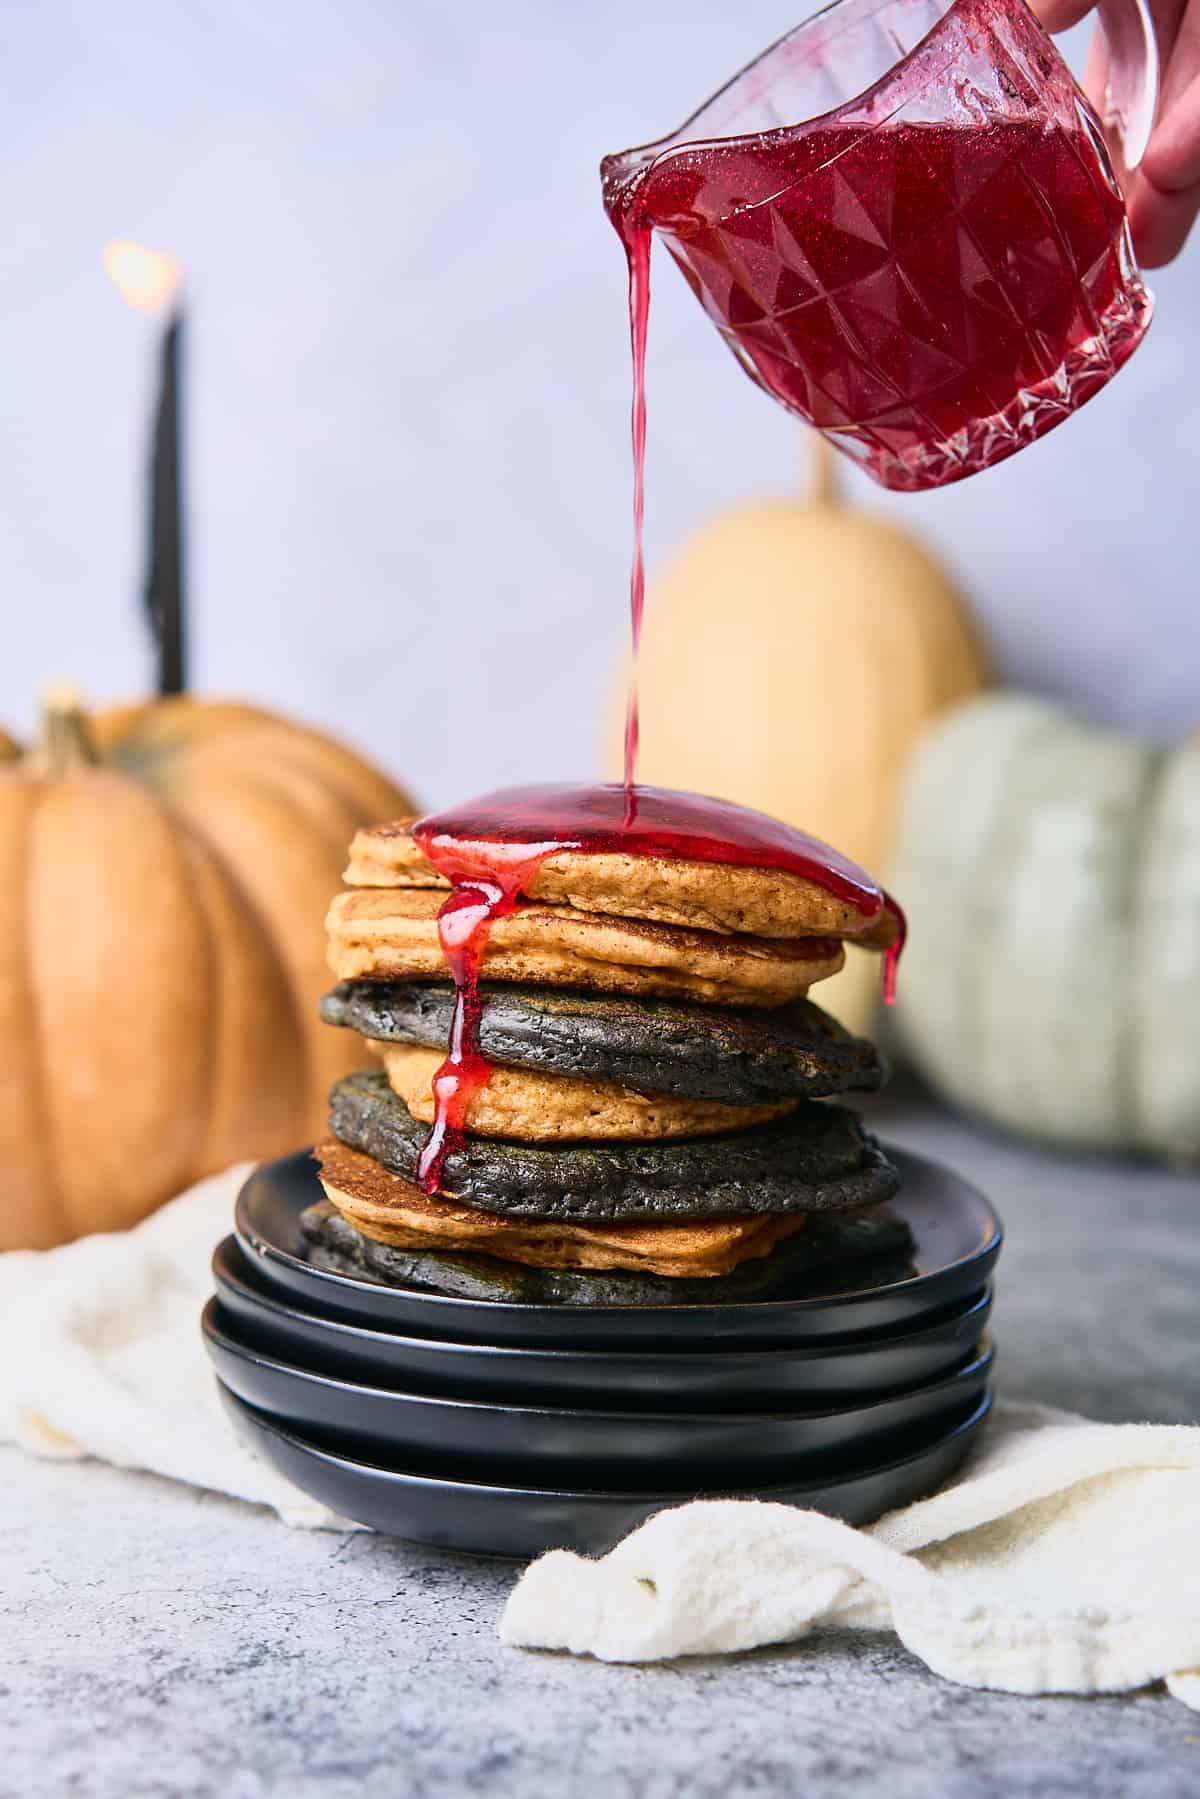
These delightful pancakes are the perfect spooky breakfast for the Halloween season. These festive pancakes are the easiest way to make themed pancakes using pantry staples. These colorful Halloween pancakes are made with ingredients you already have on hand, plus some food coloring!
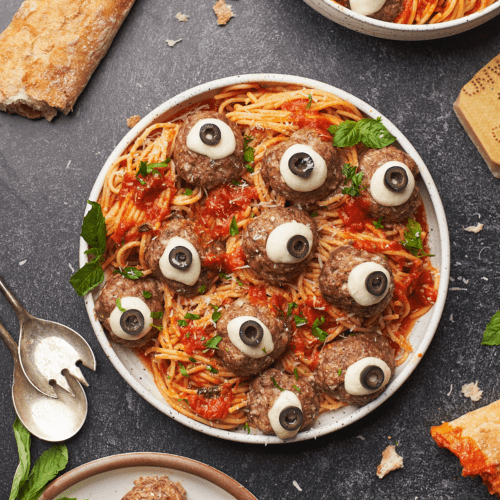
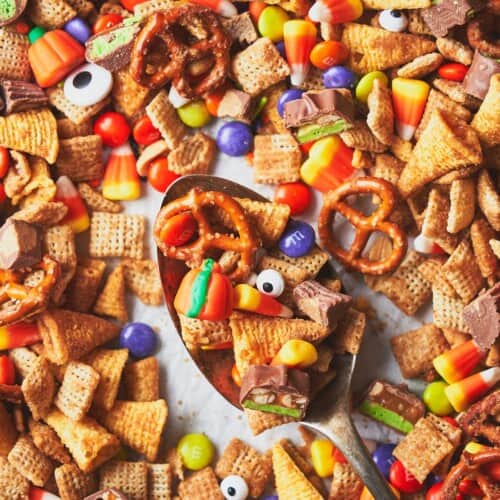
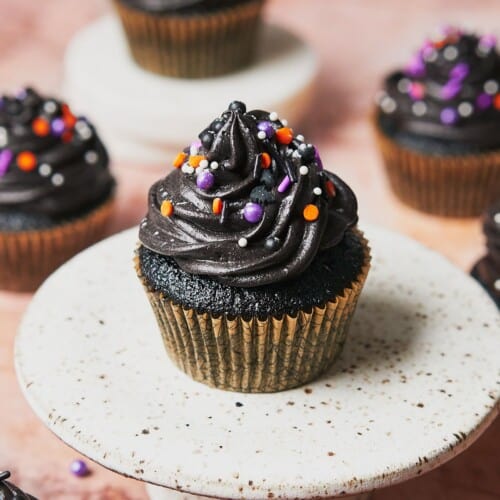
Looking for more Halloween recipes? Try our spooky spaghetti and meatball eyeballs, this Halloween snack mix, this Halloween bark, or this Halloween charcuterie board. For dessert, try our black velvet cake or black velvet cupcakes!
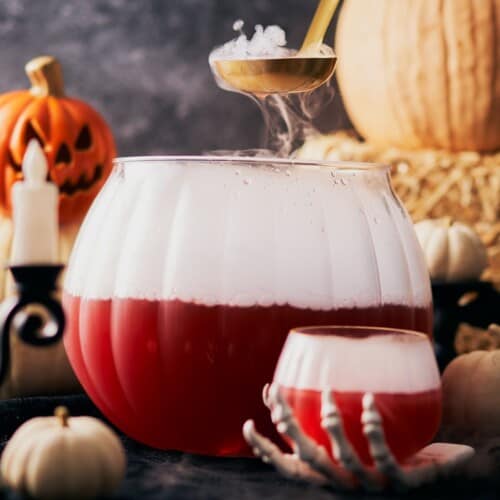
If you need adult beverages for the event, we've got you covered with some delicious recipes for those too! Our Halloween dry ice punch, this purple people eater cocktail, this love potion cocktail, this vampire's kiss cocktail, and this witches brew cocktail are excellent choices to serve at this year's Halloween party. Happy Halloween!
Jump to:
❤️Why we love this recipe
- Fun Halloween pancakes! These orange and black pancakes are the perfect, vibrant treat for a Halloween breakfast or brunch. Serving them with homemade raspberry syrup resembling blood makes for extra spooky Halloween pancakes! They're festive and fun, and sure to excite both kids and adults.
- Subtle fall flavors. Not only are they cool colors, but they also have a subtle flavor of fall with the addition of pumpkin pie spice. It gives you just the right amount of flavor, without having to take on too much work or gather extra ingredients.
- This quick and easy breakfast idea is made with simple ingredients. Although these pancakes look exciting, they couldn't be easier to make. They're our perfected, fluffy pancake recipe made with familiar ingredients based on our sweet cream pancakes! No need to worry about buttermilk going bad after just one use, this recipe is made with pantry staples. The only specialty ingredient you will need is black and orange food coloring!
🥞Ingredients
Here are the ingredients we used for this recipe. You can find more information for substitutions below.
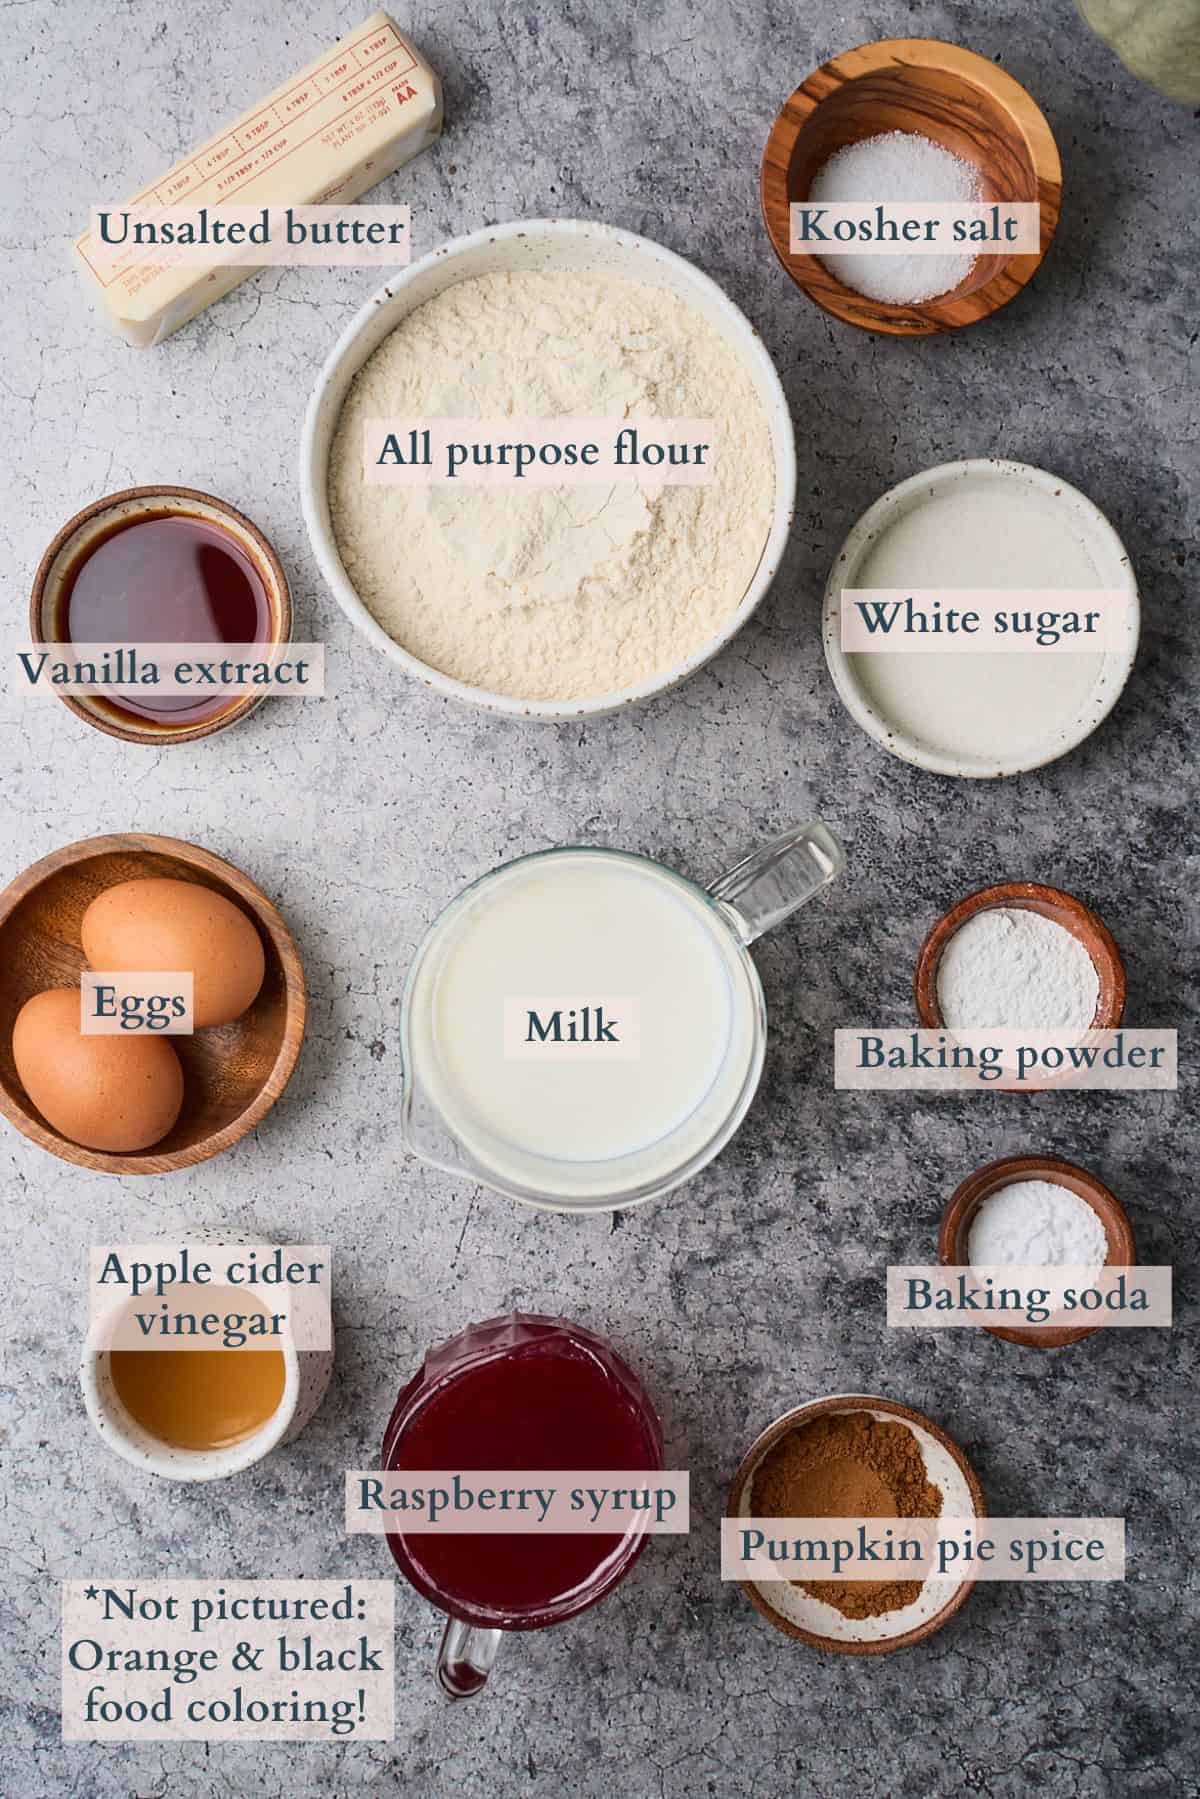
- Raspberry syrup. Our thick raspberry syrup can be made in advance and stored in the fridge or freezer. It's perfect because it has a major "bloody" look! It's optional, and you can use whatever you want. You could also mix red food coloring with your favorite pancake syrup to create a similar look.
- Vinegar. This helps create the most light and fluffy amazing texture. It is technically optional, however.
- Food coloring. We highly recommend this orange gel food coloring and black gel food coloring (affiliate link) for the most concentrated color. Gel food coloring is great because you end up using less of it than regular food coloring because it is so concentrated.
Visit the recipe card for the full quantities and nutritional information.
✨Substitutions
Here are a few suggestions on additional flavors to try, or simple variations to this recipe.
- Swap the vinegar. Use distilled white vinegar for a 1:1 swap. If you don't have vinegar, try lemon juice. If you don't have anything acidic to use, it's okay, it's not totally necessary. The acidic ingredients are used with the milk to create a quick homemade buttermilk. Using a bit of extra acid helps the pancakes become very fluffy and tender. Pancakes made with just milk will still be delicious, however!
- No butter. Unsalted butter will give you the best flavor, but it can be swapped for a neutral oil or melted coconut oil if you prefer.
- Spices. We used pumpkin pie spice for a nice blend of warm spices for a subtle fall flavor that wasn't overpowering. Feel free to use just cinnamon if you'd prefer. You can also omit adding any extra spices at all if you'd like.
- No sugar. If you don't have white sugar, feel free to use light brown sugar or any sweetener you prefer. Some top picks would be maple syrup, and honey would also taste great and add a warm flavor to the pancakes. You can also use any sugar alternative you'd like, though we'd prefer using one that is a 1:1 swap for sugar.
✨Variations
- The SUPER easy version. Short on time? Just use your favorite pancake box mix and jazz them up a bit by adding food coloring, vanilla, and pumpkin spice if you like. Our pancake recipe provided is a jazzed-up version of our favorite pancakes that we make at home, but you don't have to make the pancakes from scratch if you don't want to.
- Gluten-free. Simply swap the all-purpose flour with a 1:1 gluten free flour. We like using Bob’s Red Mill 1:1 gluten free flour.
- Keto version. Follow this recipe to make our fluffy keto coconut flour pancakes, and add food coloring and pumpkin pie spice!
- Add chocolate chips. Add chocolate chips for extra tasty pancakes. You could also create spooky shapes in the orange pancakes using chocolate chips. Try making a jack-o-lantern pancake, for instance!
- Use cookie cutters. Another option for leveling up the fun would be to use cookie cutters to cut out shapes after the pancakes have cooked, or even cook the pancakes on the stove top with well-greased cookie cutters. Make or cut out little bat, pumpkin, and ghost pancakes for an extra spooky breakfast.
- Use a kitchen squeeze bottle. An alternative to cookie cutters to make shaped pancakes would be using a kitchen squeeze bottle. If you have a steady hand, you can use a kitchen squeeze bottle to make shapes in the pancakes or pancakes in a specific shape.
- Add candy eyes. Love creepy little eyeballs on your pancakes? Add a few candy eyes on top before serving!
*This recipe hasn't been tested with other substitutions or variations. If you change or add any ingredients, please let us know how it turned out in the comments below.
🔪Prep work
- Allow the eggs and milk to sit out at room temperature for about an hour if possible.
- Melt butter in the microwave and allow to cool briefly.
- Measure out any other ingredients using a food scale.
- Heat a griddle or large skillet over medium-low heat.
📋Instructions
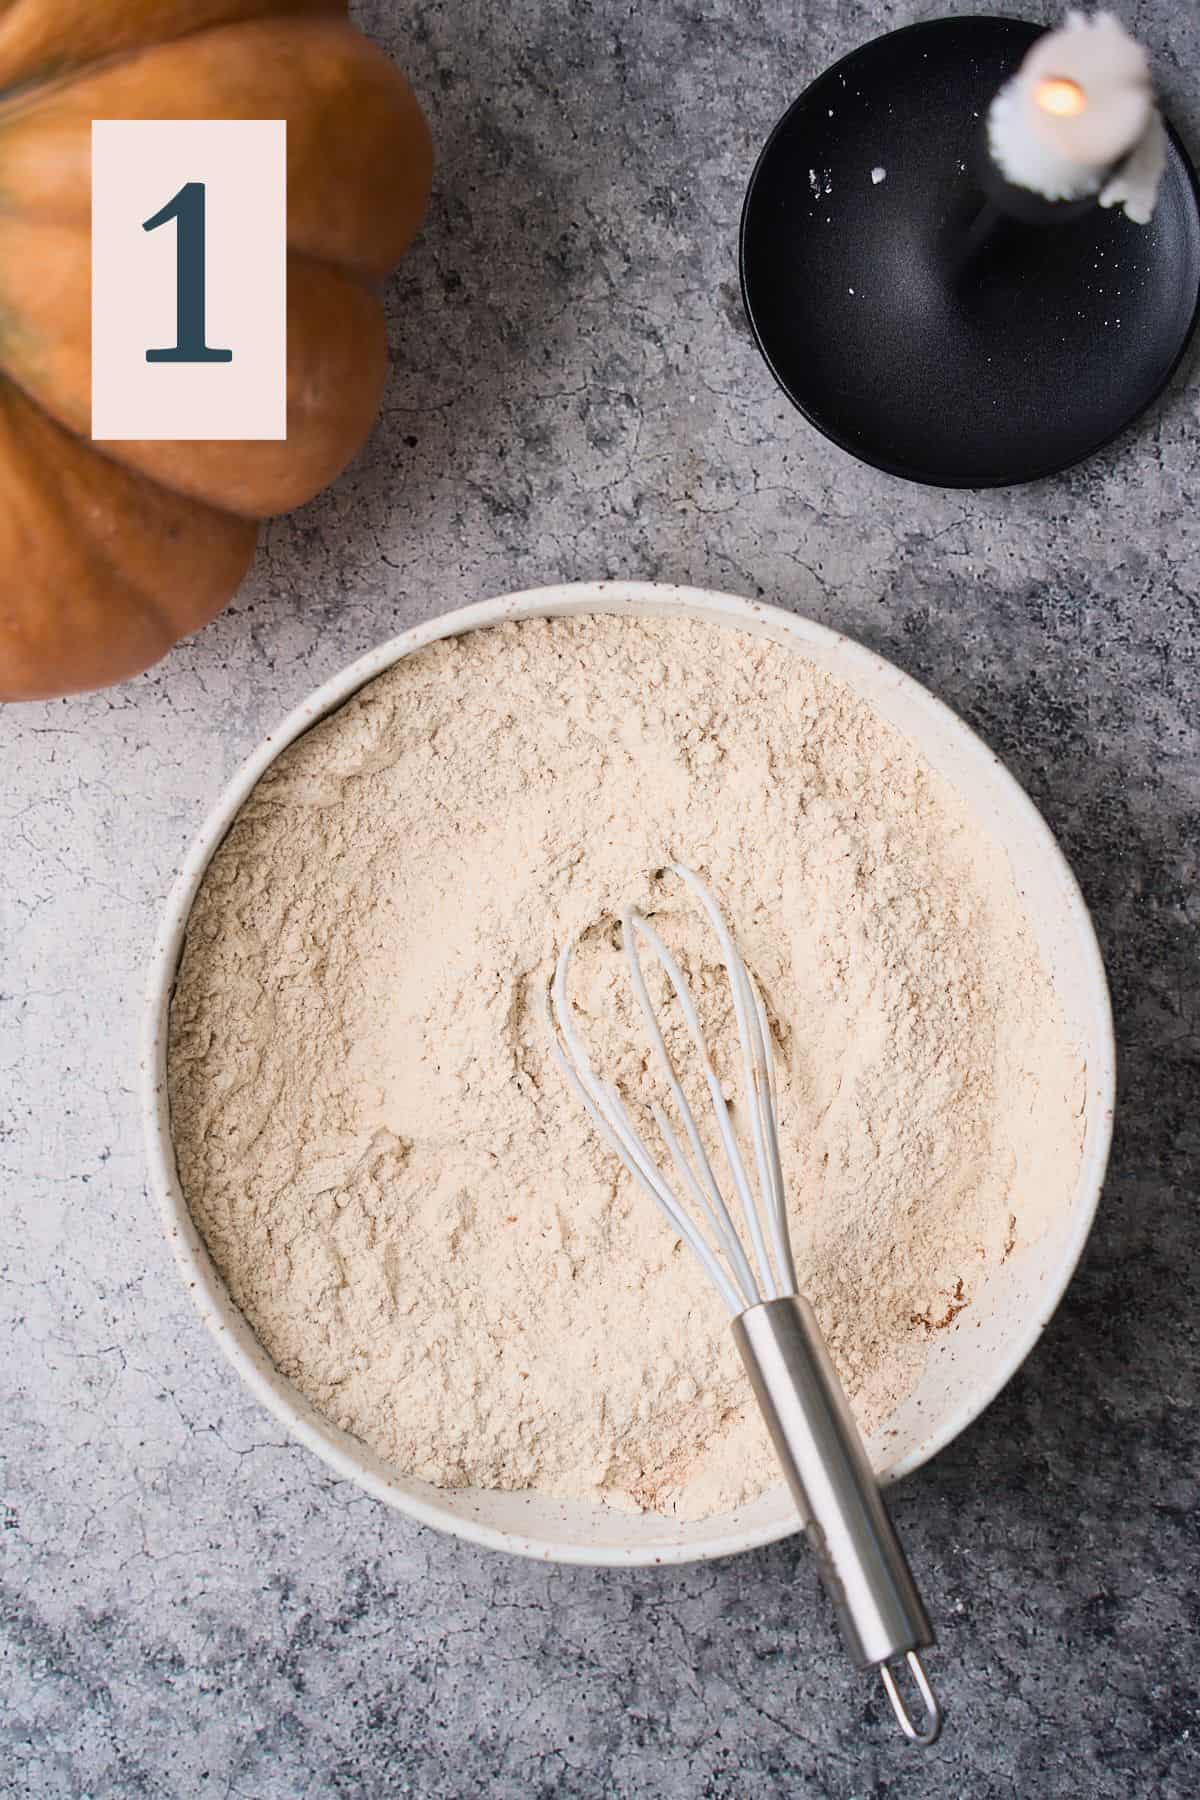
In a large bowl, whisk together the flour, sugar, baking powder, pumpkin spice (or cinnamon), baking soda, and salt. (Image 1)
Weigh the final dry mixture using a food scale to get a final weight on it, then divide the dry mixture in half. (Image 2)
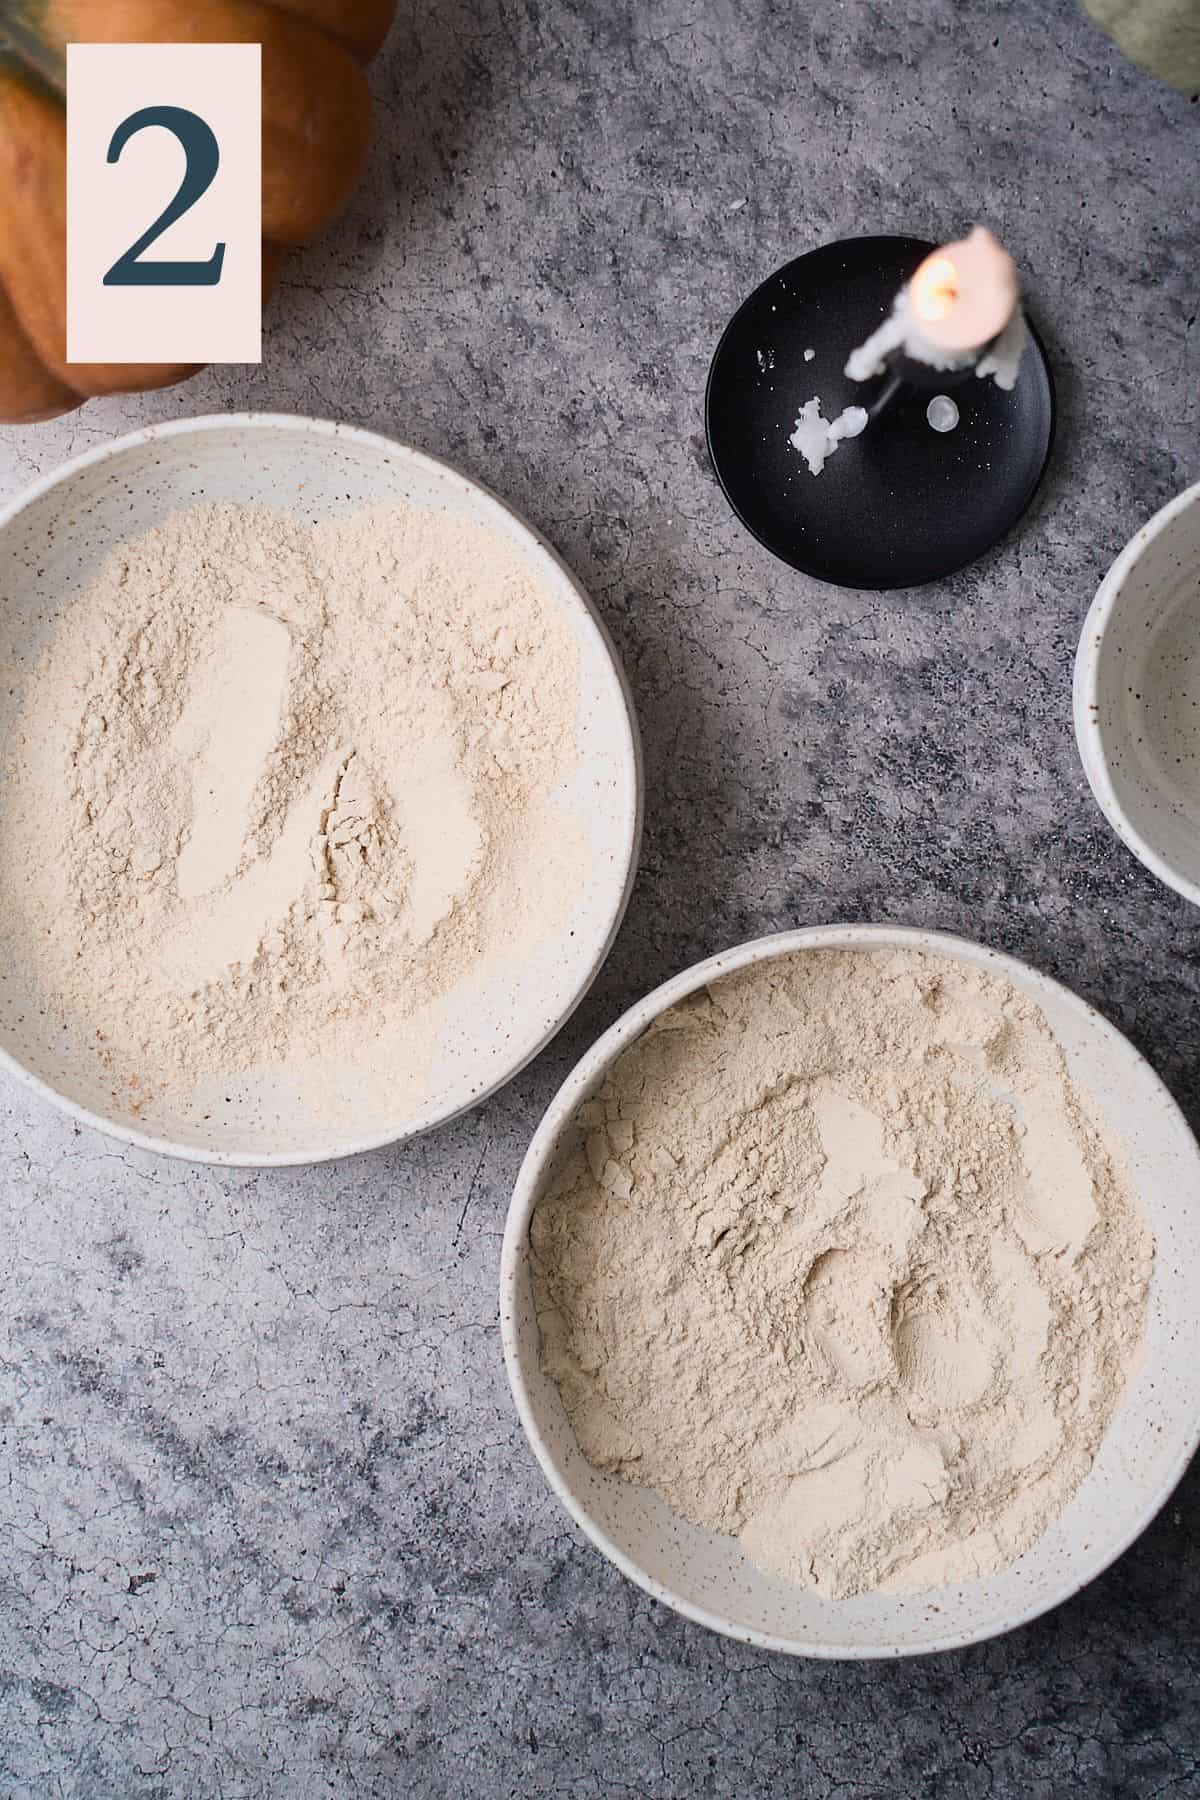
✨Pro Tip: Use a digital food scale for an easy way to make sure you have enough ingredients for each batch of batter.
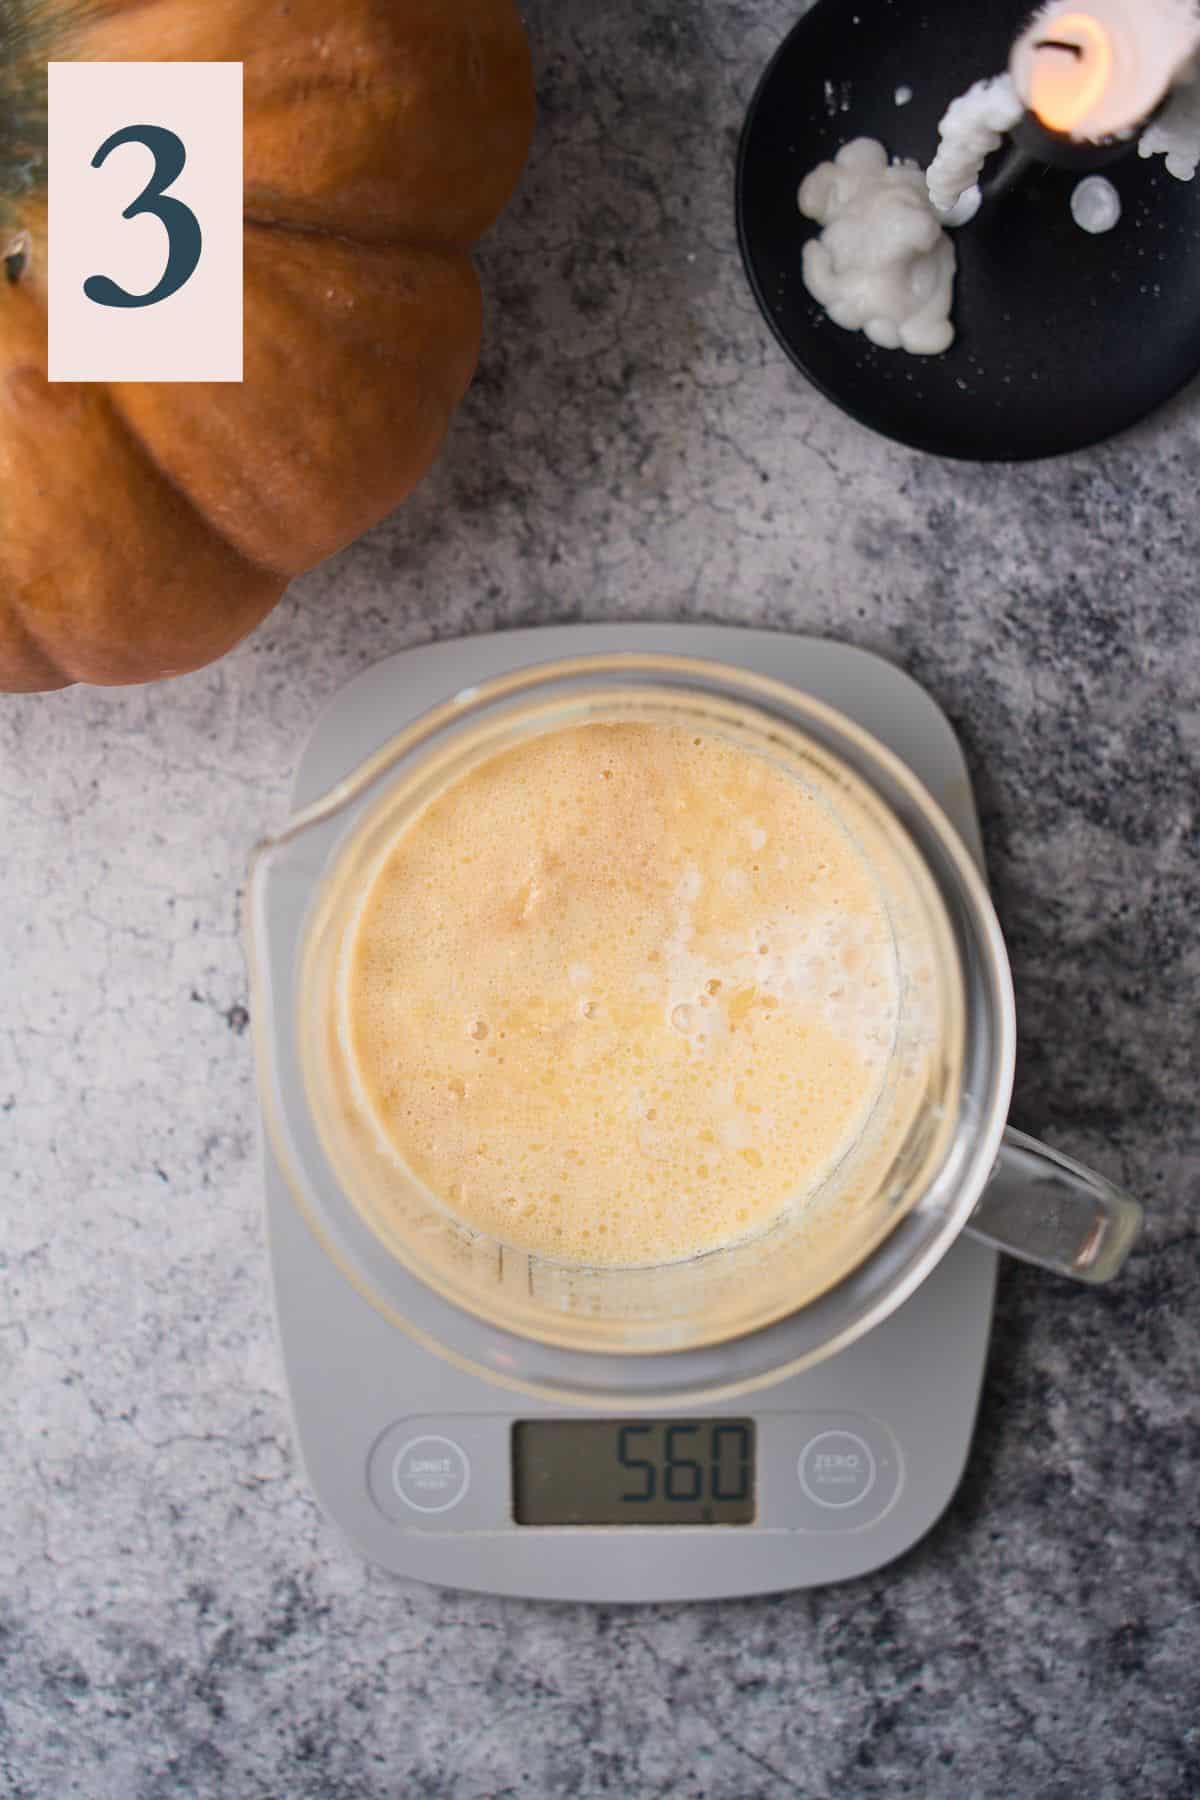
In a separate mixing bowl or container, whisk together the milk, vinegar, eggs, melted butter, and vanilla extract. (Image 3)
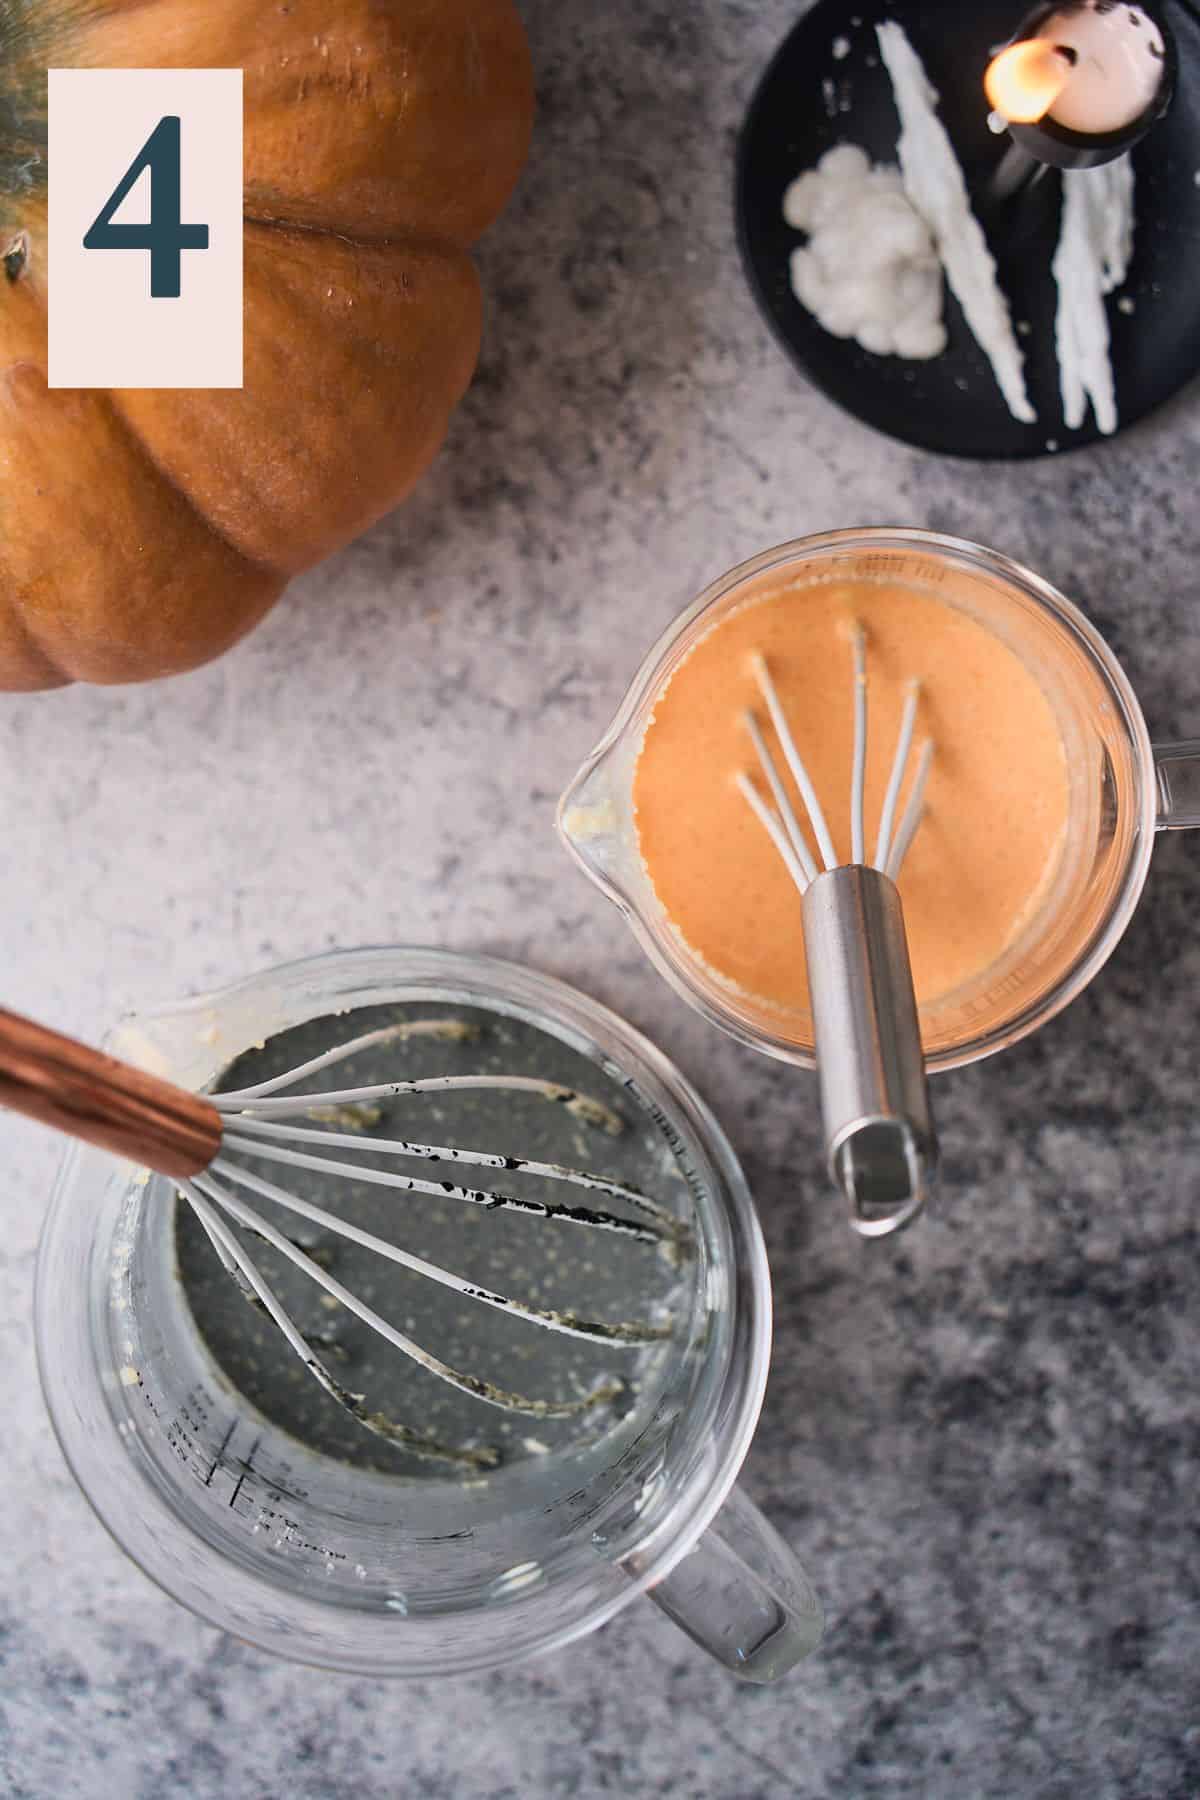
Weigh the wet ingredients, and separate half of the batter into a separate container once again. Add orange food coloring to one container, and black food coloring to another, until the desired color is reached. (Image 4)
Keep in mind, the color will deepen as the pancakes cook.
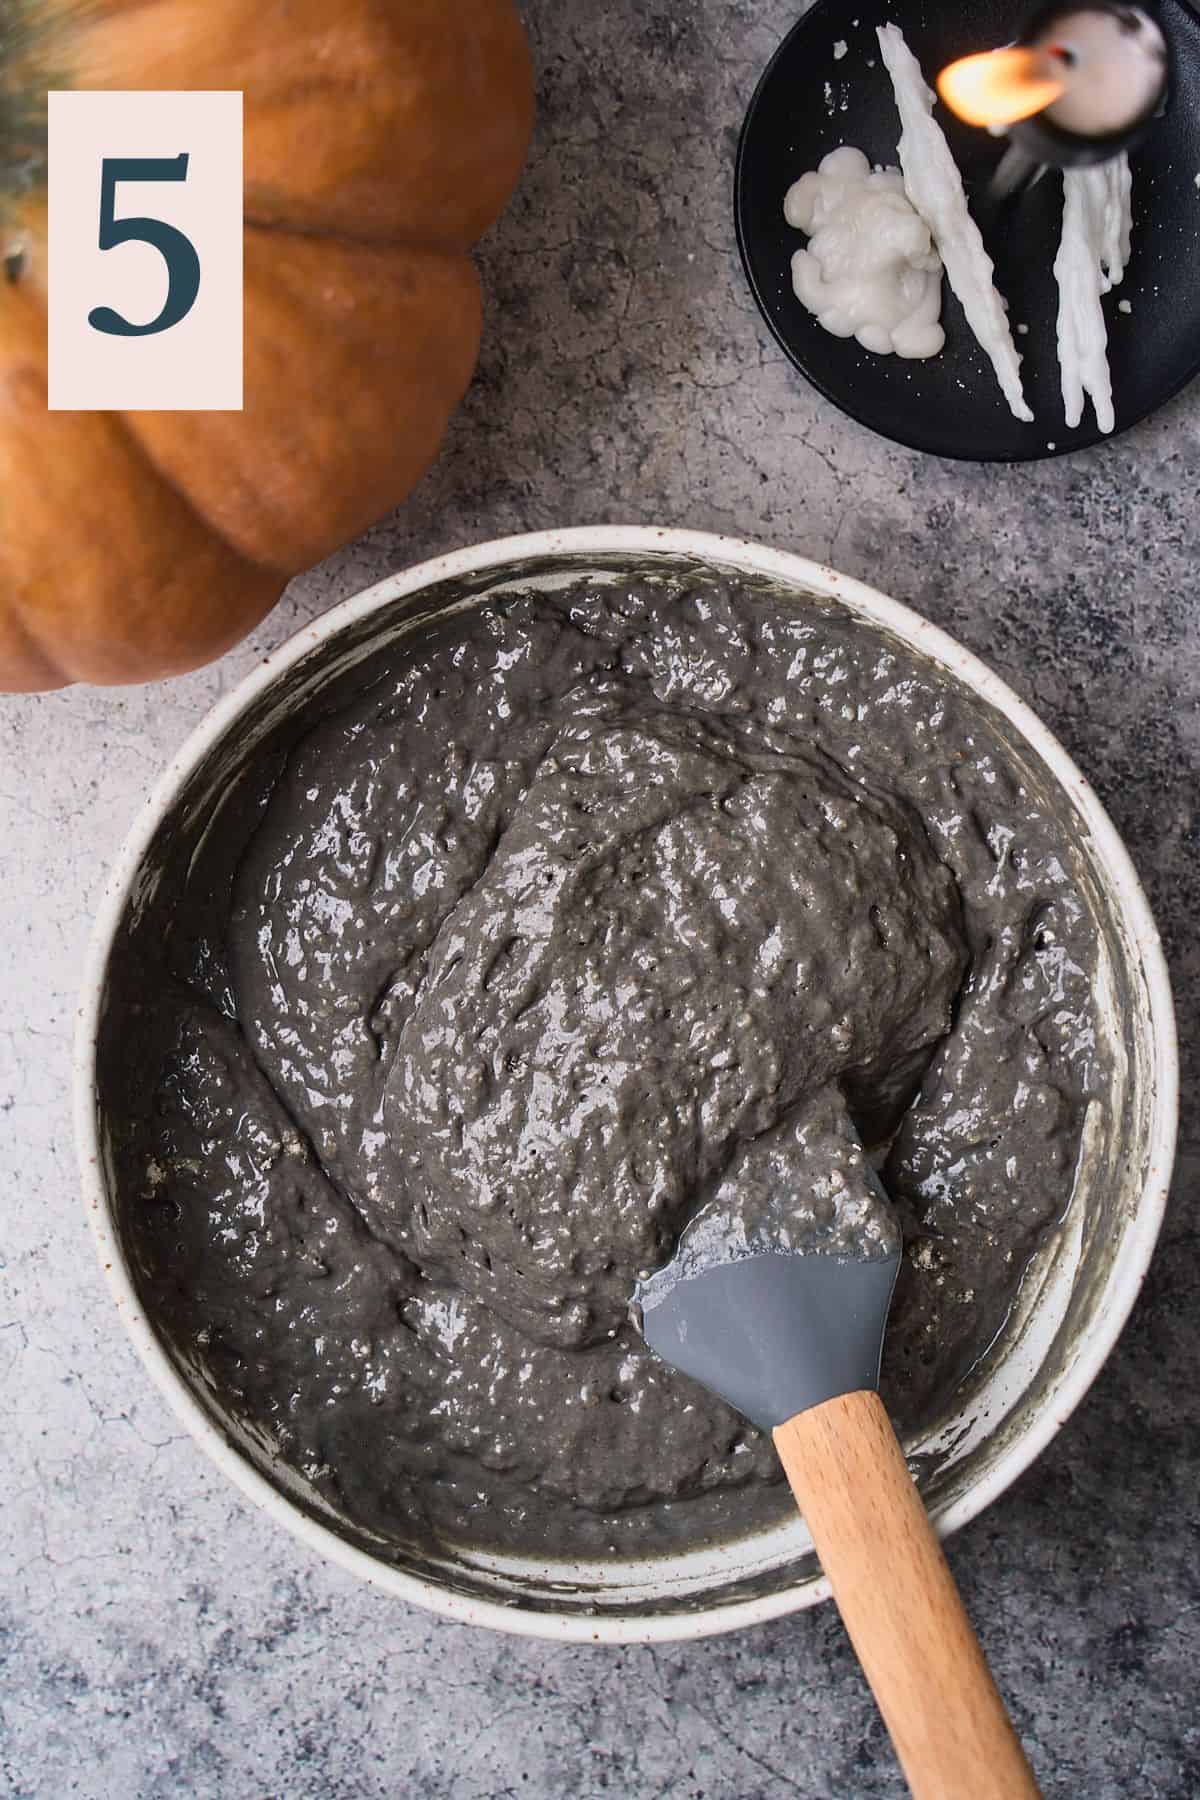
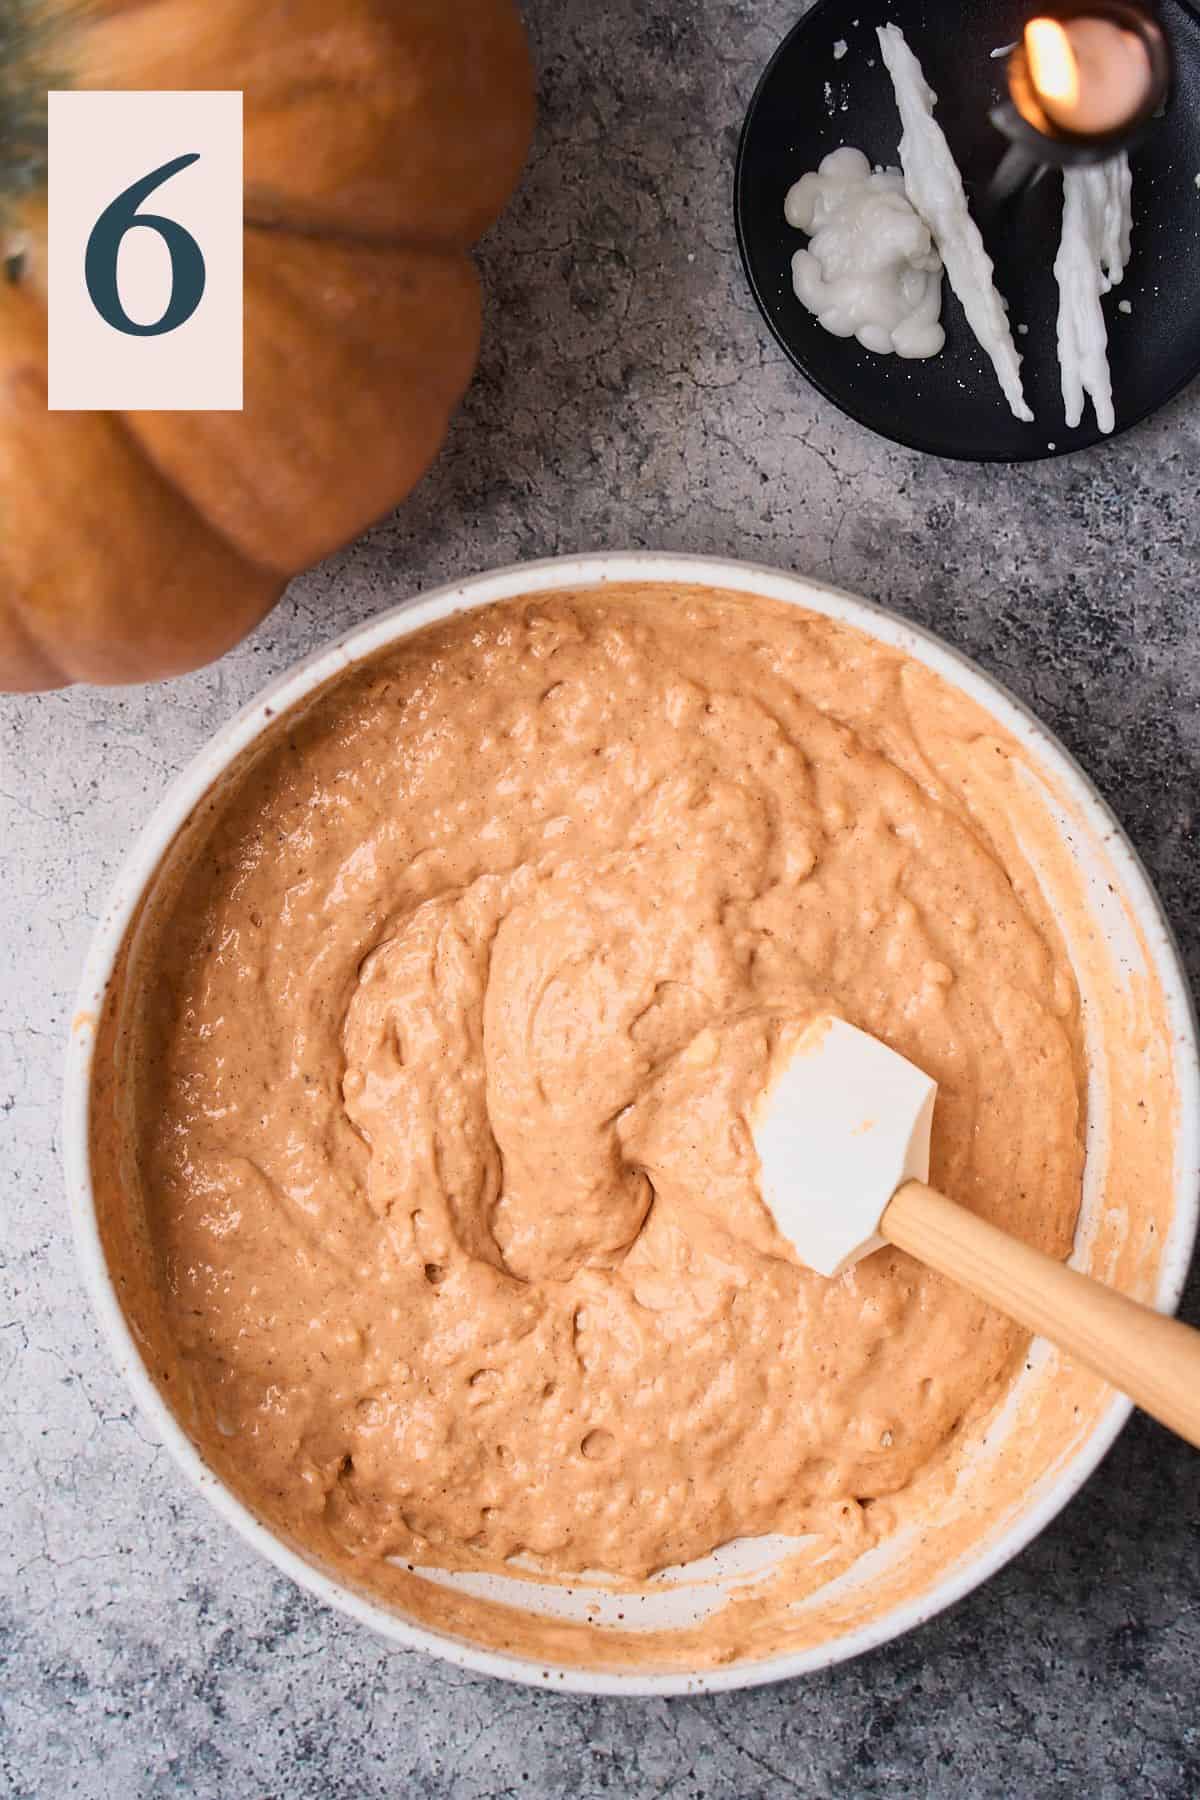
Combine each of the bowls of dry ingredients with the wet ingredients to make one black batter (Image 5) and one orange batter. (Image 6)
Fold the ingredients together very gently and mix until just combined. It's okay if there are some lumps in the batter!
Allow the batter to rest for just a few minutes before making the pancakes.
✨Pro Tip: We know it can be tempting to keep mixing the batter until smooth, but this will just cause the pancakes to become tough. We want to keep the bubbles in tact in the batter, this is what creates light and fluffy pancakes!
Rub or brush a hot griddle or skillet with a small amount of butter to lightly grease the pan. Working in batches, add about ¼ cup of batter for each pancake. Don't overcrowd the skillet or griddle, give yourself room to flip the pancakes.
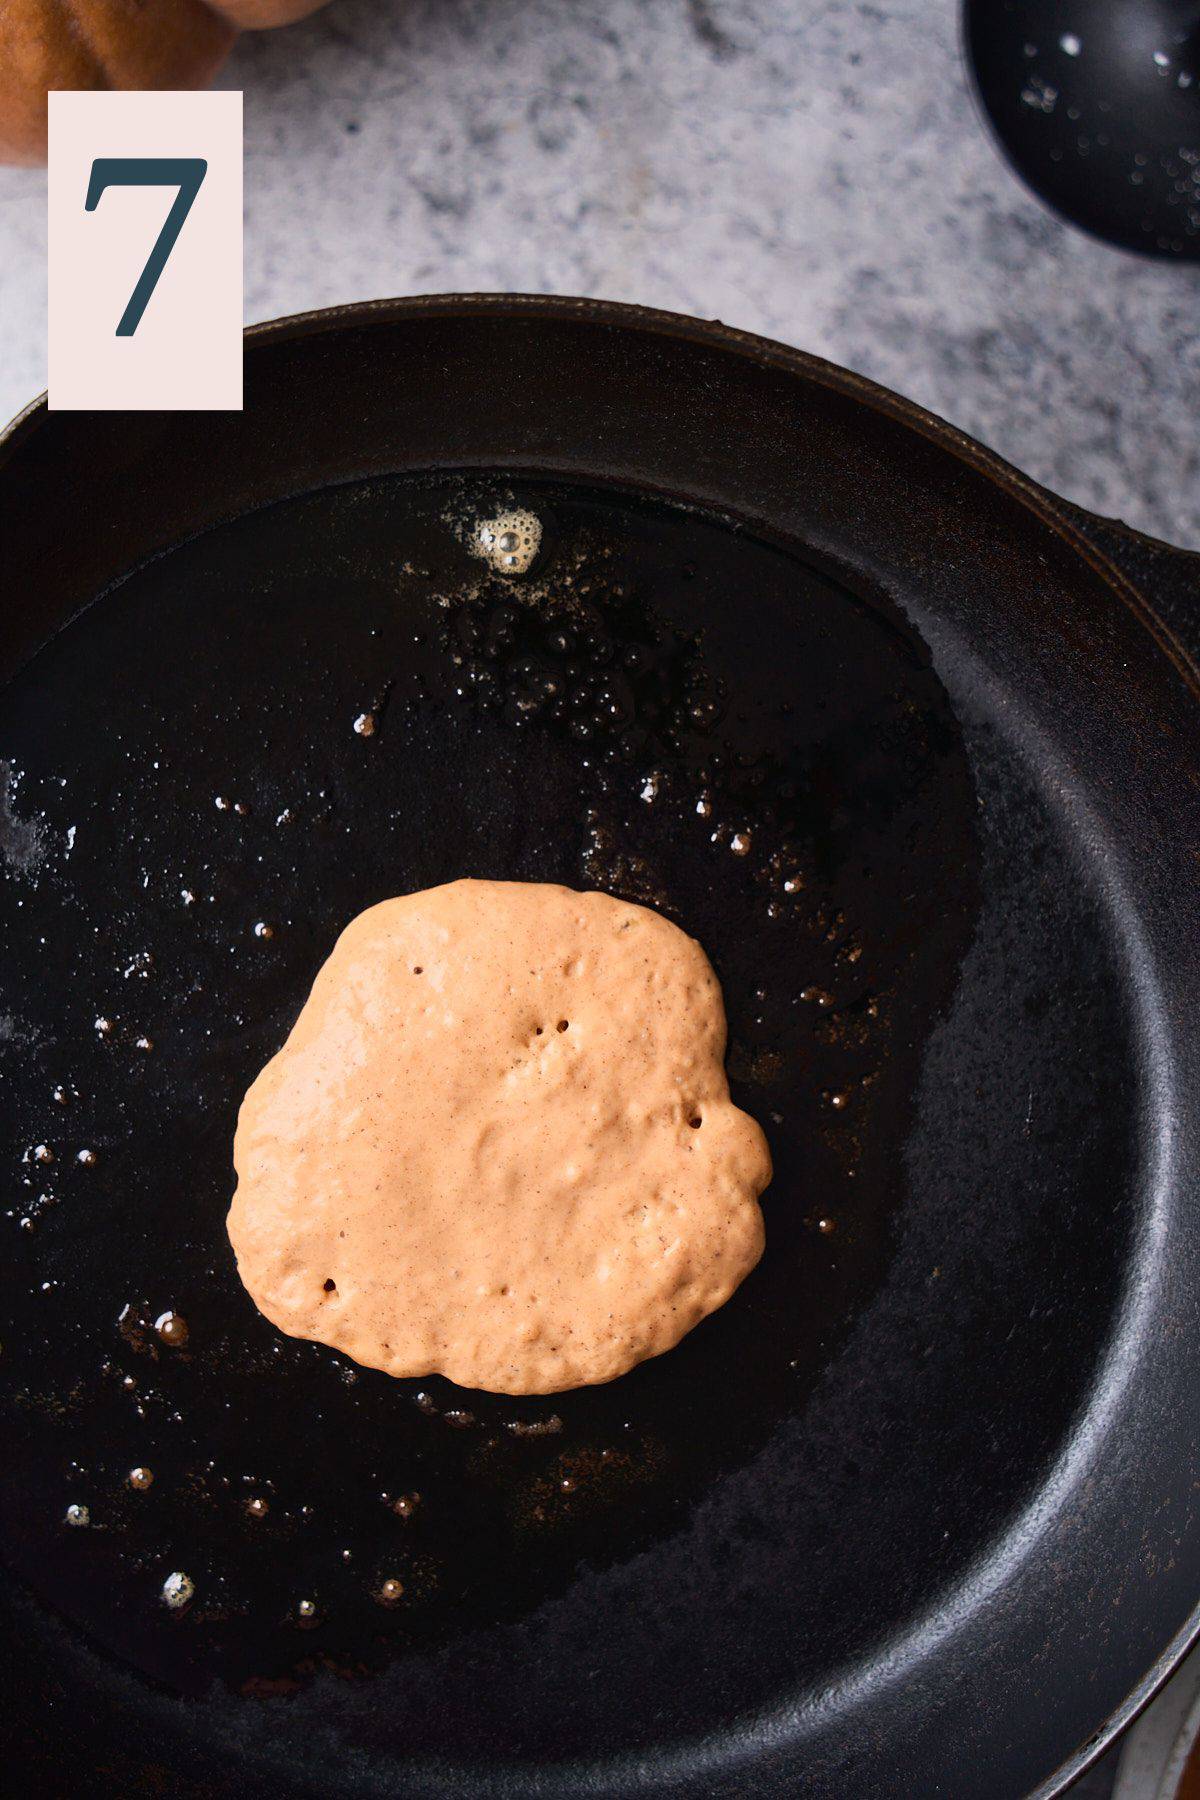
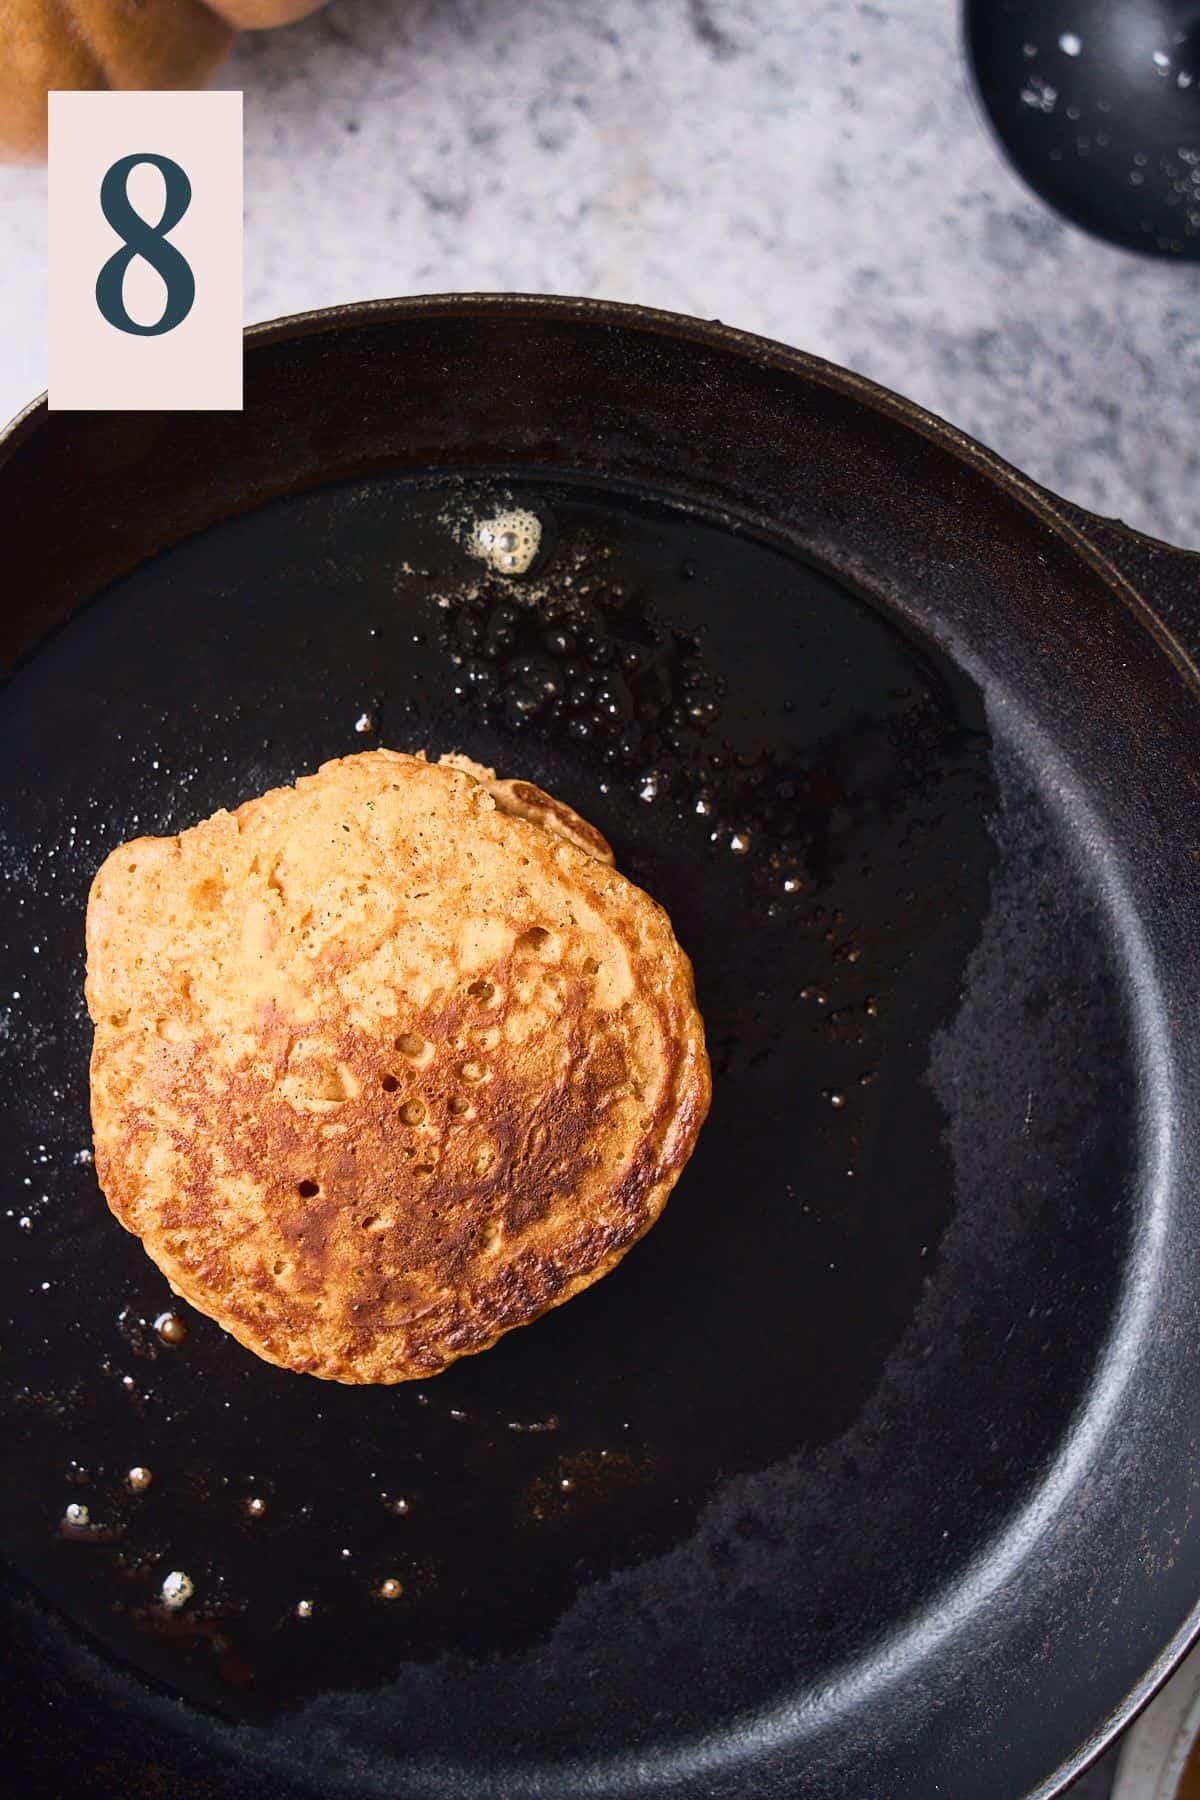
Cook for a few minutes until golden on the bottom and bubbles start to appear on the top, (Image 7) then flip over and cook an additional minute or until golden brown. (Image 8) Add more butter with each new batch of pancakes.
✨Pro Tip: Keep the pancakes warm while you cook them all by storing them in an oven at low heat.
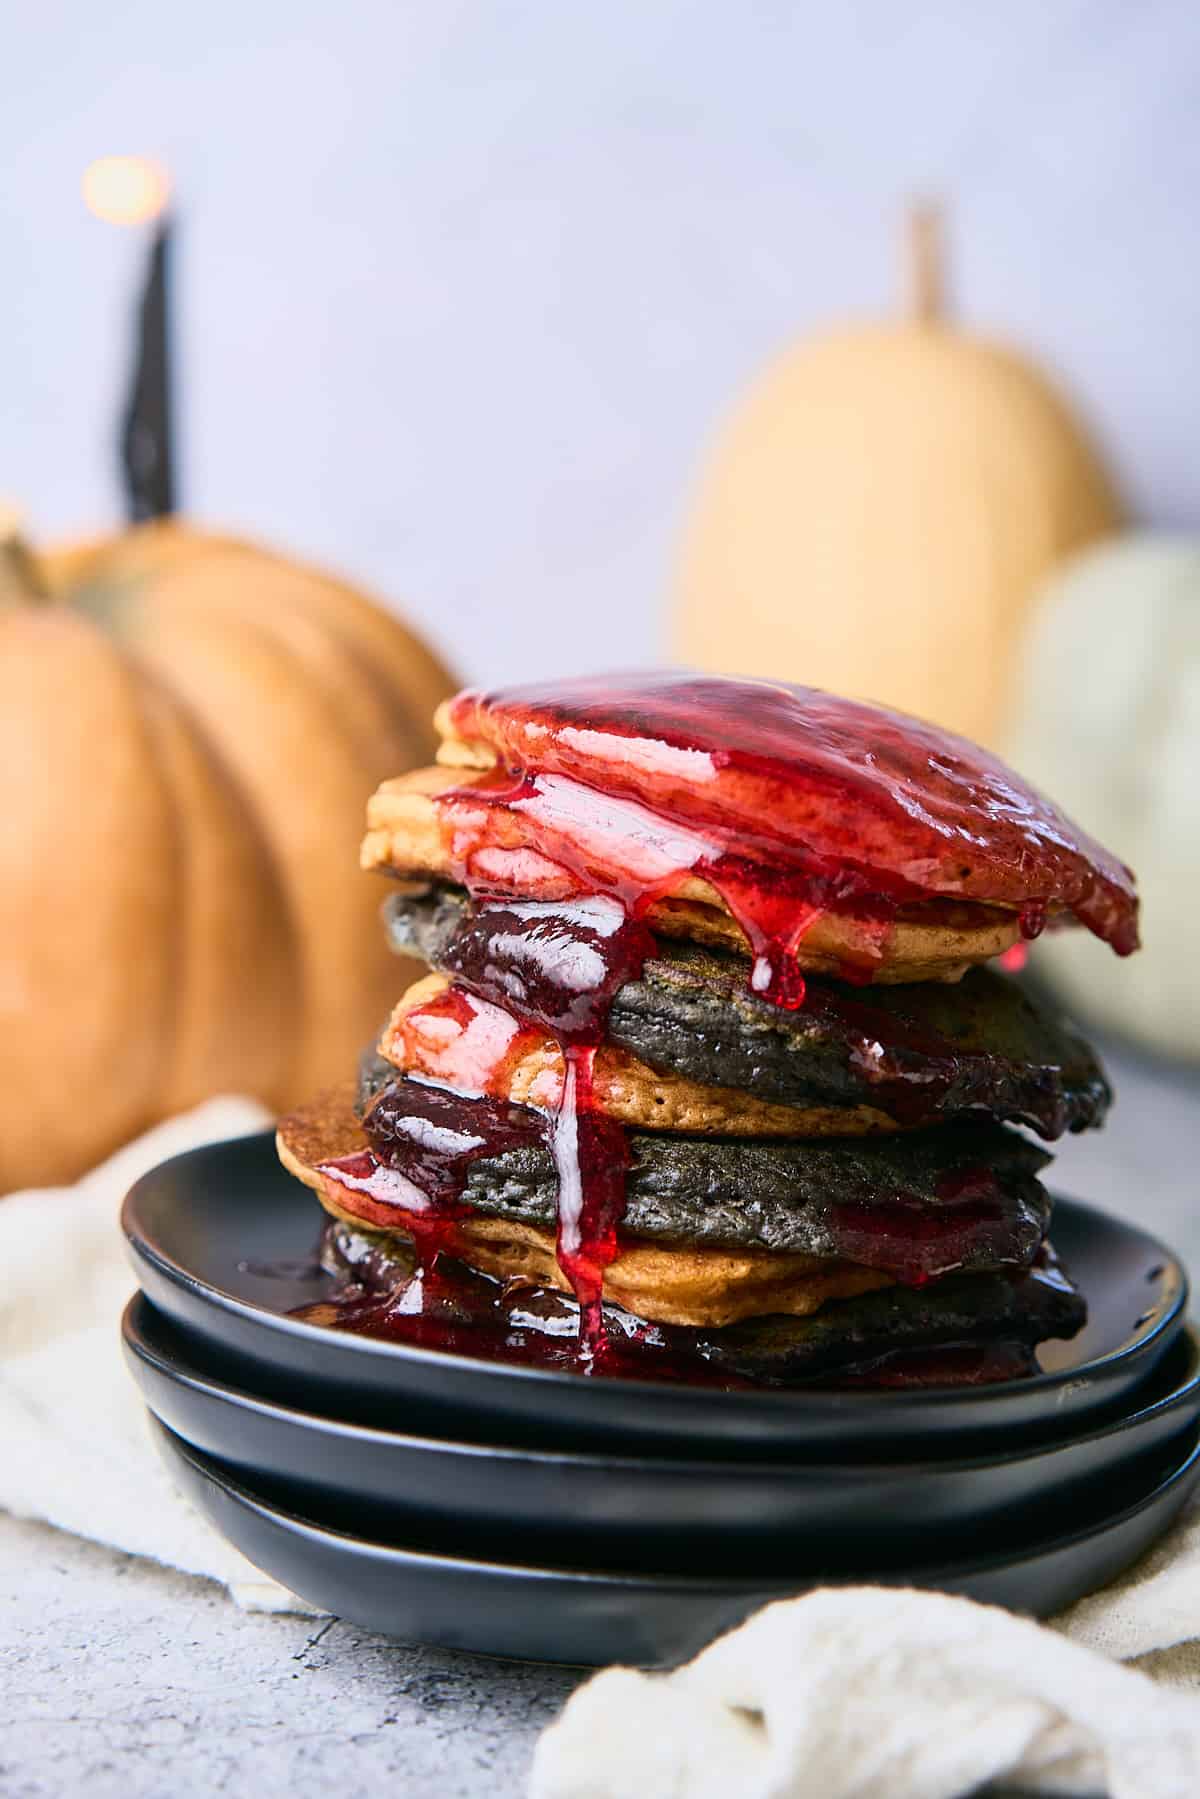
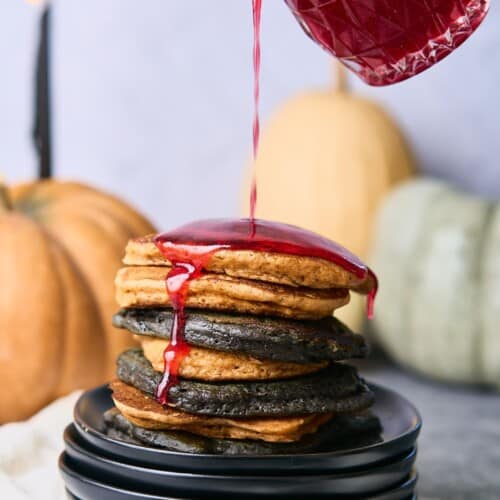
Serve hot with butter and a drizzle of maple syrup or our "bloody" raspberry syrup. You can also add food coloring to maple syrup if you prefer. Enjoy!
✨Tips & tricks
- Use room temperature ingredients. Make sure the eggs and milk are at room temperature so they combine with the warm melted butter easily. If the milk and eggs are too cold, it will cause the butter to clump up in the batter.
- Mix the dry ingredients really well. Make sure to whisk your dry ingredients together really well. This ensures an even distribution of baking powder, baking soda, and spices.
- Use a food scale. To ensure you divide the batter exactly in half, you can use a food scale to help you out both the wet and dry ingredients.
- Make two separate batters. We know it seems like extra work to separate the batches of the pancake batter, but this helps you achieve the color you want in your pancakes without combining everything all at once. Once the wet and dry ingredients are combined, we want to avoid continuing to disturb the batter by doing things like adding more food coloring and mixing. Mixing more than you need to can make the pancakes flat, and dense. This is why we suggest making the two containers of wet ingredients a vibrant color before combining them with the dry ingredients. Do keep in mind that colors tend to darken slightly as the pancakes cook.
- Avoid overmixing the batter. As we mentioned above, you want to mix the batter until just combined. Overmixing can lead to tough pancakes. A few lumps in the batter are okay!
- Use fresh leavening agents. Ensure that your baking powder and baking soda are fresh. Their leavening power decreases over time, which can affect the rise of your pancakes.
- Rest the batter. Letting the batter rest for just a couple of minutes before cooking can help the ingredients meld together and result in fluffier pancakes.
- Maintain consistent heat. Maintain a medium heat when cooking. If the pan is too hot, the pancakes can burn on the outside while remaining raw on the inside.
- Your pan matters to prevent sticking. Use a good quality non-stick pan like a cast iron skillet, or griddle. If not using non-stick, lightly grease the pan with butter or oil to prevent sticking.
- Uniformity. Use the same ladle or measuring cup to pour the batter onto the pan. This ensures uniformly sized pancakes.
- Flip at the right time. Wait for bubbles to form on the surface and the edges to look set before flipping. This ensures a golden-brown finish on both sides and helps prevent sticking.
- Don't continue to flip the pancakes or press down on them with a spatula! This is really one of our top tips. When we flip the pancakes and disturb them too much, this pushes out the bubbles that have been created by the vinegar and leaveners. Don't press down on the pancakes for the fluffiest result.
- Keep warm. If making a large batch, keep the cooked pancakes in a warm oven set to a low temperature while you finish the rest.
Need supplies? Shop our Amazon store! Stock your pantry, and find all of our favorite kitchen tools! A Full Living LLC earns a small commission through purchases on our storefront to help support this site.
💭Frequently Asked Questions
Store leftovers in an airtight container in the fridge for up to 4 days. For best results, don't put butter or syrup on the pancakes before storing or the will become soggy. Reheat in the microwave or on the stovetop.
Yes, you can. Allow the pancakes to cool off completely, then place on a parchment-lined baking sheet and freeze until solid, about 2 hours. After frozen solid, transfer to a freezer-safe container and store for up to 3 months. Reheat in the microwave, in the air fryer, or on the stovetop.
🎃👻More Halloween Recipes To Consider
Did you try this recipe? Make sure to leave a 5-star review below! 🌟 This helps other readers find our recipes and encourages them to try them. Also, be sure to leave a comment with your experience. Follow along, and tag @AFullLiving on Instagram with your photos!
📖 Recipe
Halloween Pancakes
Equipment
- mixing bowls
- Whisk
- Rubber Spatula
- griddle (or skillet)
- spatula
Ingredients
- 2 cups all purpose flour
- 2.5 tablespoons white sugar
- 1 tablespoon baking powder
- 2 teaspoons pumpkin spice (optional, can substitute cinnamon)
- 1.5 teaspoons kosher salt
- 1.5 teaspoons baking soda
- 1.5 cups whole milk, room temperature
- 3 tablespoons apple cider vinegar
- 2 large eggs, room temperature
- 1 tablespoon vanilla extract
- 3 tablespoons unsalted butter, melted and cooled
- ½ teaspoon black gel food coloring (or more if needed for color)
- ½ teaspoon orange gel food coloring (or more if needed for color)
- raspberry syrup for serving, optional
Instructions
- In a large bowl, whisk together 2 cups of flour, 2.5 tablespoons of sugar, 1 tablespoon of baking powder, 2 teaspoons pumpkin spice (or cinnamon), 1.5 teaspoons of baking soda, and 1.5 teaspoons of salt. Weigh the final dry mixture using a food scale to get a final weight on it, then divide the dry mixture in half.
- In a separate mixing bowl or container, whisk together 1.5 cups of milk, 3 tablespoons of vinegar, 2 eggs, 3 tablespoons of melted butter, and 1 tablespoon of vanilla extract. Weigh the wet ingredients, and separate half of the batter into a separate container once again.
- Add ½ teaspoon of orange gel food coloring to one of the wet containers until a vibrant orange color is achieved. In the other wet container, add ½ teaspoon of black food coloring to make a black base of the batter. Combine each of the bowls of dry ingredients with the wet ingredients to make one orange batter and one black batter.
- Use a rubber spatula to fold the ingredients together very gently. It's okay if there are lumps in the batter! This will help us achieve a really light and airy pancake. Don't overmix! Allow the batter to rest for just a few minutes before making the pancakes.
- Rub or brush a hot griddle or skillet with a small amount of butter to lightly grease the pan. Working in batches, add about ¼ cup of batter for each pancake. Don't overcrowd the skillet or griddle, give yourself room to flip the pancakes.
- Cook for a few minutes until golden on the bottom and bubbles start to appear on the top, then flip over and cook an additional minute or until golden brown. Add more butter with each new batch of pancakes.
- Serve hot with butter and a drizzle of maple syrup or our "bloody" raspberry syrup. You can also add food coloring to maple syrup if you prefer.
- Store leftovers in an airtight container in the fridge for up to 4 days. For best results, don't put butter or syrup on the pancakes before storing or the will become soggy. Reheat in the microwave or on the stovetop.
Notes
-
- Use room temperature ingredients. Make sure the eggs and milk are at room temperature so they combine with the warm melted butter easily. If the milk and eggs are too cold, it will cause the butter to clump up in the batter.
- Mix the dry ingredients really well. Make sure to whisk your dry ingredients together really well. This ensures an even distribution of baking powder, baking soda, and spices.
- Use a food scale. To ensure you divide the batter exactly in half, you can use a food scale to help you out both the wet and dry ingredients.
- Make two separate batters. We know it seems like extra work to separate the batches of the pancake batter, but this helps you achieve the color you want in your pancakes without combining everything all at once. Once the wet and dry ingredients are combined, we want to avoid continuing to disturb the batter by doing things like adding more food coloring and mixing. Mixing more than you need to can make the pancakes flat, and dense. This is why we suggest making the two containers of wet ingredients a vibrant color before combining them with the dry ingredients. Do keep in mind that colors tend to darken slightly as the pancakes cook.
- Avoid overmixing the batter. As we mentioned above, you want to mix the batter until just combined. Overmixing can lead to tough pancakes. A few lumps in the batter are okay!
- Use fresh leavening agents. Ensure that your baking powder and baking soda are fresh. Their leavening power decreases over time, which can affect the rise of your pancakes.
- Rest the batter. Letting the batter rest for just a couple of minutes before cooking can help the ingredients meld together and result in fluffier pancakes.
- Maintain consistent heat. Maintain a medium heat when cooking. If the pan is too hot, the pancakes can burn on the outside while remaining raw on the inside.
- Your pan matters to prevent sticking. Use a good quality non-stick pan like a cast iron skillet, or griddle. If not using non-stick, lightly grease the pan with butter or oil to prevent sticking.
- Uniformity. Use the same ladle or measuring cup to pour the batter onto the pan. This ensures uniformly sized pancakes.
- Flip at the right time. Wait for bubbles to form on the surface and the edges to look set before flipping. This ensures a golden-brown finish on both sides and helps prevent sticking.
- Don't continue to flip the pancakes or press down on them with a spatula! This is really one of our top tips. When we flip the pancakes and disturb them too much, this pushes out the bubbles that have been created by the vinegar and leaveners. Don't press down on the pancakes for the fluffiest result.
- Keep warm. If making a large batch, keep the cooked pancakes in a warm oven set to a low temperature while you finish the rest.
- To freeze. Allow the pancakes to cool off completely, then place on a parchment lined baking sheet and freeze until solid, about 2 hours. After frozen solid, transfer to a freezer safe container and store for up to 3 months. Reheat in the microwave, in the air fryer, or on the stovetop.

Comments
No Comments