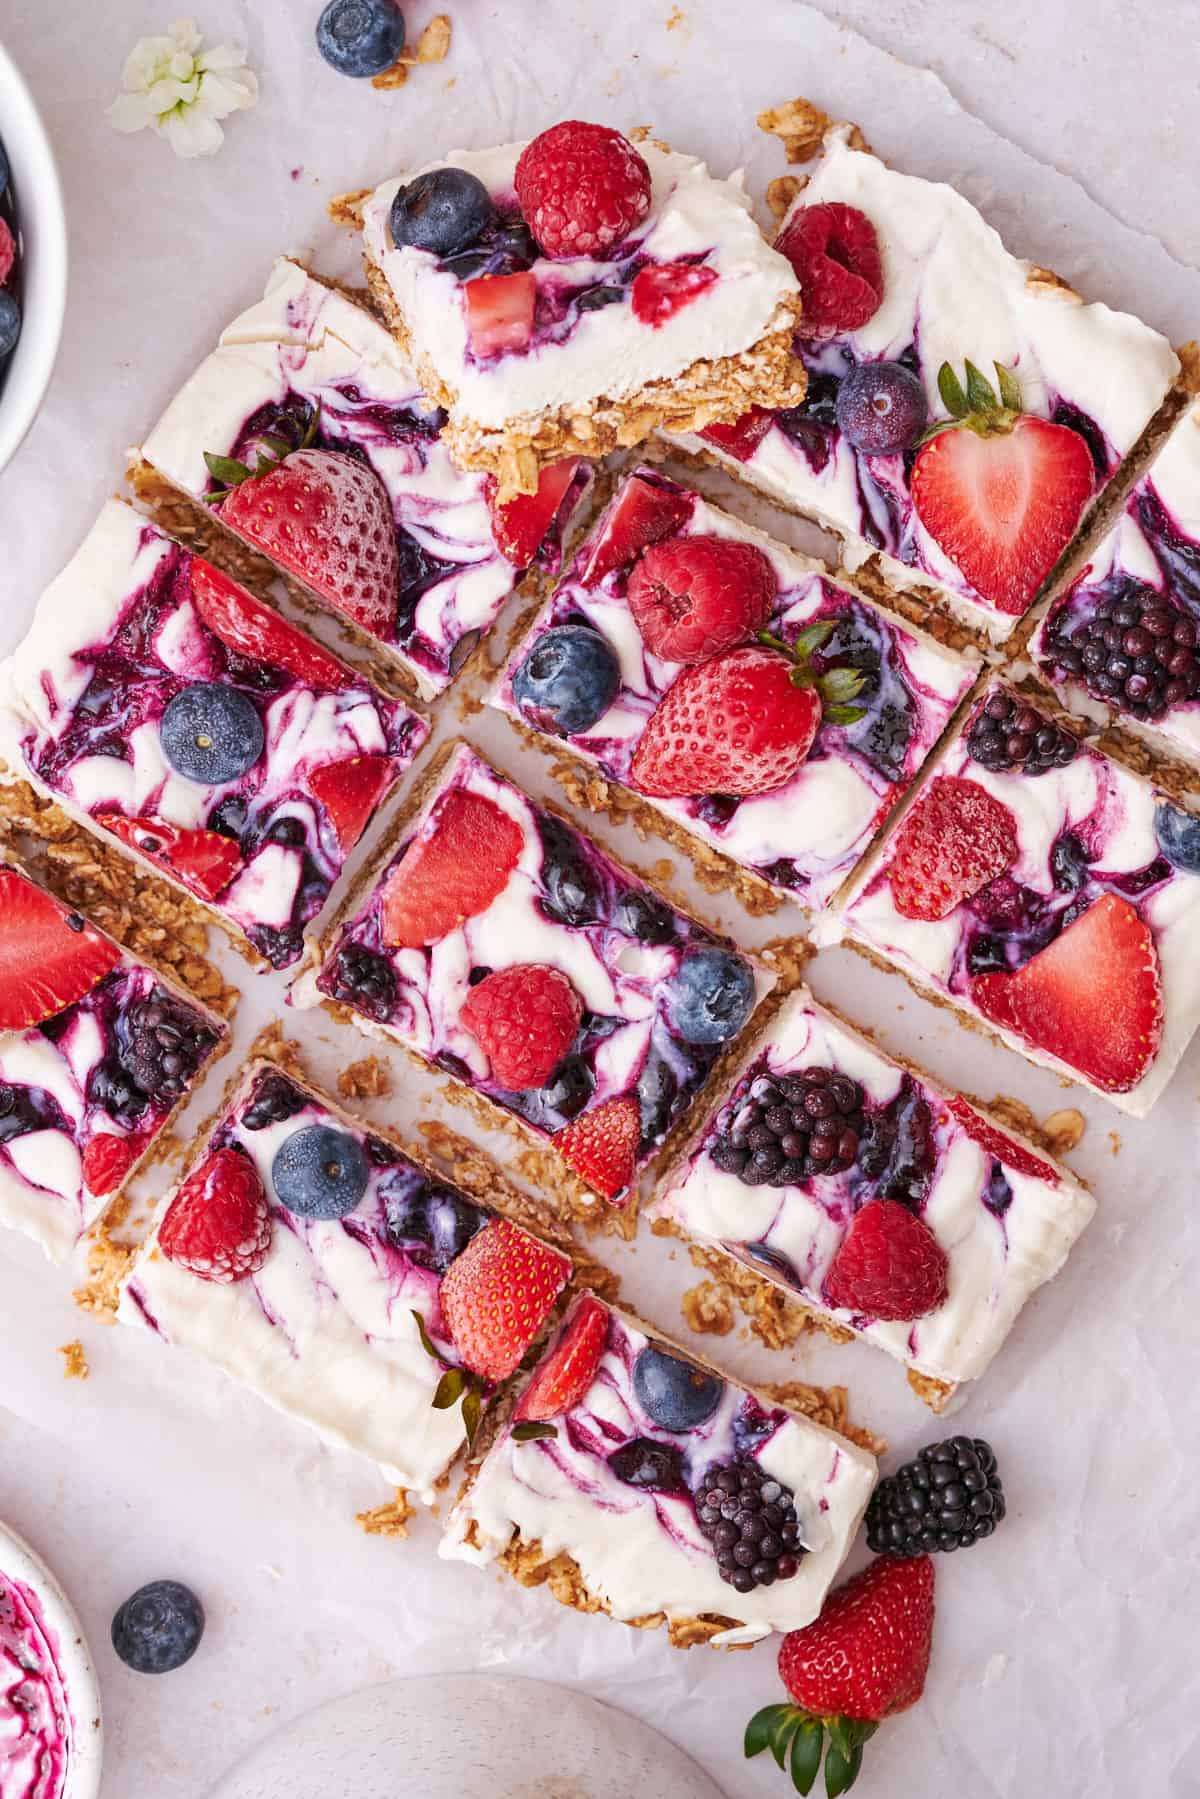
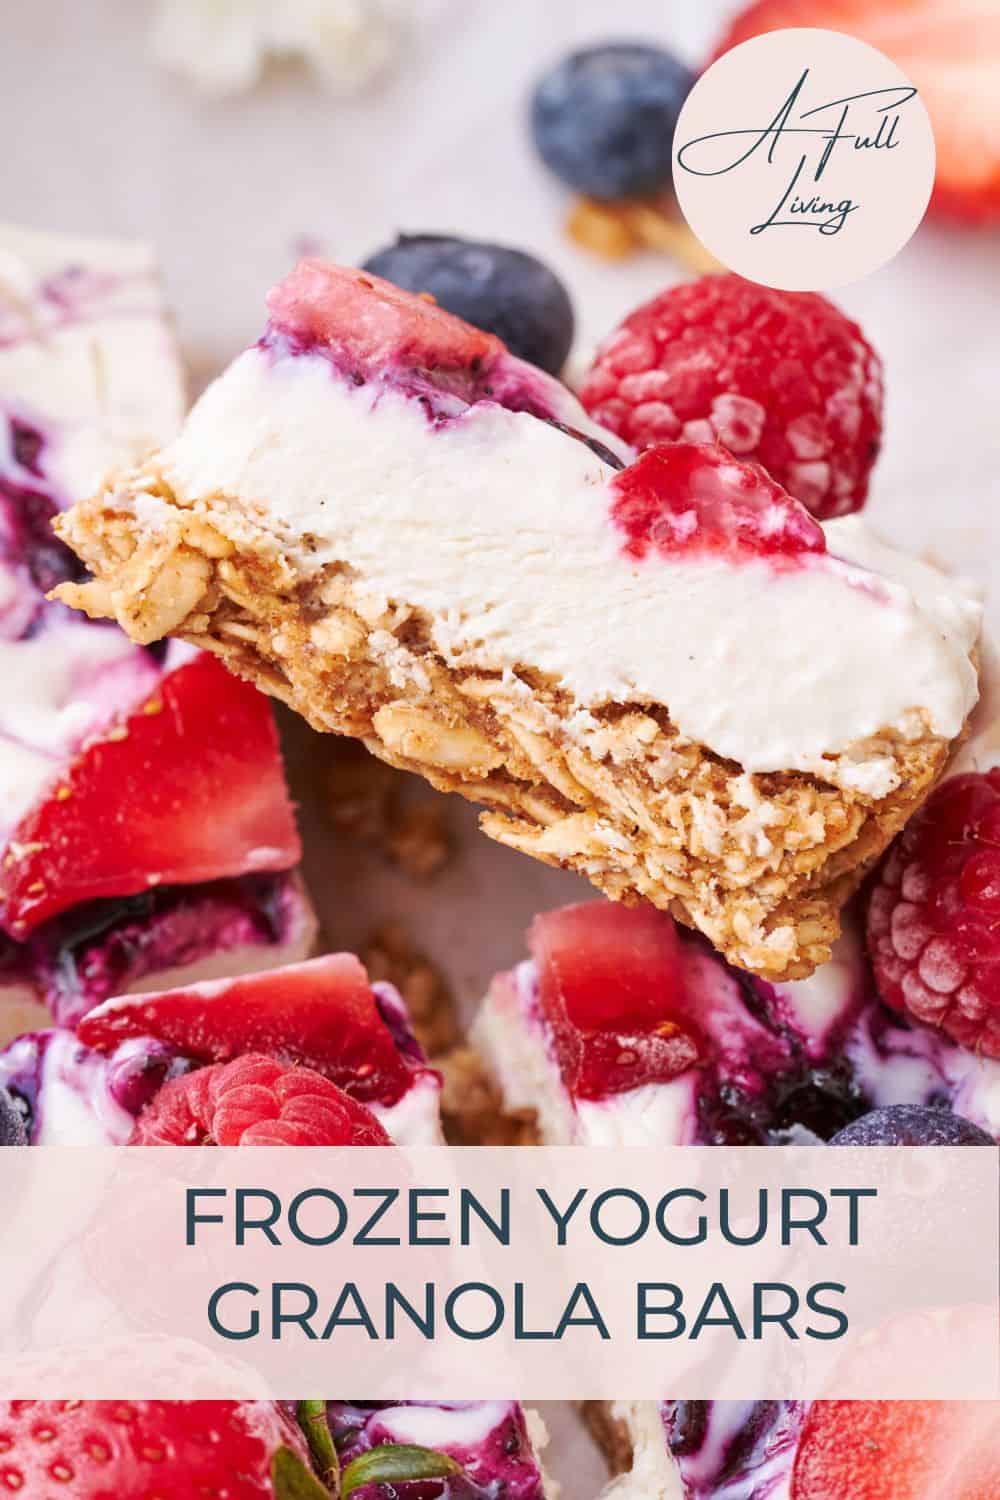
Indulge in a delicious and nutritious treat with these Frozen Yogurt Granola Bars, combining the creamy goodness of yogurt with wholesome and satisfying granola for a refreshing, energy-boosting snack. Perfect for on-the-go or a quick pick-me-up, top these bars off with your favorite berries, jam, and toppings for an easy-to-make treat!
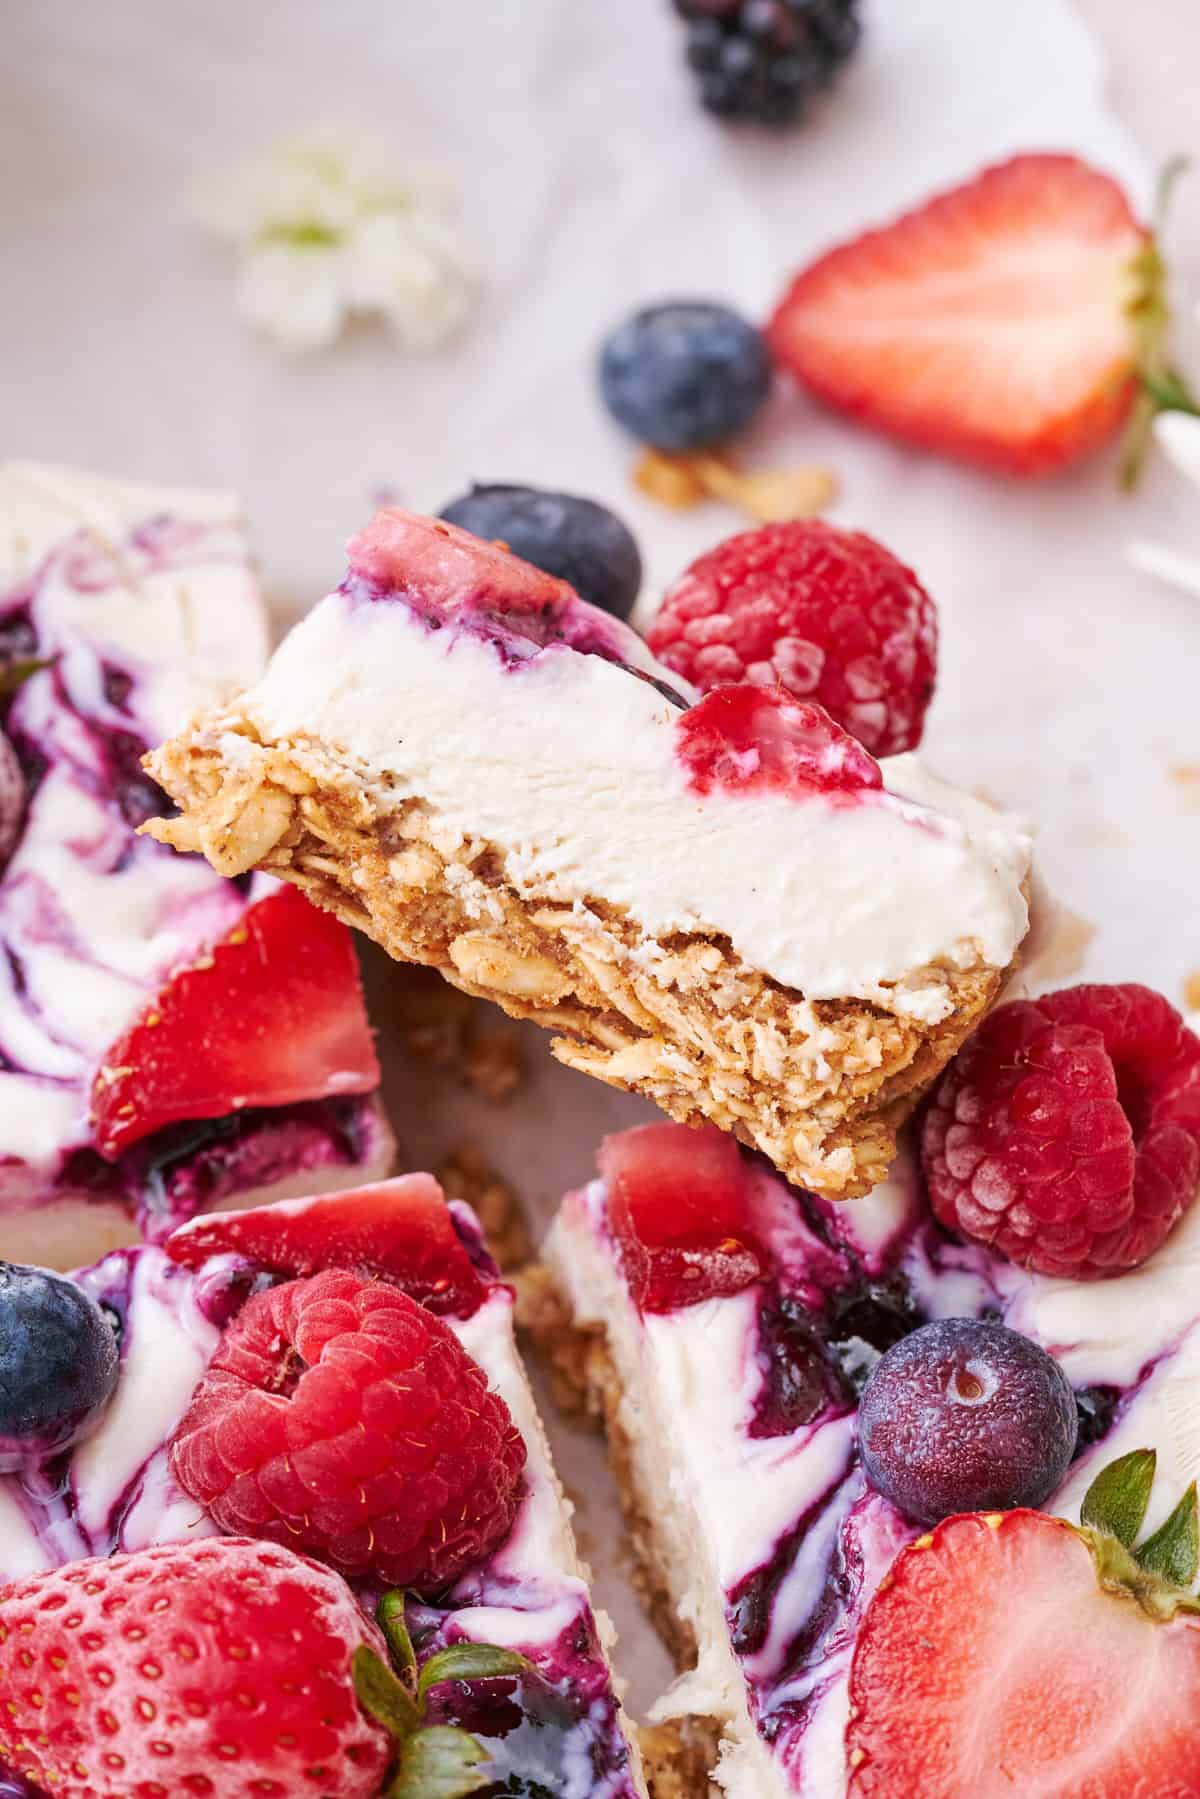
These healthy yogurt granola bars are a delicious snack that the whole family will love. We love saving them for hot summer days, or just any day of the week!
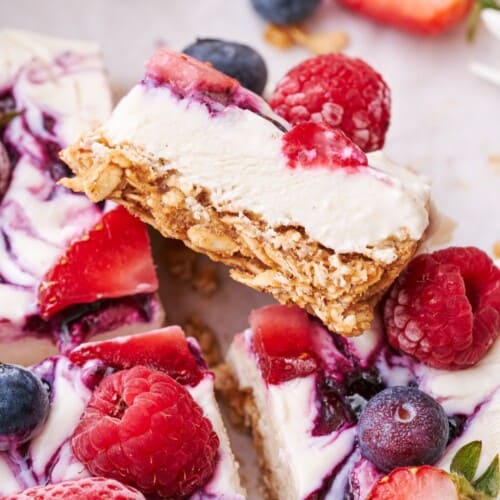
This tasty snack is like a Greek yogurt parfait bar, with creamy yogurt, satisfying granola, your favorite fruit jam, and berries.
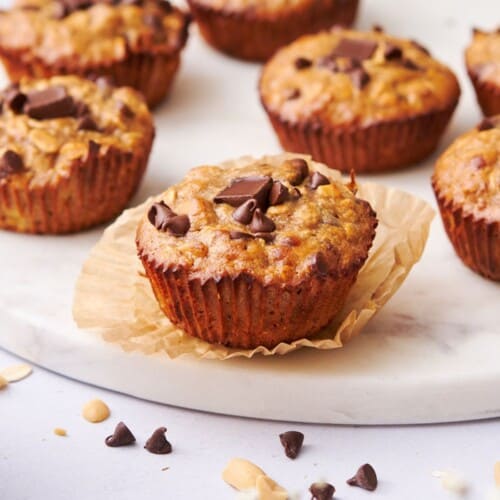
Looking for more delicious healthy snack recipes? Try these bliss balls (energy bites), these chocolate baked oats, or these baked oatmeal cups, or these muesli cookies!
For more satisfying summery recipes, try these air fryer peaches, this strawberry crumble, or this peaches and cream oatmeal!
Jump to:
❤️Why we love this recipe
- Crispy and satisfying. Made with pantry staples, you can find anything you don
- Made with simple ingredients. This recipe is made with everyday staples that you probably already have in your pantry and freezer. Anything you don't already have on hand is easy to source at any grocery store.
- Healthy recipe. This wholesome snack is made with wholesome ingredients like rolled oats, greek yogurt, peanut butter, maple syrup, and fresh berries. A tasty treat you can feel good about!
- Customizable. This recipe is naturally refined sugar-free and gluten-free, and can be made lower in carbs and even dairy-free/vegan as well!
- Easy to make. The recipe requires minimal effort and few ingredients, making it an accessible choice for people of all cooking skill levels.
- Perfect for on-the-go. These bars are portable and convenient, making them ideal for busy individuals for a grab and go breakfast or energy-boosting snack.
🍓Ingredients
Here are the ingredients we used for this recipe. You can find more information for substitutions below.
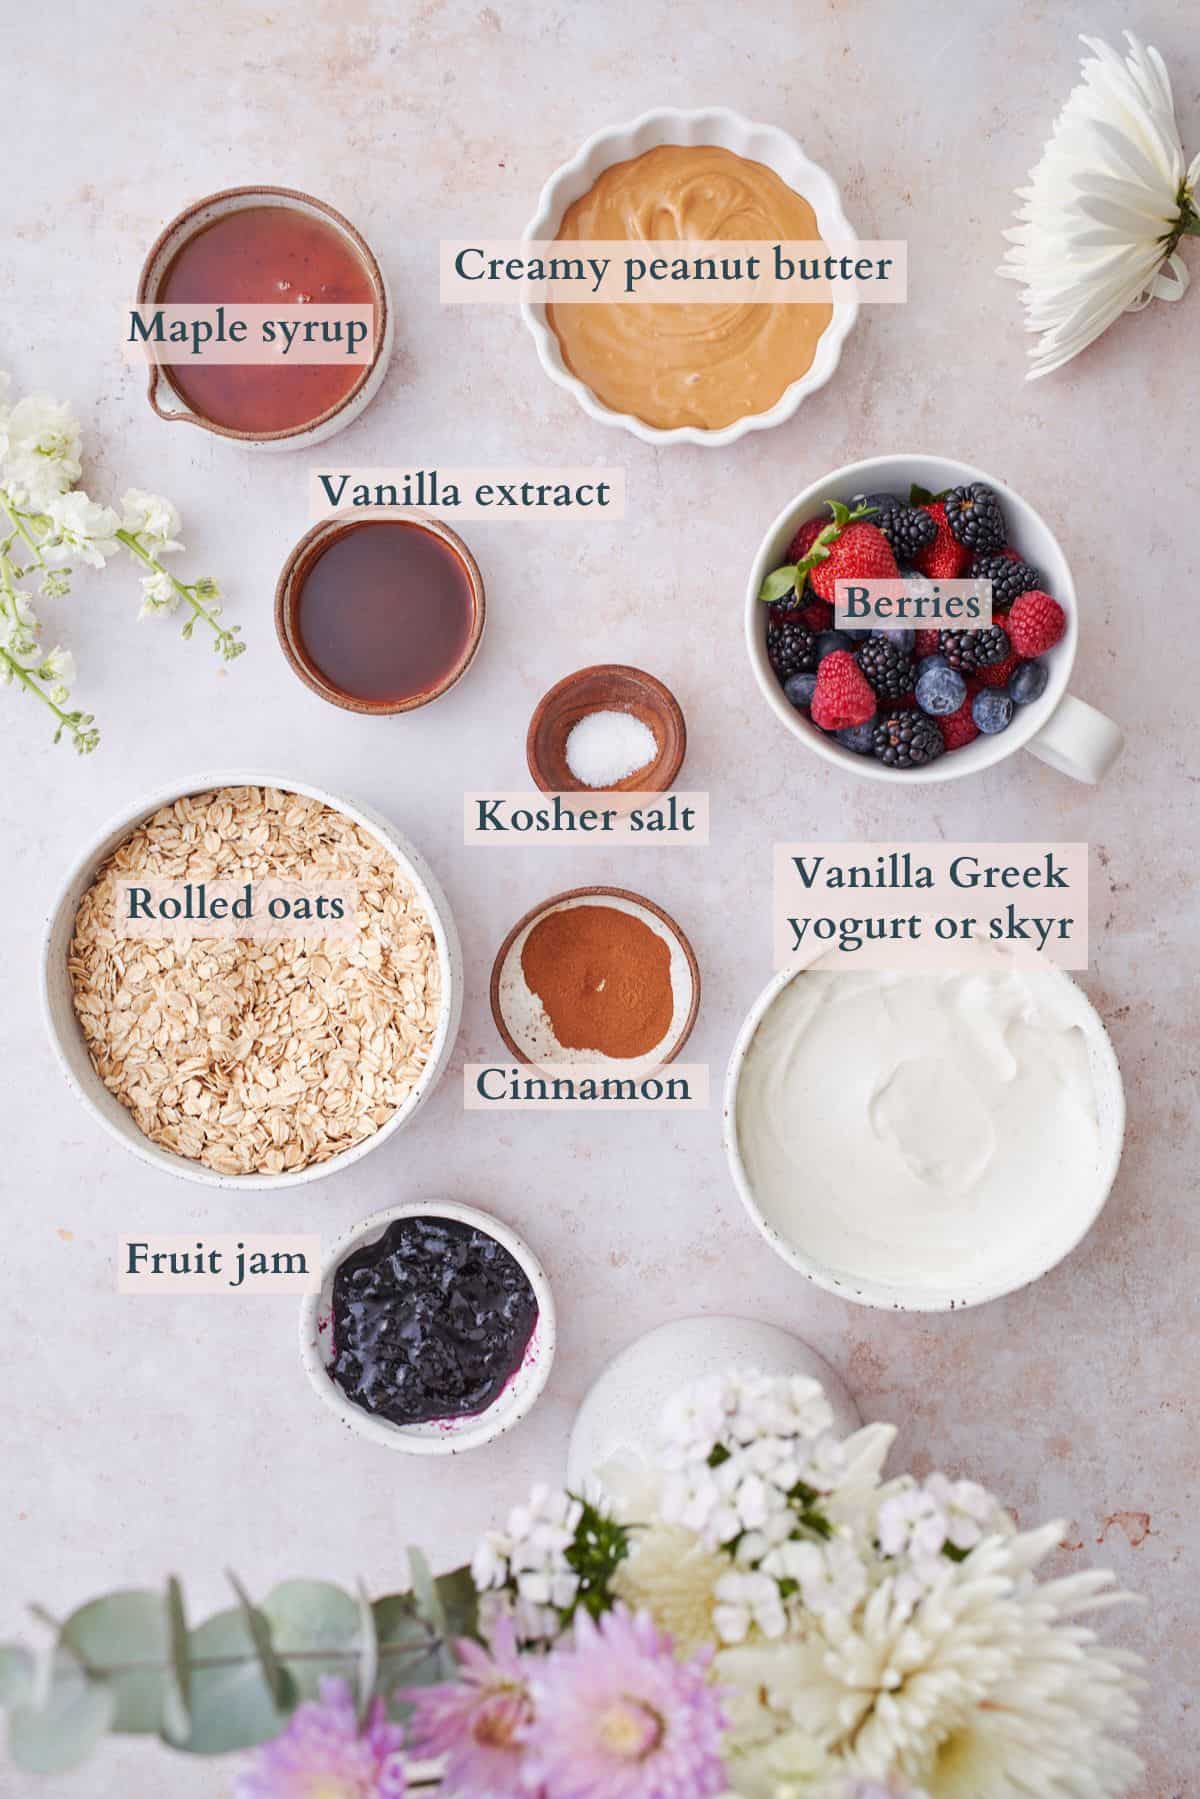
- Rolled oats - Also known as old-fashioned oats.
- Maple syrup
- Vanilla extract
- Peanut butter - Make sure it's the creamy variety, and we'd recommend using natural peanut butter so that it's easily pourable.
- Kosher salt
- Cinnamon
- Yogurt of choice - We like to use vanilla skyr (an Icelandic style of yogurt that is very high in protein!) but you can use plain yogurt and add a little extra sweetness on your own.
- Fruit jam - This is optional but super tasty. We like to swirl jam into the yogurt topping for an added layer of flavor. This raspberry compote would be a wonderful addition!
- Berries - Fresh berries or frozen will work.
Visit the recipe card for the full quantities and nutritional information.
✨Substitutions & variations
Here are a few suggestions on additional flavors to try, or simple variations to these Greek yogurt granola bars recipe.
- Jazz up the toppings. Add even more of your favorite toppings, like chocolate chips, nuts, or unsweetened coconut flakes to the top!
- Add more to the oat mixture. You can include extras like sunflower seeds or chia seeds in the granola base for added nutrition. You may even enjoy adding a little bit of brown rice crisp for crunch.
- Swap the peanut butter. Feel free to use any nut or seed butter you like here, like almond butter or sunflower seed butter.
- Cheesecake flavor. Add a little lemon juice to the yogurt mixture to give it a cheesecake-like flavor.
- Dress up the yogurt. If you only have plain Greek yogurt, don't worry, you can easily sweeten it to suit your preference!
- Use a different sweetener. You can use any sweetener you prefer for this recipe, including honey or brown sugar instead of maple syrup.
- Finer granola texture. Feel free to use a food processor to grind up the oats a bit if you prefer more of a finer texture to the granola.
- Lower carb. Use your favorite low carb yogurt (we like Two Good Vanilla yogurt). You will also need to swap the maple syrup for a sugar free maple syrup (affiliate link).
- Dairy free or vegan. Simply swap the Greek yogurt for your favorite non-dairy yogurt.
- Gluten-free. This recipe is naturally gluten free as long as you use gluten-free oats (affiliate link).
- Flavor the yogurt. You can use fruit yogurt, or mix in peanut butter, or chocolate. You can do whatever your heart desires!
🔪Prep work
- Line a square baking pan or baking dish (8x8 or 9x9) with parchment paper or wax paper.
- Wash and dry fruit completely, then cut into desired sizes for topping the bars.
- Measure out all remaining ingredients.
📋Instructions
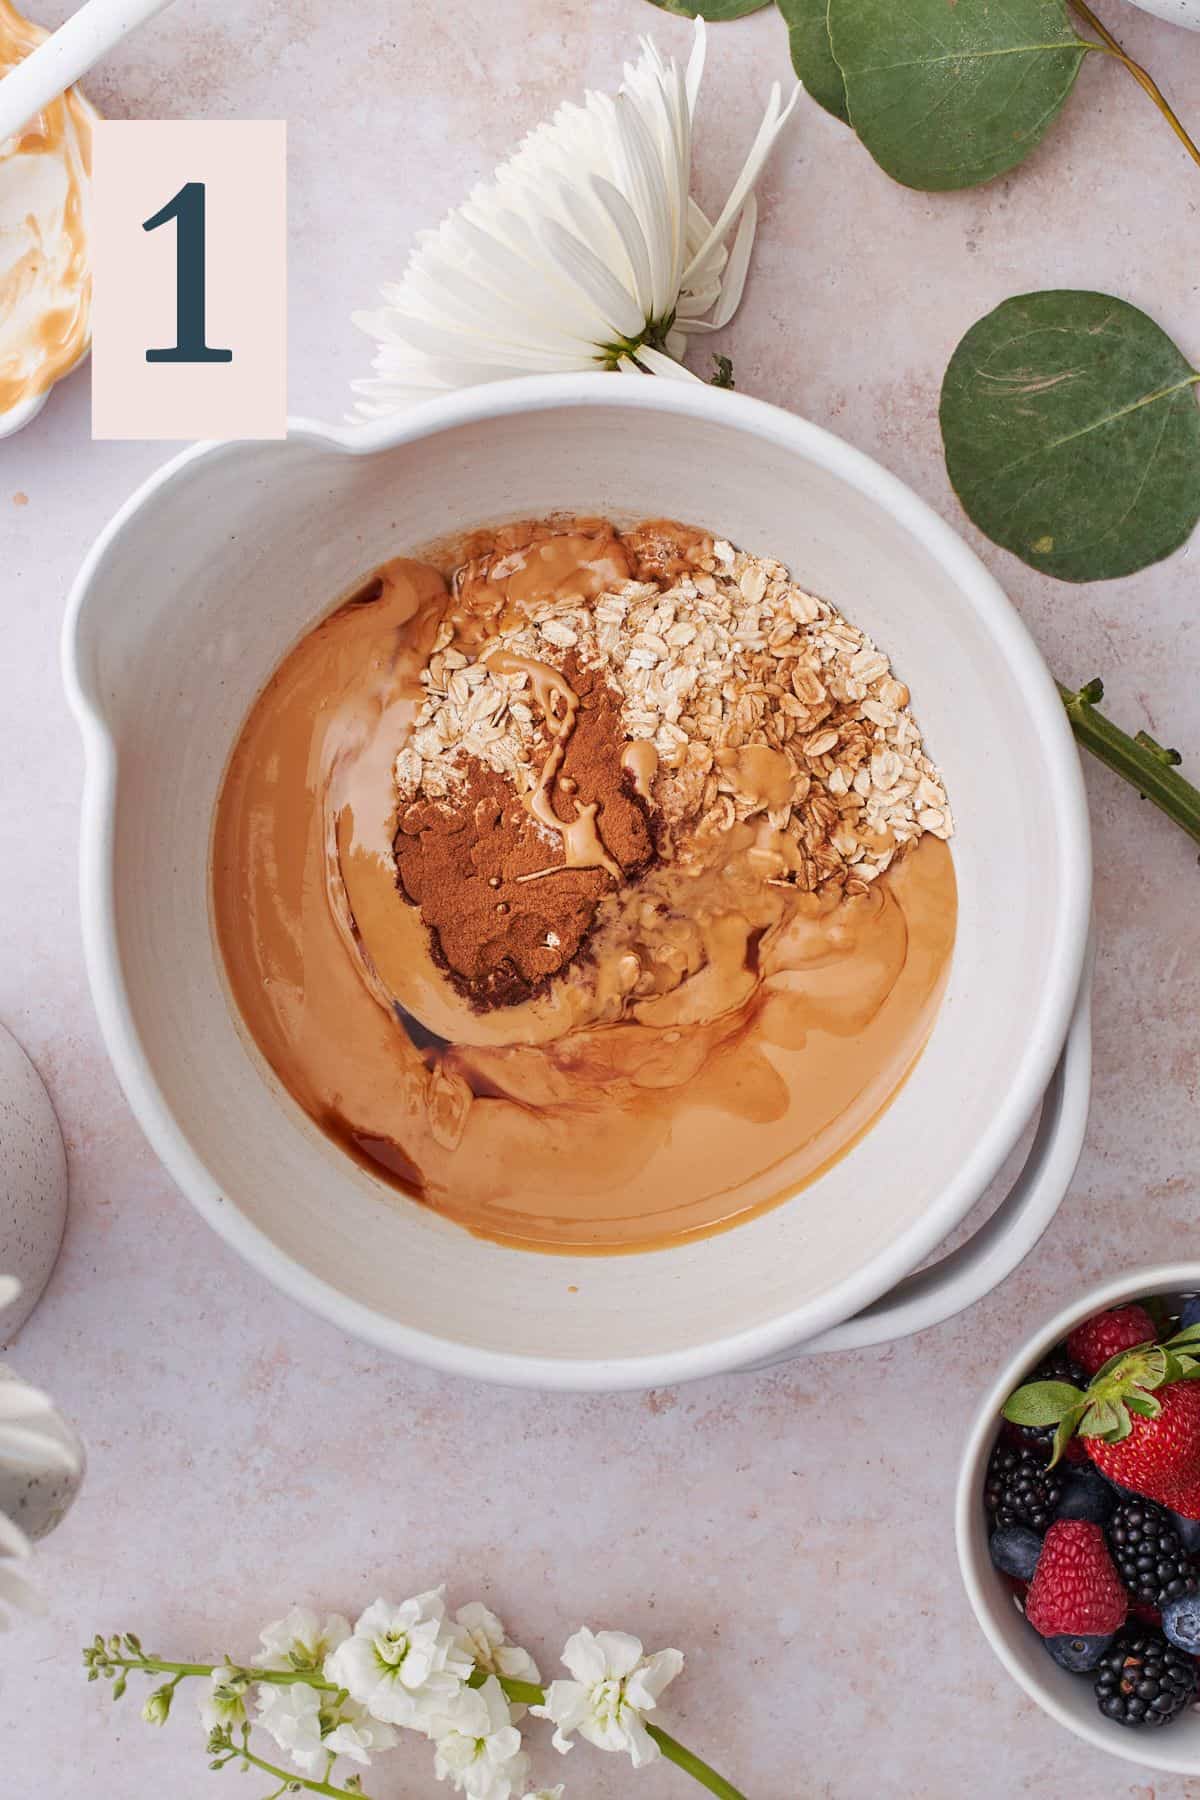
In a medium bowl, add creamy peanut butter, vanilla extract, maple syrup, rolled oats, kosher salt, and cinnamon. (Image 1)
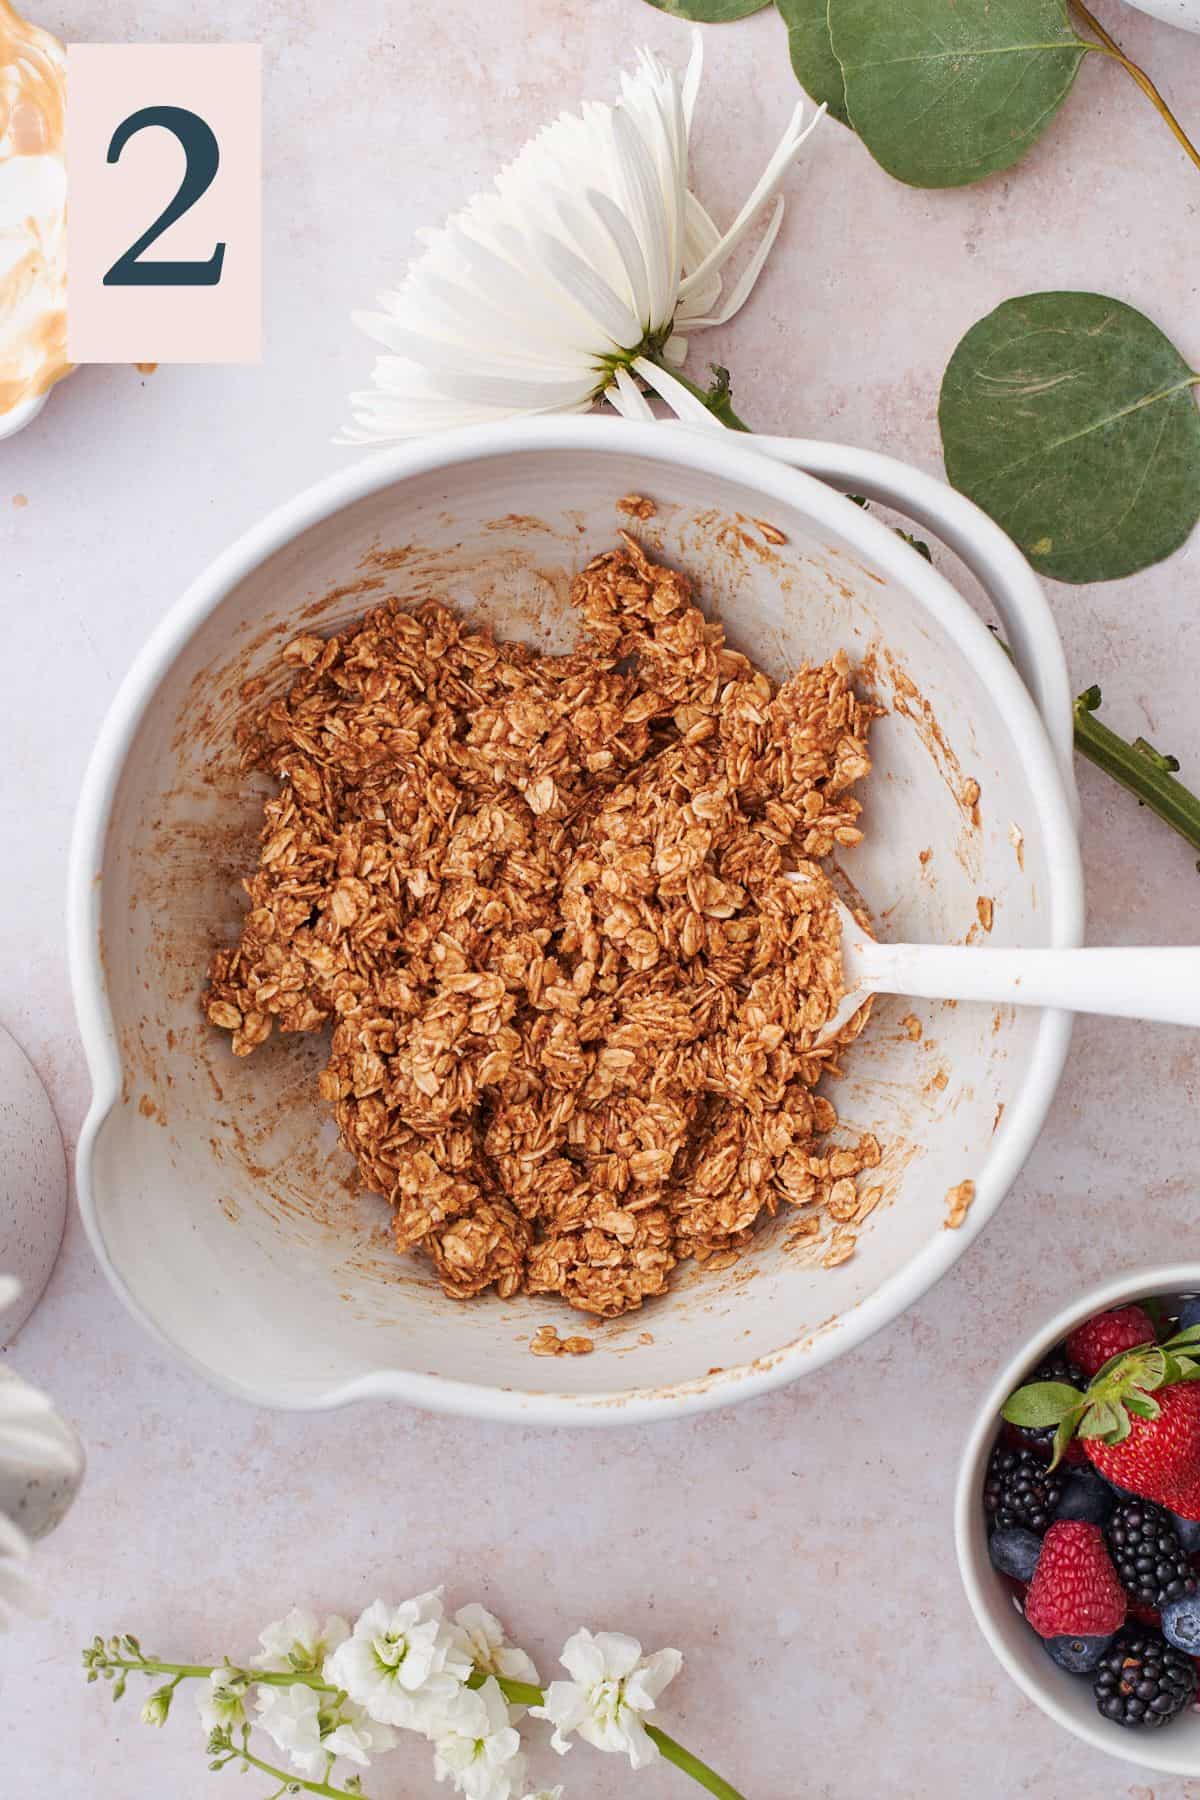
Use a wooden spoon or rubber spatula to combine until the mixture clumps together. (Image 2)
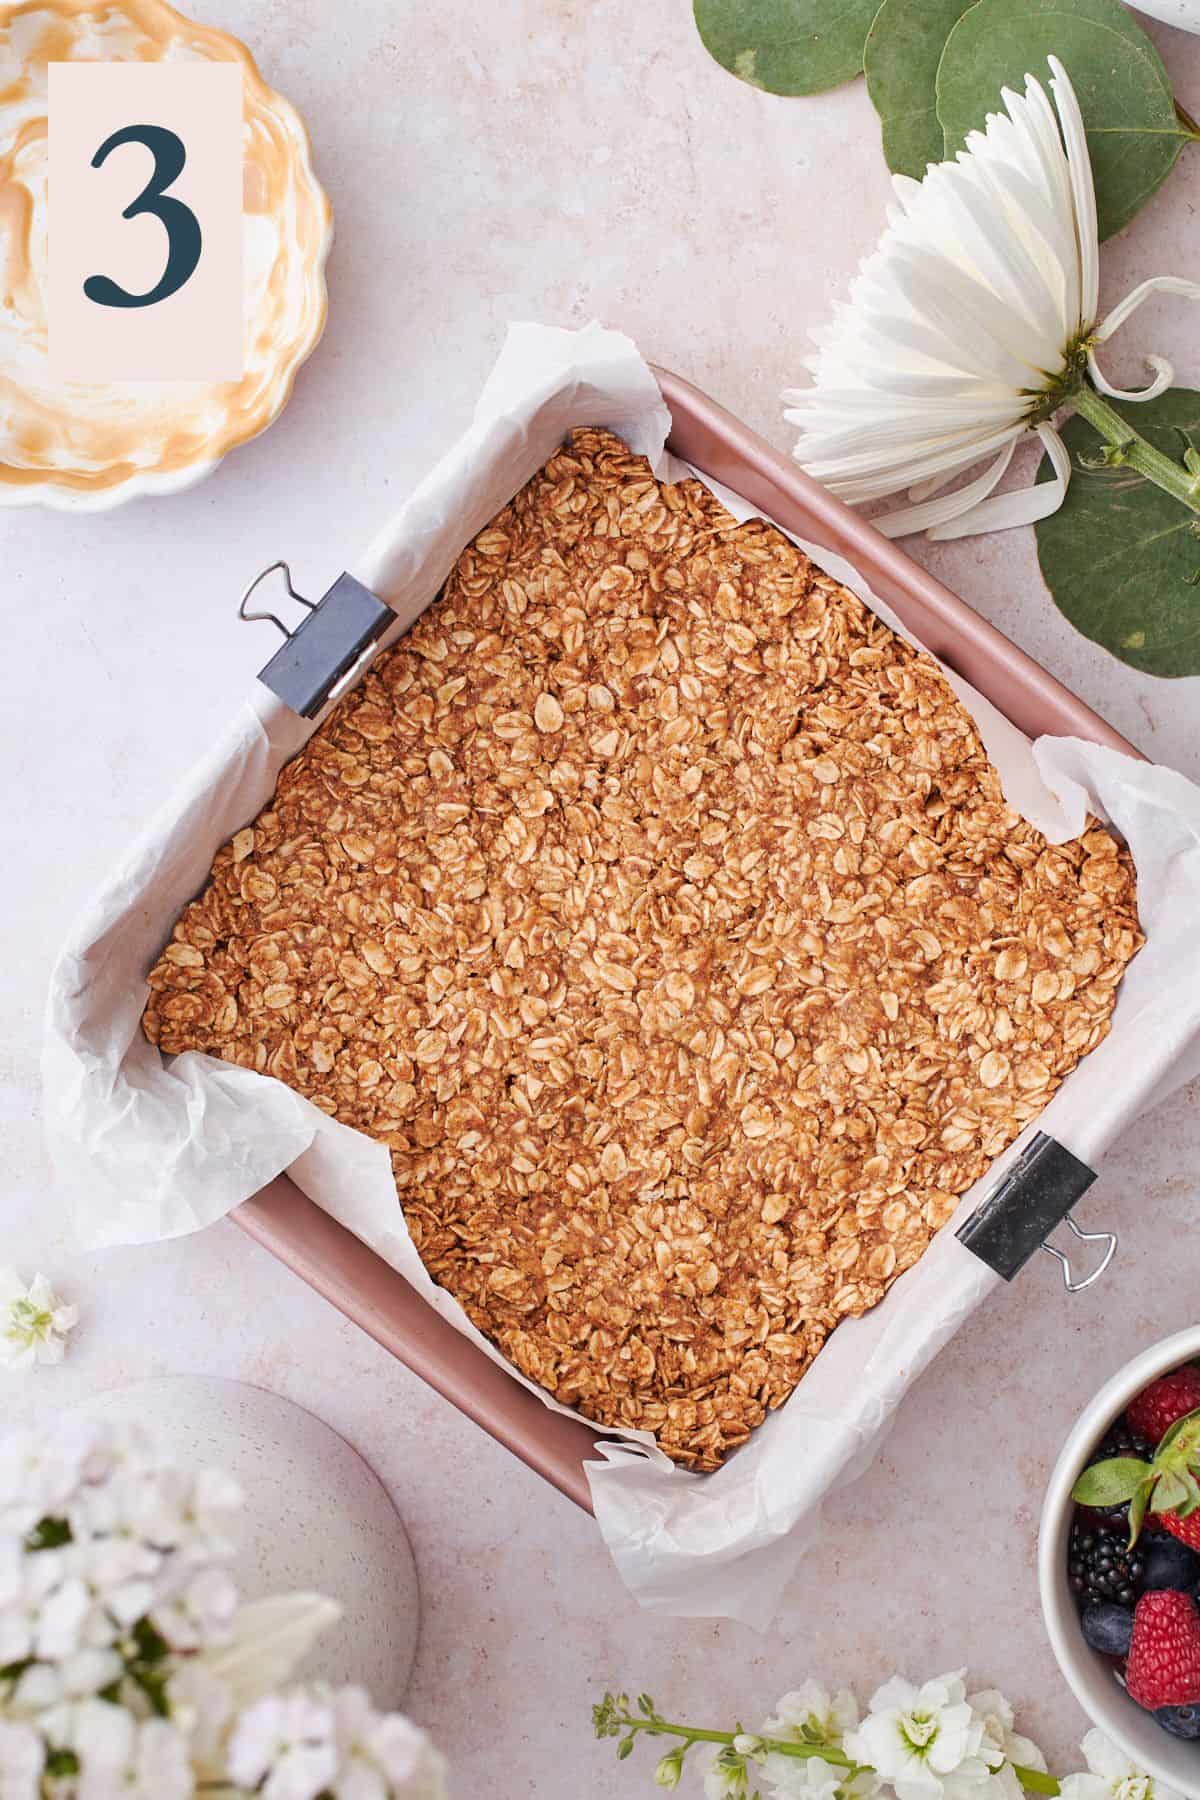
Press the granola base into a parchment-lined baking pan in an even layer. (Image 3) Place in the freezer to firm up briefly while you prepare the yogurt layer.
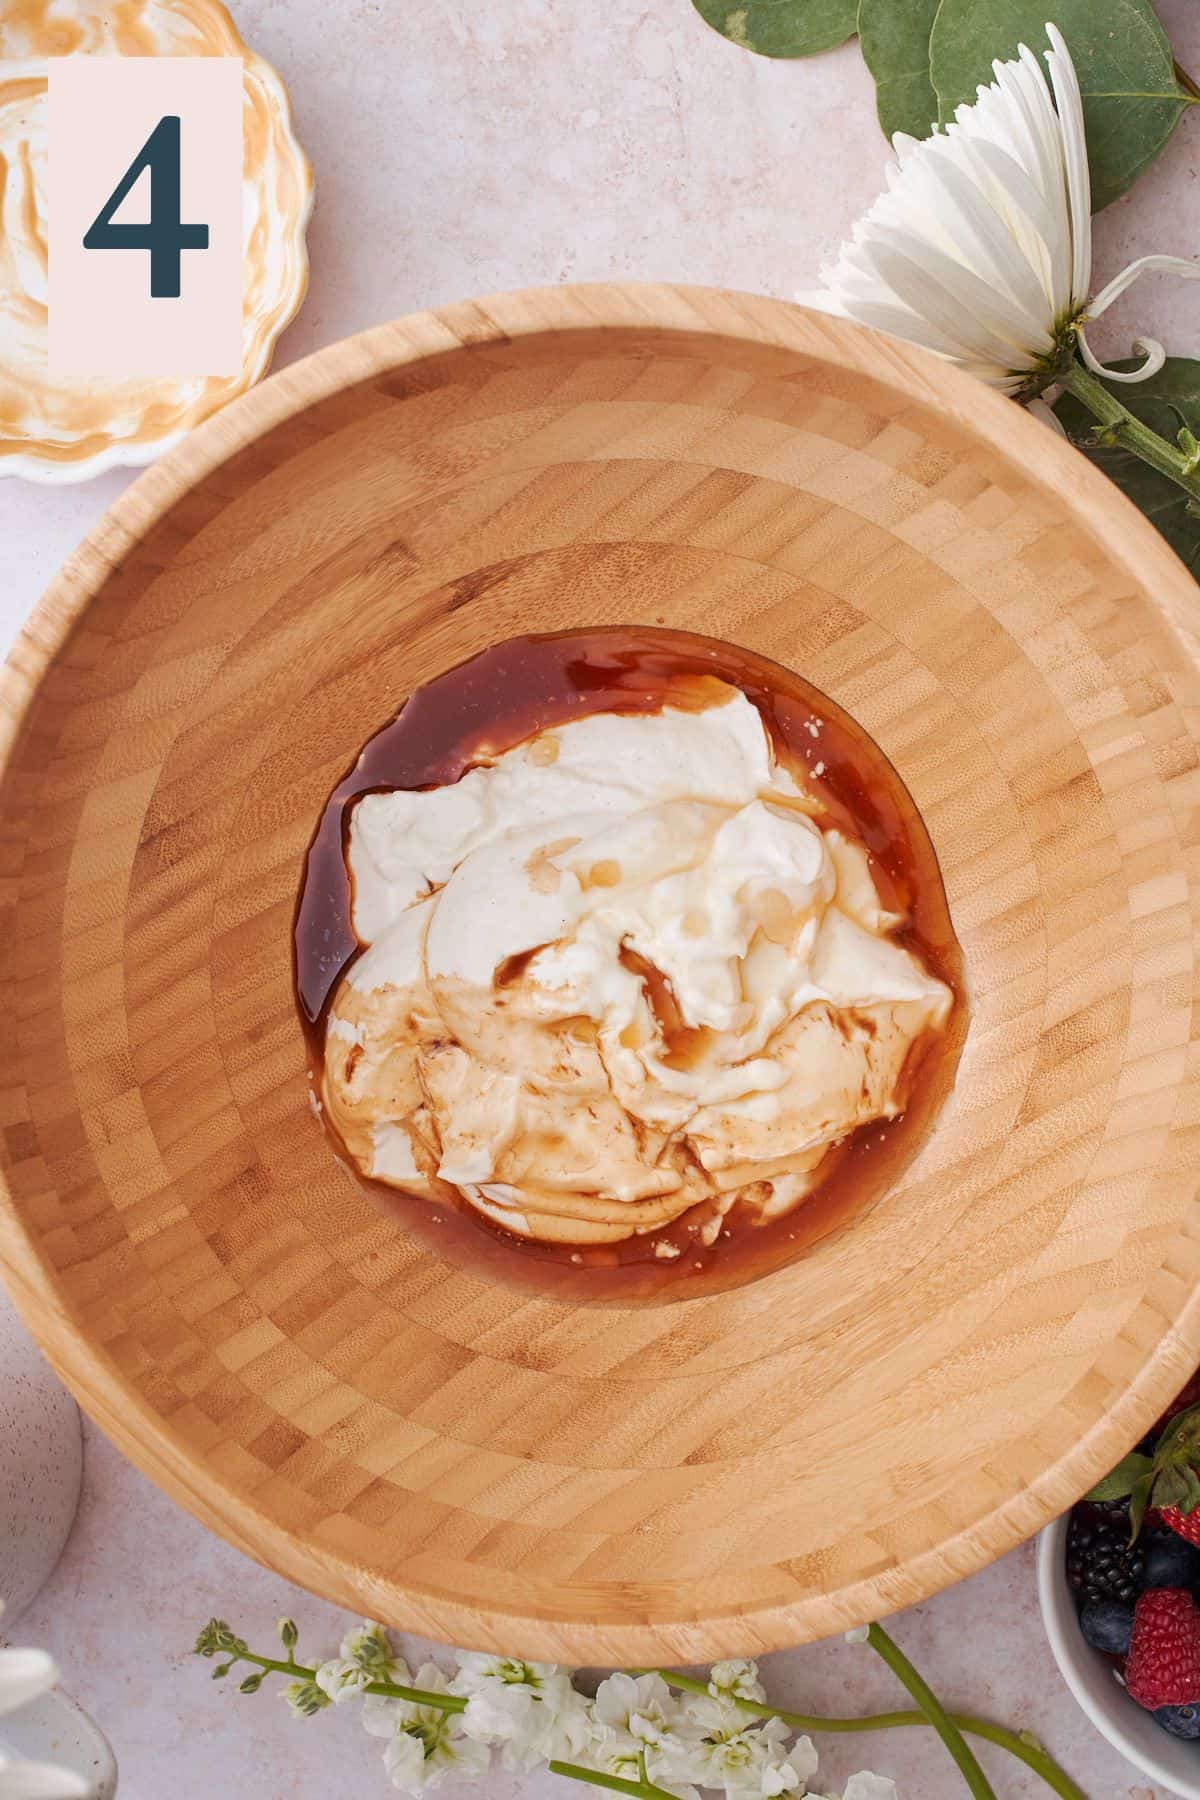
In a separate large bowl, combine the yogurt with the remaining maple syrup (to taste) and vanilla extract. (Image 4)
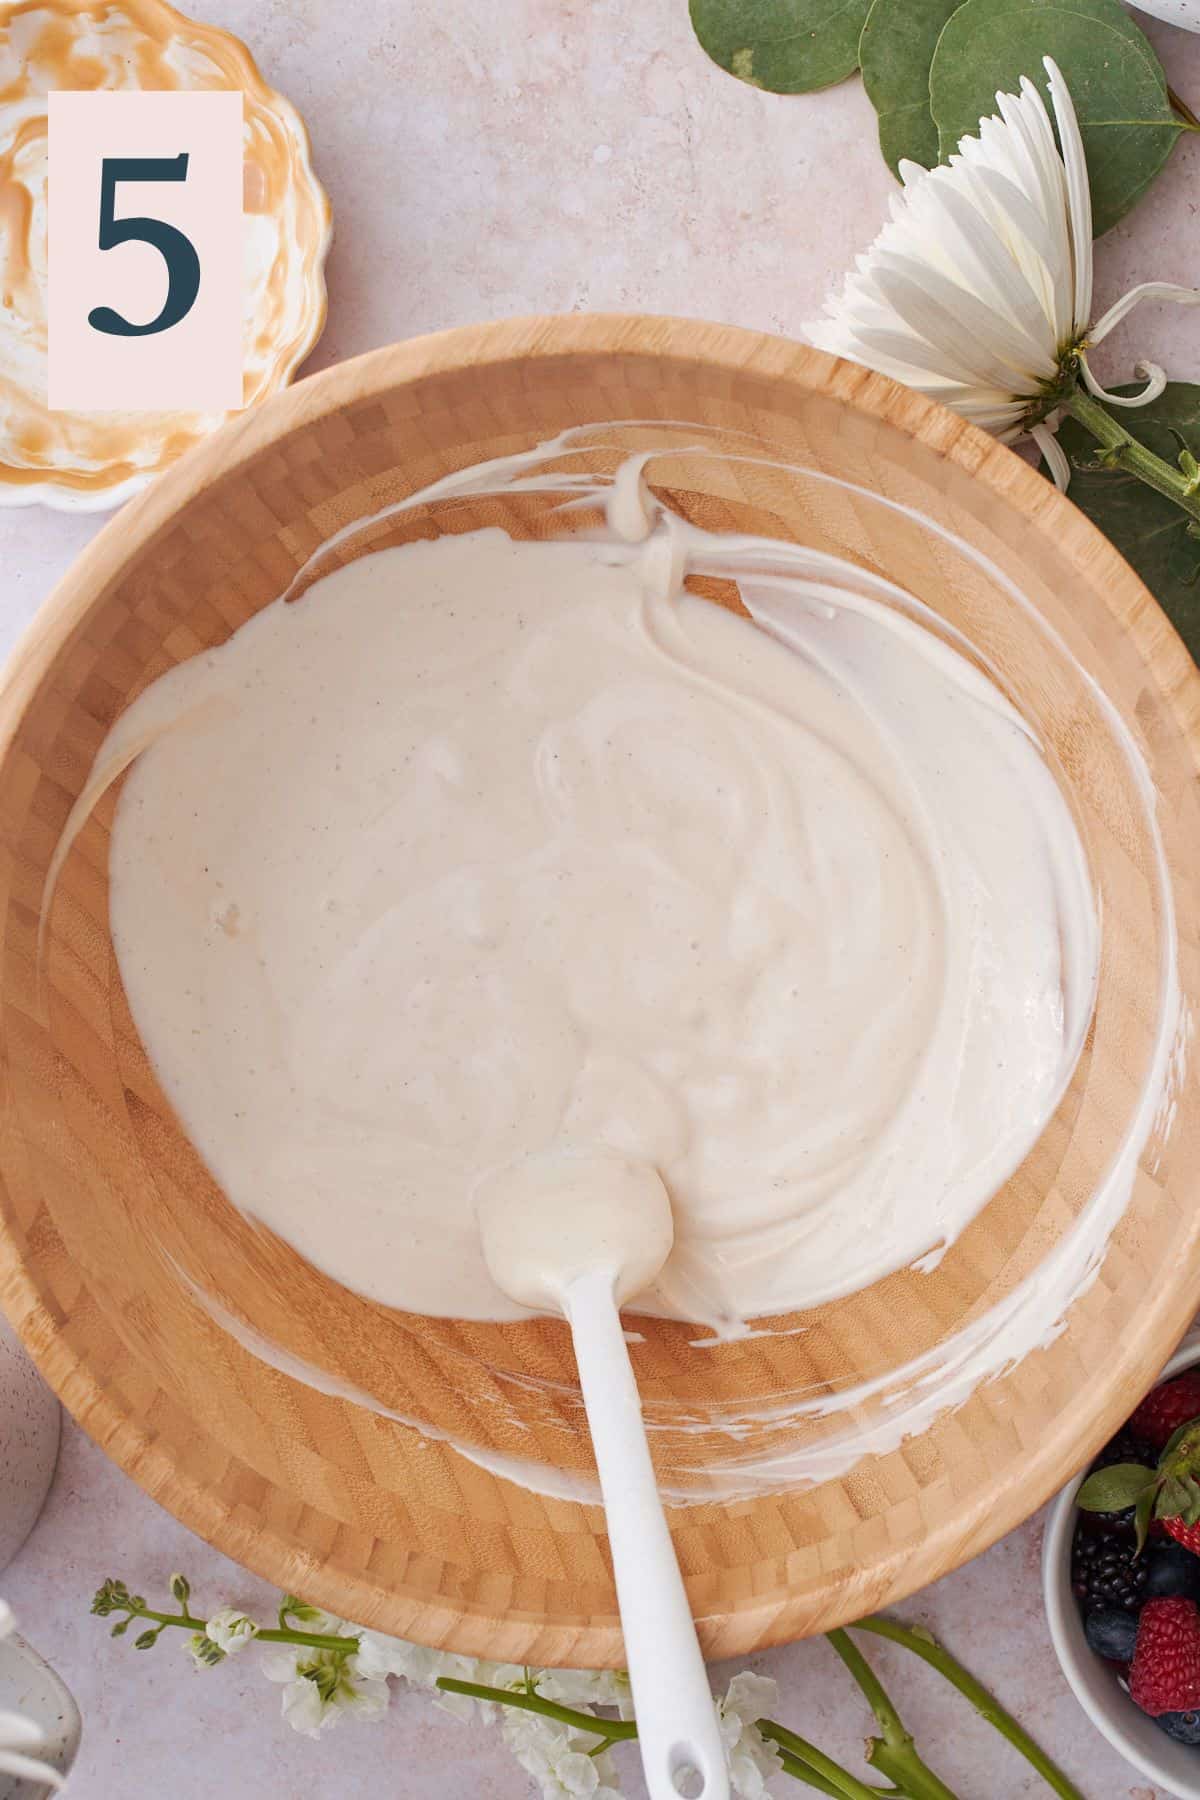
Mix until well combined, and adjust the sweetness to taste. (Image 5)
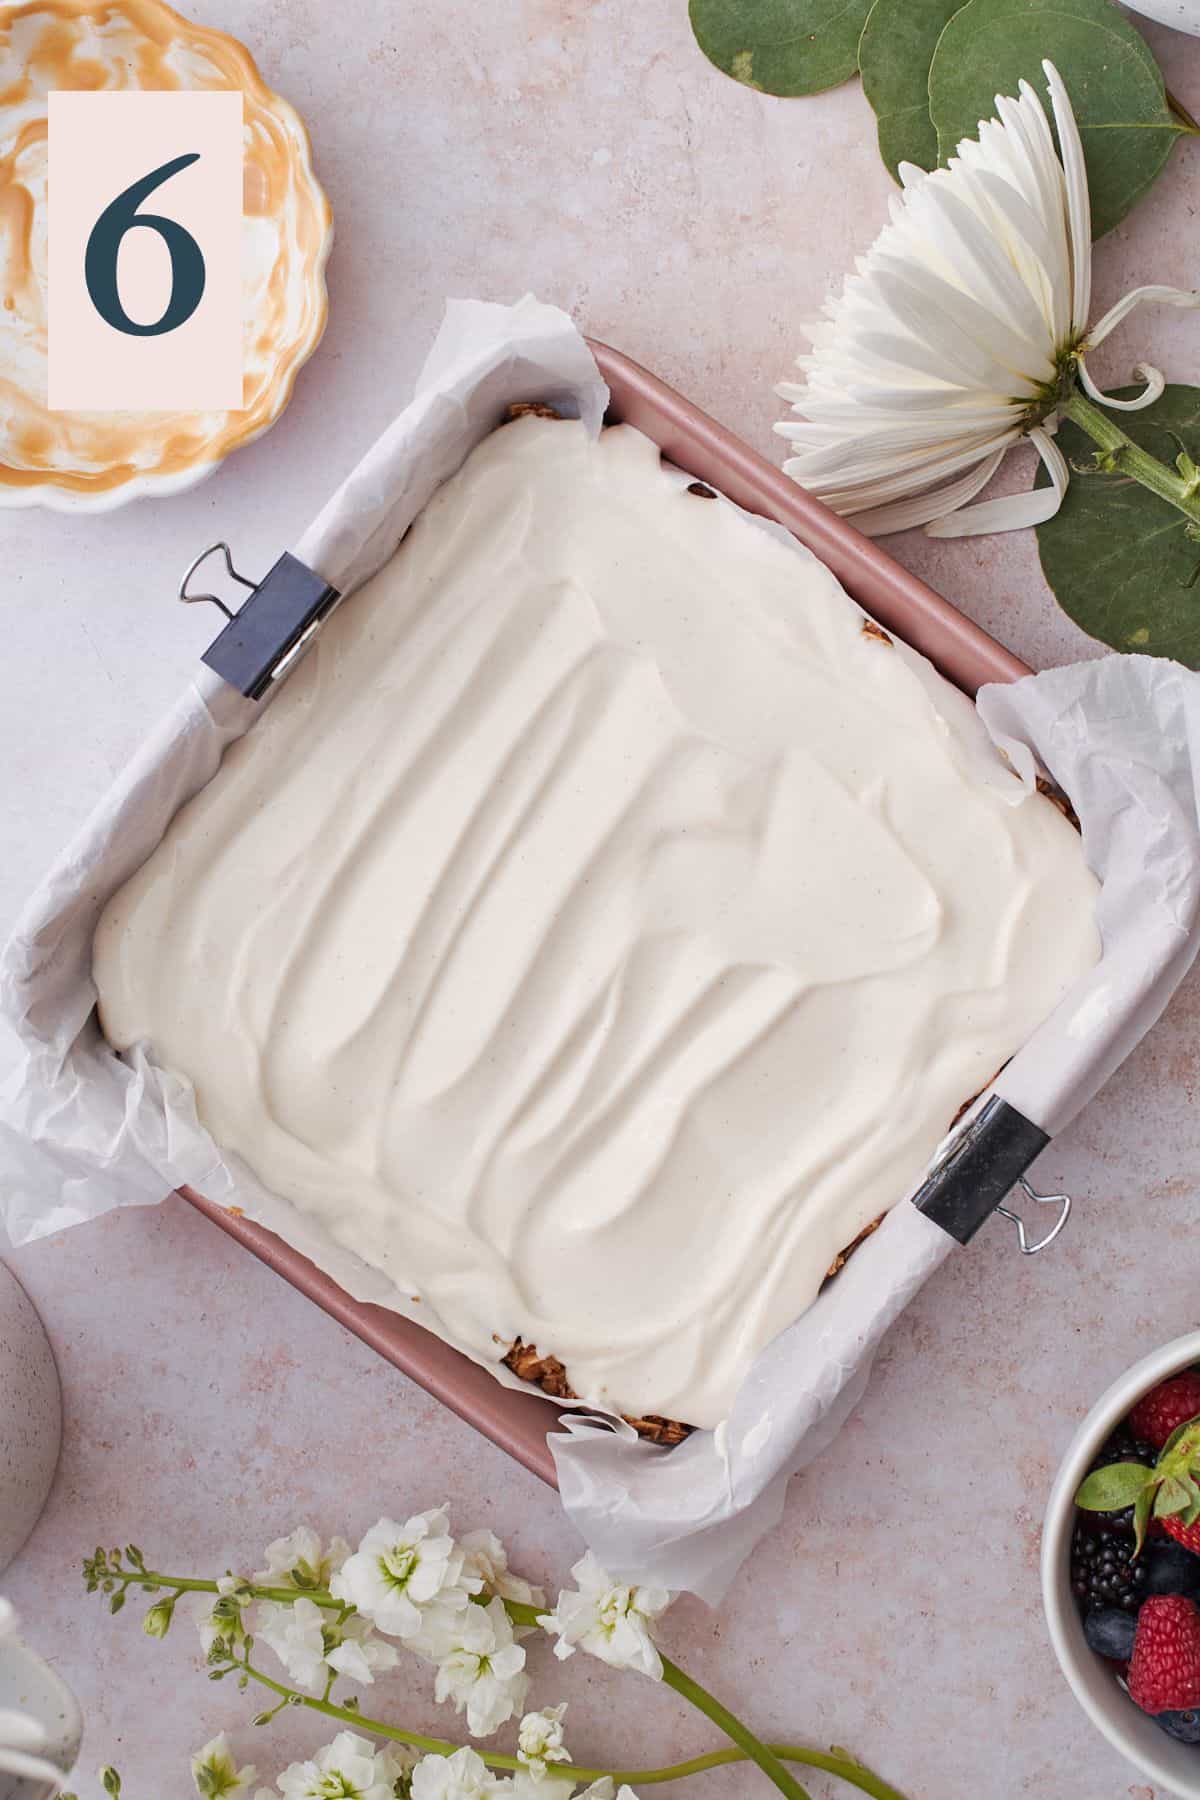
Using a rubber or offset spatula, smooth the yogurt layer over top of the granola base. (Image 6)
✨Pro Tip: If making this recipe for the first time, try it at each stage to ensure the sweetness level is to your liking.
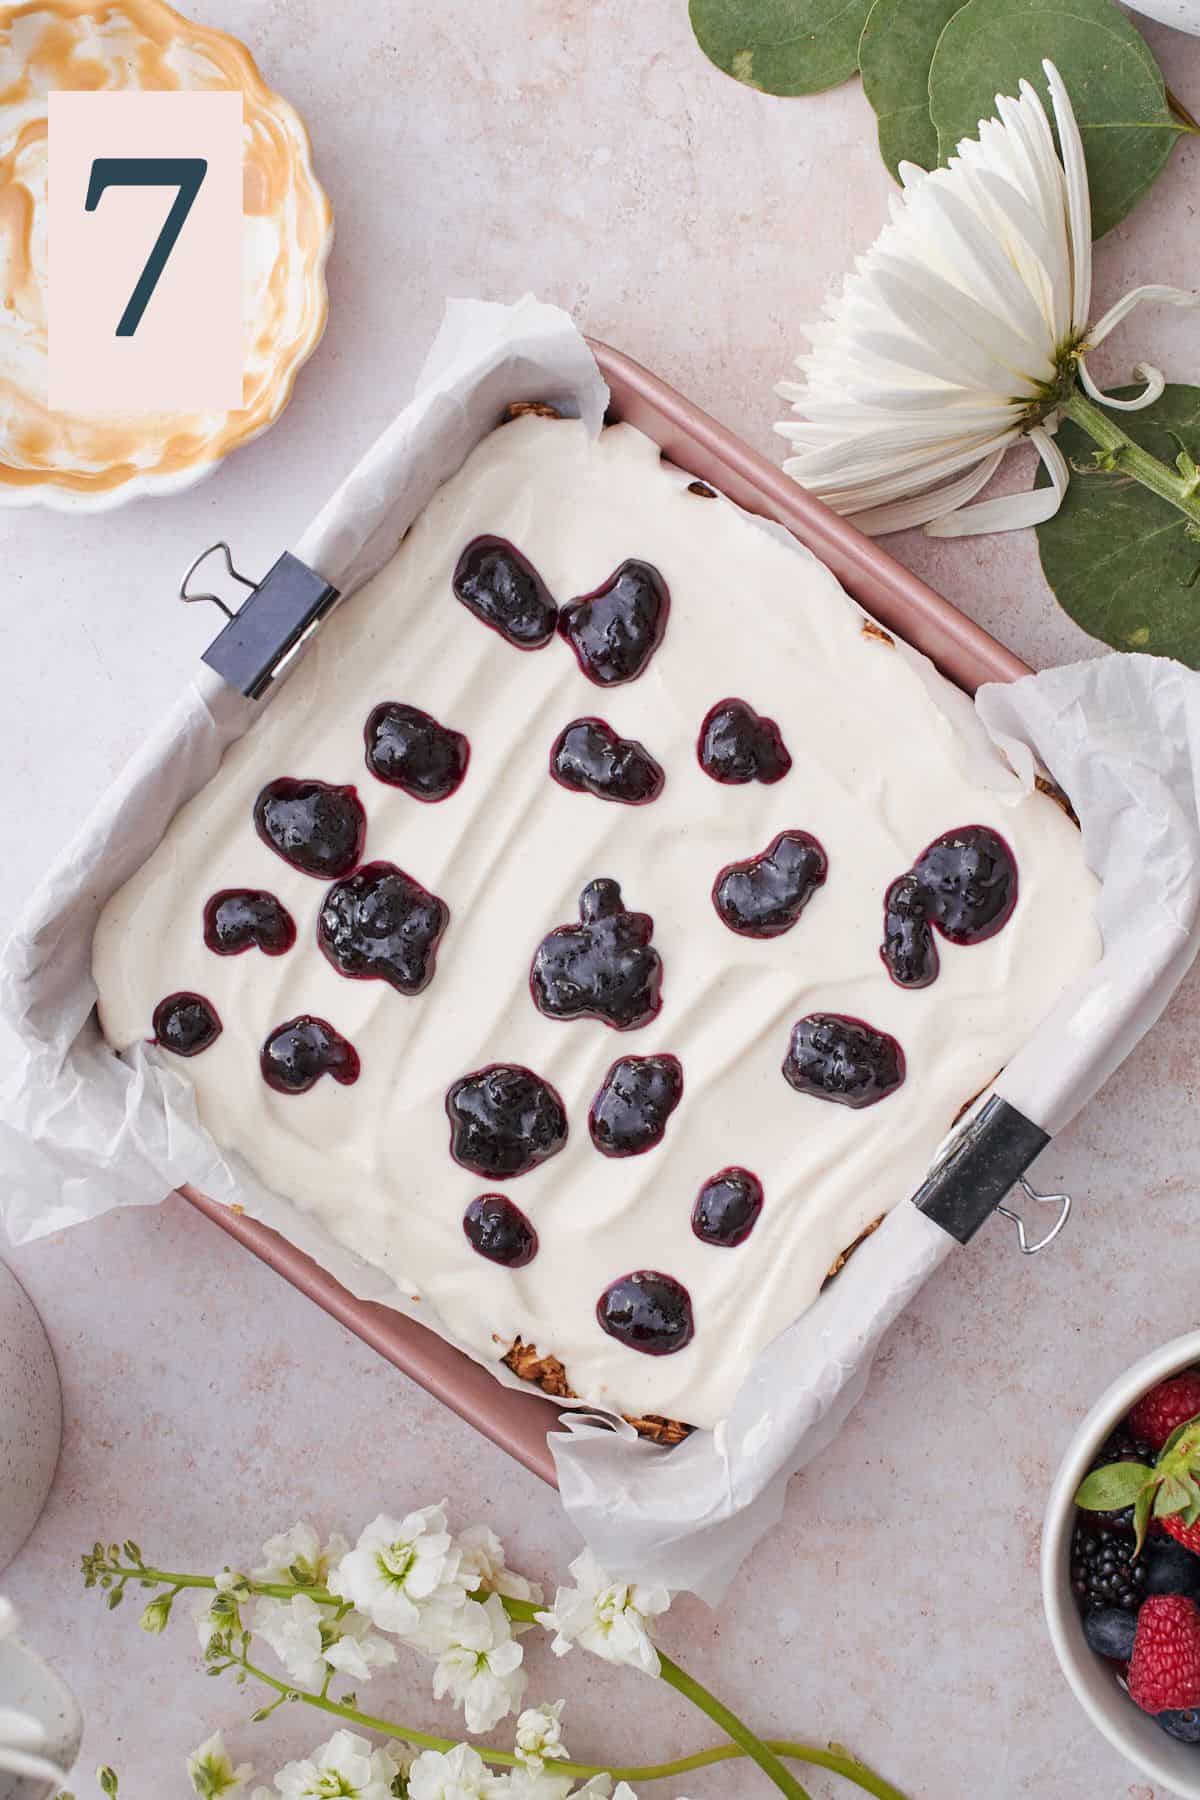
Next, add the optional fruit jam (we used blueberry jam) and place it in small dollops on top of the yogurt. (Image 7)
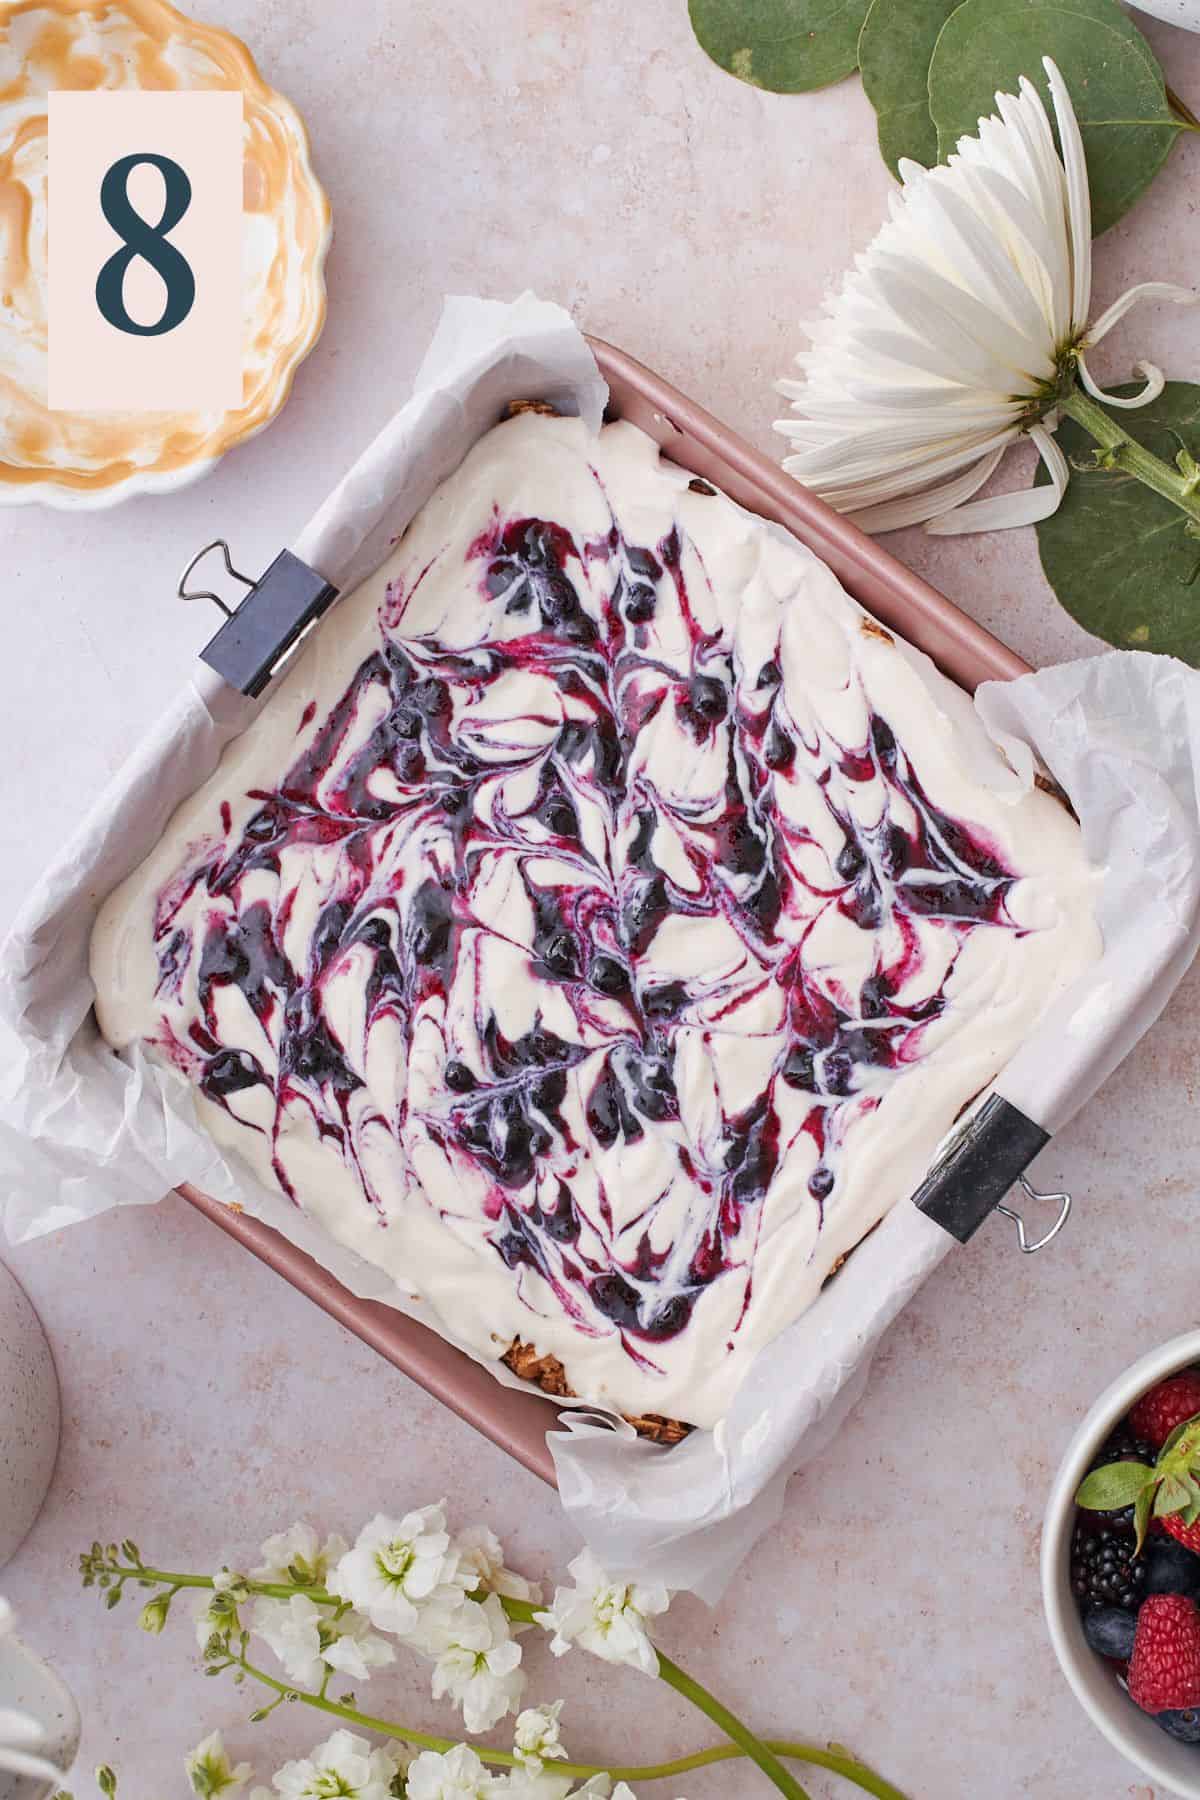
Use a toothpick to create a swirl pattern in the jam. (Image 8)
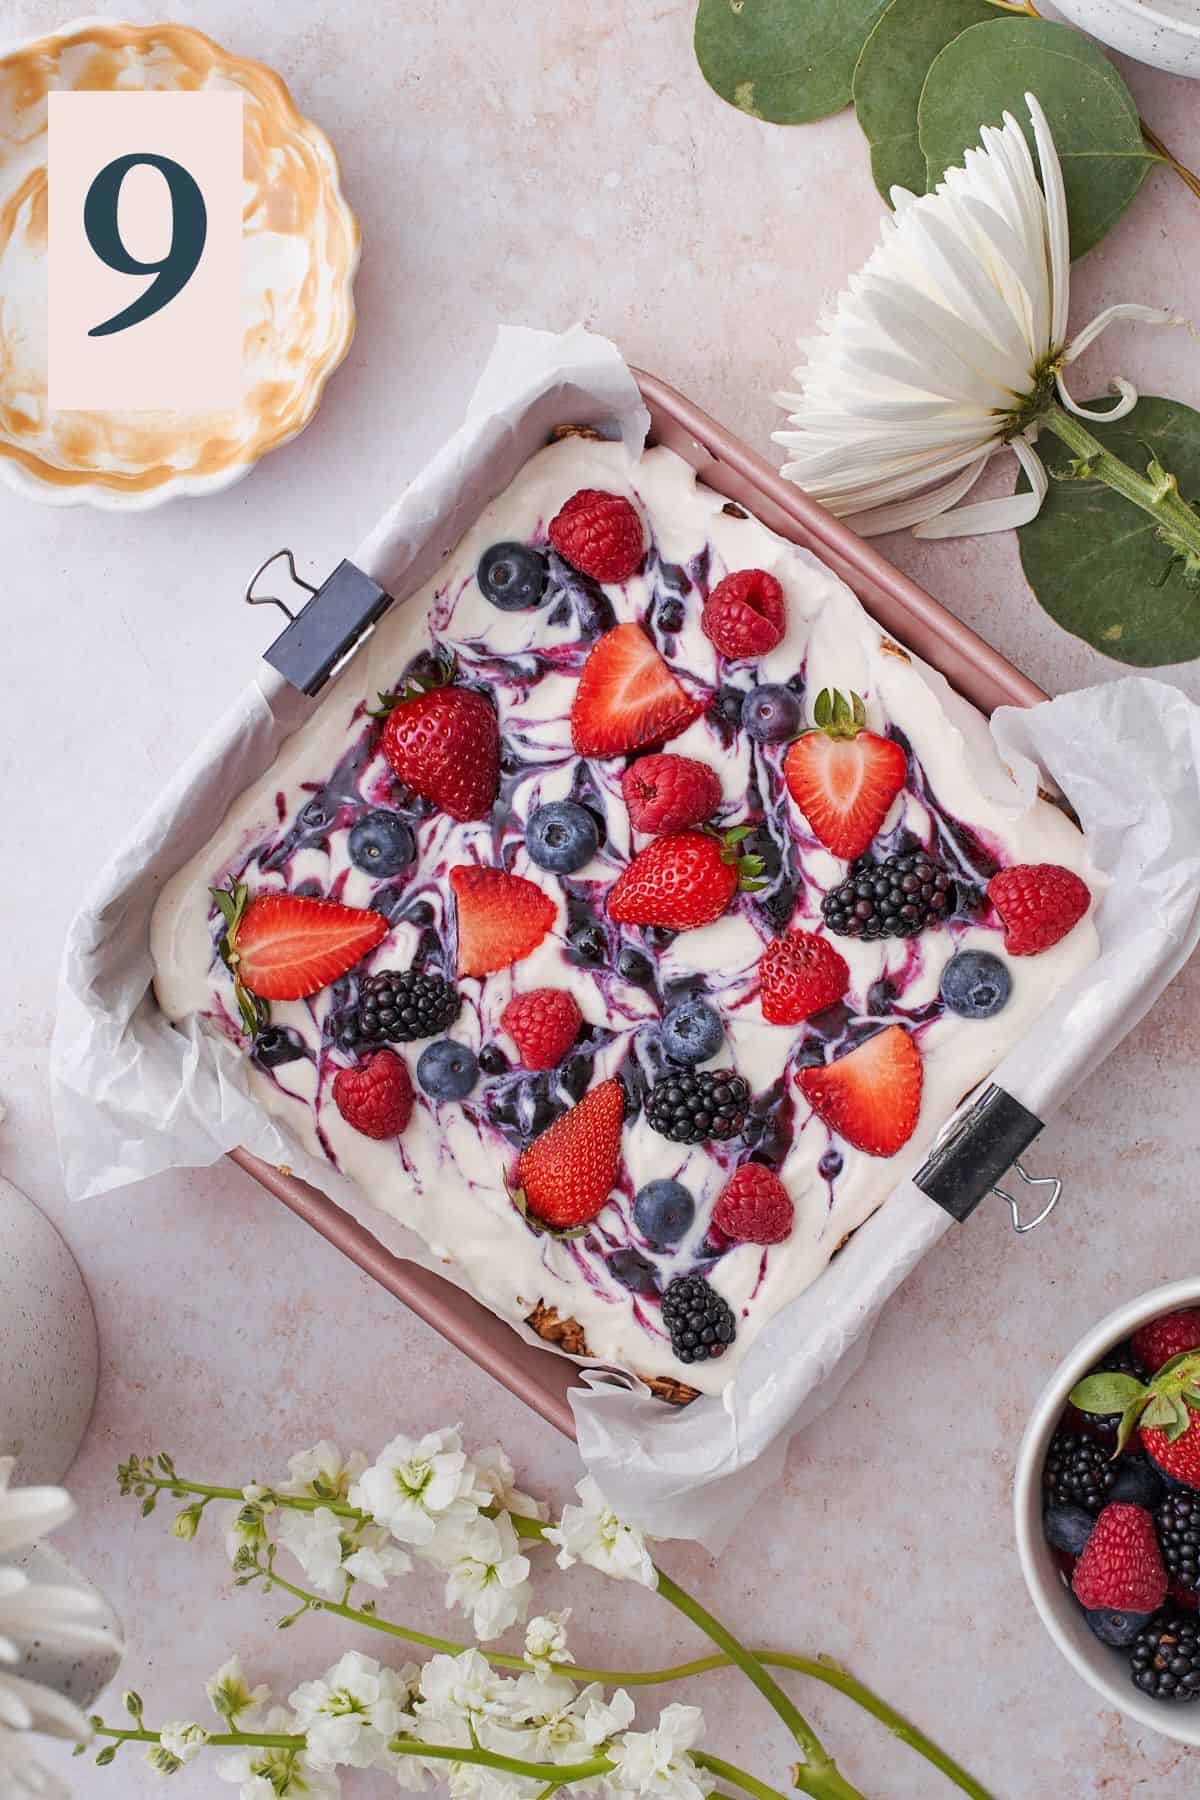
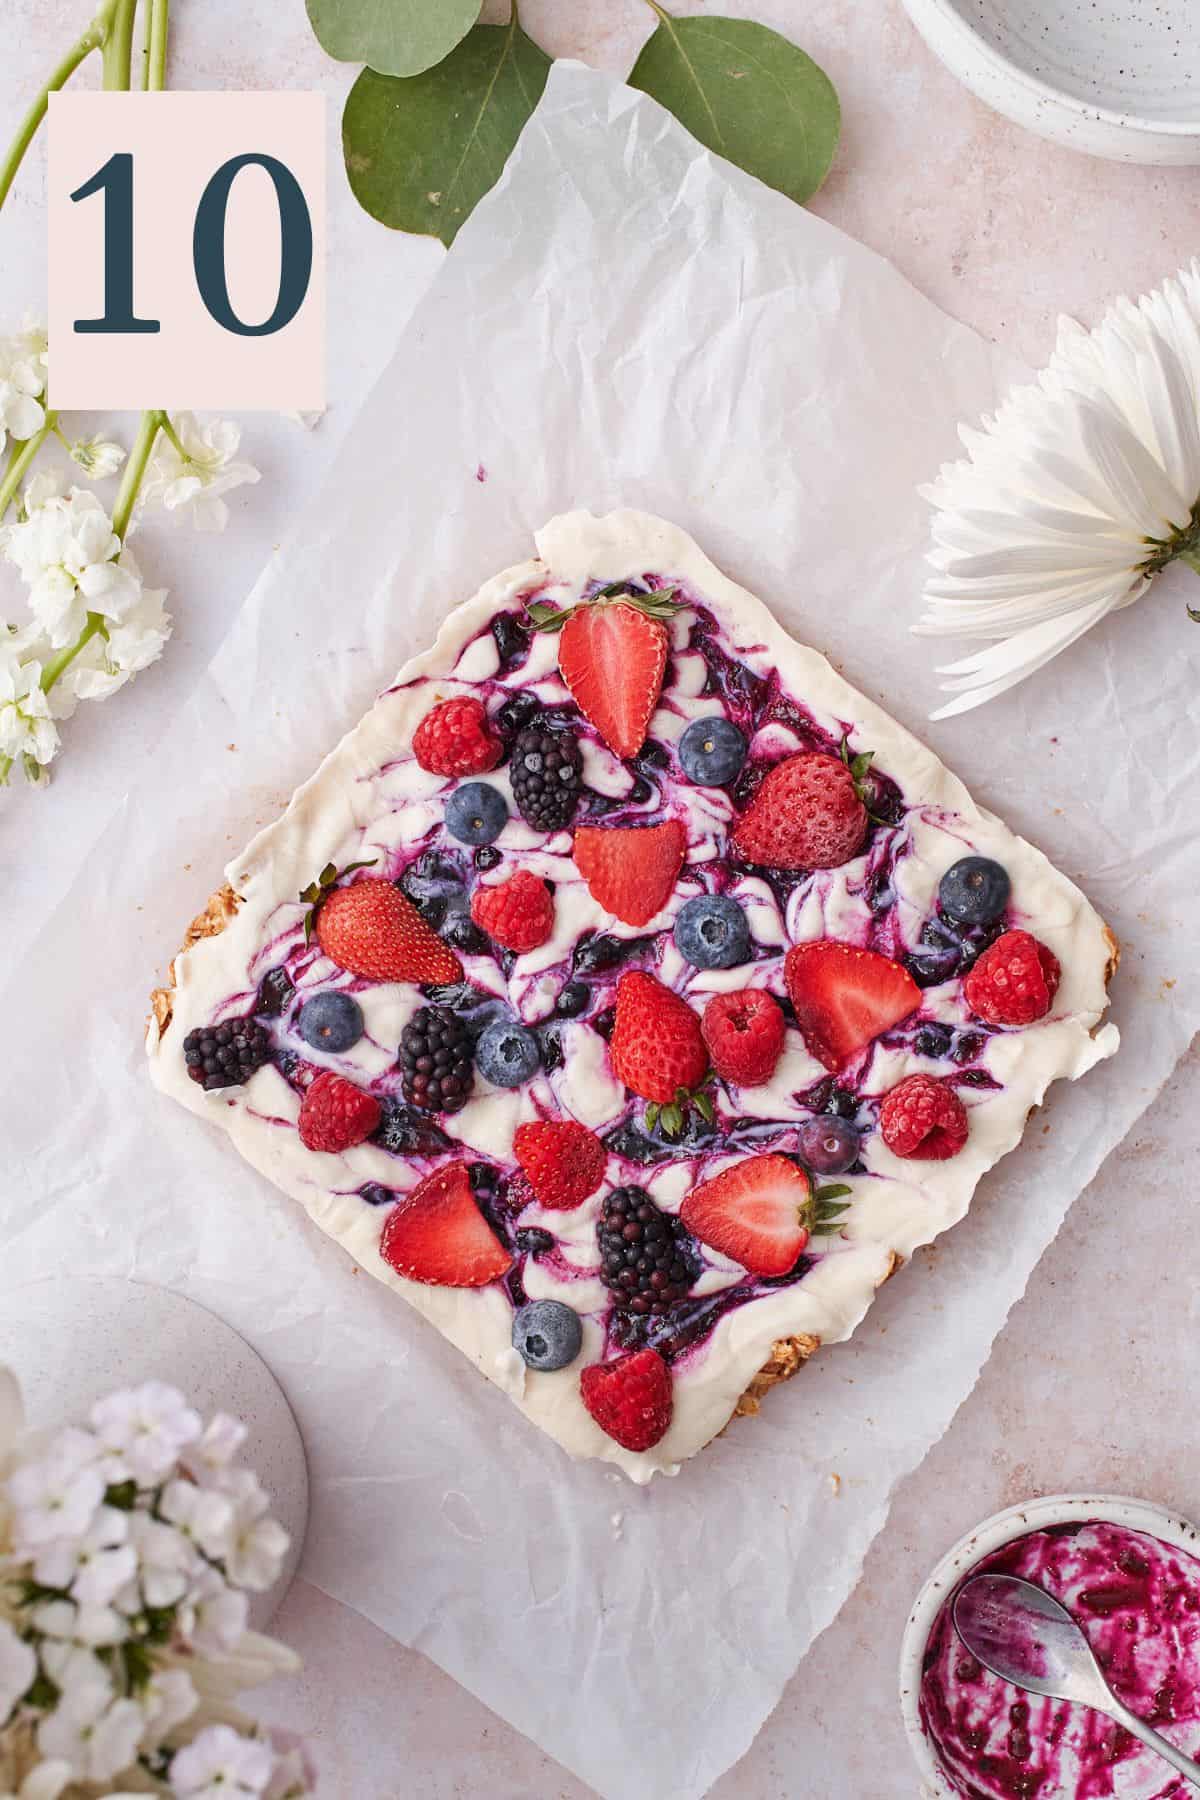
Top with berries (Image 9), and then place in the freezer for 3-4 hours to firm up. Once the bars are frozen solid, you can remove them from the baking dish. (Image 10)
Cut the bars into 9 - 12 pieces, and enjoy!
✨Tips & tricks
- Sweeten to taste. If making this recipe for the first time, be sure to taste as you go and adjust the sweetness level to suit your tastes.
- Add your favorite toppings. Don't stop at just berries! Feel free to add your favorite toppings.
- Allow the bars to freeze completely. Make sure they are frozen solid before cutting into them, or else you will end up with a runny mess.
- Allow them to sit at room temperature after being cut for 20-30 minutes before digging in. While you should definitely let them firm up completely, be sure to let them sit out at room temperature so they can soften enough to enjoy them. The yogurt and berry layer will be rock solid, so if you let them warm up a bit before digging in, that will ensure an enjoyable experience.
Need supplies? Shop our Amazon store! Stock your pantry, and find all of our favorite kitchen tools! A Full Living LLC earns a small commission through purchases on our storefront to help support this site.
💭Frequently Asked Questions
You can store the bars in an airtight container in the freezer for up to 1-2 months. Make sure to separate the layers with parchment paper to prevent sticking.
Make sure to allow the bars to sit out at room temperature for about 30 minutes before enjoying them after they have frozen solid. The bars will be quite hard, so they will need time to soften up so you can enjoy them easily!
Yes! Simply use a 9x13 baking dish and double the ingredients to make twice as many bars.
More Recipes To Consider
Did you try this recipe? Make sure to leave a 5-star review below! 🌟 This helps other readers find our recipes and encourages them to try them. Also, be sure to leave a comment with your experience. Follow along, and tag @AFullLiving on Instagram with your photos!
📖 Recipe
Granola Yogurt Bars
Equipment
- 8 x 8 baking pan (a 9x9 pan can be used)
Ingredients
Granola base
- 2 cups rolled oats
- ½ cup natural peanut butter
- ⅓ cup maple syrup
- 1 tablespoon vanilla extract
- 1 teaspoon cinnamon
- ½ teaspoon kosher salt
Yogurt layer
- 2 cups vanilla greek yogurt
- 2 tablespoons maple syrup (to taste)
- 1 teaspoon vanilla extract
Toppings
- 3 tablespoons fruit jam of choice (optional)
- ½ cup mixed berries (we used raspberries, strawberries, blueberries & blackberries)
Instructions
- Line a square baking pan or baking dish (8x8 or 9x9) with parchment paper or wax paper.
- In a mixing bowl, ½ cup creamy peanut butter, 1 tablespoons vanilla extract, ⅓ cup maple syrup, 2 cups rolled oats, 1 teaspoon cinnamon, and ½ teaspoon of kosher salt. Mix until the granola clumps up. Press the granola base into a parchment-lined baking pan in an even layer. Place in the freezer to firm up briefly while you prepare the yogurt layer.
- In a separate large mixing bowl, combine 2 cups yogurt with 2 tablespoons maple syrup (or to taste) and 1 teaspoon vanilla extract. Mix until well combined, and adjust the sweetness to taste. Using a rubber or offset spatula, smooth the yogurt layer over top of the granola base.
- Next, add the optional 2 tablespoons of fruit jam and place it in small dollops on top of the yogurt. Use a toothpick to create a swirl pattern in the jam. Top with berries, and then place in the freezer for 3-4 hours to firm up. Once the bars are frozen solid, you can remove them from the baking dish and cut them into 9-12 pieces. Enjoy!
- You can store the bars in an airtight container in the freezer for up to 1-2 months. Make sure to separate the layers with parchment paper to prevent sticking. Make sure to allow the bars to sit out at room temperature for about 30 minutes before enjoying them after they have frozen solid. The bars will be quite hard, so they will need time to soften up so you can enjoy them easily!
Notes
- Sweeten to taste. If making this recipe for the first time, be sure to taste as you go and adjust the sweetness level to suit your tastes.
- Add your favorite toppings. Don't stop at just berries! Feel free to add your favorite toppings.
- Allow the bars to freeze completely. Make sure they are frozen solid before cutting into them, or else you will end up with a runny mess.
- Allow them to sit at room temperature after being cut for 20-30 minutes before digging in. While you should definitely let them firm up completely, be sure to let them sit out at room temperature so they can soften enough to enjoy them. The yogurt and berry layer will be rock solid, so if you let them warm up a bit before digging in, that will ensure an enjoyable experience.

Comments
No Comments