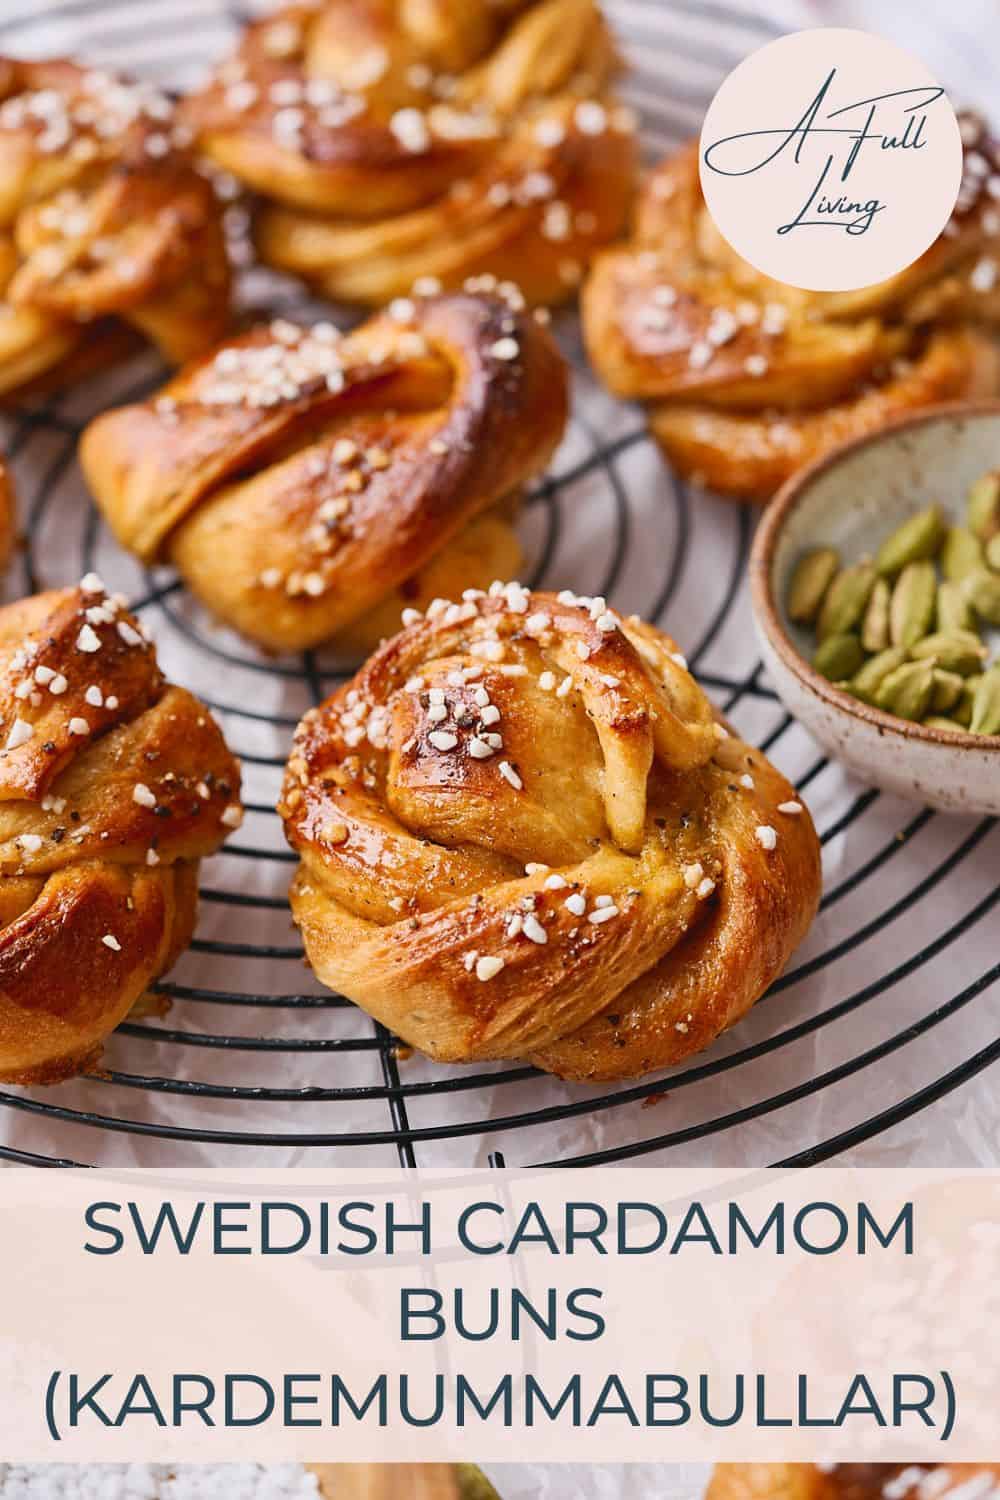
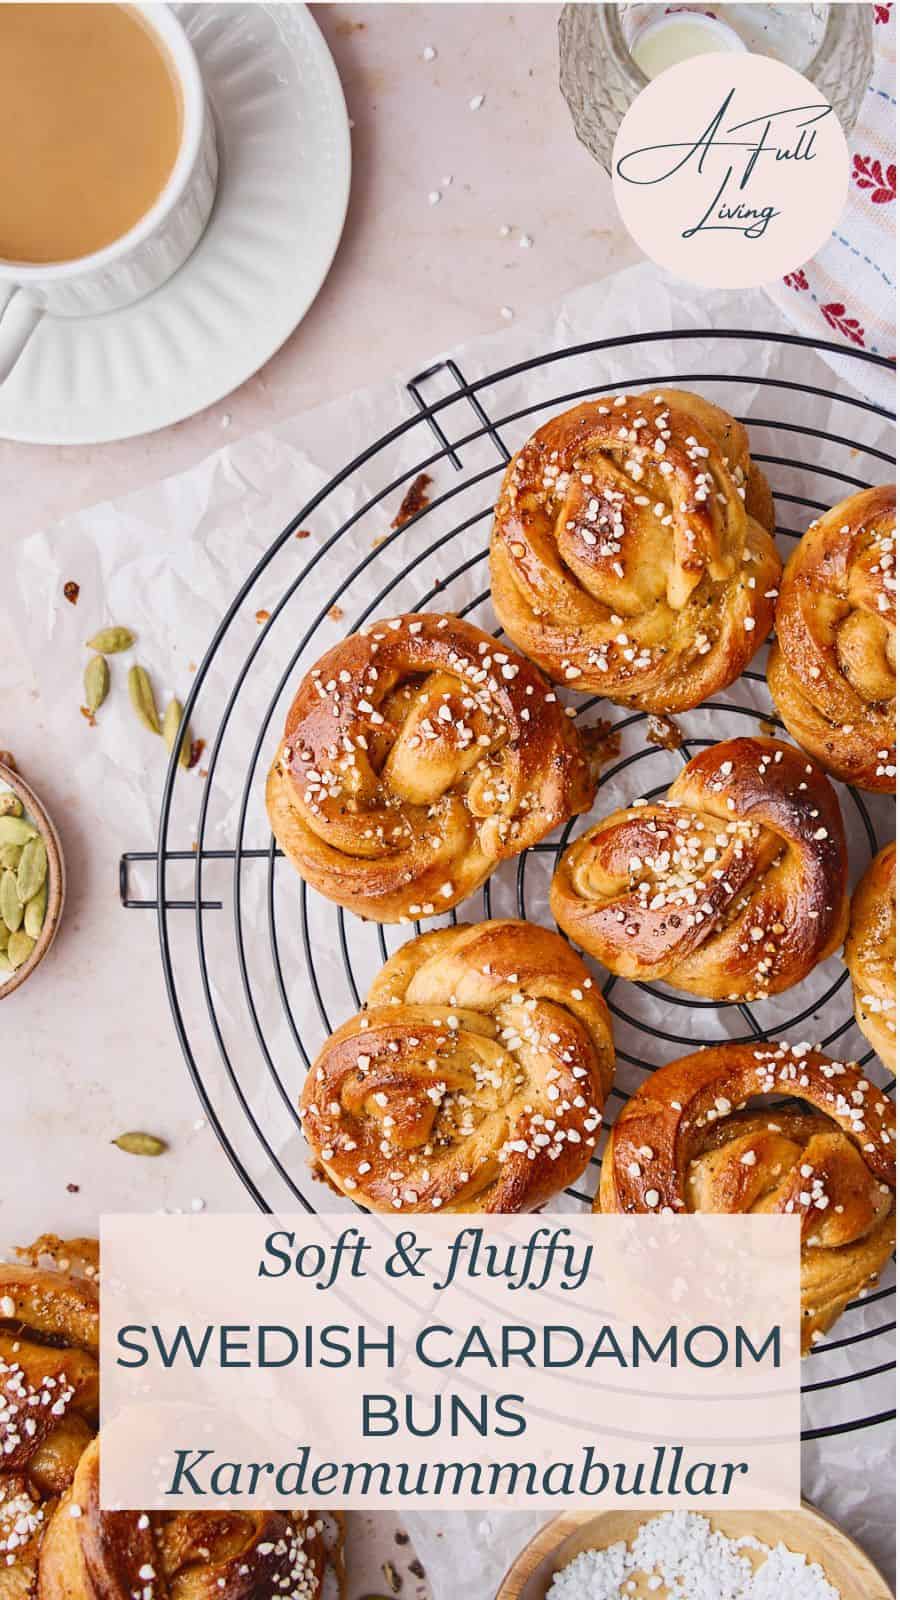
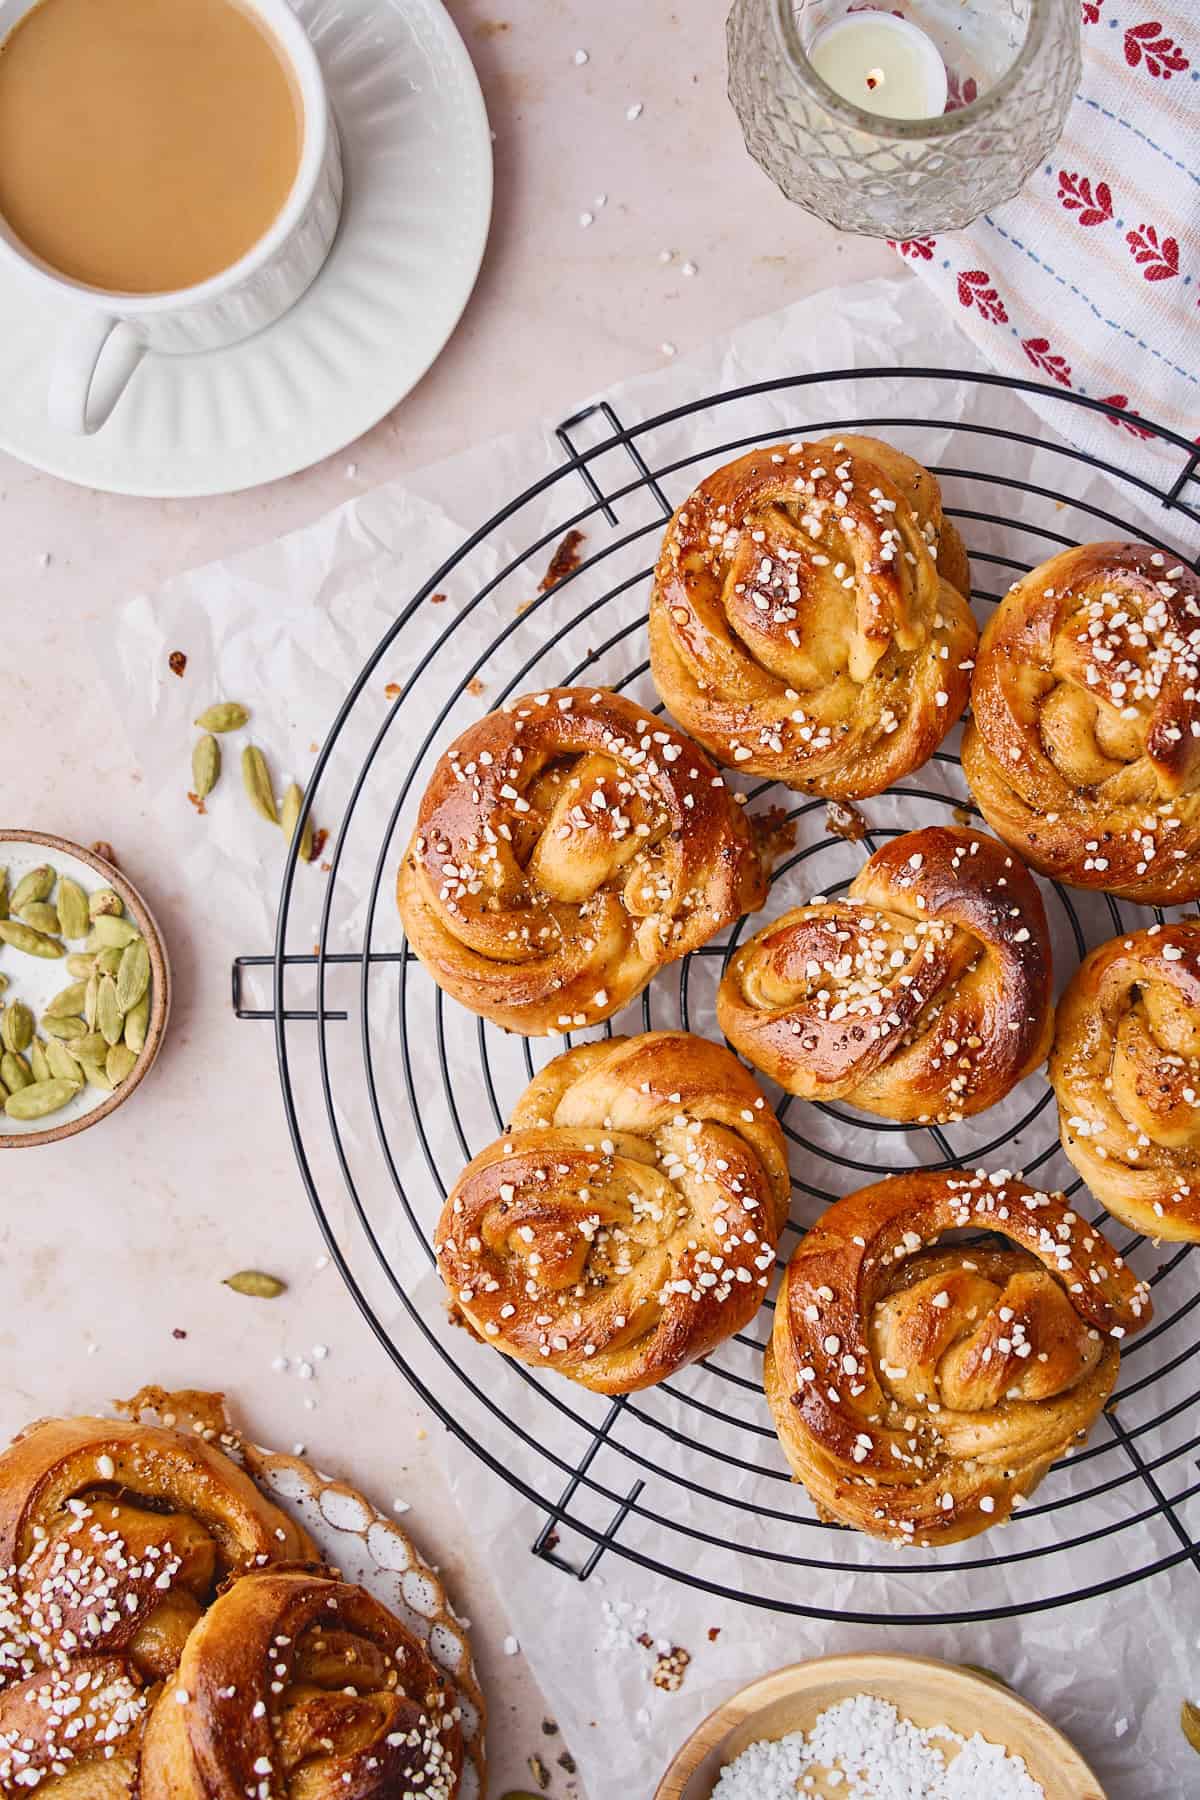
These Soft & Fluffy Swedish Cardamom Buns (Kardemummabullar) are everything a Scandinavian pastry should be - tender, aromatic, and absolutely irresistible with a cup of coffee. We make ours with an egg-enriched dough that's softer and fluffier than traditional recipes, plus dark brown sugar in both the dough AND the buttery cardamom filling for incredible depth of flavor. Freshly ground cardamom is the star here, and your kitchen is going to smell unbelievable! 🤤
Save This Recipe! 💌
Your Kitchen Is About to Smell Like a Swedish Bakery ☕
In Sweden, these twisted buns are a fika essential - that cozy afternoon coffee break that's a national (and regional!) tradition. When I was an exchange student in Norway, I fell hard for the Nordic way of slowing down with a sweet treat and good conversation. My Finnish and Swedish roots made it feel like coming home.
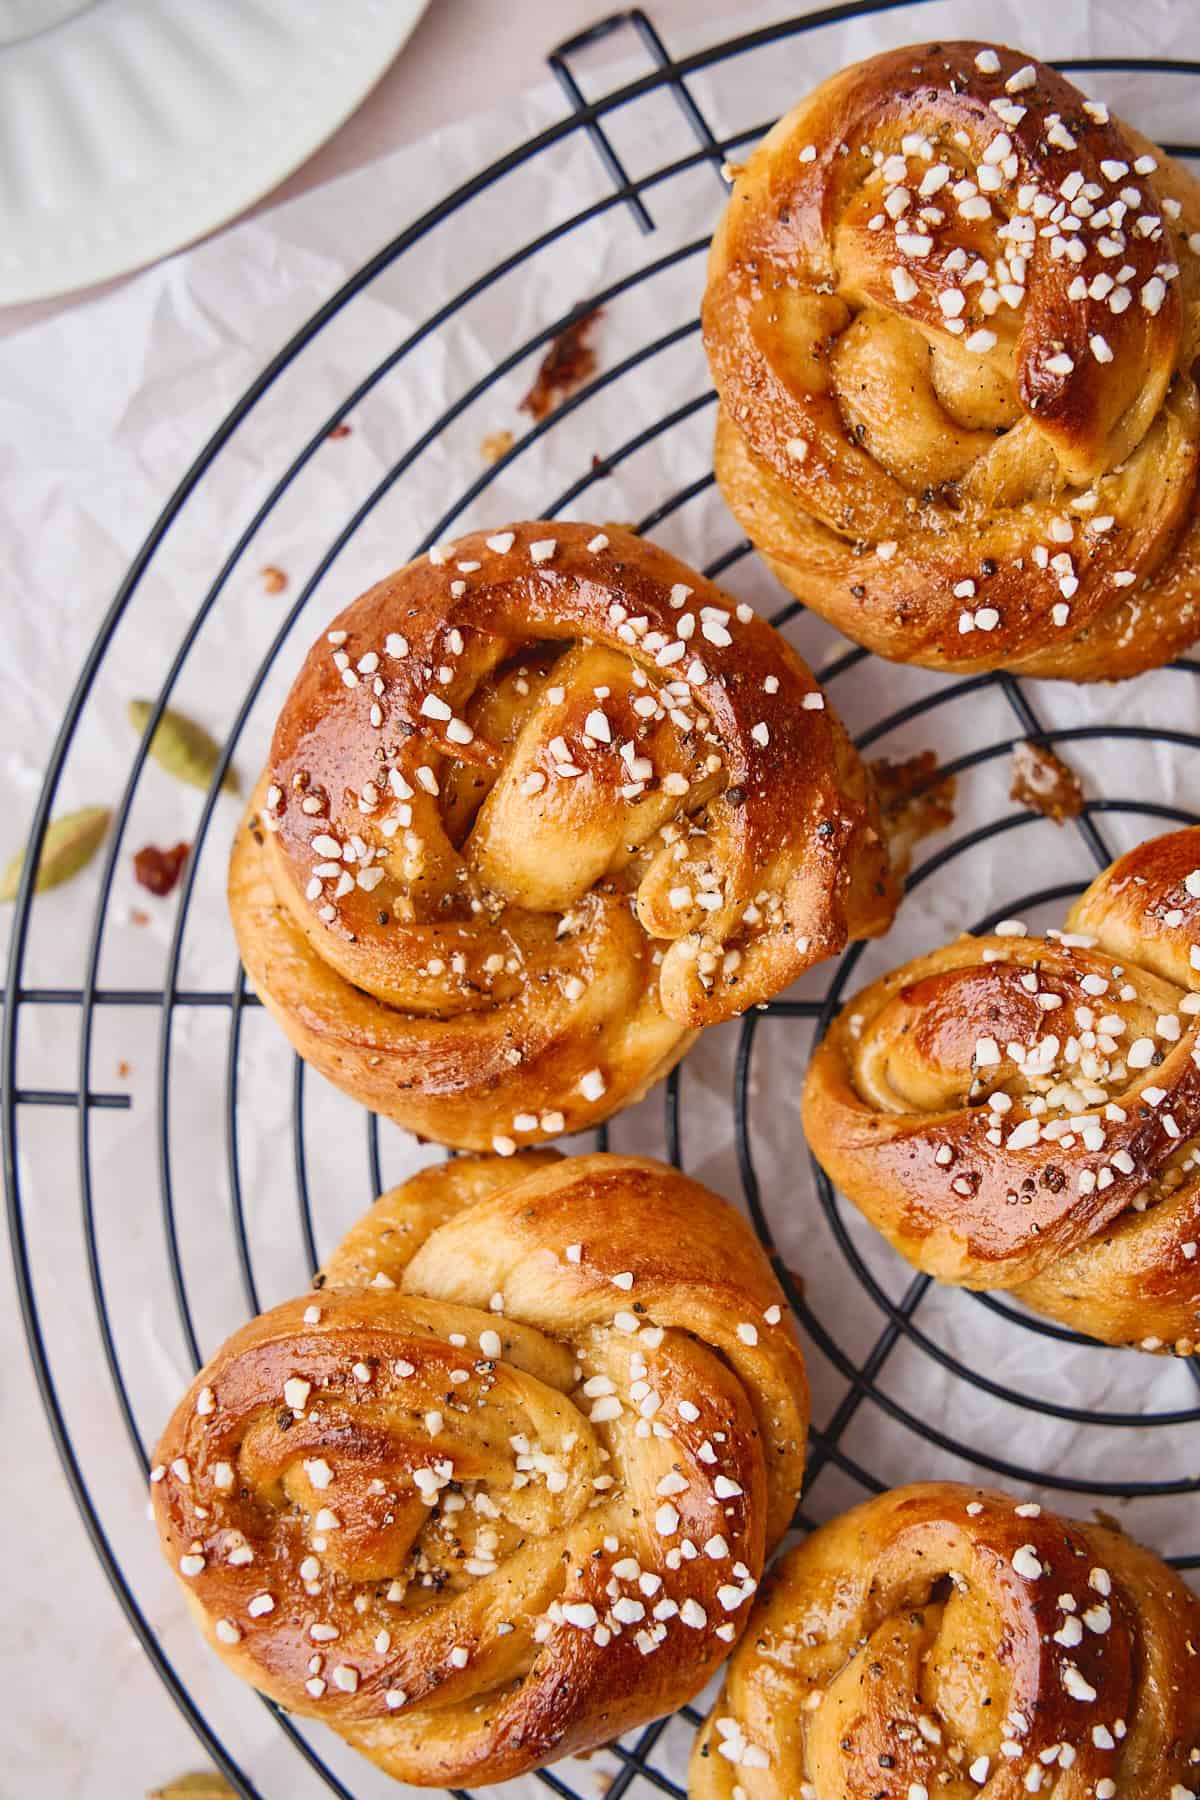
The twisting might look fancy, but we promise - these are way more approachable than they seem! If you've seen them at trendy bakeries and wondered if you could make them at home, you absolutely can. We'll walk you through every step with photos, from grinding the cardamom to shaping those beautiful knots. And if your first few twists aren't perfect? (Ours certainly aren't!!😂) They'll still taste incredible.
These are perfect for your own fika at home. Set out a plate of warm buns, pour some strong coffee, and slow down for a bit. If you're in a baking mood, our Swedish almond cake is another favorite!
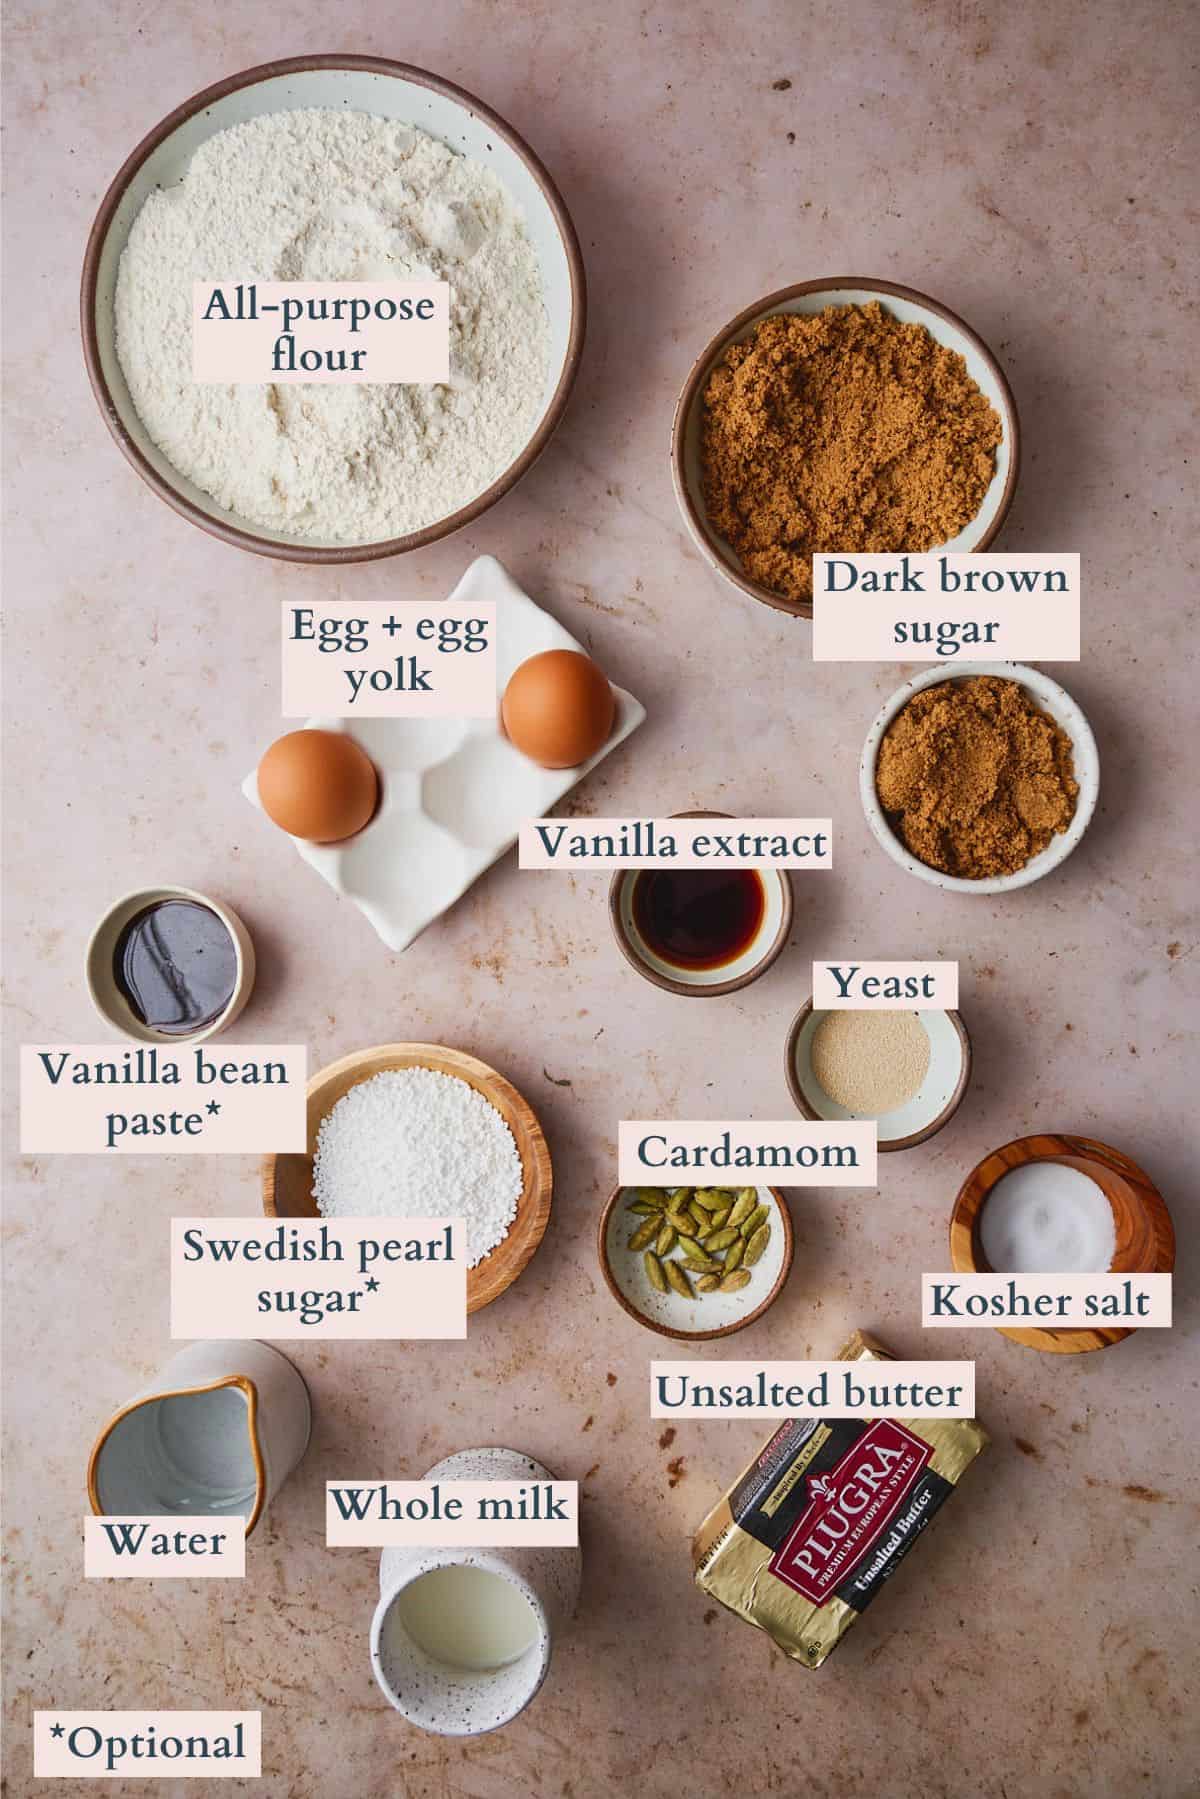
🧈Ingredients
The ingredient list here is simple - the magic is in the technique and that freshly ground cardamom! Quality butter and dark brown sugar do the rest.
How to Make the Best Swedish Cardamom Buns ✨
These buns come together in stages - don't let that intimidate you! Each step is simple, and the results are absolutely worth it.
Grind the Cardamom
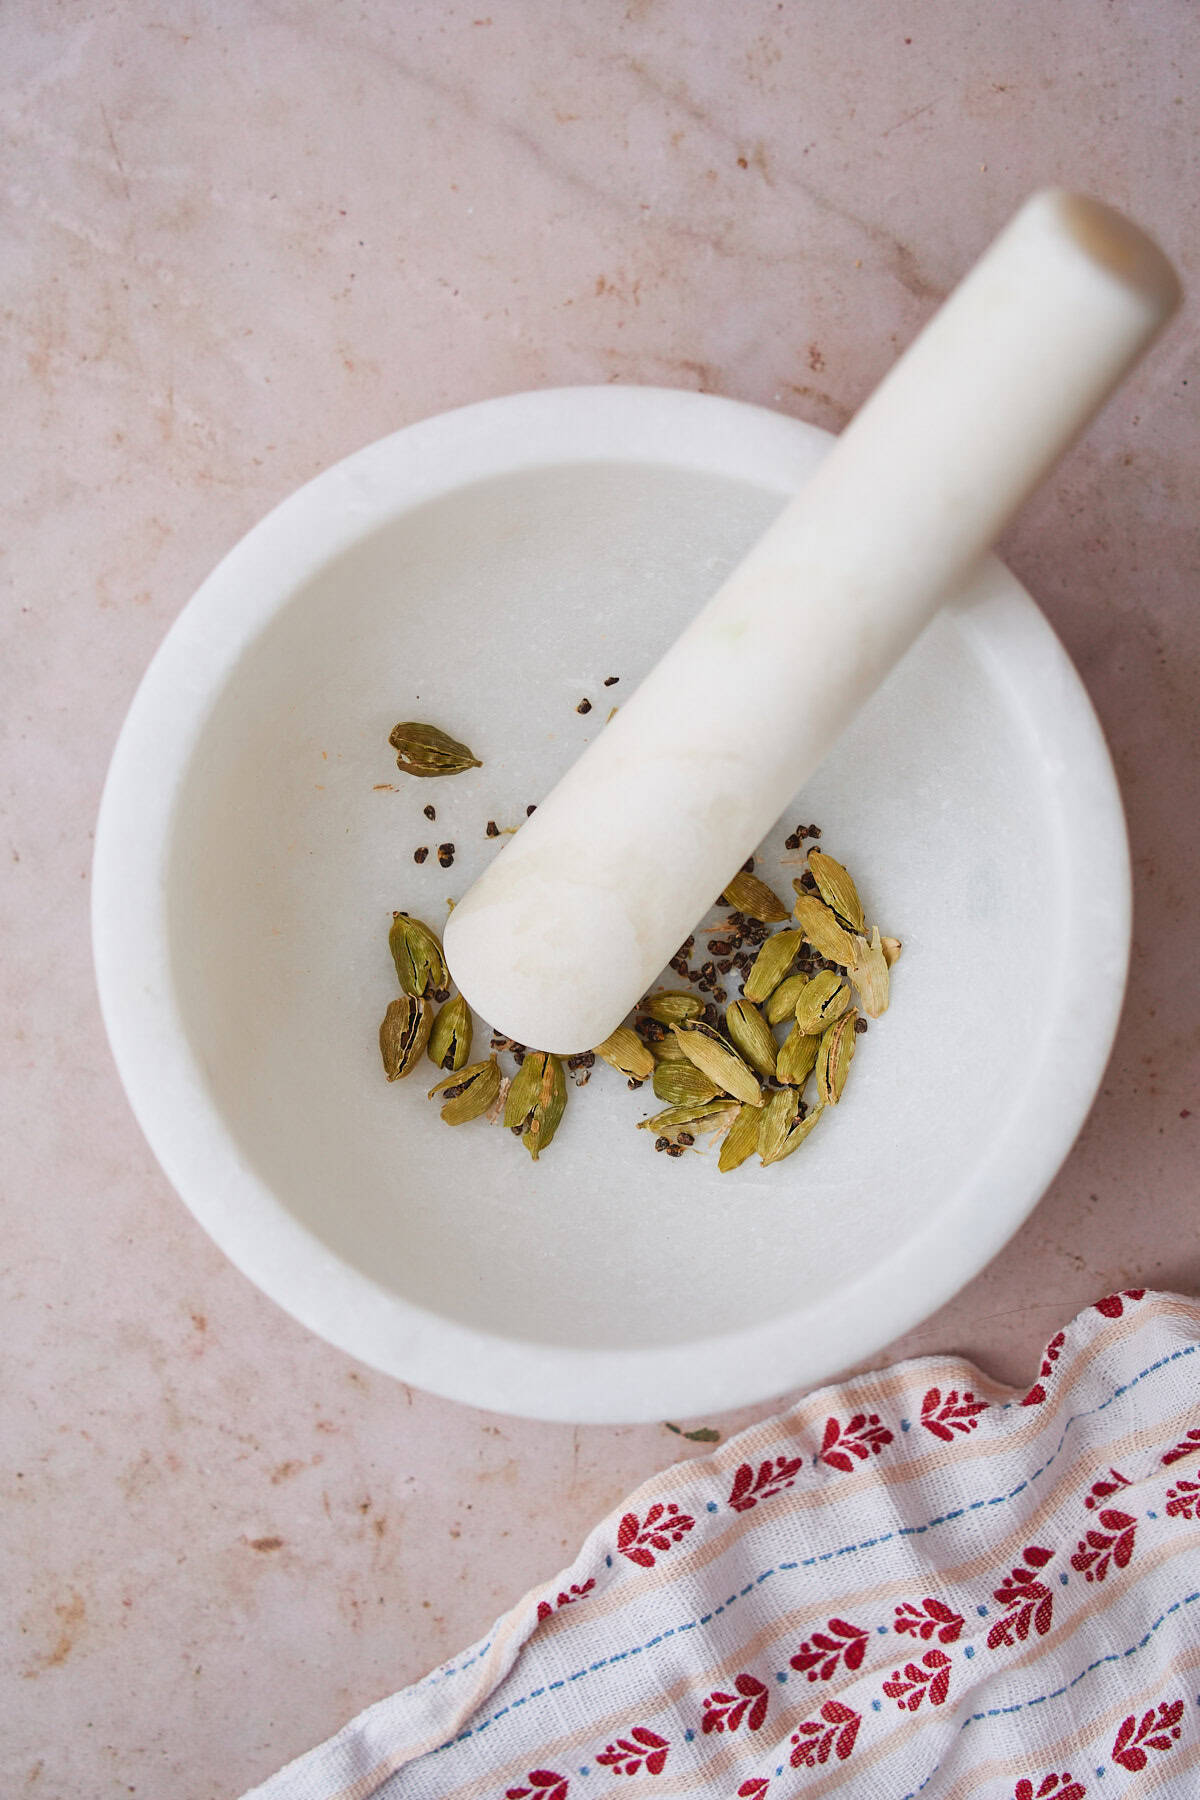
Crush cardamom pods in a mortar and pestle to release the seeds.
🔪 A mortar and pestle or spice grinder both work here - you just want to crush the pods and grind the seeds coarsely.
✨Fresh is best! We keep whole green cardamom pods on hand - the aroma is so much more potent than pre-ground. You can also buy decorticated cardamom seeds to make the job easier. Pre-ground works in a pinch - use the same amount, but add a bit more if it's been in your pantry a while.
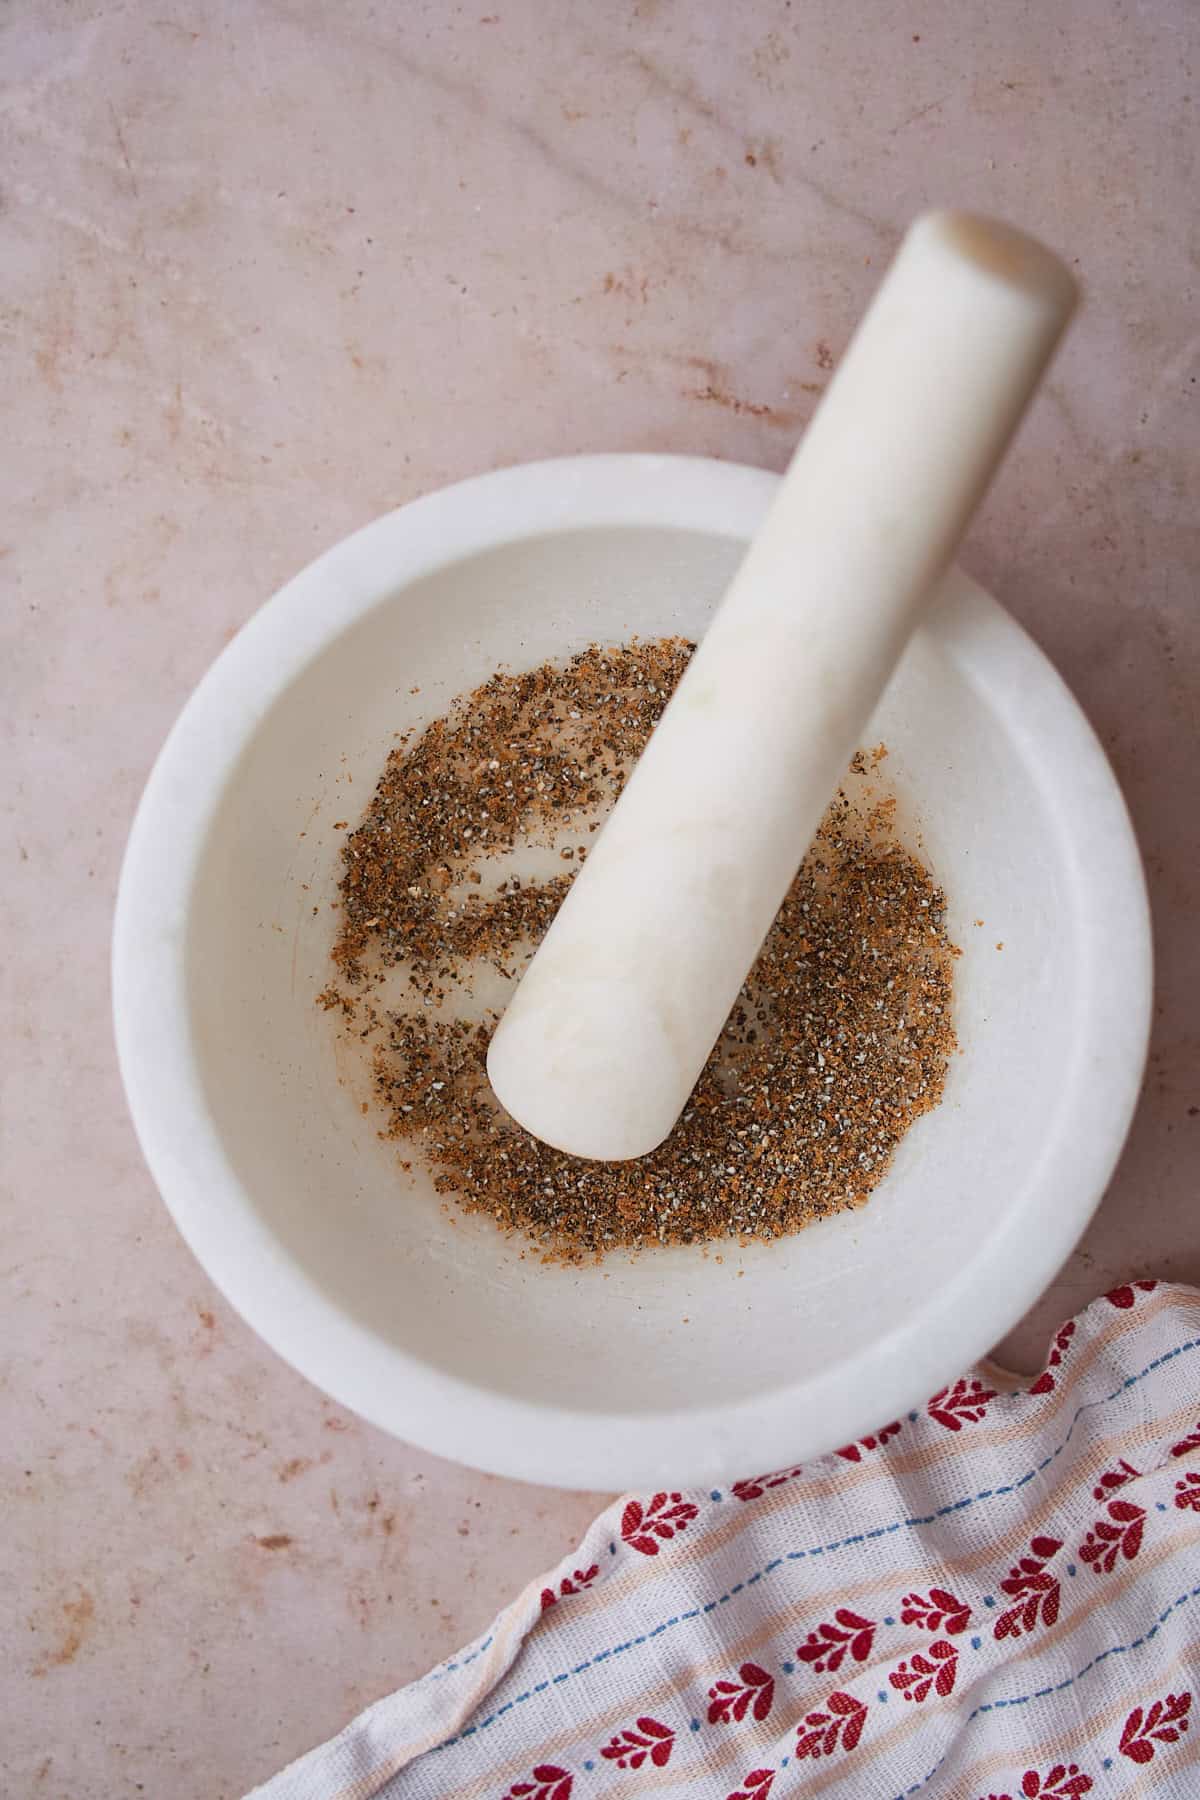
Remove the green shells, then grind the seeds coarsely. Set aside.
💡 Save those shells! They're great for flavoring tea or coffee. And don't stress about perfectly even grinding - those flecks of cardamom will look beautiful in your buns. New to cardamom? Start with less and work your way up.
Activate the Yeast
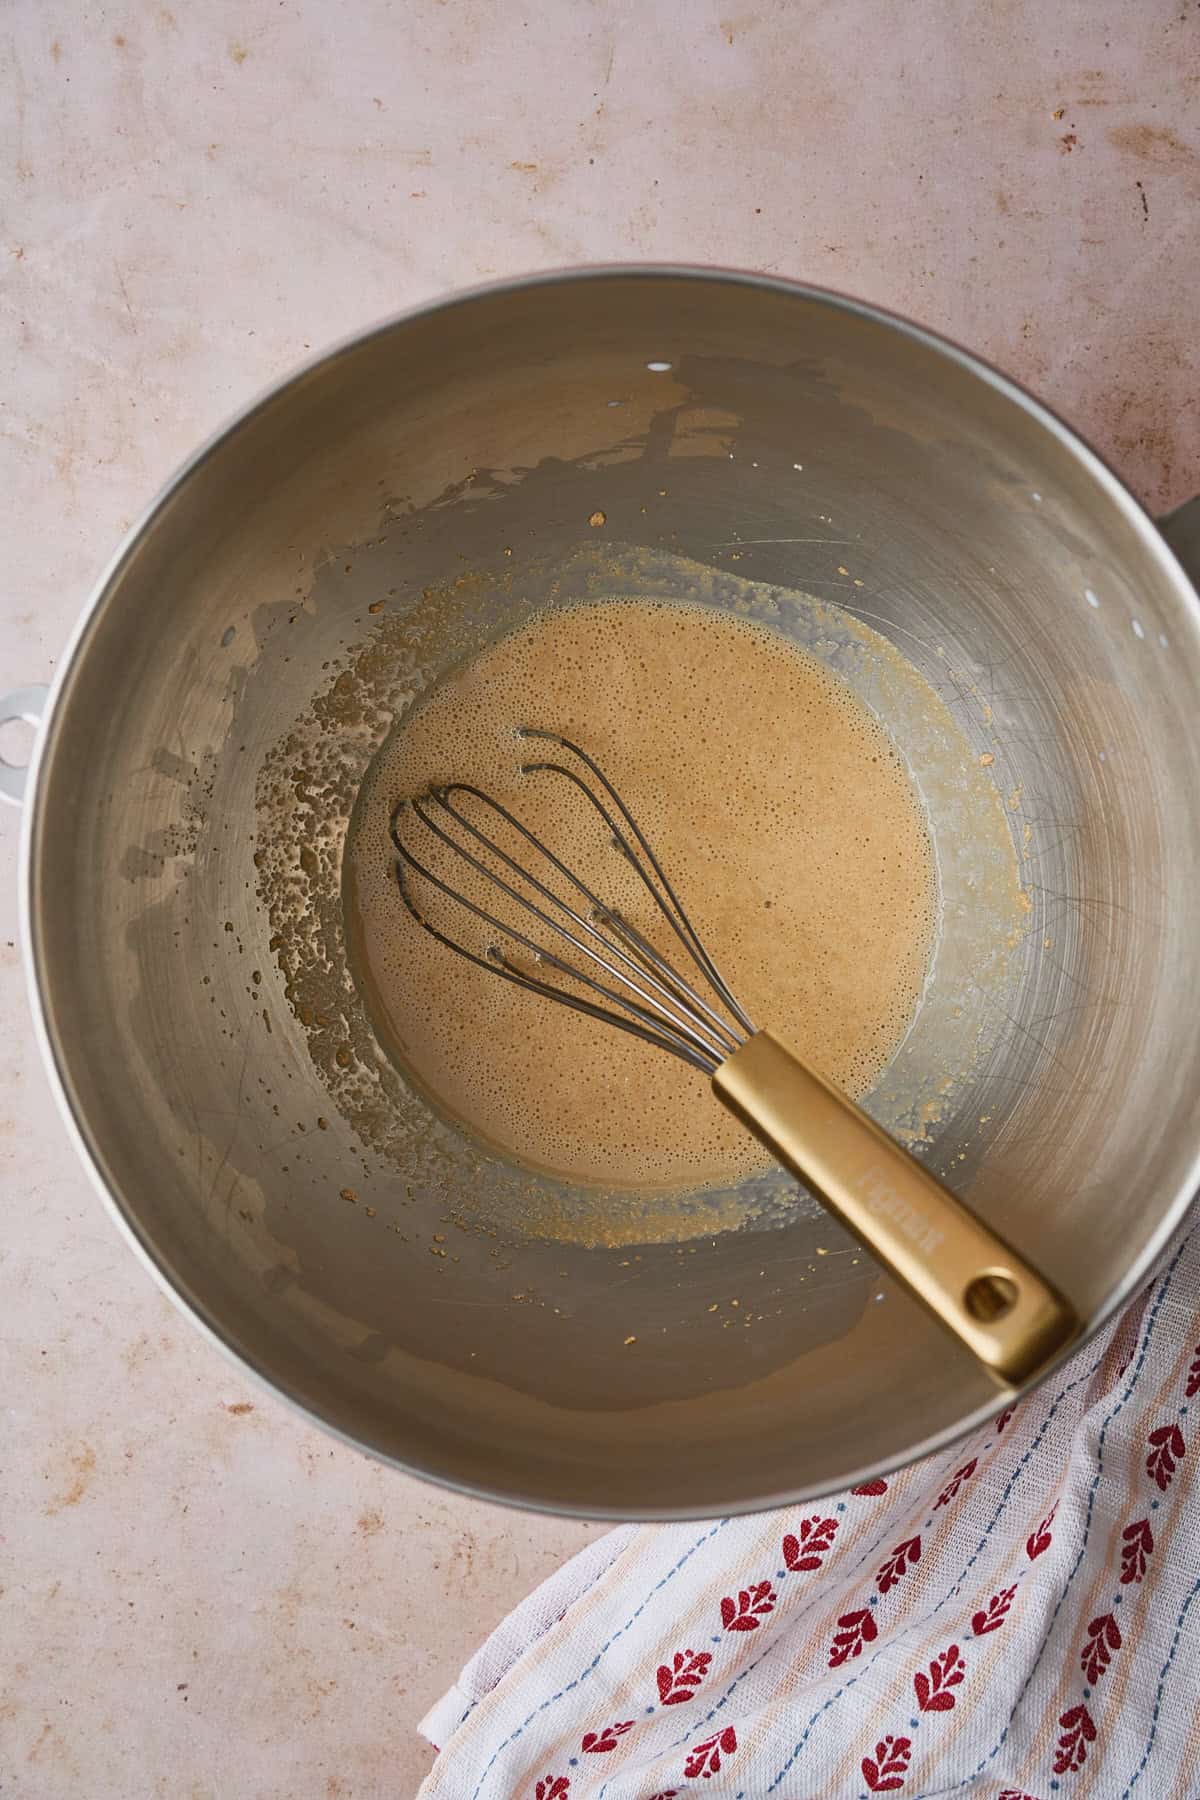
Warm the milk to 110-115°F (it should feel warm but not hot). Add the yeast and a pinch of the brown sugar, whisk, and let sit for 5-10 minutes until foamy.
🌡️ Temperature matters! If your milk exceeds 120°F, it will kill the yeast. If the mixture doesn't get foamy, your yeast is dead - start over with fresh yeast. To make your life a little easier, use an instant-read thermometer to ensure your liquid is at the right temperature.
💡 Using instant yeast? You can technically skip proofing, but we always recommend this step to make sure your yeast is alive - especially if it's been sitting in the pantry a while!
Make the Dough
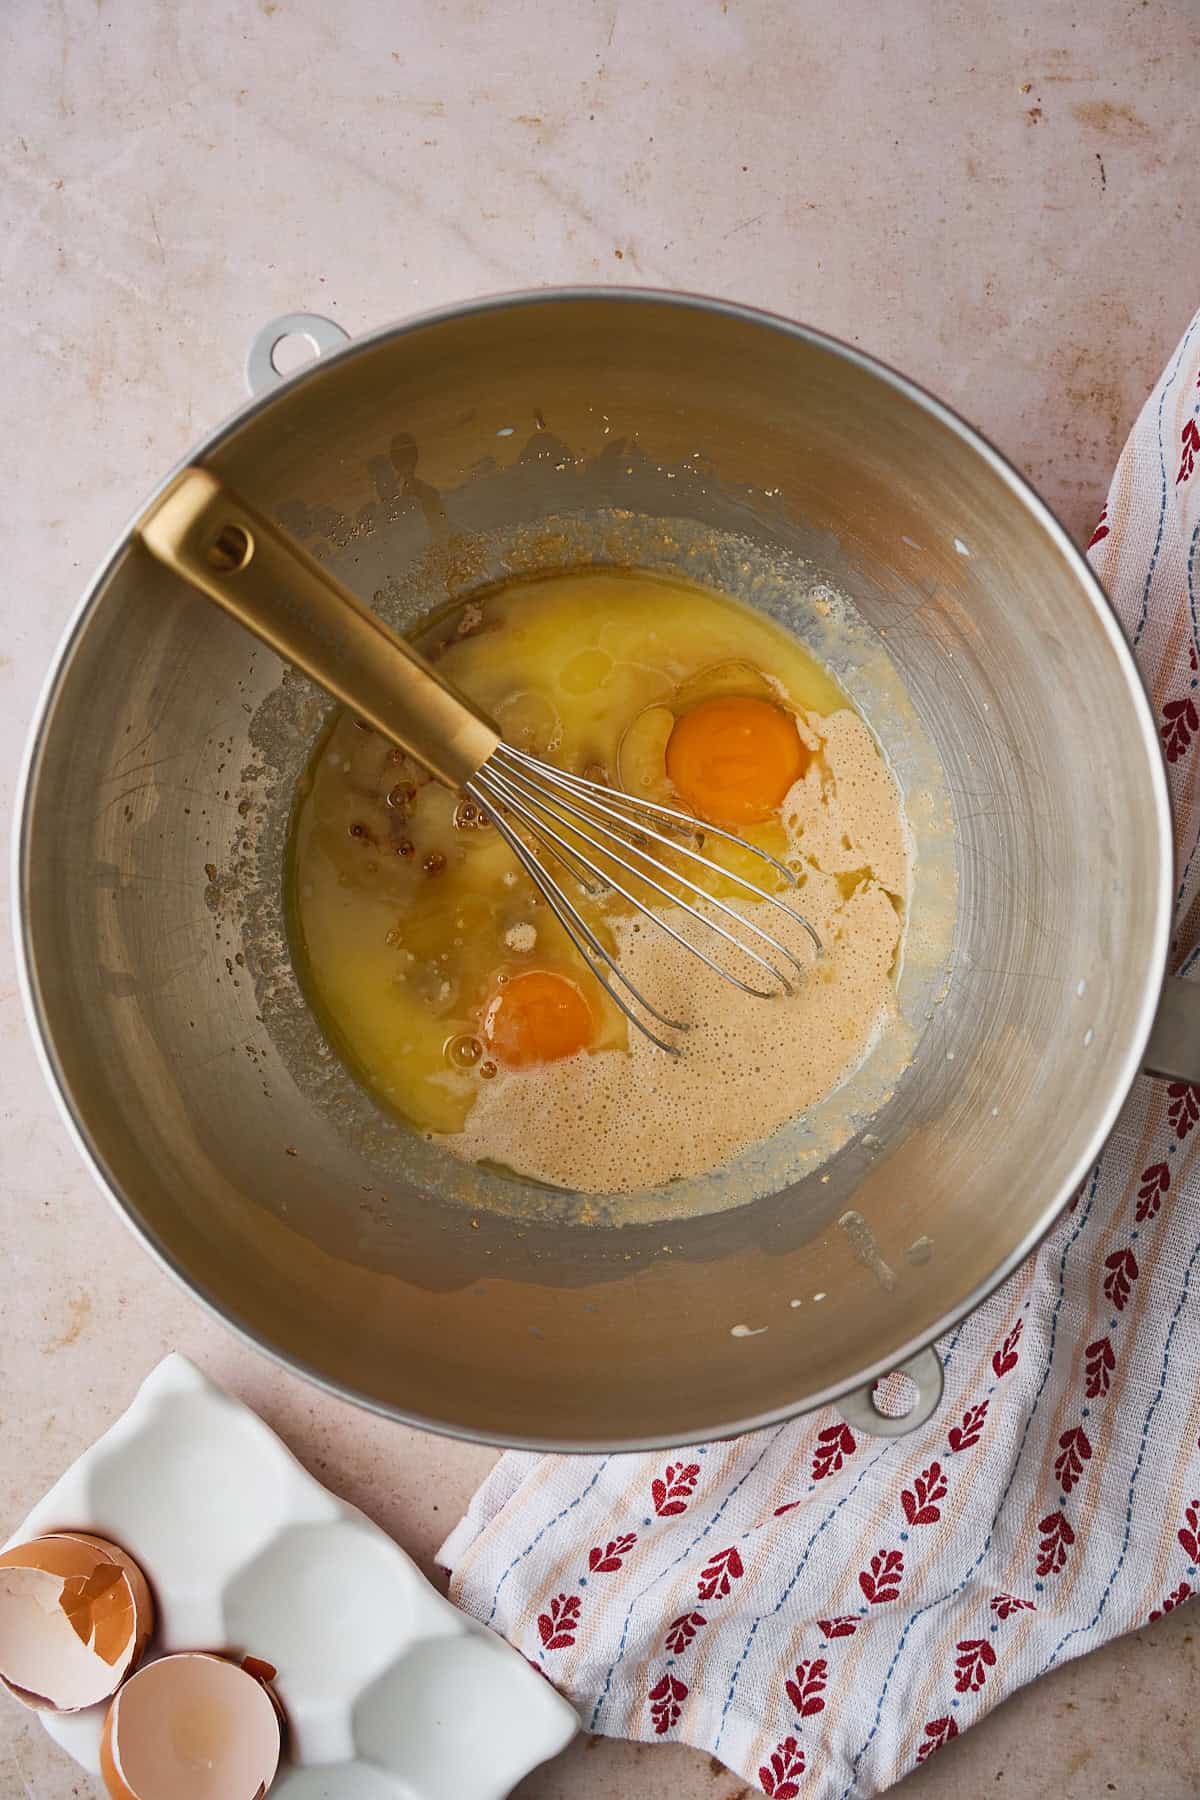
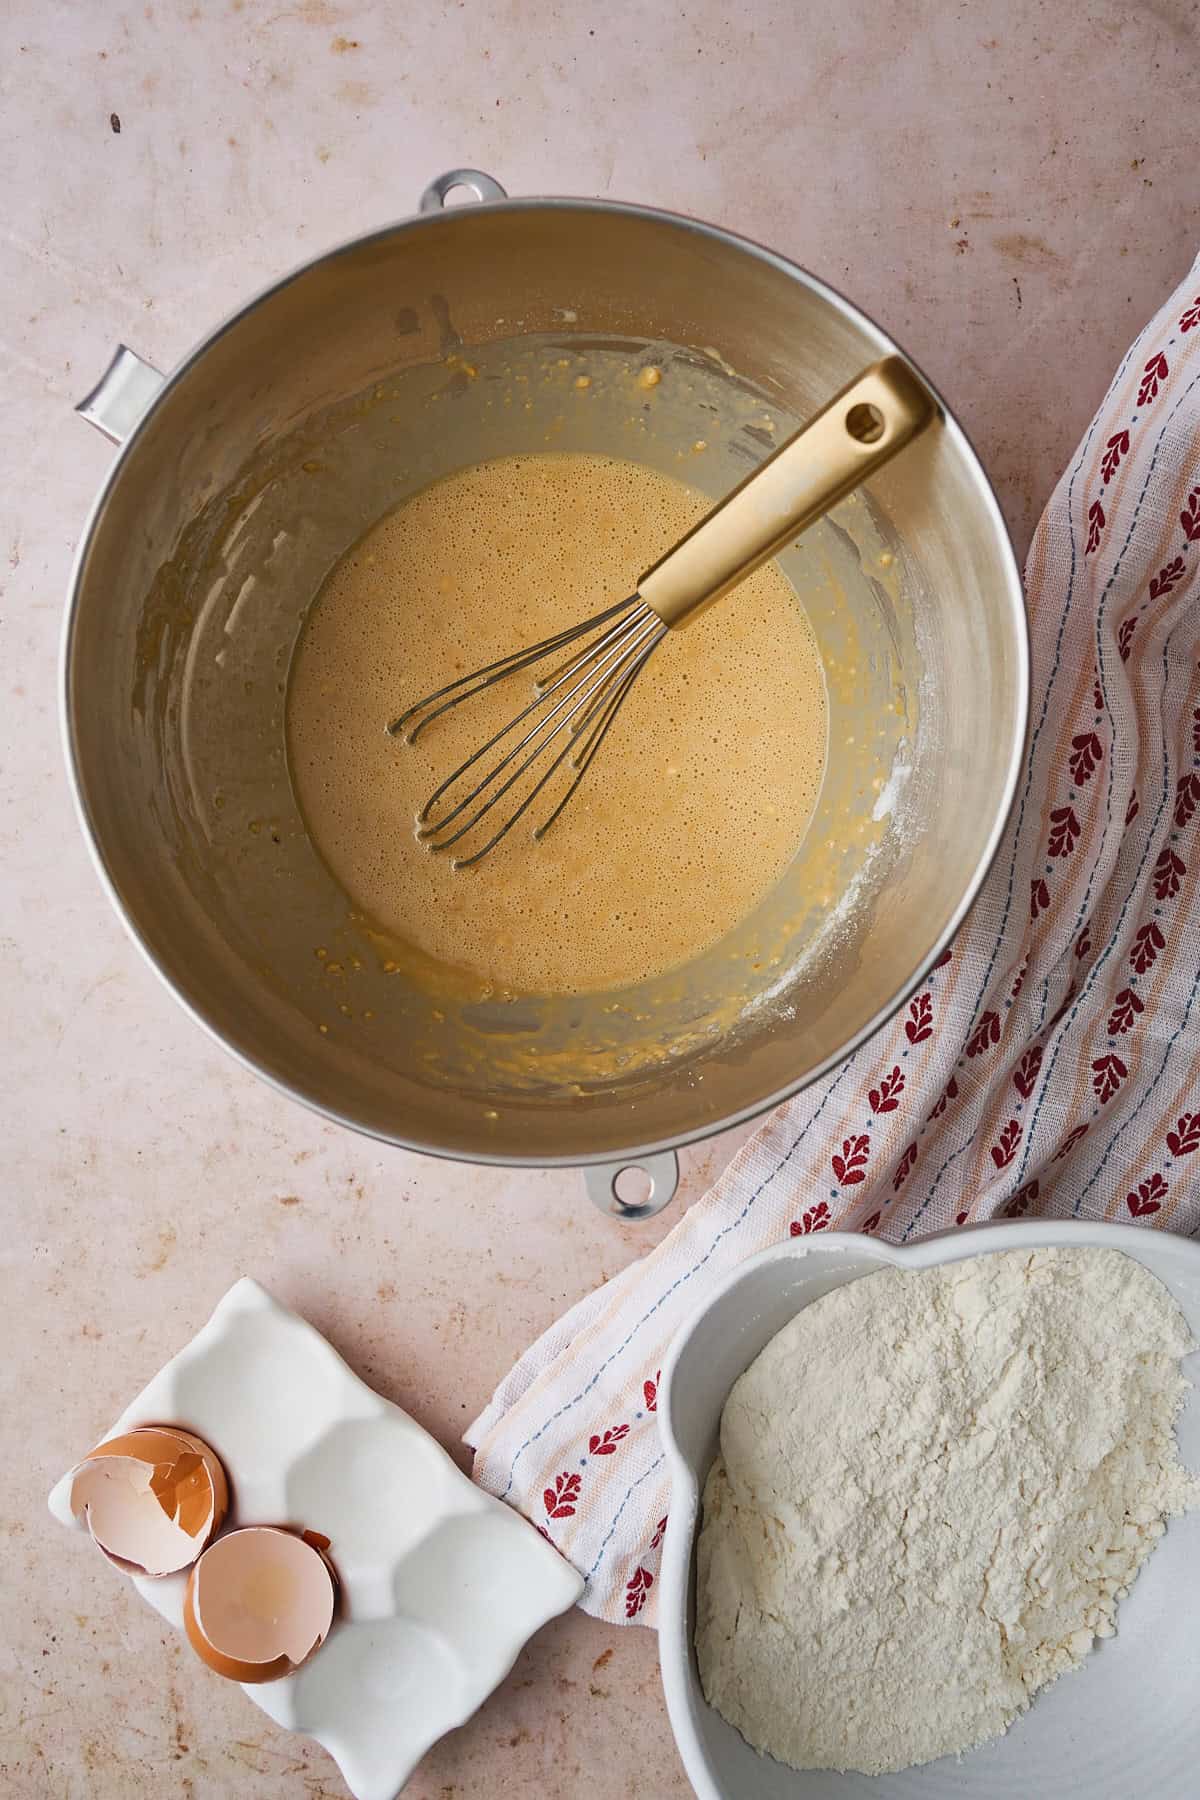
To the bowl with your activated yeast, add the egg, egg yolk, melted (and cooled!) butter, and vanilla. Whisk until smooth.
🥚 Why the extra yolk? This is what makes our version softer and fluffier than traditional recipes. The extra fat creates a richer, more tender crumb that stays soft longer!
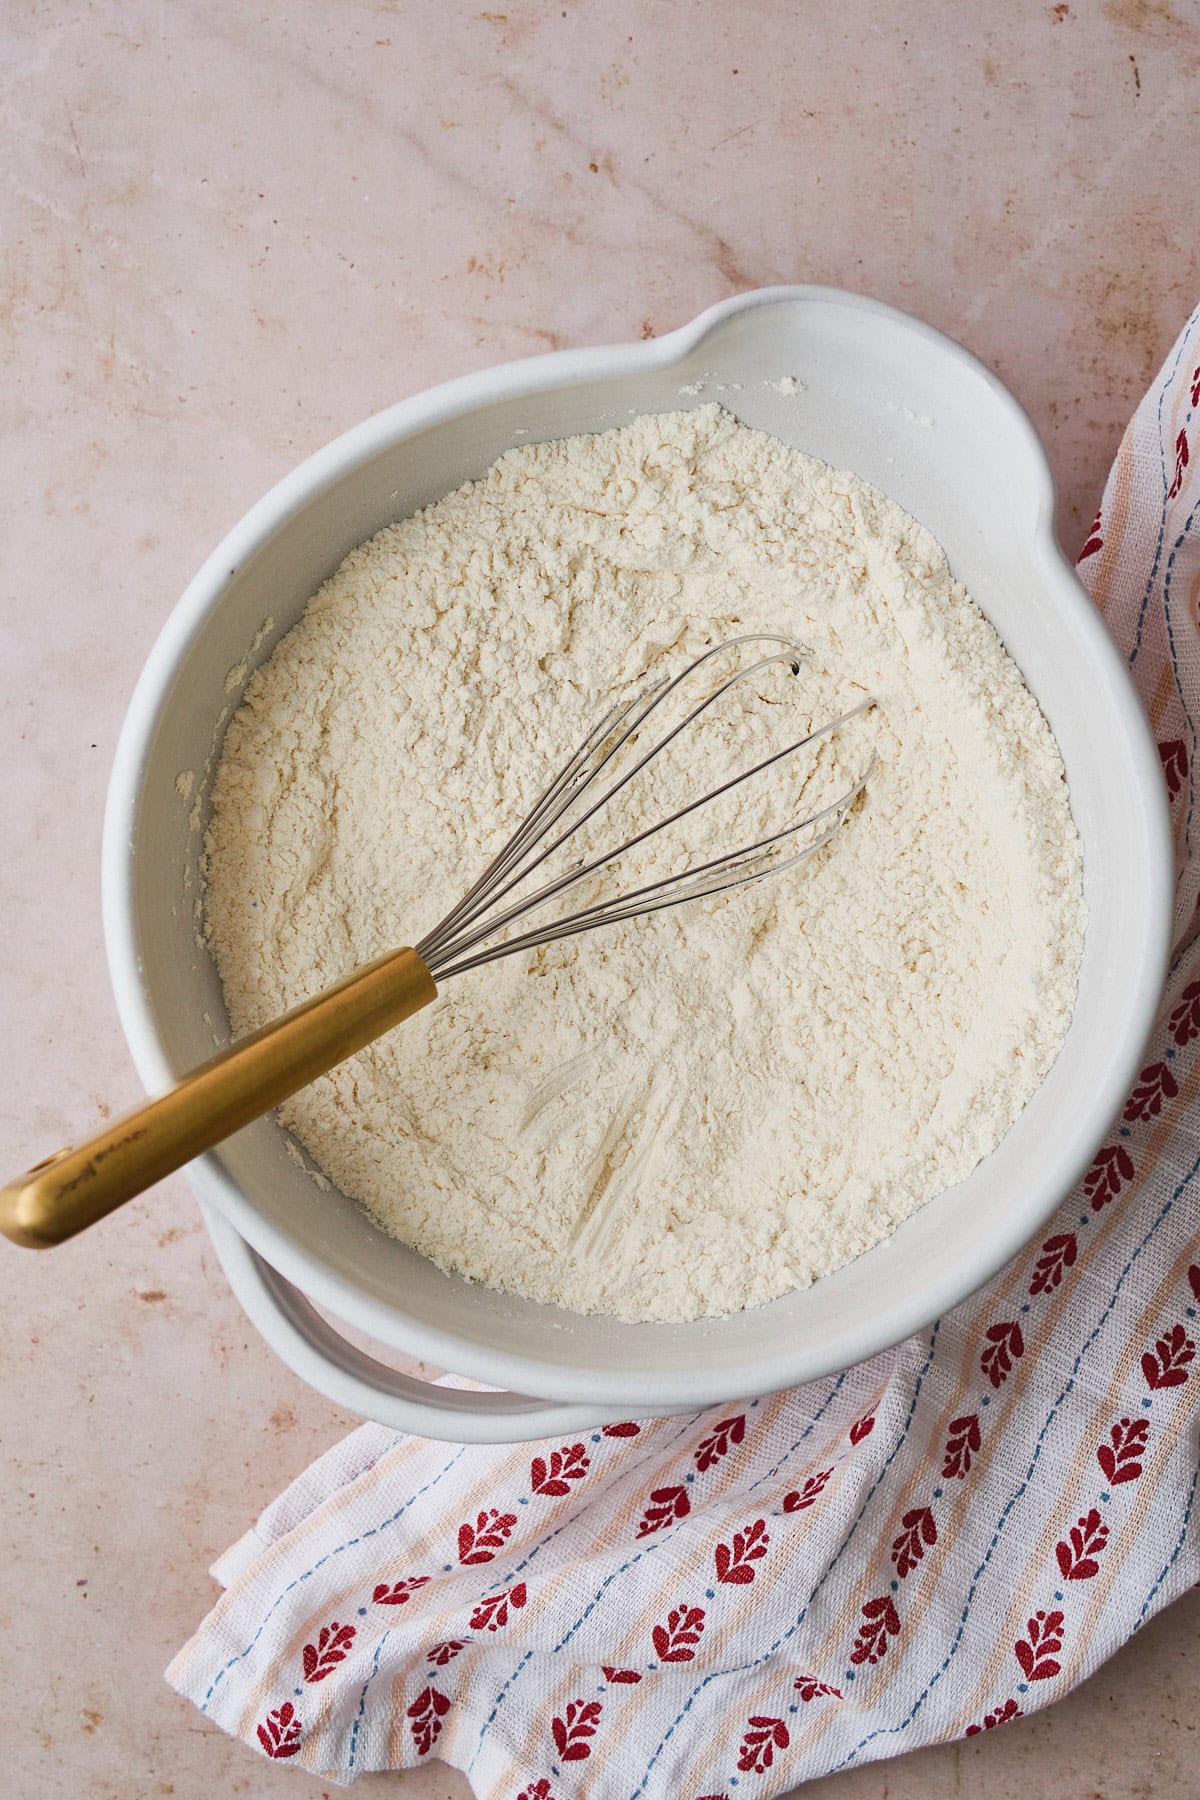
In a separate bowl, whisk together the flour, ground cardamom, and salt.
Add about ⅓ of the dry ingredients to the wet mixture and whisk to combine.
🧈 Check your butter temp! If the melted butter is still hot when you add it to the yeast mixture, it can kill the yeast. Let it cool until just warm.
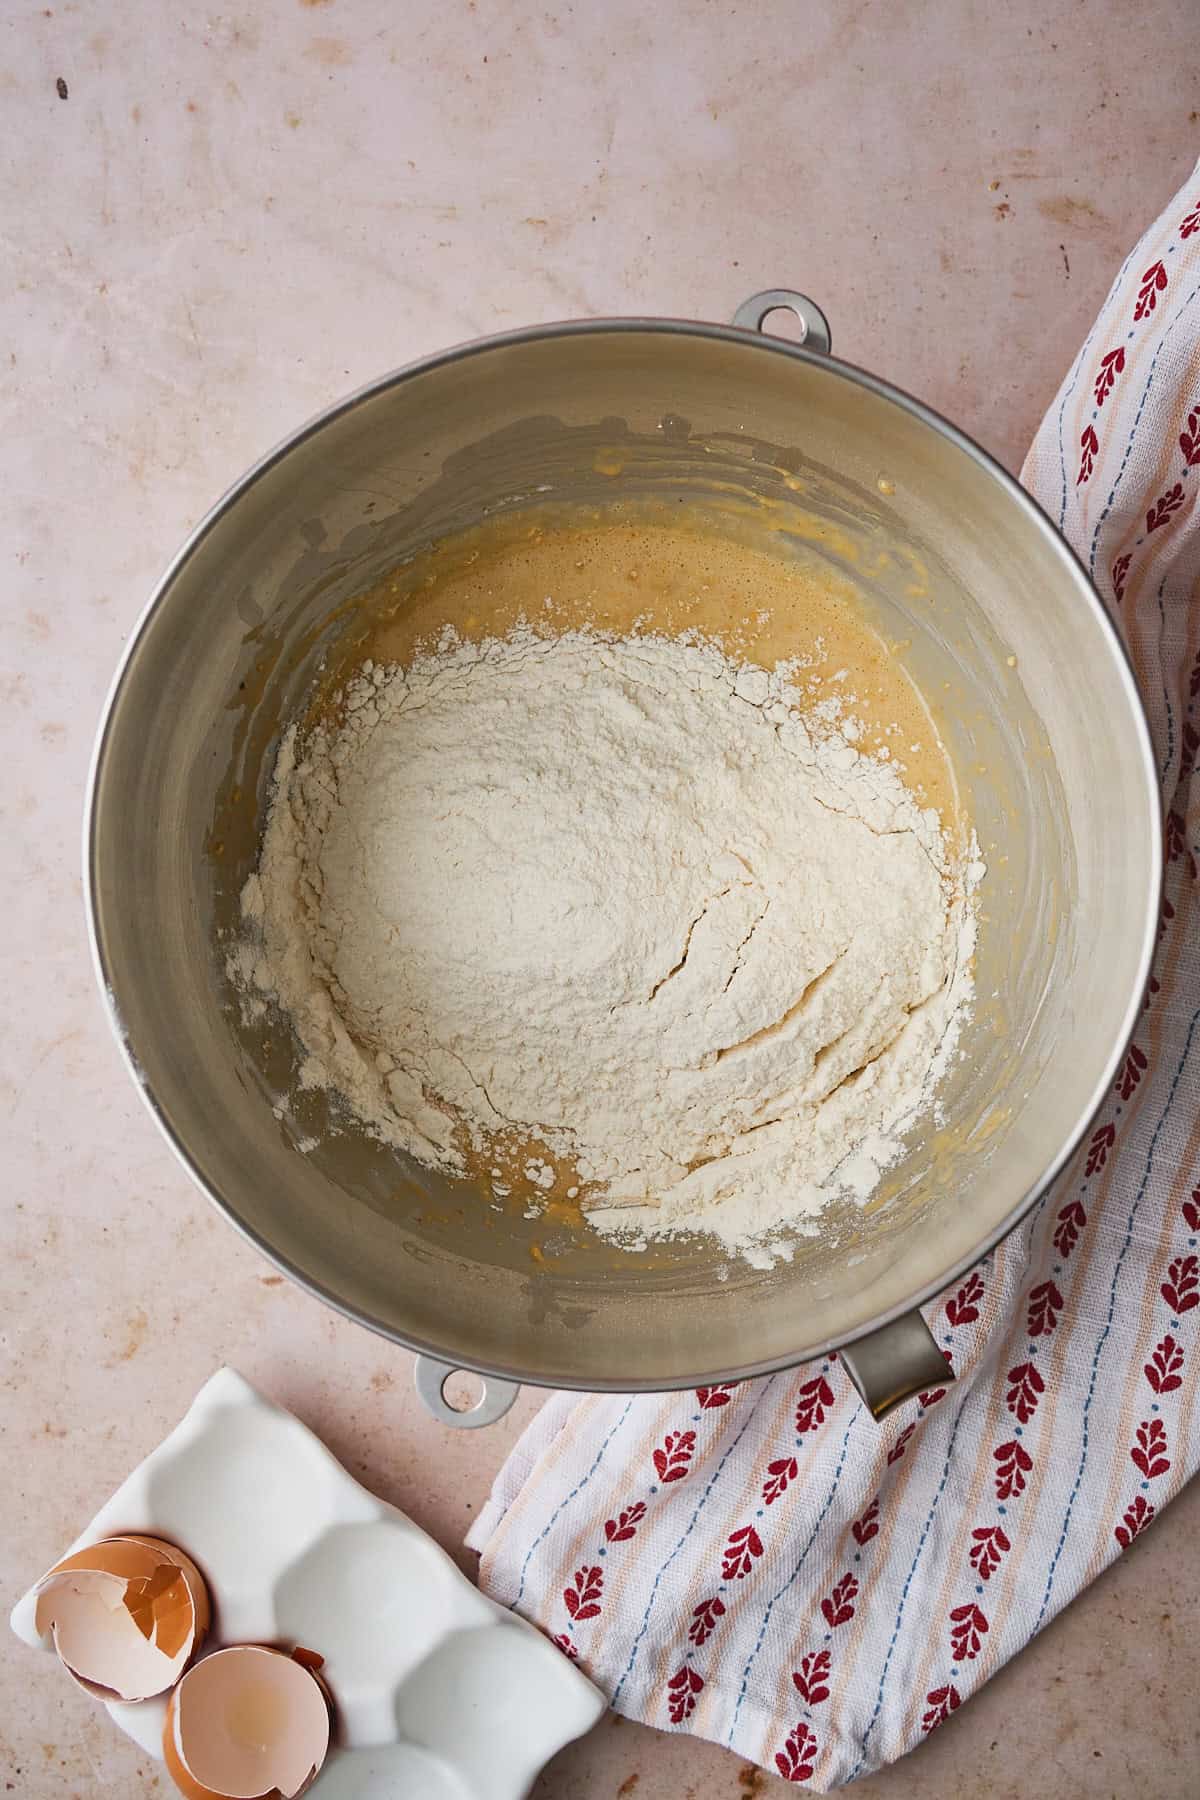
Add the remaining dry ingredients.
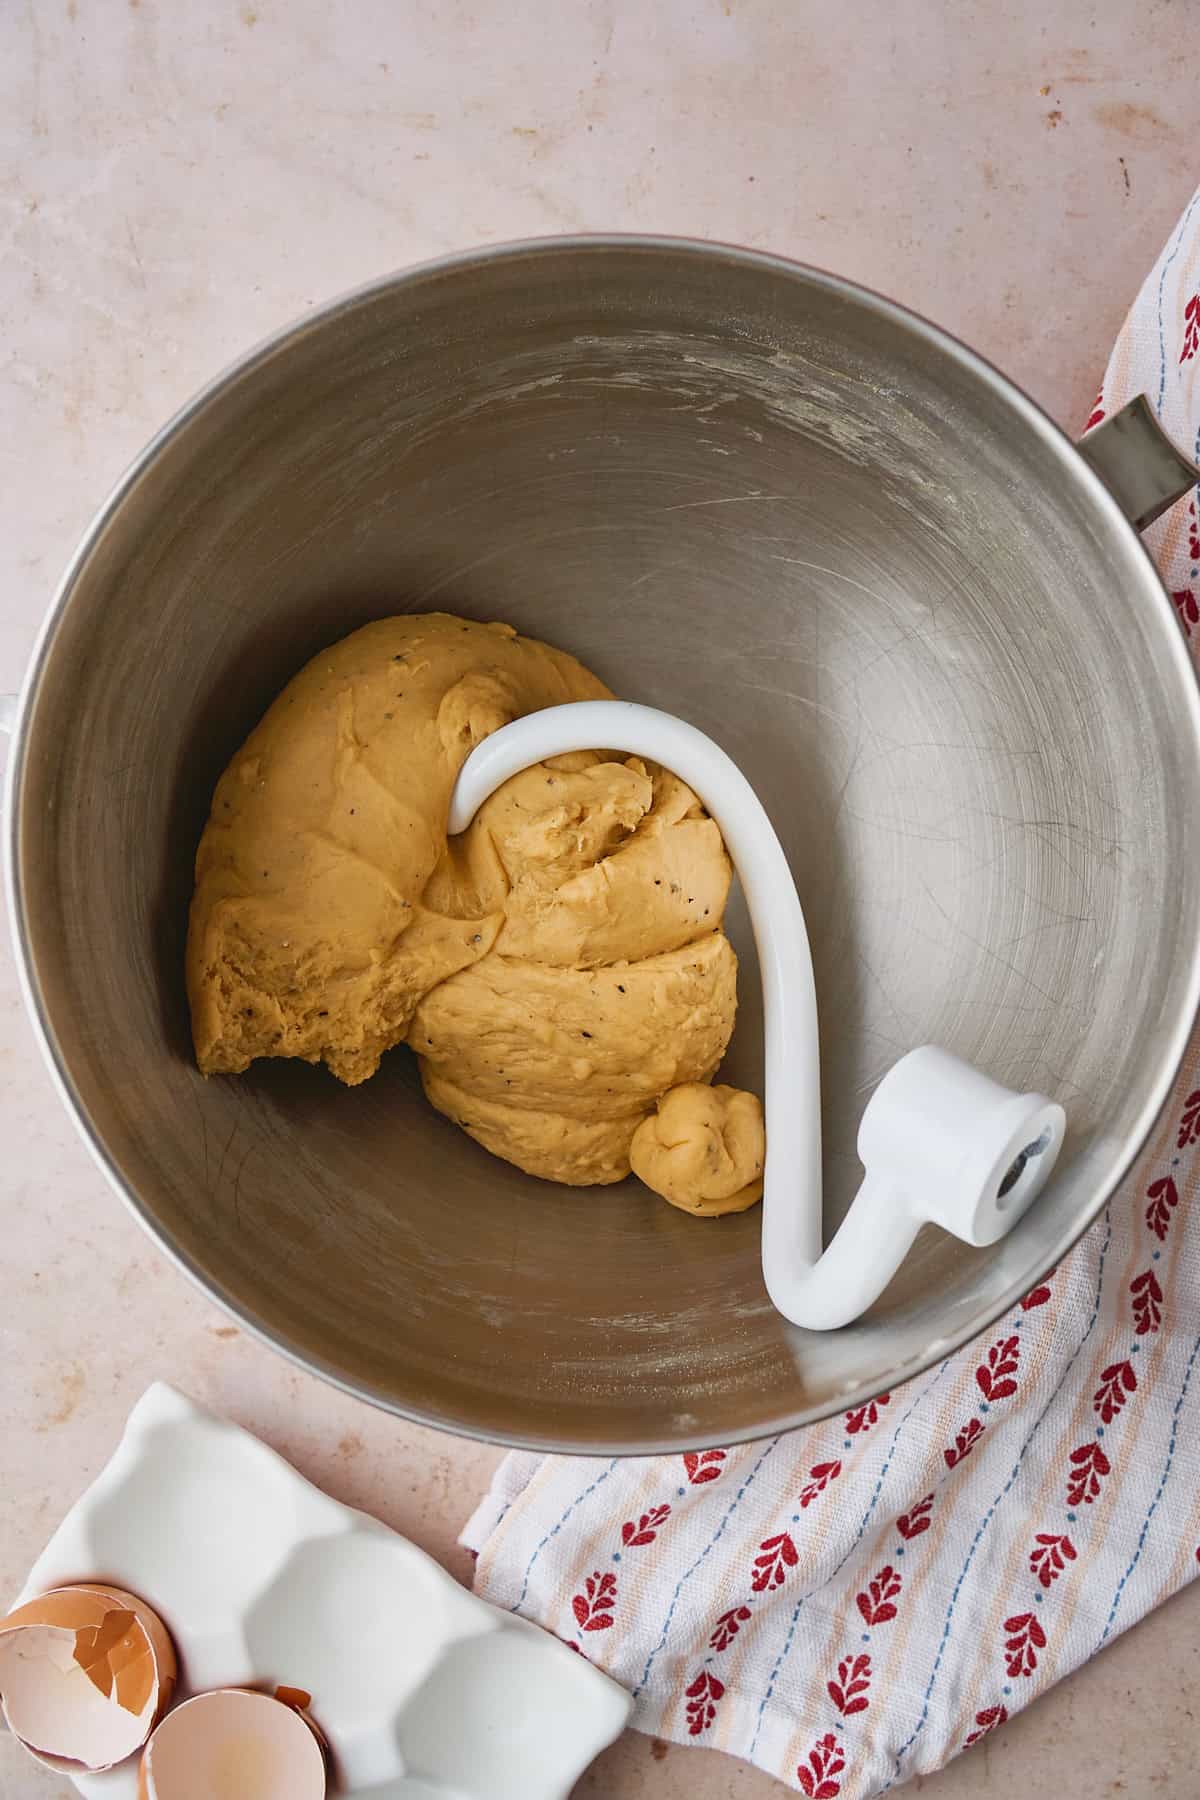
Switch to a dough hook. Knead on low speed for 8-12 minutes until the dough is smooth, elastic, and pulls away from the sides of the bowl.
The windowpane test: Stretch a small piece of dough thin - if you can see light through it without it tearing, you're good! This means the gluten is properly developed for soft, fluffy buns.
First Rise
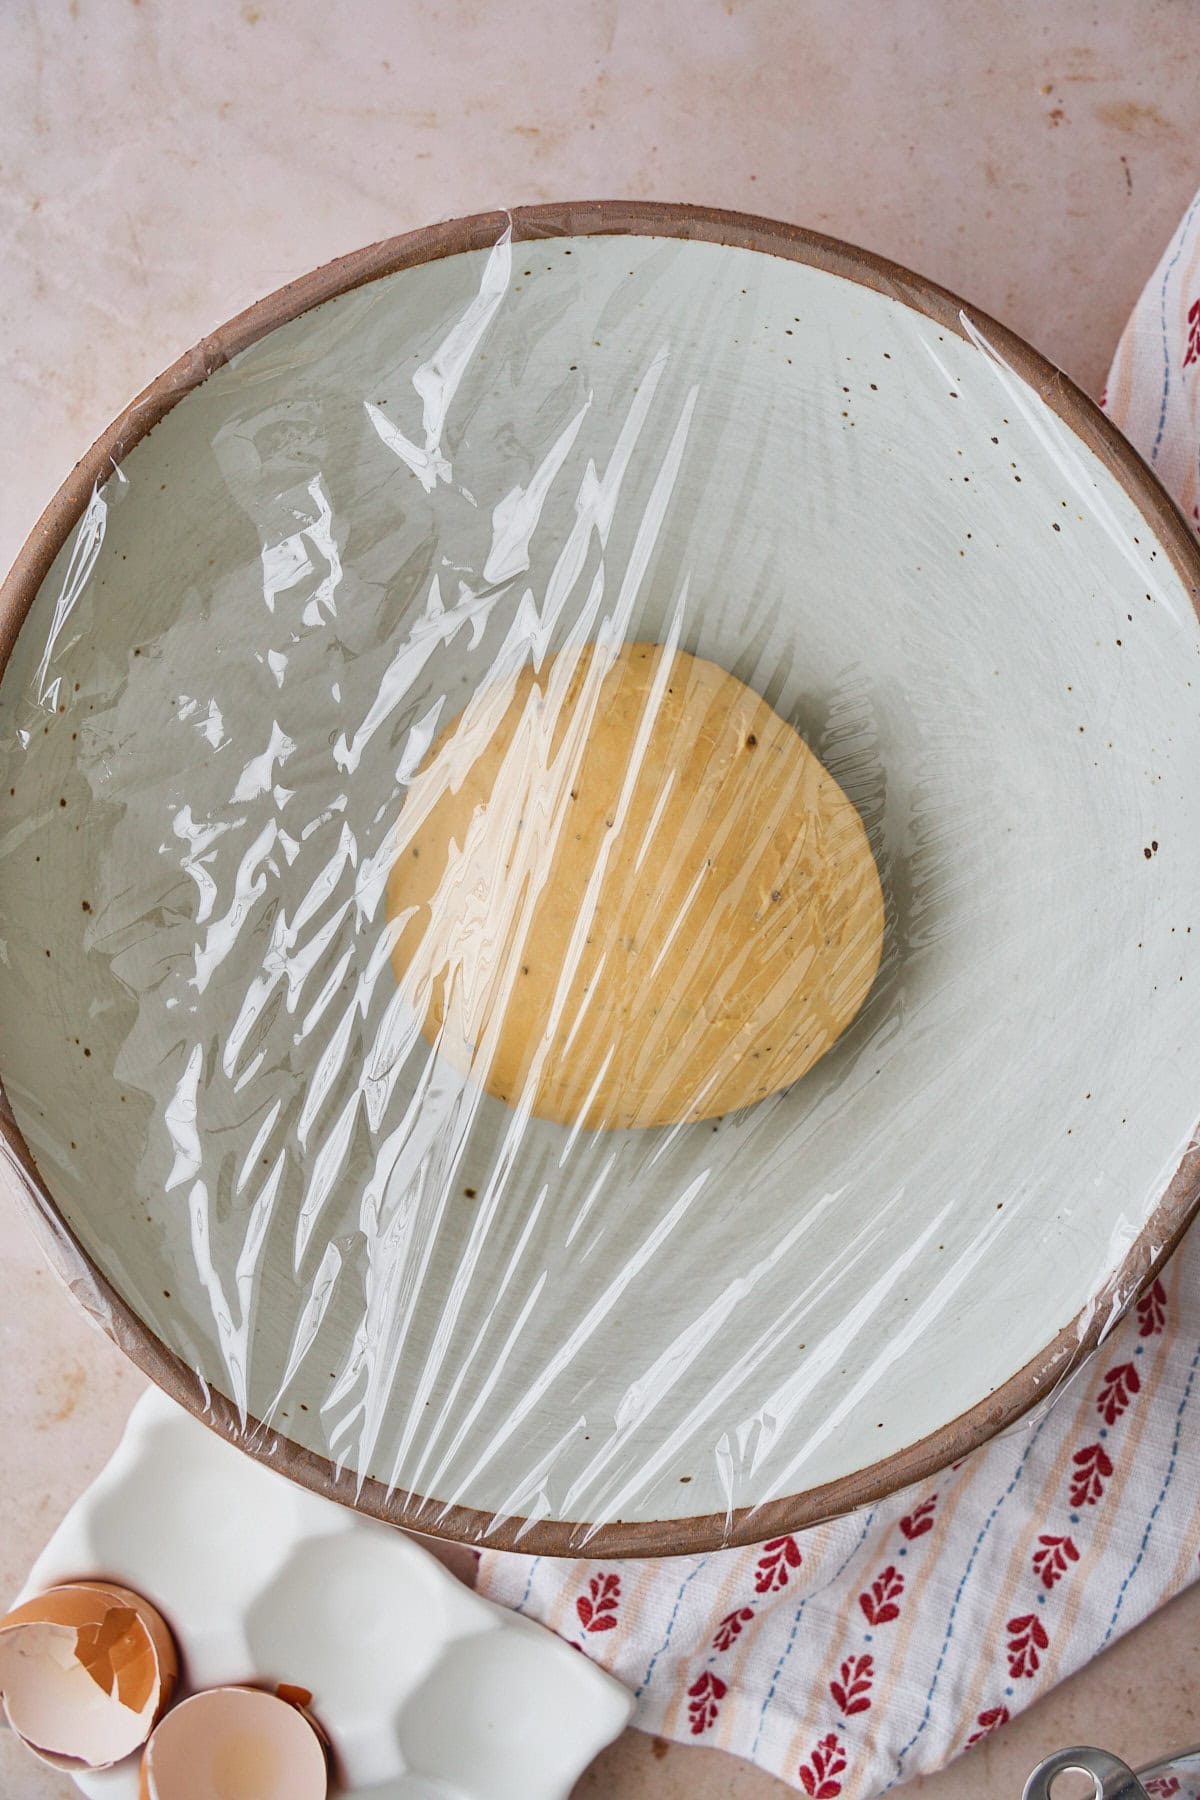
Place the dough in a greased bowl and cover.
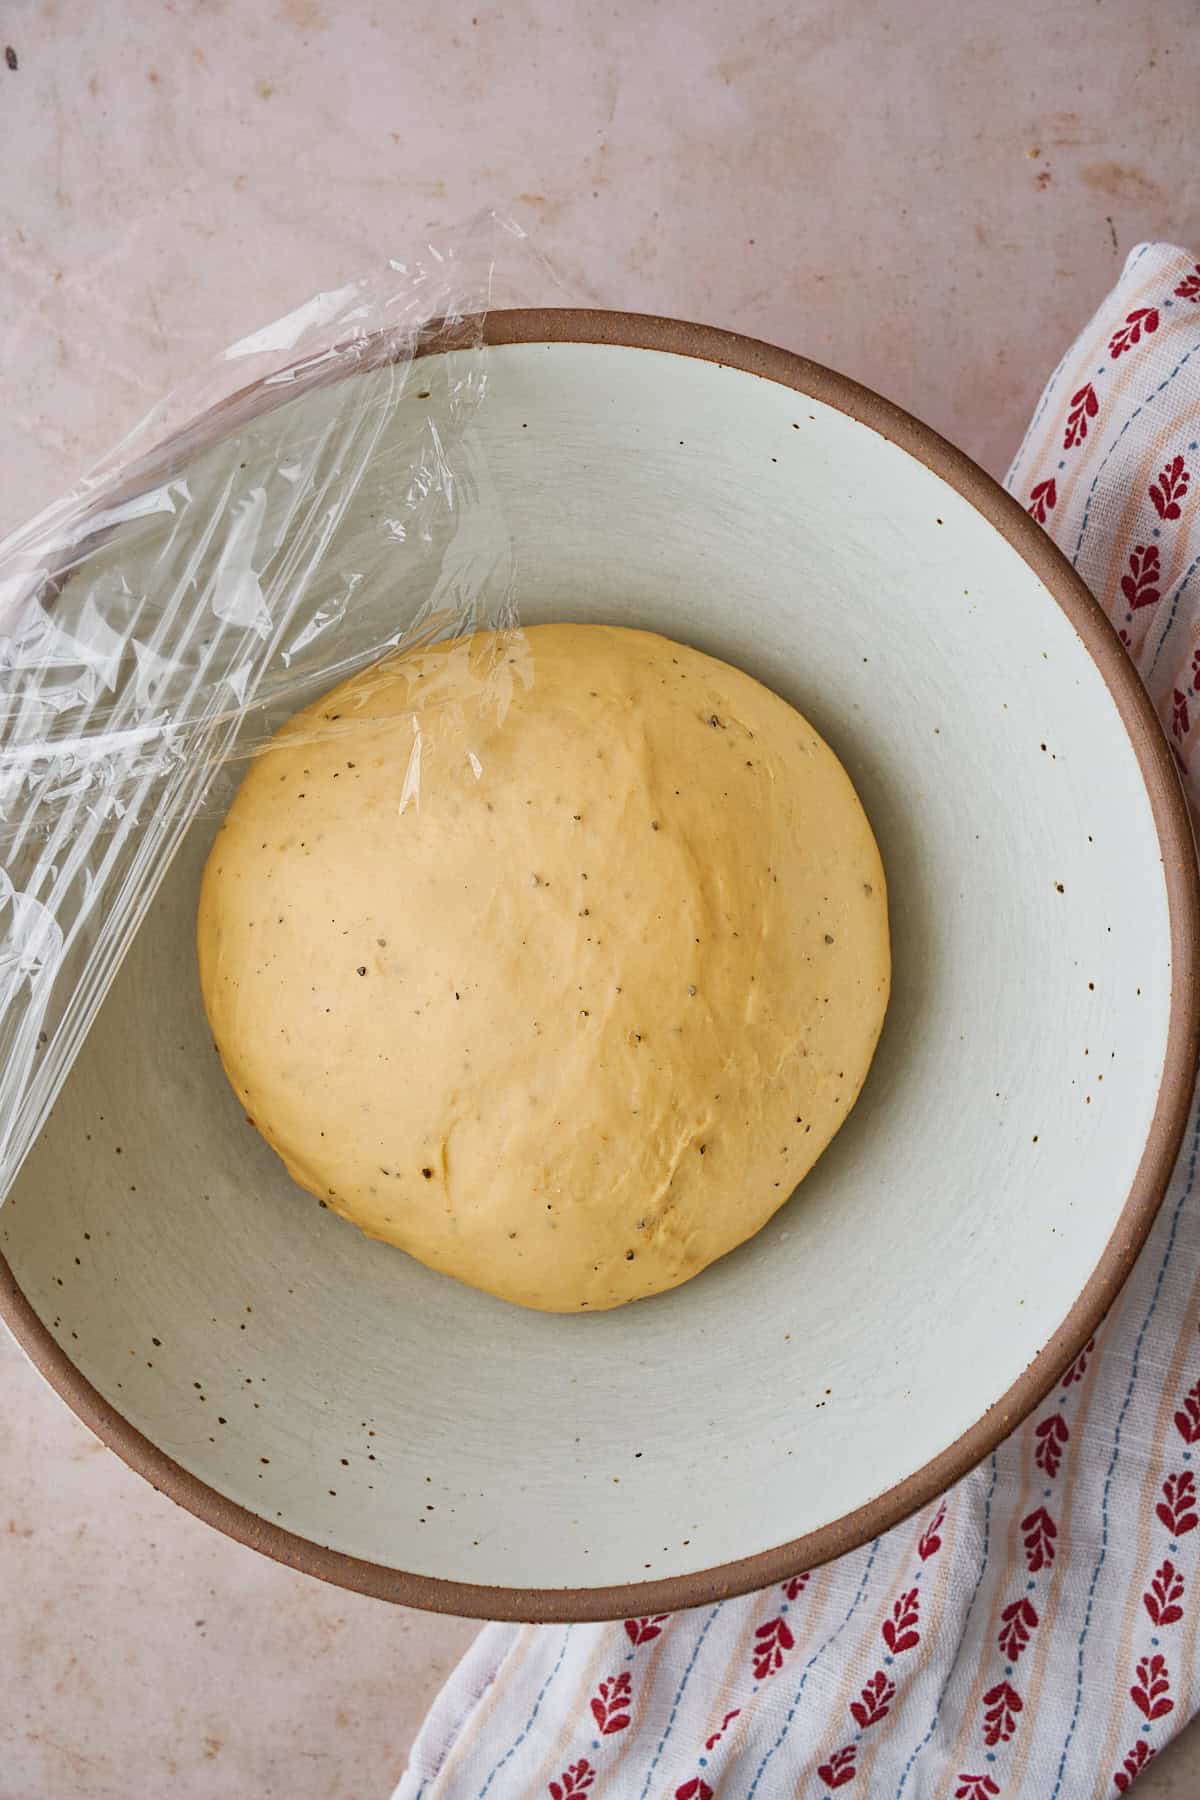
Let rise in a warm spot for about 1 hour, or until doubled in size.
💡 How to know it's ready: Press the dough lightly - if the indent stays, it's ready. If it springs back, give it more time. But don't let it overproof, or the yeast will run out of energy before baking!
Make the Filling
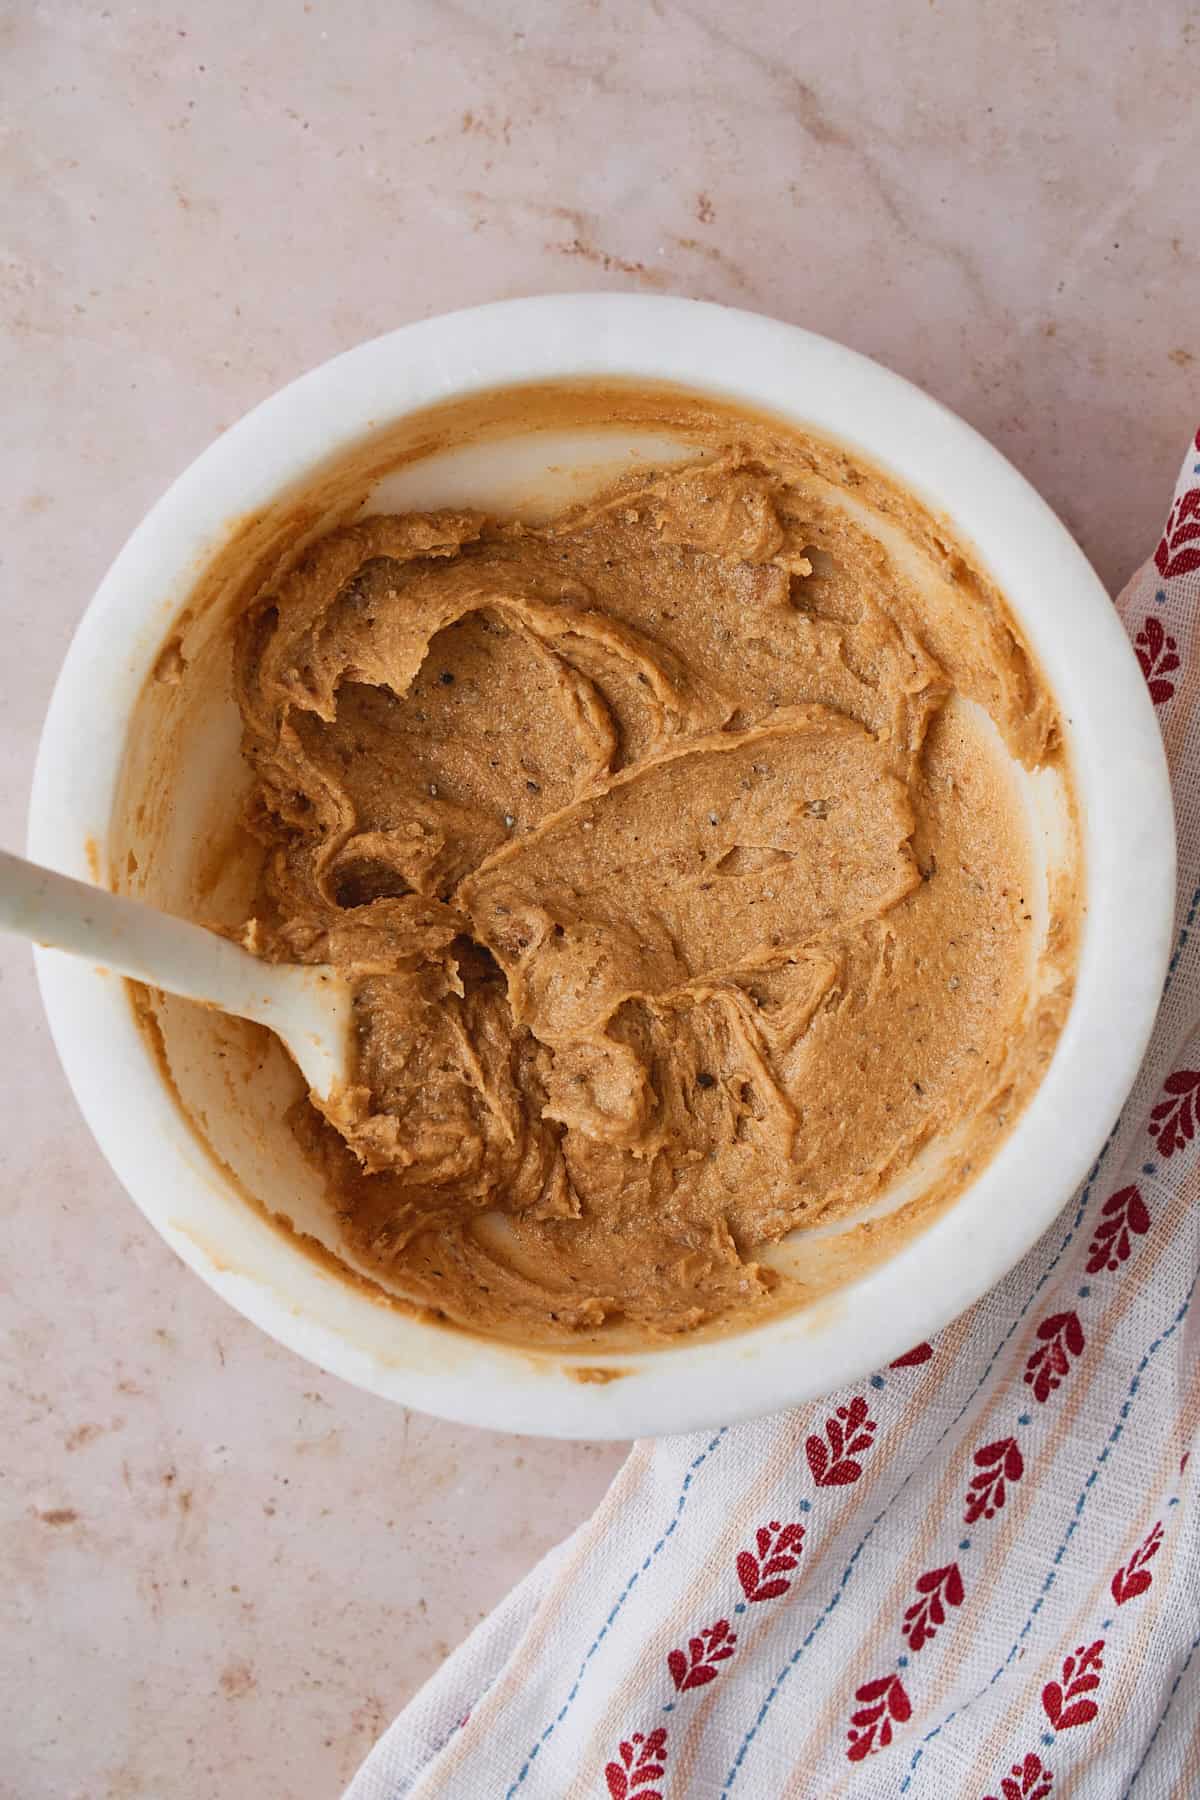
While the dough rises, mix softened butter, dark brown sugar, ground cardamom, salt, and vanilla bean paste (if using) until smooth.
Our twist on tradition: Traditional recipes use white sugar, but we love dark brown sugar in the dough AND the filling for that deep, molasses-y richness. The vanilla bean paste isn't traditional either - but trust us, it makes these buns extra special. Regular brown sugar and vanilla extract work too!
Fill and Cut
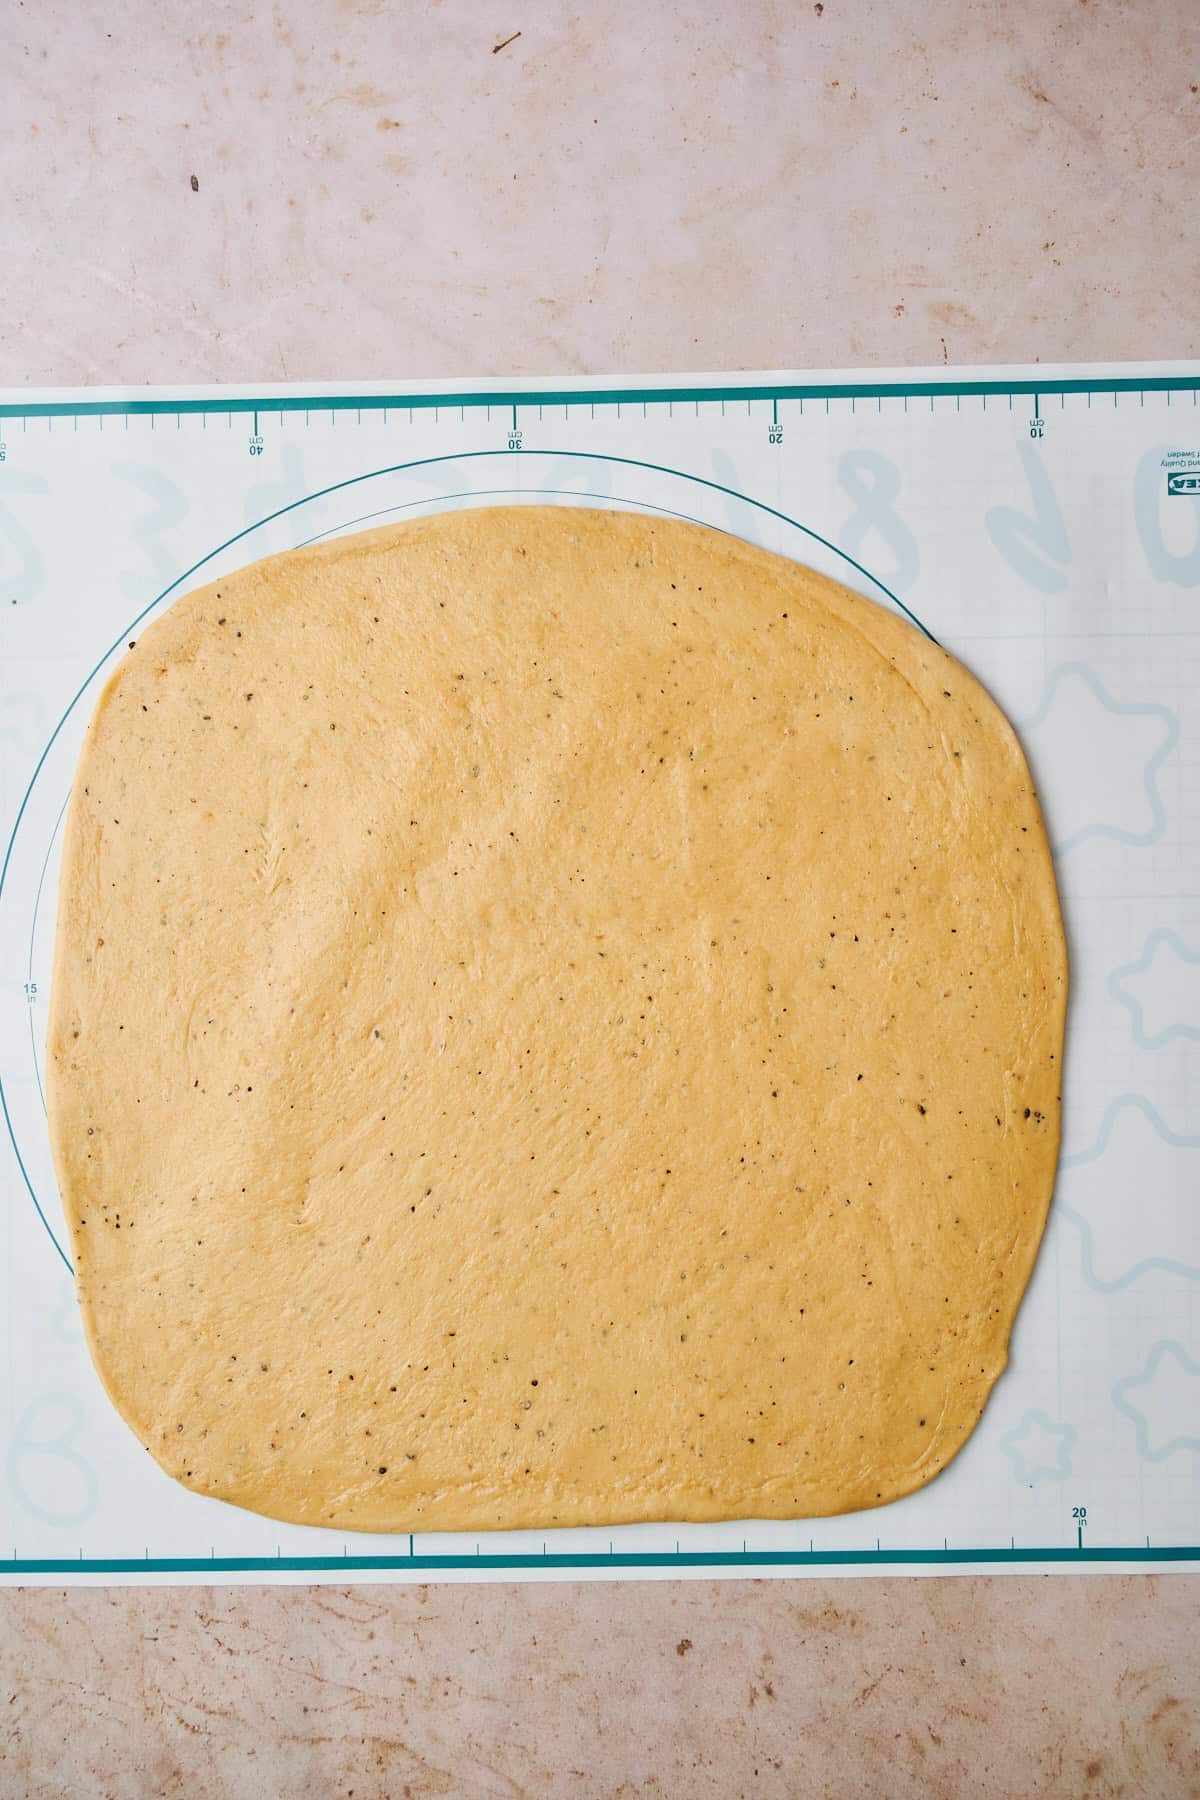
Punch down the risen dough and roll it into a roughly 16x20-inch rectangle. Don't stress about perfection here!
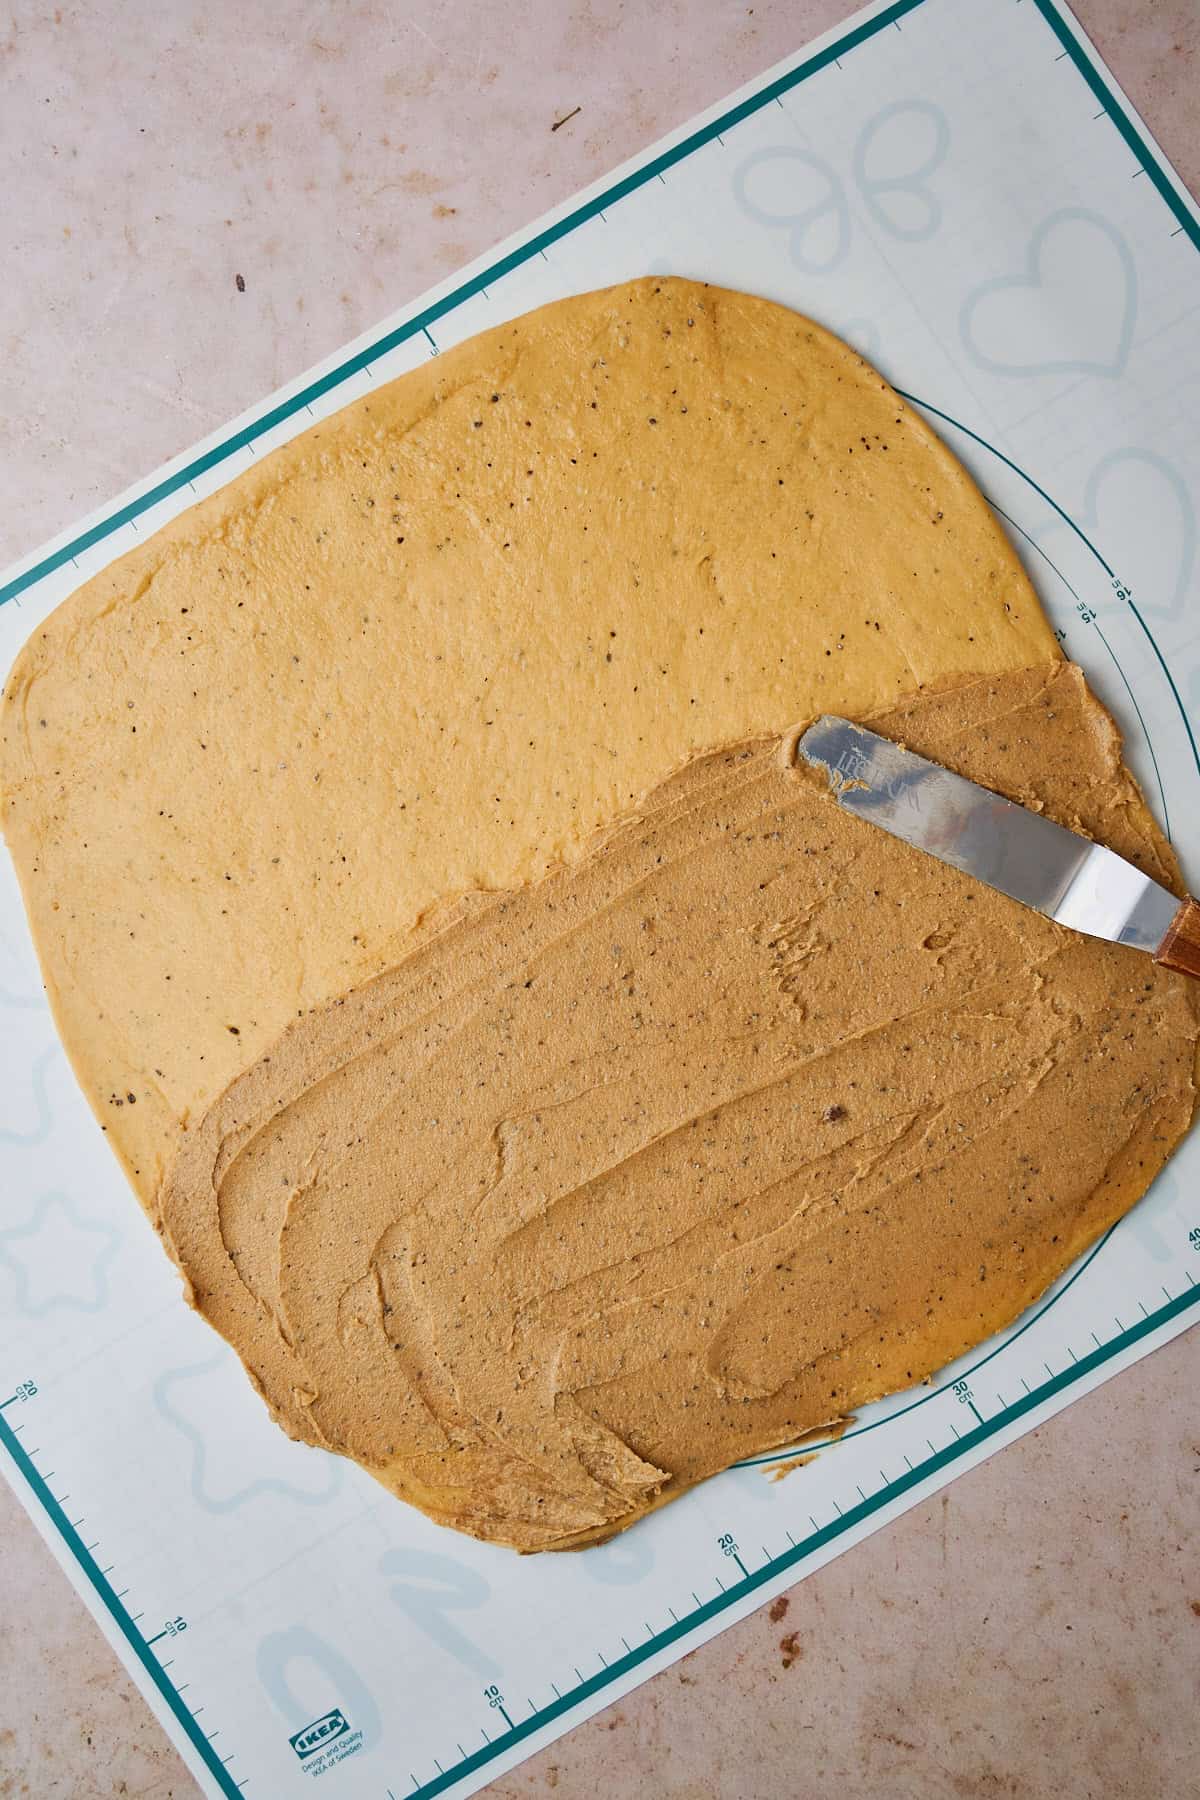
Spread the filling evenly over HALF of the dough.
💡 No extra flour needed! This dough is so buttery and soft, it shouldn't stick. If it does, just lightly flour your surface.
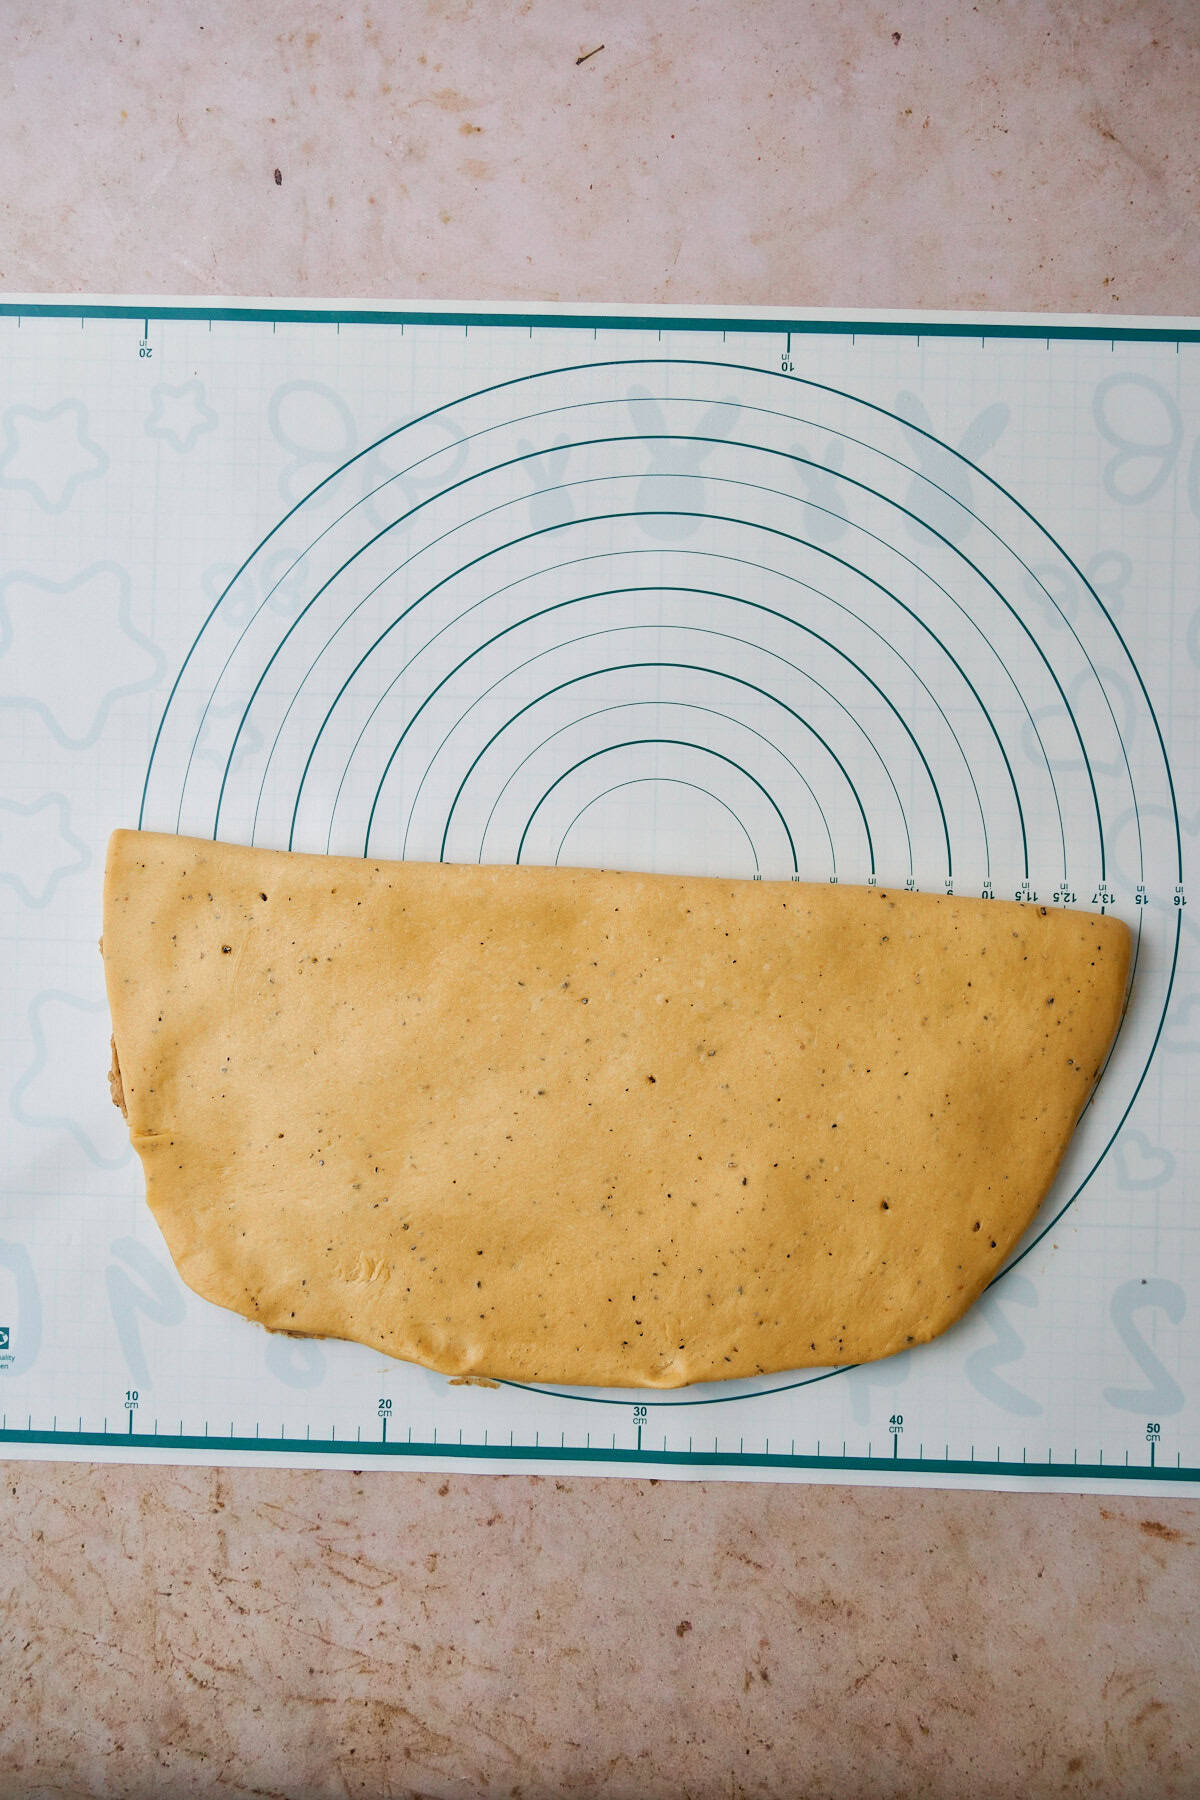
Fold the other half over to encase the filling.
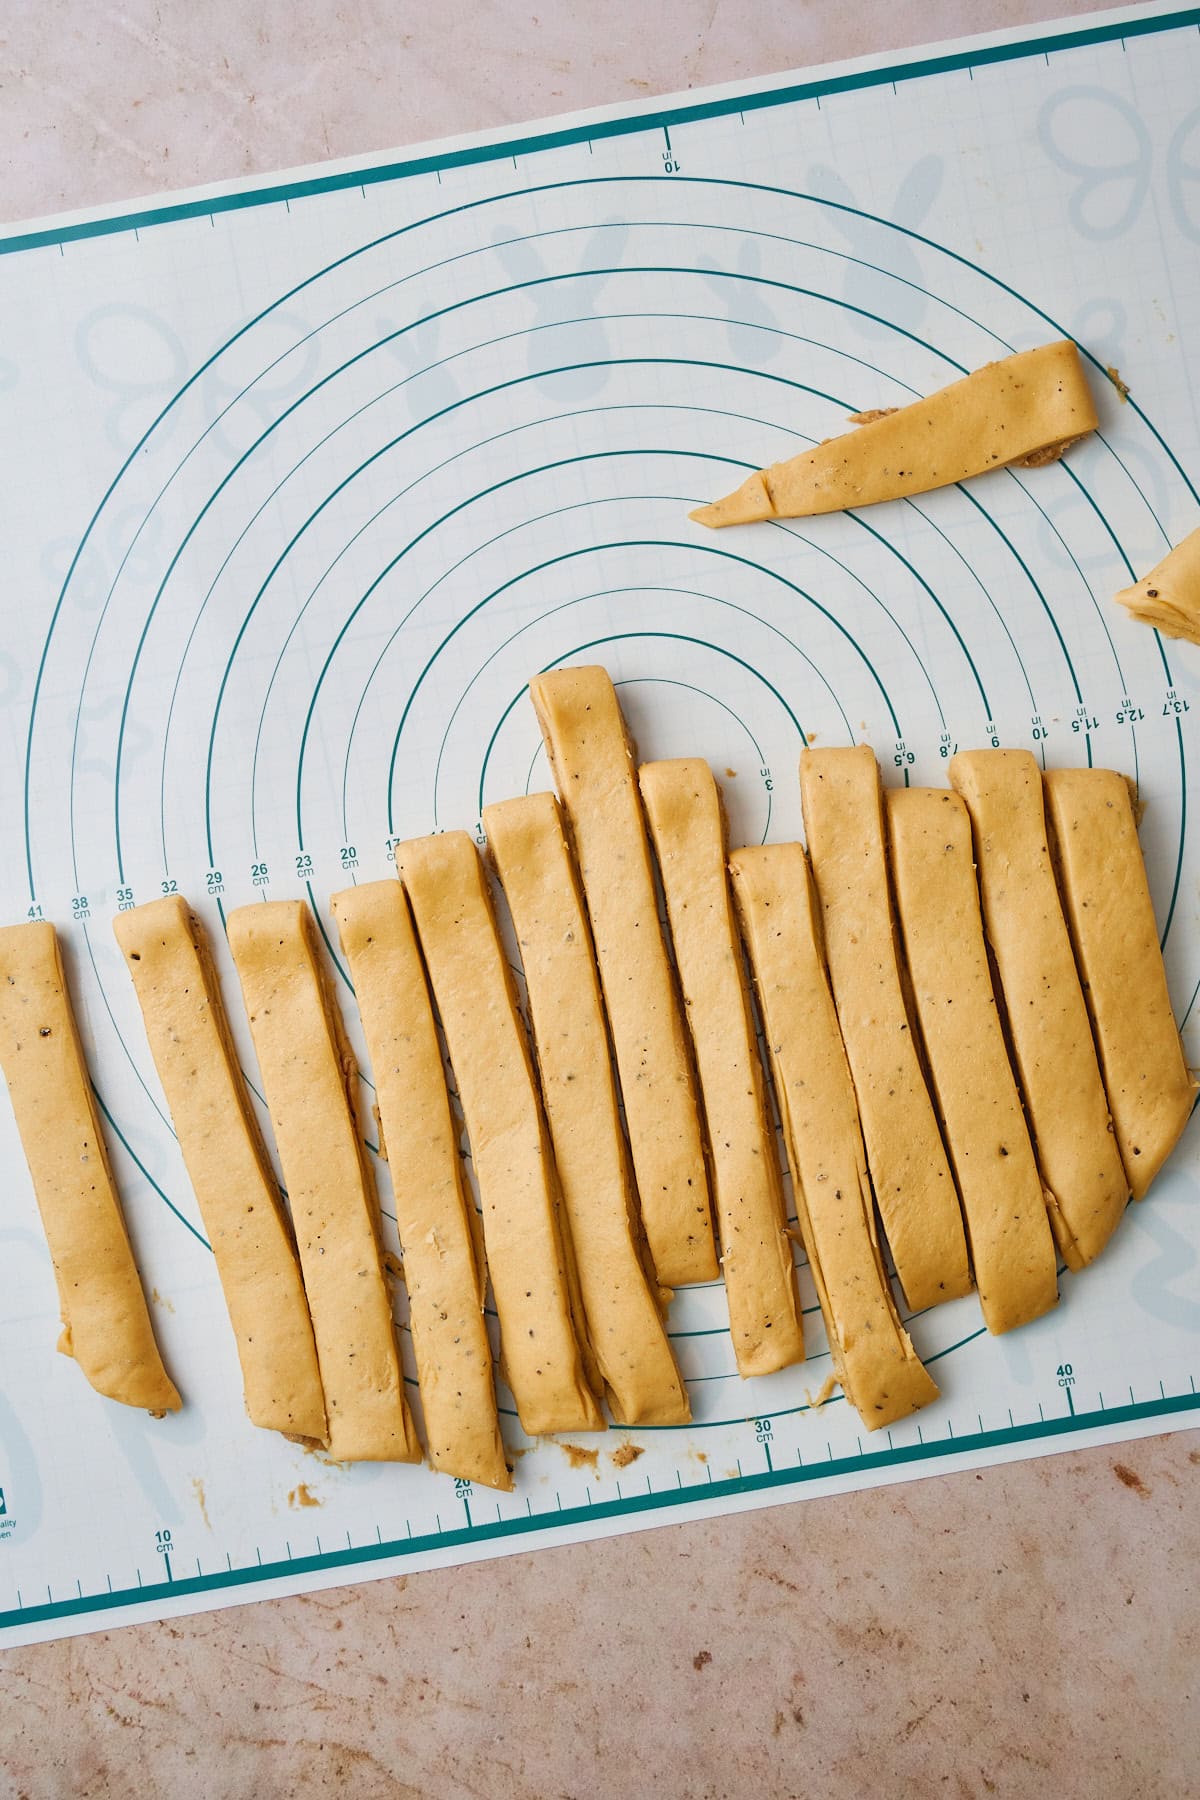
Cut into 12-14 strips, each about 1-1½ inches wide.
💡 Scrappy edges? We bake those too! They won't be as pretty, but they taste just as good.
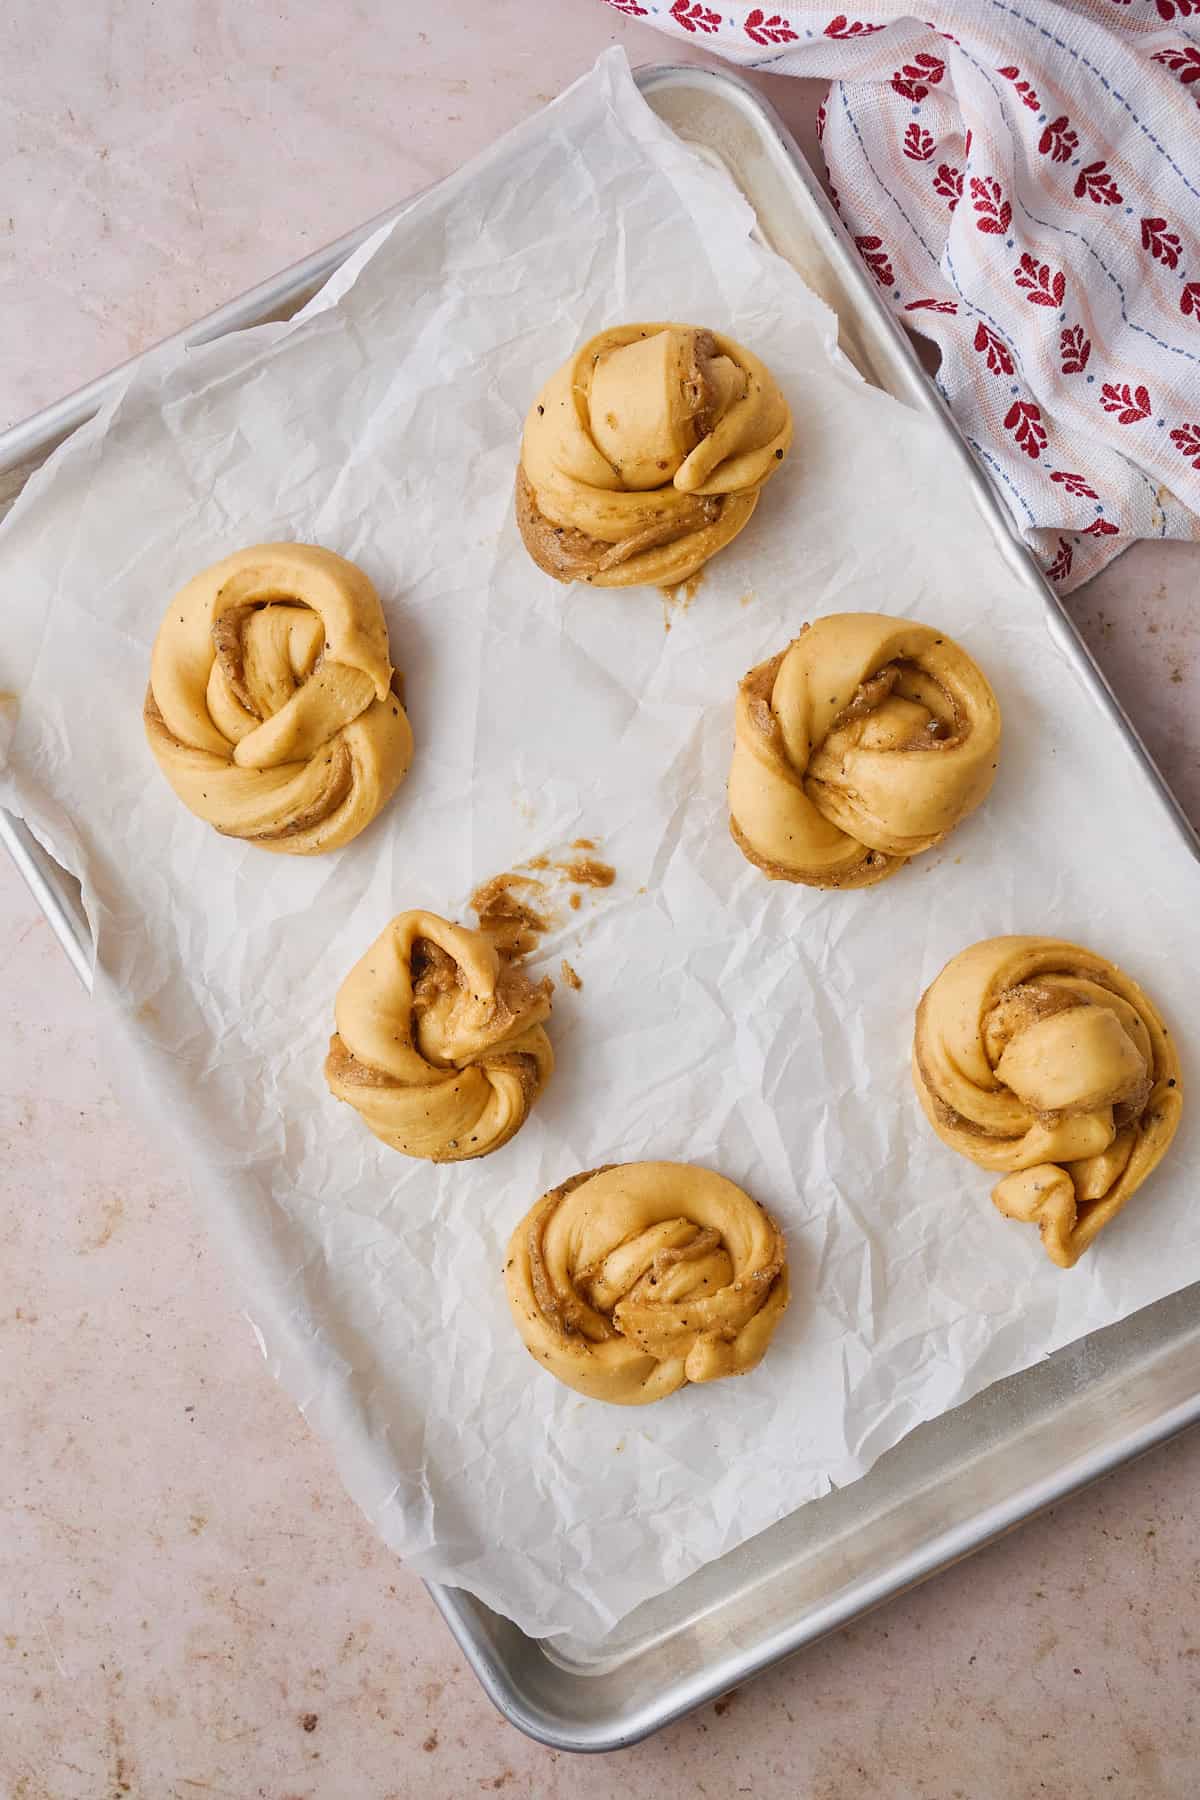
Shape the Buns
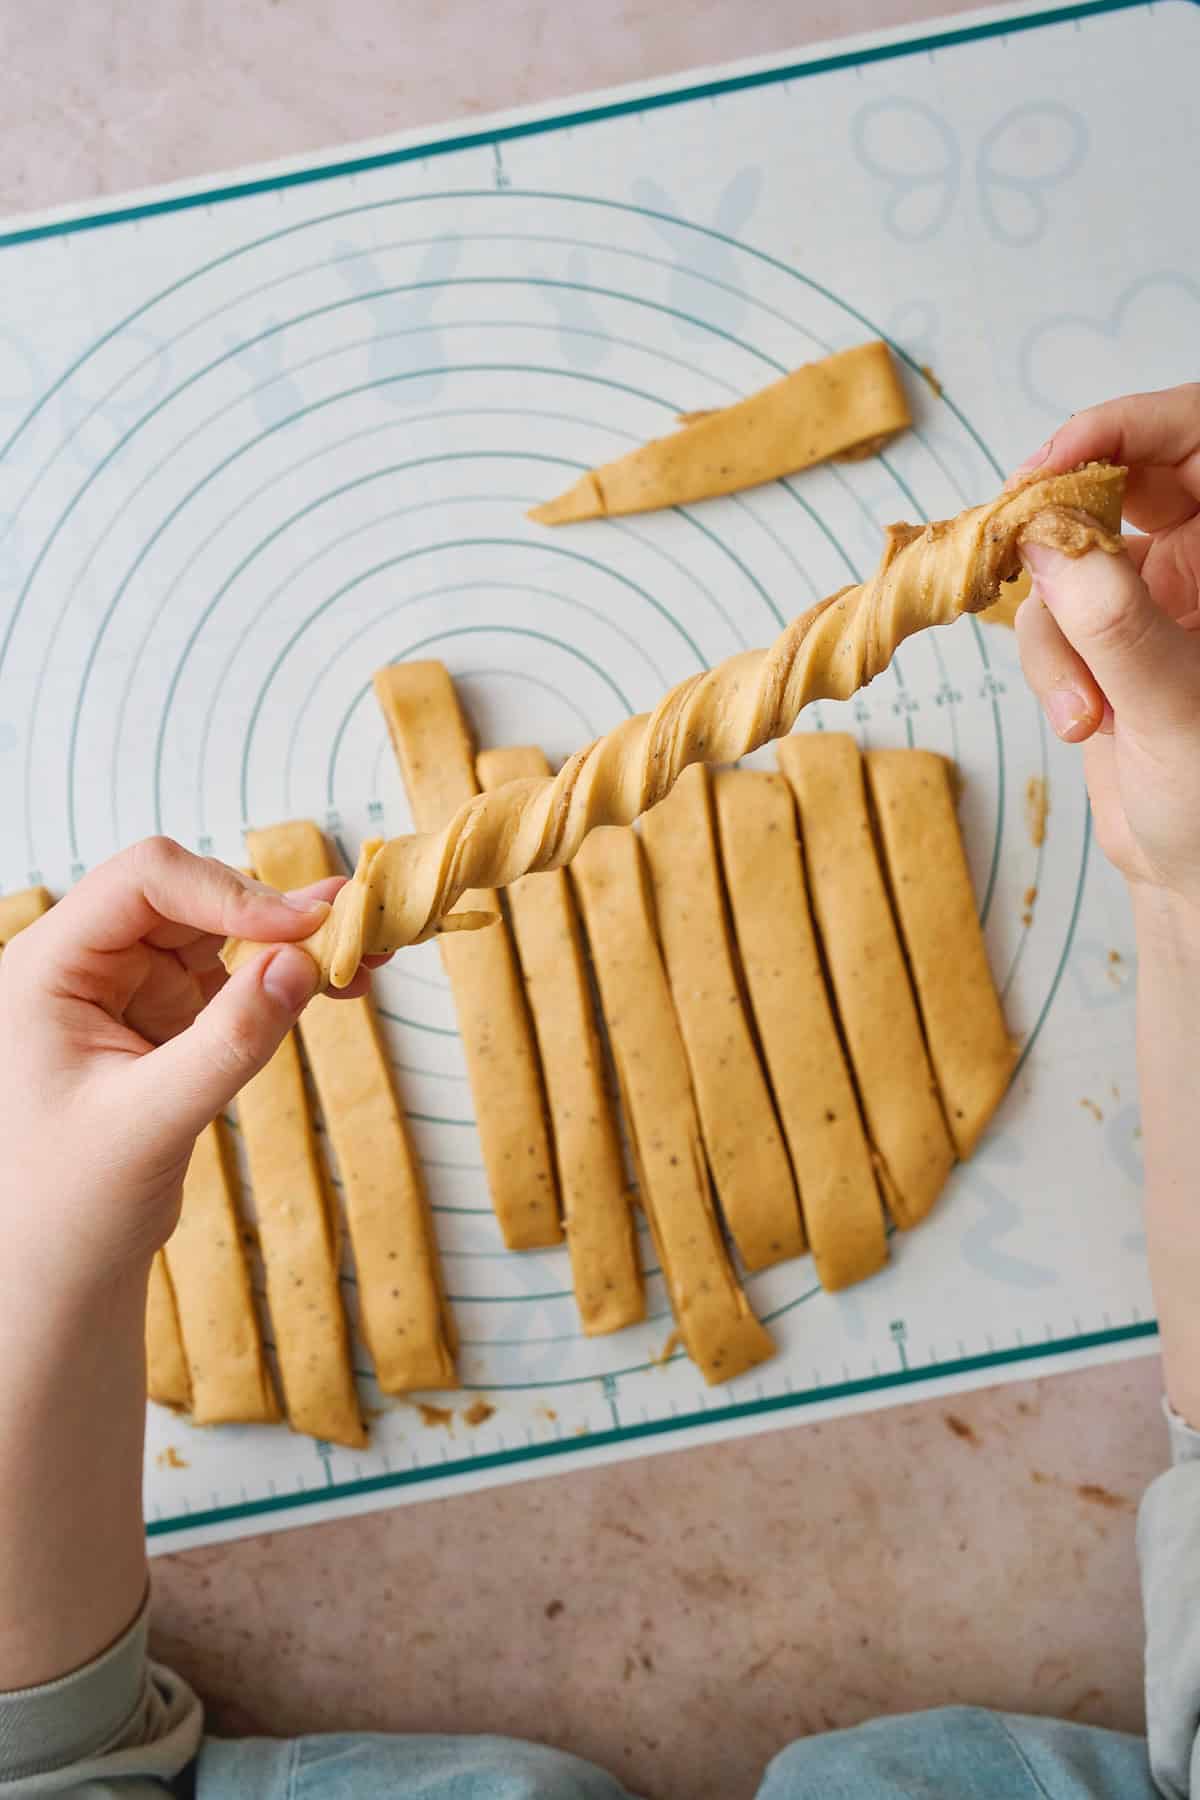
Pick up a strip and gently stretch it a bit longer. Twist it clockwise as much as it will allow.
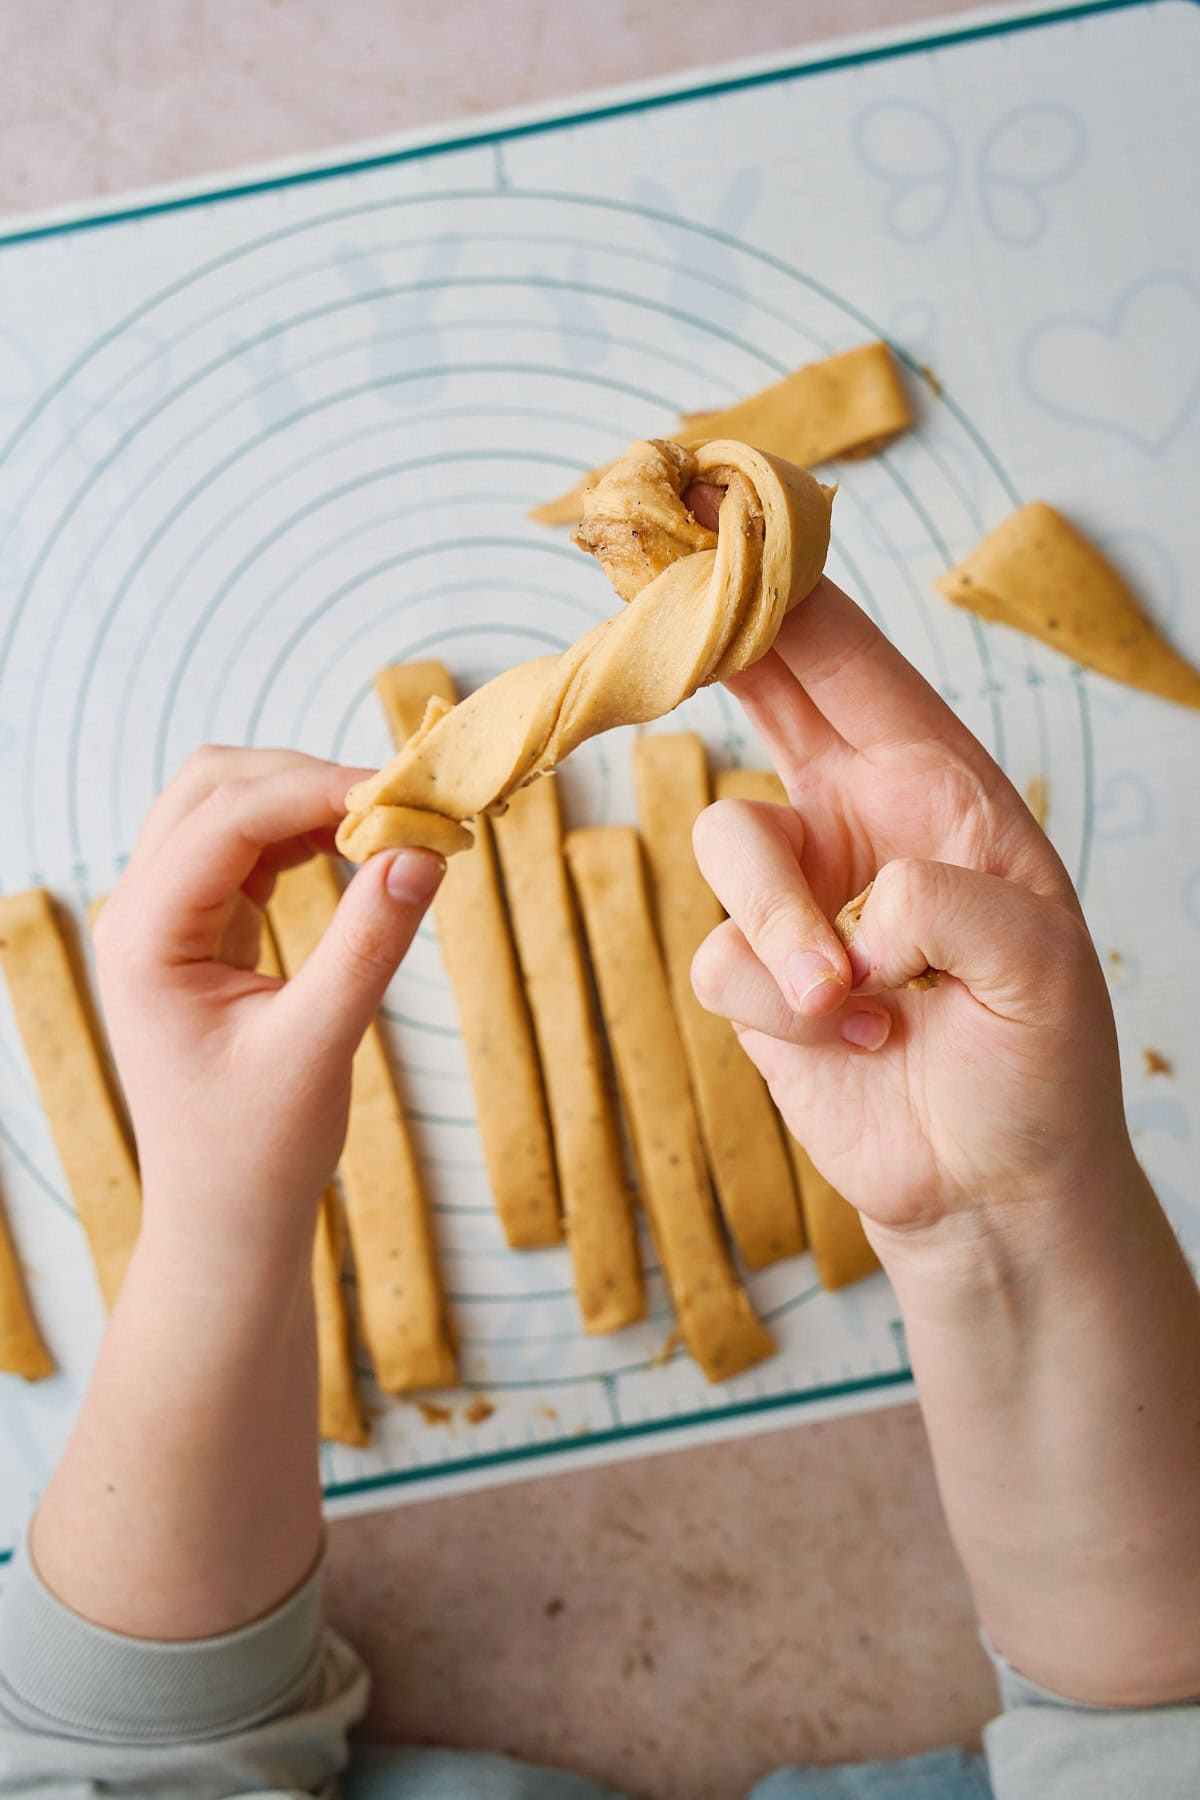
Wrap the twisted dough around your index and middle fingers once...
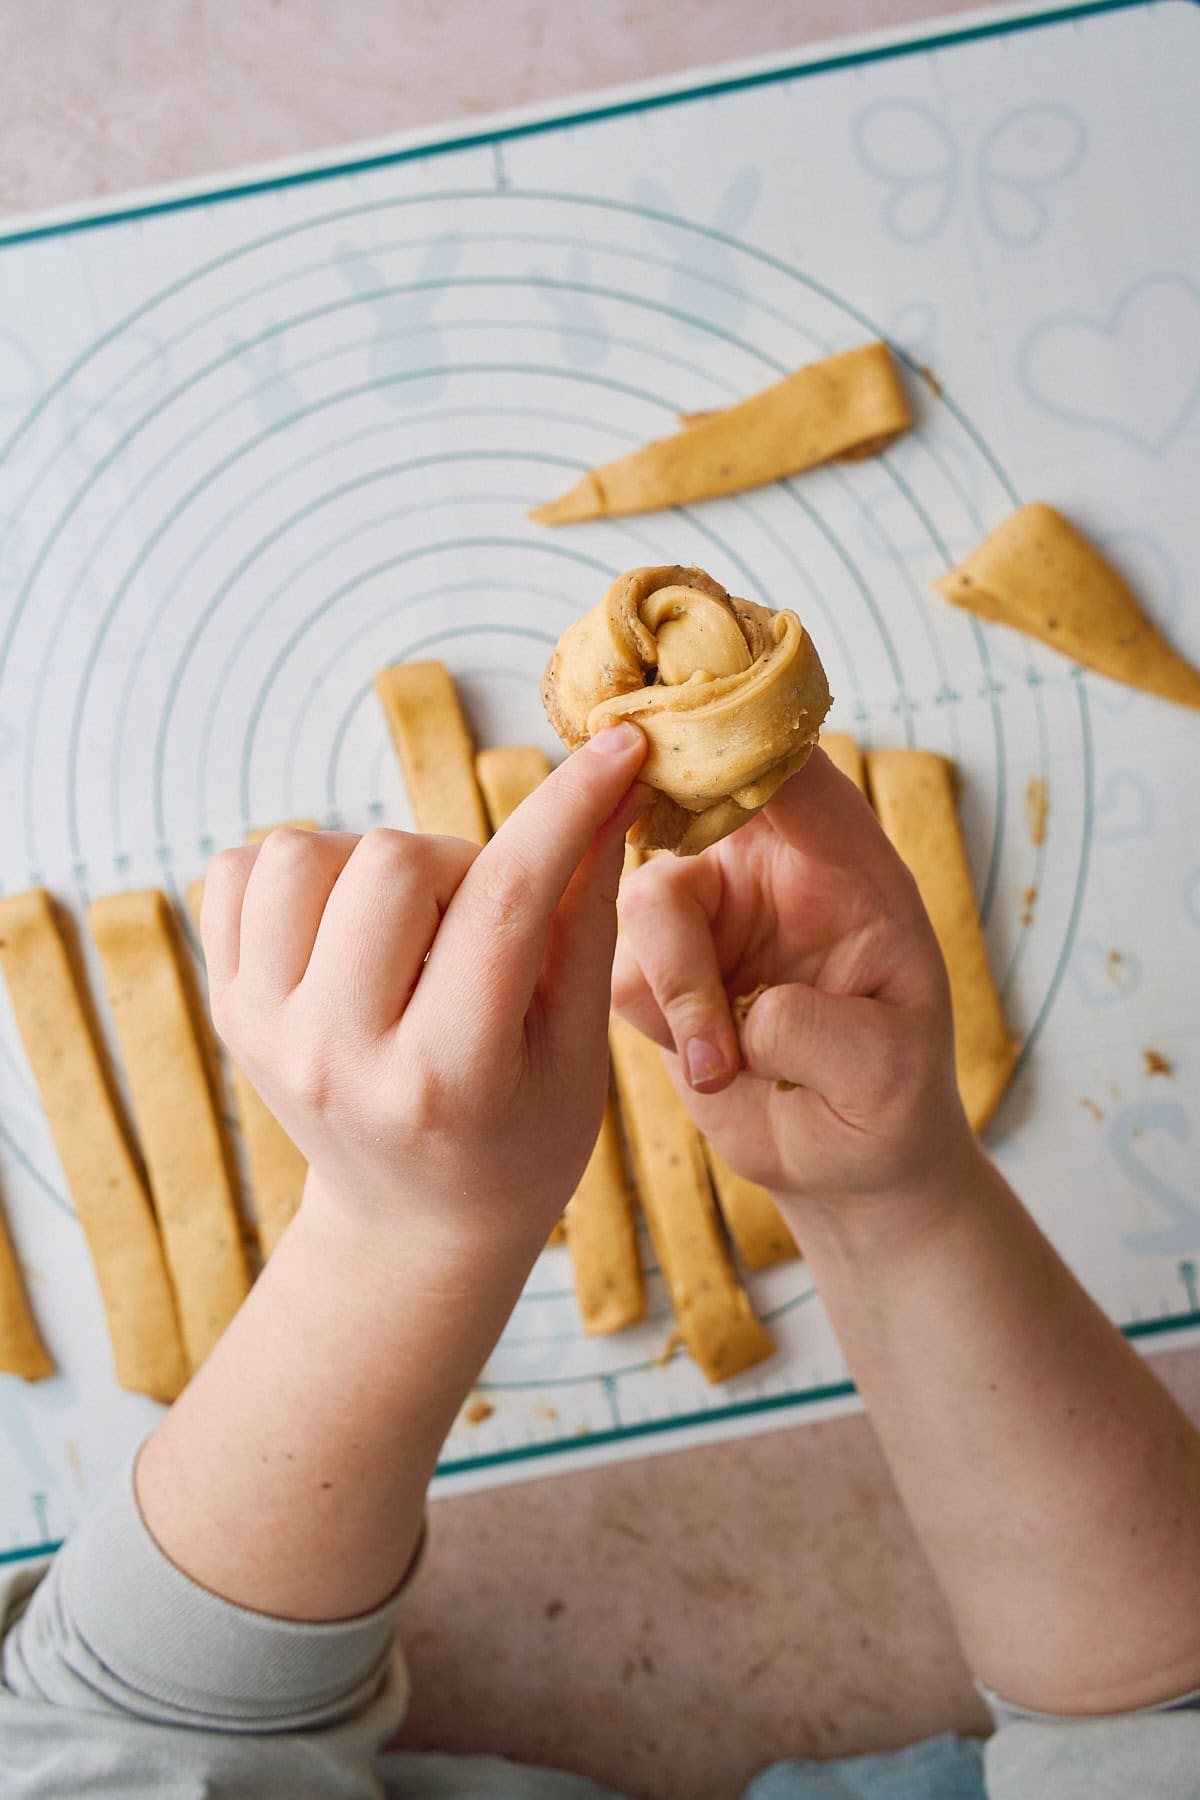
...then wrap it around a second time.
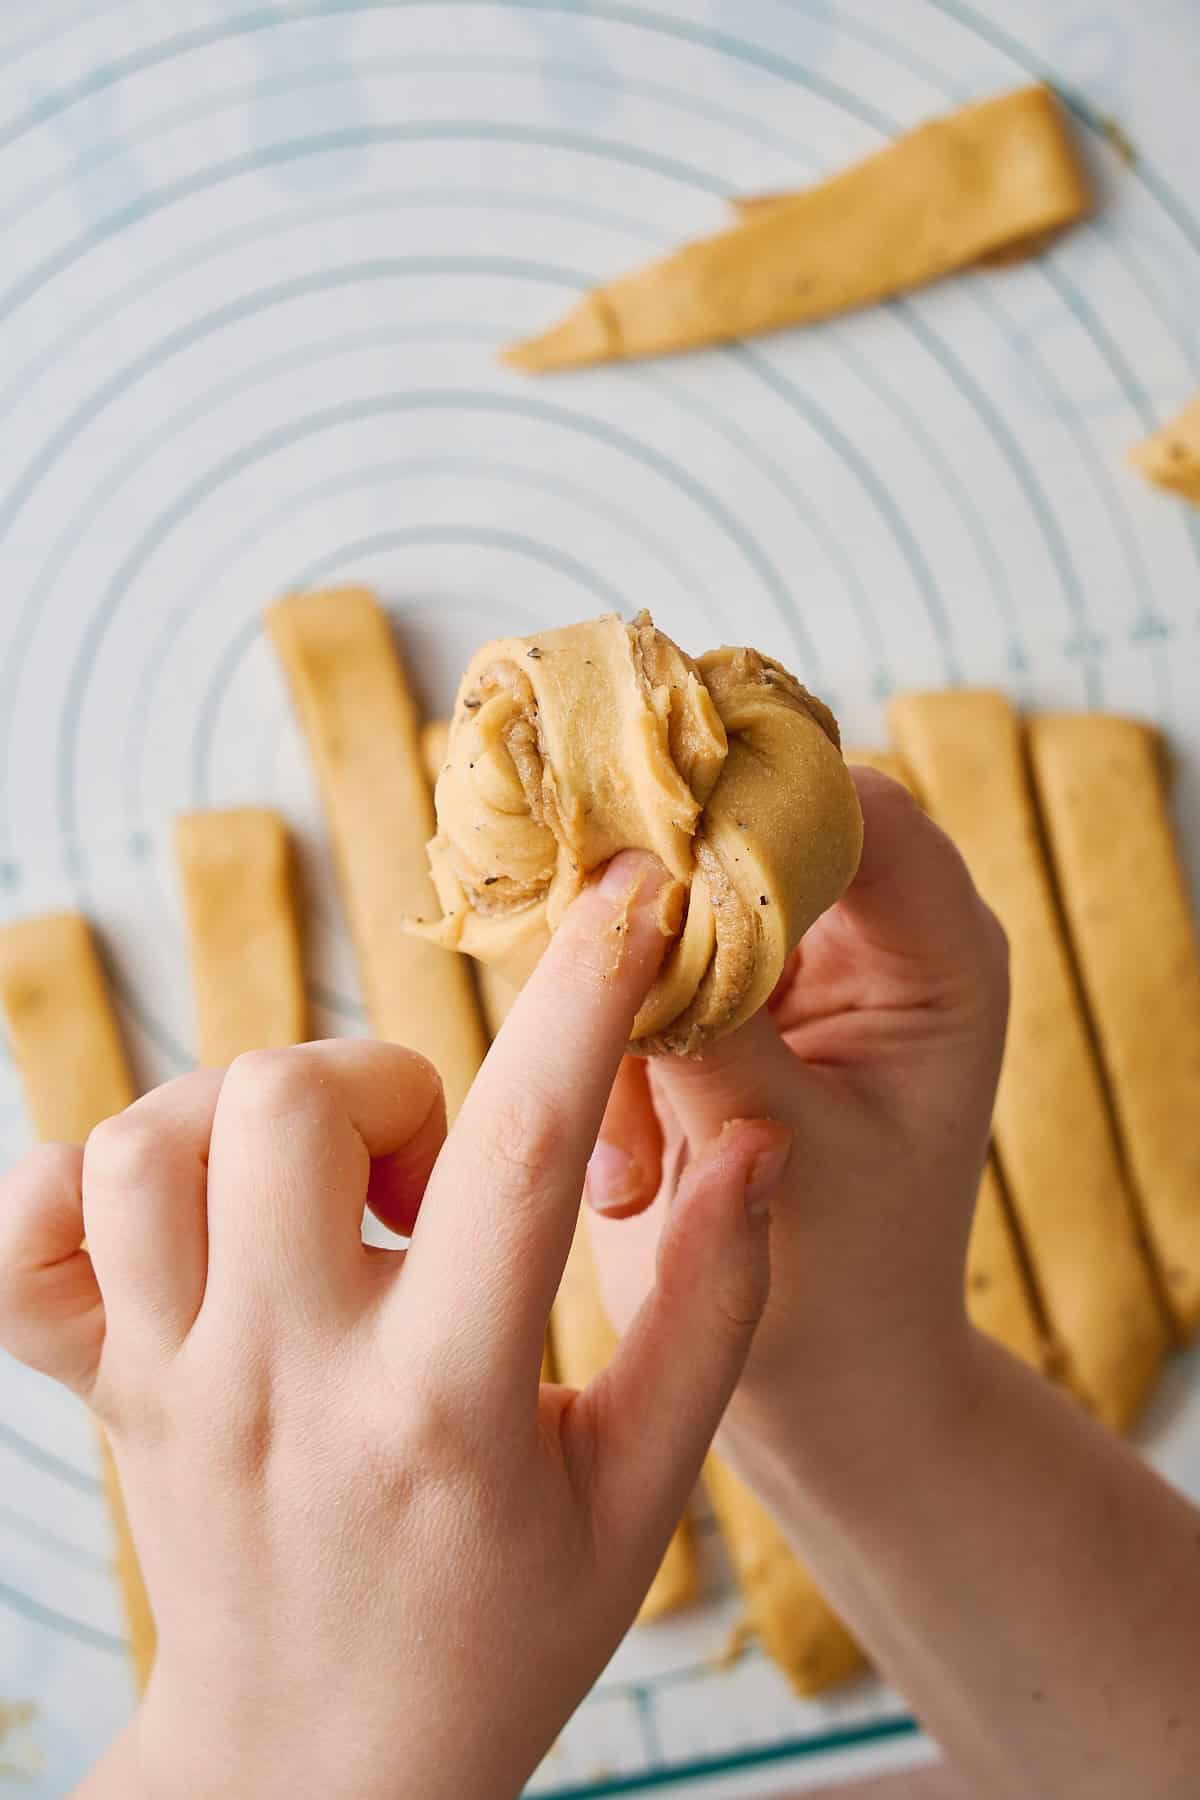
Tuck the ends down through the center of the knot. Press firmly to seal - you may need to press a couple of times to get it to stay.
❄️ Keep that dough cold! If the strips get too soft, greasy, or hard to handle, pop them in the fridge for 10-15 minutes. Work with 2-3 strips at a time and keep the rest chilled to prevent the butter from melting.
💡 Imperfect knots? Who cares! They're still delicious. This takes practice. We're still getting better at it ourselves. (Clearly.. 😂)
Second Rise
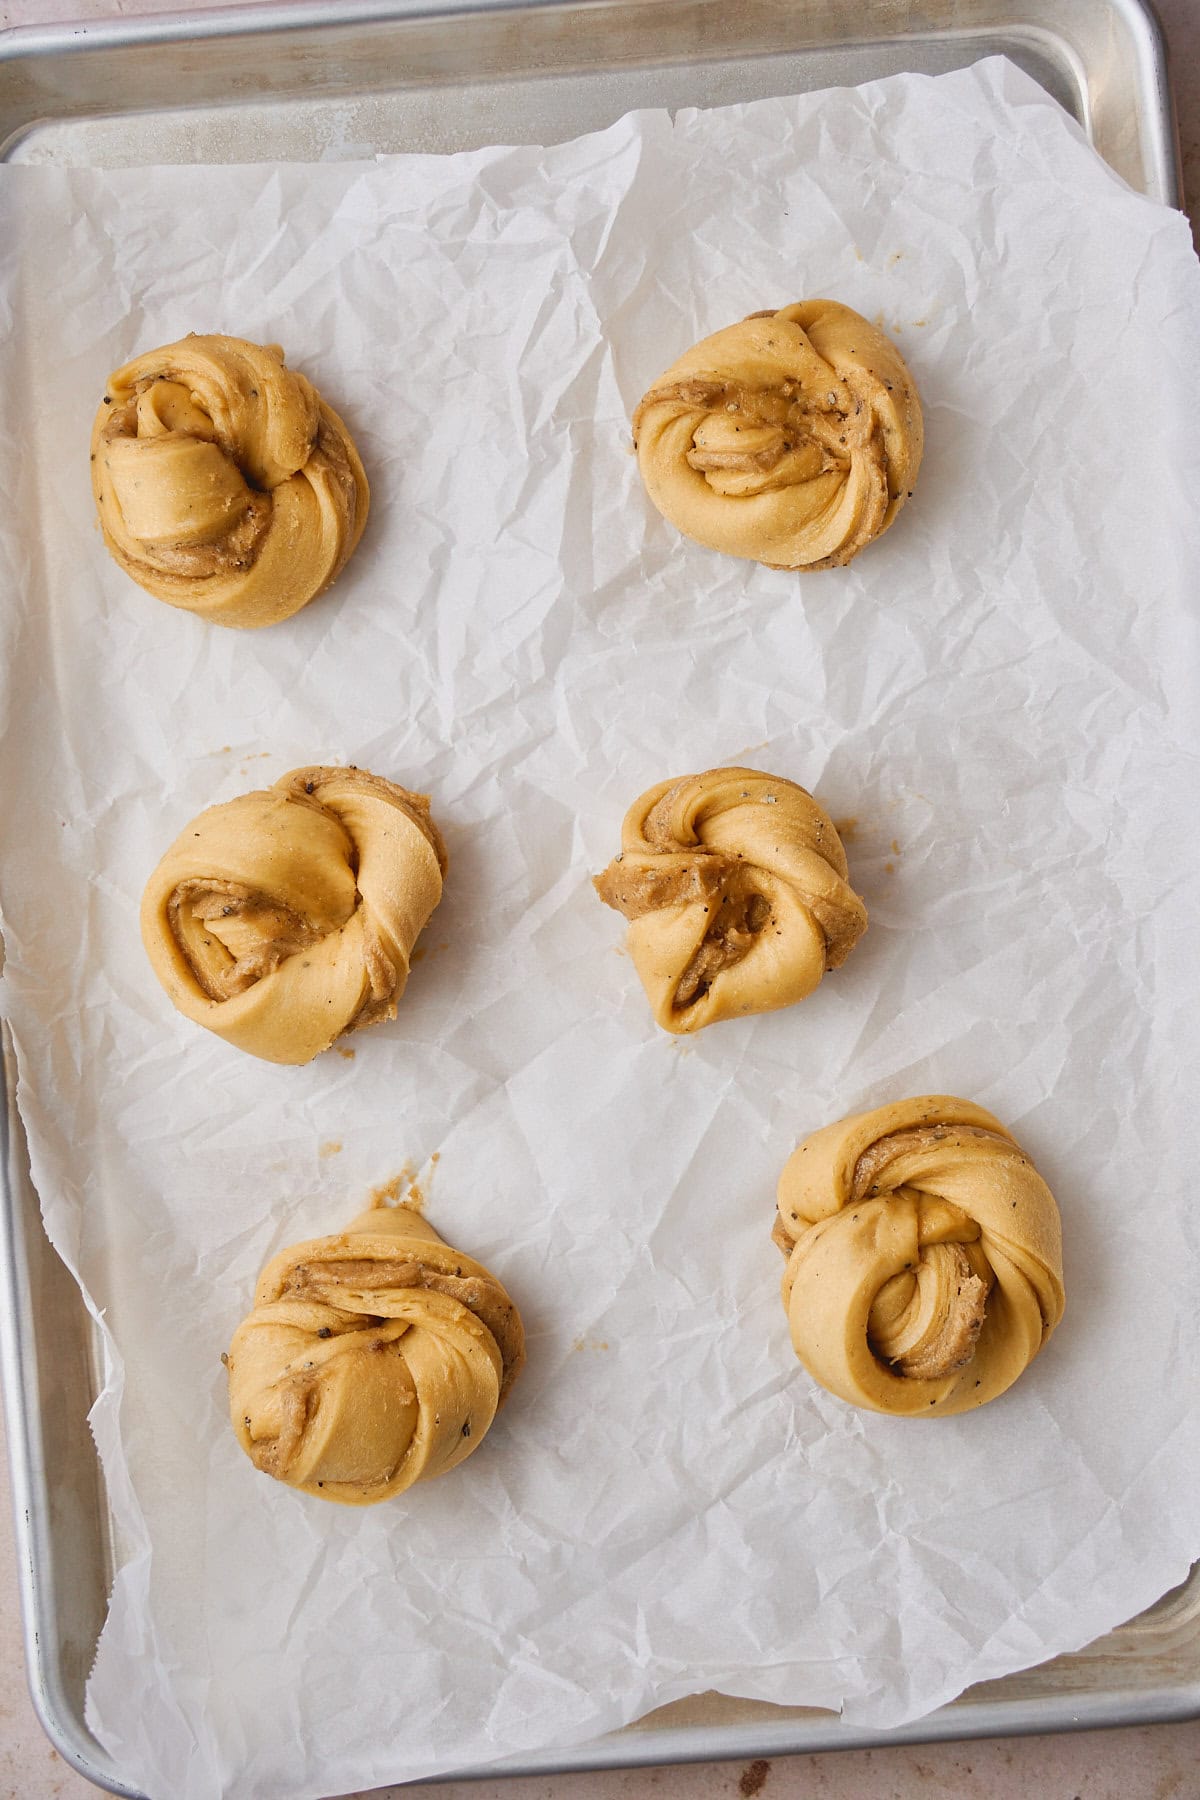
Place shaped buns on parchment-lined baking sheets, tucked ends down.
Cover and let rise another 45 minutes to 1 hour until puffy.
💡 Knots came undone? Just press the ends back down through the center before baking.
Bake
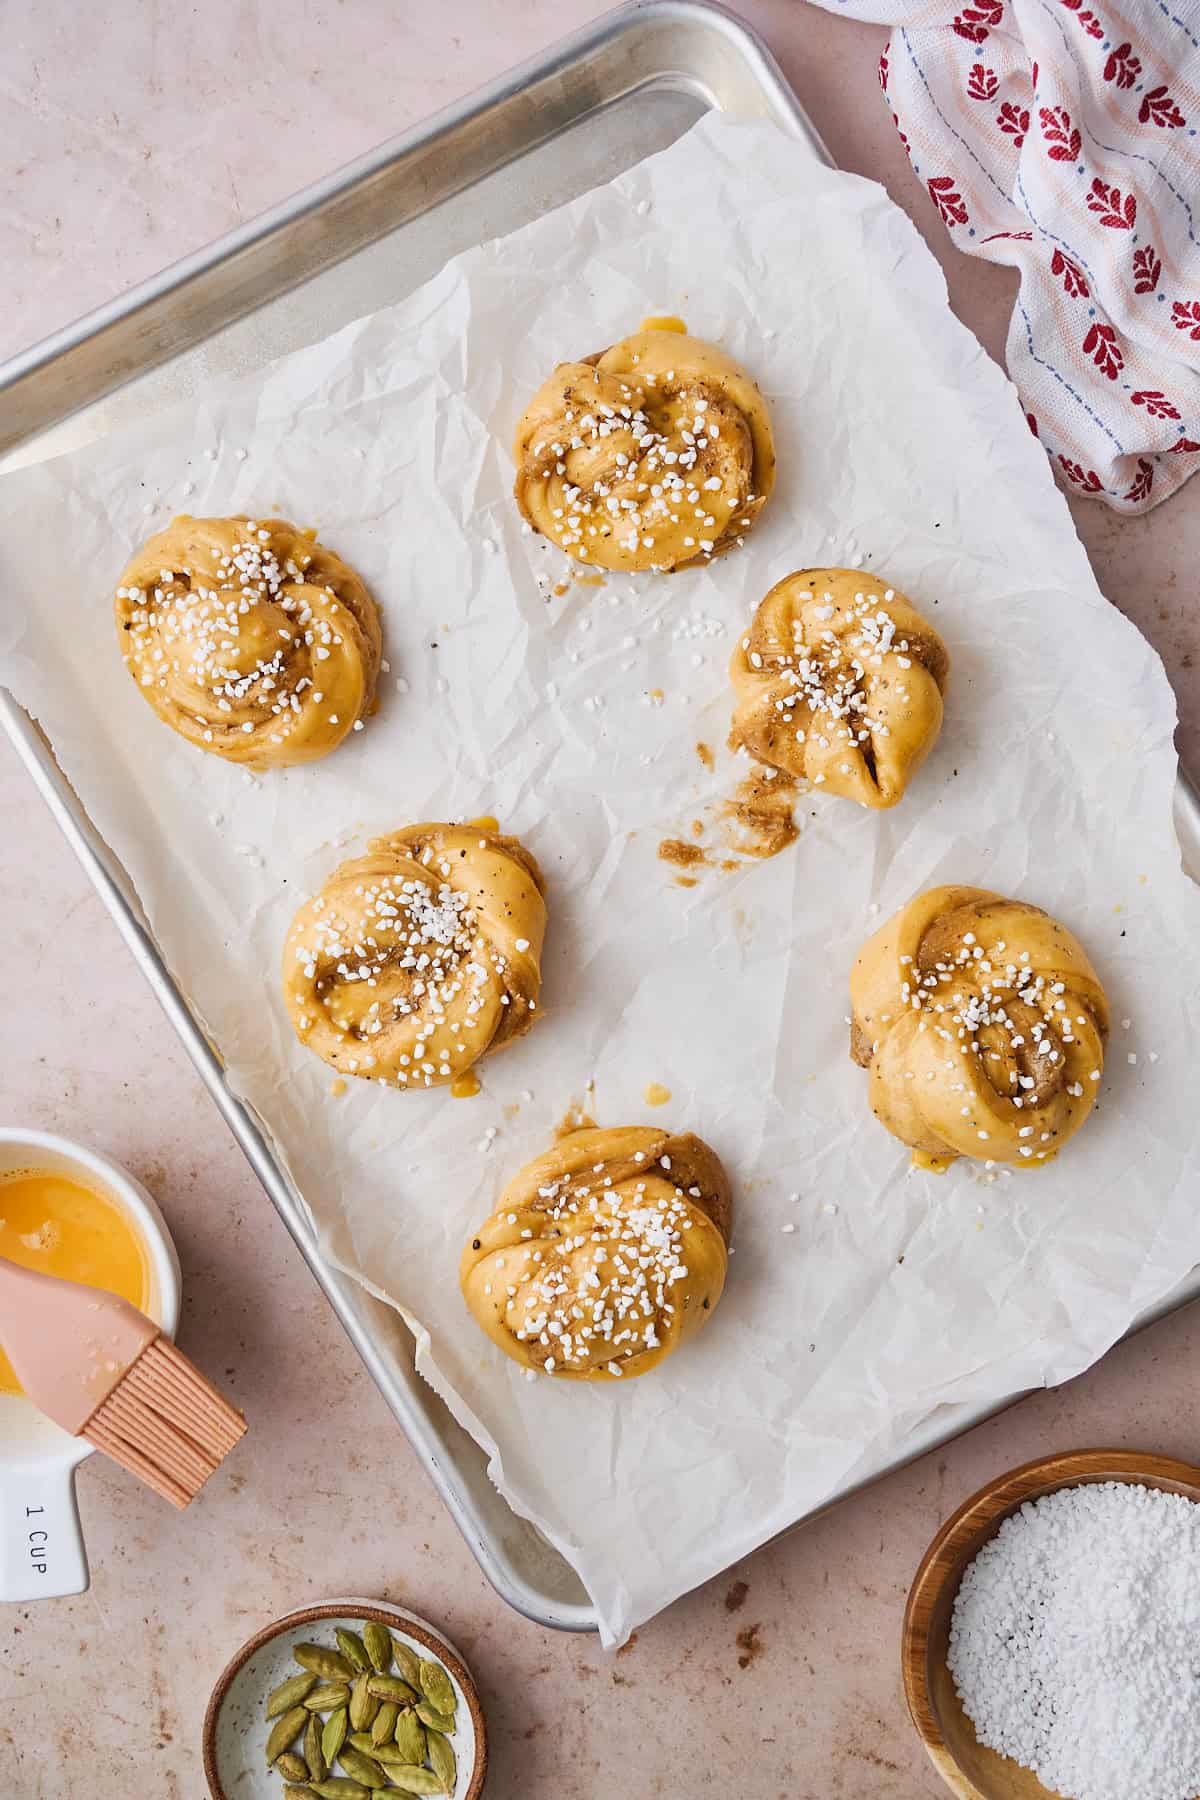
Preheat the oven to 425°F. Brush the buns with beaten egg and sprinkle with Swedish pearl sugar and a bit of crushed cardamom if desired.
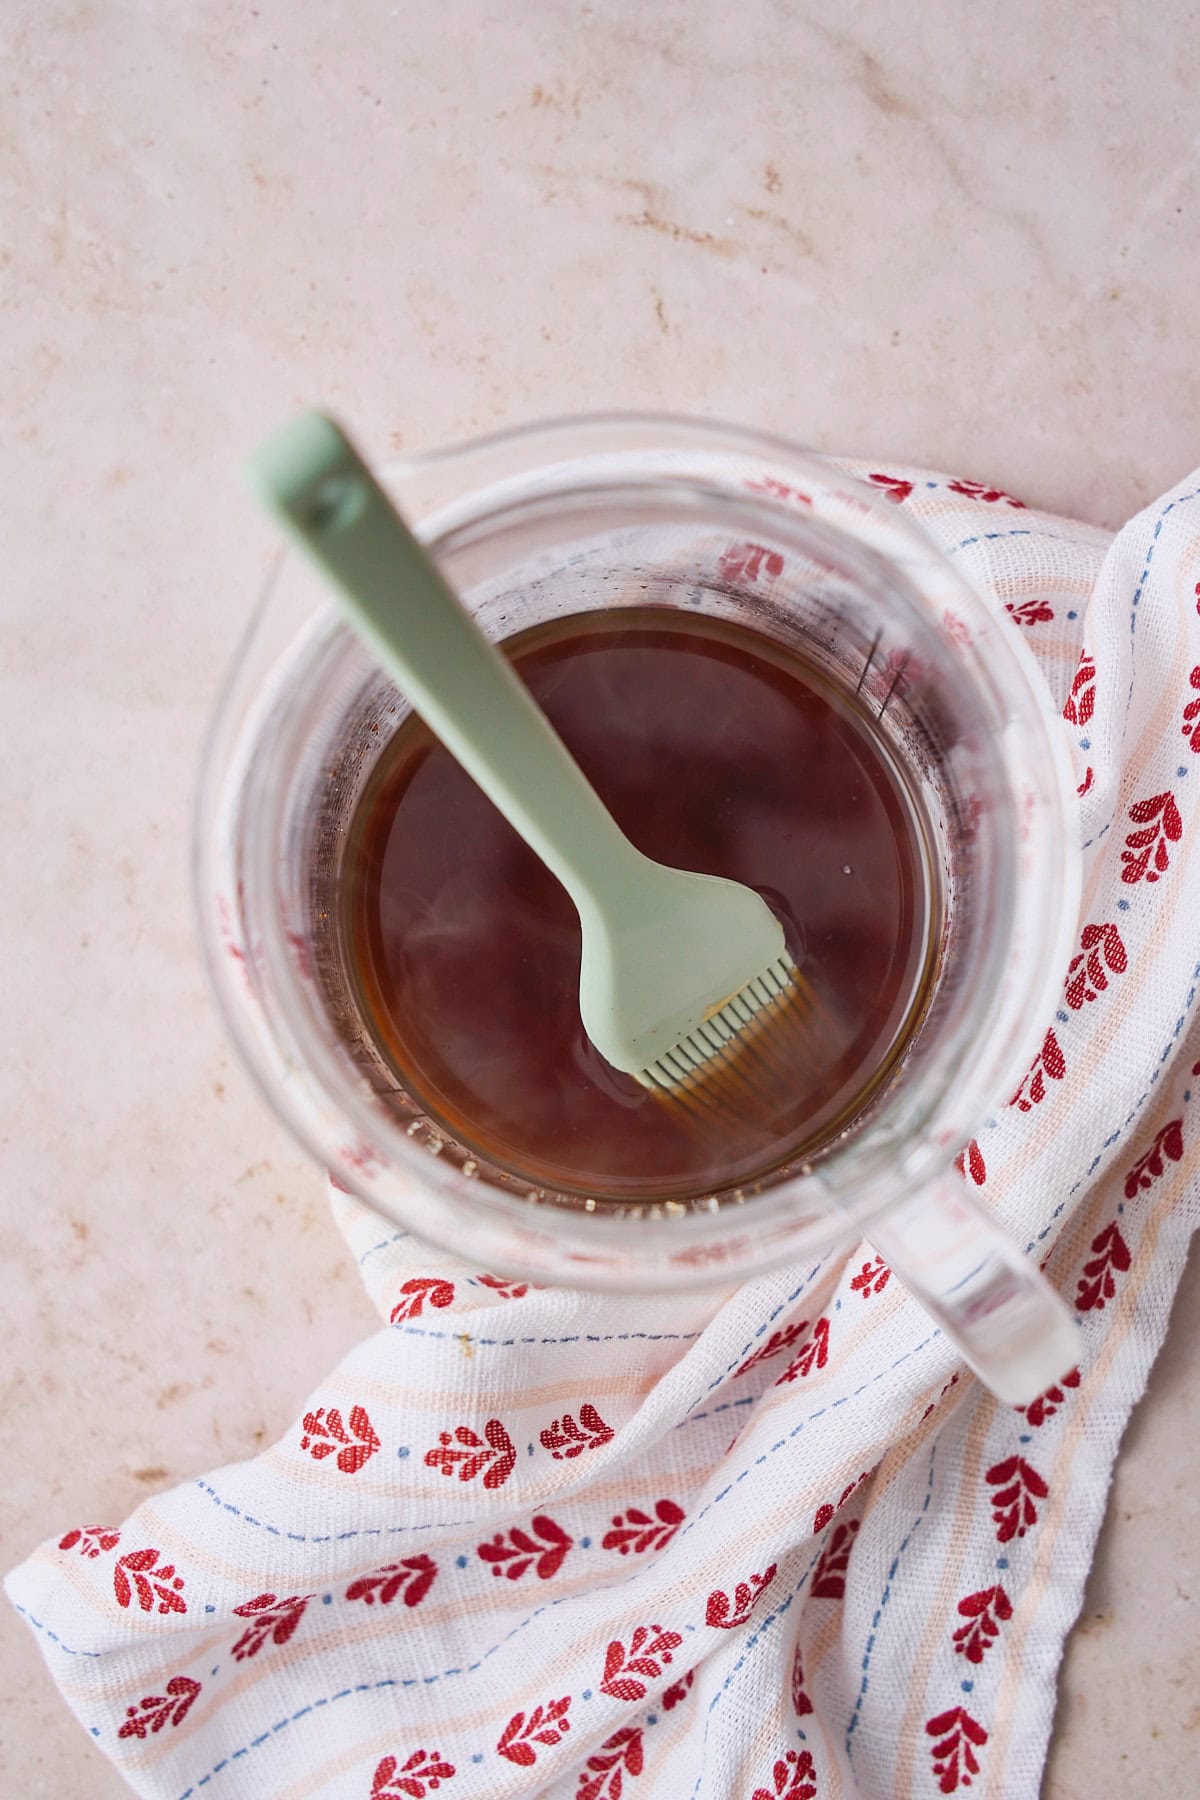
While the buns bake, stir together boiling water, brown sugar, and vanilla bean paste for an optional glaze.
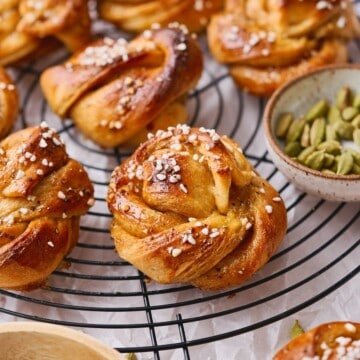
✨ Pearl sugar is what gives these buns that signature Scandinavian crunch. The large crystals hold their shape in the oven. Find it at specialty stores or online. No pearl sugar? A generous sprinkle of granulated sugar before baking works too.
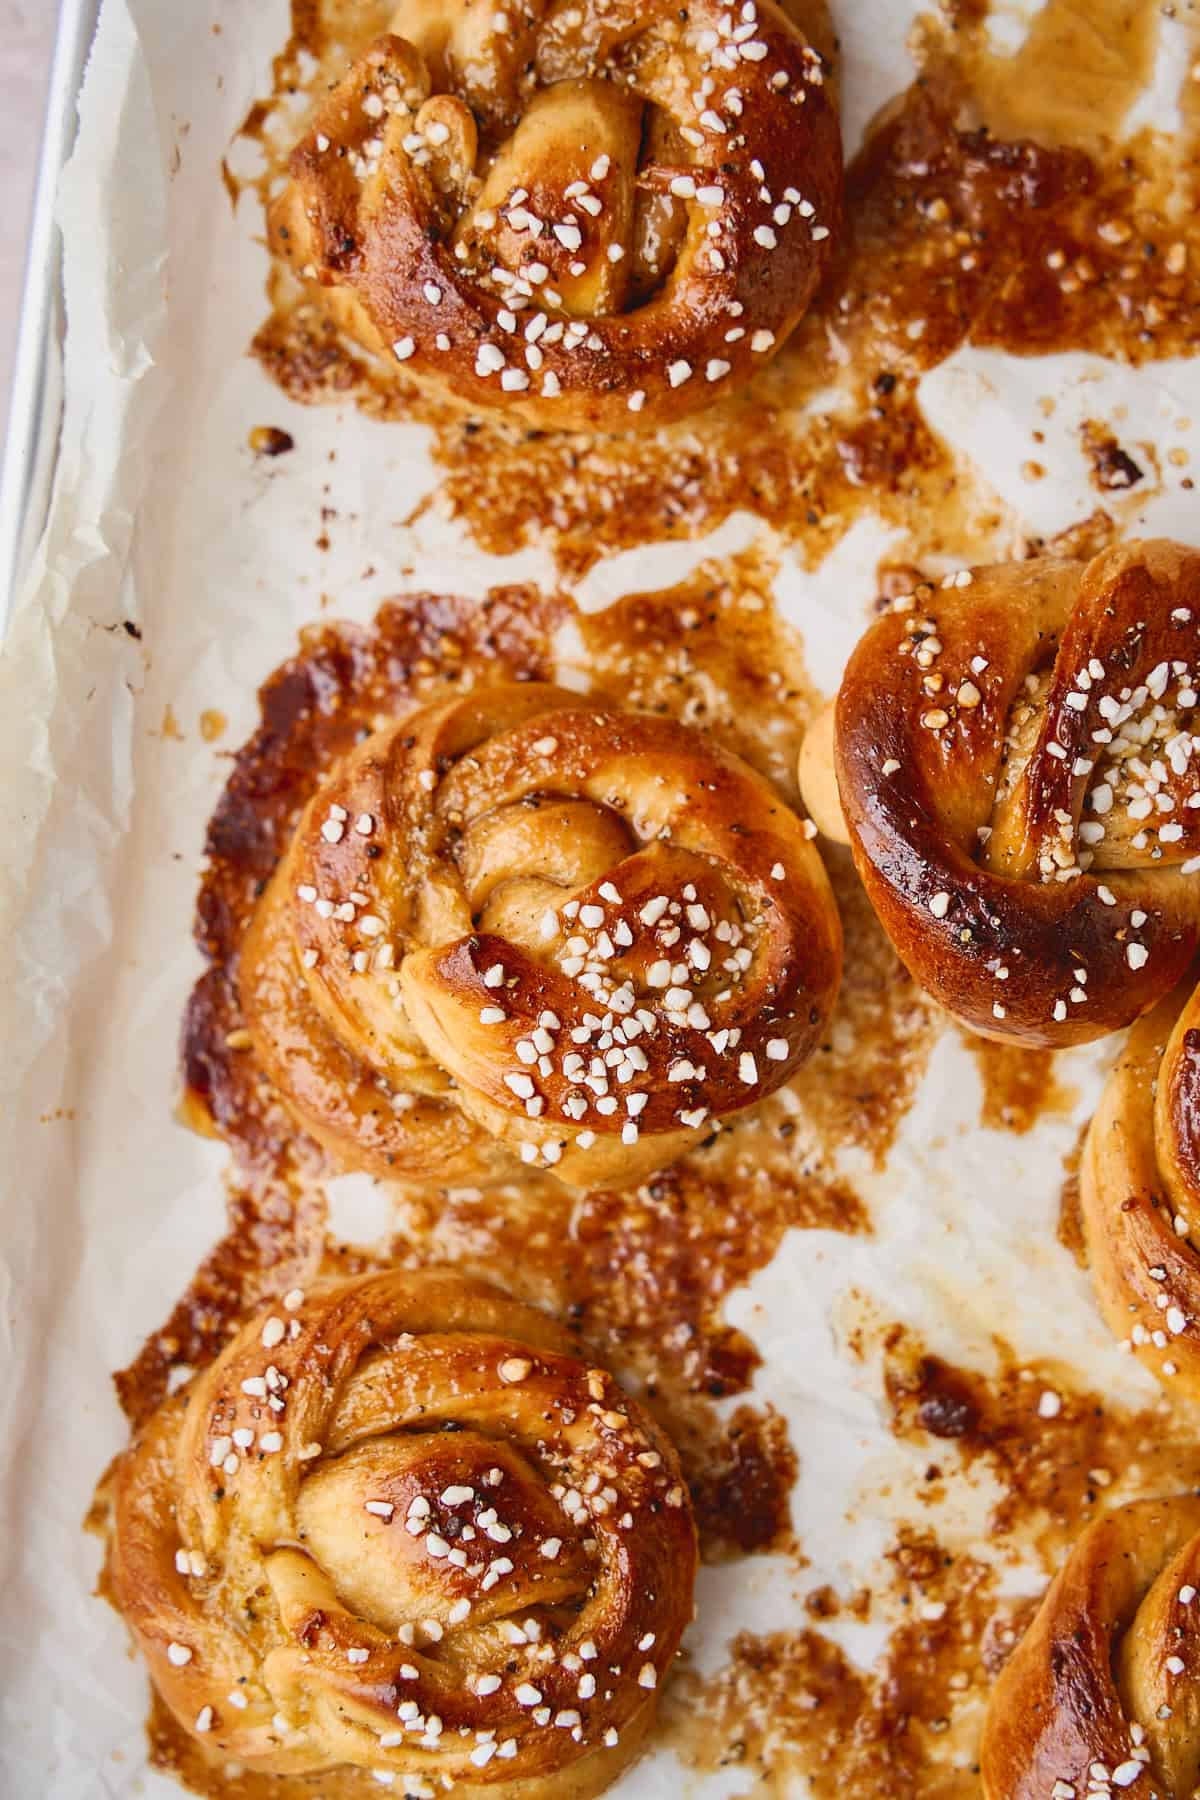
Bake for 9-11 minutes, watching closely! These go from golden to overdone quickly.
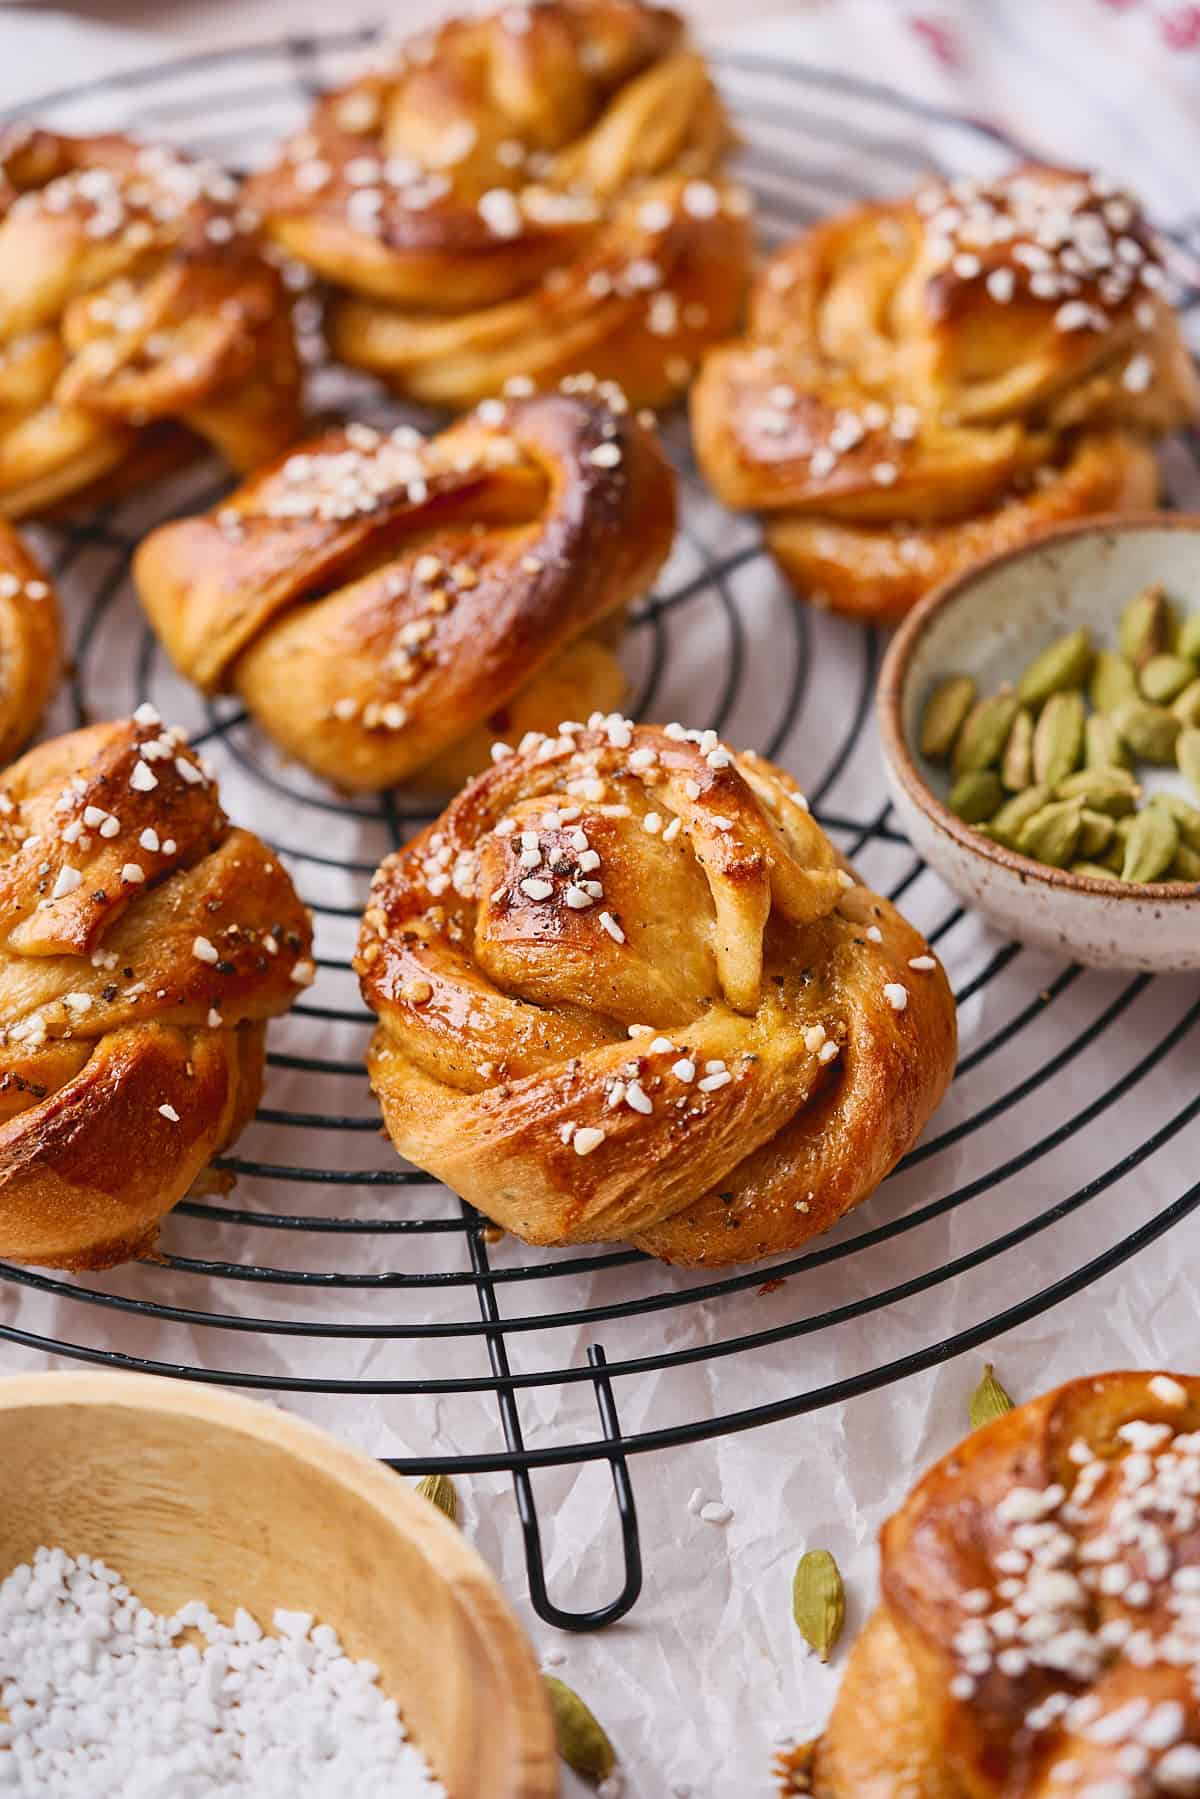
Remove from oven when deeply golden brown and immediately brush with the brown sugar glaze. Transfer to a cooling rack and try not to eat them all immediately. 😂
✨ About the glaze! It adds shine, keeps them moist, and tastes amazing. Totally optional but highly recommended!
Now all that's left is to brew some coffee (or pour some glögg!), set out a plate of warm buns, and enjoy your own fika moment. These are best the day they're made, but they'll keep in an airtight container at room temperature for 3-4 days - if they last that long! 😉 For more cozy bakes like this, check out our Nordic recipes!
🇸🇪Love Swedish comfort food? Try our Swedish meatballs with creamy gravy for dinner!
Did you try this recipe? Make sure to leave a 5-star review below! 🌟 This helps other readers find our recipes and encourages them to try them. Also, be sure to leave a comment with your experience. Follow along, and tag @AFullLiving on Instagram with your photos!
📖 Recipe
Soft & Fluffy Swedish Cardamom Buns (Kardemummabullar)
Equipment
- stand mixer with a dough hook (can also be kneaded by hand with some elbow grease!)
- mortar and pestle or spice grinder
Ingredients
Buns
- ½ cup + 2 tablespoons whole milk 150 ml
- 2 ¼ teaspoons instant yeast 1 packet see notes for active dry yeast
- ¼ cup dark brown sugar 50g
- 1 large large egg room temperature
- 1 large egg yolk room temperature
- 4 tablespoons unsalted butter 57g, melted and cooled
- 1 tablespoon vanilla extract
- 3 cups all-purpose flour 375g
- 2 teaspoons cardamom freshly ground if possible, about 4g, and to taste, see notes!
- 1 teaspoon kosher salt
Filling
- 8 tablespoons unsalted butter softened, 113g
- ½ cup dark brown sugar 100g
- 2 teaspoons cardamom freshly ground if possible, about 4g and to taste, see notes!
- ½ teaspoon kosher salt
- 2 teaspoons vanilla bean paste optional
Brown sugar syrup glaze (optional)
- ¼ cup water boiling
- ¼ cup dark brown sugar
- 2 teaspoons vanilla bean paste optional
For topping the buns before baking
- 1 large egg beaten
- ½ teaspoon cardamom freshly ground, for topping, optional
- 2-3 tablespoons Swedish pearl sugar for topping optional
Instructions
Make the Dough
- Crush cardamom pods in a mortar and pestle. Remove the green shells and grind the seeds coarsely. Set aside.
- Warm the milk to 110-115°F. Add the yeast and a pinch of the brown sugar, whisk, and let sit for 5-10 minutes until foamy.½ cup + 2 tablespoons whole milk , 2 ¼ teaspoons instant yeast, ¼ cup dark brown sugar
- Add the egg, egg yolk, melted and cooled butter, and vanilla to the yeast mixture. Whisk until smooth.1 large large egg, 1 large egg yolk , 1 tablespoon vanilla extract, 4 tablespoons unsalted butter
- In a separate bowl, whisk together the flour, ground cardamom, and salt.3 cups all-purpose flour , 2 teaspoons cardamom , 1 teaspoon kosher salt
- Add about ⅓ of the dry ingredients to the wet mixture and whisk to combine. Add the remaining dry ingredients.
- Using a dough hook, knead on low speed for 8-12 minutes until the dough is smooth, elastic, and pulls away from the sides of the bowl.
- Place dough in a greased bowl, cover, and let rise in a warm spot for 1 hour, or until doubled in size.
Make the Filling
- While the dough rises, mix softened butter, dark brown sugar, ground cardamom, salt, and vanilla bean paste (if using) until smooth. Set aside at room temperature.2 teaspoons cardamom , 8 tablespoons unsalted butter , ½ cup dark brown sugar , 2 teaspoons vanilla bean paste , ½ teaspoon kosher salt
Shape the Buns
- Punch down the risen dough and roll into a roughly 16x20-inch rectangle.
- Spread filling evenly over half of the dough. Fold the other half over to encase the filling.
- Cut into 12-14 strips, each about 1-1½ inches wide.
- Pick up each strip and gently stretch it longer. Twist clockwise as much as it will allow.
- Wrap the twisted dough around your index and middle fingers twice, then tuck the ends down through the center of the knot. Press firmly to seal.
- Place shaped buns on parchment-lined baking sheets, tucked ends down. Cover and let rise 45 minutes to 1 hour until puffy.
Make the Glaze (Optional)
- Combine boiling water, brown sugar, and vanilla bean paste. Stir to dissolve. Set aside.¼ cup water , ¼ cup dark brown sugar , 2 teaspoons vanilla bean paste
Bake
- Preheat oven to 425°F. Brush buns with beaten egg and sprinkle with pearl sugar and crushed cardamom if desired.1 large egg , ½ teaspoon cardamom , 2-3 tablespoons Swedish pearl sugar
- Bake 9-11 minutes until deeply golden brown. Brush immediately with brown sugar glaze if using.
- Let cool 5 minutes, then transfer to a cooling rack.
Save This Recipe! 💌
Notes
-
- Salt: We use Diamond Crystal kosher salt. If using Morton's or table salt, reduce by half.
- Cardamom: Pre-ground cardamom can be substituted 1:1, but freshly ground has much better flavor. Add a little extra if your pre-ground isn't super fresh.
- Yeast: We use instant yeast. If using active dry yeast, check out this helpful guide.
- Windowpane test: How to do the windowpane test - this ensures your dough is properly kneaded for soft, fluffy buns.
- Overnight option: For even more flavor, let shaped buns rise in the fridge overnight (8-12 hours). Don't exceed 16 hours or they'll overproof.
- Storage: Keep in an airtight container at room temperature for 3-4 days. Freeze for up to 3 months - thaw at room temperature and warm slightly before serving.
- Pearl sugar: Can't find it? Turbinado or even a large pinch of granulated sugar works, too!


Briana says
These buns will make your home smell like a bakery! We promise, you can totally make these, they are more approachable than you think, and they are absolutely worth the effort! They're a true staple in our household.