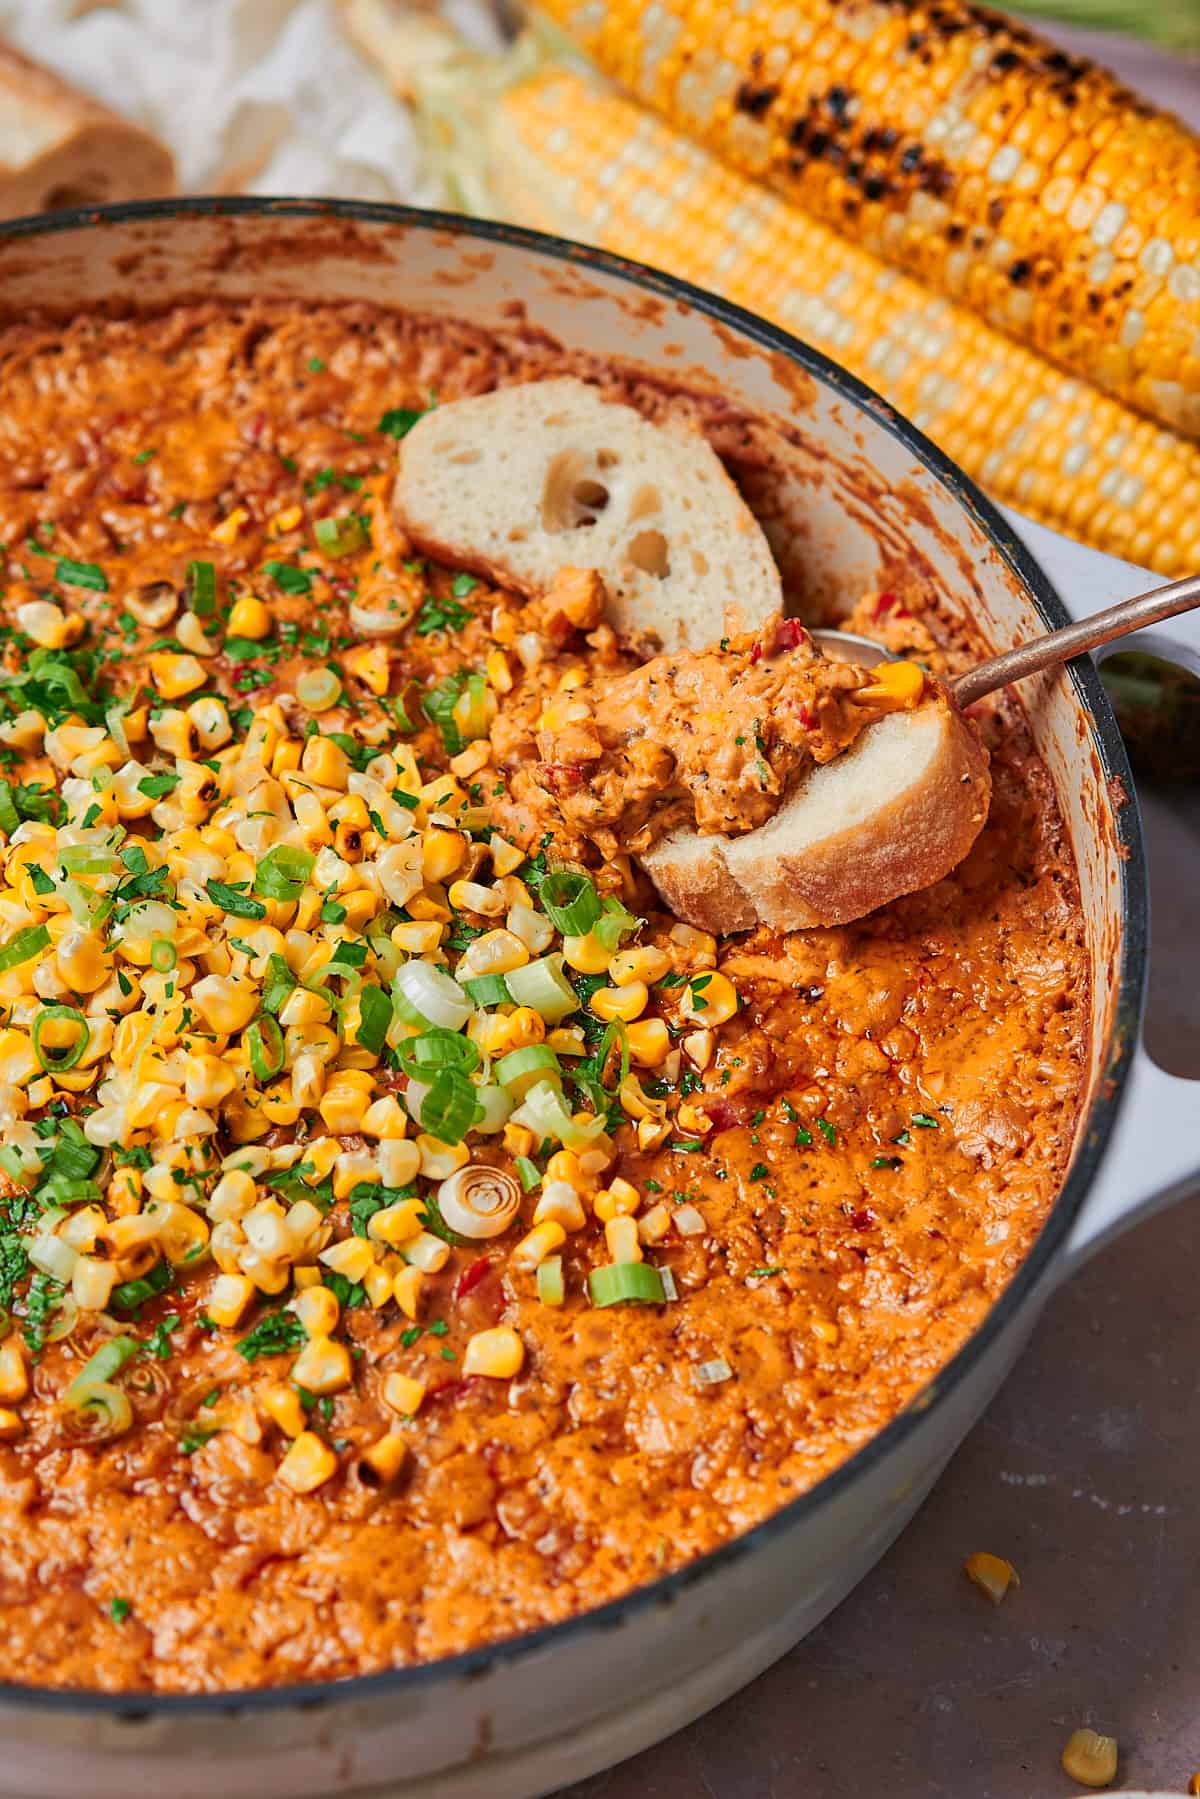
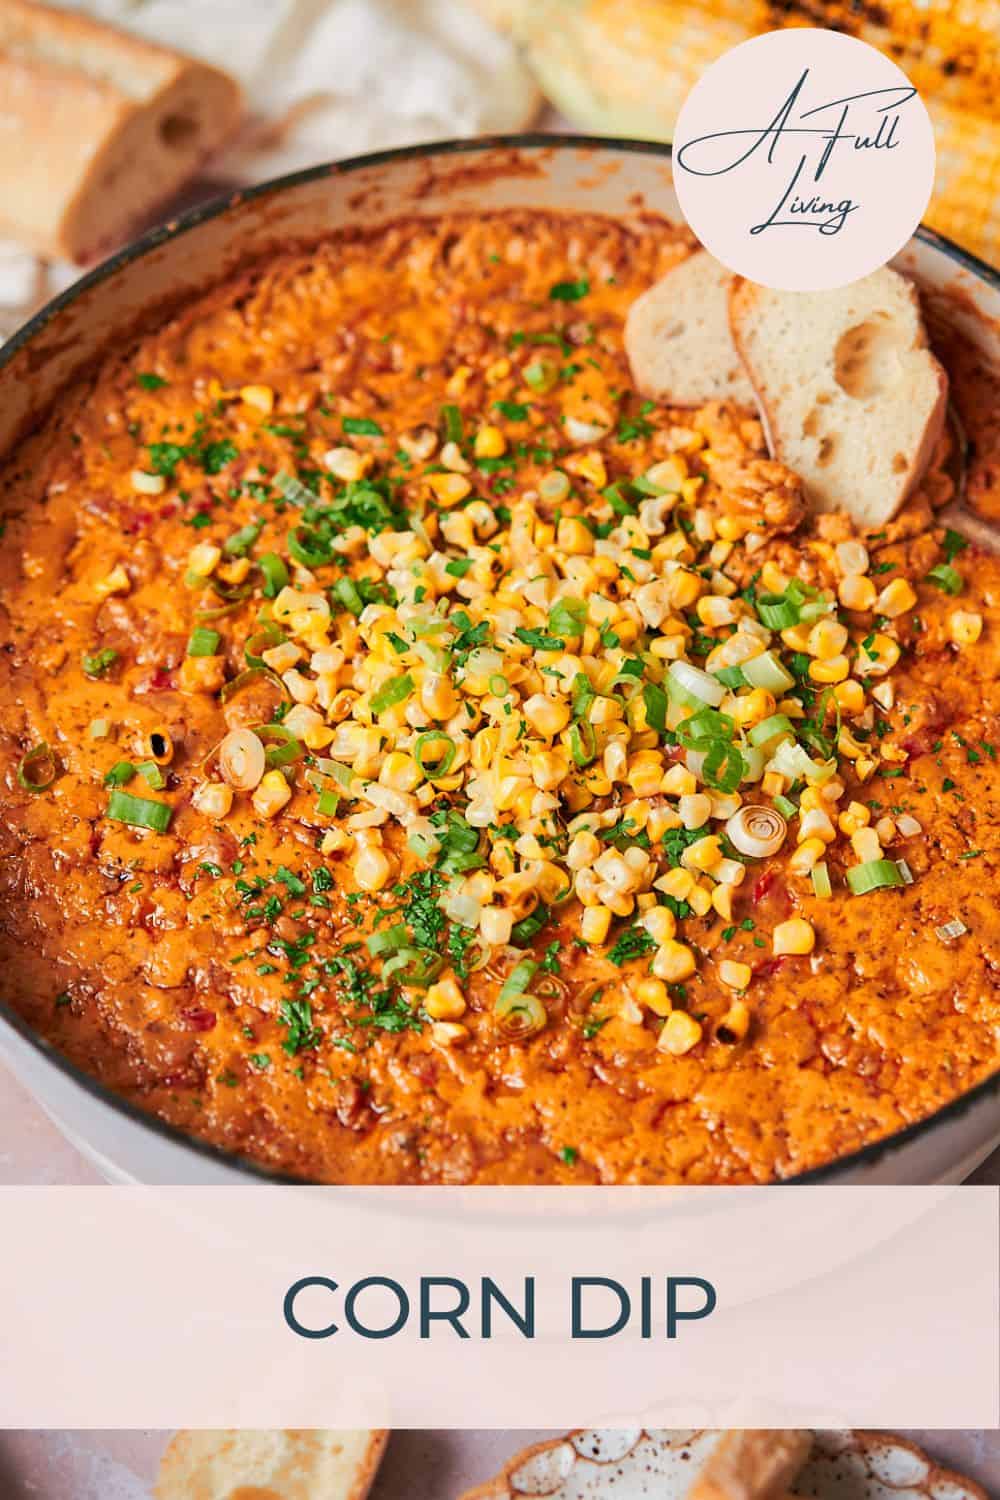
This super flavorful Hot Corn Dip recipe is a tasty delight, with the perfect blend of cheesy, creamy, smoky, tangy, and spicy! Serve this dip for game day, parties, and get-togethers, and watch it vanish in no time! It's perfect for dunking a variety of dippers like bread, chips, crackers, and veggie sticks.
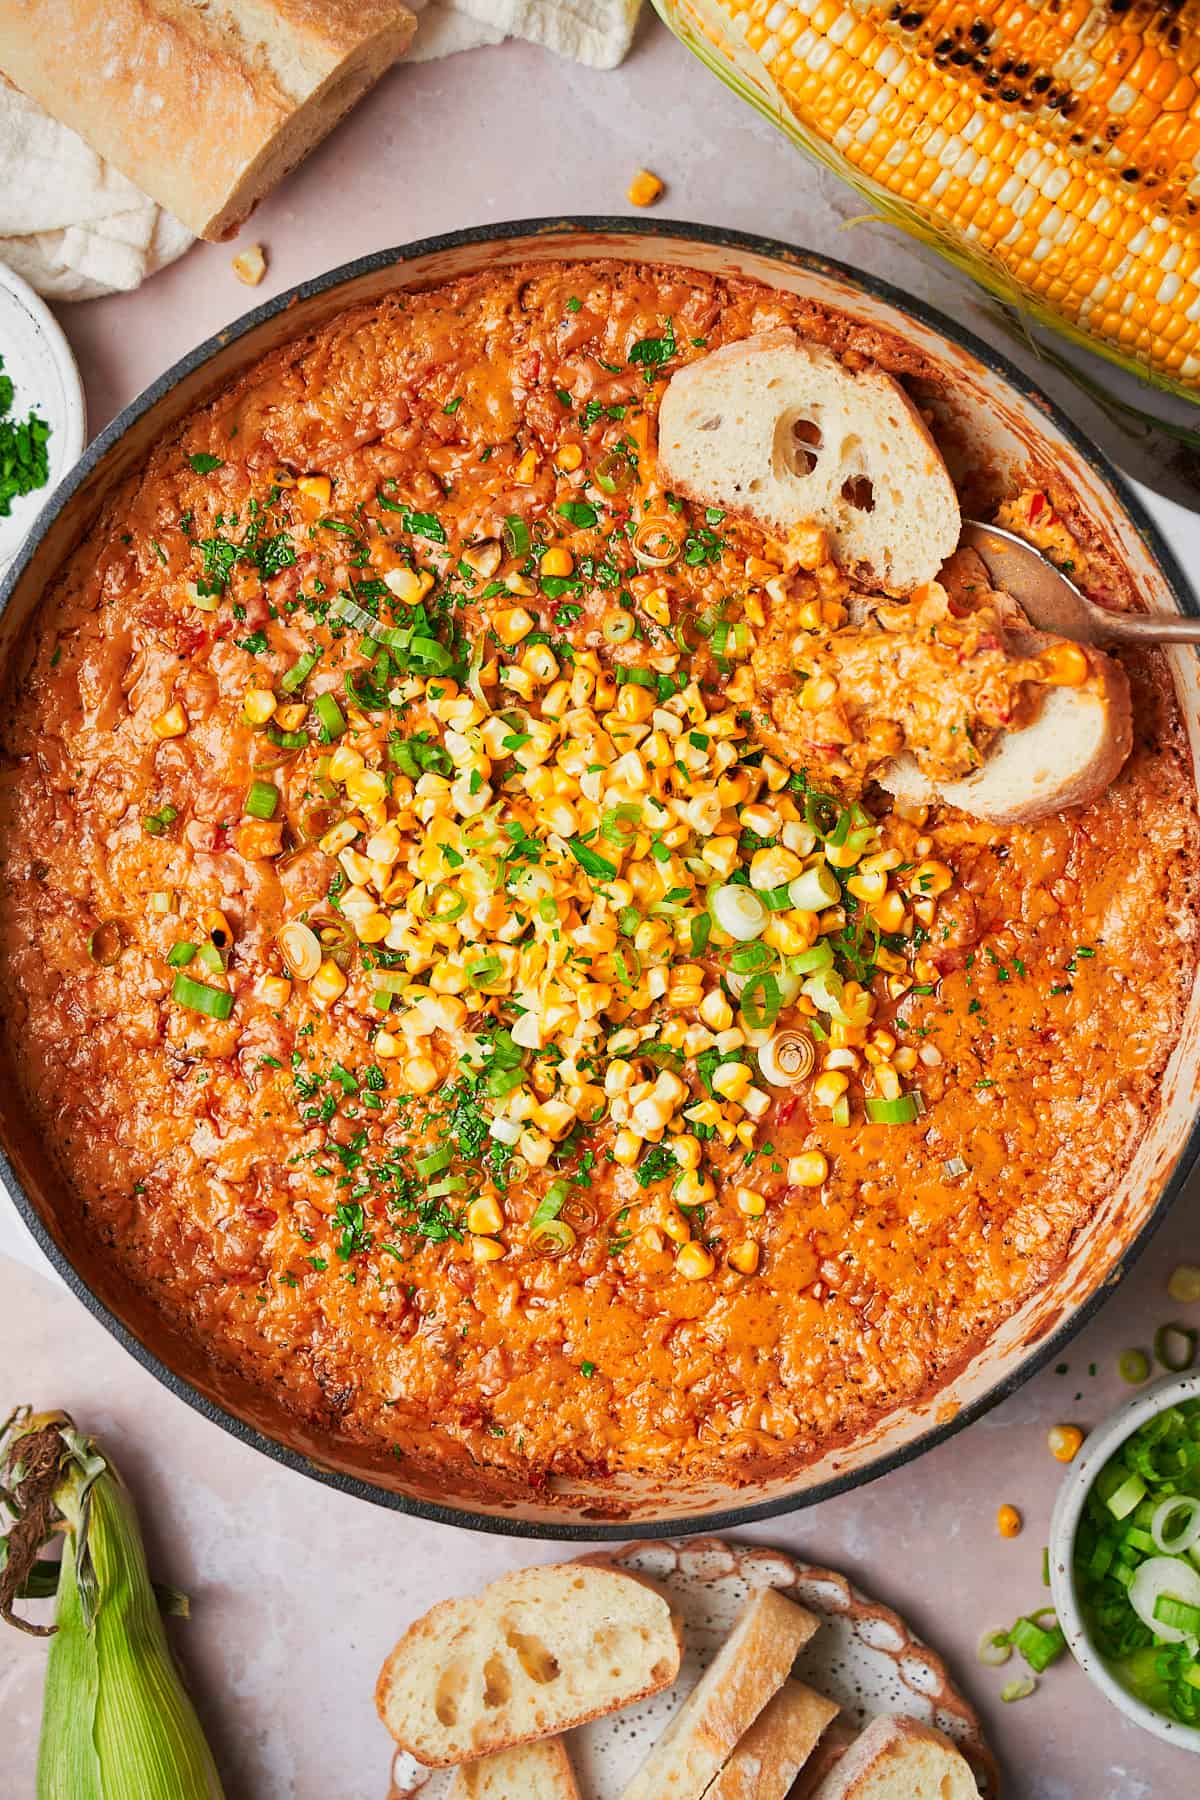
This creamy corn dip includes grilled corn kernels cooked with plenty of spices, bell peppers, shallots, garlic, sour cream, and two different types of cheeses, then baked until golden and bubbly.
We also added a few splashes of lemon juice to give it a little zestiness and garnished it with green onions, parsley, and more corn. There's an explosion of colors, texture, and flavors in every bite. Everyone will be begging for seconds!
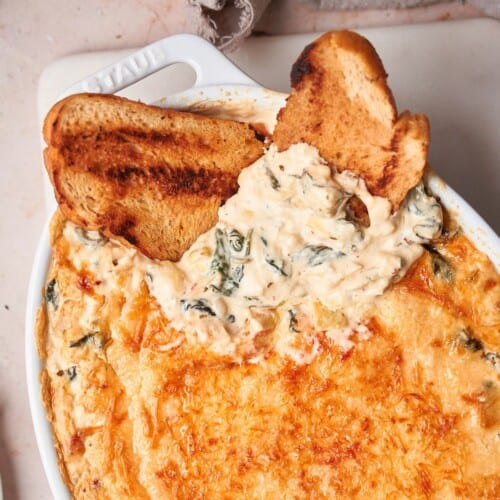
Craving a new dip recipe? You may also like this jalapeno dip or this baked spinach artichoke dip, and this crawfish dip recipe!
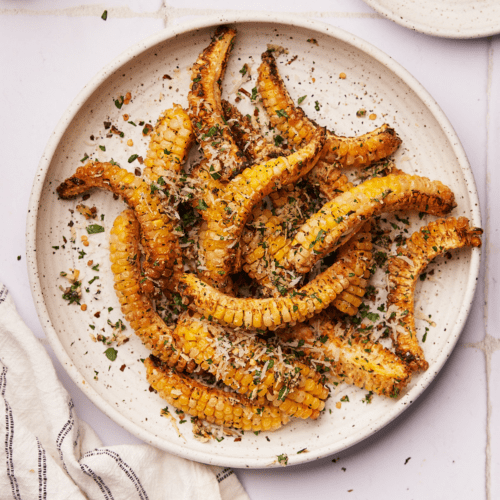
Don't forget to check out our corn ribs recipe too!
Jump to:
❤️Why we love this recipe
- Amazing flavors. Seriously, this will get gobbled up quickly for any occasion. This mouthwatering and hearty dip is creamy, cheesy, and a bit tangy, with some smokiness and a bit of spice. This dip checks all the boxes!
- Great appetizer! This recipe is a certified crowd pleaser. It's always a huge hit when we serve it to friends and family. It's one of those easy appetizers to bring to your next party, potlucks, BBQs, game day gatherings, picnics, or a pool party.
- Made with simple ingredients. This delicious dip is made with easy to find ingredients at any grocery store. Bonus points if you can find fresh corn on the cob in season, but you can also use frozen corn!
- Easy to follow. This recipe has a three-step process that everyone can easily follow: grill the corn, cook the dip mixture in a skillet then bake! If you are in a hurry, you can even skip the baking part and serve it right off the skillet- it would be delicious either way!
- Can be made ahead of time. You can make a big batch of this yummy dip in one go and store the rest in the fridge for later.
- Season to taste. You can make it as spicy as you like and choose spices that you prefer- it's entirely up to you. Taste as you go and adjust according to your personal preference.
- Adaptable for different diets. This recipe is naturally gluten free, vegetarian, and lower in carbs. Serve it with a variety of dipping vessels to suit different diet types!
🌽Ingredients
Here are the ingredients we used for this recipe. You can find more information for substitutions below.
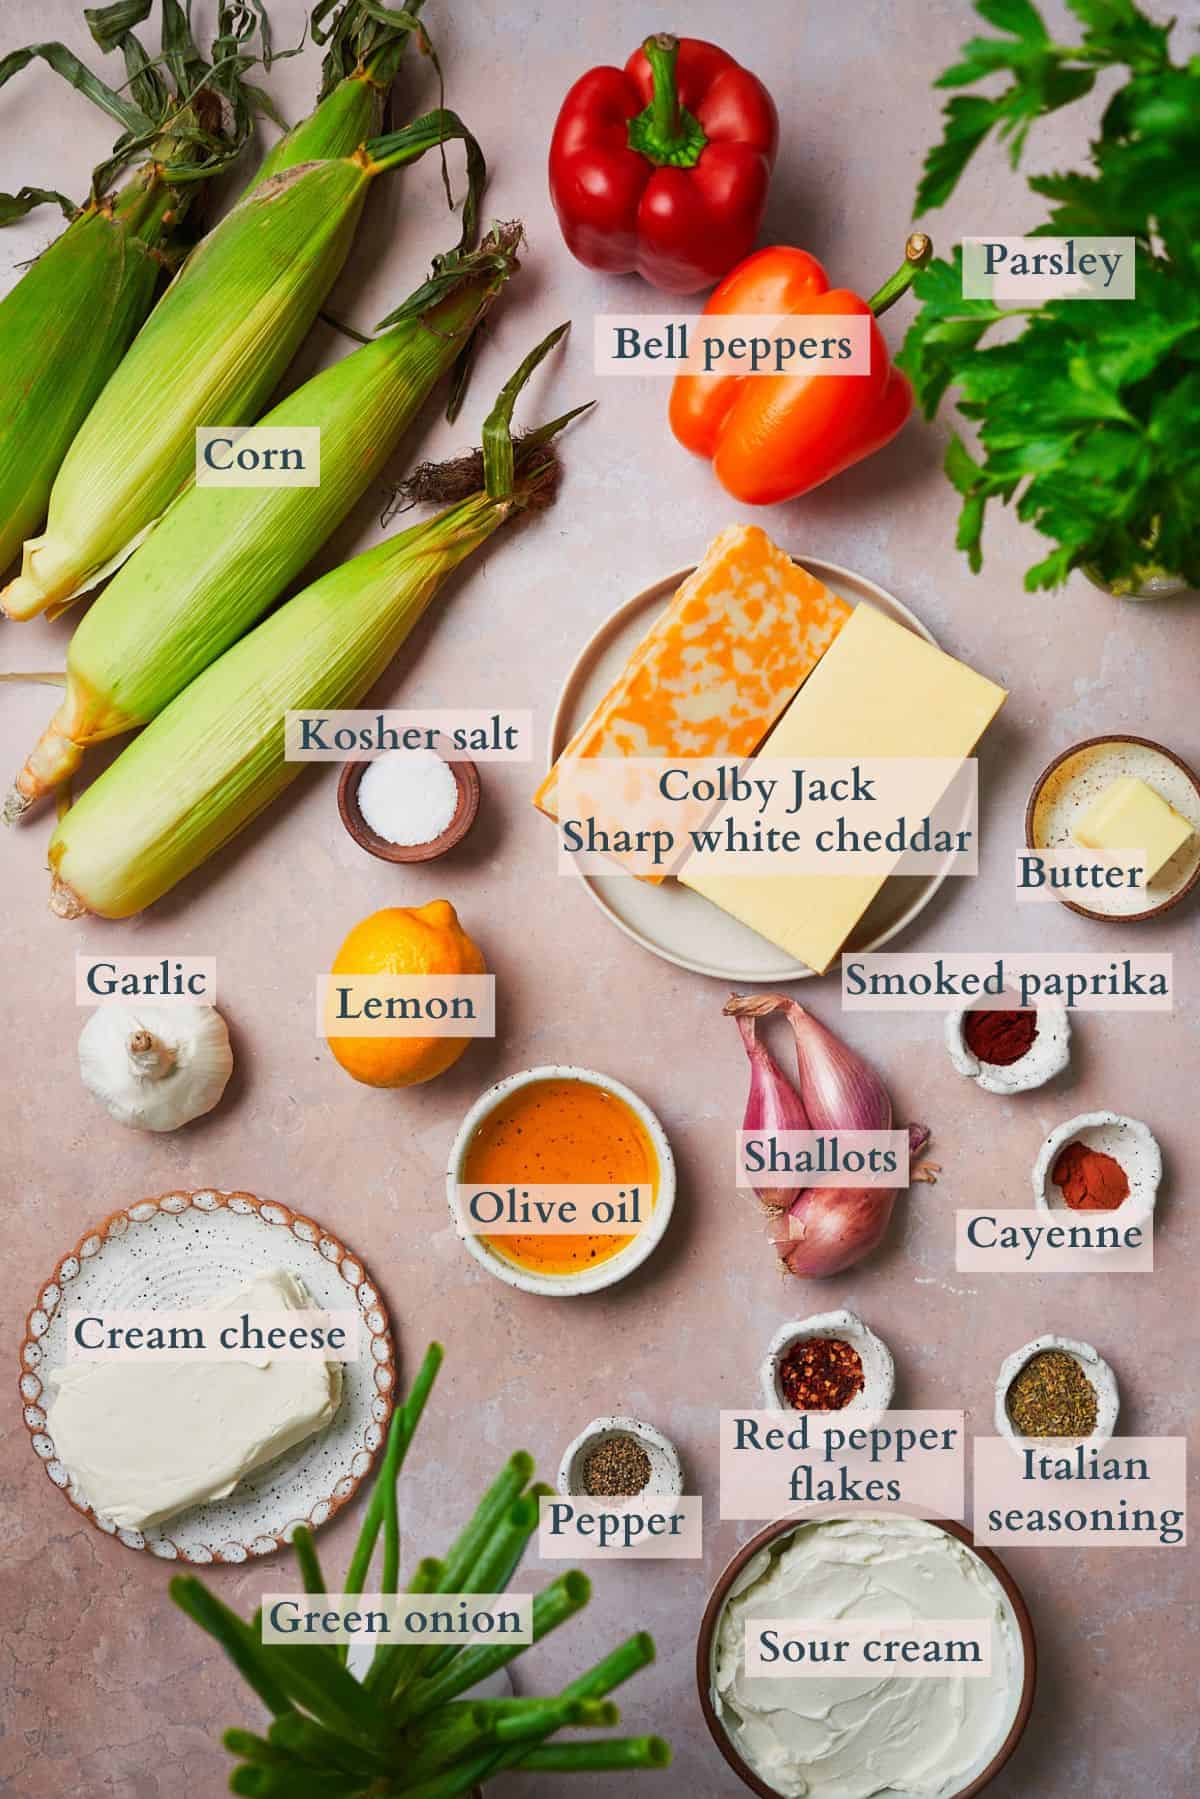
- Corn on the cob. If fresh sweet corn is in season, use that! You will need 4 pieces for this recipe, more if you are garnishing it with more grilled kernels. You can also use frozen or canned corn if that's all you have on hand.
- Bell peppers. Use any bell peppers you want. We opted for orange and red, but choose your favorite. Keep in mind that green bell peppers are a little less sweet than other varieties.
- Lemon. Use fresh lemon juice for the best flavor. We also add fresh lemon zest.
- Cream cheese & sour cream. Make sure they're room temperature so that blend together into a nice creamy base without lumps.
- Cheese. We used a combination of Colby Jack, and sharp white cheddar cheese. Just make sure to buy blocks of cheese and shred them yourself so that it melts properly.
Visit the recipe card for the full quantities and nutritional information.
✨Substitutions
Here are a few suggestions on additional flavors to try, or simple variations to this recipe.
- No sour cream. You can use mayonnaise or plain Greek yogurt as a substitute for sour cream. Just add more lemon juice to give it more tartness if using mayonnaise.
- Different cheeses. Other types of cheese can also be used for this recipe. Try Monterey Jack, mozzarella, gruyere, Fontina, Swiss, or other types of cheese that will melt well. We do recommend shredding the cheese yourself so that it melts well. We also recommend using a mixture of sharp or pungent cheese alongside mild cheese, to give the flavor plenty of depth.
- Swap shallots for onions. Shallots can be swapped for yellow or red onions.
- No fresh garlic or onion. Use onion powder and garlic powder if you don't have fresh.
- No fresh sweet corn. You can use frozen corn or canned corn instead. If using canned corn, make sure to drain all excess liquid. For frozen corn, there is no need to thaw.
✨Variations
- Spicier. You can add more heat by adding chili powder, more red pepper flakes, more cayenne pepper, or some diced jalapenos. You can also drizzle with a bit of hot sauce before serving.
- Add more vegetables. Aside from bell peppers, you can add more vegetables to boost the vitamin content of this dip. Carrots, tomatoes, and celery are great options.
- Vegan or dairy free. Use dairy-free butter, sour cream, and cheese brands to make this vegan-friendly. We love Follow Your Heart for dairy-free cheese!
- No-bake corn dip. Shave 25 minutes off the cooking time, and just serve this recipe straight out of the skillet right off of the stovetop.
🔪Prep work
- Remove the husk from the corn cobs.
- Bring the cream cheese and sour cream out of the fridge for at least 30 minutes, preferably 1-2 hours, before starting to bring them to room temperature.
- Grate the cheese.
- Dice shallots.
- Mince garlic.
- Preheat a grill pan over medium heat.
- Cut green onions into rounds and chop fresh parsley.
- Measure out the rest of the ingredients.
📋Instructions
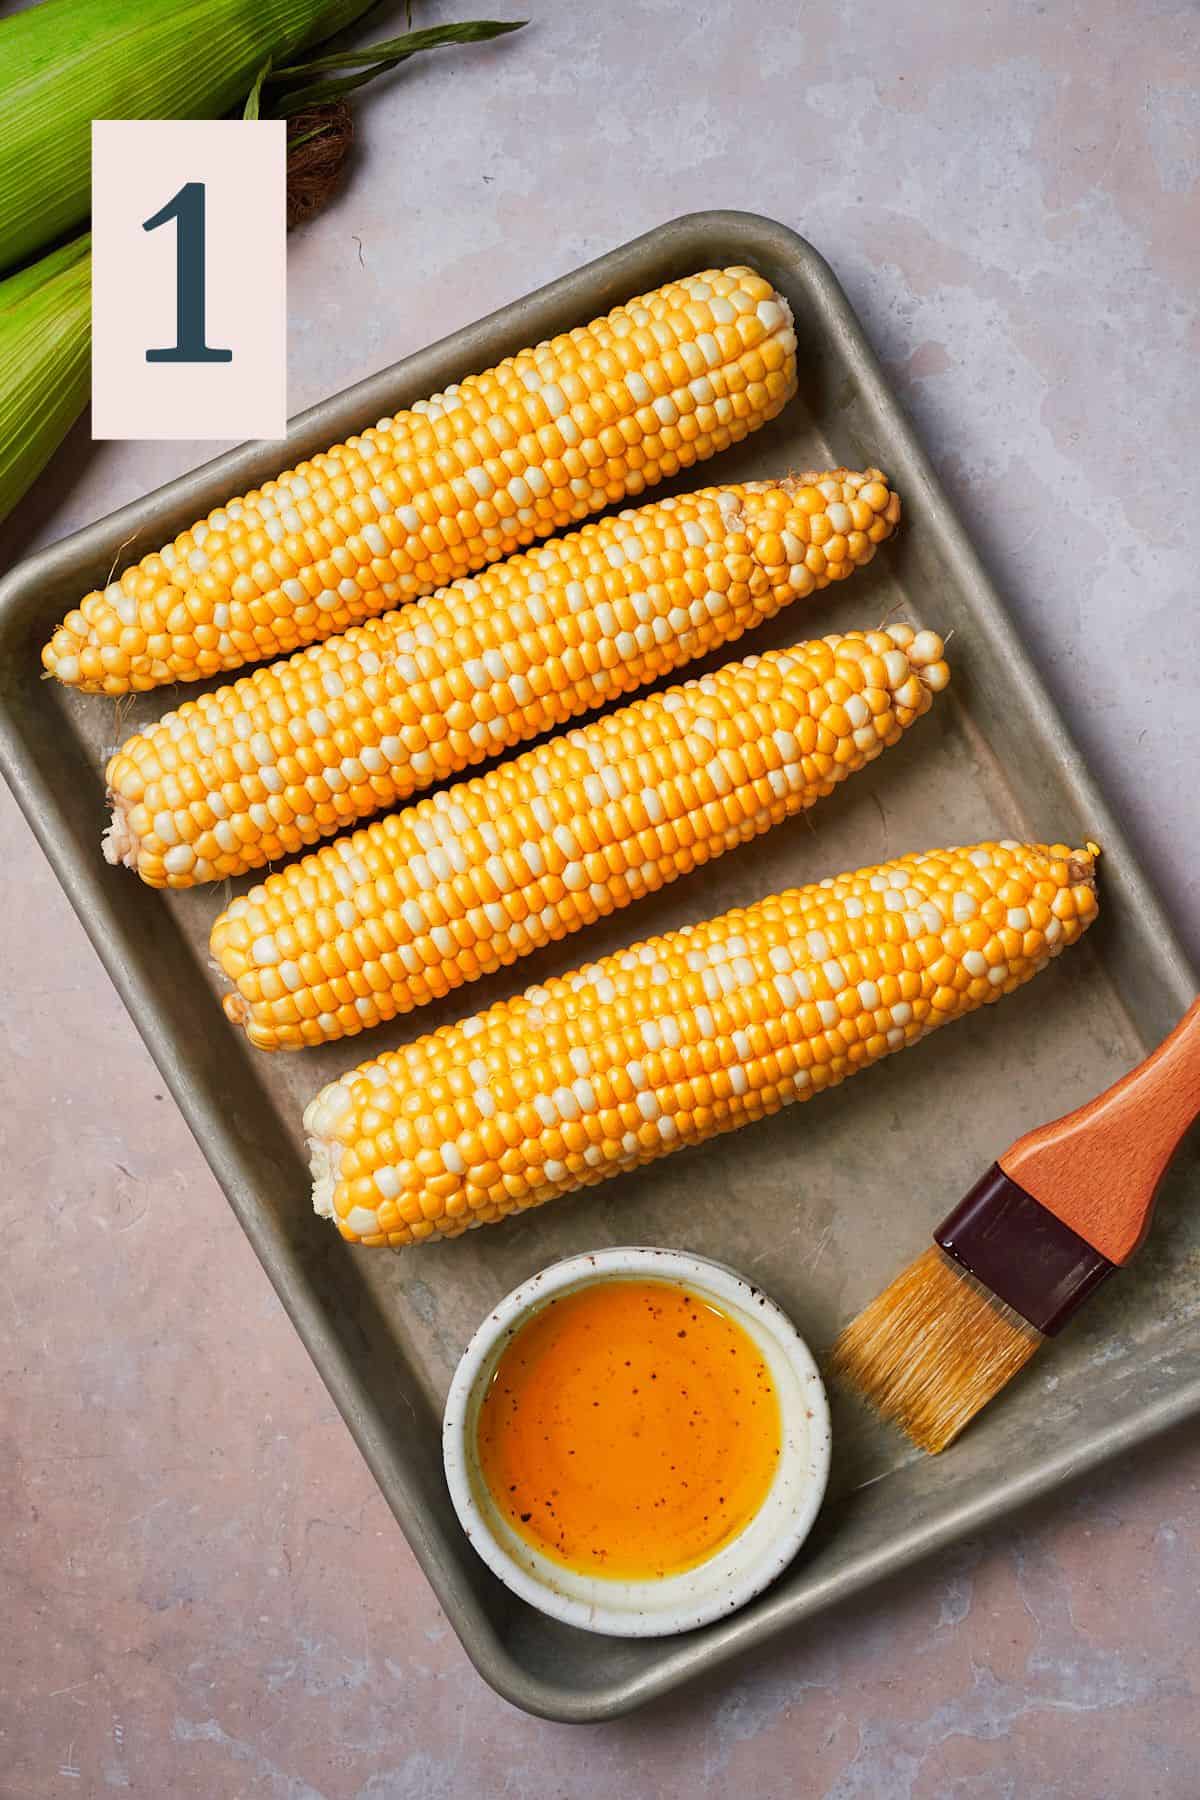
Brush corn with a little bit of olive oil using a pastry brush. (Image 1)
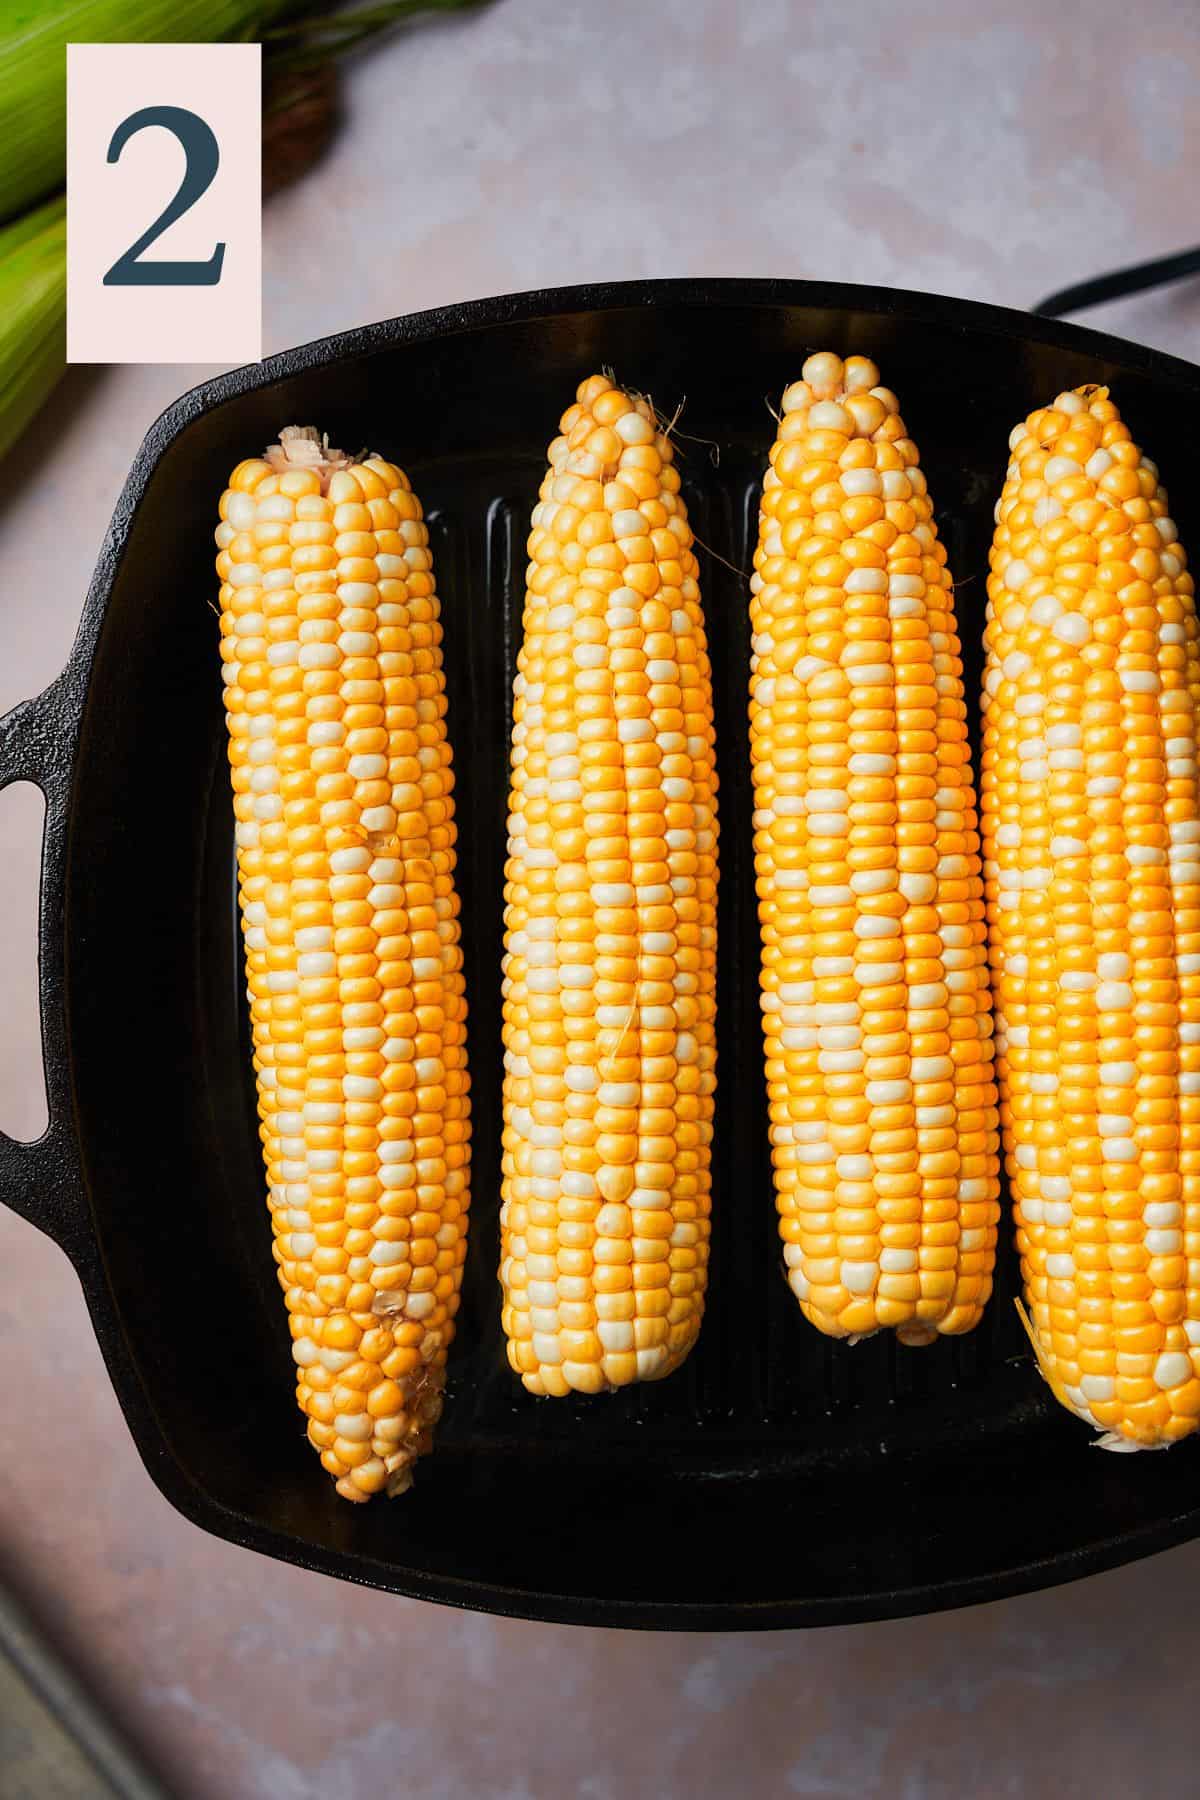
Add to a hot grill pan. (Image 2)
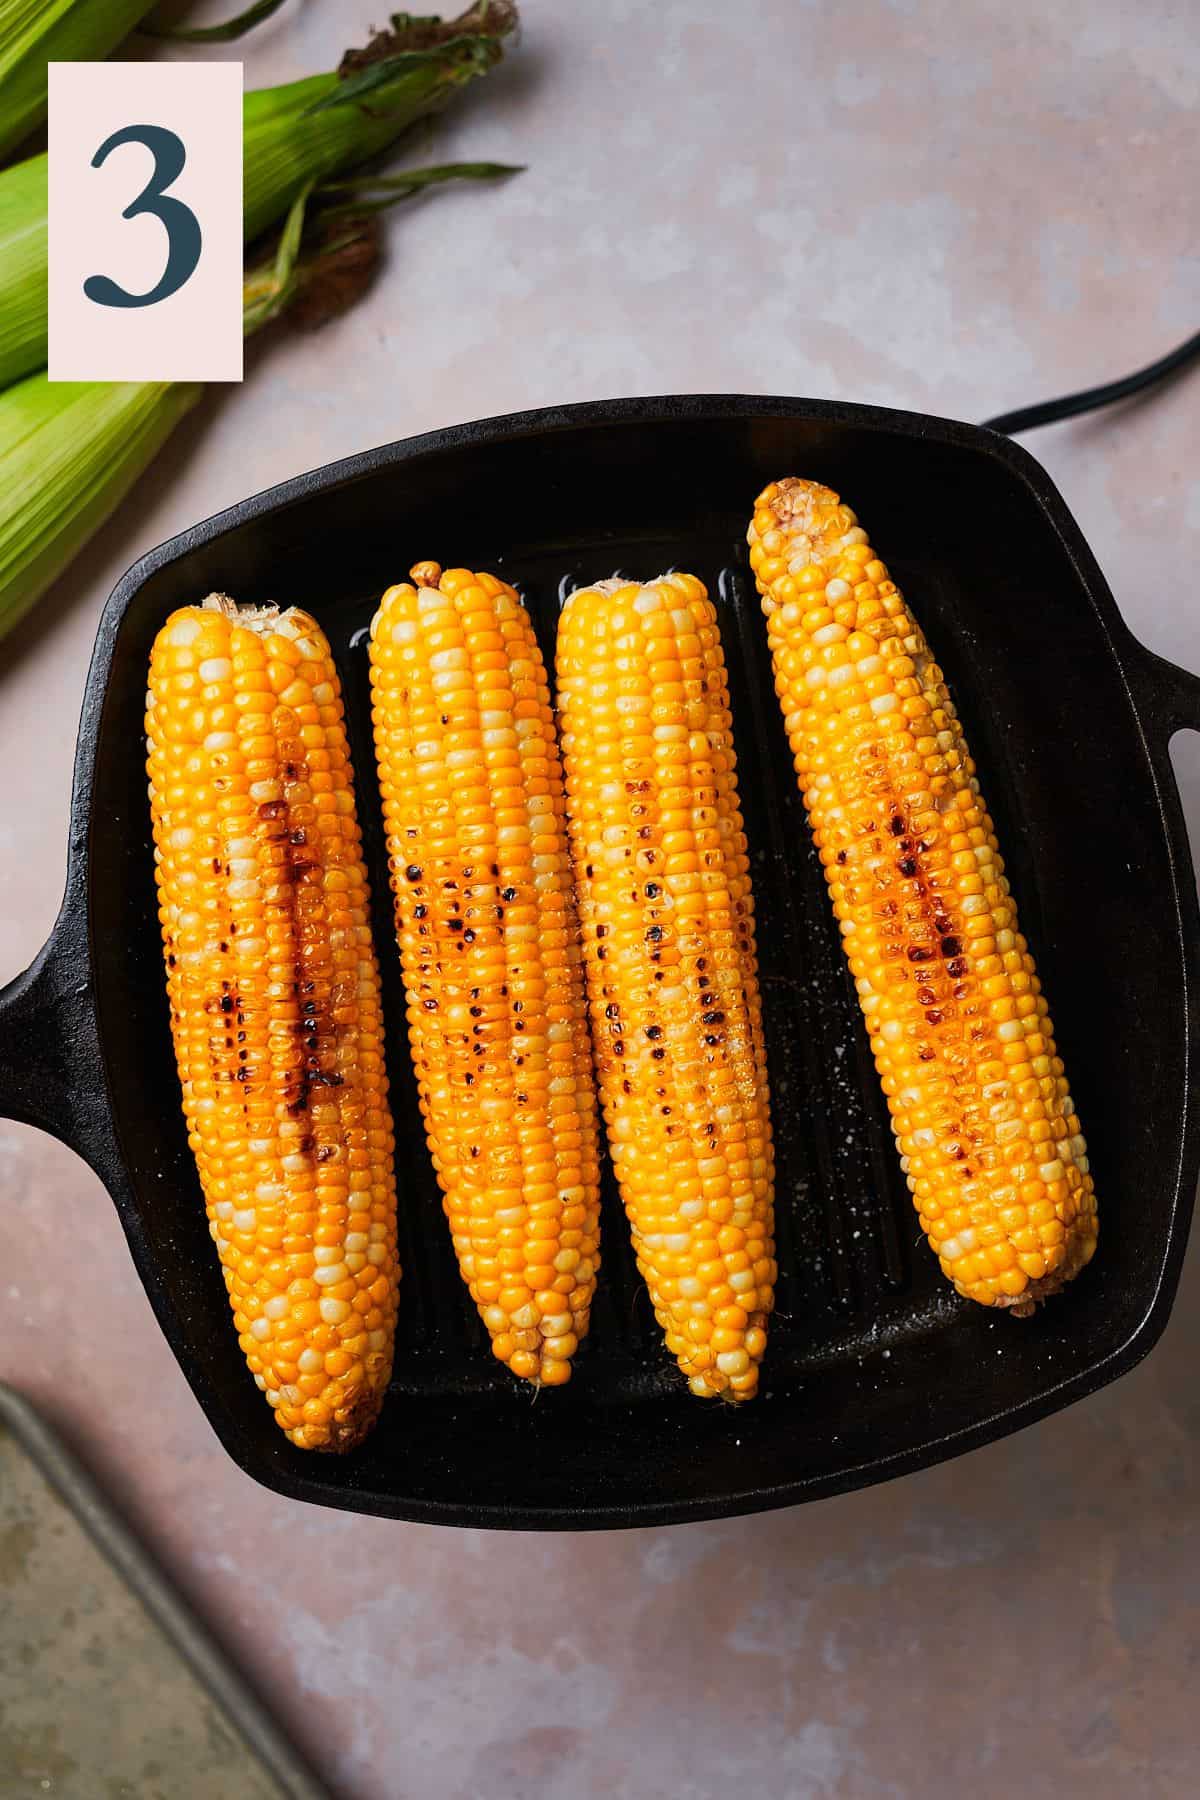
Grill until nice char marks form on the corn, about 3-4 minutes on each side. (Image 3)
Allow them to cool down for about 10 minutes before cutting them off the cob. Once cooled, cut the corn kernels off the cob and set aside.
If not using fresh corn. If using canned corn, simply drain the excess liquid, and cook corn with a little bit of olive oil in a hot skillet to brown it. There's no need to thaw frozen corn, you may just need to cook it for a few minutes extra to remove excess liquid and get it a nice golden brown color.
Meanwhile, preheat a separate large skillet over medium heat. Preheat the oven to 350°F.
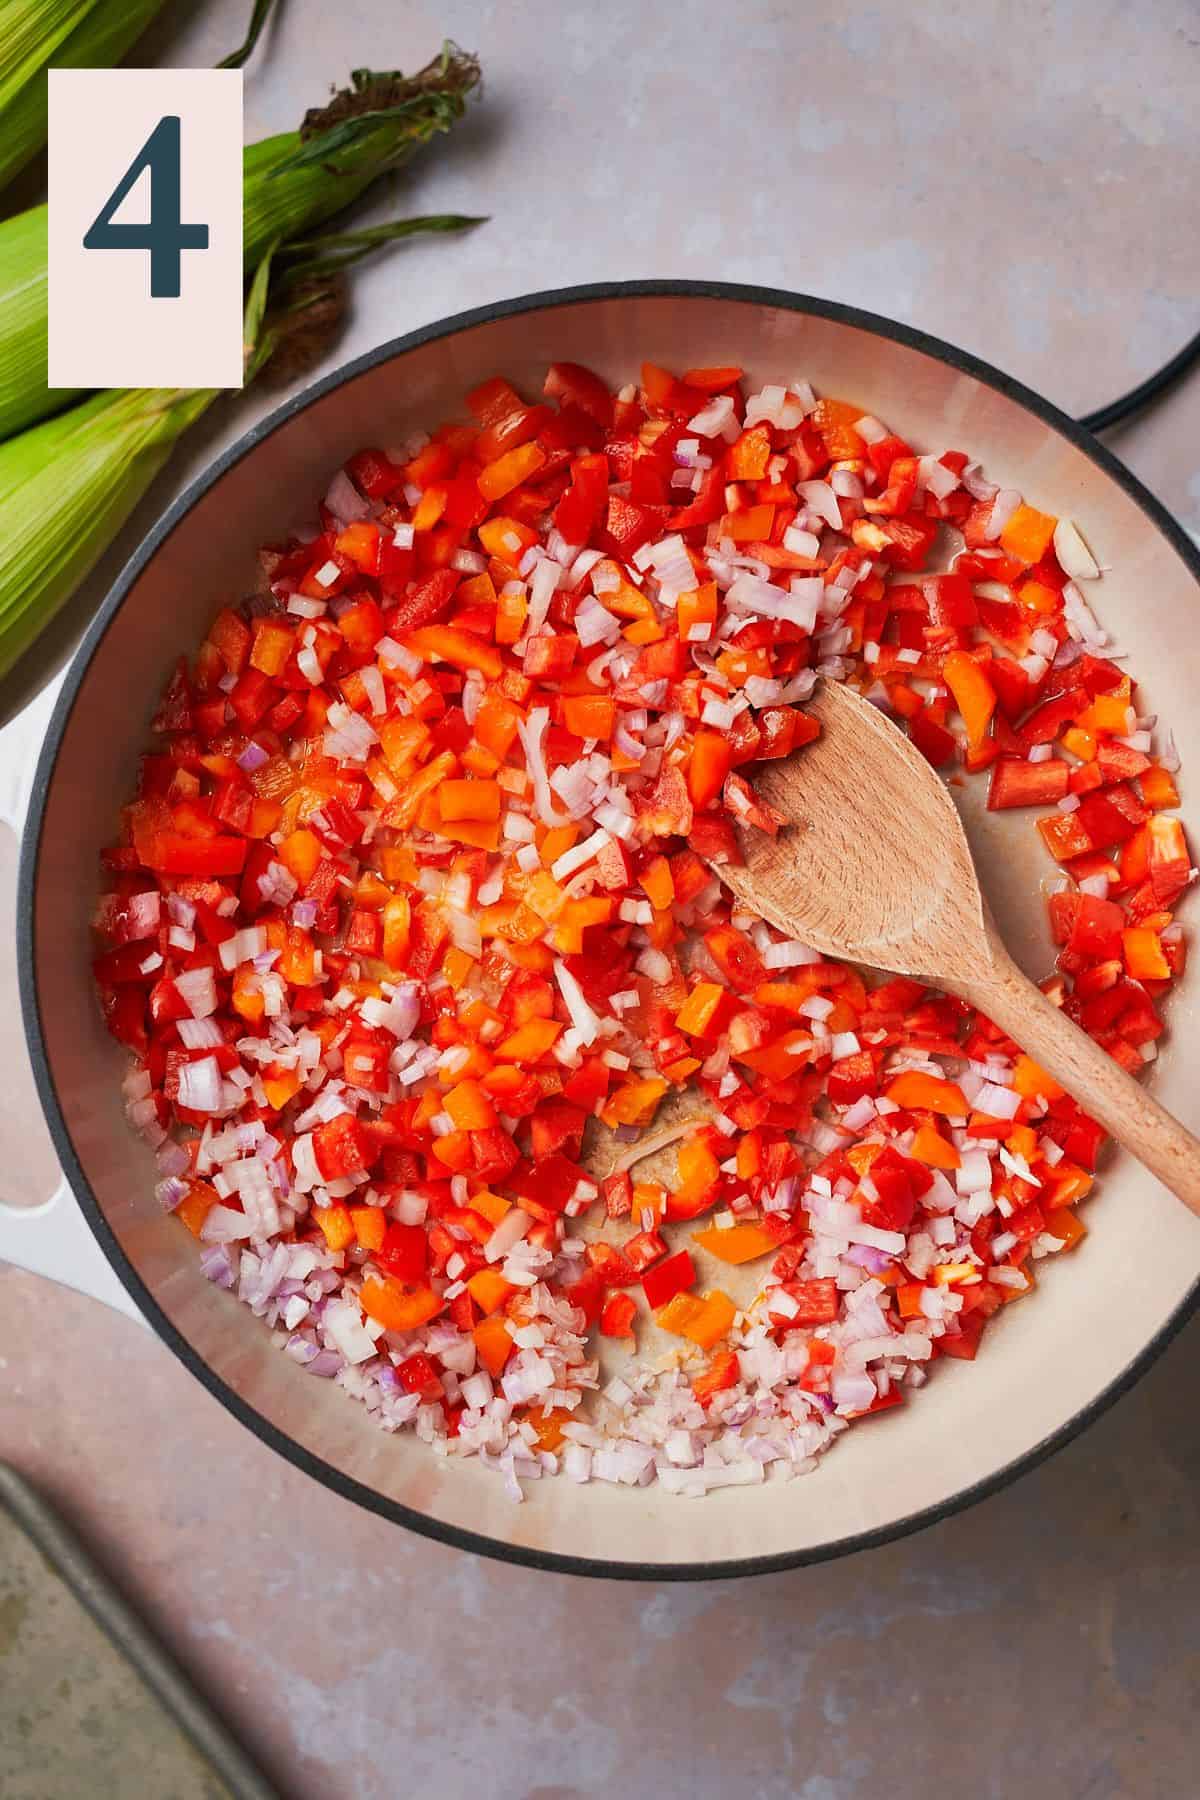
Add in the rest of the olive oil, followed by the butter to melt. Add the orange and red peppers, along with the shallots with a big pinch of salt. (Image 4)
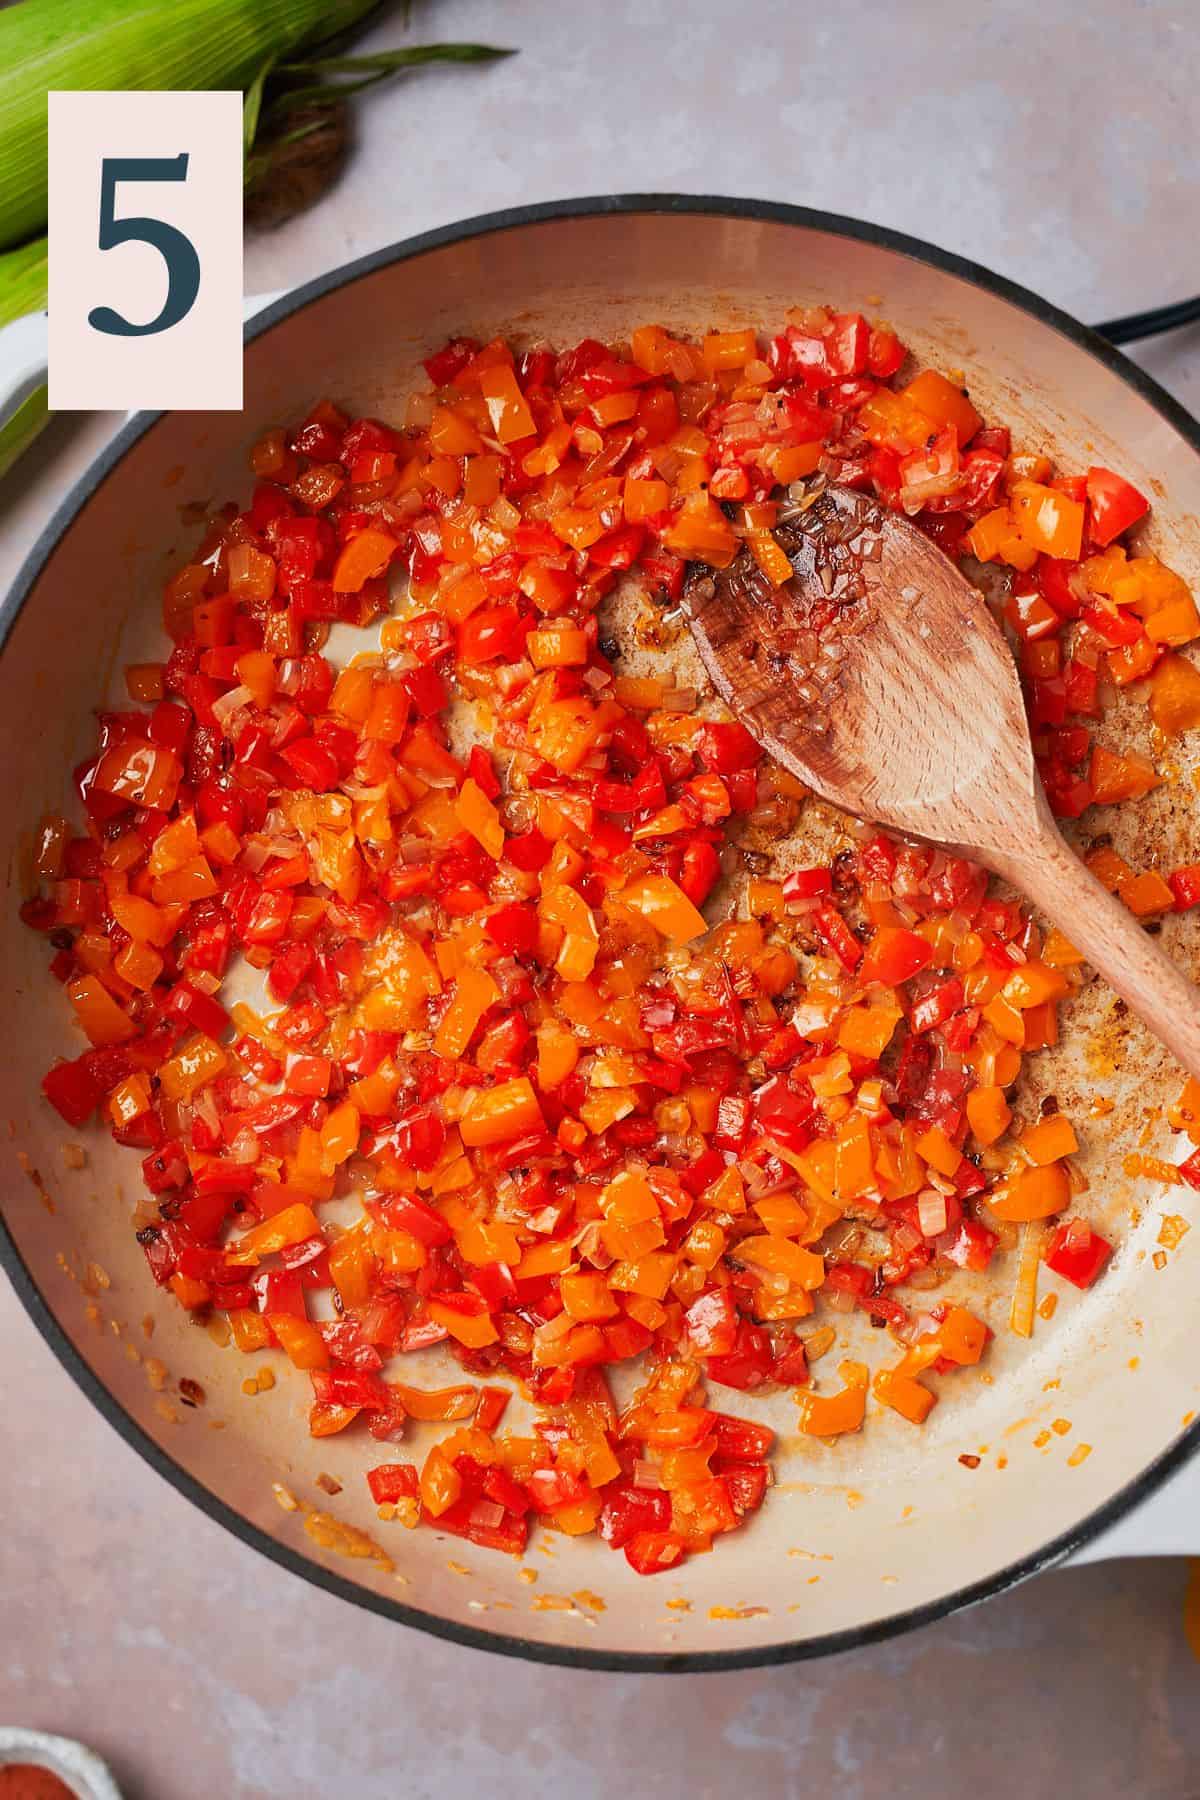
Cook until softened, about 5-7 minutes. (Image 5)
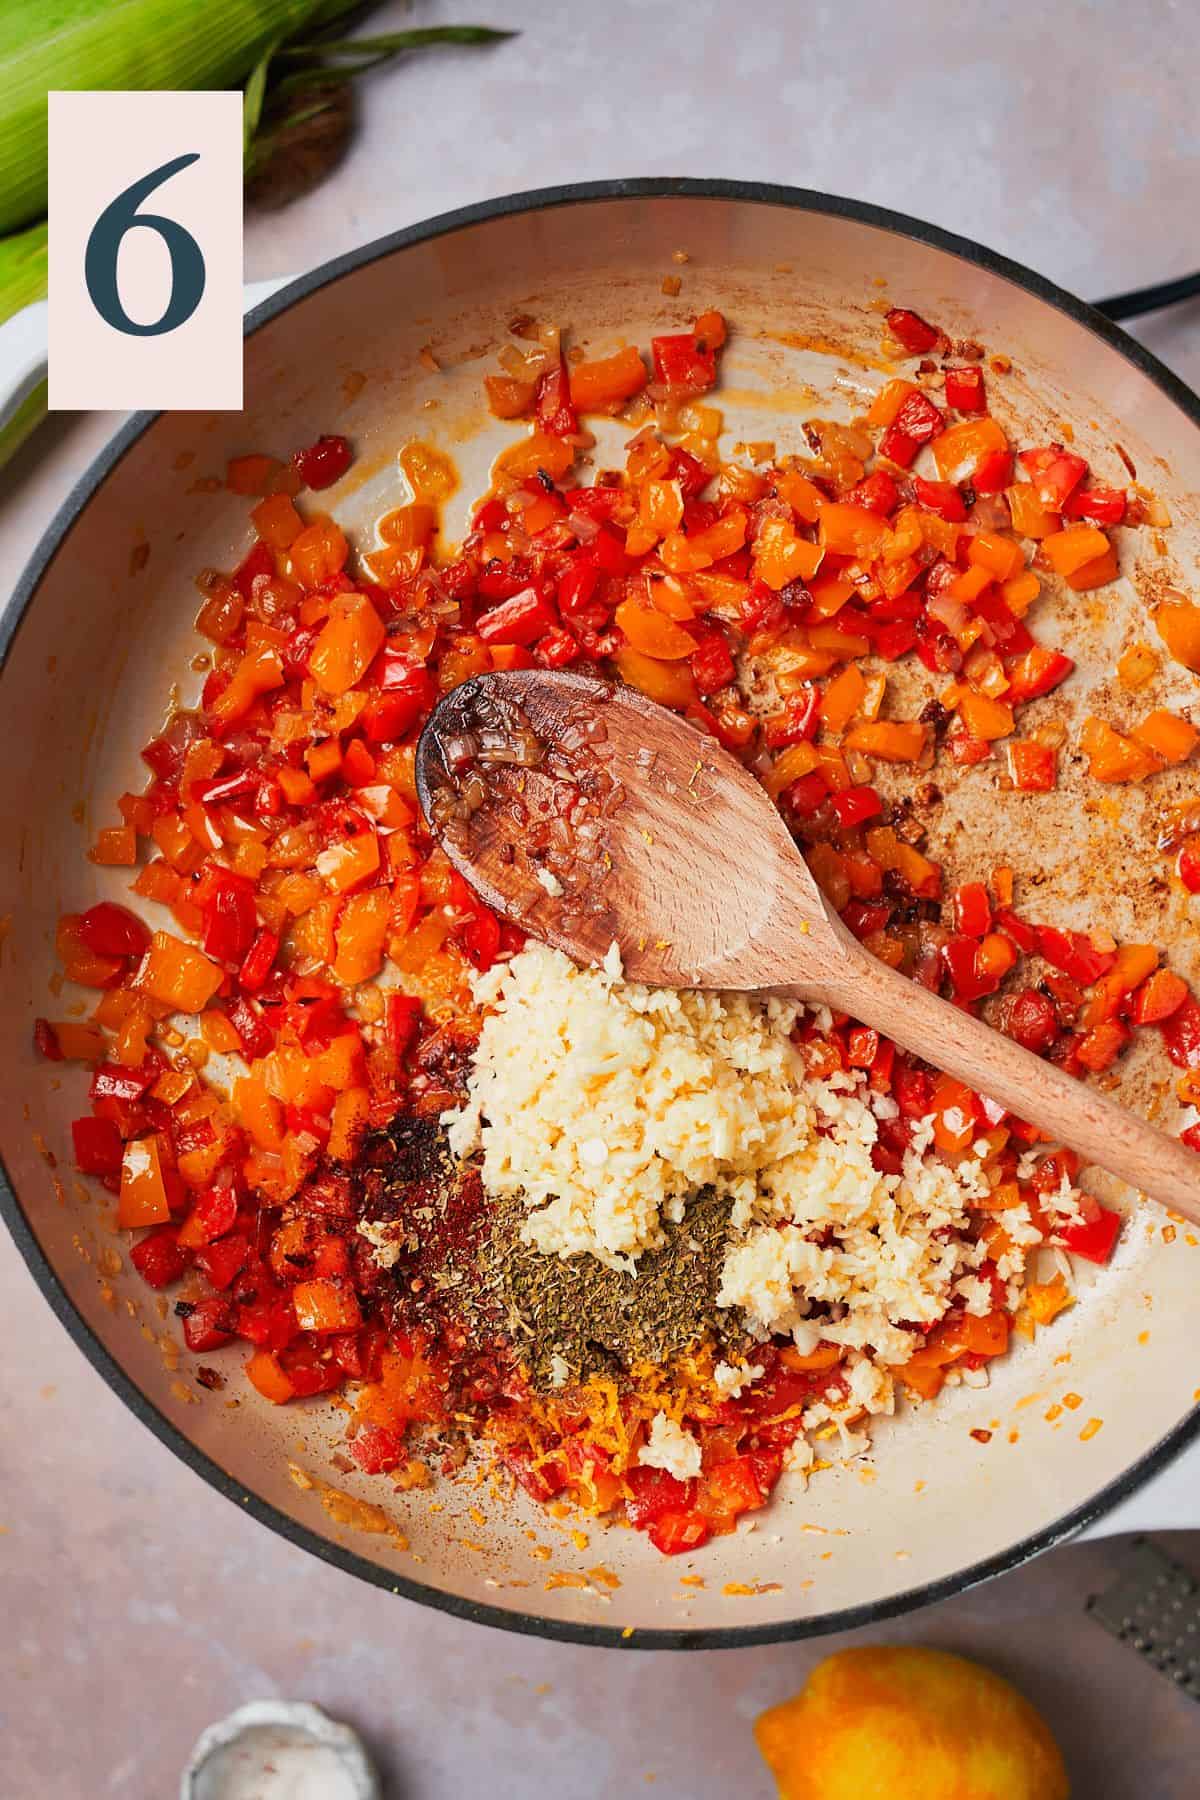
Next, add in the garlic, lemon zest, Italian seasoning, red pepper flakes, cayenne, and smoked paprika. (Image 6)
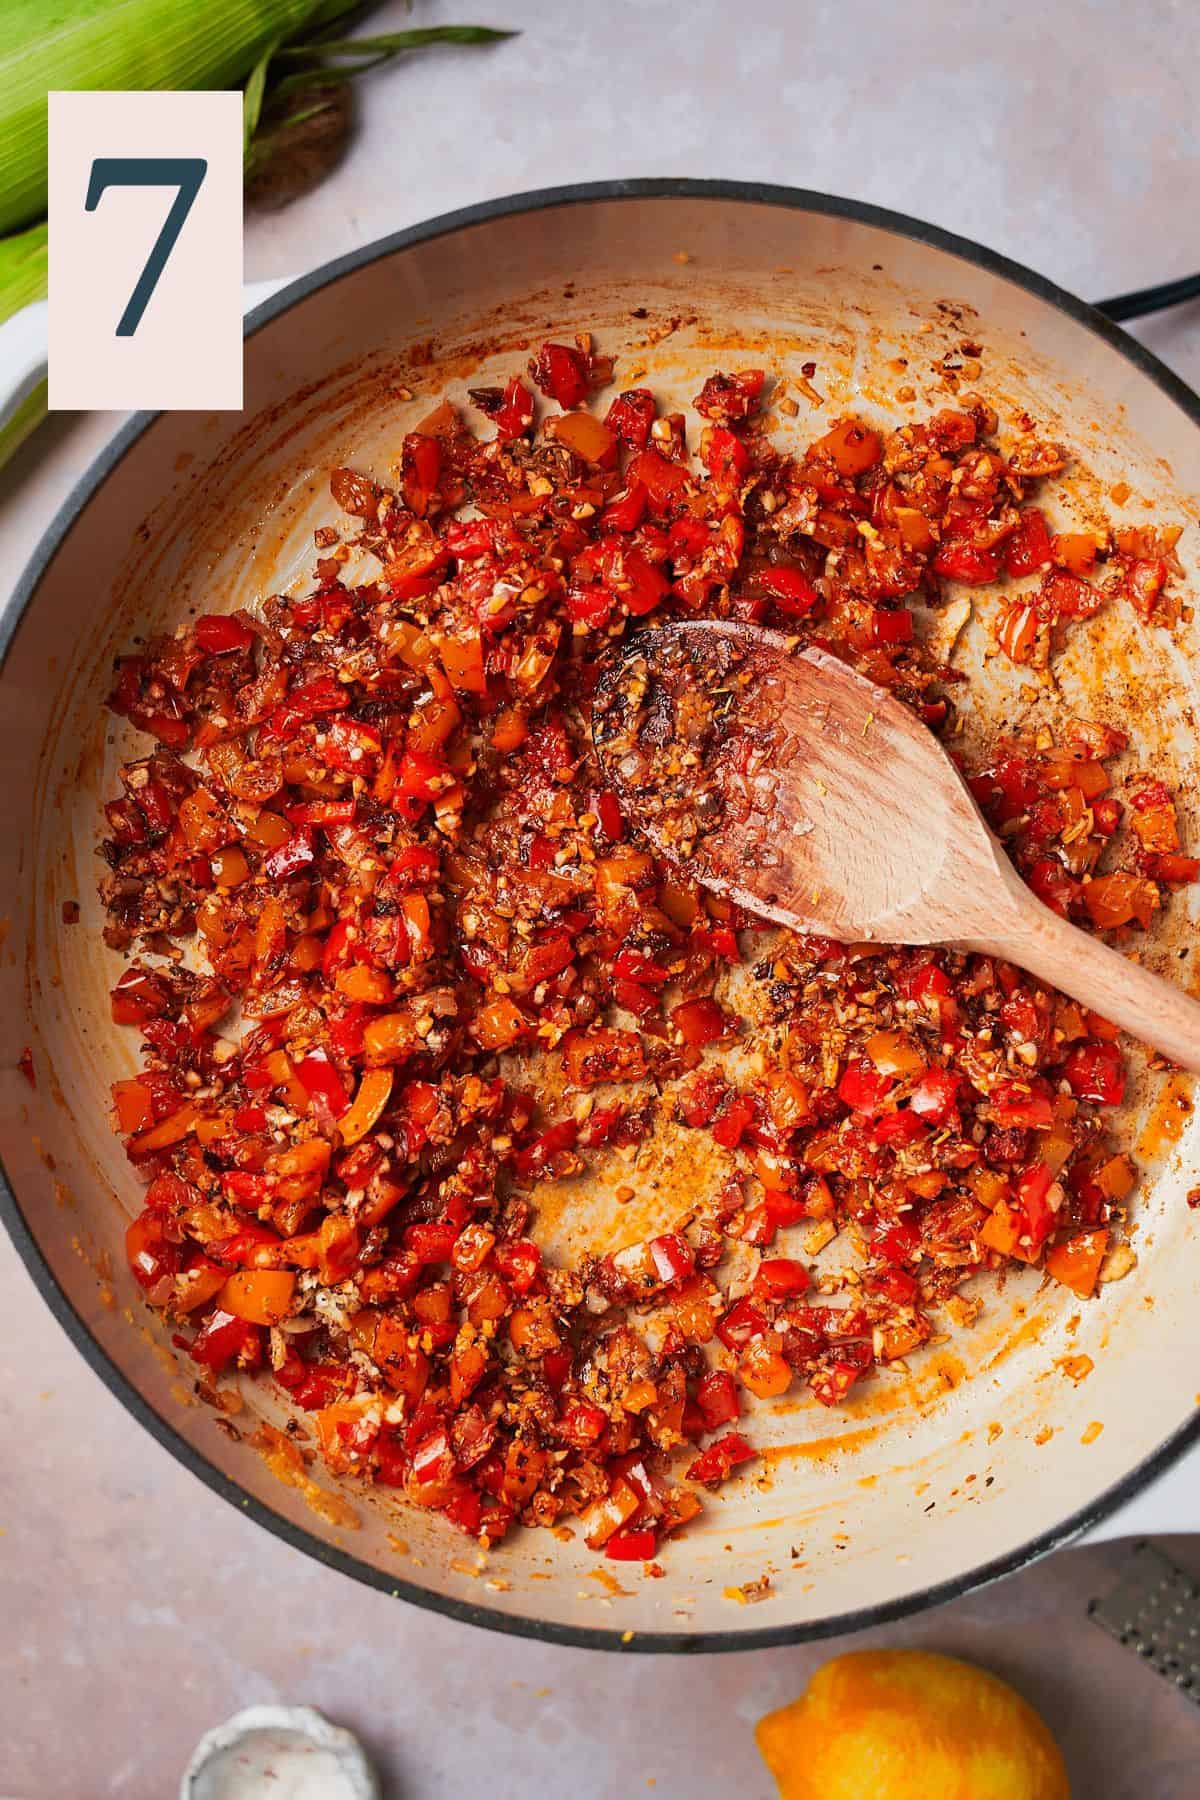
Cook until the garlic is fragrant, about 30 seconds - 1 minute, stirring constantly. (Image 7)
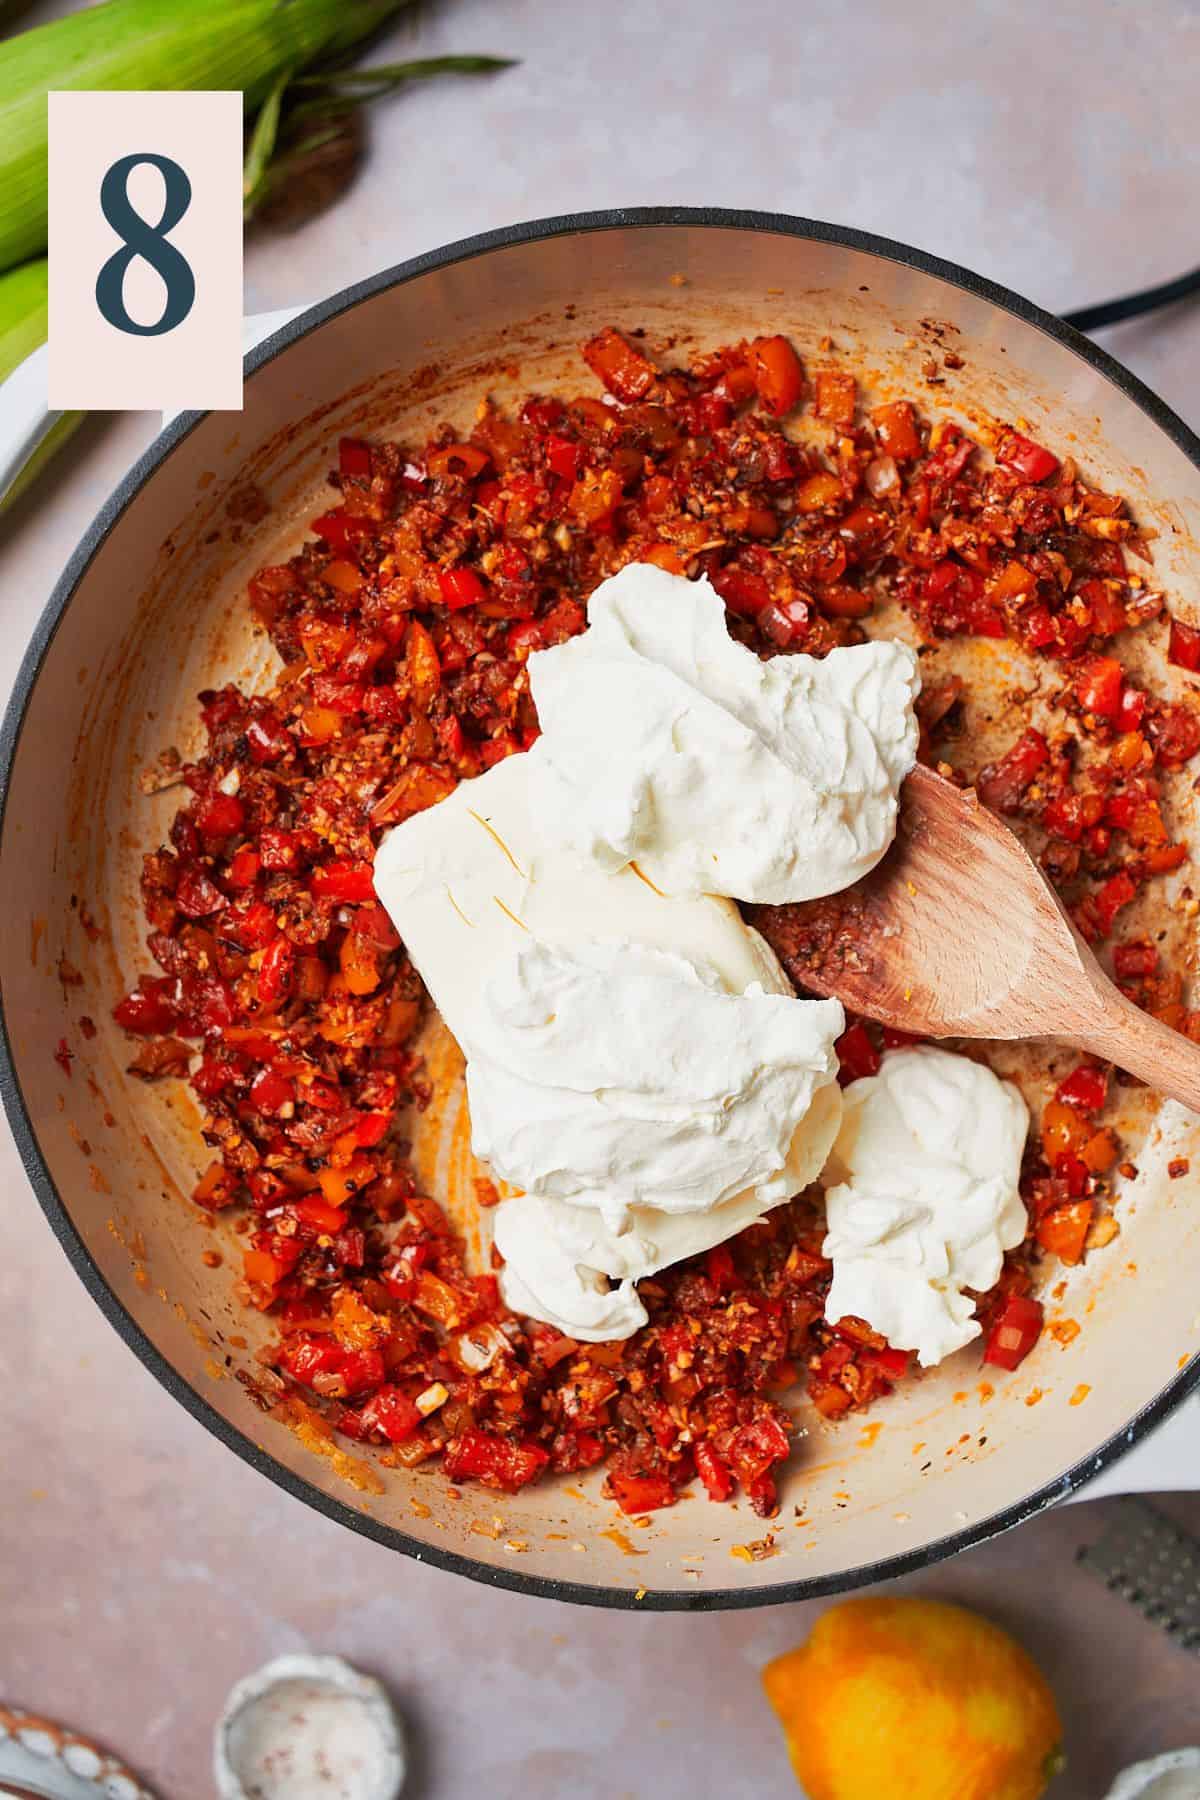
Reduce the heat to low. Add in the cream cheese and sour cream. (Image 8)
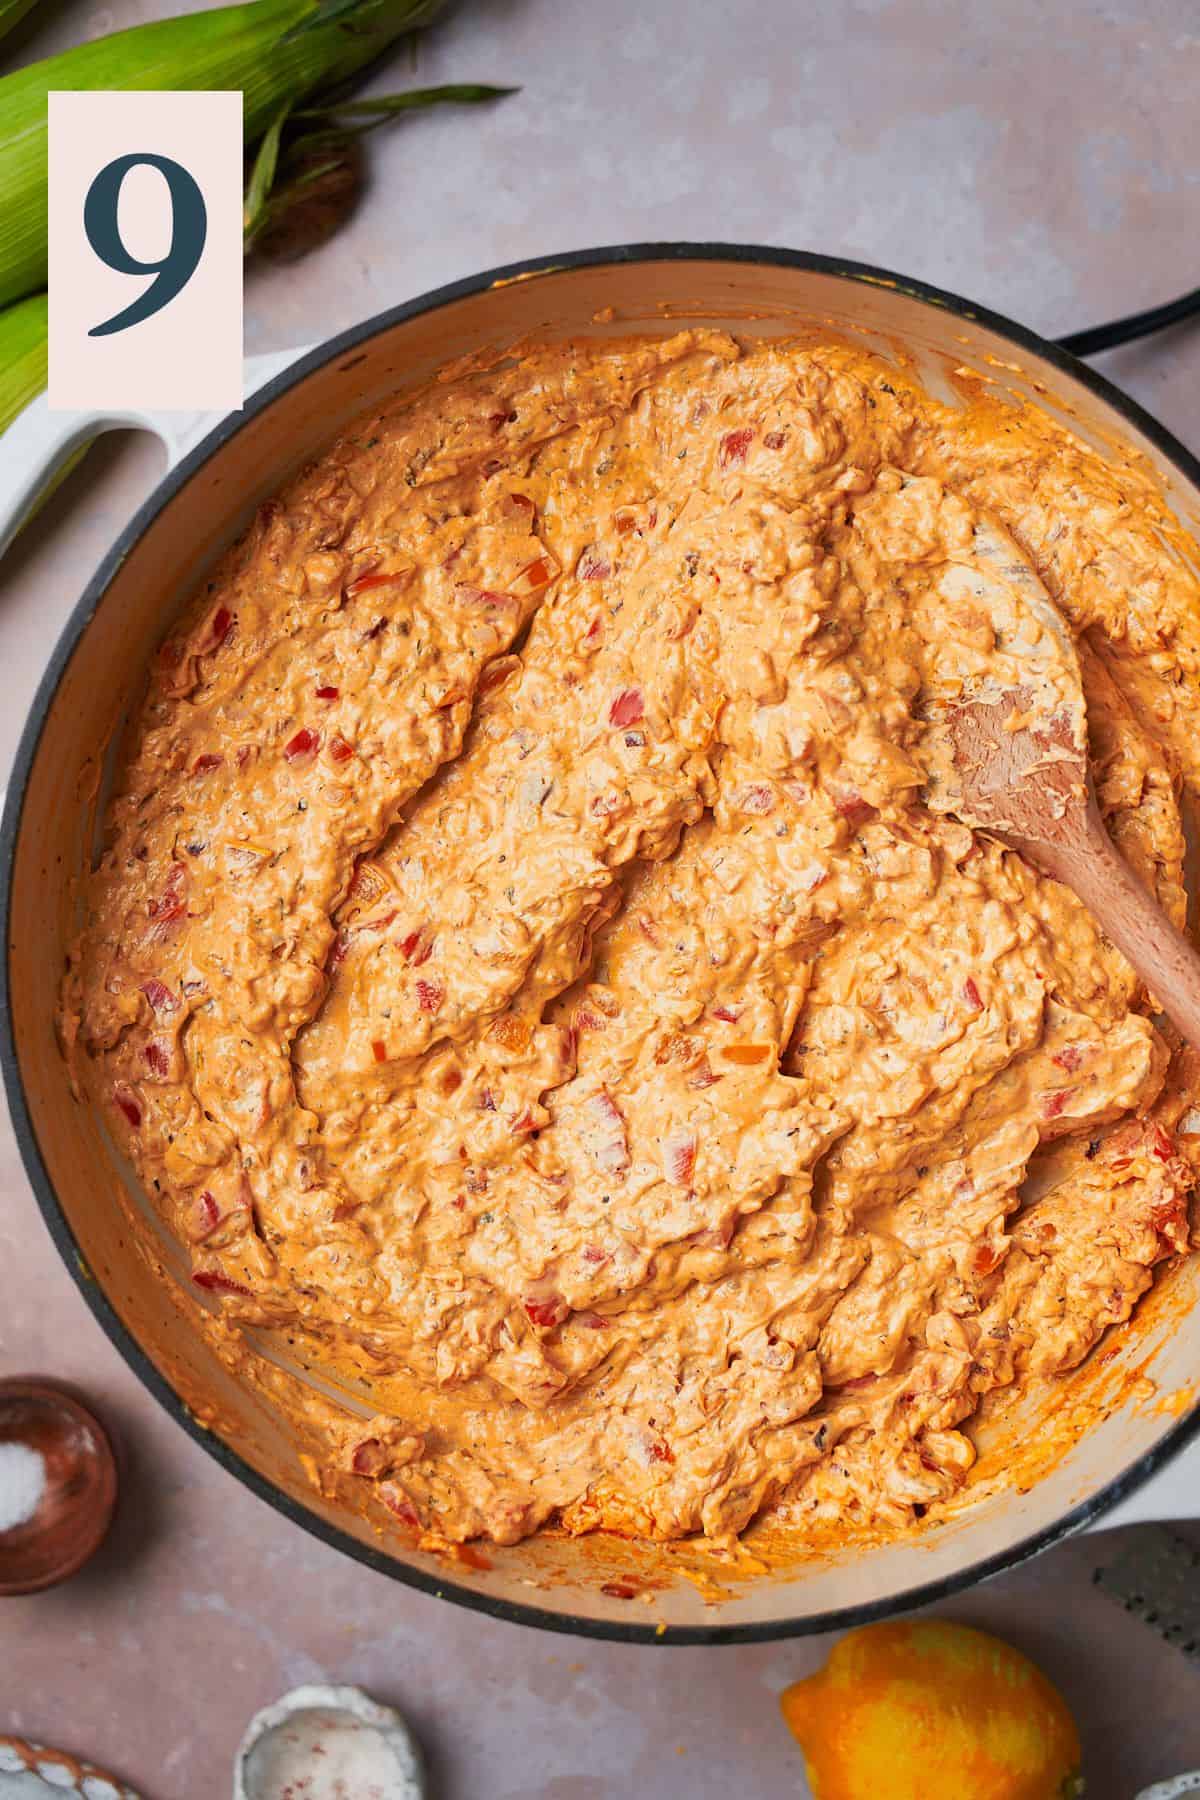
Stir until combined. (Image 9)
✨Pro Tip: Use room temperature cream cheese and sour cream so that it combines nicely.
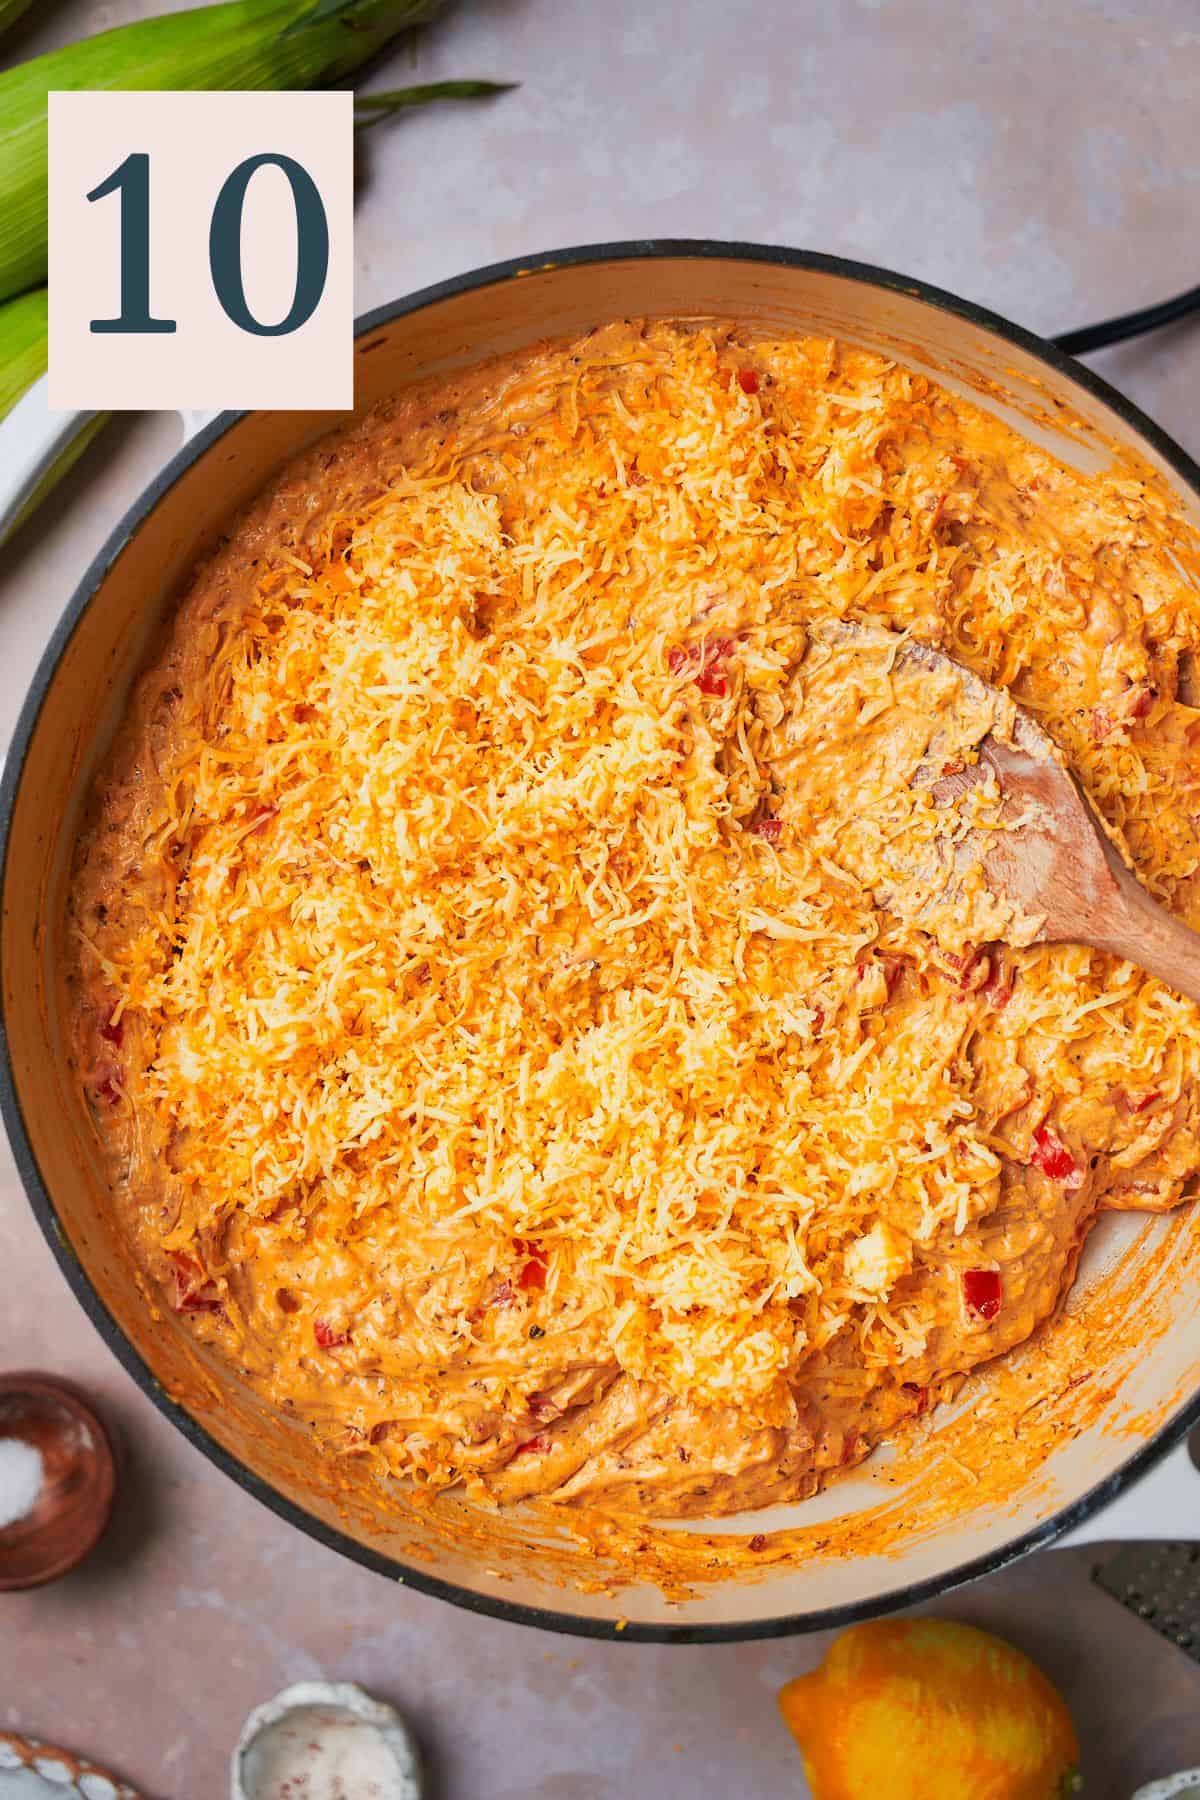
Add about ⅓ of the of the cheese at a time, melting completely until the next handful is added. (Image 10)
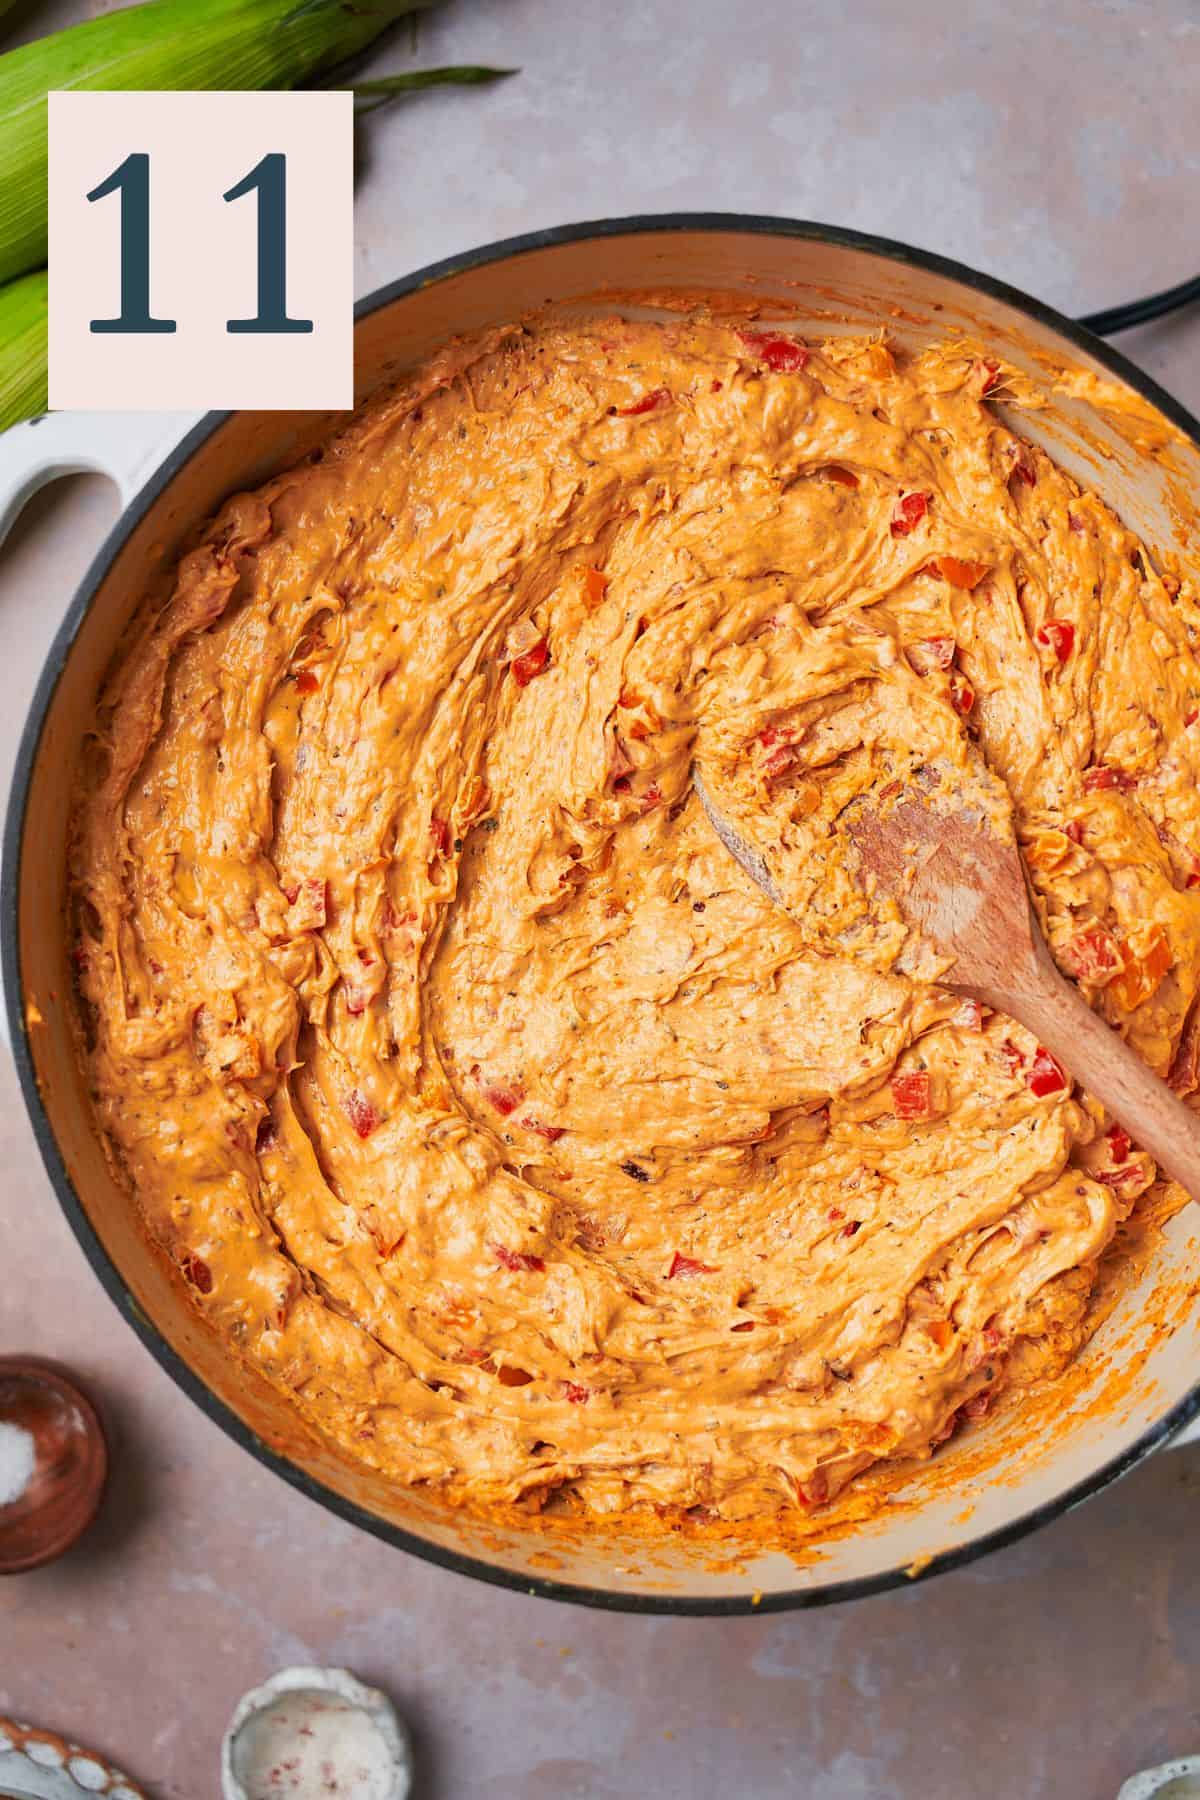
Stir gently to melt and combine until all of the cheese is added. (Image 11)
✨Pro Tip: Shred your own cheese so that it melts well. Pre-shredded cheeses often have anti-caking agents added that will prevent it from melting properly.
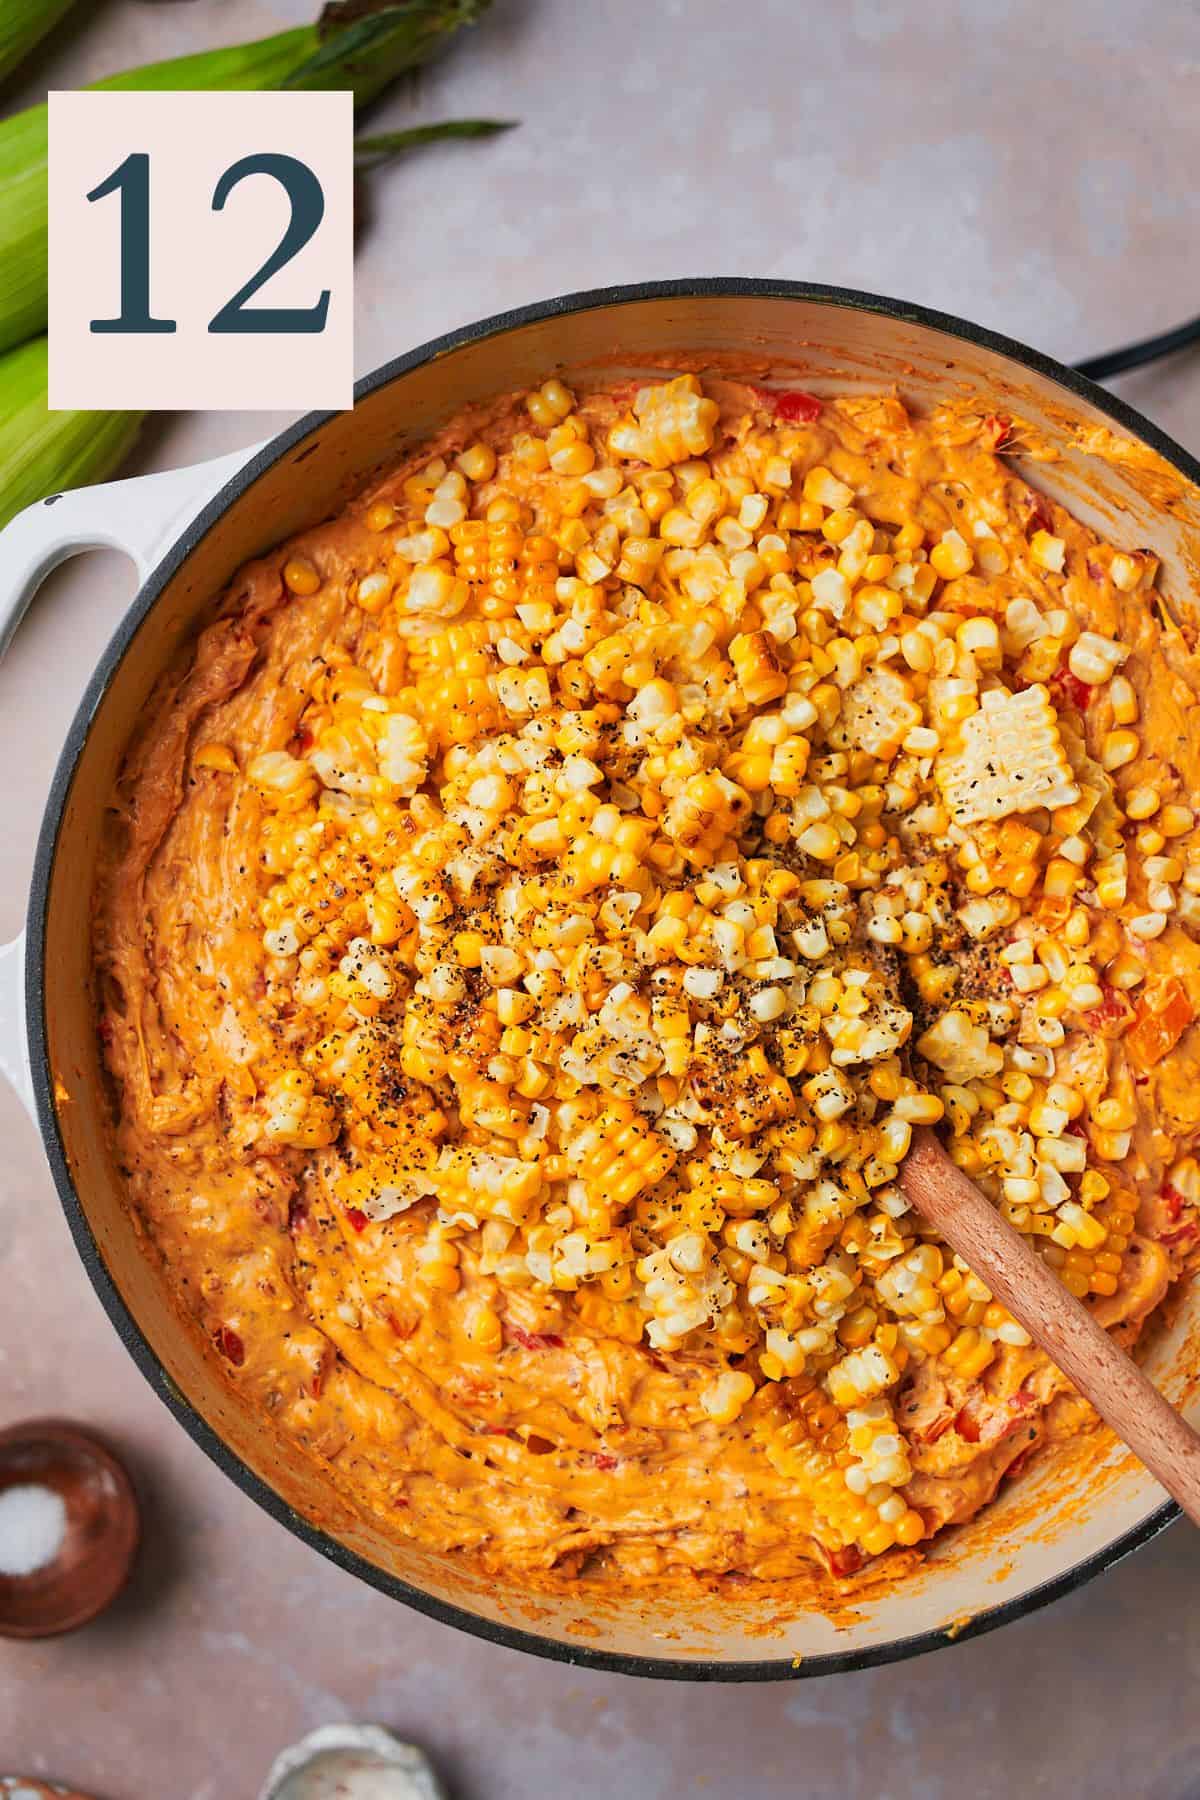
Once combined, add in the corn, black pepper, and lemon juice. (Image 12)
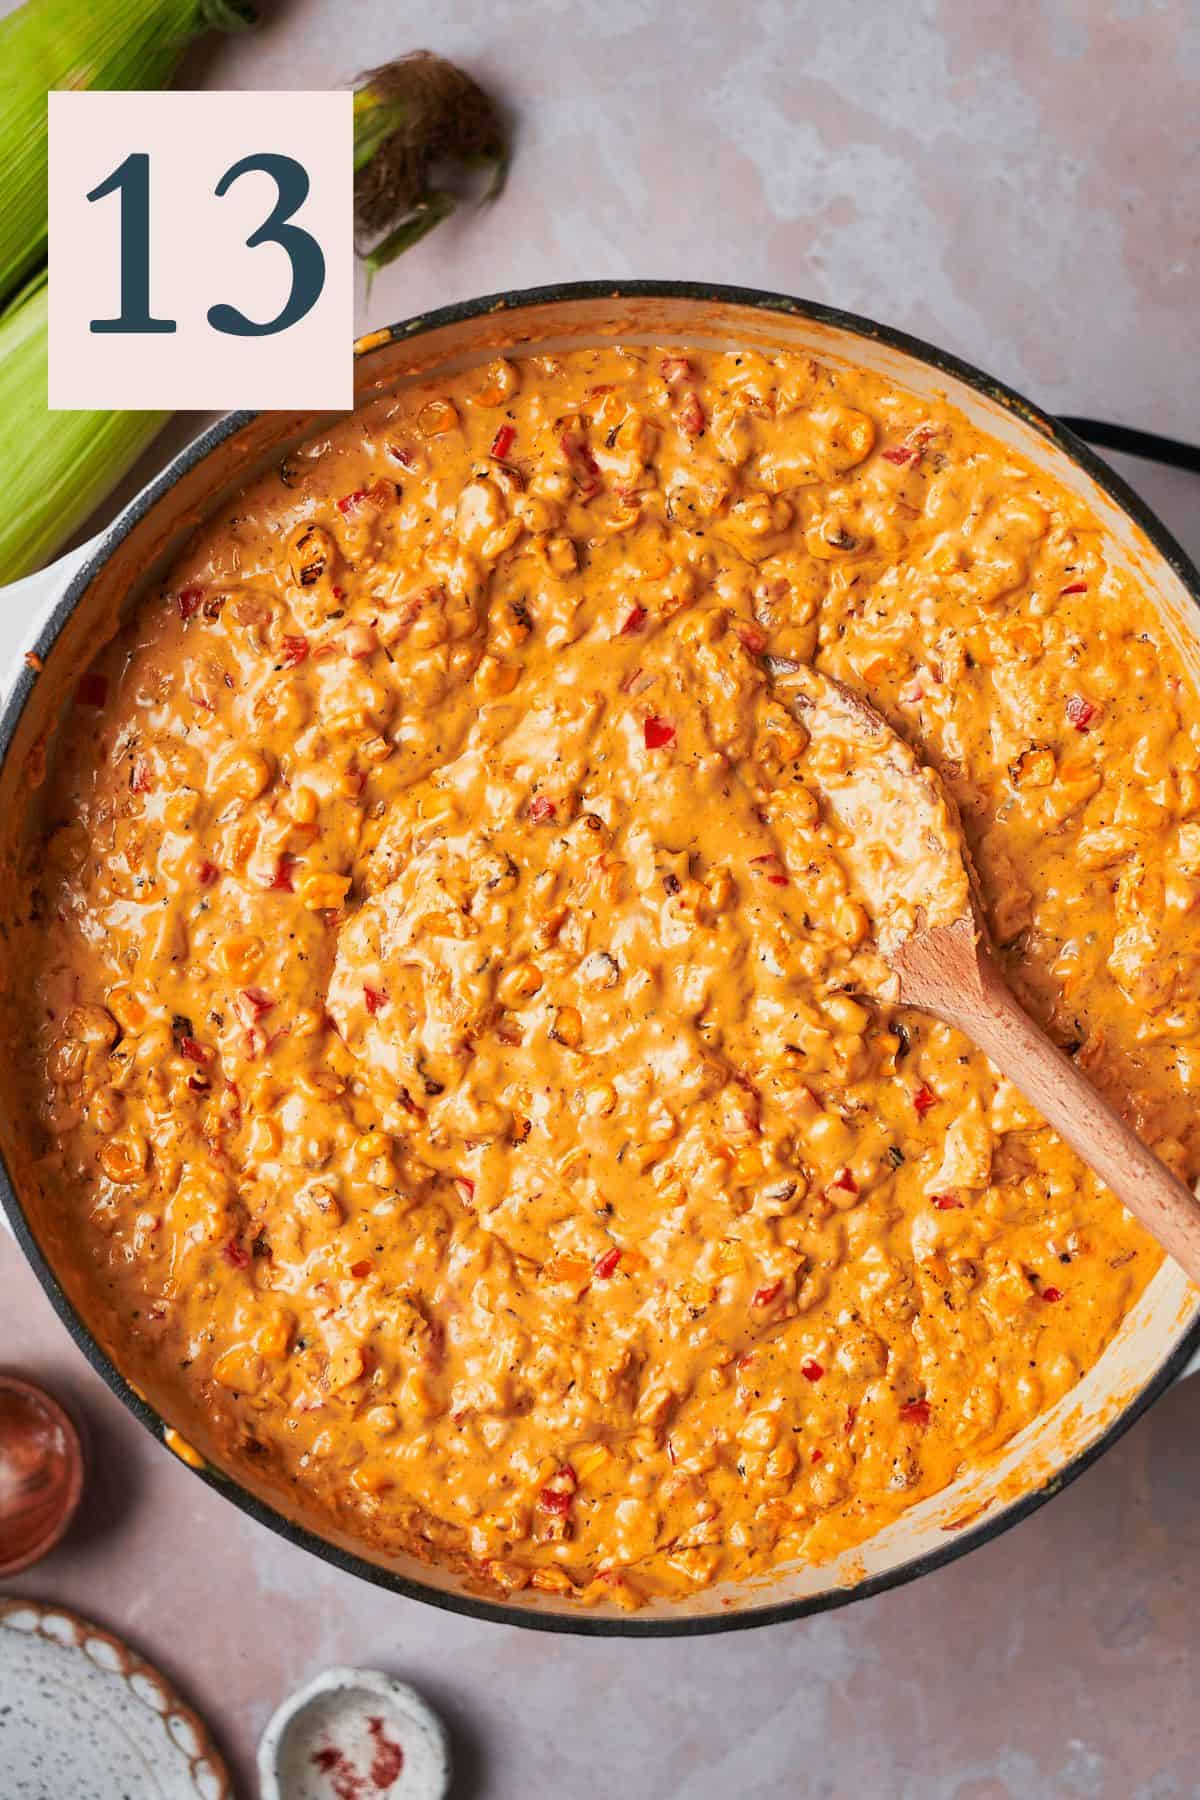
Stir to combine until smooth, and adjust seasonings to taste. (Image 13)
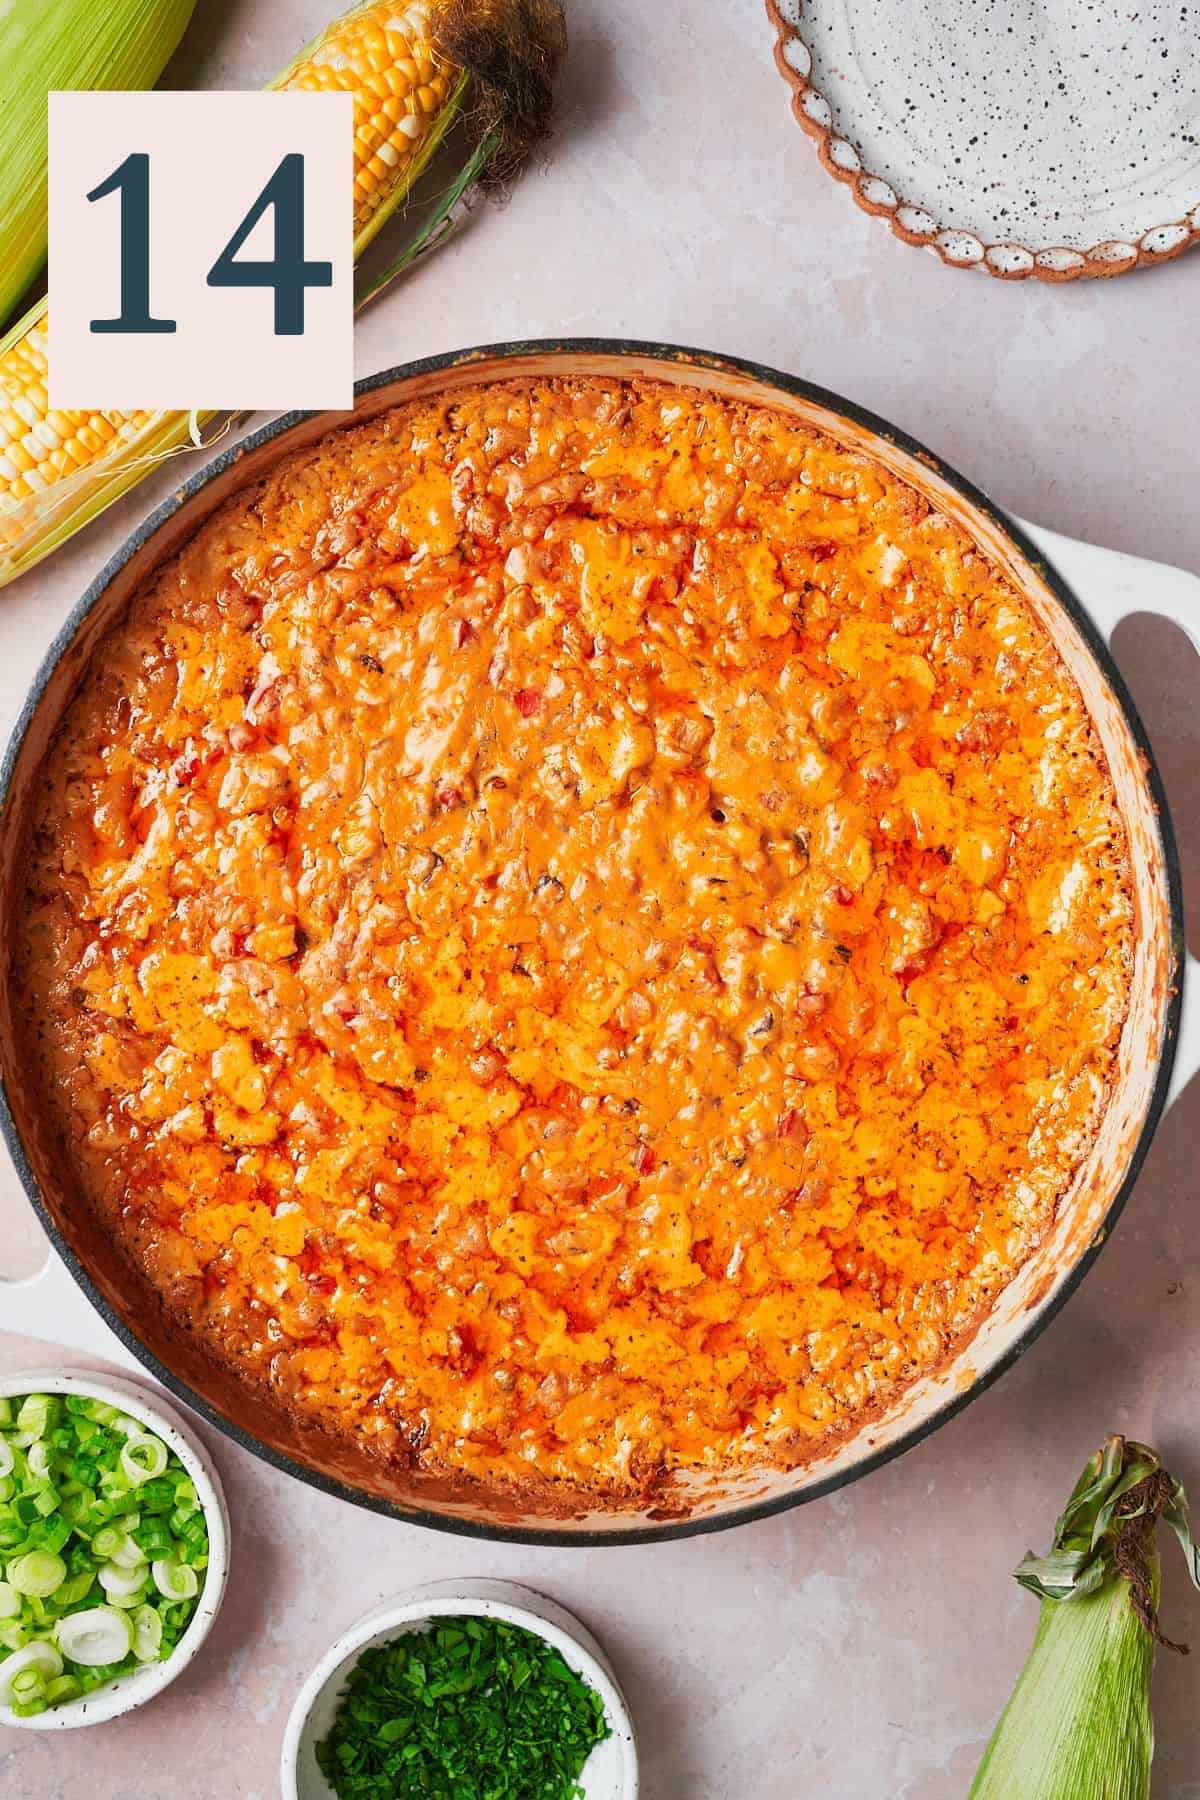
Remove from the heat. If needed transfer the dip to a casserole dish to bake until golden brown and bubbly. Bake for 20-25 minutes, until the cheese is bubbly and golden brown. (Image 14)
Garnish green onions, parsley, and more grilled corn. Serve with your favorite crackers, bread, chips, or veggies. Enjoy!
✨Tips & tricks
- Use freshly grated cheese if possible. This will ensure the best melty cheese pulls! Pre-shredded cheese has additives that make it clump together a bit more, so it just doesn’t melt as well.
- Use room-temperature sour cream and cream cheese. This will help ensure the mixture comes together quickly and easily without any lumps of cream cheese.
- Add lemon juice last. The acid can make cheeses clump up a bit. Plus, we like to let the lemon juice retain its freshness and bright citrus notes.
- Don’t skip grilling the corn if using fresh corn. Grilling it adds a smoky flavor. Make sure to brush the corn lightly with oil and rotate every 2-3 minutes to achieve an even char on all sides.
- Season as you go. Add a pinch of salt to the veggies to bring out their flavors. Don’t forget to add pinches of salt as you go, tasting along the way.
Need supplies? Shop our Amazon store! Stock your pantry, and find all of our favorite kitchen tools! A Full Living LLC earns a small commission through purchases on our storefront to help support this site.
💭Frequently Asked Questions
Let the dip cool down completely then transfer to an airtight container. Place the leftovers in the fridge for up to 5 days. Reheat in the oven or microwave before serving.
Of course! It's easy. Just make sure that you are using a deep shallow skillet to prevent spills, or splitting the dish into two separate casserole dishes before baking. If you're using only one big dish, you may need to keep it in the oven a few minutes longer.
Yes, just make sure to not skip cooking it for a few minutes in the hot skillet, or it will release too much moisture when it cooks, making the dip a little watery!
For canned corn, be sure to drain it of the liquid completely before sautéing. You can achieve a golden brown color which will add extra flavor as well.
Aside from tortilla chips or corn chips, you can also serve this with crostini, crackers, veggie sticks, and toasted bread, or add them on top of pastry cups as cute appetizers.
More Recipes To Consider
Did you try this recipe? Make sure to leave a 5-star review below! 🌟 This helps other readers find our recipes and encourages them to try them. Also, be sure to leave a comment with your experience. Follow along, and tag @AFullLiving on Instagram with your photos!
📖 Recipe
Corn Dip
Equipment
Ingredients
- 4-5 cobs corn (or 1 pound of frozen corn)
- 3 tablespoons olive oil, divided
- 2 tablespoons unsalted butter
- 2 medium shallots, diced
- 2 medium bell peppers, diced (any color)
- 10 cloves garlic, minced (or to taste)
- 2 teaspoons kosher salt, divided (and to taste)
- 2 teaspoons Italian seasoning
- 1 teaspoon smoked paprika
- ½ - 1 teaspoon red pepper flakes (optional and to taste)
- ¼ - ½ teaspoon cayenne pepper (optional and to taste)
- 1 whole lemon, zested
- 8 ounces cream cheese, room temperature
- 8 ounces sour cream, room temperature
- 8 ounces Colby jack, freshly shredded
- 8 ounces white sharp cheddar, freshly shredded
- ¼ - ¼ teaspoon black pepper (to taste)
- ½ whole lemon, juiced
- Corn, parsley, and green onions
Instructions
- Optional step if grilling corn. Preheat a grill pan over medium heat. Brush corn with a little bit of olive oil (about 1 tablespoon) using a pastry brush. Add to a hot grill pan. Grill until nice char marks form on the corn, about 3-4 minutes on each side. Allow them to cool down for about 10 minutes before cutting them off the cob. Once cooled, cut the corn kernels off the cob and set aside. (See notes if using canned or frozen corn).
- Meanwhile, preheat a separate large skillet over medium heat. Preheat the oven to 350°F. To the hot skillet, add 2 tablespoons of olive oil and 2 tablespoons of butter to melt. Add the bell peppers, along with the shallots with a big pinch of salt. Cook until softened, about 5-7 minutes.
- Next, add in the garlic, lemon zest, 2 teaspoons of Italian seasoning, ½ teaspoon - 1 teaspoon of red pepper flakes (to taste), ¼ - ½ teaspoon of cayenne (to taste), and 1 teaspoon of smoked paprika. Cook until the garlic is fragrant, about 30 seconds - 1 minute, stirring constantly.
- Reduce the heat to low. Add in 1 block of softened cream cheese and 8 ounces of sour cream. Stir until combined.
- Add about ⅓ of the cheese (about 5 ounces) at a time, melting completely until the next handful is added. Stir gently to melt and combine until all of the cheese is added.
- Once combined, add back the corn, ¼ - ½ teaspoon of black pepper (to taste), and the juice of half a lemon. Stir to combine until smooth, and adjust seasonings to taste.
- Remove from the heat. If needed transfer the dip to a casserole dish to bake until golden brown and bubbly. Bake for 20-25 minutes, until the cheese is bubbly and golden brown.
- Garnish green onions, parsley, and more grilled corn. Serve with your favorite crackers, bread, chips, or veggies. Enjoy!
- Let the dip cool down completely then transfer to an airtight container. Place the leftovers in the fridge for up to 5 days. Reheat in the oven or microwave before serving.
Notes
- Use freshly grated cheese if possible. This will ensure the best melty cheese pulls! Pre-shredded cheese has additives that make it clump together a bit more, so it just doesn’t melt as well.
- Use room-temperature sour cream and cream cheese. This will help ensure the mixture comes together quickly and easily without any lumps of cream cheese.
- Add lemon juice last. The acid can make cheeses clump up a bit. Plus, we like to let the lemon juice retain its freshness and bright citrus notes.
- Season as you go. Add a pinch of salt to the veggies to bring out their flavors. Don’t forget to add pinches of salt as you go, tasting along the way.
- Don’t skip grilling the corn if using fresh corn. Grilling it adds a smoky flavor. Make sure to brush the corn lightly with oil and rotate every 2-3 minutes to achieve an even char on all sides.
- If you're not using fresh corn. If using canned corn, simply drain the excess liquid, and cook corn with a little bit of olive oil in a hot skillet to brown it. There's no need to thaw frozen corn, you may just need to cook it for a few minutes extra to remove excess liquid and get it a nice golden brown color. You can also skip adding any char to the corn, but it adds a ton of flavor! (**You'll need about 1 pound of frozen corn or canned corn.)



Comments
No Comments